Mike Phillips
Active member
- Dec 5, 2022
- 51,004
- 6
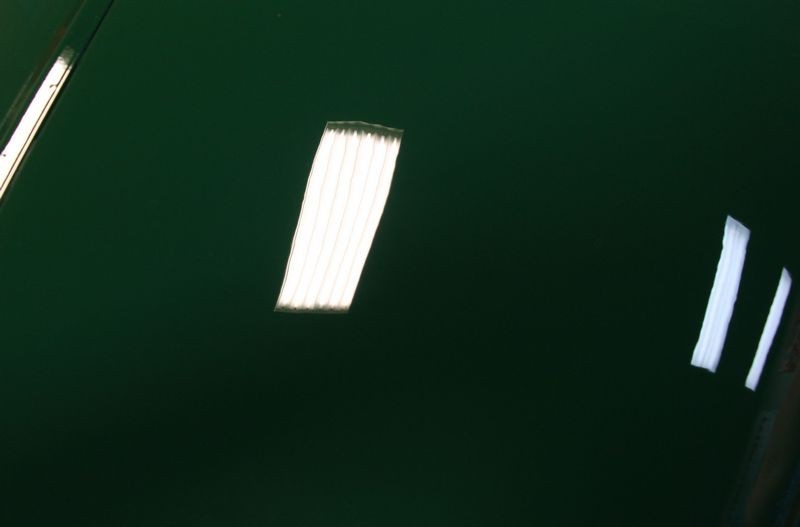
Here's what Dieback or Shrinkback looks like in fresh paint

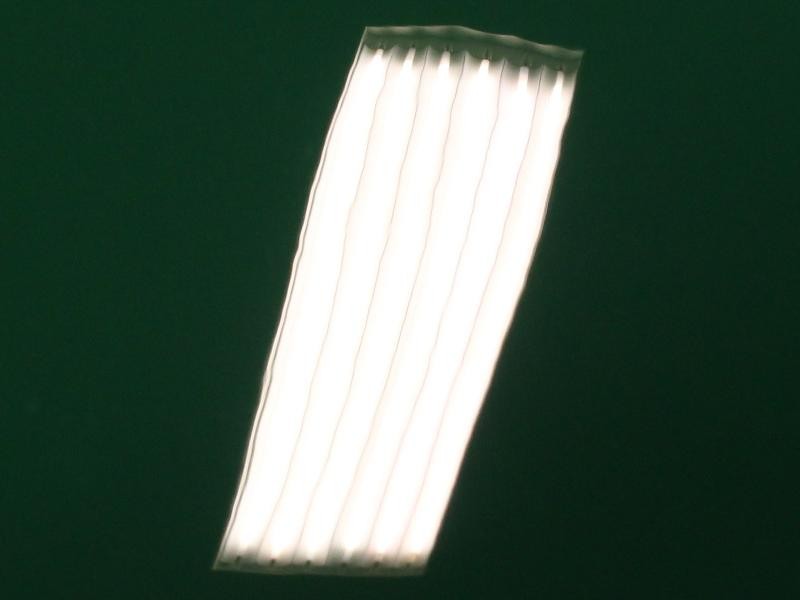
This is a close up of the same area that I cropped out at 800 pixels wide but did not resize.

")
This is a close up of the same area that I cropped out at 800 pixels wide but did not resize.
 rops:
rops:
")