HiDefDetailer
New member
- Aug 27, 2010
- 21
- 0
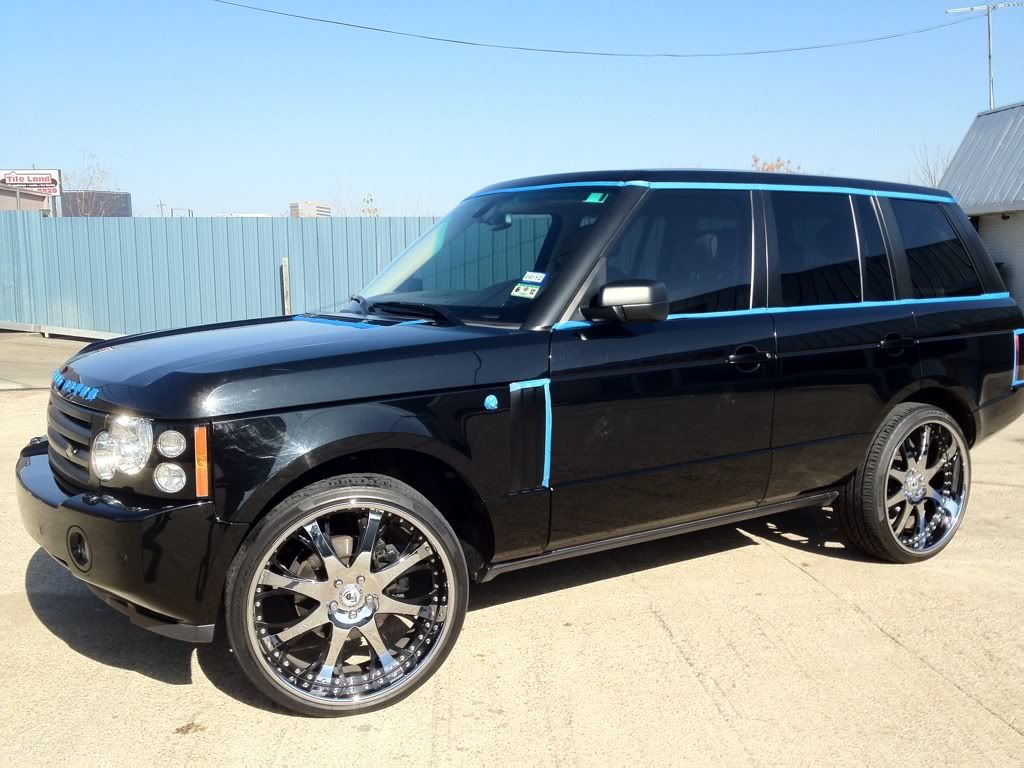
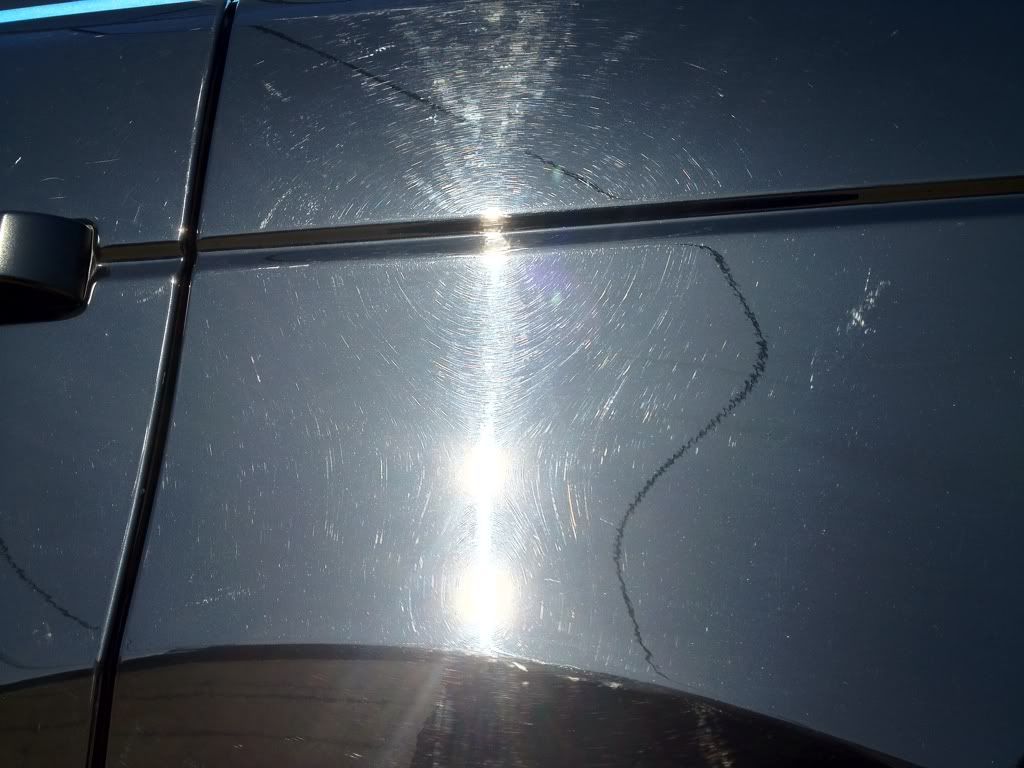
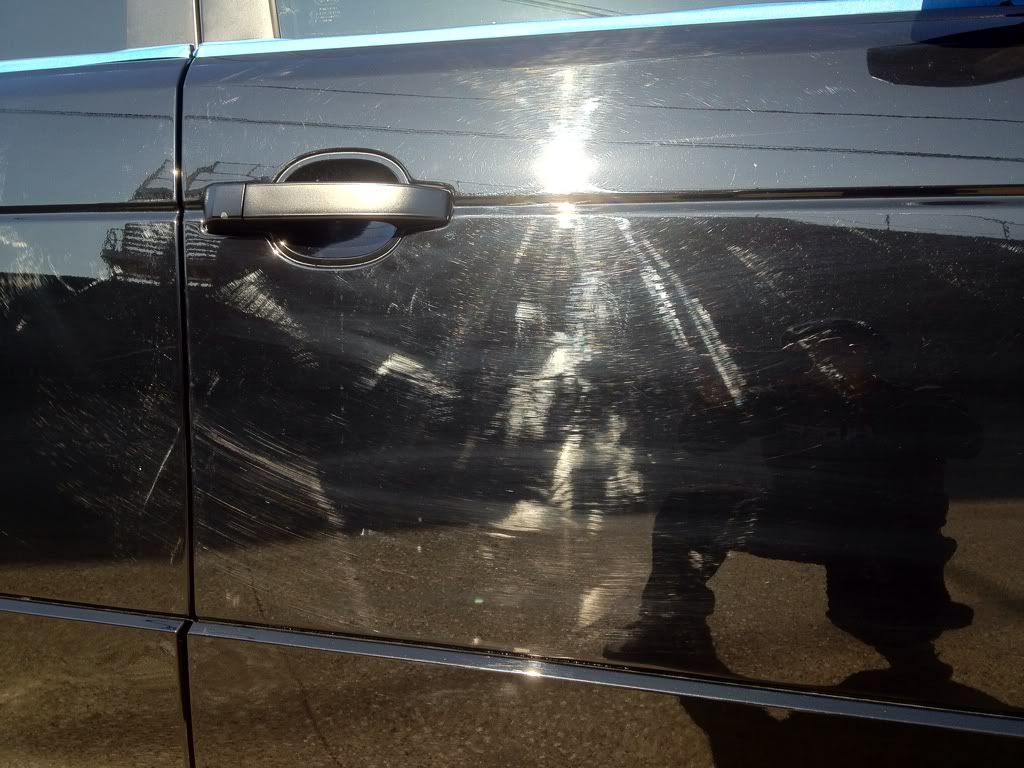
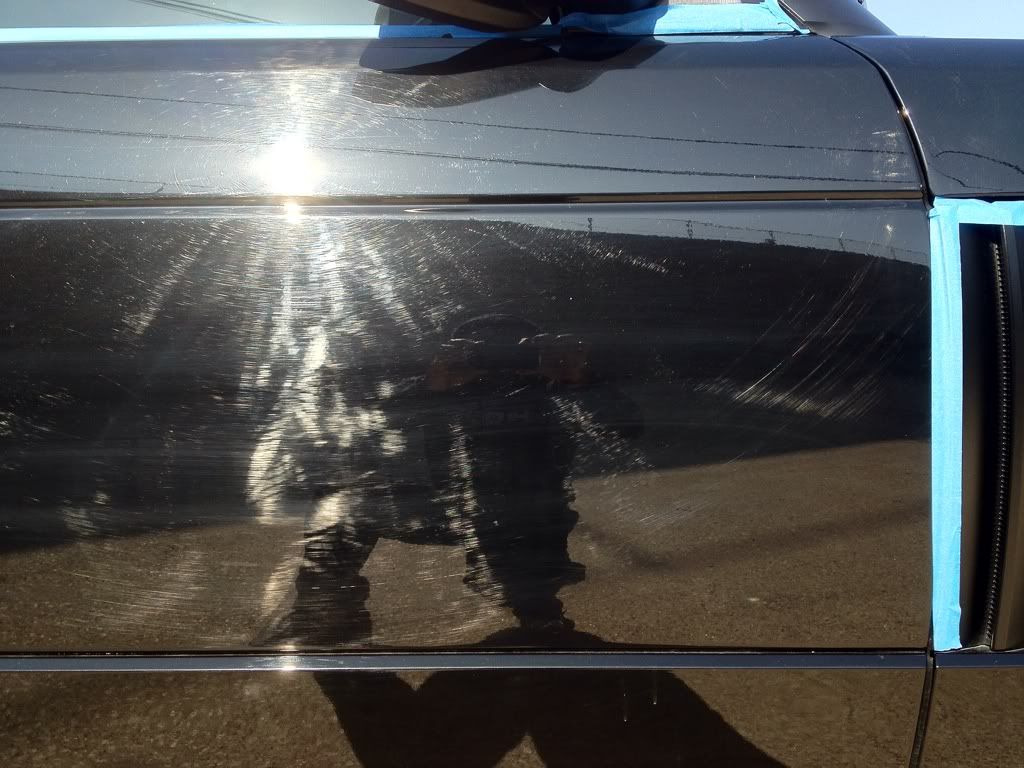
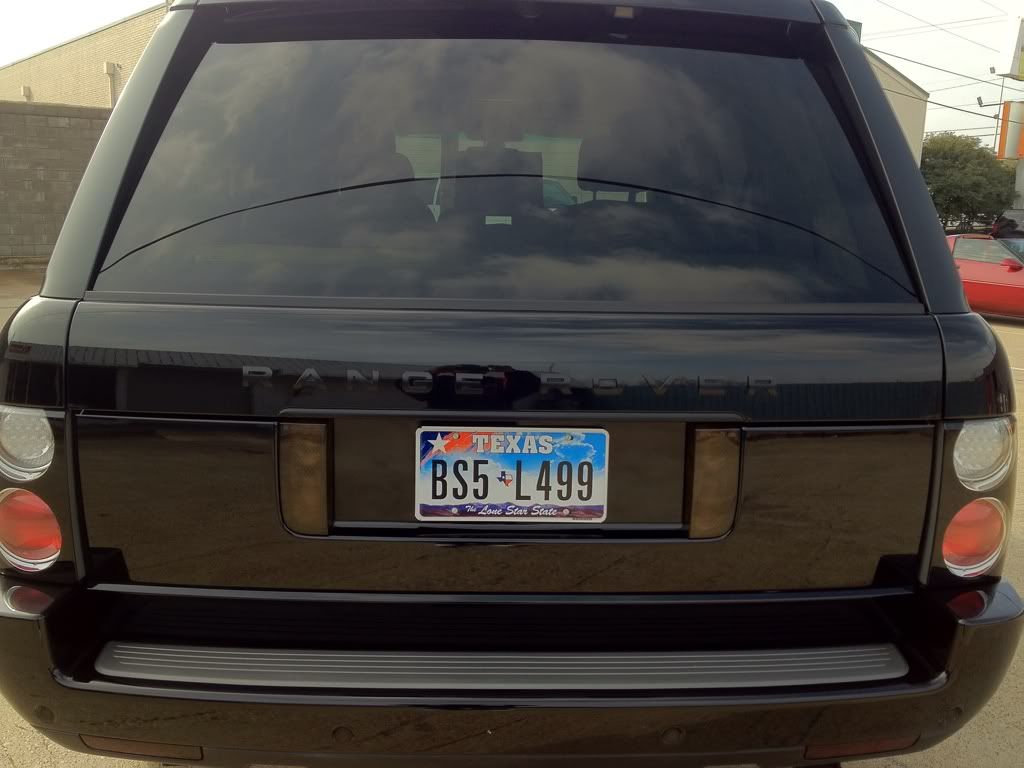
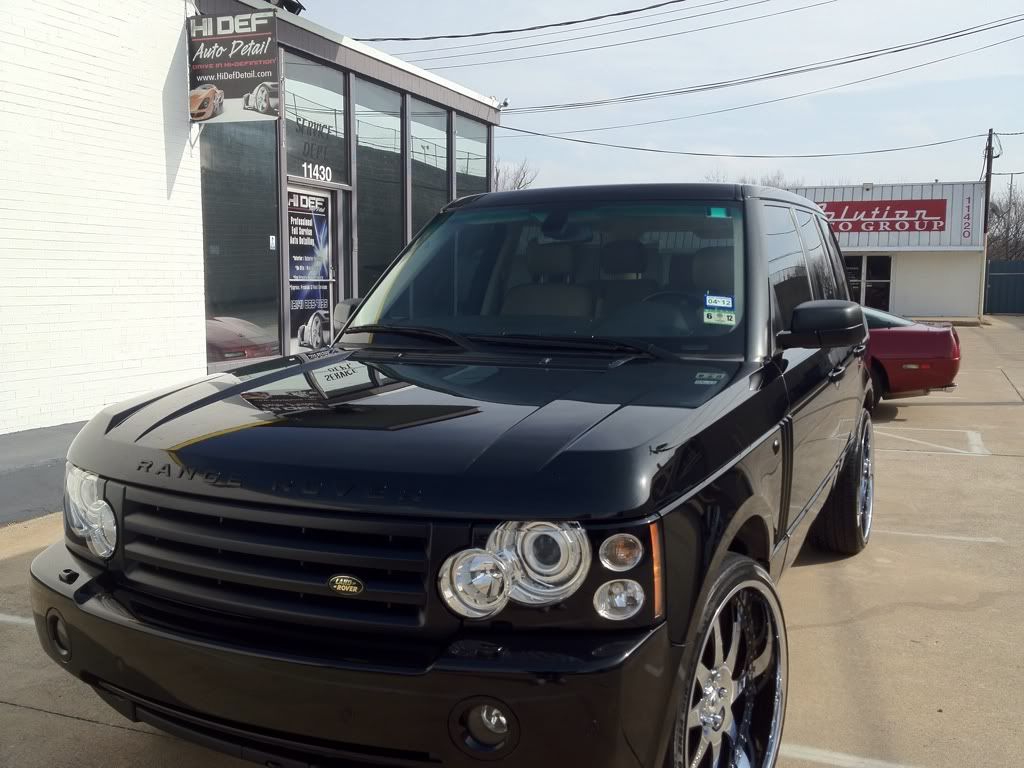
We recently did a paint correction detail on a Black 2006 Range Rover. The owner was a hardcore drive-thru tunnel wash user since purchasing the vehicle. Since the owner liked his cars clean and shiny all the time, he thought it'd be a good idea to buy the unlimited car wash voucher from the local carwash. He even let them "buff wax" it every two months under their detail tent for a few extra dollars. Everything was fine until he started looking at the SUV in full daylight and noticed the swirls, scratches and holograms. One day while at the Land Rover dealership for service he saw our sign next door and decided to come by for an consultation.
After talking with him about how the damage he noticed typically occurs, I explained to him how a professional detailer can remove the damage, restore clarity and gloss and add long-term protection to the exterior surfaces. After the consultation we agreed that our Hi Def Ultra Exterior Detail package was the right choice for his vehicle and budget.
Here's the process:
- Exterior prep wash with Carbrite "Suds" Shampoo
- All surfaces and jambs were air purged and hand-dried with ultra plush microfiber towels.
- A Clay Detox with Hi Def "Smooth" medium duty clay.
- Plastic and rubber trim were taped using 3M Automotive Painters Tape
- For the paint correction process, Hi Def Bling Nano Polish was applied to the painted surfaces using a Cyclo with 4" Megs Crimson Red Foam pads
- For the Paint Protection process, Hi Def 1080 Nano Seal was applied by Cyclo with LC Red Sealant foam pads
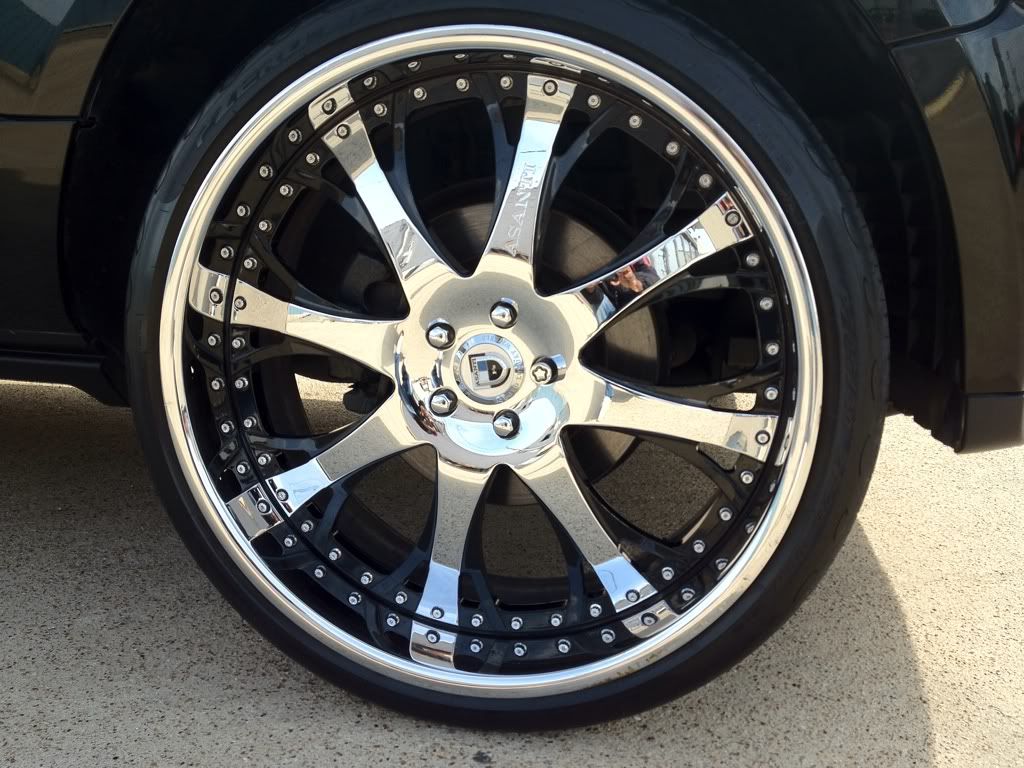
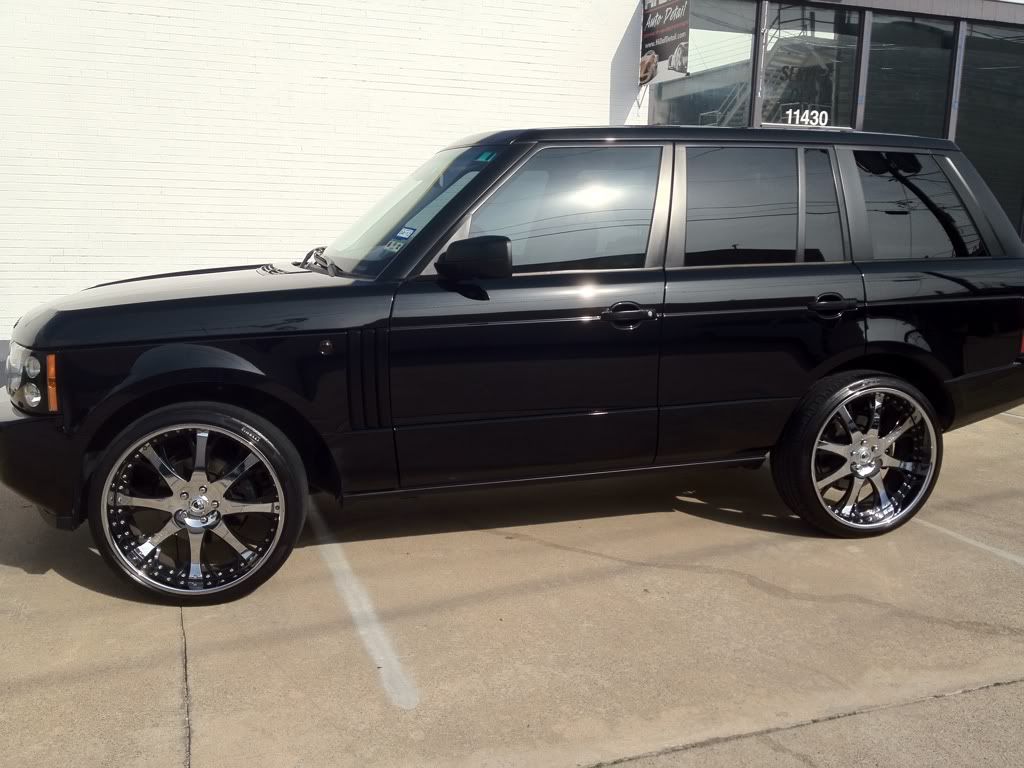
- The chrome exhaust tips and 24" chrome & black wheels were also clay bar'd, polished with Never Dull and treated with Hi Def 1080 Nano Seal
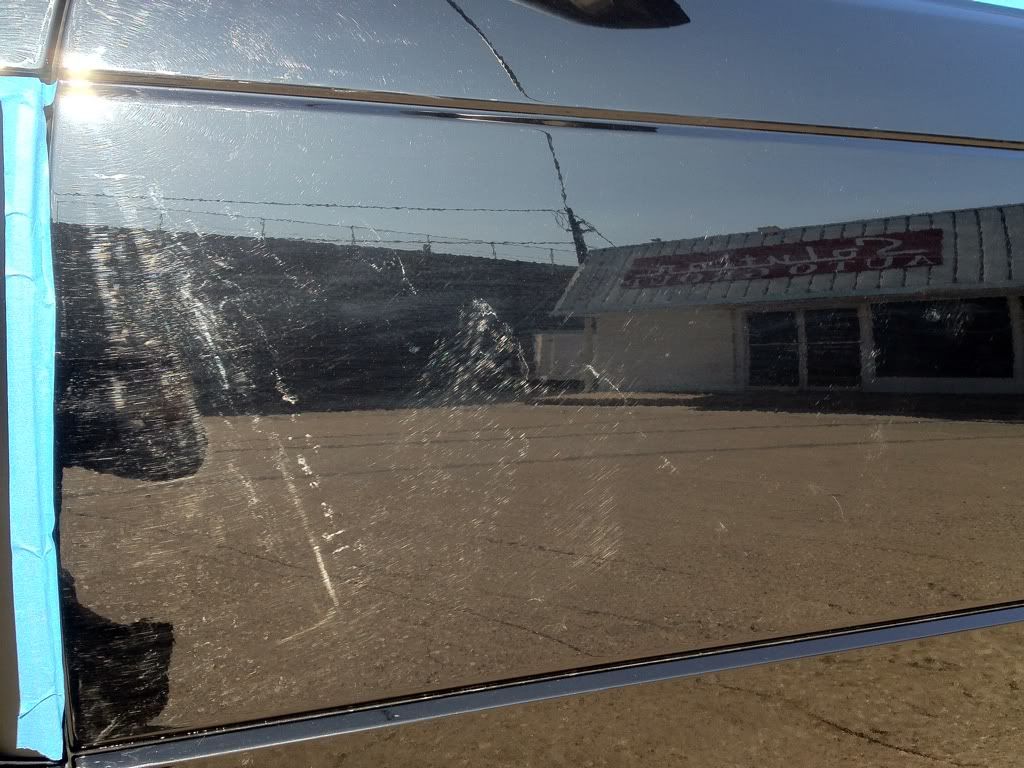
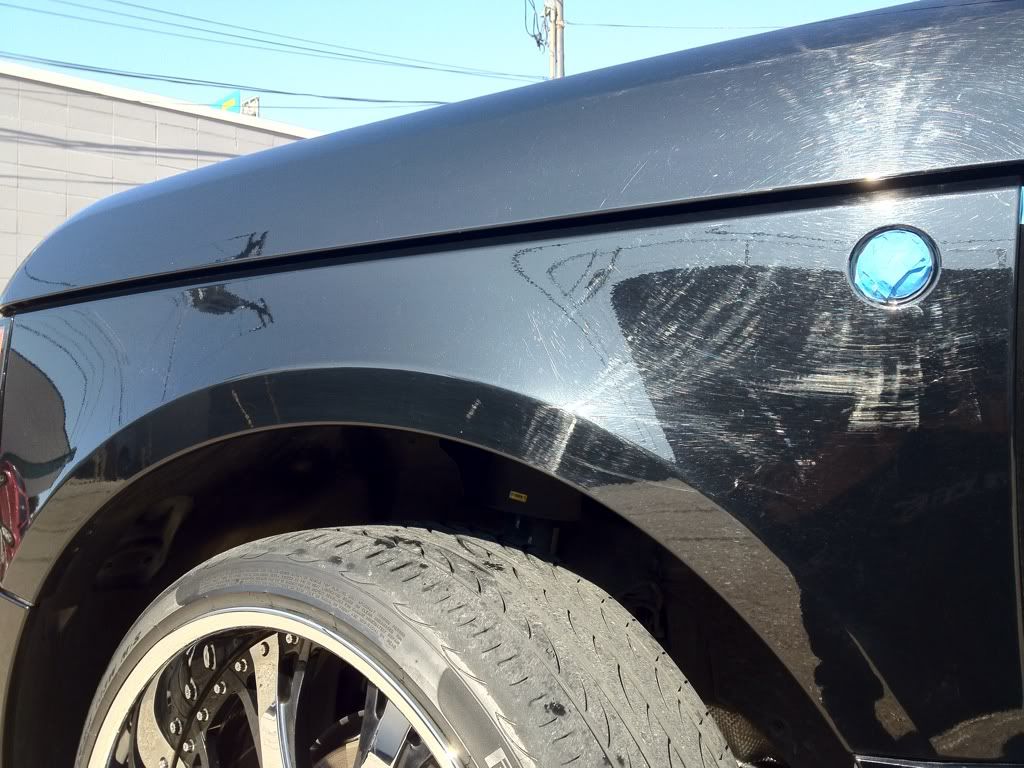
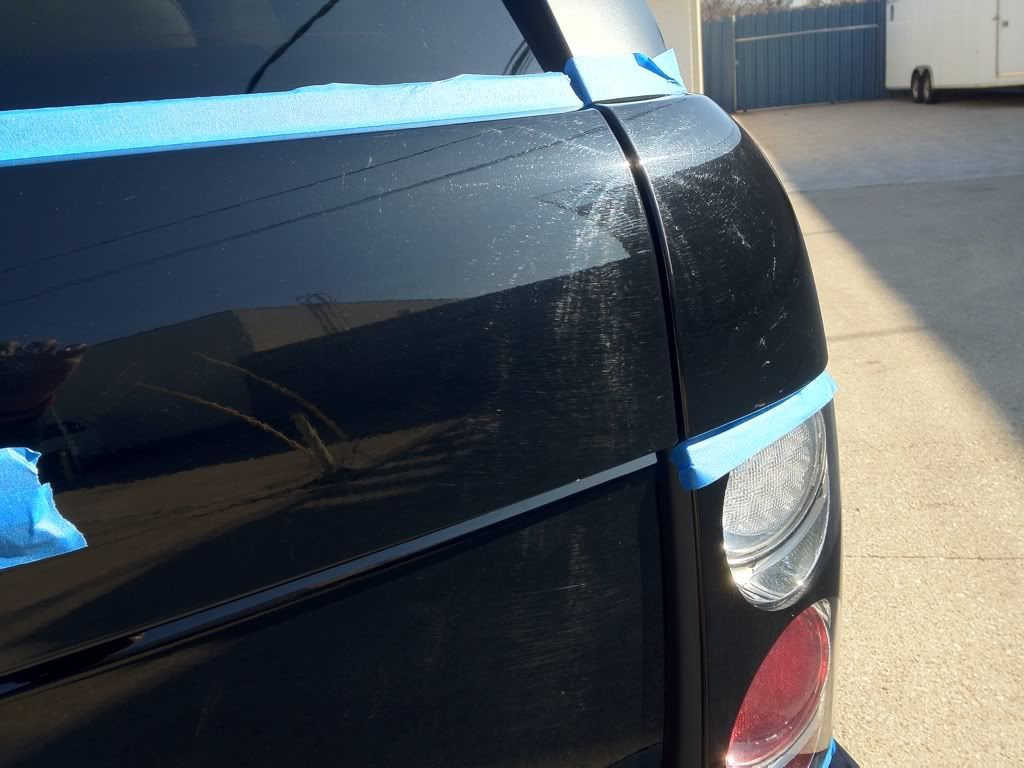
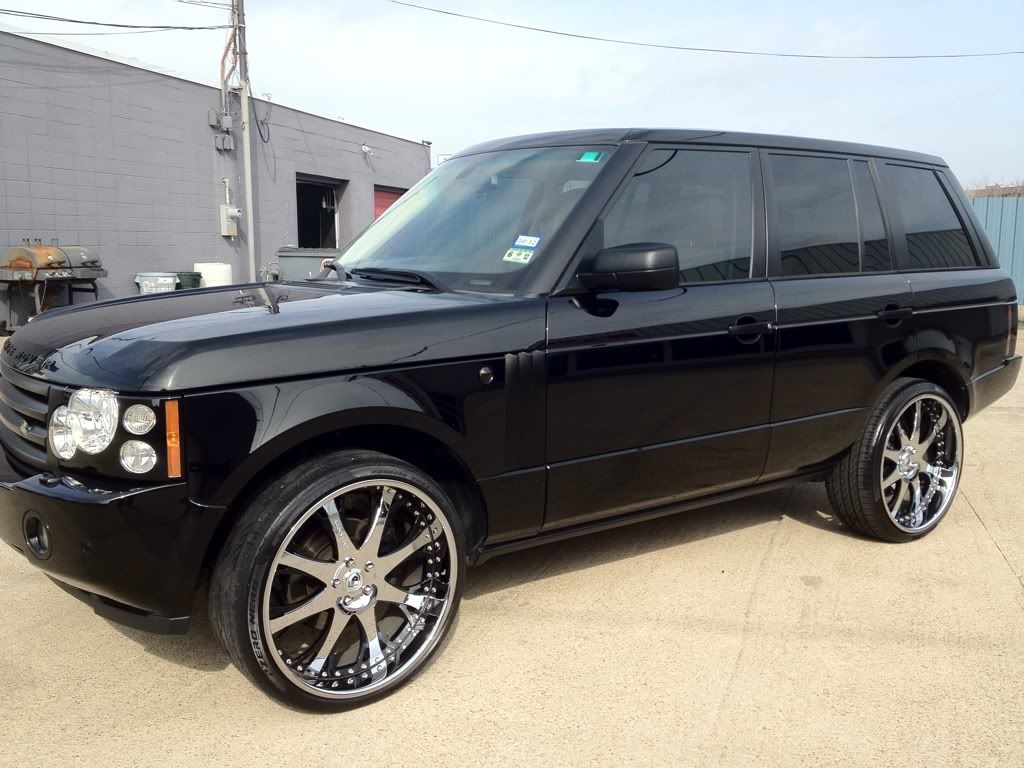
Here's are the BEFORE pictures:

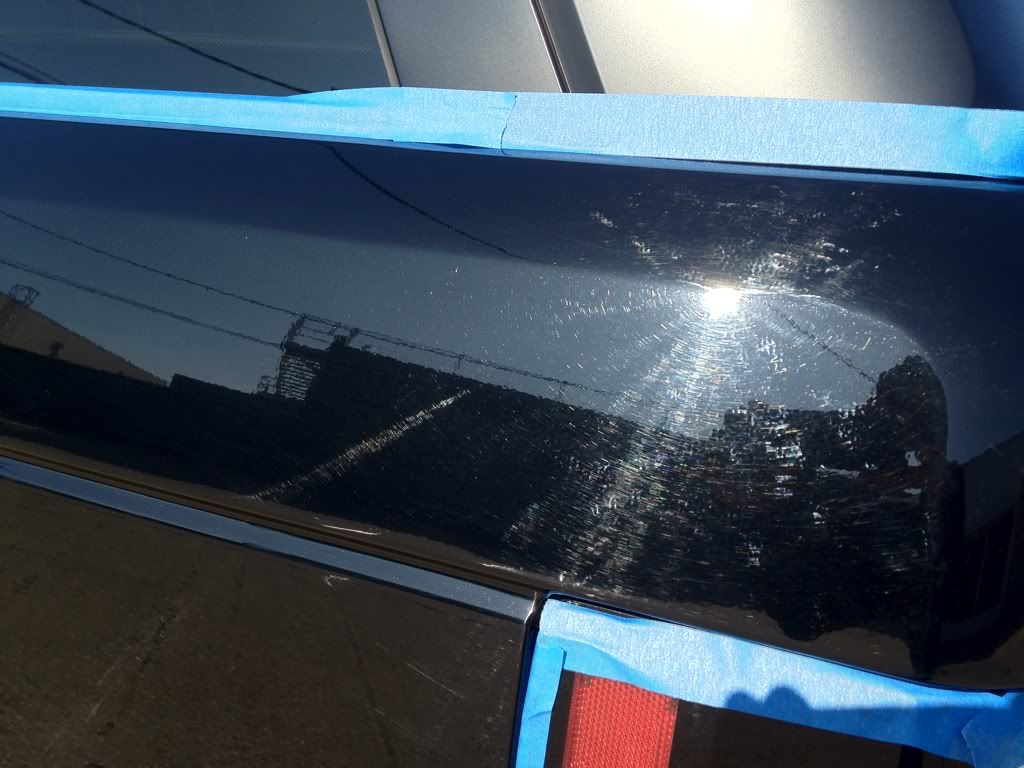
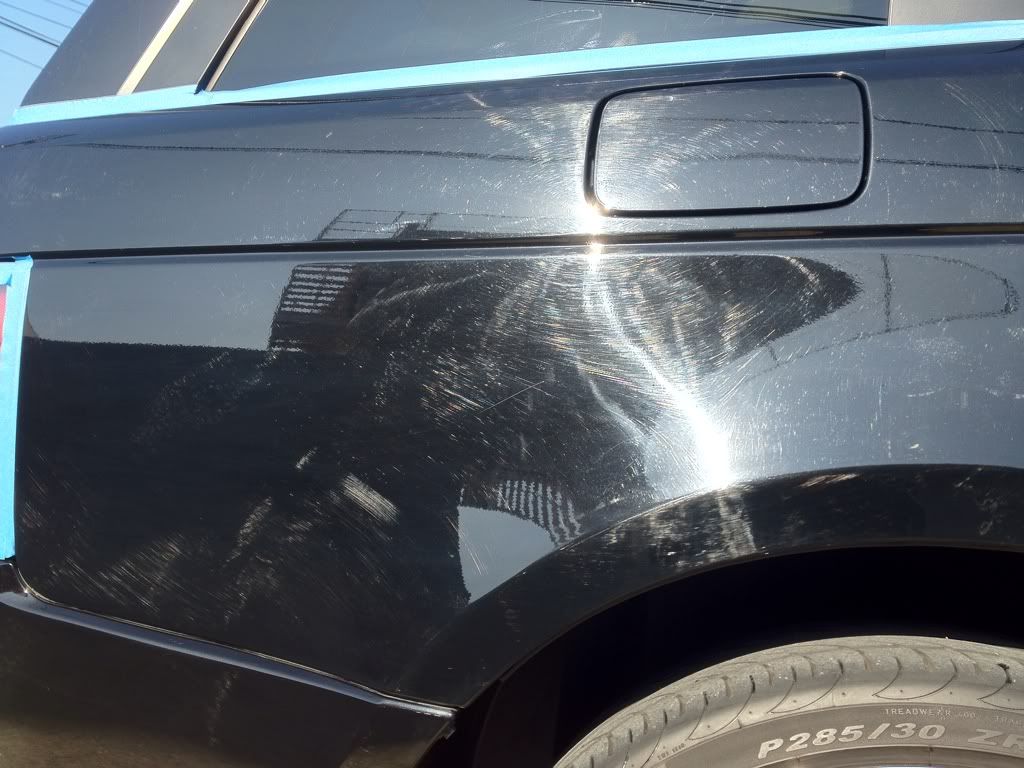
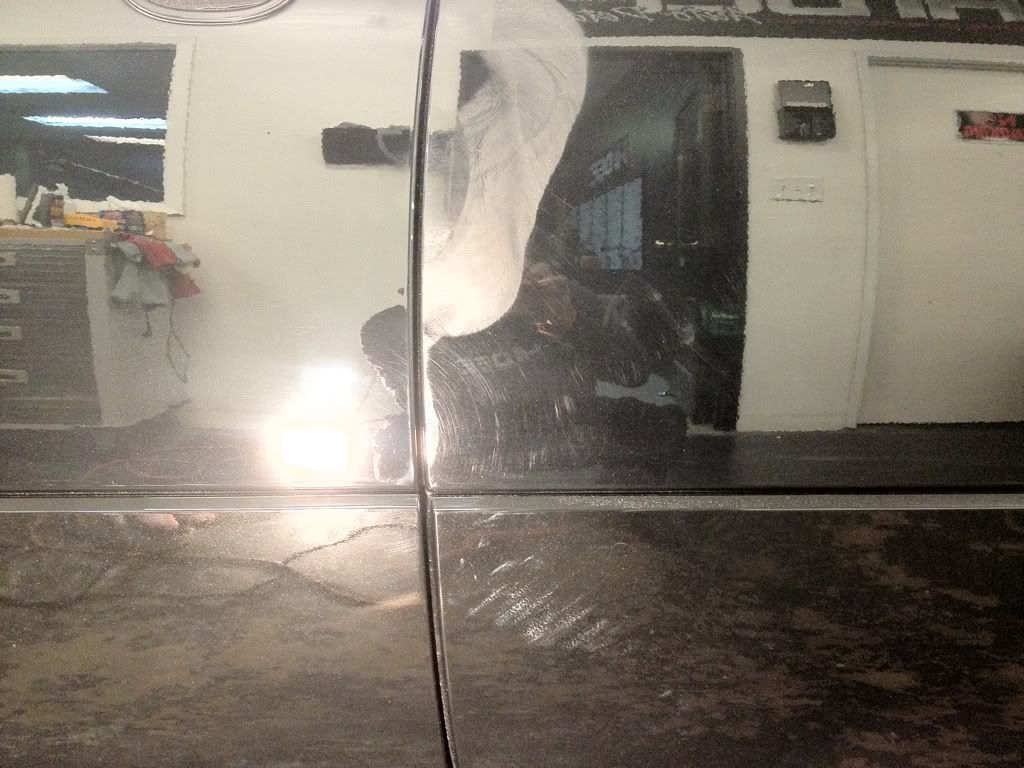
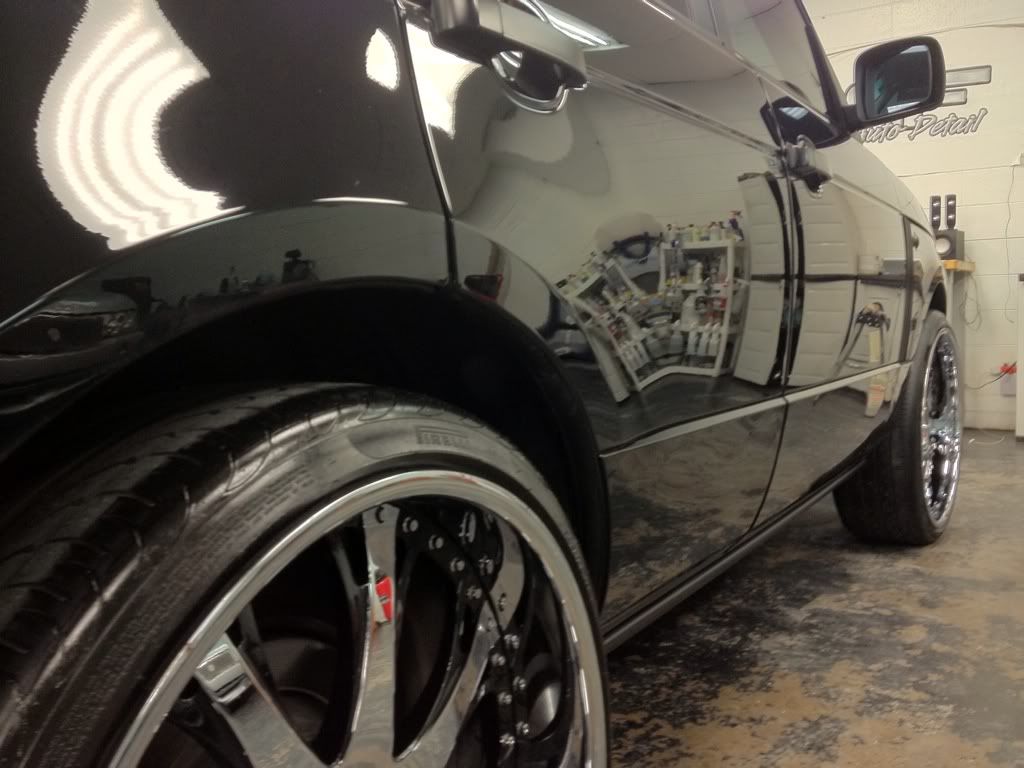
Here's a quick 50/50 shot (the left panel is after one pass, the right is untouched)
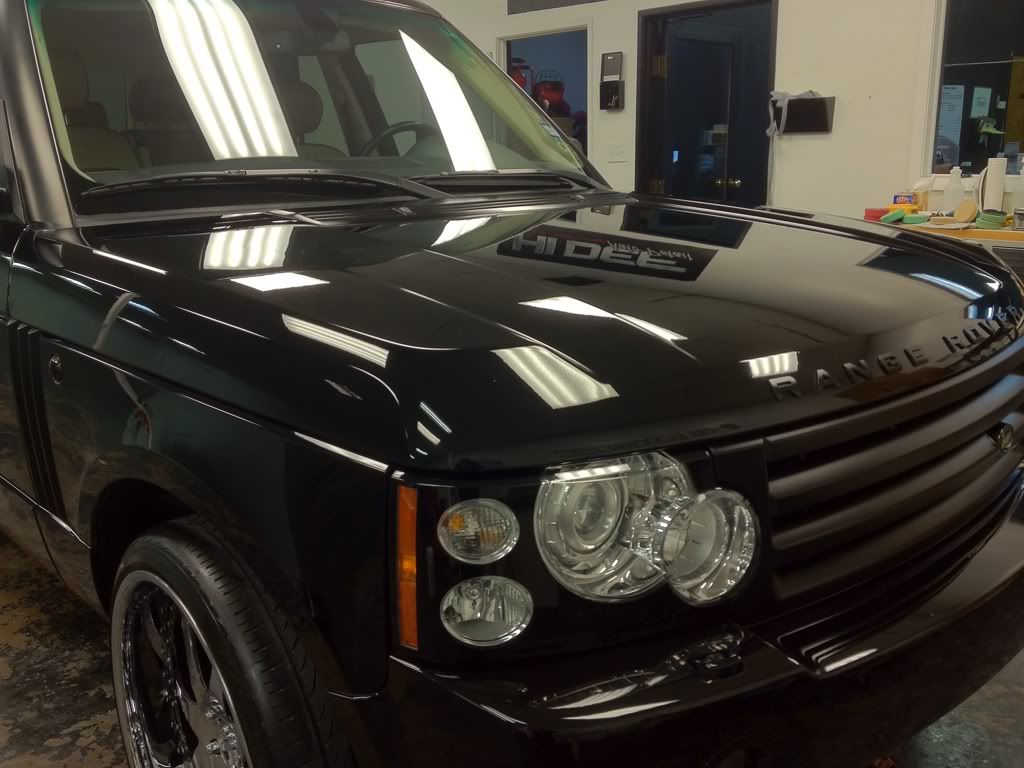
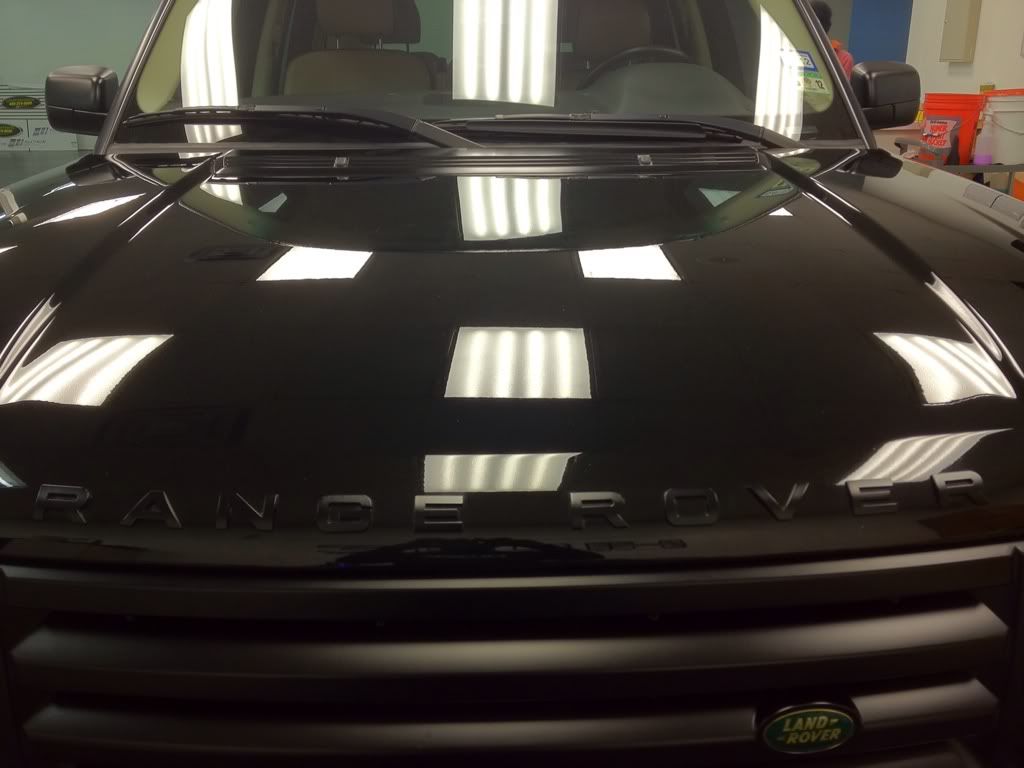
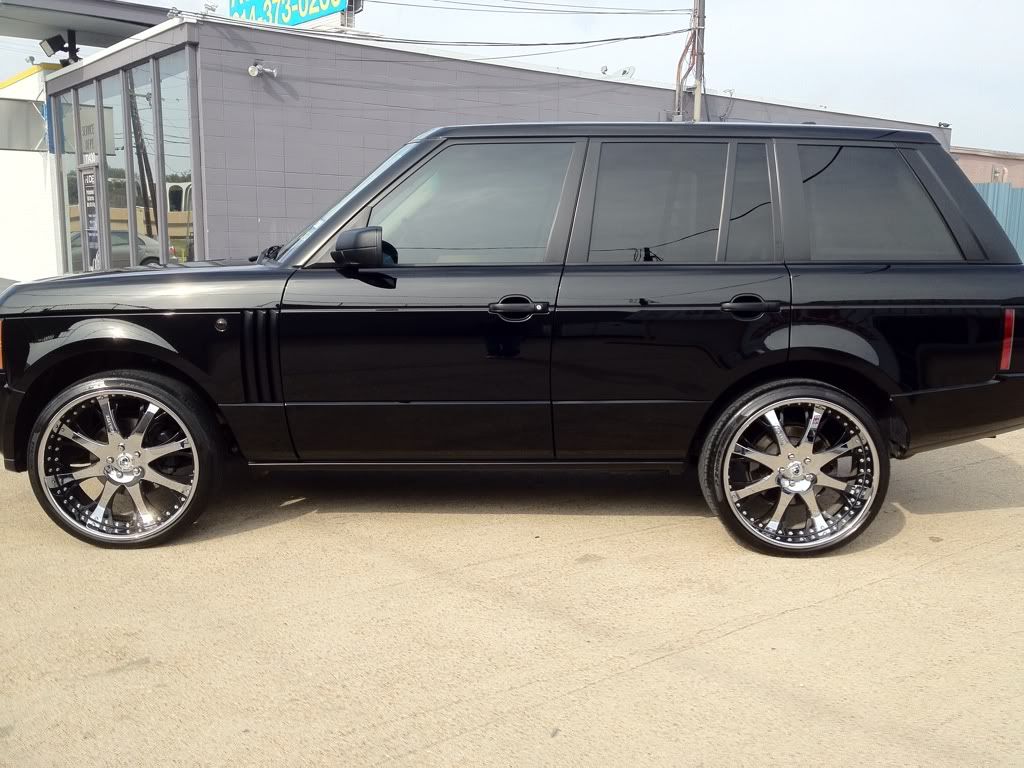
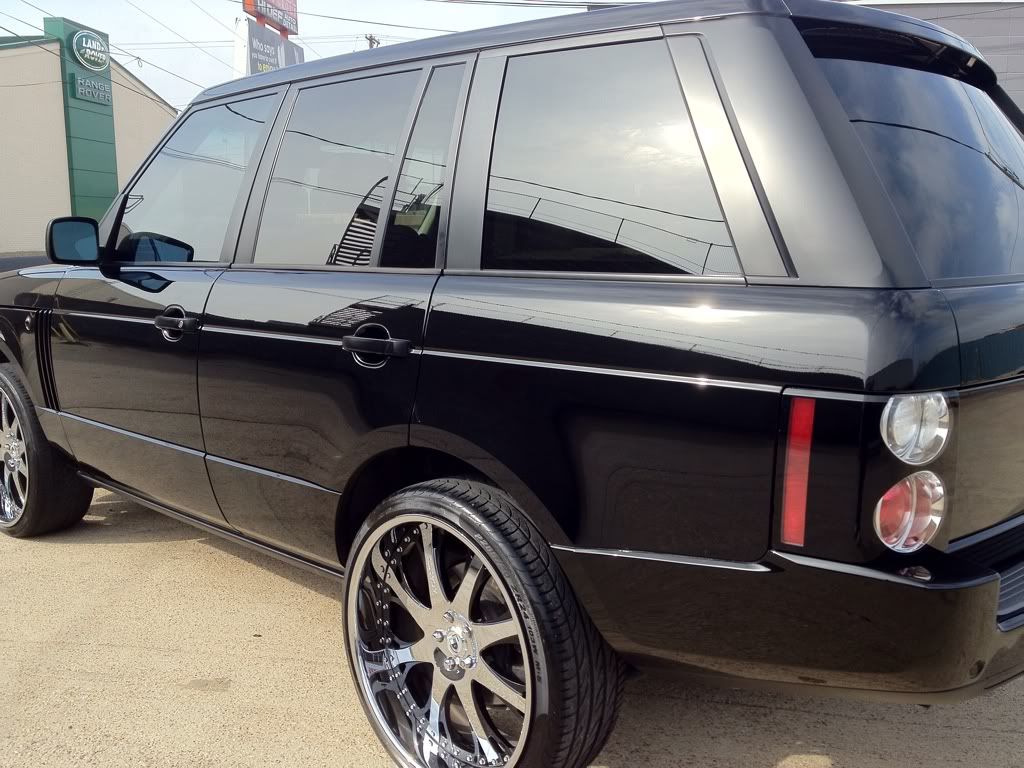
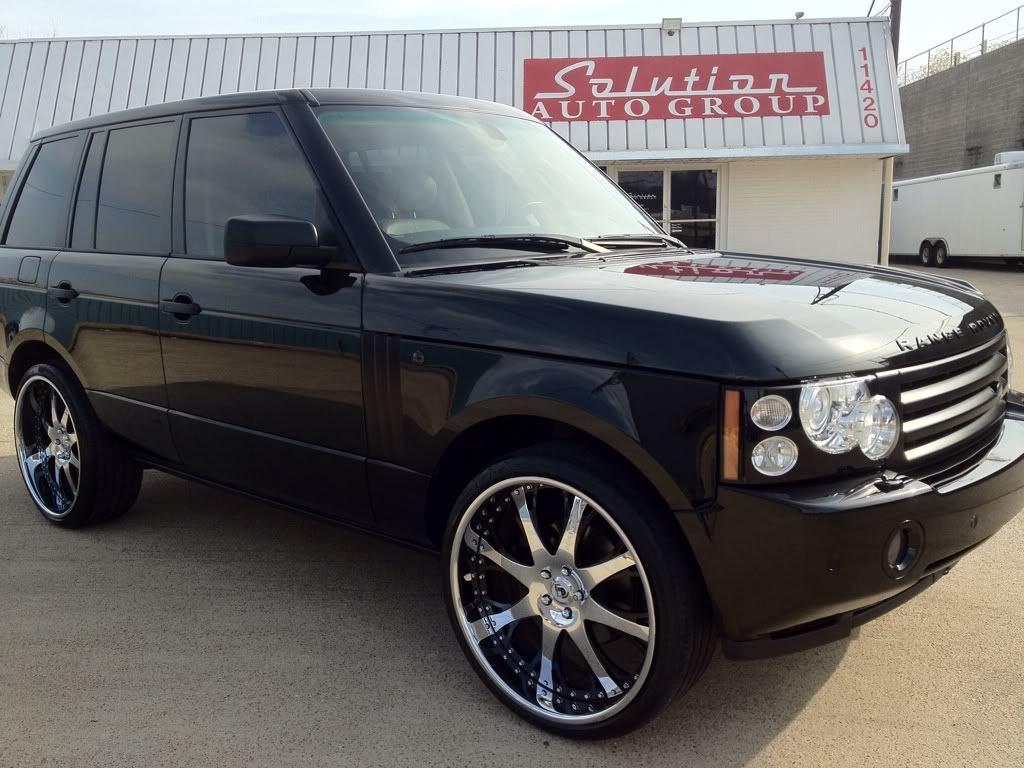
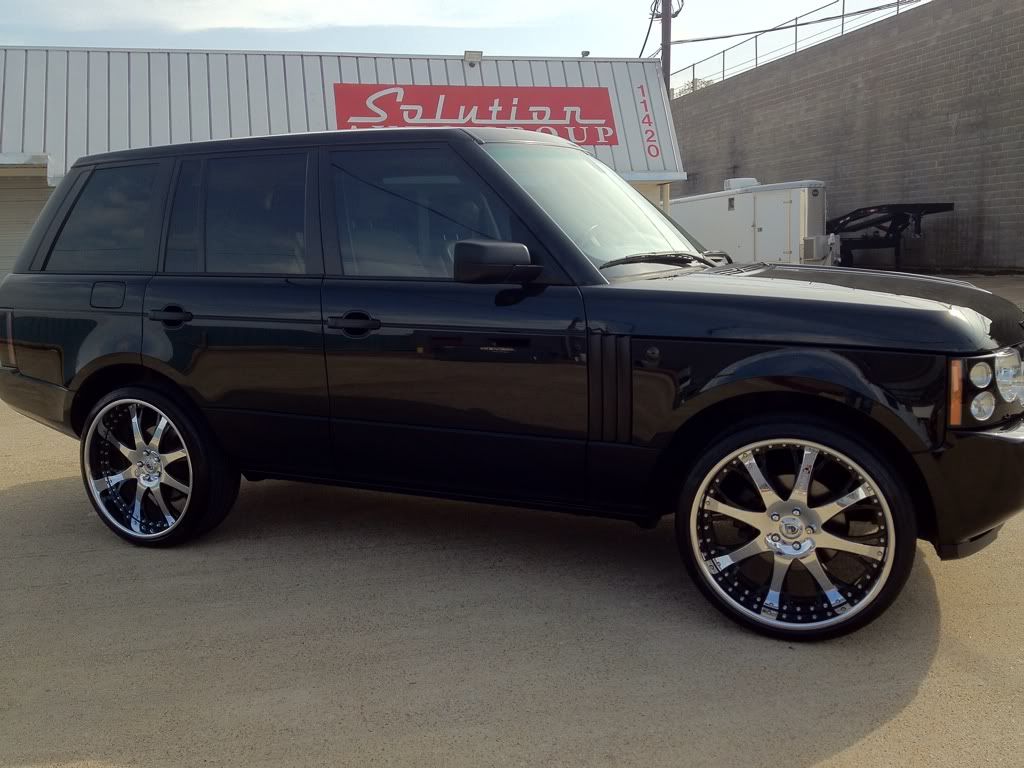
Here's the complete AFTER pictures:
Final work time was right around 8-hours. I welcome your comments and questions and thanks for viewing. - Cam
Drive In Hi-Definition.
After talking with him about how the damage he noticed typically occurs, I explained to him how a professional detailer can remove the damage, restore clarity and gloss and add long-term protection to the exterior surfaces. After the consultation we agreed that our Hi Def Ultra Exterior Detail package was the right choice for his vehicle and budget.
Here's the process:
- Exterior prep wash with Carbrite "Suds" Shampoo
- All surfaces and jambs were air purged and hand-dried with ultra plush microfiber towels.
- A Clay Detox with Hi Def "Smooth" medium duty clay.
- Plastic and rubber trim were taped using 3M Automotive Painters Tape
- For the paint correction process, Hi Def Bling Nano Polish was applied to the painted surfaces using a Cyclo with 4" Megs Crimson Red Foam pads
- For the Paint Protection process, Hi Def 1080 Nano Seal was applied by Cyclo with LC Red Sealant foam pads
- The chrome exhaust tips and 24" chrome & black wheels were also clay bar'd, polished with Never Dull and treated with Hi Def 1080 Nano Seal
Here's are the BEFORE pictures:
Here's a quick 50/50 shot (the left panel is after one pass, the right is untouched)
Here's the complete AFTER pictures:
Final work time was right around 8-hours. I welcome your comments and questions and thanks for viewing. - Cam
Drive In Hi-Definition.