Hello friends
A very good Thursday from Mauritius
This detailing job took over 5 days, from decontamination to coating, loads of defects removal and paint leveling.
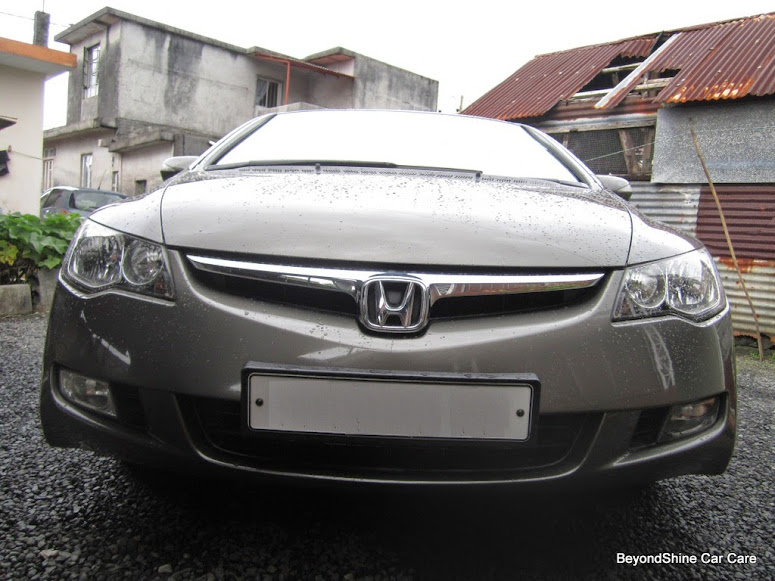
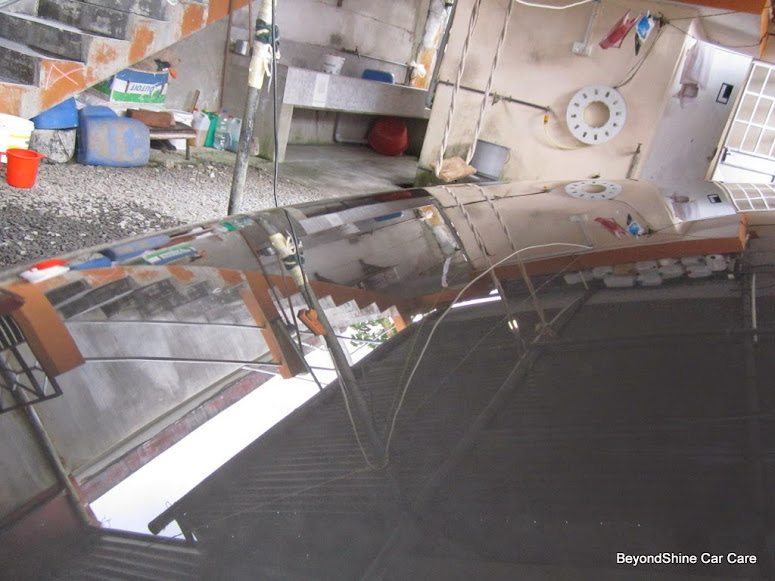
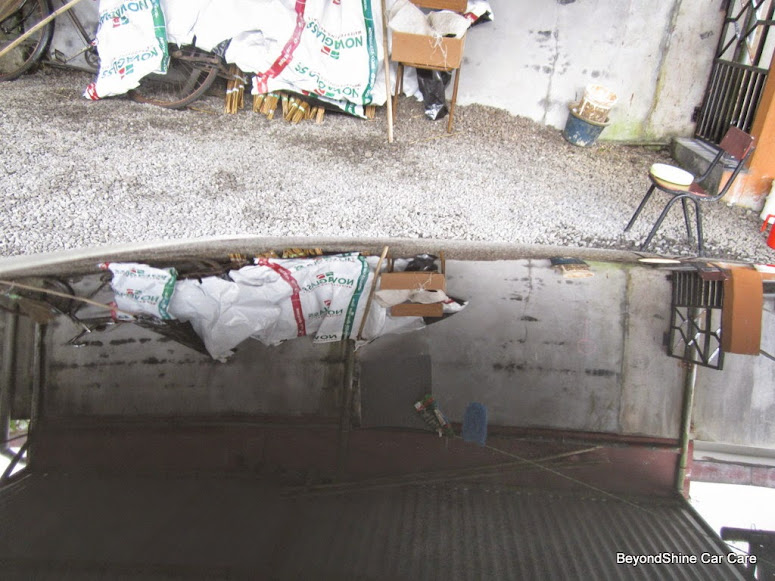
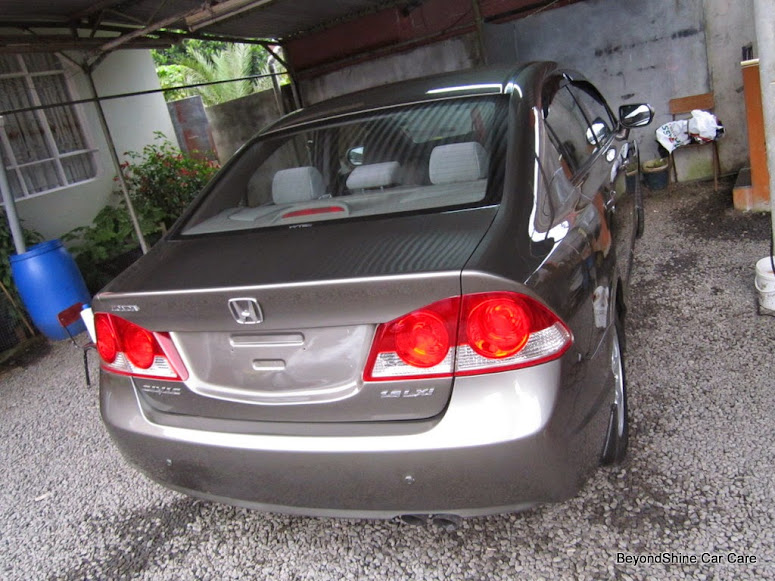
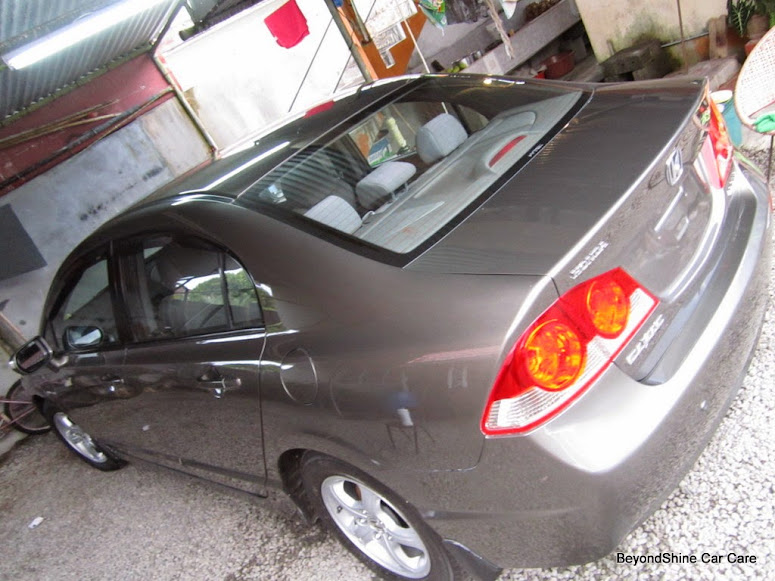
Upon arrival:
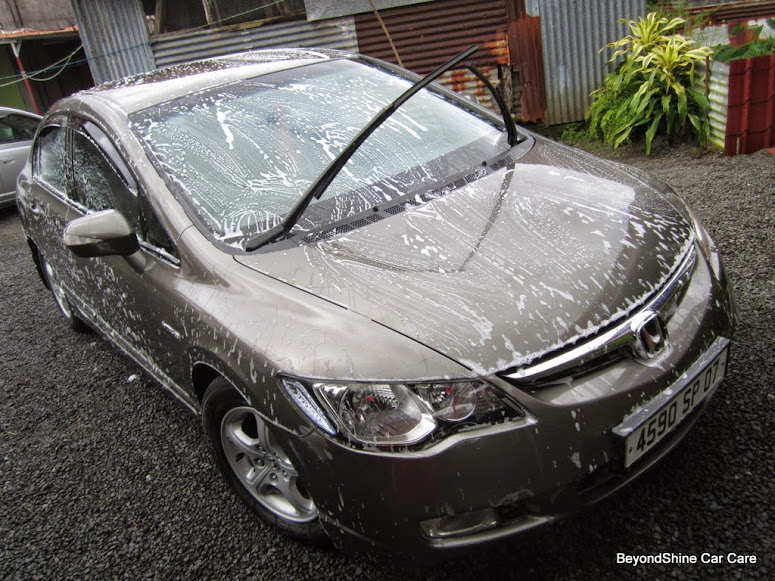
Wash:
2BM method using mf wash mitt
Local car shampoo and APC mix
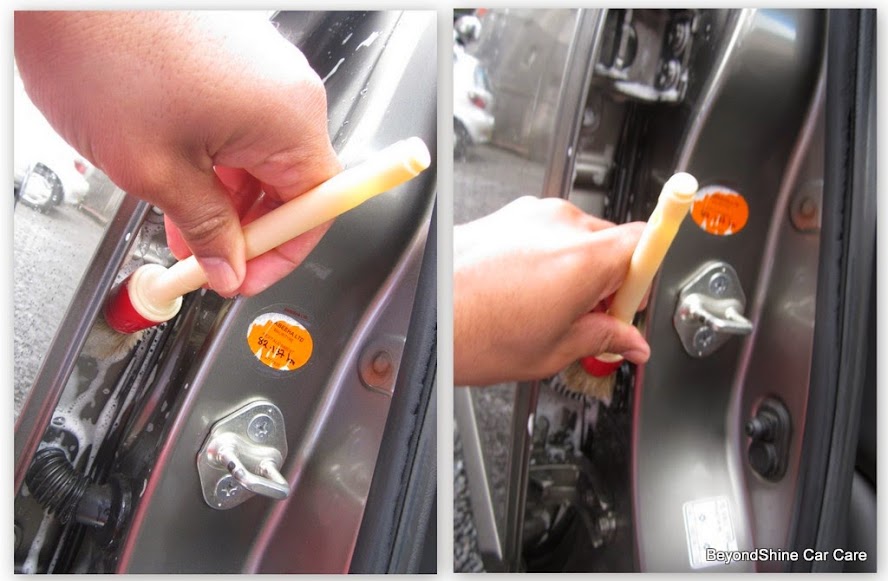
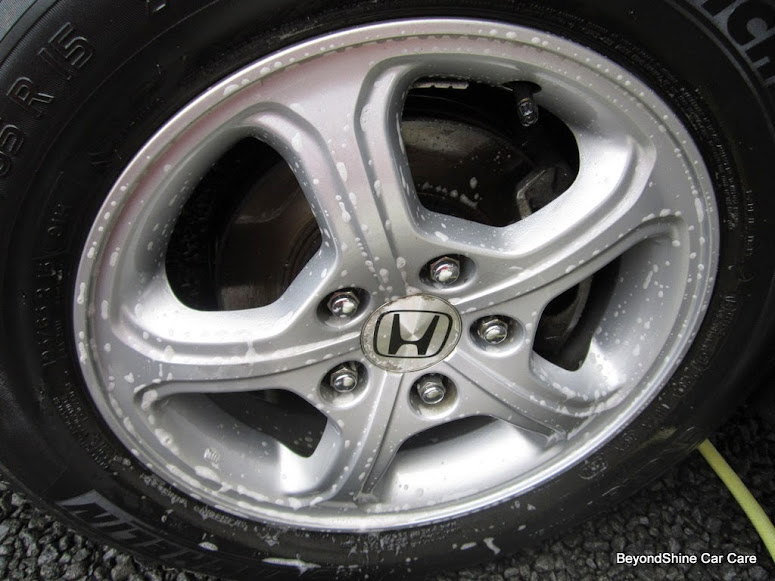
To the wheels
Washed already:

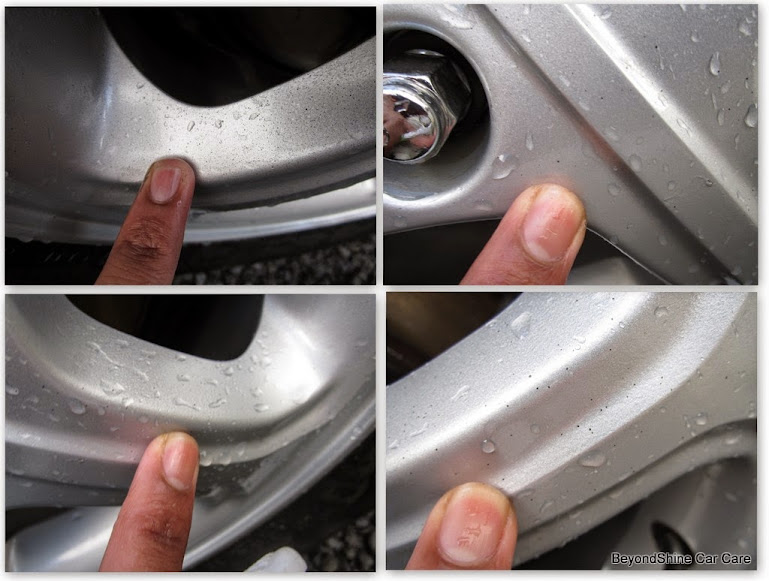
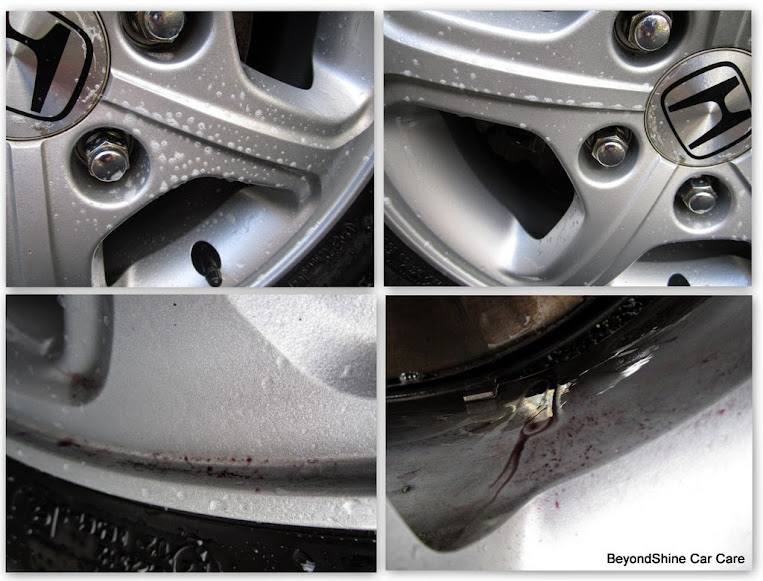
close-up of contaminants
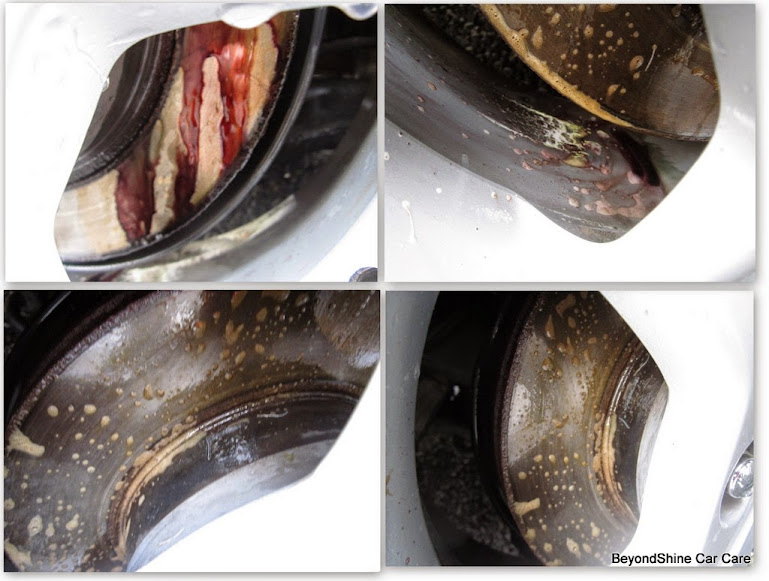
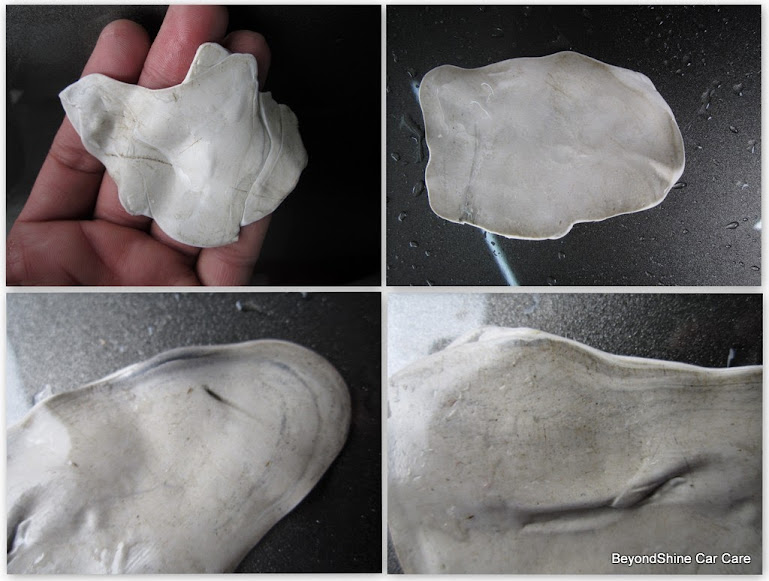
Decontamination with Sonax full effect + Clay
in- process
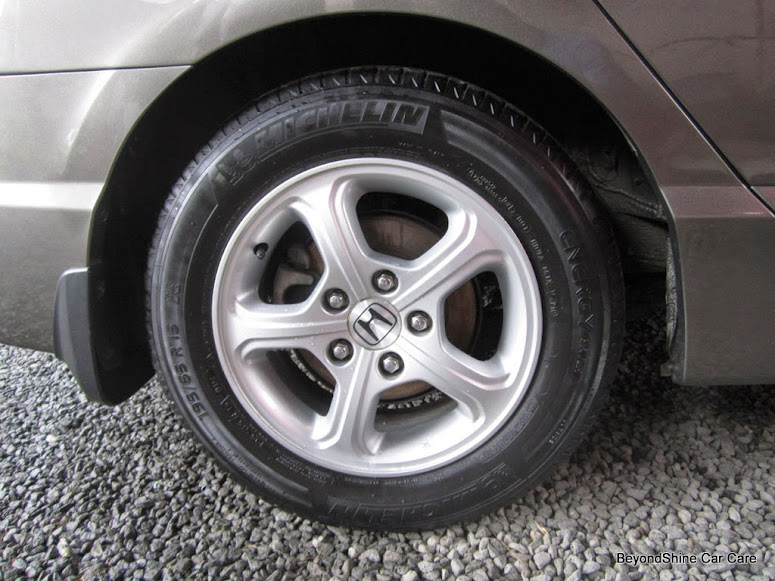
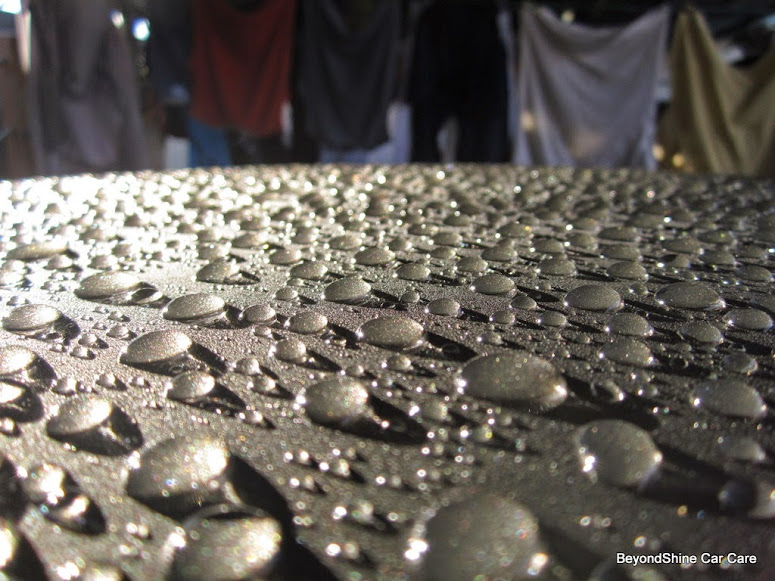
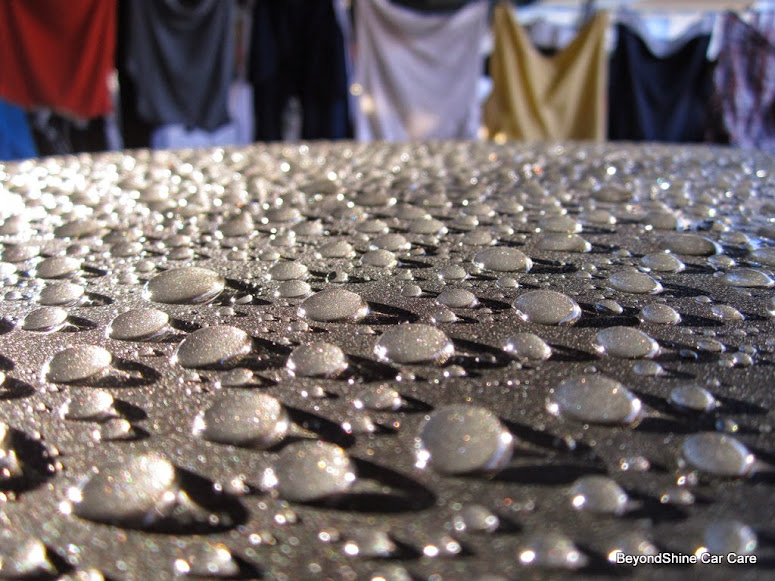
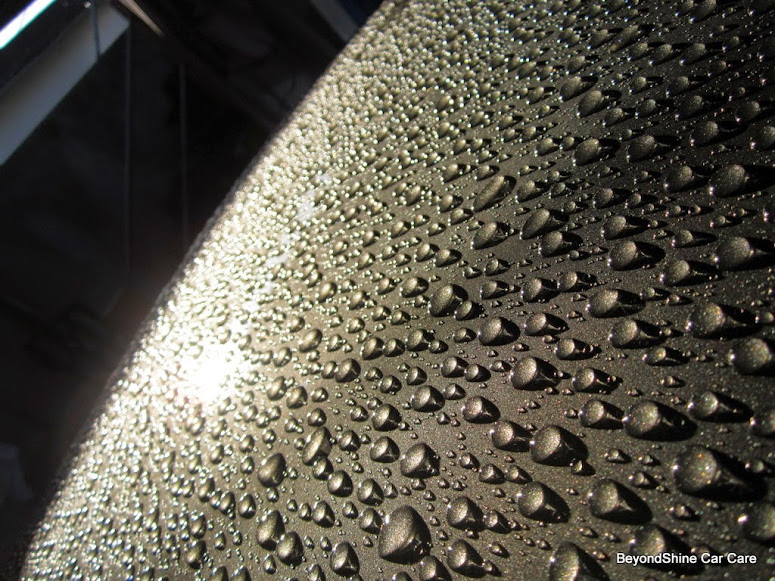
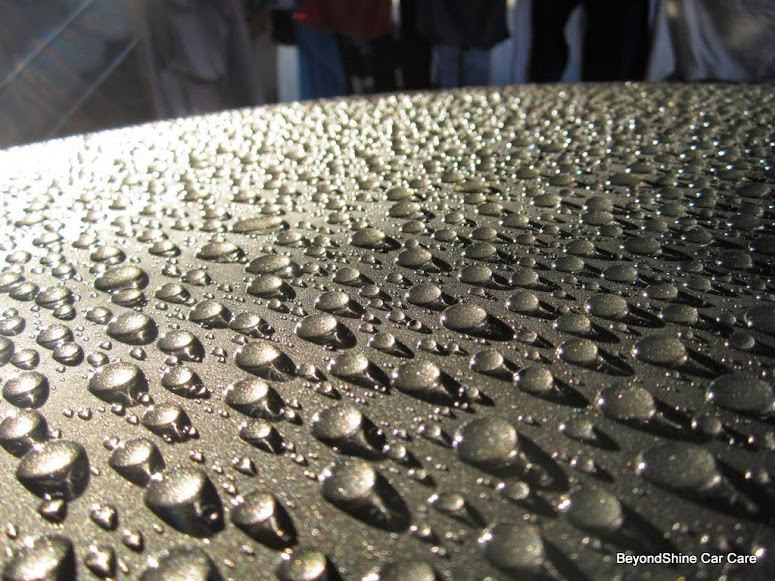
Ready to be coated and protected
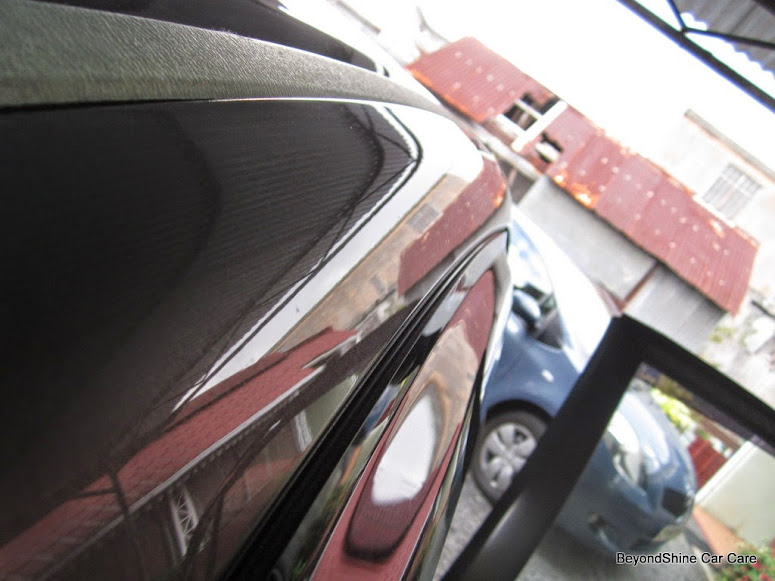
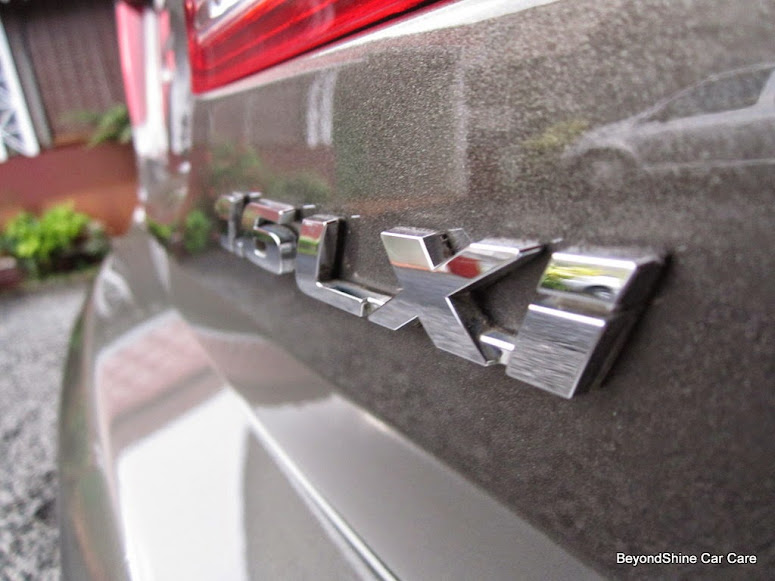
To the paintwork
Clay
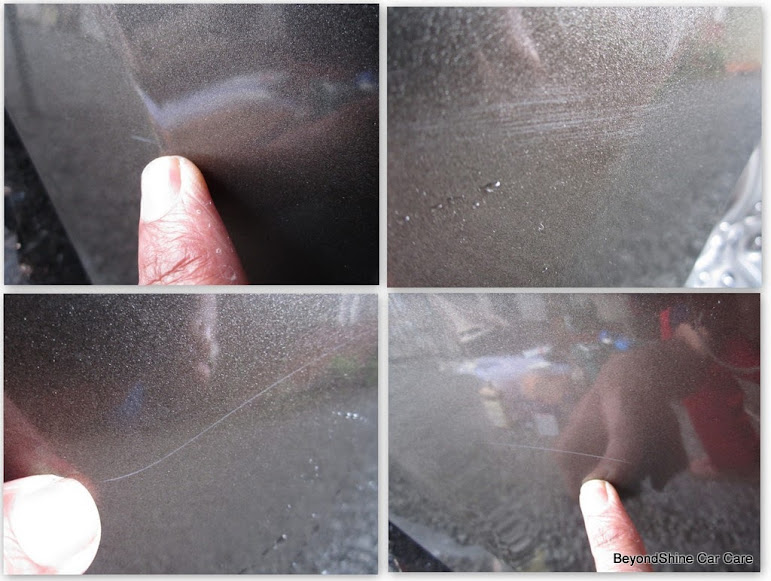
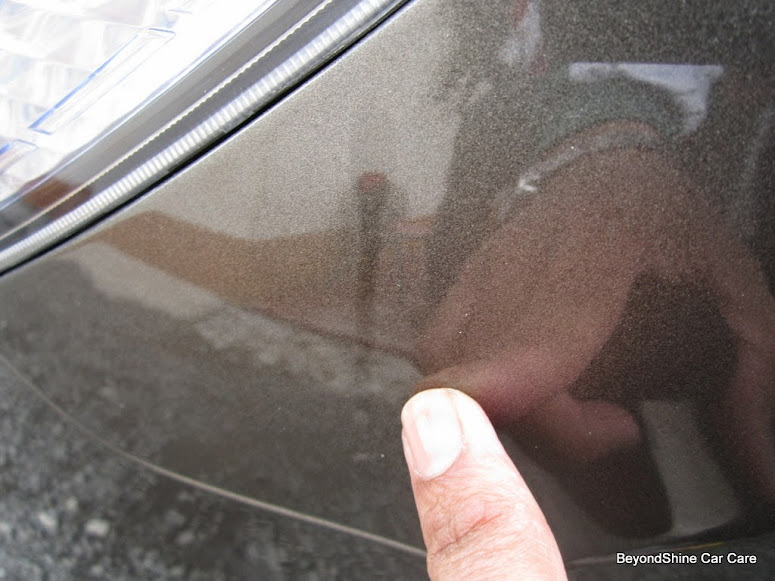
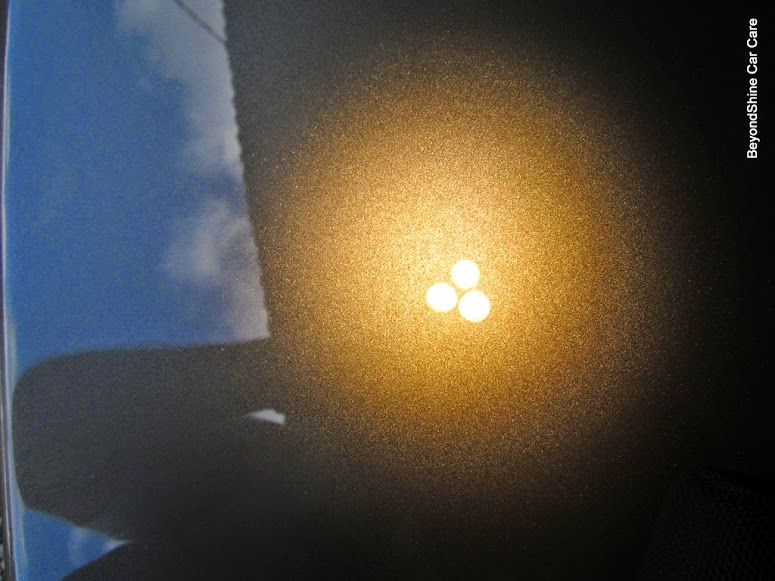
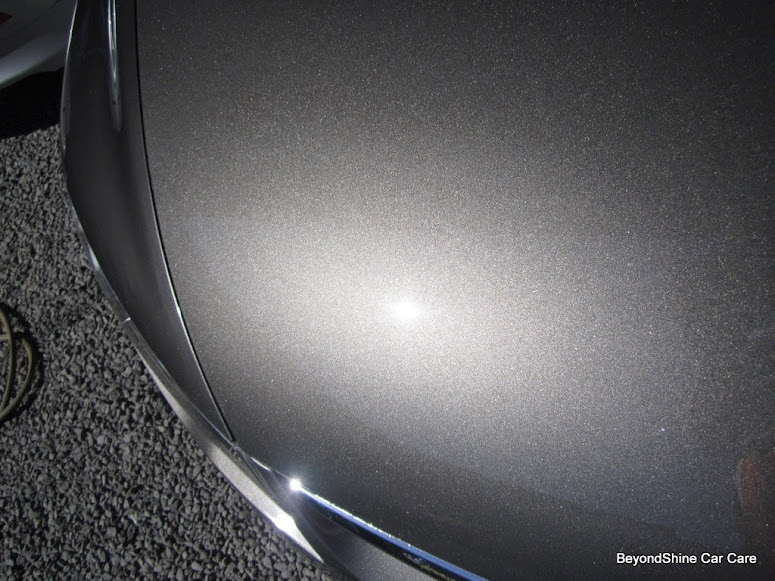
Assessing the work to be done
Not easy to be noticed. On this color, it’s as if the defects have got “shyness DNA”
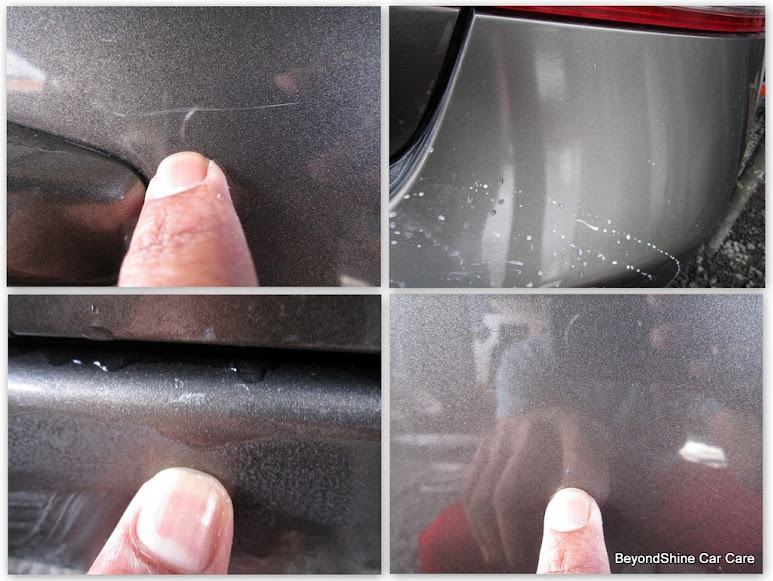
From previous respray job, rubber trims damaged! I was very sad for the friend who brought his Honda to me. Little or nothing I could do for that.
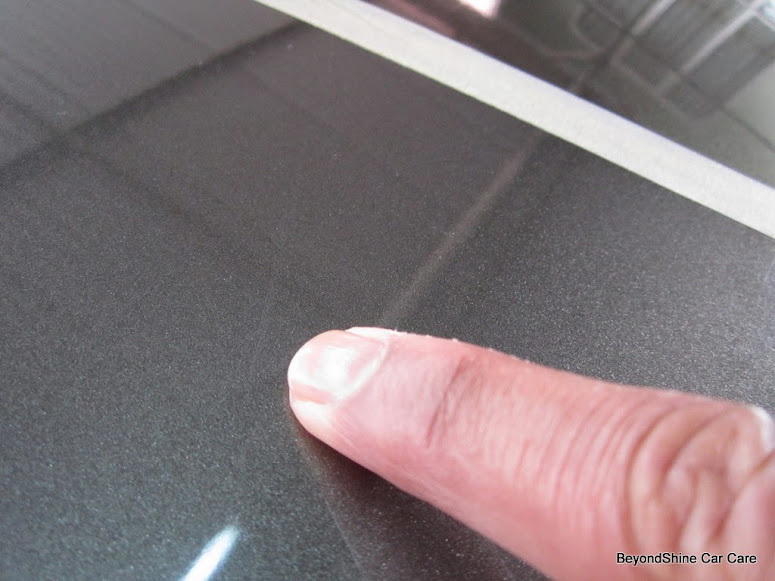
NEW paint defect (at least for a newbie like me, doing detailing as a passion)
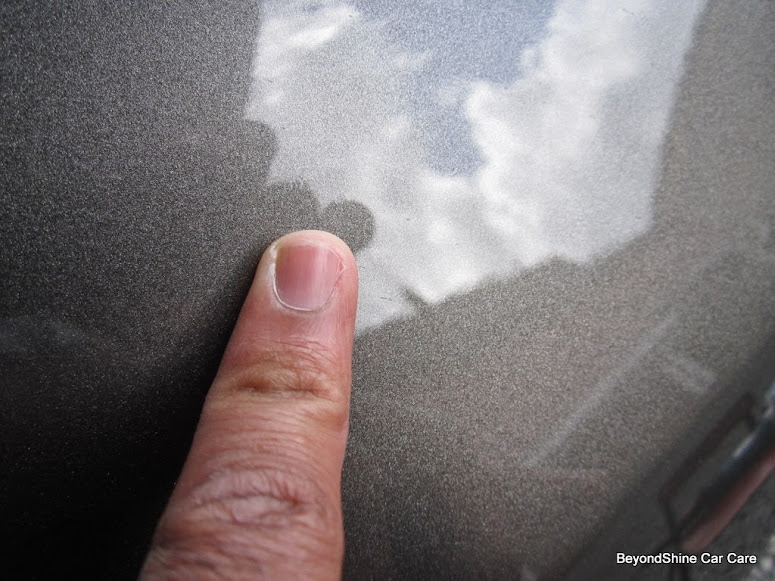
More familiar
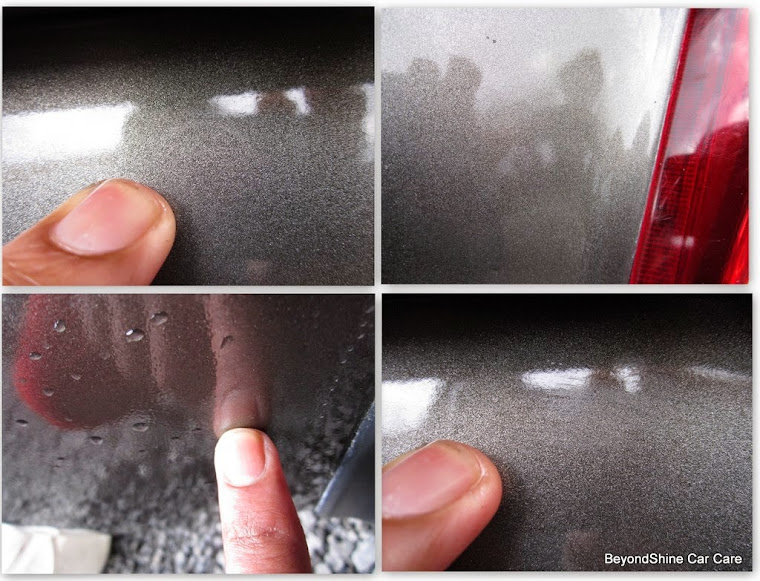
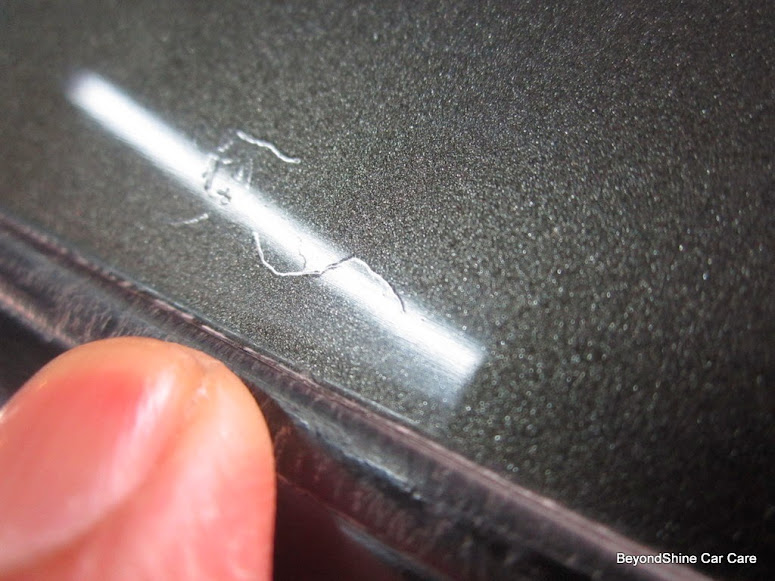
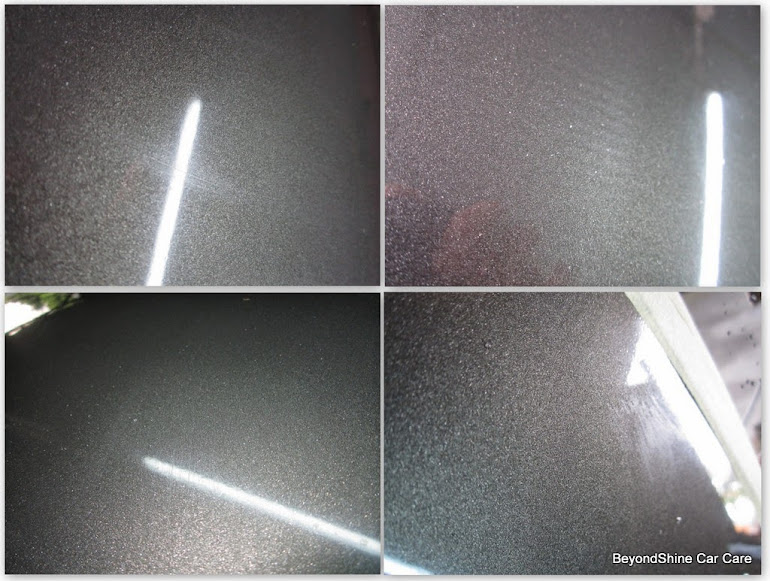
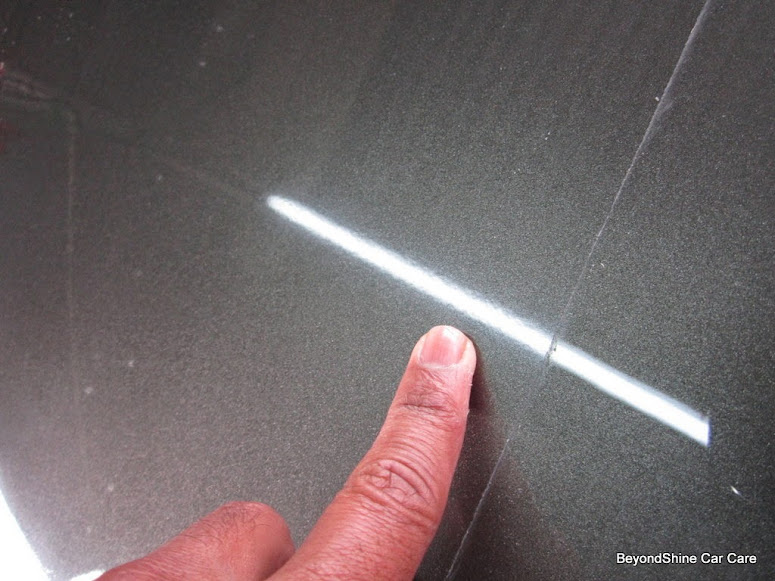
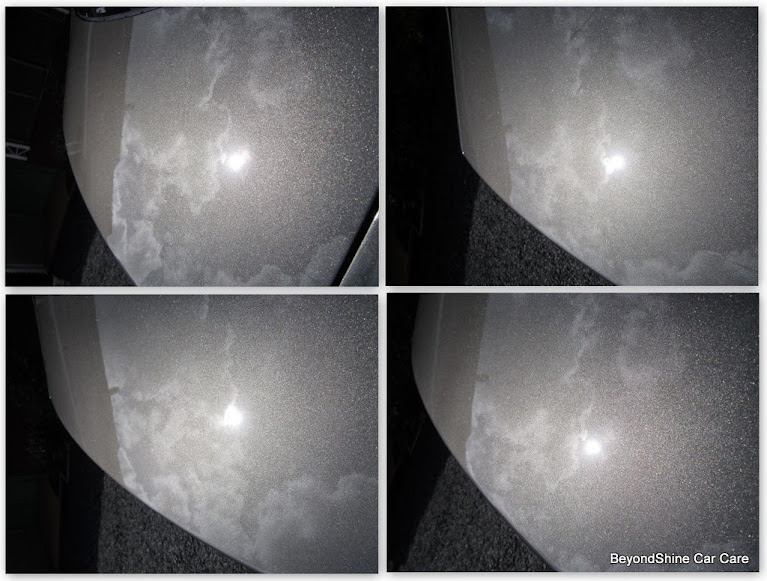
light scratches and RIDS, full of swirls but the metallic flakes just make it difficult to be captured.

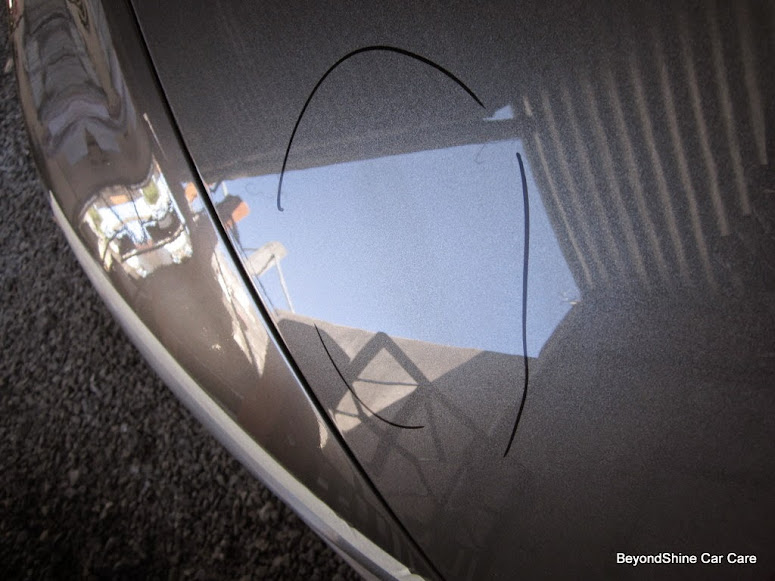
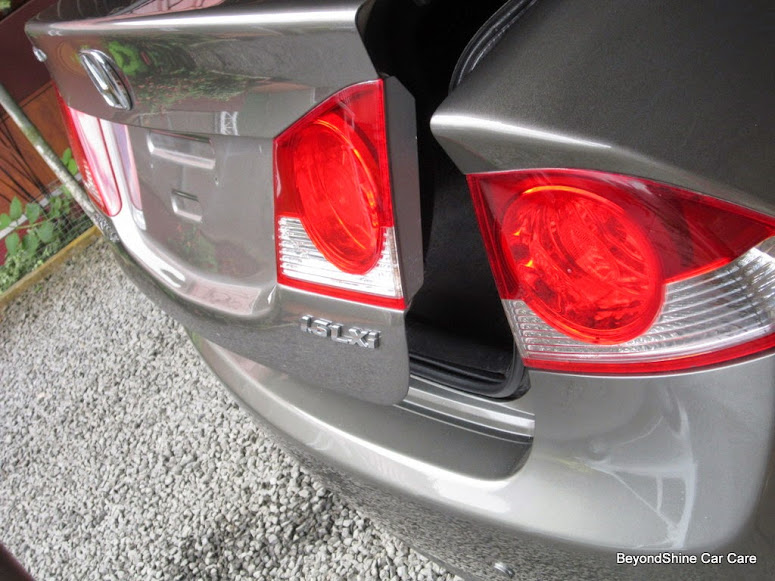
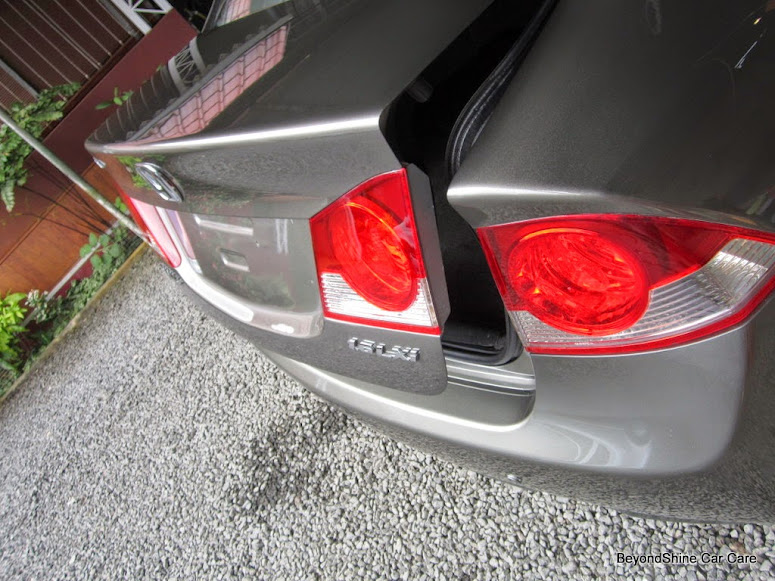
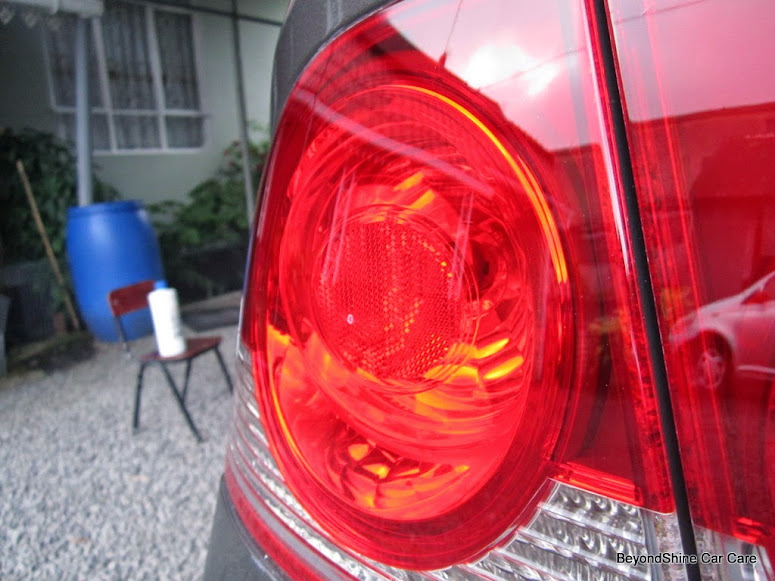
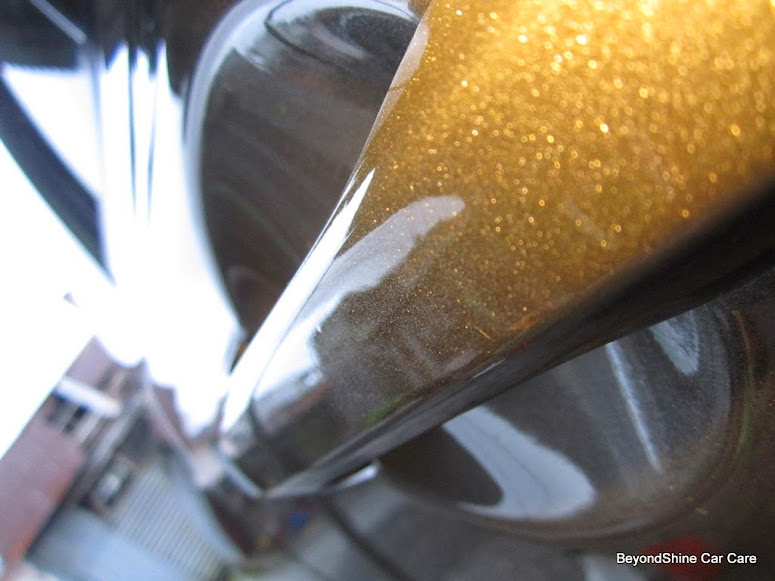
The headlights
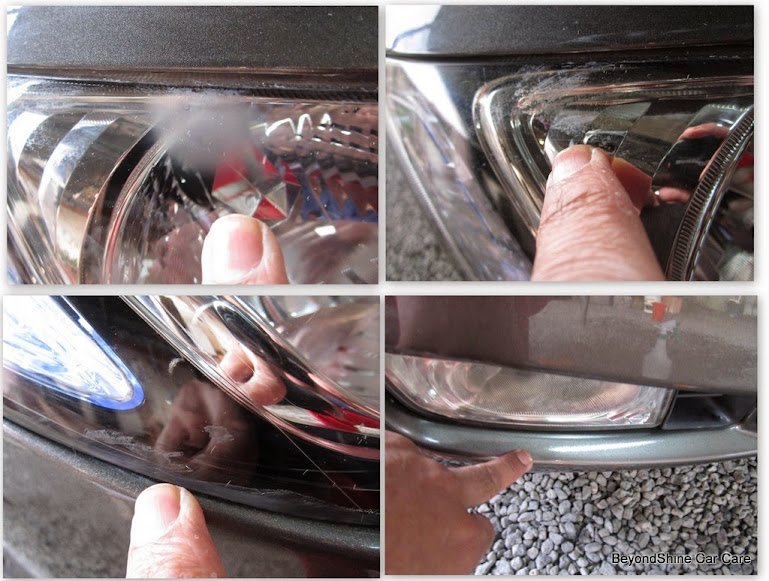
wait, not yet over
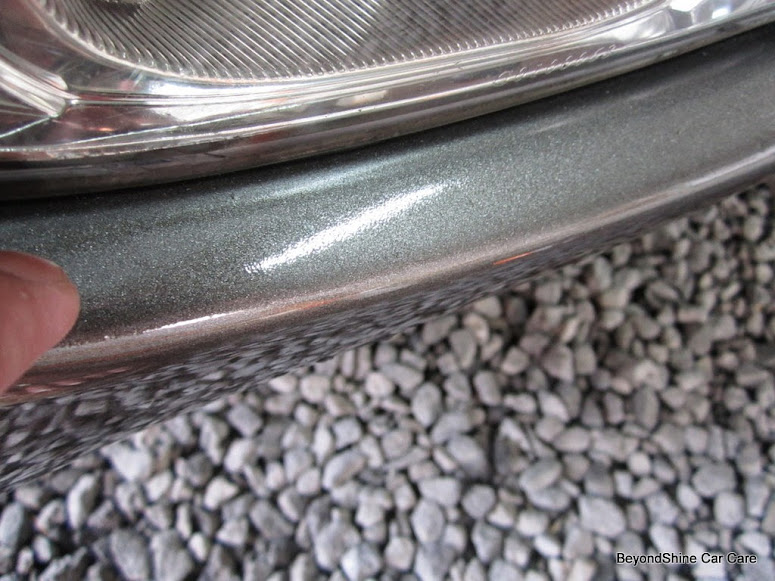
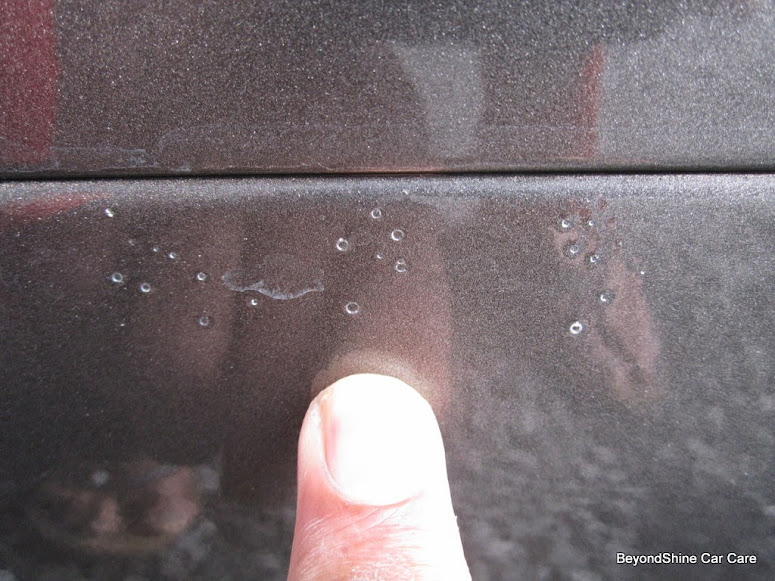
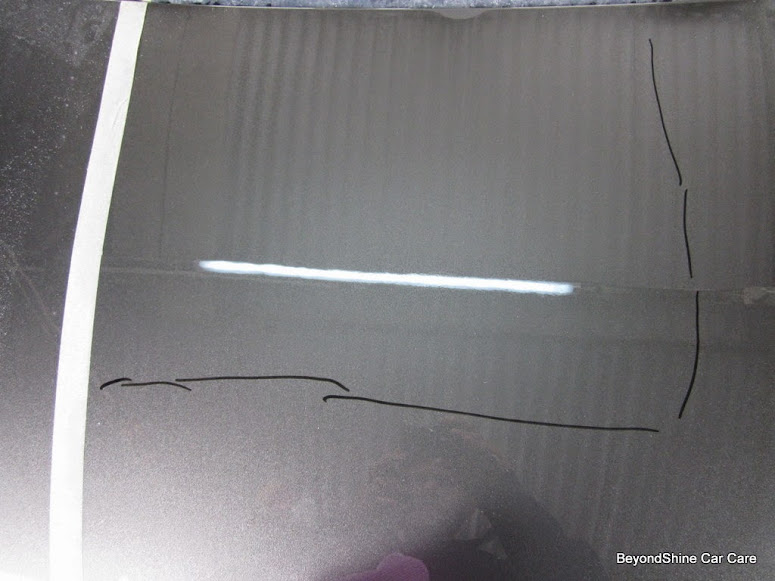
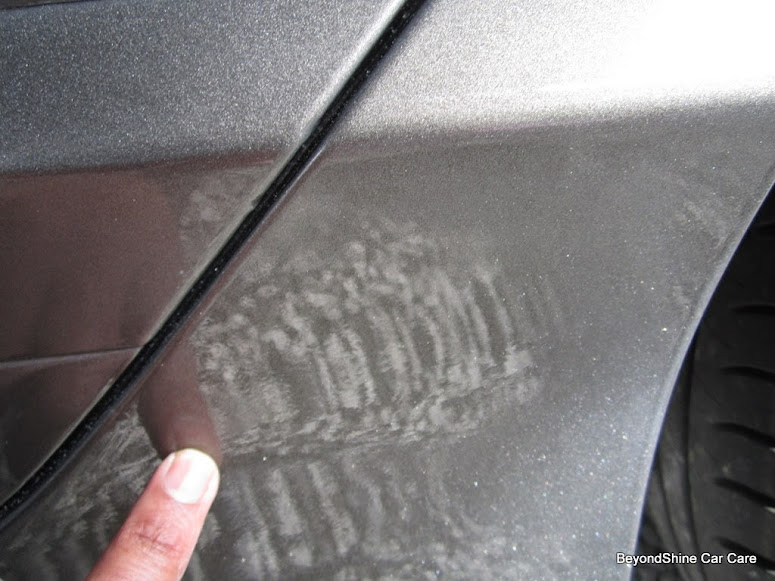
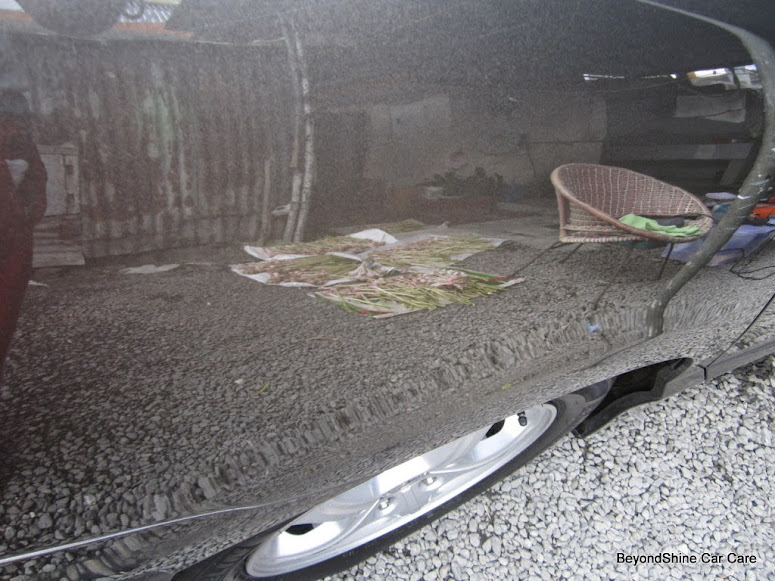
the lower sections
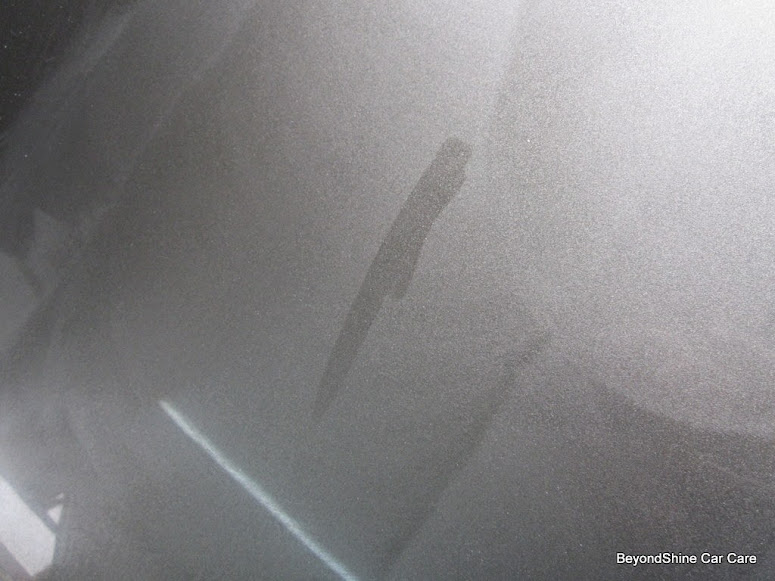
subsurface defect
Look
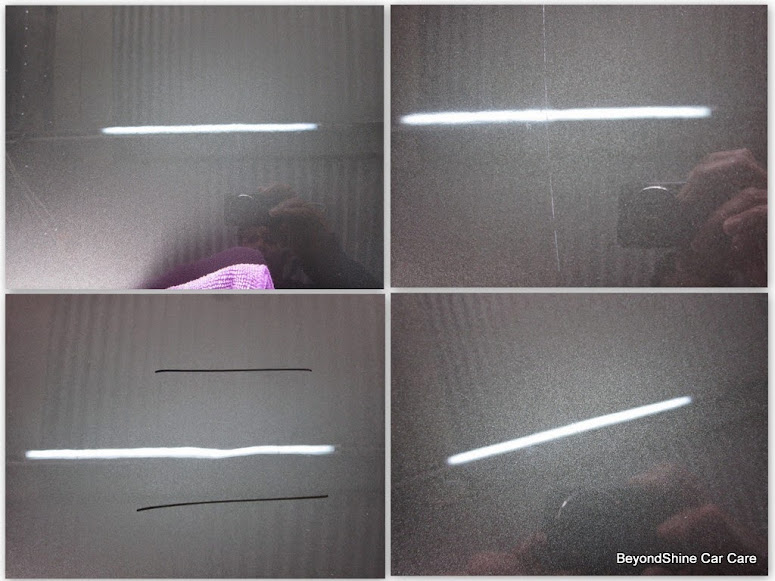
close-up
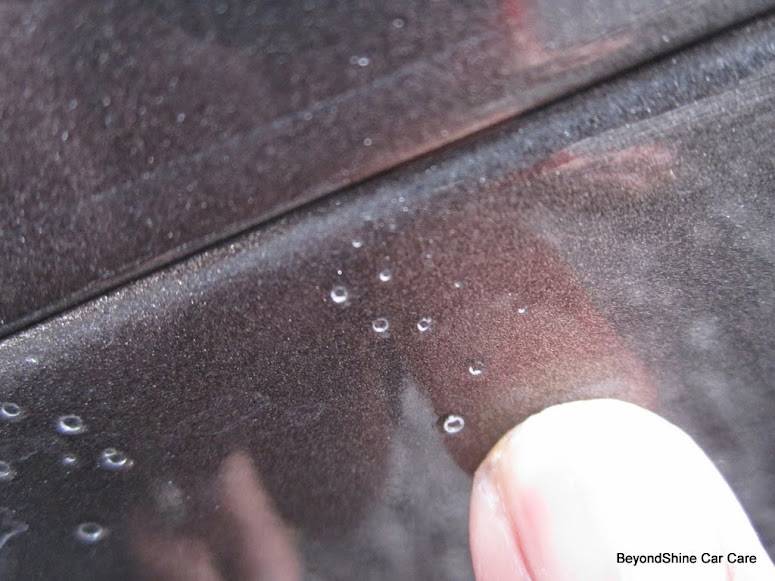
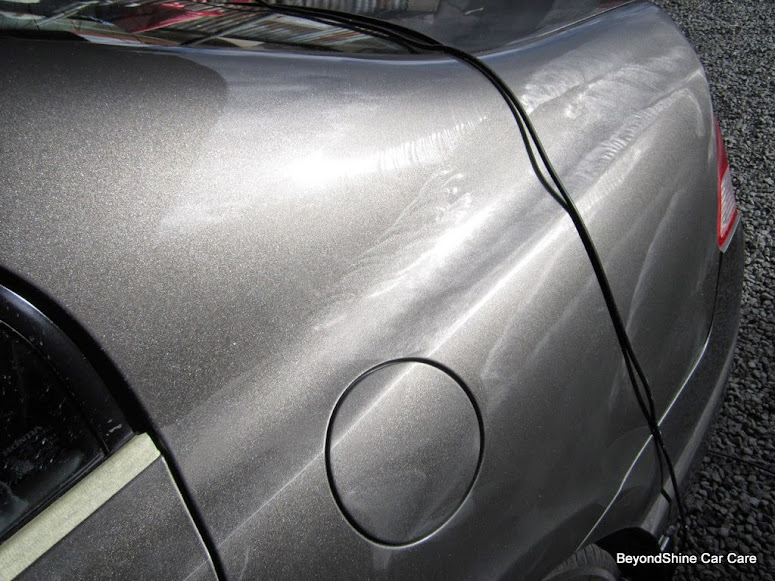
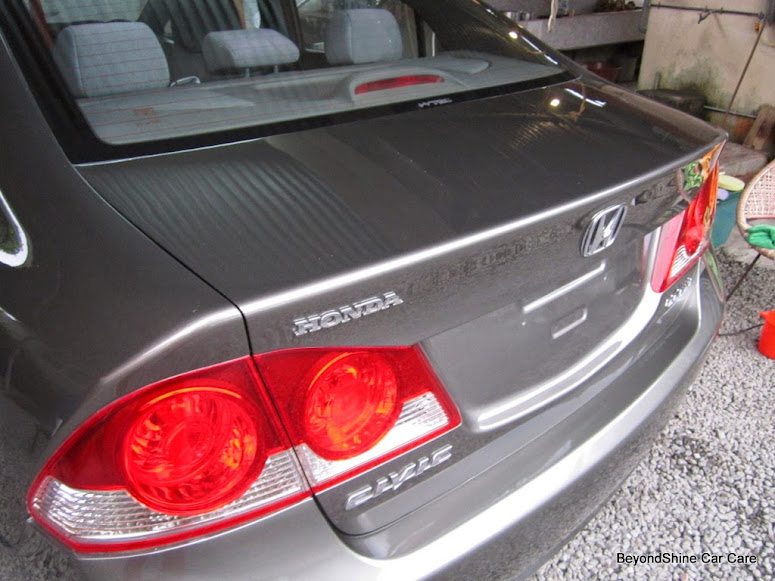
same on both sides of the rear bumper
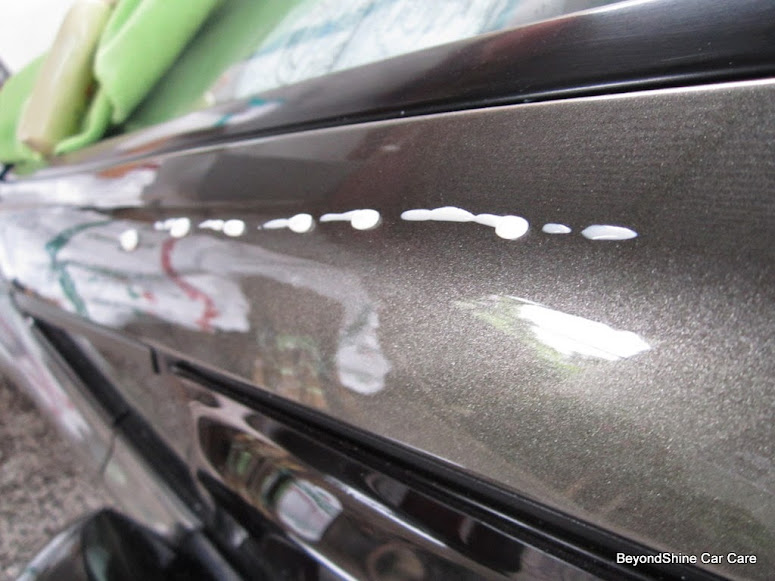
Paint correction:
The paint has sanding marks and scratches beaneath the clear-coat. I had to proceed with extreme caution and to add, Hondas are the champion of soft paints.
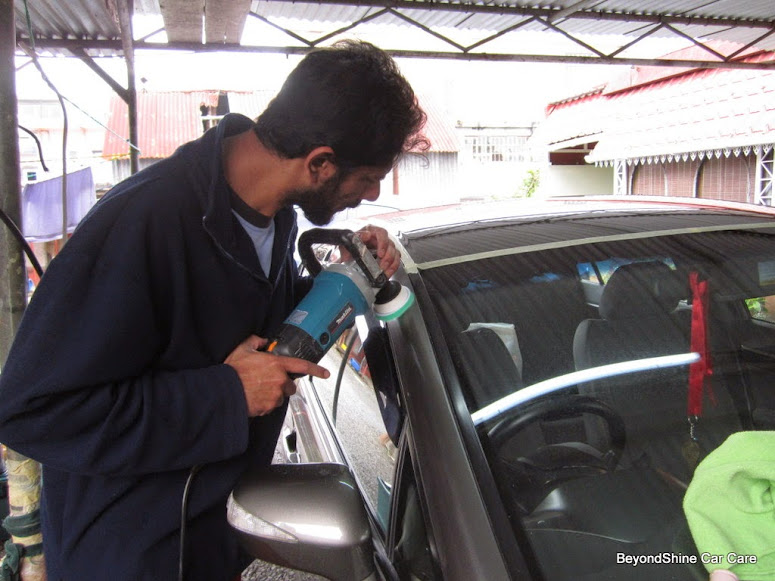
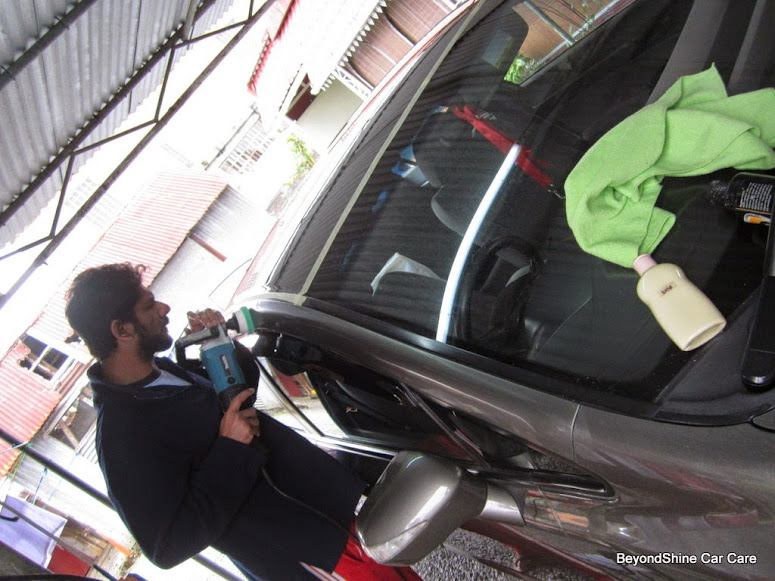
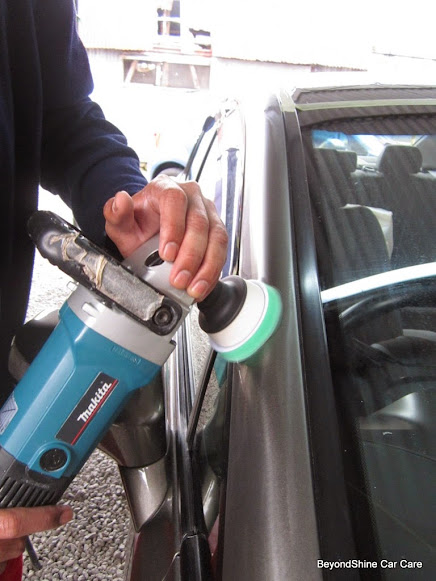
Tools: Makita rotary, Flex 3401
Polishes: Menz FG 400, 203S, PO85rd
Pads: Carpro denim pads, LC white, LC HT Crimson, LC white
Glass: DP Glass restorer with glass polishing pads, Opti-sealed
Wipe down : IPA mix
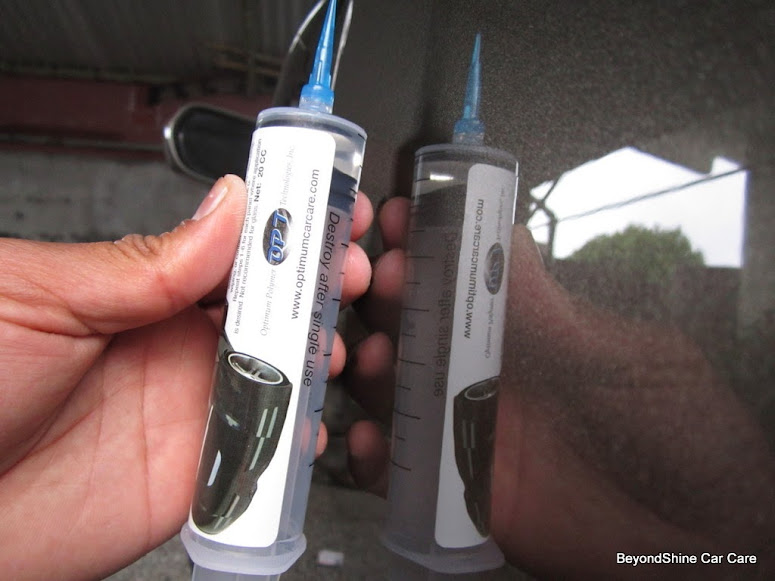
Coating: Opticoat with supplied applicator, wiped with suede mf towels (better than normal mf towel IMO)
Trims & tyres: CG new look trim
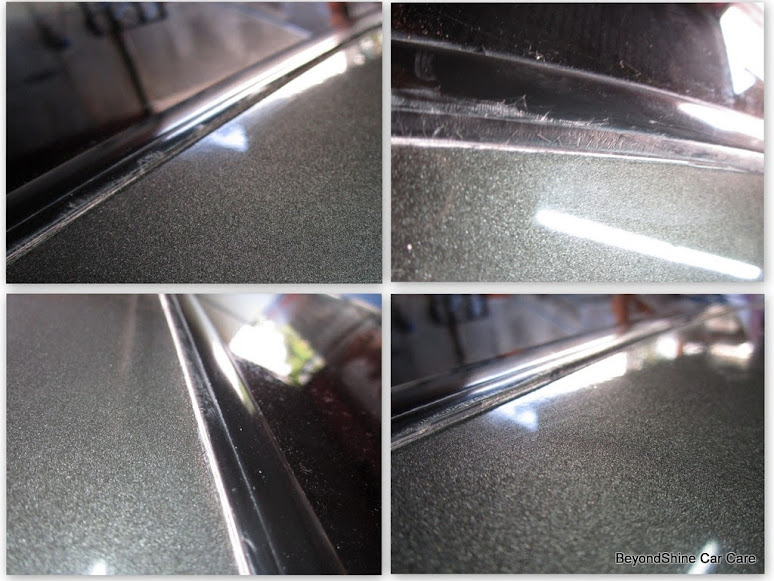
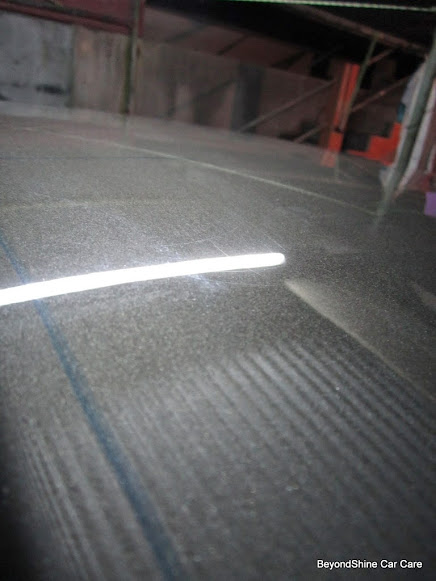
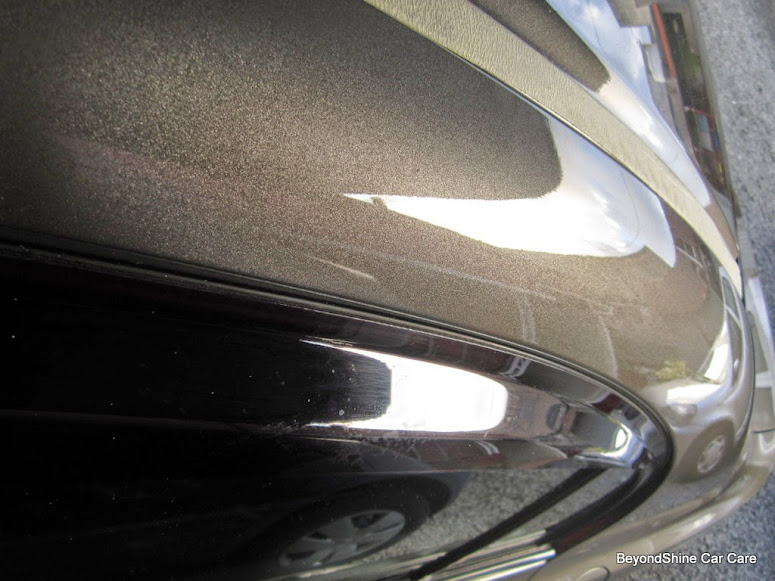
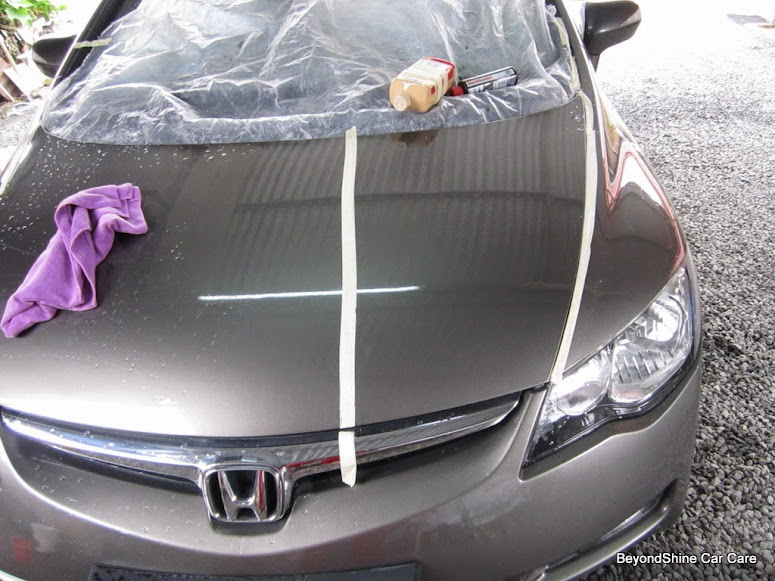
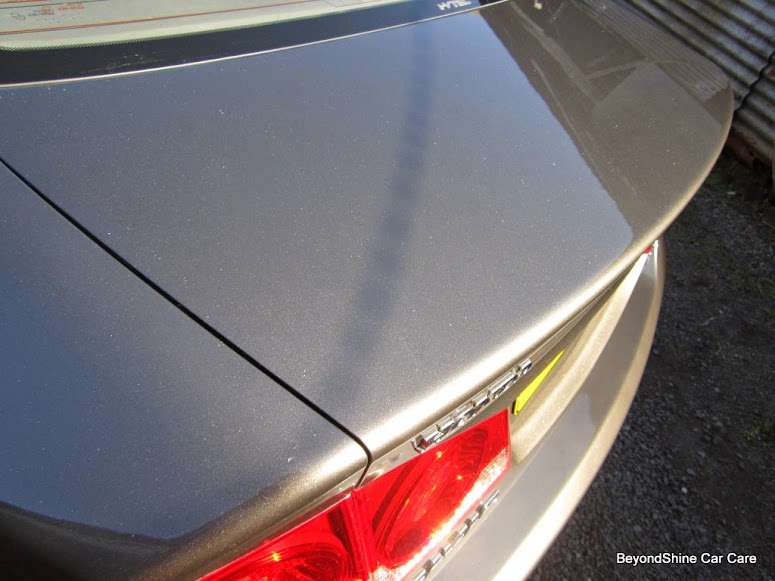
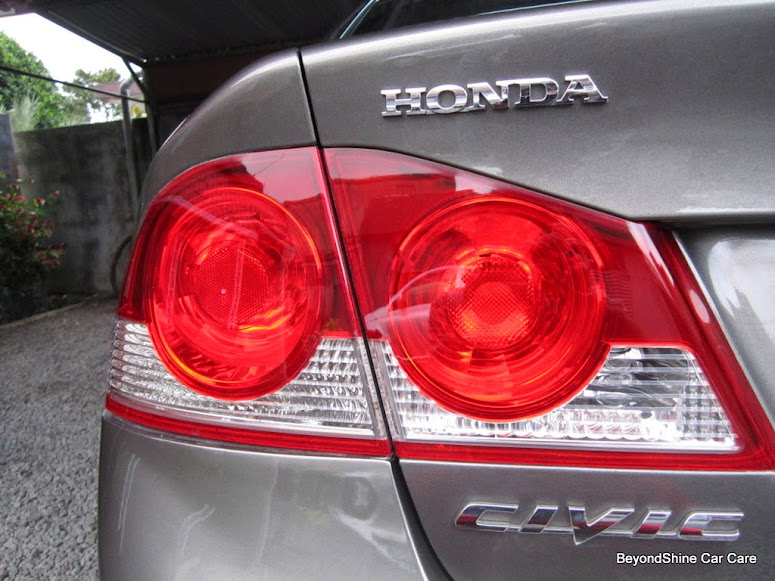
After correction

a spot or 2 remain, would have needed more clear coat removal
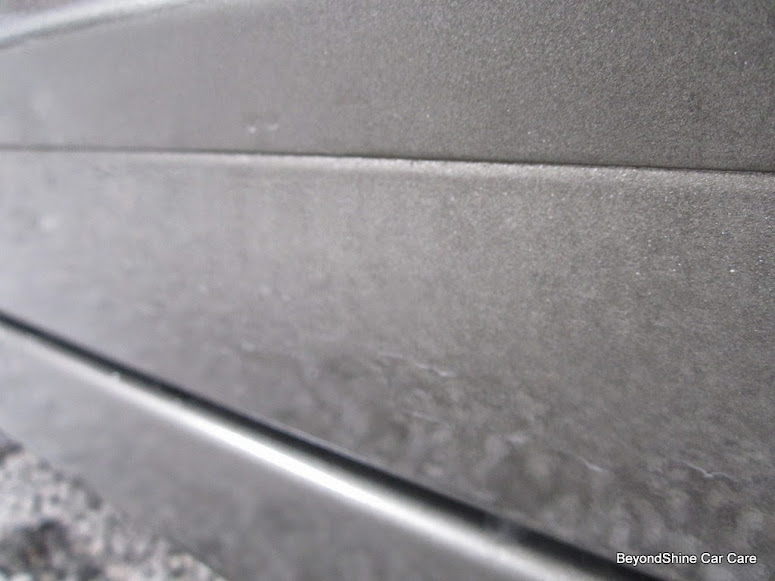
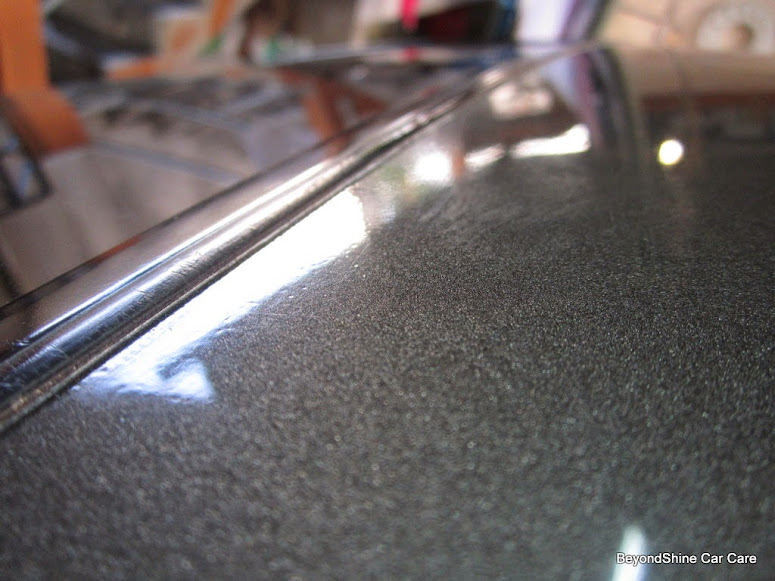
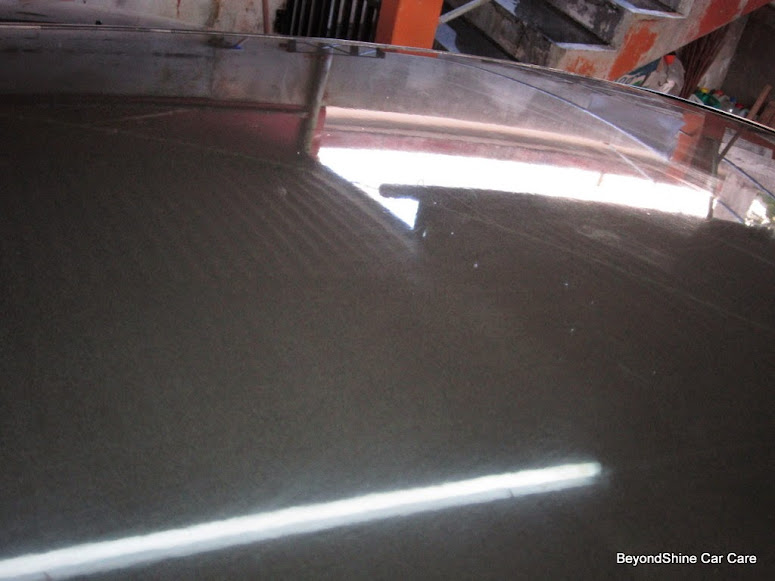
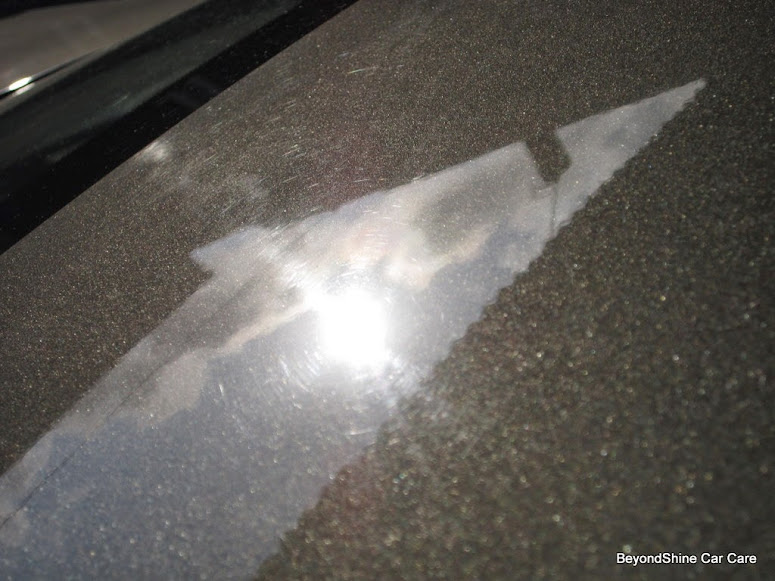
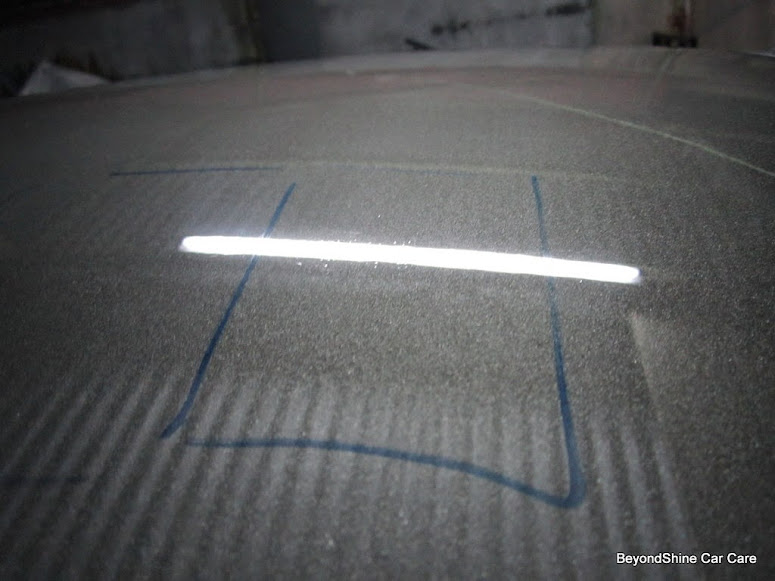
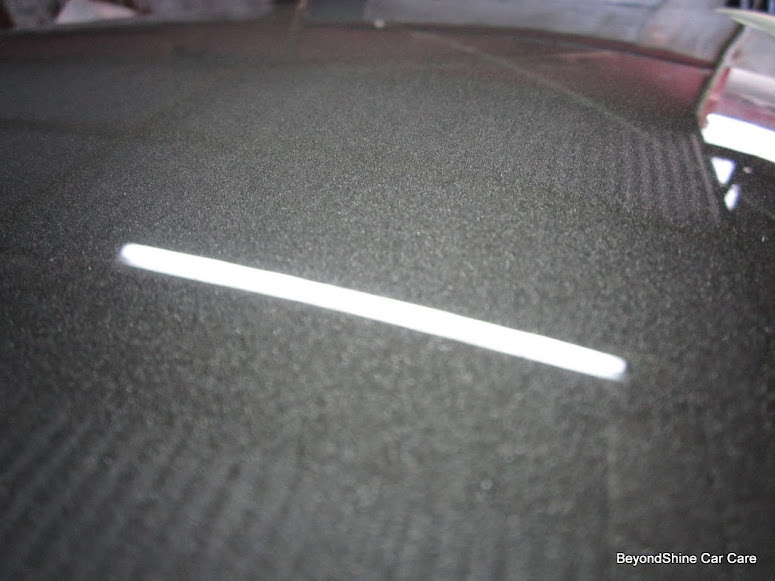
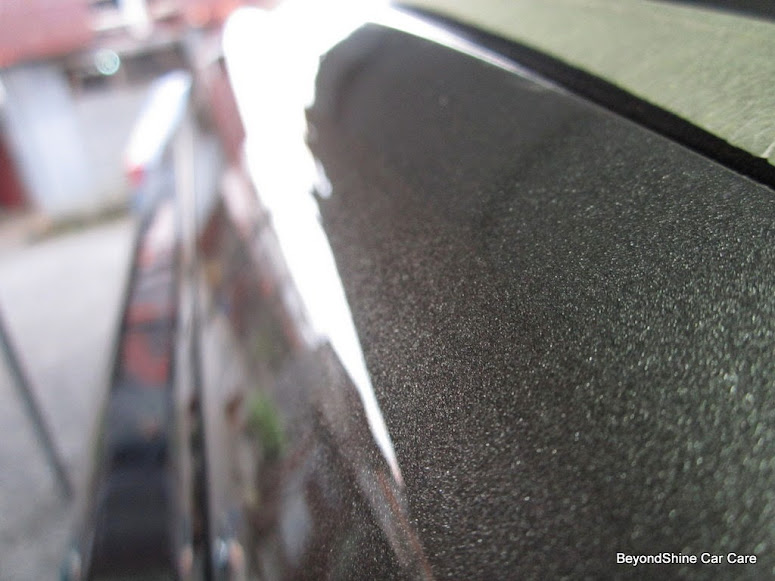
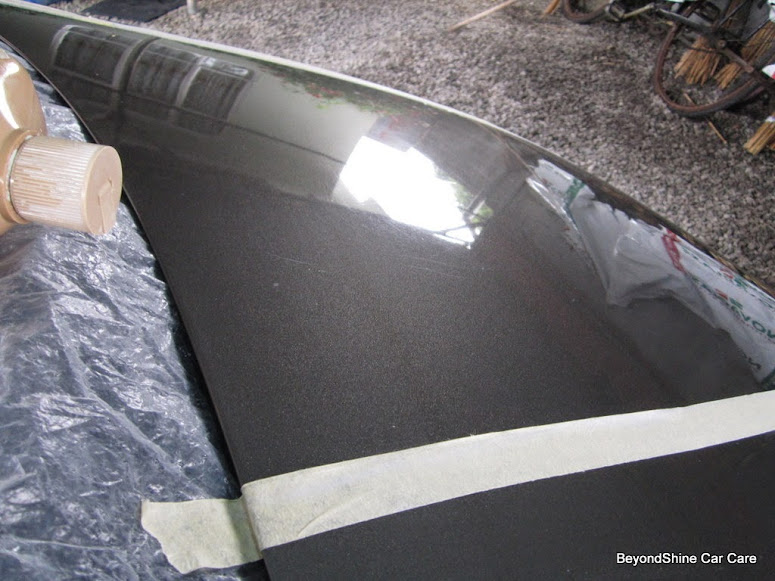
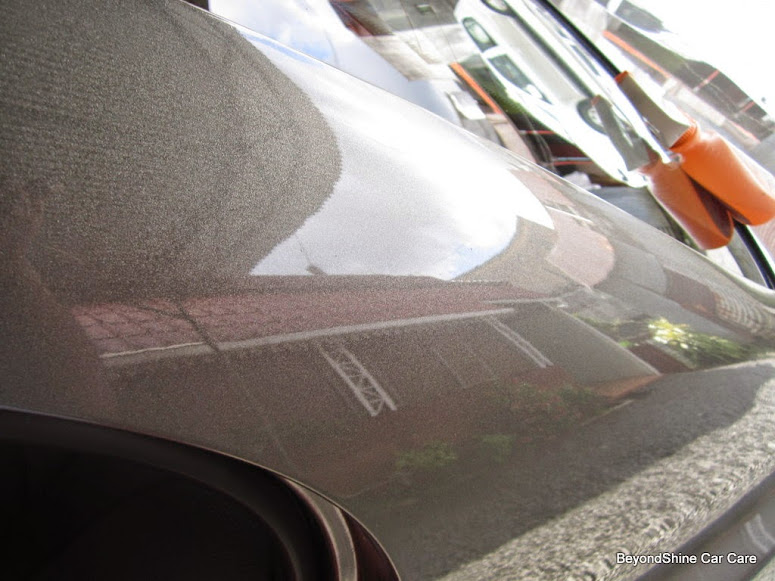
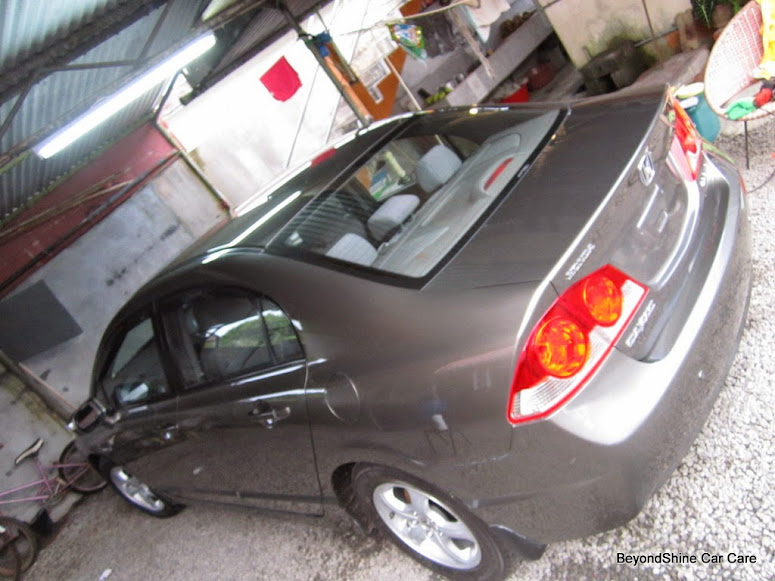
The roof

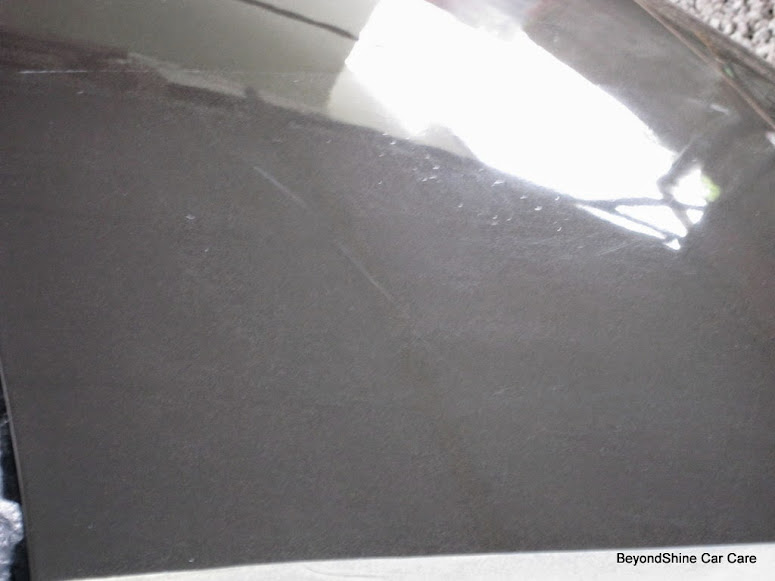
close-up
More swirls appearing due to a flatter surface, holograms are there too from the compounding step
My friends

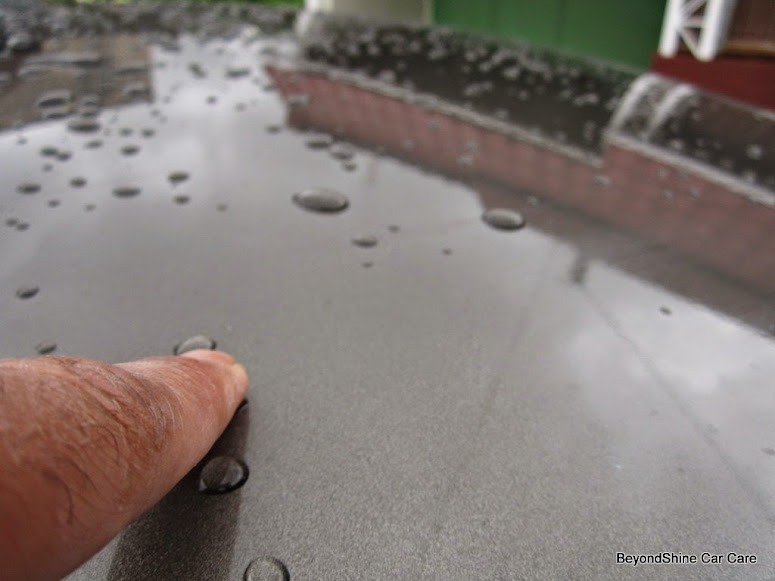
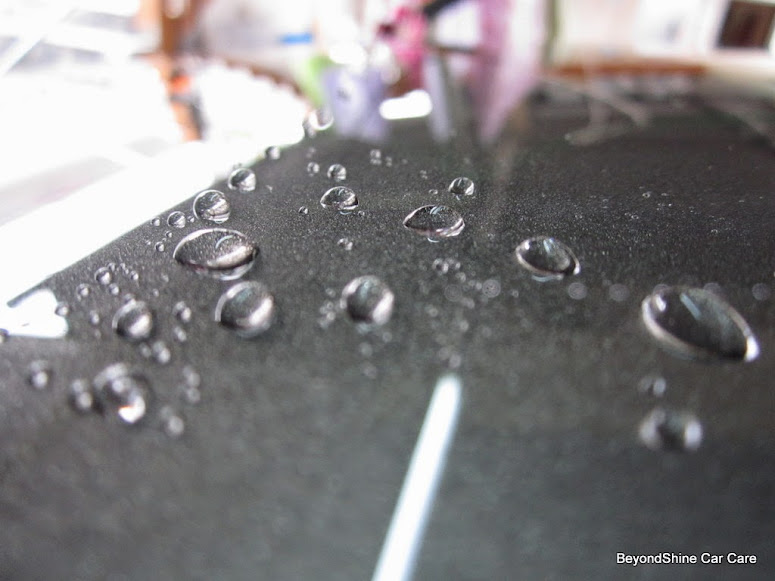
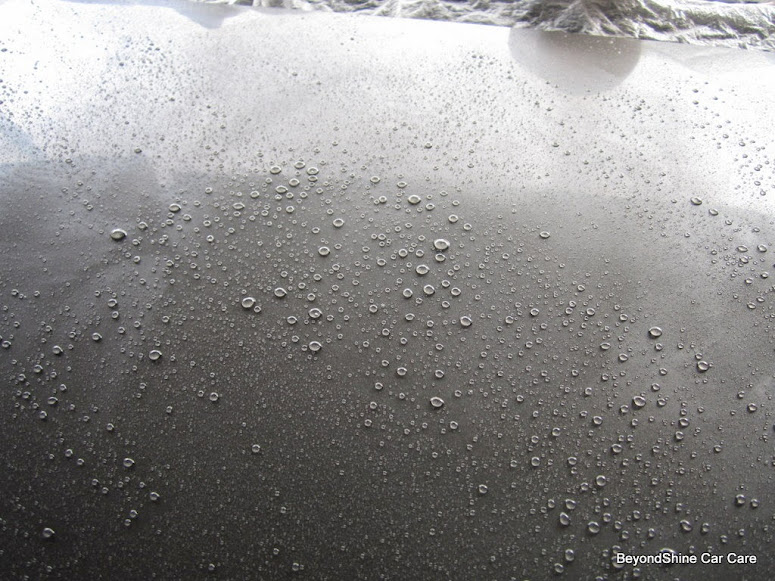
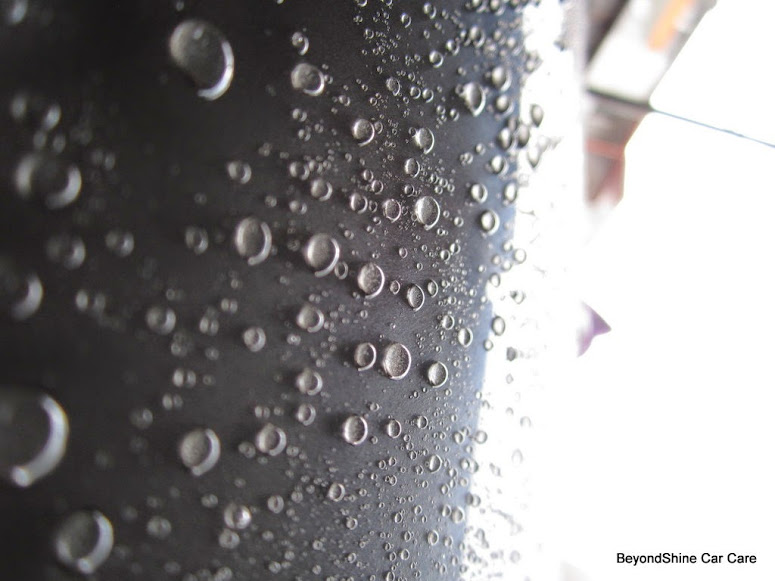
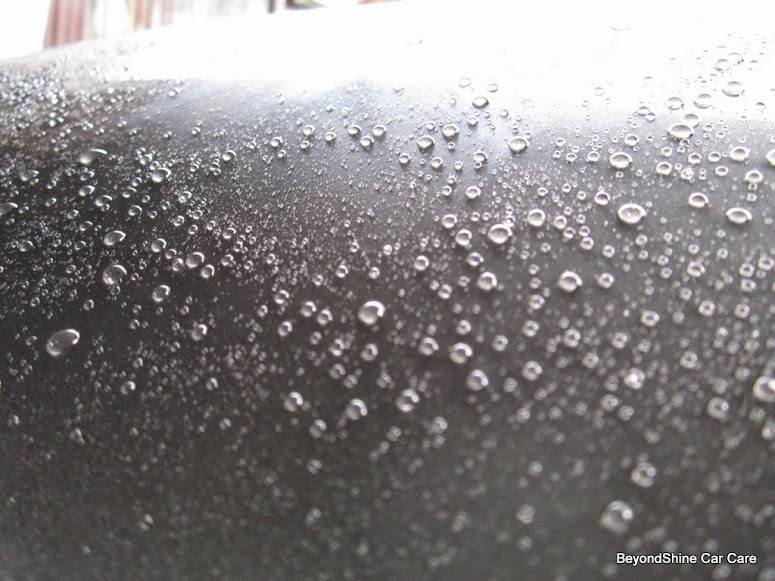
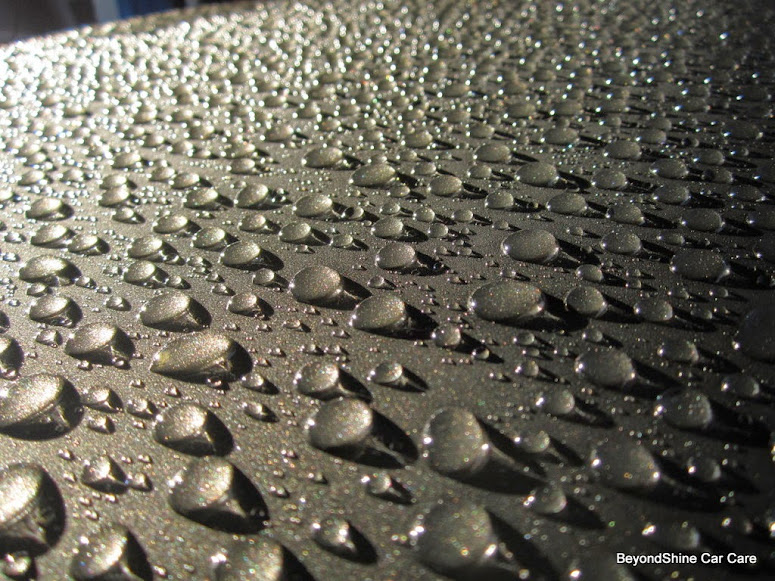
Beading during the polishing stage

Checking and checking
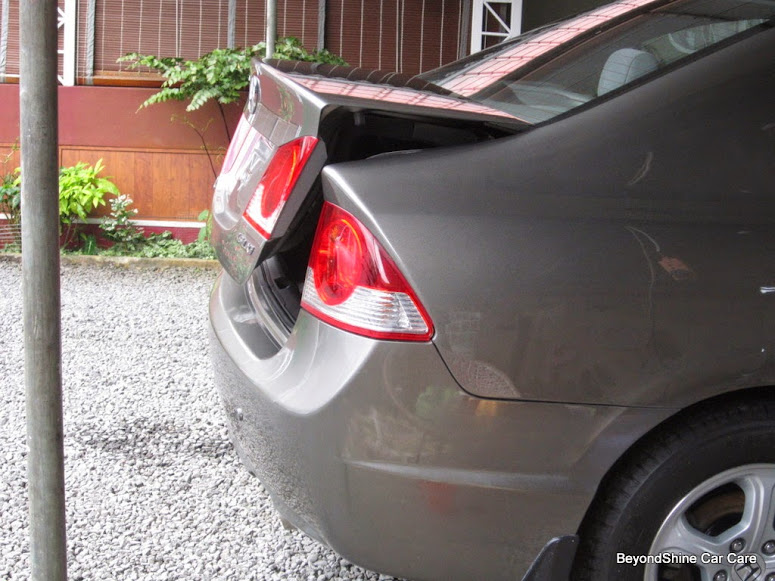
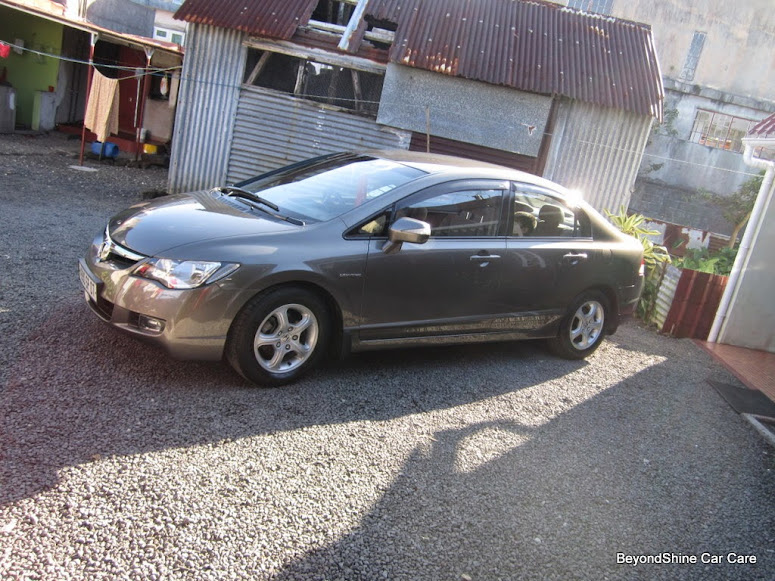
TA DA
Attending to the details
Focussed
menz 203s
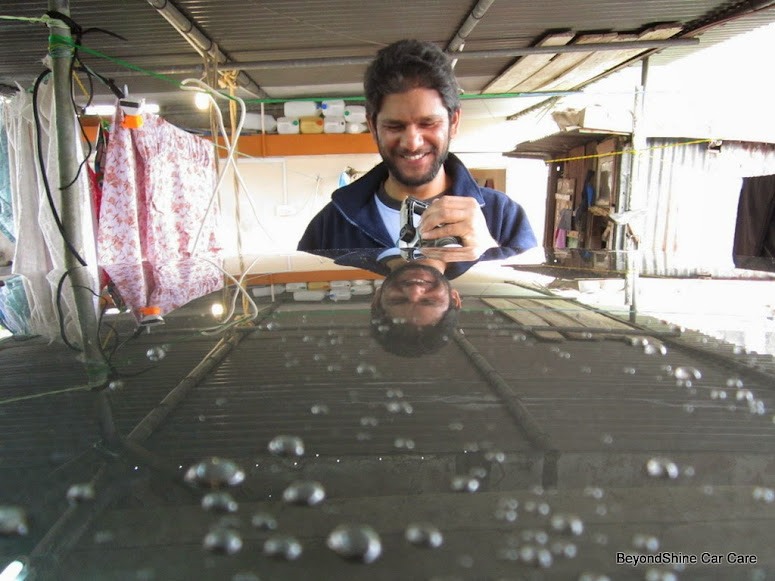
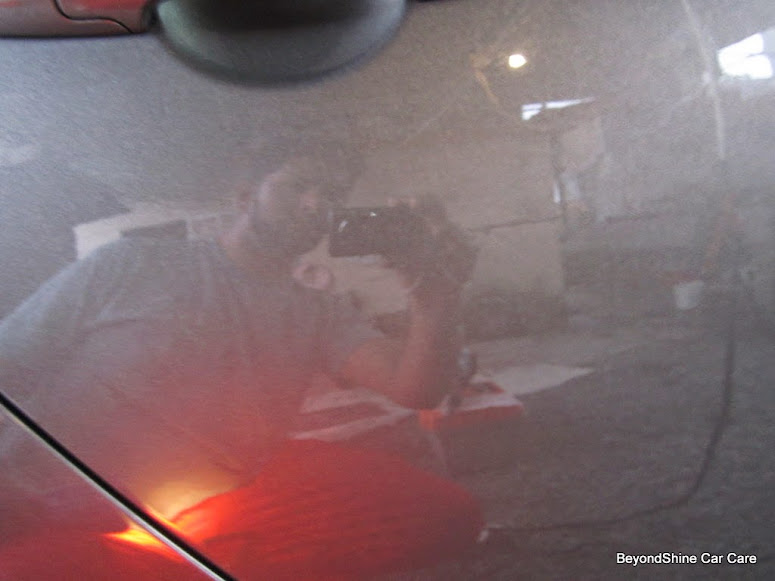
rare incidence: Shot by Mrs
extreme close-up
A very good Thursday from Mauritius
This detailing job took over 5 days, from decontamination to coating, loads of defects removal and paint leveling.
Upon arrival:
Wash:
2BM method using mf wash mitt
Local car shampoo and APC mix
To the wheels
Washed already:
close-up of contaminants
Decontamination with Sonax full effect + Clay
in- process
Ready to be coated and protected
To the paintwork
Clay
Assessing the work to be done
Not easy to be noticed. On this color, it’s as if the defects have got “shyness DNA”
From previous respray job, rubber trims damaged! I was very sad for the friend who brought his Honda to me. Little or nothing I could do for that.
NEW paint defect (at least for a newbie like me, doing detailing as a passion)
More familiar
light scratches and RIDS, full of swirls but the metallic flakes just make it difficult to be captured.
The headlights
wait, not yet over
the lower sections
subsurface defect
Look
close-up
same on both sides of the rear bumper
Paint correction:
The paint has sanding marks and scratches beaneath the clear-coat. I had to proceed with extreme caution and to add, Hondas are the champion of soft paints.
Tools: Makita rotary, Flex 3401
Polishes: Menz FG 400, 203S, PO85rd
Pads: Carpro denim pads, LC white, LC HT Crimson, LC white
Glass: DP Glass restorer with glass polishing pads, Opti-sealed
Wipe down : IPA mix
Coating: Opticoat with supplied applicator, wiped with suede mf towels (better than normal mf towel IMO)
Trims & tyres: CG new look trim
After correction
a spot or 2 remain, would have needed more clear coat removal
The roof
close-up
More swirls appearing due to a flatter surface, holograms are there too from the compounding step
My friends
Beading during the polishing stage
Checking and checking
TA DA
Attending to the details
Focussed
menz 203s
rare incidence: Shot by Mrs
extreme close-up


 rops:
rops: