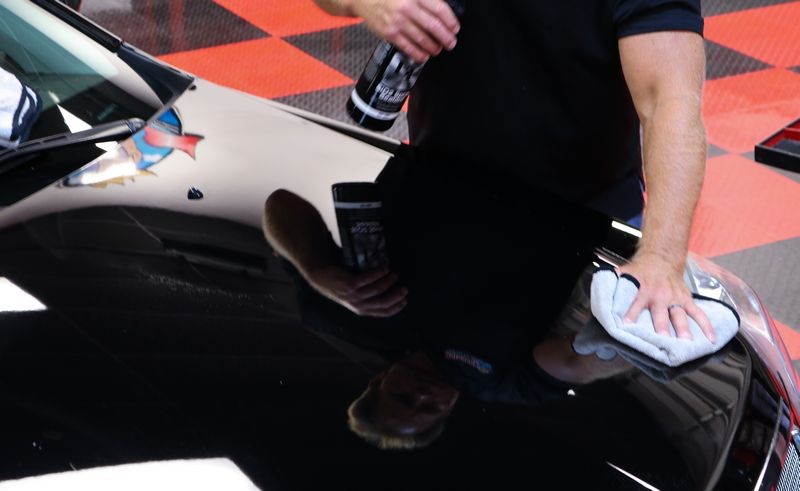
How do you deal with Quick Detailer oversprays?

pipebomb

New member
Joined
Apr 13, 2020
Messages
2
Reaction score
0
[FONT=&quot]So I mixed together 2oz Carpro Reload, 2oz Carpro Ech20 and 20oz distilled water (into a spray bottle) to make the famous Merlin's Quick Detailer- Also known as the Carpro Elixir.[/FONT]
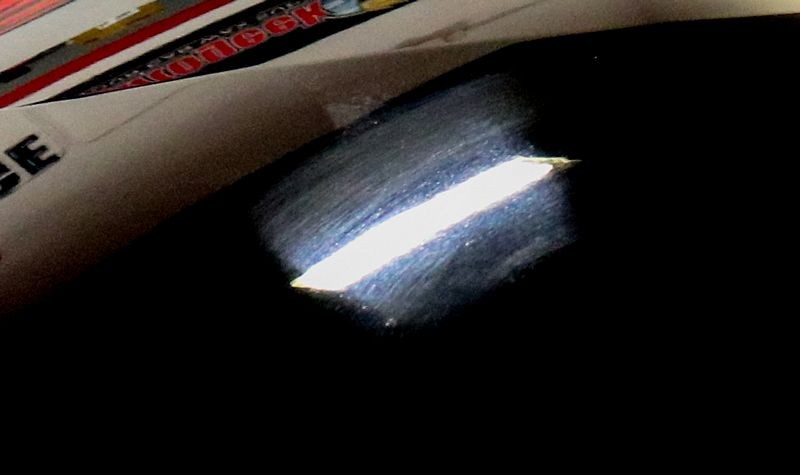
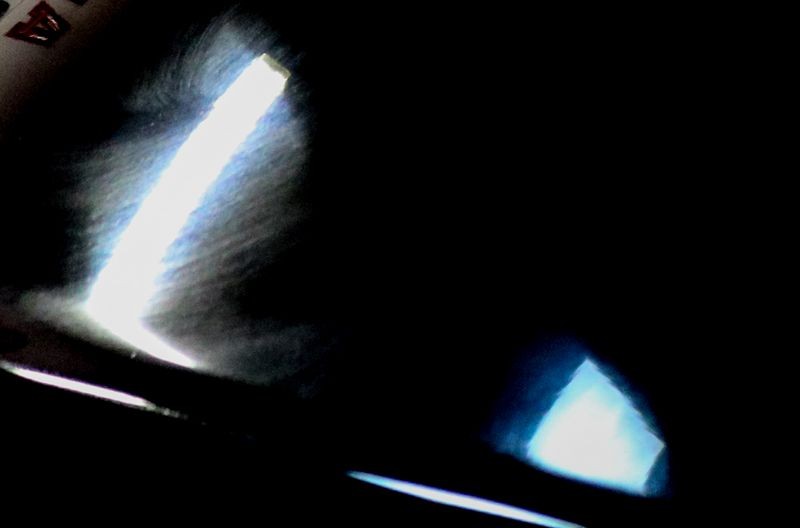
[FONT=&quot]My problem is the overspray when doing the next panels.[/FONT]
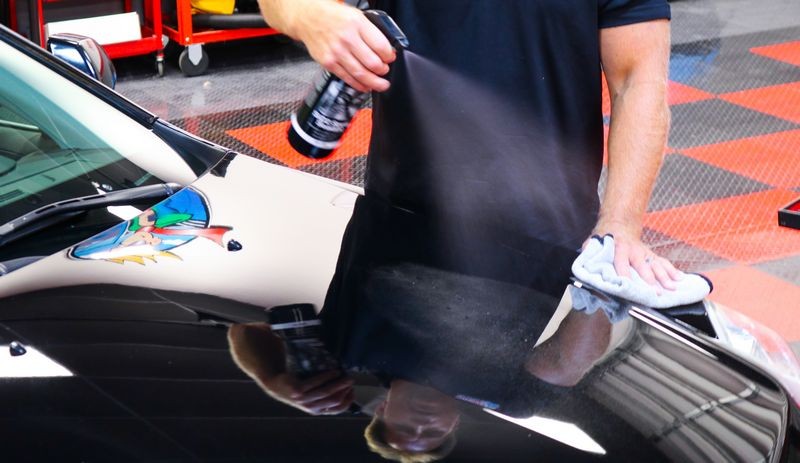
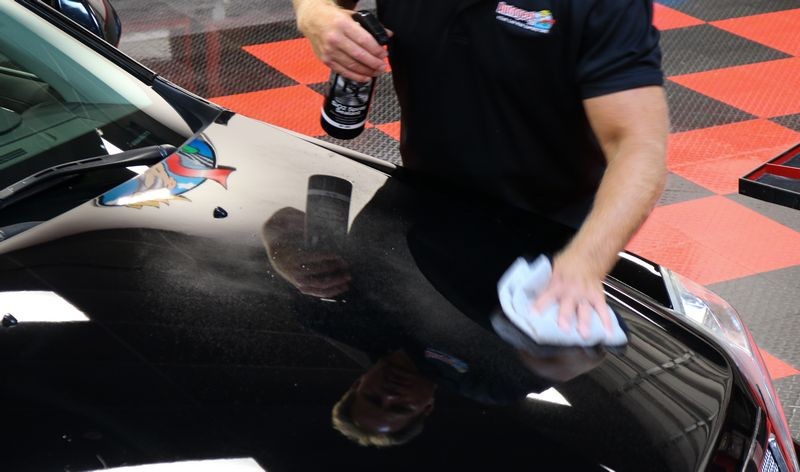
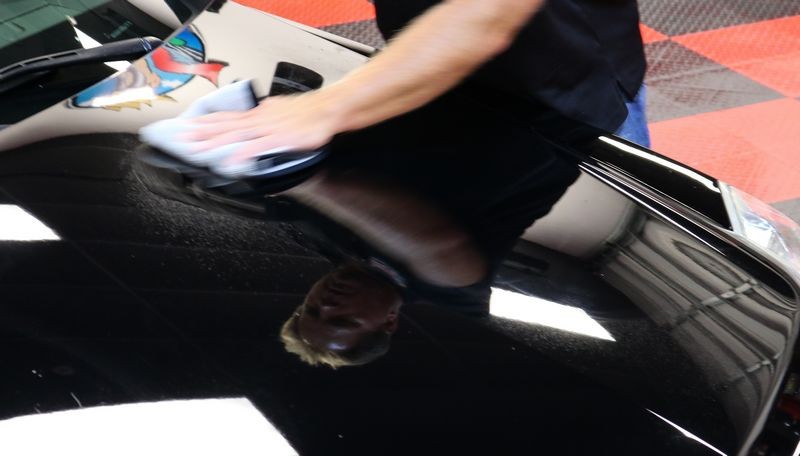
[FONT=&quot]I apply this DIY quick detailer to a clean and dried car. I spray a panel twice from 8 inches away, work it in, and wipe off. When repeating this to the next panel, I've noticed overspray contaminating the previous panel. I find this annoying since I end up having to buff the previous panel again. How would I go about avoiding this? How does everyone else do it?[/FONT]

[FONT=&quot]With Carpro reload, if you don't buff off the overspray, it kinda becomes semi-permanent.[/FONT]
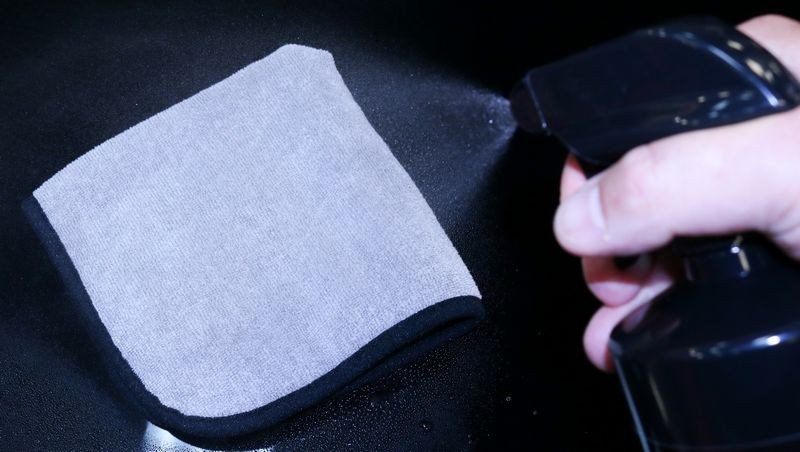
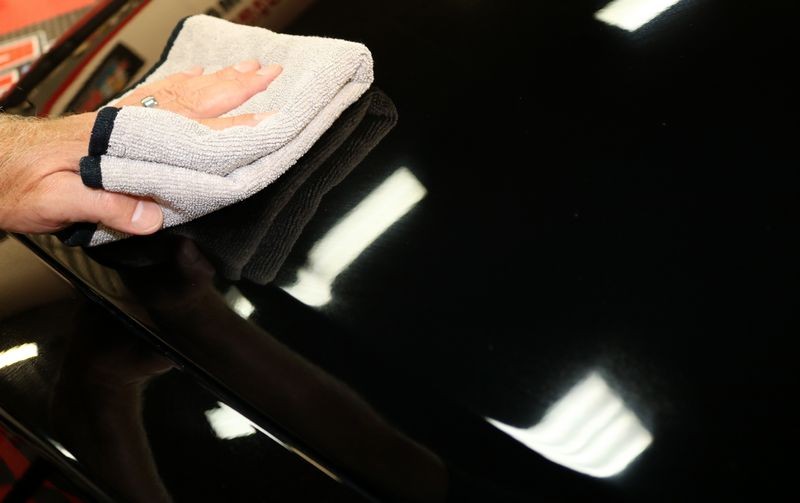
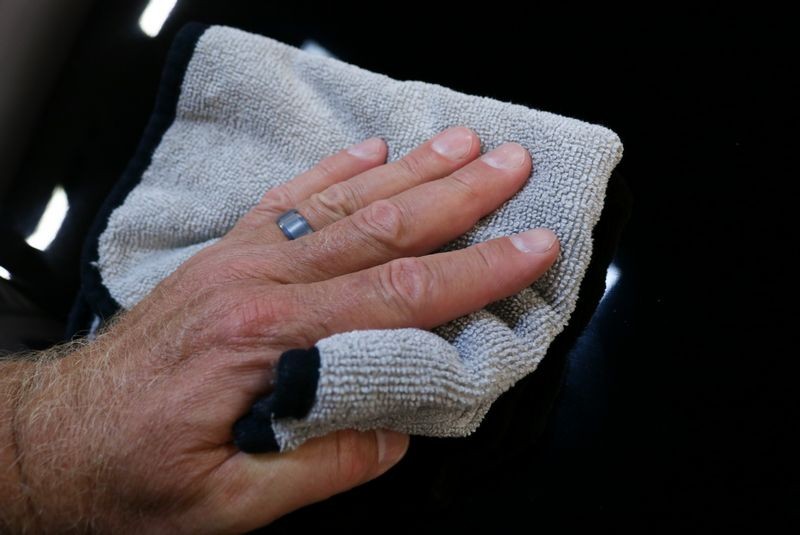
[FONT=&quot]Eventually, I decided to generously spray my folded microfiber towel and wipe the panel instead of spraying the panel directly. But my only concerns are, I am using more product and I won't have the same level of coverage. Is this right? Or am I over-thinking it?[/FONT]

[FONT=&quot]I've also considered rinsing the car, BUT before drying it, I would spray this DIY quick detailer ALL OVER THE CAR and wipe it dry. But I'm very concerned with how fast I should be working in order to prevent the silica in Reload from drying and scratching the car if I worked too slow.[/FONT]

[FONT=&quot]Do you guys have any tips on how to effectively use this DIY merlin's quick detailer? What stage during washing the car would you use it, how to prevent overspray and re-buffing it out, etc.[/FONT]

[FONT=&quot]Thank you all![/FONT]
 
Use two towels. Spray product directly on one towel and apply. Use a second clean dry MF towel to dry and buff to perfection!
 
That's exactly what I do, but is there better "bond/adhesion" or "coverage" when I spray directly onto the panel?

Also, do you do this when the car is completely cleaned and dry, or still wet?
 
Are you applying outside or in a garage? If inside i spray whole sections (side/top) and them level with one towel and buff off with another.

Just a tip if your getting streaks use less product. For me sweet spot is 2oz Ech20, 1to 1.5oz sio2 sealant.

You dont have to worry about it sitting their as your using so little reload.


Sent from my iPhone using Tapatalk
 
Spray bigger areas. Whole roof, whole hood, entire passenger side, etc. Cover each of those areas one at a time then wipe. I did that when I used the products you mention and no issue. I had 1oz Ech2o, 1oz Reload, fill the rest of the 16oz bottle with distilled water.
 
See the technique tip shared here, the key part of the technique is made BOLD in the BLUE Text below


BLACKFIRE SiO2 Spray Sealant review by Mike Phillips


How to apply and remove the BLACKFIRE SiO2 Spray Sealant

Before I get into the step-by-step directions, first I want to share my technique for applying and removing spray-on products. It's a very simple technique but if you don't know about it you can find yourself FIGHTING YOURSELF trying to apply any spray-on liquid and the reason why is because when using a DRY microfiber towel to spread out a WET liquid, at the same time you're trying to spread the product out the DRY microfiber towel is trying to absorb and remove it. This is working against yourself and your goal of spreading a thin film over the surface.


So instead, try this...

Mike's Technique Tip
Start by DAMPENING one side of a folded microfiber towel with the product you're applying. This way the side you're going to apply the sealant with is already dampened with the product. If you don't do this, then trying to SPREAD out a liquid, (the SiO2 Spray Sealant), with a clean dry microfiber towel is a tick more difficult because the same time you're trying to spread out the liquid - the DRY microfiber towel is trying to remove it via absorption.

So start by dampening one side of a folded microfiber towel and then use this SAME side to apply and spread out the SiO2 Spray Sealant over all the painted body panels.
I'm fairly confident you'll find this technique works so much better than trying to spread out a liquid with a dry towel.


Directions

Now with the technique explained, here's how to apply and remove this product


Step 1: Spray some of the SiO2 Spray Sealant onto a section of paint.

Step 2: Using your towel dampened with the SiO2 Spray Sealant, gently spread the sealant over the section to be treated.

Step 3: Switch to your second, clean DRY microfiber towels and buff that section to a dry, high shine.


When moving onto a new section of paint, overlap just a little into the previous section for uniform coverage. Repeat this process until you have applied and wiped-off the sealant to all the car's body panels. Now let's walk through the above process with pictures starting with my technique for using spray-on sealants...


First, using my technique shared above, dampen one side of a clean, microfiber towel folded 4-ways.

BFSprayS_15.JPG


This side is now damp with the SiO2 Spray Sealant

Here's another technique tip - grab the EDGES of your microfiber towel by CLAMPING them between your thumb on one side...

BFSprayS_16.JPG


And your index finger on the other side like you see here. Then pull up the edge a little and spread the rest of your hand and fingers out over the back of the towel. By doing this you're able to firmly grip your towel while maximizing your handprint while wiping.

BFSprayS_17.JPG


Step 1: Spray some of the SiO2 Spray Sealant onto a section of paint.


BFSprayS_18.JPG


BFSprayS_01.JPG


BFSprayS_02.JPG


BFSprayS_03.JPG


Step 2: Using your towel dampened with the SiO2 Spray Sealant, gently spread the sealant over the section to be treated.


BFSprayS_19.JPG


BFSprayS_04.JPG


BFSprayS_05.JPG


BFSprayS_06.JPG


The goal is to gently spread-out a uniform film of the SiO2 Spray Sealant

BFSprayS_20.JPG


BFSprayS_21.JPG


BFSprayS_22.JPG


Step 3: Switch to your second, clean DRY microfiber towels and buff that section to a dry, high shine.


BFSprayS_23.JPG


BFSprayS_24.JPG


BFSprayS_25.JPG


BFSprayS_26.JPG


BFSprayS_07.JPG


BFSprayS_08.JPG


IF you can make black paint look great you can make any color of paint look great!


:)
 
I believe I share this technique tip in this video too....


I discovered this technique tip years ago when showing people how to properly use the Meguair's Spray Wax back in 2004 - that's 16 years ago as I type today.


Also note the term,

follow your path of travel

at the end of the part I copied and pasted. That too is a "technique".


How To Get Great Results With Meguiar's Spray Wax!

ways comes out looking great!


2) - Applying with a microfiber polishing cloth


Another method of applying a Meguiar's Spray wax is to apply it using a microfiber polishing cloth. Here's my daughter misting some NXT Tech Wax onto a clean, folded Ultimate Wipe. The trick to making this technique work is only using one side of your folded microfiber polishing cloth to apply the NXT Spray Wax over the entire car.

2SprayingNXTTechWaxUW.jpg


First she moistens one side of an Ultimate Wipe and then she can either spray some NXT Spray Wax onto the finish, or continue to spray some onto this same side of the Ultimate Wipe as she works her way around the Pilot.

2SpreadingNXTTechWaxUP1.jpg


The reason this method works is because once you have dampened one side with wax, you now have a wax-moistened surface that spreads and applies wax like the foam applicator pad. If you try to continually switch to a new, dry side, the cloth will tend to adsorb your product while your trying to spread it out and thus you will feel like you're fighting yourself while trying to spread the product out.

Here is what a thin coating applied over the entire finish looks like,

2ThinCoatingofSprayWax-med.jpg


Then, after applying to the entire finish, you can start removing the wax where you first started applying the wax and follow your path of travel.

Hope this helps...

Mike

p.s.
 
Back
Top