Mike Phillips
Active member
- Dec 5, 2022
- 51,004
- 6
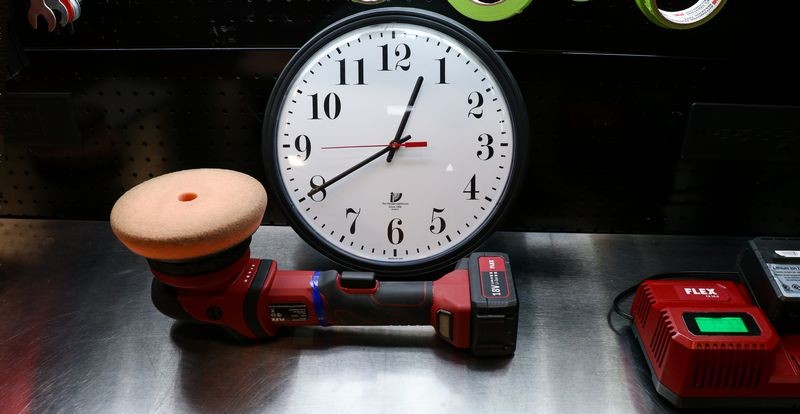
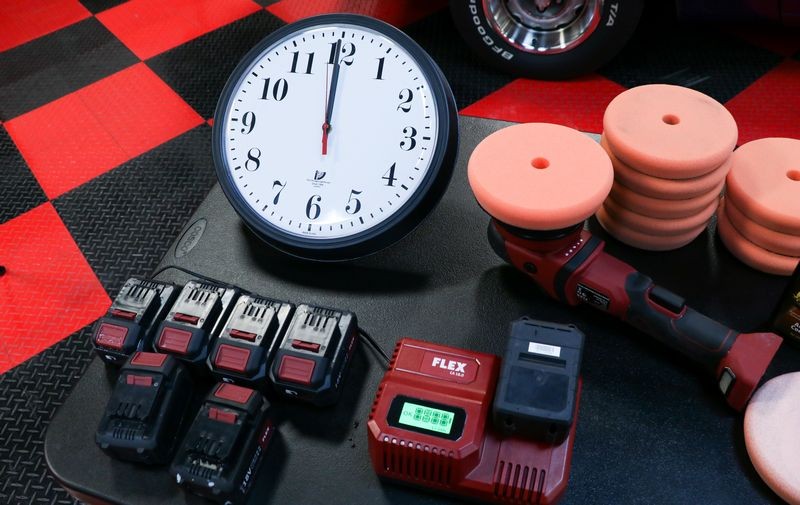
How long does the battery last? 40 minutes - Cordless FLEX XC 3401 aka the CBEAST
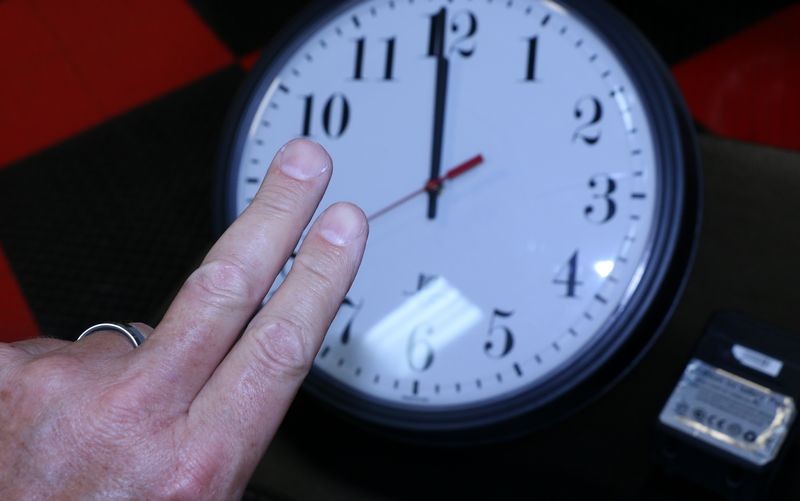
I averaged 40 minutes battery run-time when compounding hard -Mike Phillips
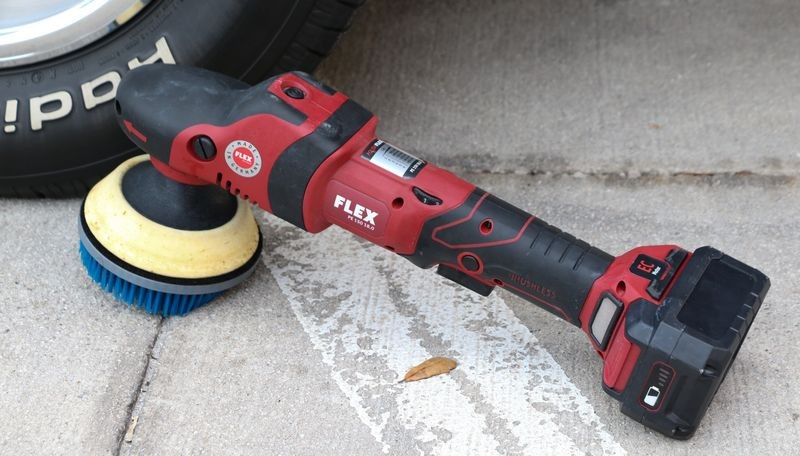
The Cordless FLEX XC 3401 - I call it the CBEAST, was introduced at SEMA in 2018, as I type this, that would be less than 5 months ago. There's been a LOT of buzz about and I'd have to say the MOST common question I get is,
How long does the battery last?
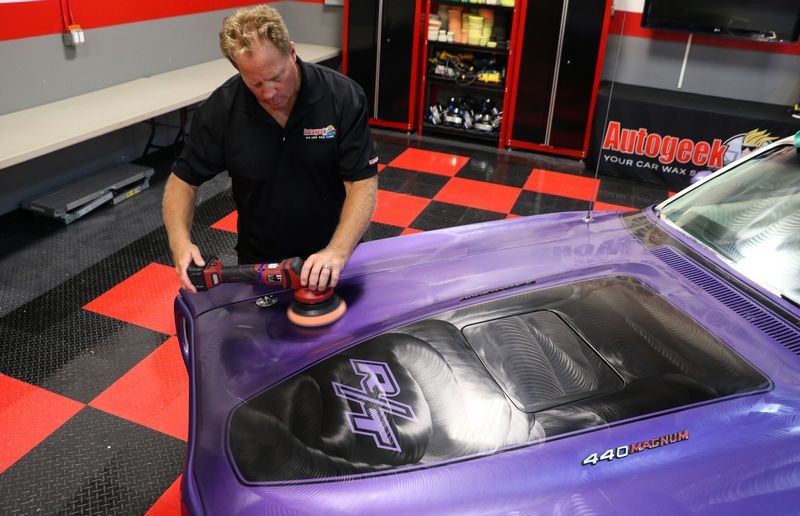
So I tested the gear-driven, cordless XC 3401 on what I consider a LARGE car with documented swirled-out paint for the sole purpose of PUNISHING the tool and therefor testing the battery life by pushing the tool to it's max buffing time. For those of you that simply want to know how long the battery lasts, here's my answer based upon my results and the way I used this tool. I'll get to exactly how I used the tool later.
Question: How long does the battery last?
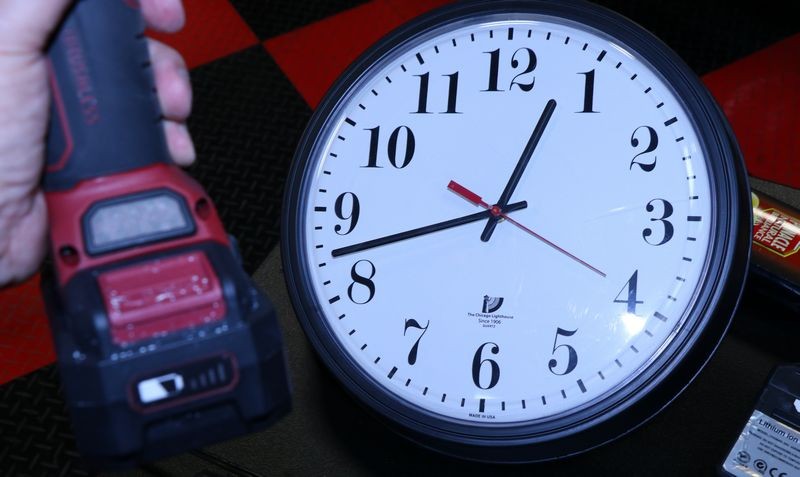
Answer: 40 minutes
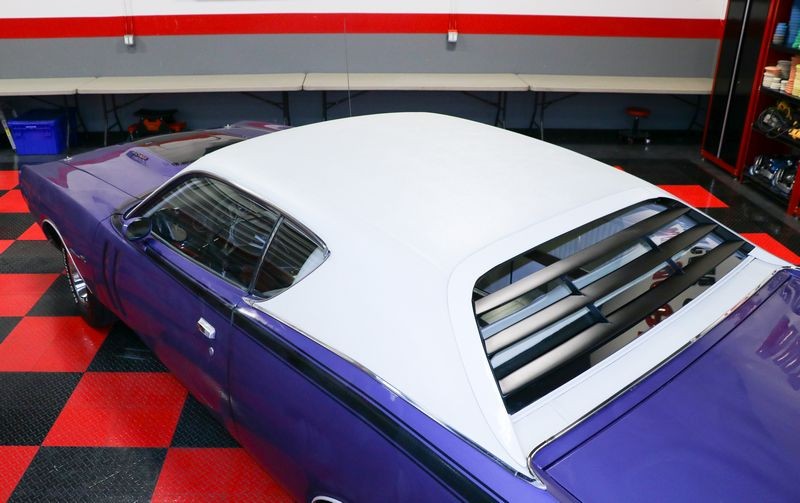
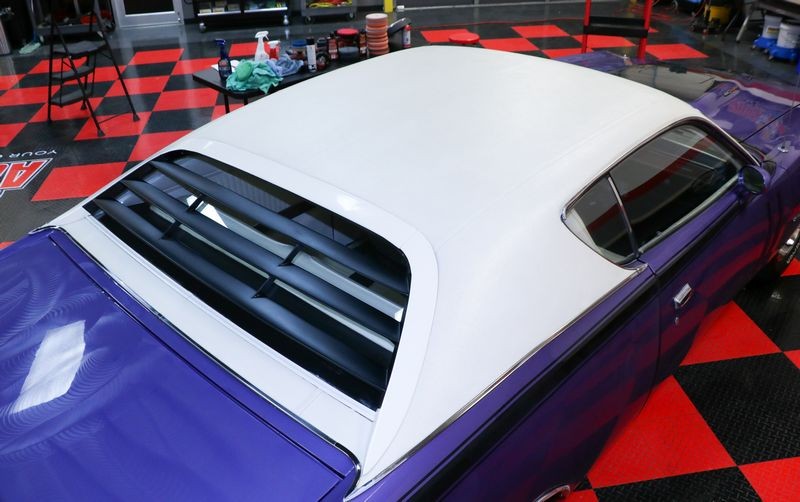
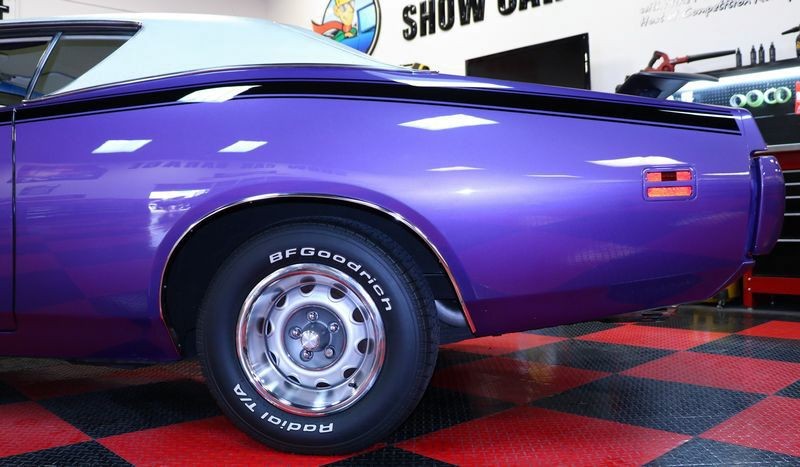
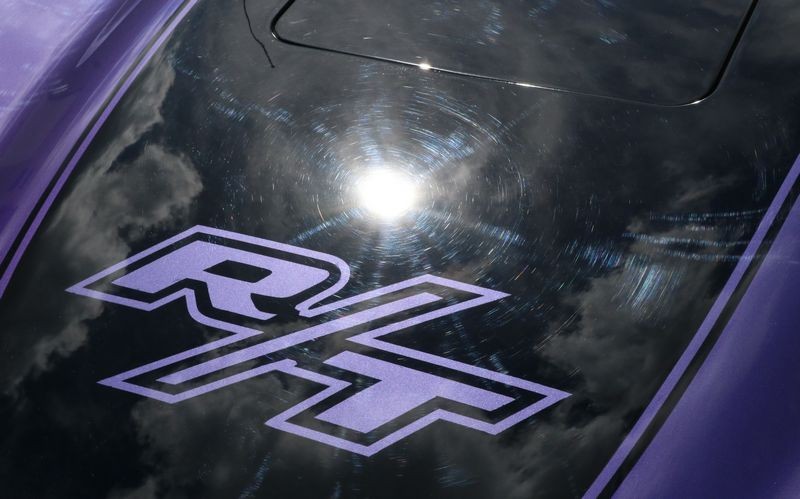
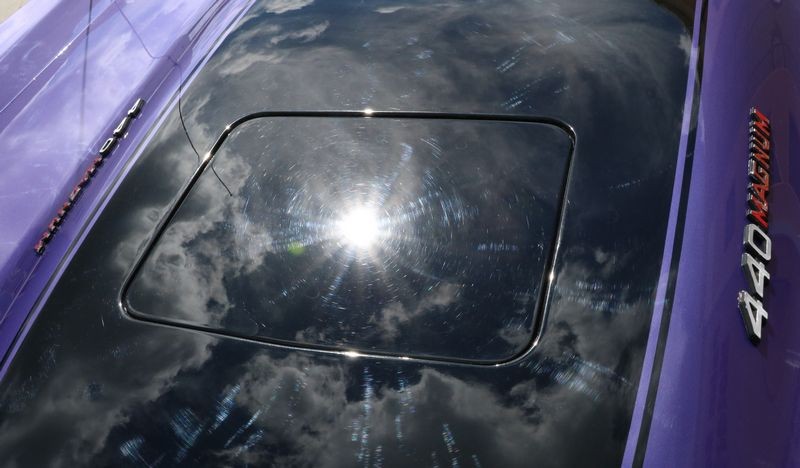
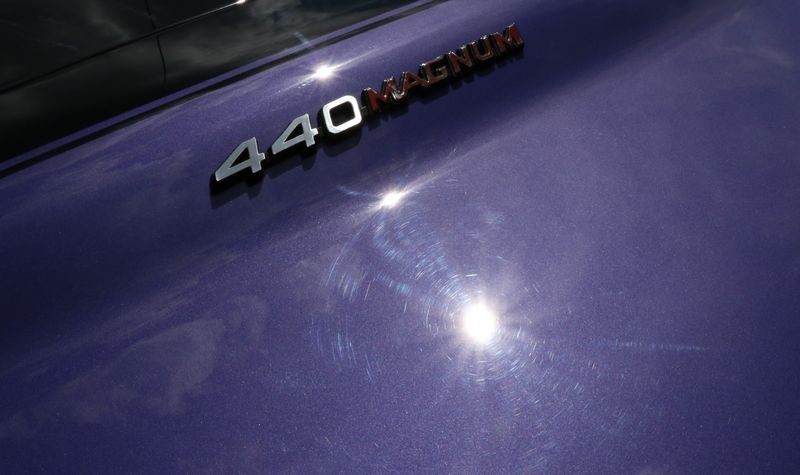
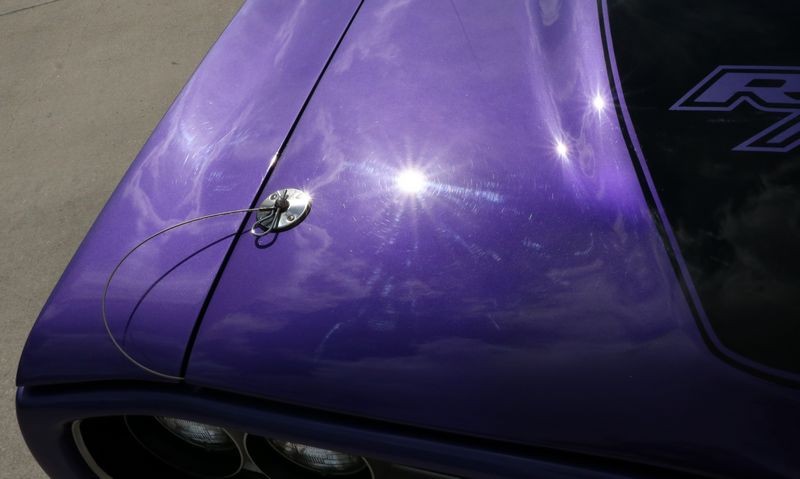
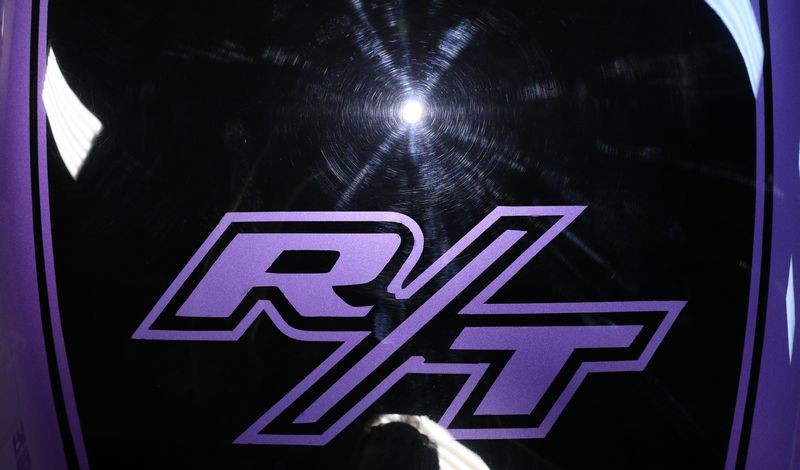
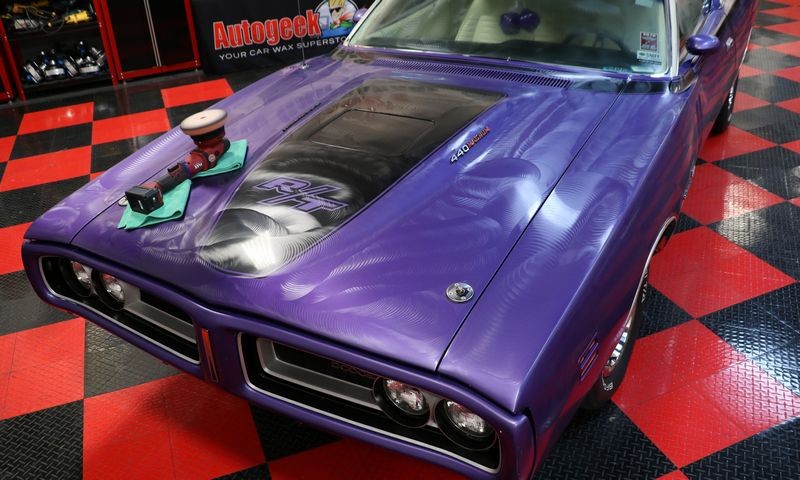
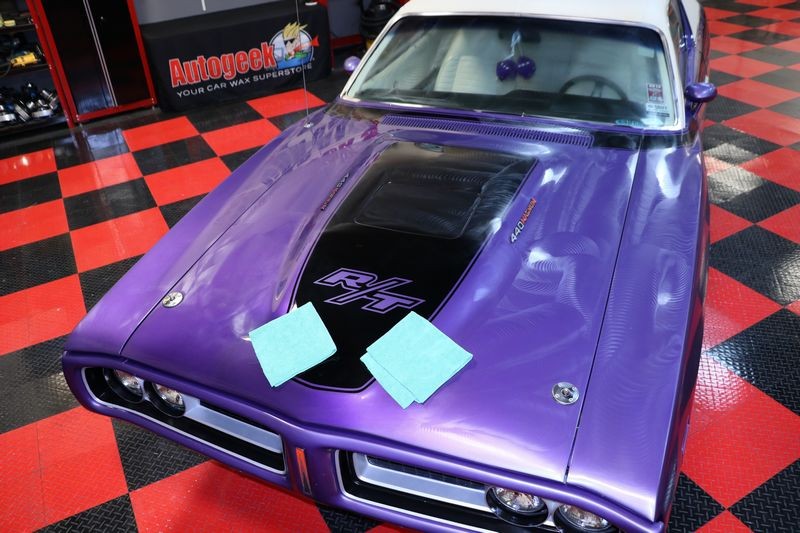
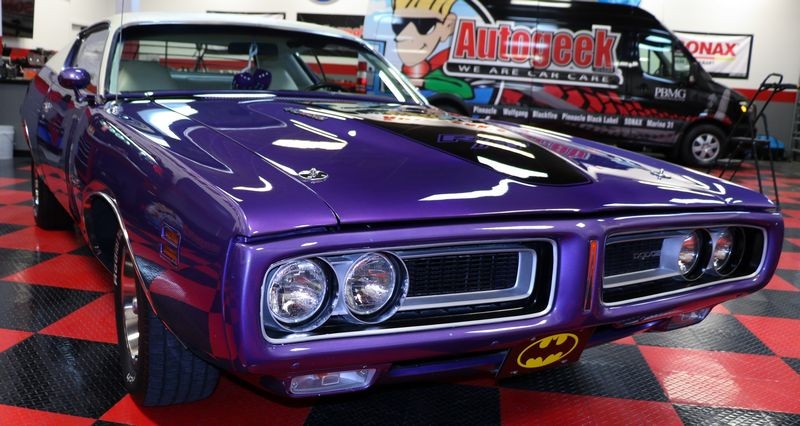
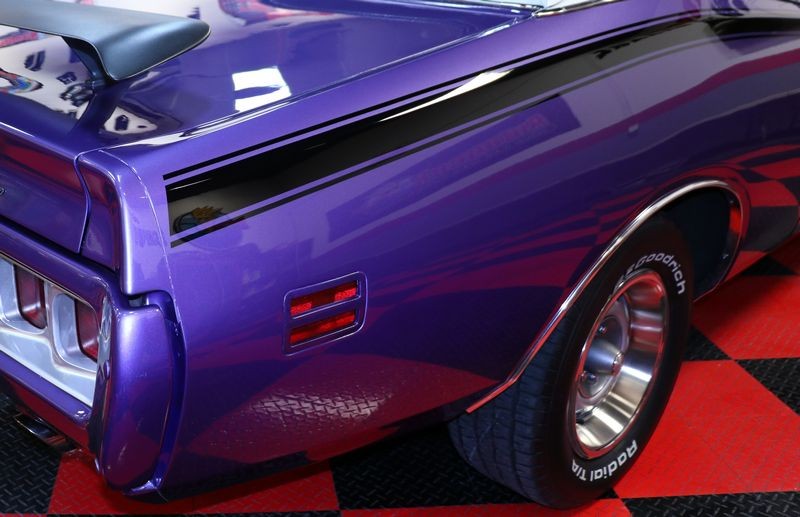
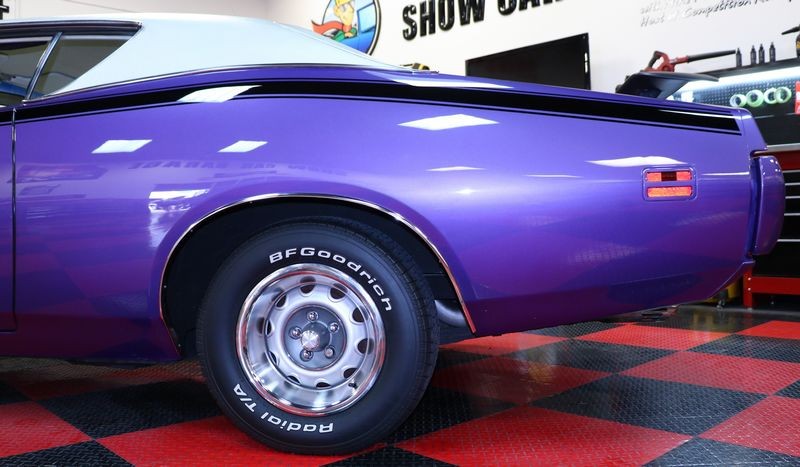
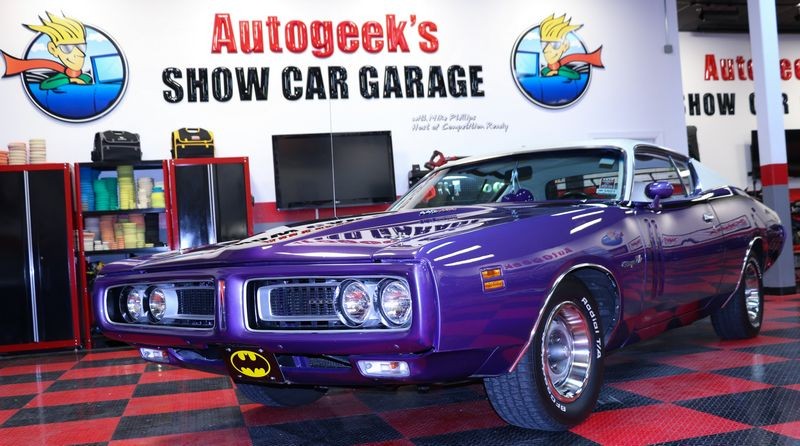
That's mostly constant running time while compounding hard on a 1971 Dodge Charger R/T.
Steps for paint correction
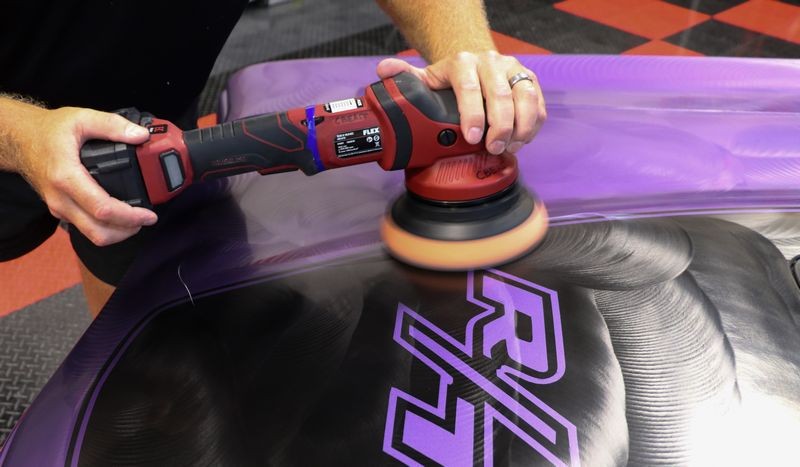
If you look at step 6 - I used an aggressive compound with an aggressive foam cutting pad, (large thick pad too), and as I compounded the paint I pushed at about 10 pounds of pressure against the head of the CBEAST.
If you don't know, this would be considered HEAVY COMPOUNDING. In other words, I was pressing hard. I was doing this to push the tool to its limits and thus find out how long a 5 AMP batter would last for the Caveman Detailers among us.
How I did the test
First I did a Test Spot to see what it would take to remove the swirls and scratches to my satisfaction. Once I established it would require compounding with a compound and foam cutting pad, I started at the back of the passenger side of the car and compounded the body panels section by section.
After compounding a section I would turn the polisher off just long enough to place fresh compound on the face of the pad or to switch to a clean, dry pad. Then I would turn the polisher on and continue compounding the car. I did not take the time to wipe-off compound splatter as I wanted the battery to be under "close-to" continual use.
In the real world
The above was an extreme use of the tool. In the real world, normally after compounding a section of a large body panel I would then wipe the compound residue off before moving onto a new section or a new panel. This time-lag combined with the time to apply fresh product, clean the face of the pad with a brush or replace the pad with a clean, dry pad plus move on down the car, (move myself or my roll-around-stool, towels and compound), would normally take a few minutes and during this time the battery would cool, the tool would cool and there would be some level of recovery taking place in this dynamic.
My guess is, if a person buffed a car out AS NORMAL - this means not trying to punish the tool but following normal protocols, the battery may last longer. The job would take longer for sure. When you buff out a car without taking any breaks, the job takes a lot less time overall. Most people I know take plenty of breaks when buffing out a car. The stop to text or make a phone call. They stop to read a text, make a phone call or post to Instagram or Facebook, etc. Most people I know don't buff out cars as though they are a MACHINE and thus they tend to take longer than I take for the same job as I am a machine when it comes to detailing.
Total battery time
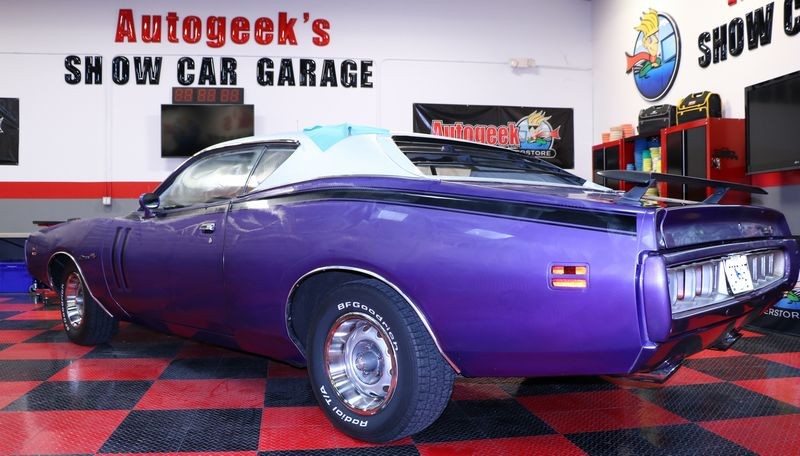
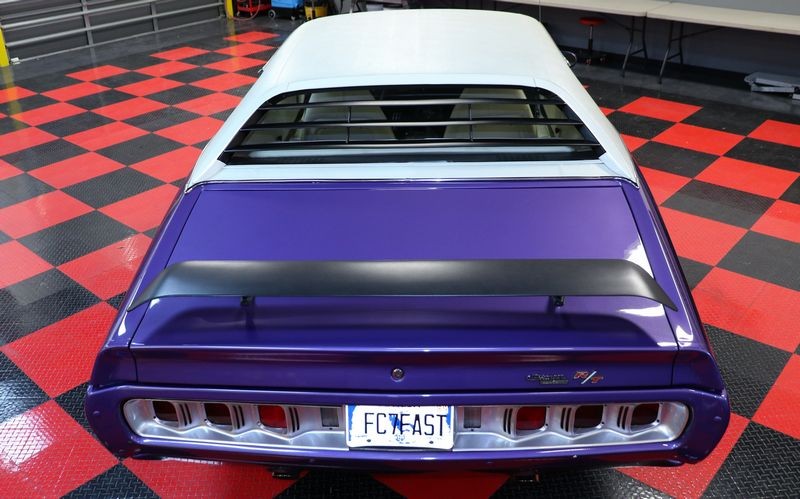
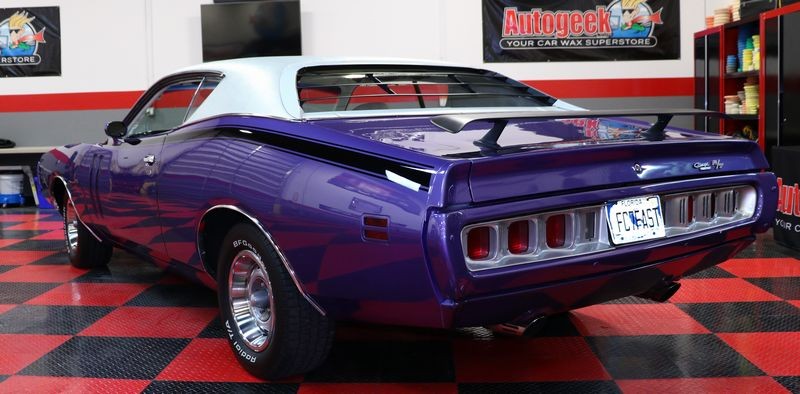
I used 3 fully charged batteries to do the compounding step and 2-3 bars of a 4th battery to machine apply the Pinnacle Jeweling Wax. So overall, about 3.5 batteries from start to finish to buff out a 20' long 1971 Dodge Charger R/T.
The FLEX XC 3401 will come with two 5 AMP batteries. When fully discharged, (like I ran them down to zero charge), it takes approximately 47 minutes to recharge to full capacity. This means, for the average person, before you run one battery all the way down the other battery will be re-charged and ready to go.
Like to be prepared for anything?
If you're the kind of person that doesn't want to take any chances because you buff like a madman, then simply purchase one extra 5 AMP battery and you're good to go.
Here's the good news!
Because the FLEX XC 3401 is a gear-driven orbital polisher - there is ZERO PAD STALLING!
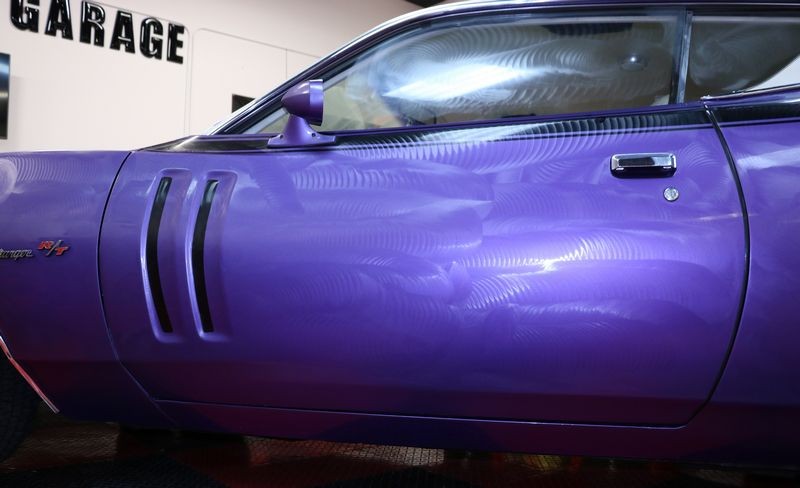
So you get the safety of the dual-action movement of the pad against the paint, that is rotation and oscillation and no matter what the shape of the panel you're buffing the pad is going to rotate and oscillate NO MATTER WHAT. In other words - no pad stalling. This means you can power through a detail incredibly fast while maintaining pro quality results and no swirls.
Review
In my opinion.... the battery longevity was more than acceptable to do away with the hassle of dealing with an extension cord AND enjoy the freedom of cordless machine polishing. The cordless version of the FLEX 3401 has a max RPM of 380 while the corded version has a max RPM of 480 and if you use the corded version a lot then you'll key right in on the speed difference.
Why the lower speed limit? The reason why is the battery will last longer running at a slower speed while still providing plenty of power and run time to do correction work.
If I really need to plow through the heavy correction or compounding step on a car as fast as I can then I'm going to grab the time-tested FLEX 3401 aka the BEAST. But if I don't have work as fast as humanly possible then 100% for sure I'm grabbing my now trusty and dusty CBEAST.
In fact, the last 3 cars I've detailed I've chosen the CBEAST.
2011 Corvette
2016 Camaro
1971 Charger R/T
And I've been completely happy with the performance of the tool and the battery life of the batteries. But what I like the most is no messing around with a cord. No dragging one around the car as I work around the car and I never have to remember to place the cord over my shoulder to prevent it from marring or scratching the side of the car.
Very cool and my new favorite tool.

For those that are interested, I'll post my full write-up for how I tackled the 1971 Dodge Charger R/T below....
On Autogeek.com
FLEX XCE 8-125 18.0 Polisher - Includes Tool -2 5amp Batteries - Battery Charger $579.99
If you already own other FLEX Cordless Tools and don't need a battery charger or batteries.
FLEX XCE 8-125 18.0 Polisher - Tool ONLY - $499.99
")
I averaged 40 minutes battery run-time when compounding hard -Mike Phillips
The Cordless FLEX XC 3401 - I call it the CBEAST, was introduced at SEMA in 2018, as I type this, that would be less than 5 months ago. There's been a LOT of buzz about and I'd have to say the MOST common question I get is,
How long does the battery last?
So I tested the gear-driven, cordless XC 3401 on what I consider a LARGE car with documented swirled-out paint for the sole purpose of PUNISHING the tool and therefor testing the battery life by pushing the tool to it's max buffing time. For those of you that simply want to know how long the battery lasts, here's my answer based upon my results and the way I used this tool. I'll get to exactly how I used the tool later.
Question: How long does the battery last?
Answer: 40 minutes
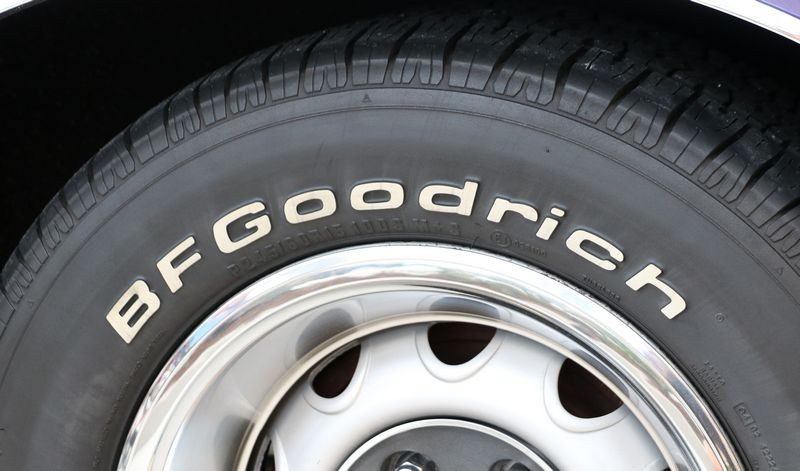
That's mostly constant running time while compounding hard on a 1971 Dodge Charger R/T.
Steps for paint correction
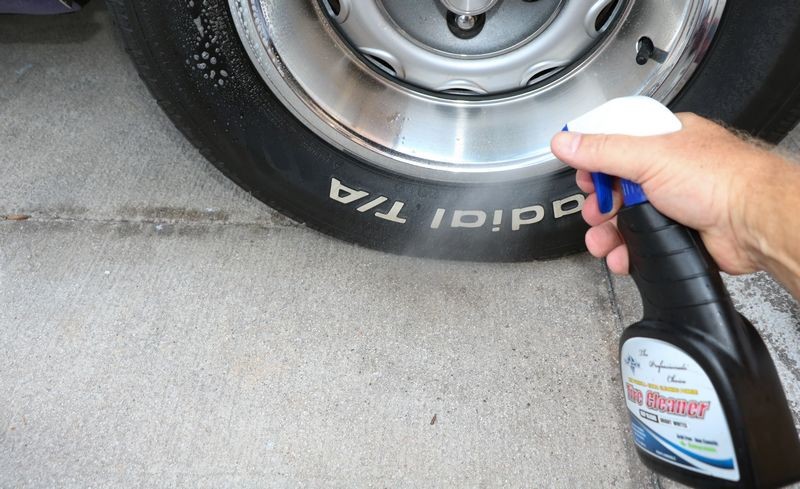
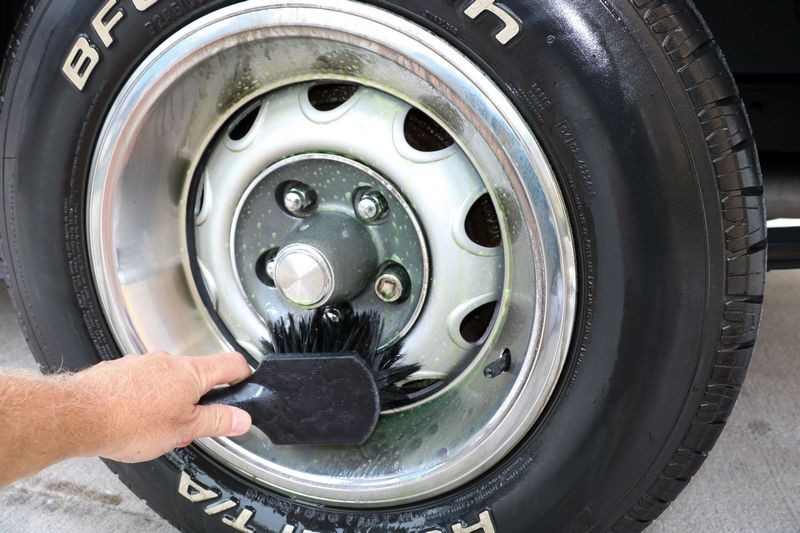
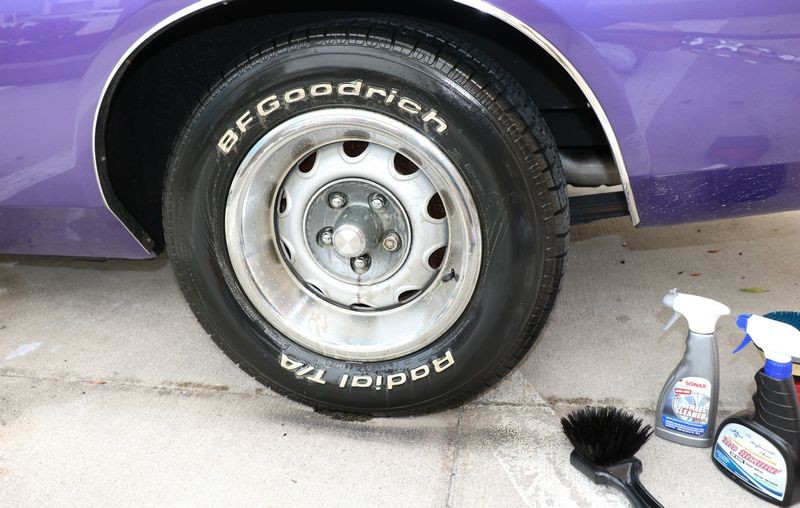
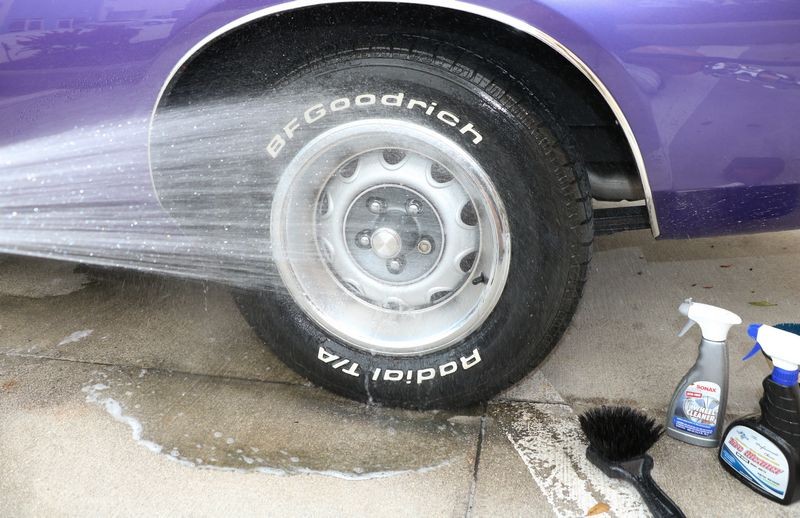
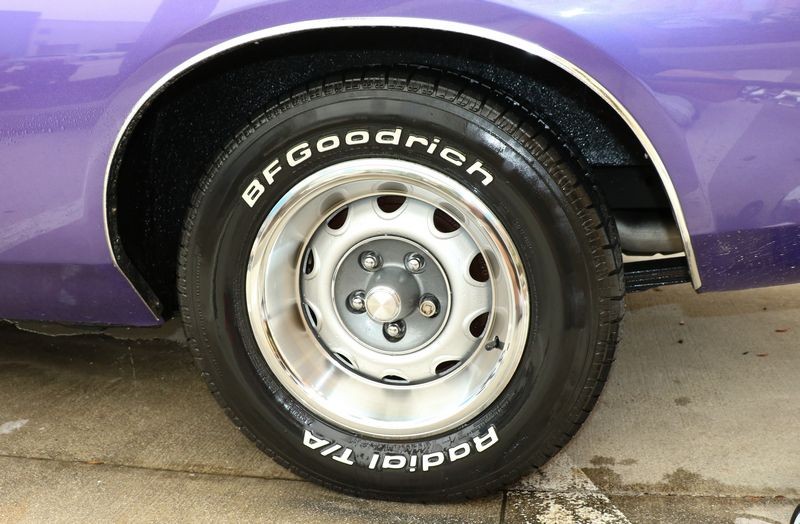
- Wash car- BLACKFIRE Ceramic Coating Wash
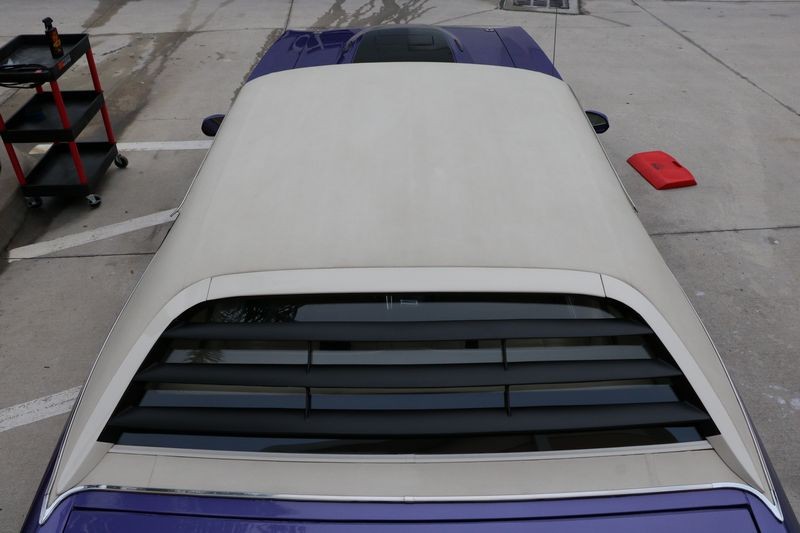
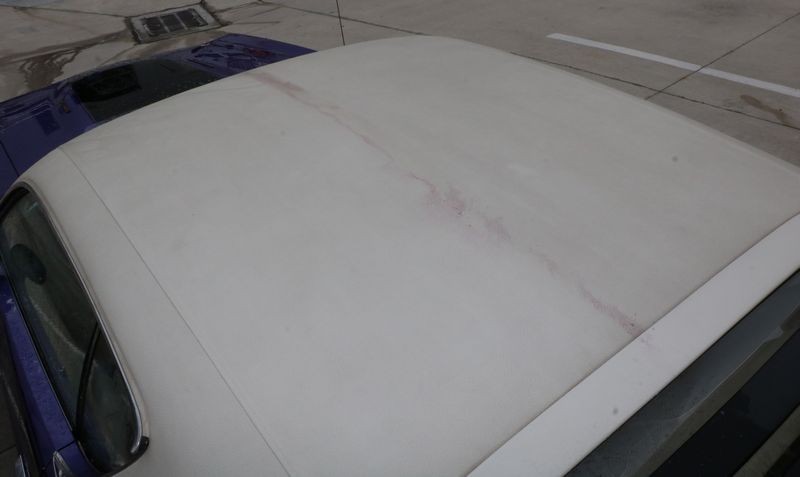
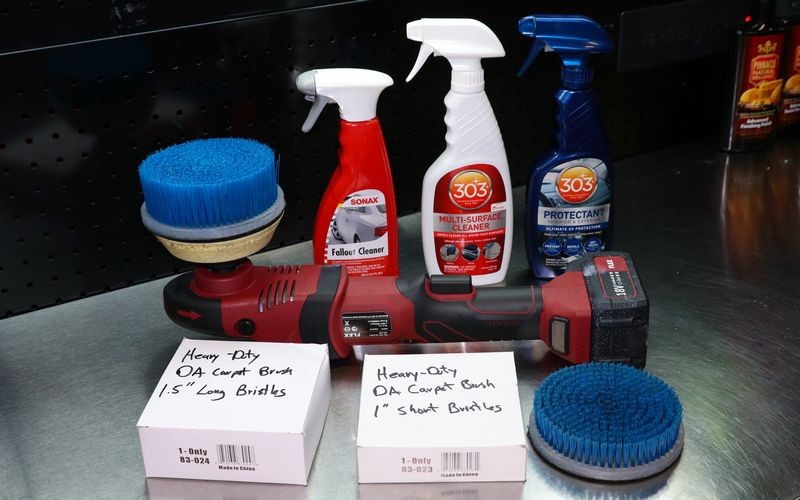
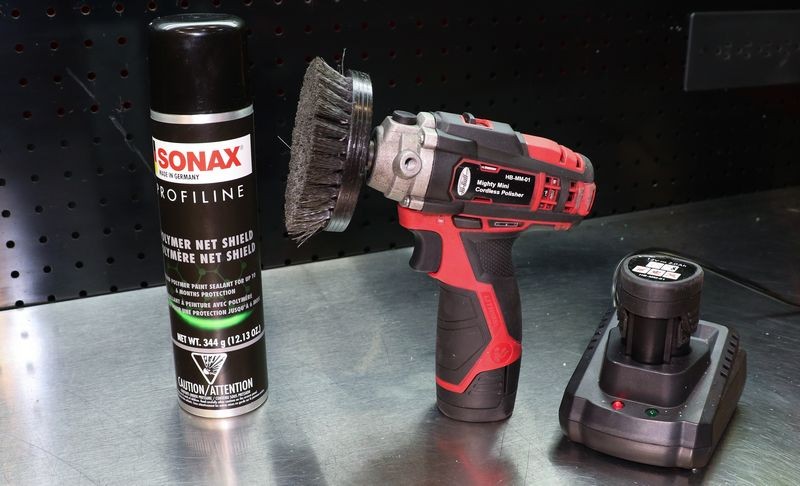
- Chemically decontaminate vinyl top and paint - SONAX Fallout Remover
- Mechanically decontaminate - Nanoskin Towel - Yellow Medium Grade
- Dry Car - Griot's Garage PFM Terry Weave Drying Towel & FLEX Cordless Car Blower
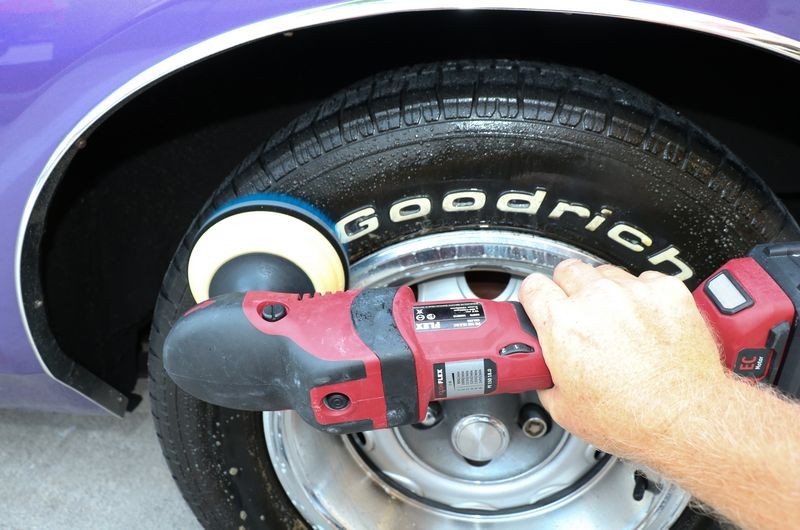
- Compound paint - FLEX CBEAST with Pinnacle Advanced Compound using Lake Country 6.5" Force Hybrid Orange Foam Cutting pads
- Polish and wax paint - FLEX CBEAST with Pinnacle Jeweling Wax using Lake Country 6.5" Force Hybrid Black Foam Finishing pads
If you look at step 6 - I used an aggressive compound with an aggressive foam cutting pad, (large thick pad too), and as I compounded the paint I pushed at about 10 pounds of pressure against the head of the CBEAST.
If you don't know, this would be considered HEAVY COMPOUNDING. In other words, I was pressing hard. I was doing this to push the tool to its limits and thus find out how long a 5 AMP batter would last for the Caveman Detailers among us.
How I did the test
First I did a Test Spot to see what it would take to remove the swirls and scratches to my satisfaction. Once I established it would require compounding with a compound and foam cutting pad, I started at the back of the passenger side of the car and compounded the body panels section by section.
After compounding a section I would turn the polisher off just long enough to place fresh compound on the face of the pad or to switch to a clean, dry pad. Then I would turn the polisher on and continue compounding the car. I did not take the time to wipe-off compound splatter as I wanted the battery to be under "close-to" continual use.
In the real world
The above was an extreme use of the tool. In the real world, normally after compounding a section of a large body panel I would then wipe the compound residue off before moving onto a new section or a new panel. This time-lag combined with the time to apply fresh product, clean the face of the pad with a brush or replace the pad with a clean, dry pad plus move on down the car, (move myself or my roll-around-stool, towels and compound), would normally take a few minutes and during this time the battery would cool, the tool would cool and there would be some level of recovery taking place in this dynamic.
My guess is, if a person buffed a car out AS NORMAL - this means not trying to punish the tool but following normal protocols, the battery may last longer. The job would take longer for sure. When you buff out a car without taking any breaks, the job takes a lot less time overall. Most people I know take plenty of breaks when buffing out a car. The stop to text or make a phone call. They stop to read a text, make a phone call or post to Instagram or Facebook, etc. Most people I know don't buff out cars as though they are a MACHINE and thus they tend to take longer than I take for the same job as I am a machine when it comes to detailing.
Total battery time
I used 3 fully charged batteries to do the compounding step and 2-3 bars of a 4th battery to machine apply the Pinnacle Jeweling Wax. So overall, about 3.5 batteries from start to finish to buff out a 20' long 1971 Dodge Charger R/T.
The FLEX XC 3401 will come with two 5 AMP batteries. When fully discharged, (like I ran them down to zero charge), it takes approximately 47 minutes to recharge to full capacity. This means, for the average person, before you run one battery all the way down the other battery will be re-charged and ready to go.
Like to be prepared for anything?
If you're the kind of person that doesn't want to take any chances because you buff like a madman, then simply purchase one extra 5 AMP battery and you're good to go.
Here's the good news!
Because the FLEX XC 3401 is a gear-driven orbital polisher - there is ZERO PAD STALLING!
So you get the safety of the dual-action movement of the pad against the paint, that is rotation and oscillation and no matter what the shape of the panel you're buffing the pad is going to rotate and oscillate NO MATTER WHAT. In other words - no pad stalling. This means you can power through a detail incredibly fast while maintaining pro quality results and no swirls.
Review
In my opinion.... the battery longevity was more than acceptable to do away with the hassle of dealing with an extension cord AND enjoy the freedom of cordless machine polishing. The cordless version of the FLEX 3401 has a max RPM of 380 while the corded version has a max RPM of 480 and if you use the corded version a lot then you'll key right in on the speed difference.
Why the lower speed limit? The reason why is the battery will last longer running at a slower speed while still providing plenty of power and run time to do correction work.
If I really need to plow through the heavy correction or compounding step on a car as fast as I can then I'm going to grab the time-tested FLEX 3401 aka the BEAST. But if I don't have work as fast as humanly possible then 100% for sure I'm grabbing my now trusty and dusty CBEAST.
In fact, the last 3 cars I've detailed I've chosen the CBEAST.
2011 Corvette
2016 Camaro
1971 Charger R/T
And I've been completely happy with the performance of the tool and the battery life of the batteries. But what I like the most is no messing around with a cord. No dragging one around the car as I work around the car and I never have to remember to place the cord over my shoulder to prevent it from marring or scratching the side of the car.
Very cool and my new favorite tool.
For those that are interested, I'll post my full write-up for how I tackled the 1971 Dodge Charger R/T below....
On Autogeek.com
FLEX XCE 8-125 18.0 Polisher - Includes Tool -2 5amp Batteries - Battery Charger $579.99
If you already own other FLEX Cordless Tools and don't need a battery charger or batteries.
FLEX XCE 8-125 18.0 Polisher - Tool ONLY - $499.99


 rops:
rops: