Thank you, sir!
Thank you for your support....and the long list of detailing information! I guess I will be burn all of my leave days reading all of that

Here's the nutshell version,
1. Wash and dry the car
2. Check to see if the paint needs to be clayed and if it does then clay the paint.
The Baggie Test - How to inspect for above surface bonded contaminants
3. Watch the "Section Pass" video, learn what a section pass is as that's how you'll buff out the entire car, that is making one section pass after another to small sections of paint.
Here's how to do a
"Section Pass" when trying to remove swirls, scratches and other below surface paint defects.
How to do a Section Pass
[video=youtube_share;Q70g83mnTn4]- How to do a "Section Pass" with a Porter Cable 7424XP[/video]
Do a Test Spot
A good rule of thumb is to use the least aggressive product to get the job done, so maybe try the UC with a white polishing pad first.
If you are not seeing results fast enough then try the UC with either a foam cutting pad.
Keep in mind,
5-6 Speed setting for removing swirls
4-5 Speed setting for polishing after swirls are removed
3-4 Speed setting for machine applying a wax.
For your test spot I always recommend using a Tape-Line when doing your testing as it will make it very easy for your eyes to detect changes, which usually mean improvements in the test area and gauge how effectively your pads, products, tool and techniques are working on this particular paint system.
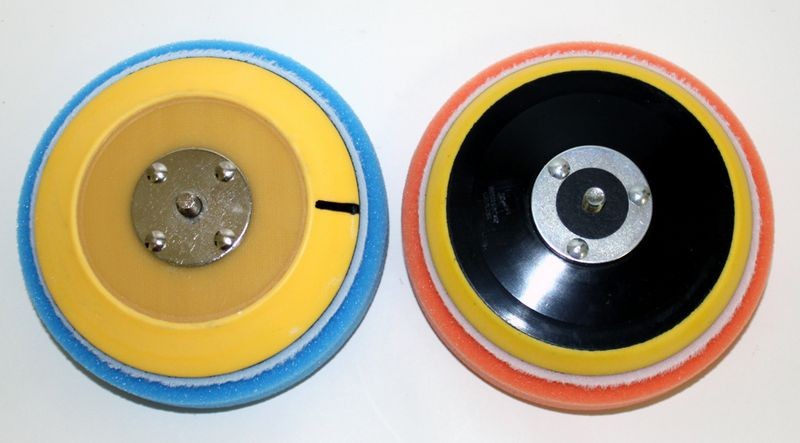
Also, mark the back of your backing plate with a black felt marker like you see below as this will help you to see when the pad is rotating or just vibrating. When you're trying to remove swirls you need the pad rotating.
Evaluating your Test Spot
After you do your section pass, wipe off the residue and then inspect the results. If you want to make sure 100% you're removing all the swirls and scratches then chemically strip the paint before inspection.
How to Mix IPA for Inspecting Correction Results
You can inspect after just the compound or after the compounding and the polishing, since the process of correction is both steps I would inspect after both steps as the compounding can leave some micro-marring that will be removed in the polishing step.
Once you dial in your process then duplicate it over the rest of the car working section by section.
If you have problems, come back to this thread and tell us what you're seeing and we'll do our best to see you through to success.
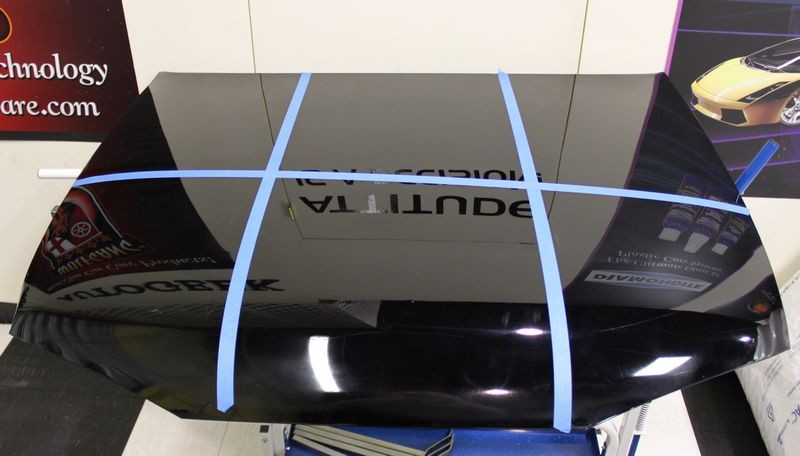
Working section by section
Buffing out a car with a DA Polisher or ANY machine is a matter of doing sections at a time, so slice each panel up into smaller sections and after finishing one section move onto a new section and OVERLAP a little into the previous section. Here's an example of slicing a panel, (a car hood), up into smaller sections.
Here's some tips...
First, always work on a cool surface in the shade.
Second, prime clean, dry pads before starting.
Priming a clean, dry pad is considered the best approach for using a DA Polisher because it ensures that 100% of the working surface of the pad is wet with product and working at maximum efficiency when you turn the polisher on. I originally learned of this technique from my friend Kevin Brown.
Priming the pad also ensures that you don't have any dry portion of the pad working over the paint un-lubricated. This really isn't a risk because since you're just starting out you're going to be removing defects a lot more serious than would be caused by any portion of the pad that is dry and spinning against the paint.
Plus, after just a few passes, the product you apply to specific areas of the face of the pad will migrate over the entire face of the pad and it will do this rather quickly when you're on the higher speed settings.
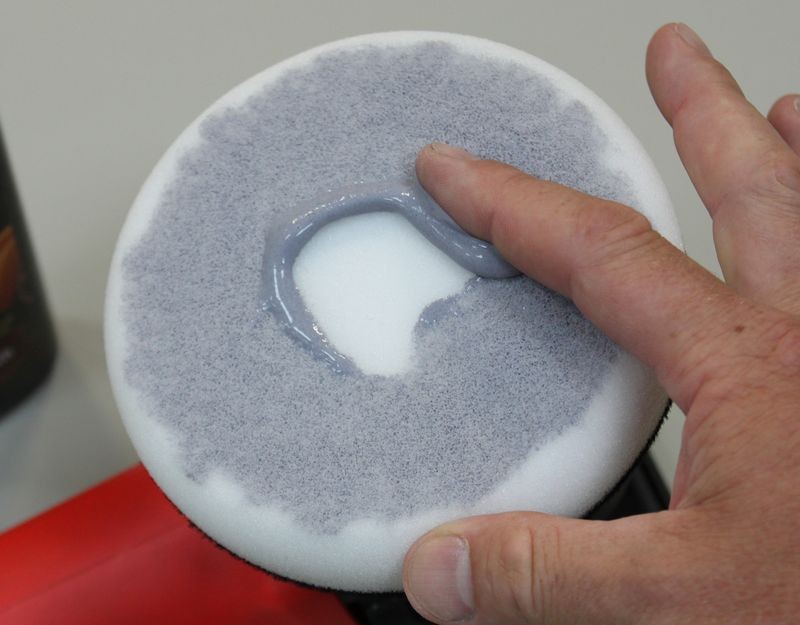
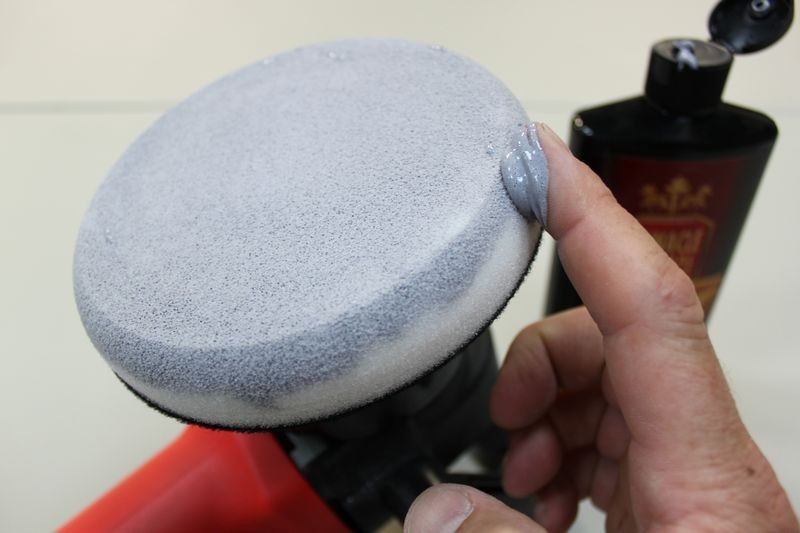
Priming the Pad - For clean, dry pads
Start with a clean, dry pad and add some fresh product to be spread out to the face of the pad. Using your finger, spread the product out over the pad and then using your finger work it into the pores of the pad. Don't saturate the pad, just use enough product to make sure that 100% of the working face of the pad has product coverage.
Work the product around the face of the pad and into the pores
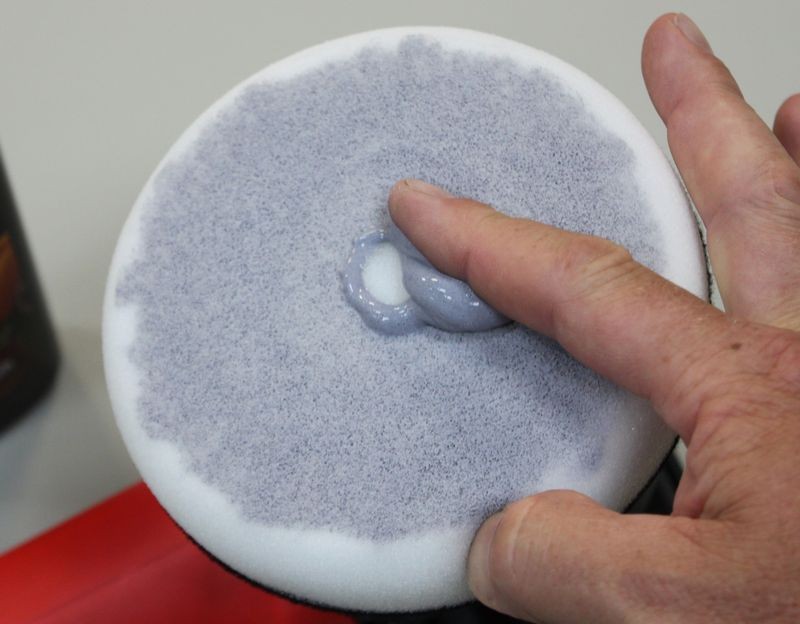
Any extra, take and apply to the outer edge until 100% of the working face of the pad is primed with product.
As an option you can also prime the outer edge. This helps if you're buffing around convex curves or around panels that the edge of your buffing pad may come into contact with, like spoilers, side mirror housings, curved panels etc.
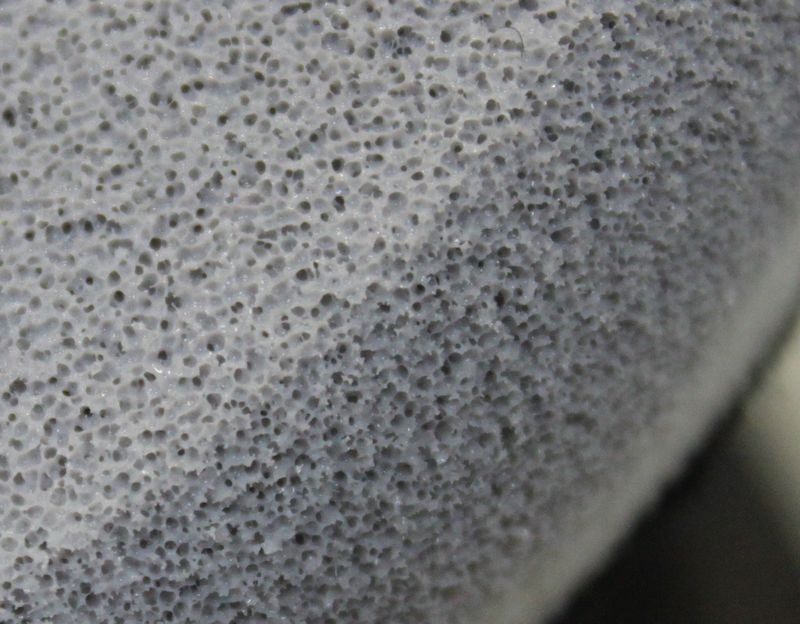
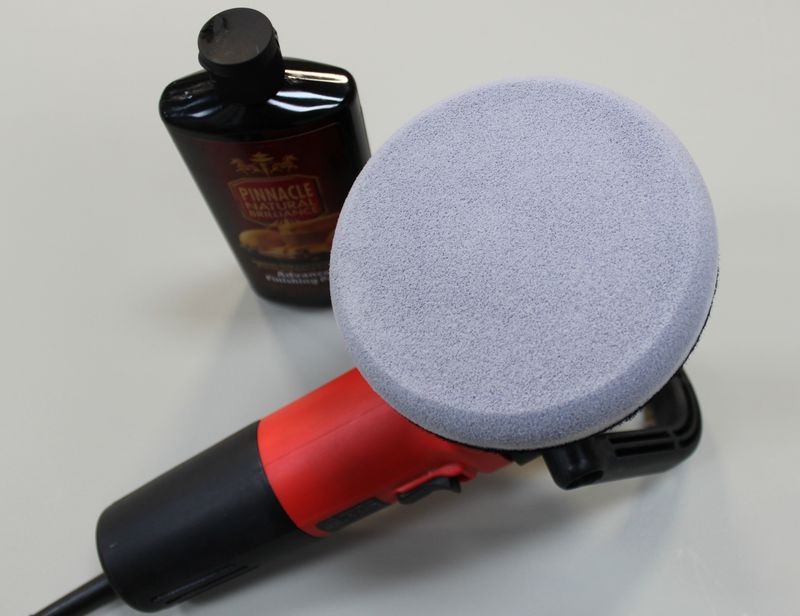
Primed and ready to add "Working Product" to.
Adding "Working Product" to the primed pad
Some people will recommend 3 to 4 pea size drops of product as the proper amount of product to use and this can be correct for
concentrated products or working small sections and if you follow this advice make sure you are not
under-lubricating the surface being worked.
Pea size drops of product
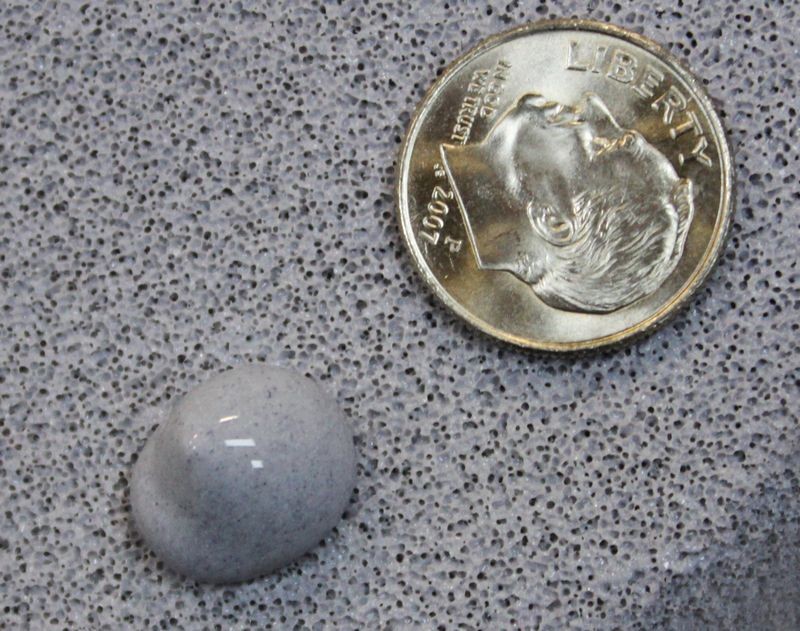
For some products and paint conditions, you may want more product on the surface working for you. Here's an example of dime size drops of product.
Dime size drops of product
How much product to use after priming
Ample
You want an AMPLE amount of product when first starting out because you pad is dry and some of the product is going to seep into the pad leaving less on the surface to LUBRICATE and ABRADE the paint
Cut down on the amount of product AFTER pad is broken-in...
After your pad is broken in with product, clean your pad after each section pass and when you apply fresh product you can cut down on the amount of product you actually apply to the face of your pad.
Too Little Product
Under-using product reduces lubricity and will make it more difficult for your pad to rotate efficiently.
Too Much Product
Using too much product will
hyper-lubricate or over-lubricate the pad and will interfere with the abrasives ability to abrade the paint.
Keep in mind that you want enough product on the surface so you have,
- Abrasives working for you.
- A lubricating film between the paint and the pad.
Often times if you don't have enough product to work with you'll end up buffing to a dry buff. When you lose lubrication,
friction increase and this can lead to micro-marring or hazing.
")