Mike Phillips
Active member
- Dec 5, 2022
- 51,004
- 8
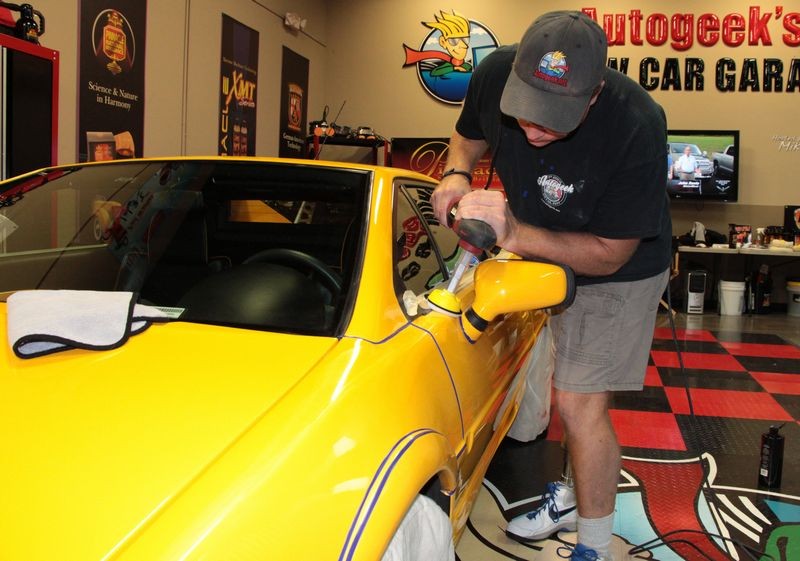
How to buff in tight spaces using a rotary buffer
For doing correction work in tight areas and on thin panels I use the Flex PE14 with a small pad. I call this surgical or precision buffing. To do this you need,
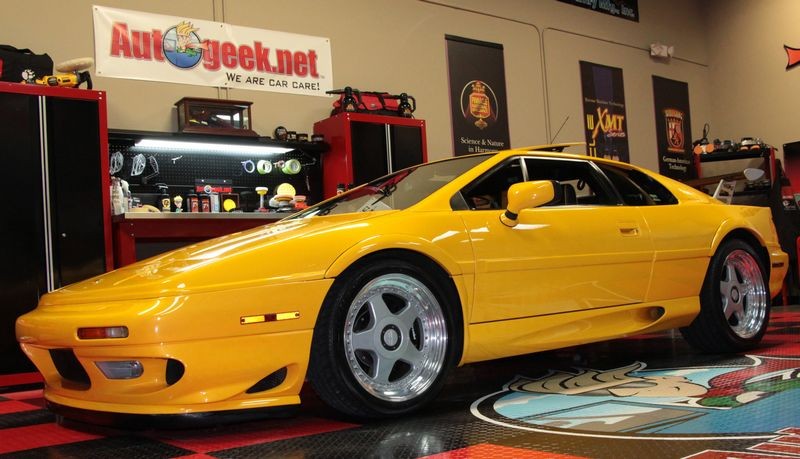
Here's an example on the Lotus Esprit I recently buffed out. I used these pictures for my class at Mobile Tech Expo, "How to use the rotary buffer".
Surgical or Precision Buffing
I could have done this type of precision buffing using a FULL SIZE DeWALT, or Makita or 3M or Milwaukee Rotary Buffer but it's the compact size, that is no bulky body in the way of my view or in the way of body components, plus the lightweight plus the slow RPM that makes the Flex PE14 the perfect tool for this type of work.
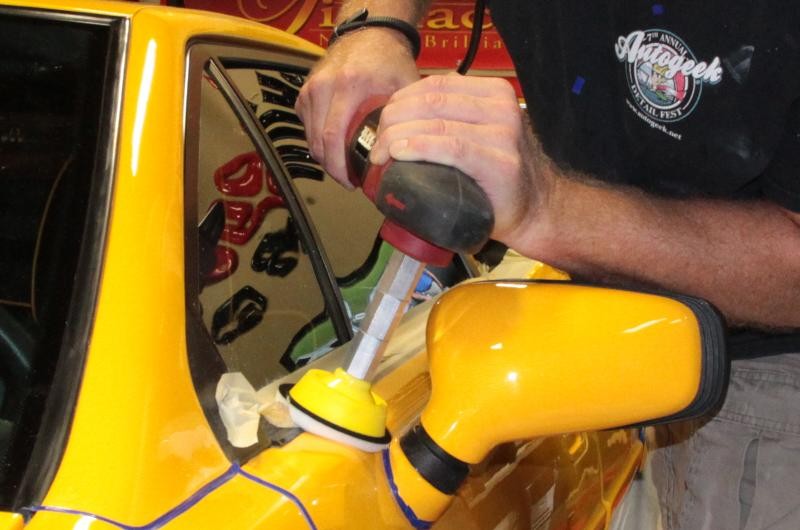
The Flex PE14 and small pads, backing plates and an extension or two and you're good to go...
:dblthumb2:
For doing correction work in tight areas and on thin panels I use the Flex PE14 with a small pad. I call this surgical or precision buffing. To do this you need,
- Lightweight, compact rotary buffer
- Rotary Buffer Backing Plate Extension(s)
- Small backing plates
- Small buffing pads, both foam and fiber
Here's an example on the Lotus Esprit I recently buffed out. I used these pictures for my class at Mobile Tech Expo, "How to use the rotary buffer".
Surgical or Precision Buffing
I could have done this type of precision buffing using a FULL SIZE DeWALT, or Makita or 3M or Milwaukee Rotary Buffer but it's the compact size, that is no bulky body in the way of my view or in the way of body components, plus the lightweight plus the slow RPM that makes the Flex PE14 the perfect tool for this type of work.
- You want power?
- You want ease of use?
- You want to buff out thin panels or get into tight areas to do correction and polishing work?
The Flex PE14 and small pads, backing plates and an extension or two and you're good to go...
:dblthumb2:
")
 rops:
rops: