LuxuryMobile
New member
- Feb 12, 2009
- 1,532
- 0
Griots Garage DA Polisher Swith Relocation
(**this write up is based off of Gary Dean’s video**)
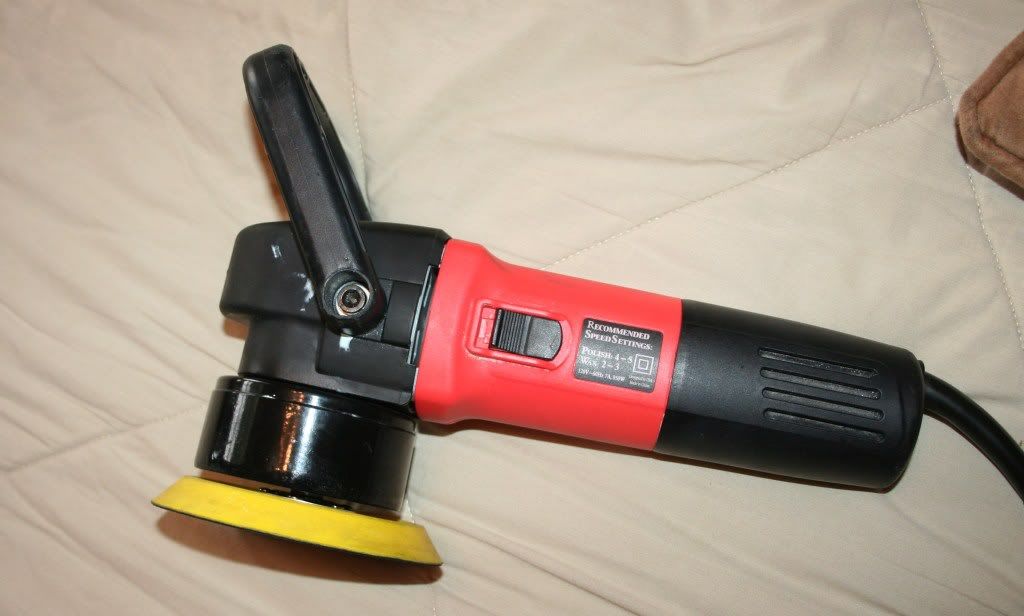
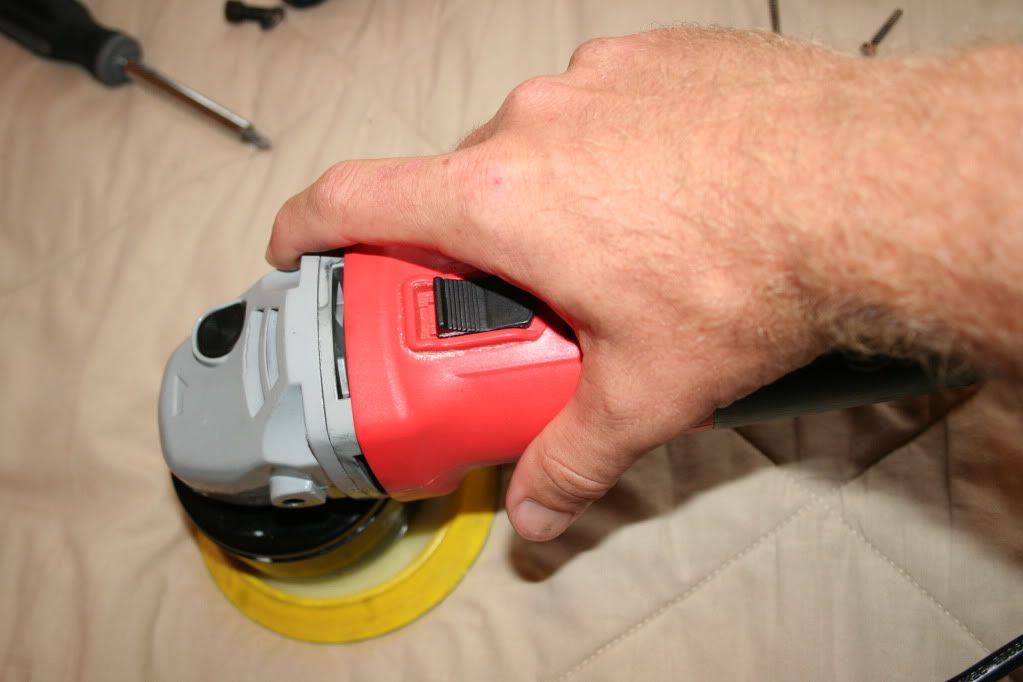
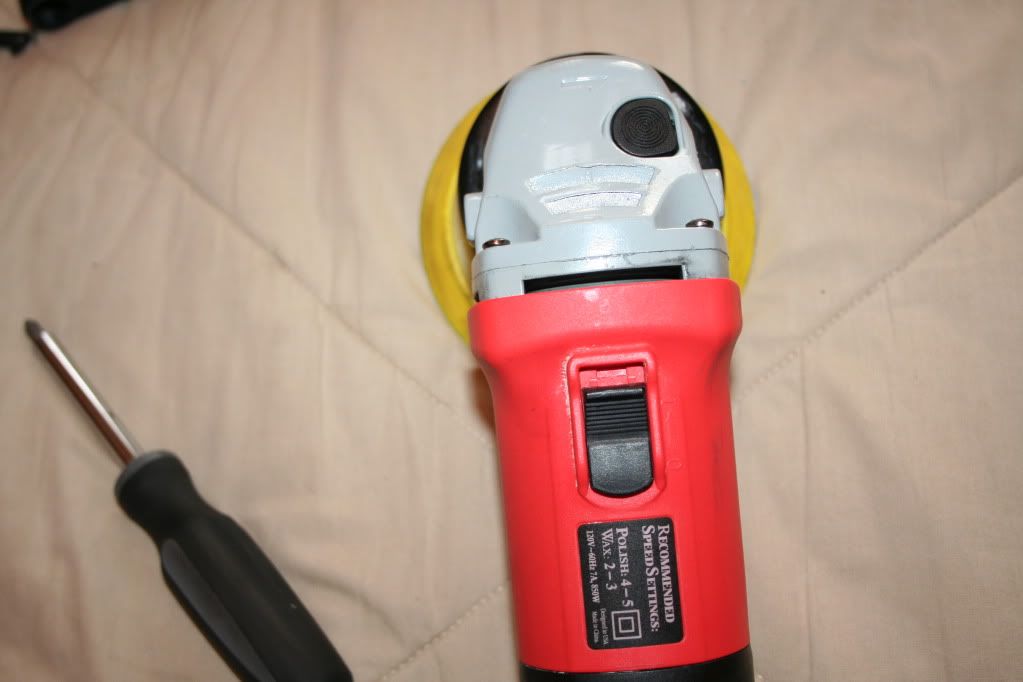
After constantly shutting of my GGDA while using it (accidently bumping switch with my thumb) I decided to relocate the switch to the top of the polisher. The video tutorial Gary Dean put together was very helpful.
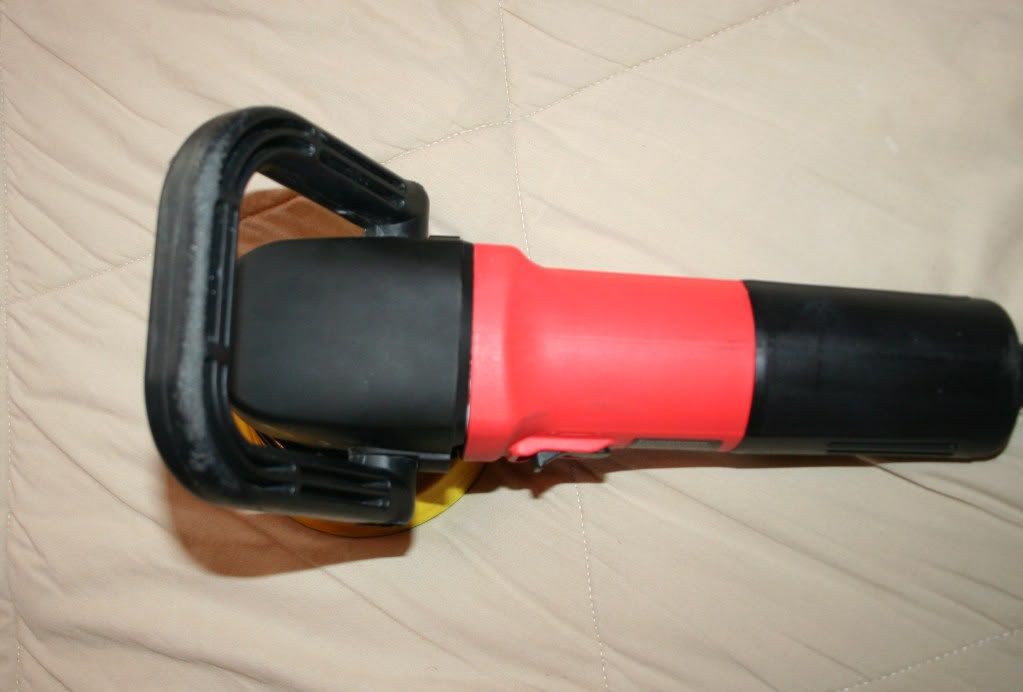
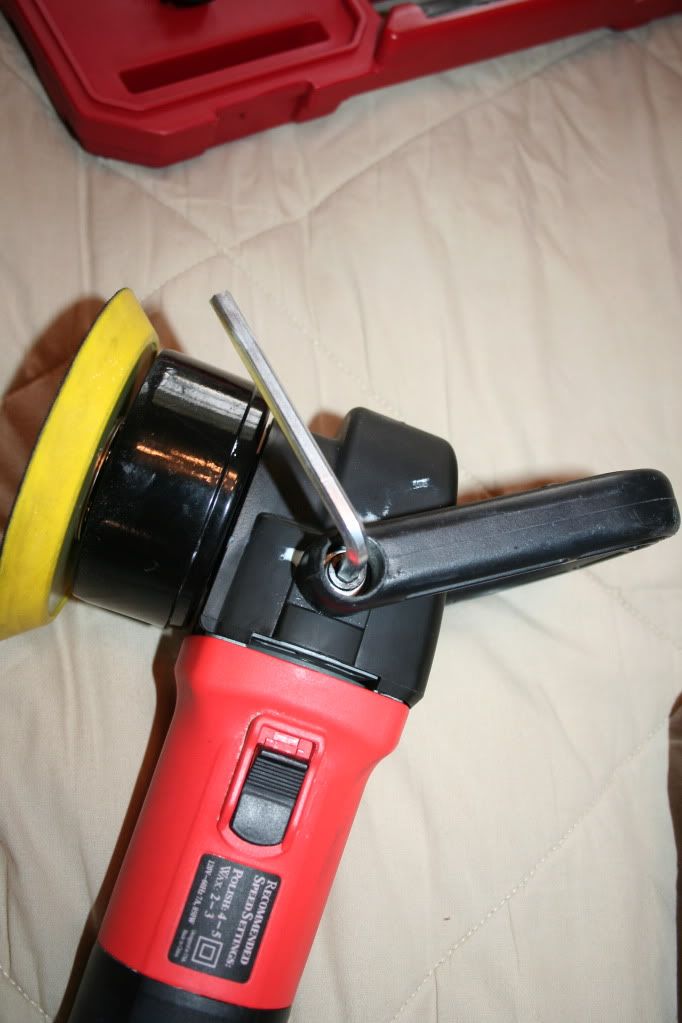
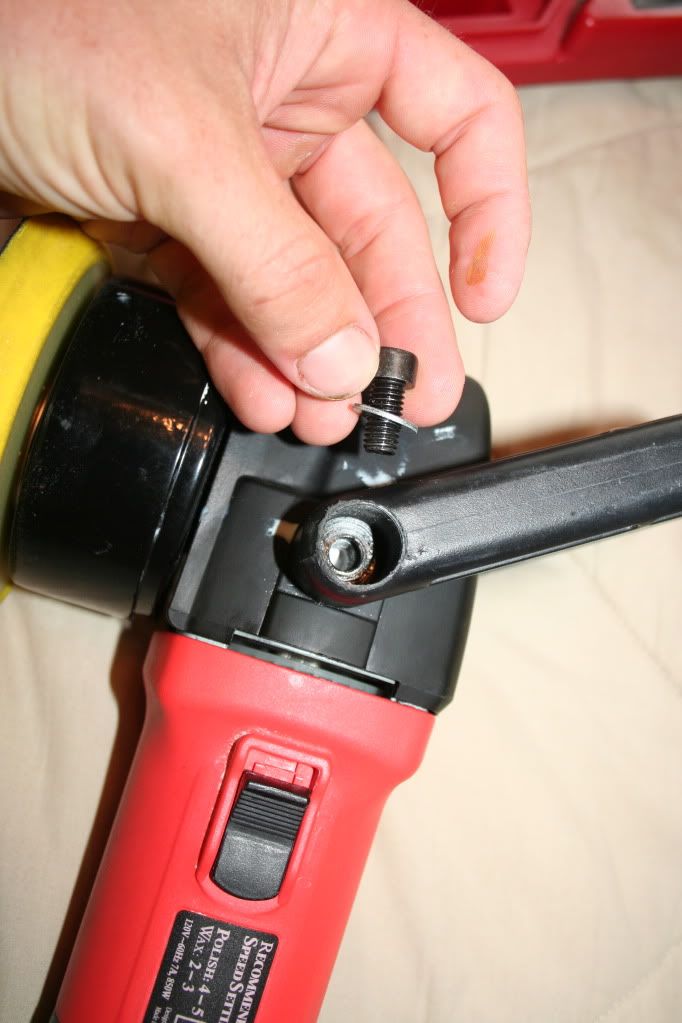
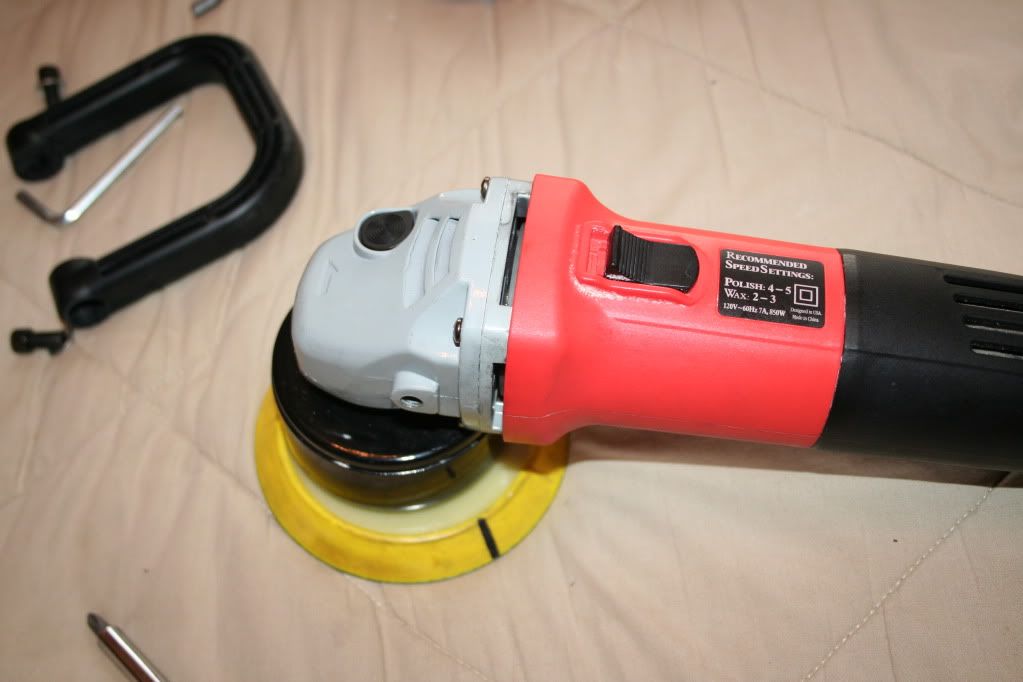
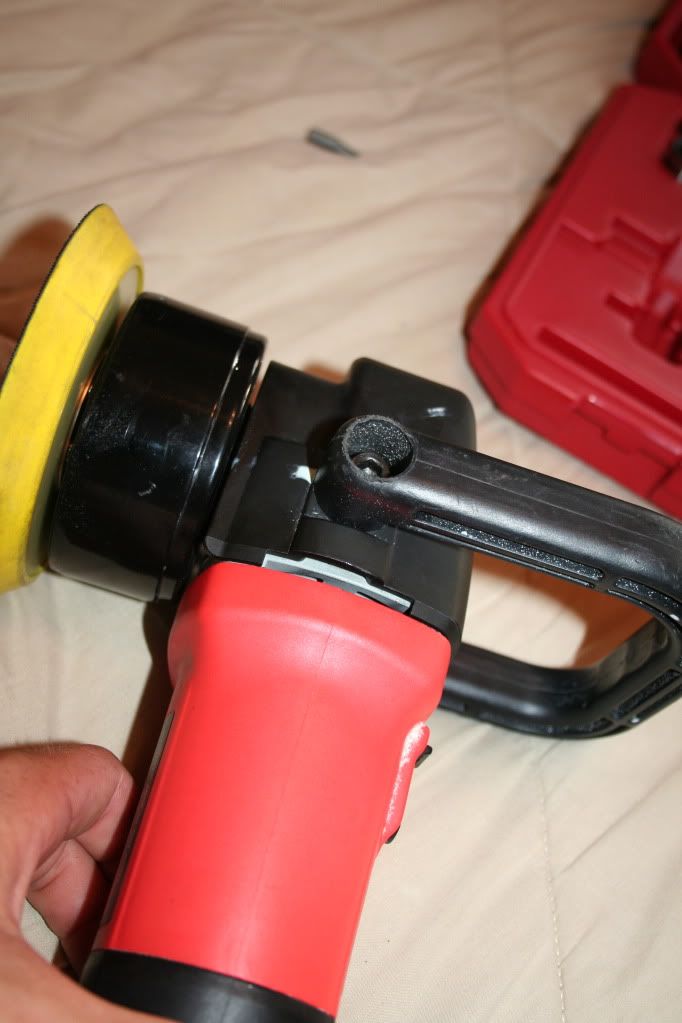
First thing to do is remove the handle of the polisher if it is attached, I know some guys have the handle already removed. The tool to remove the handle should have come with your polisher.
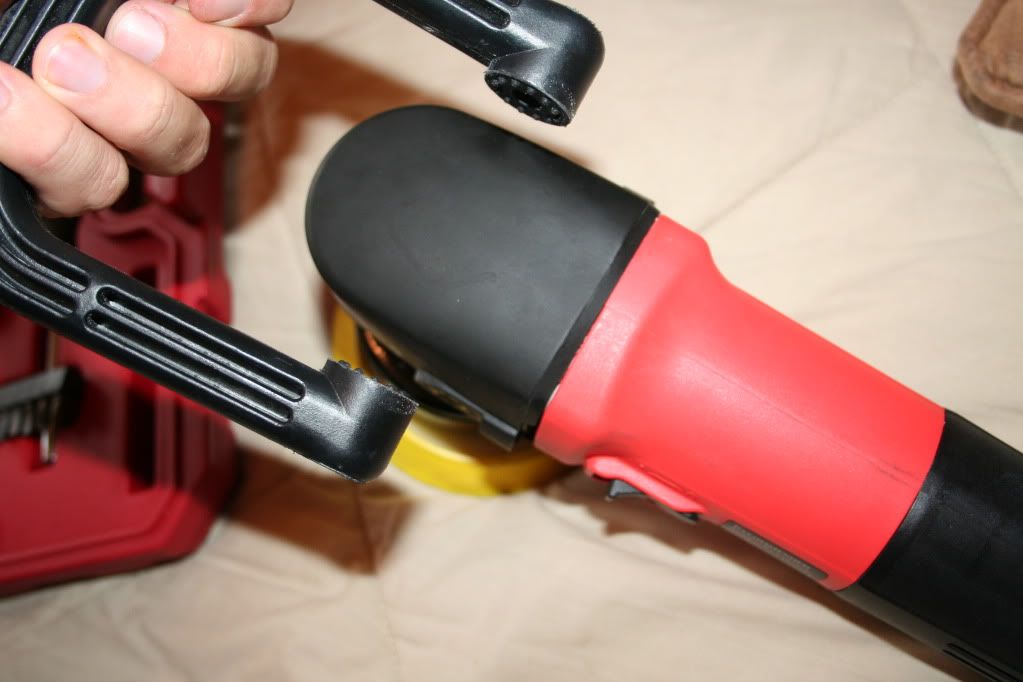
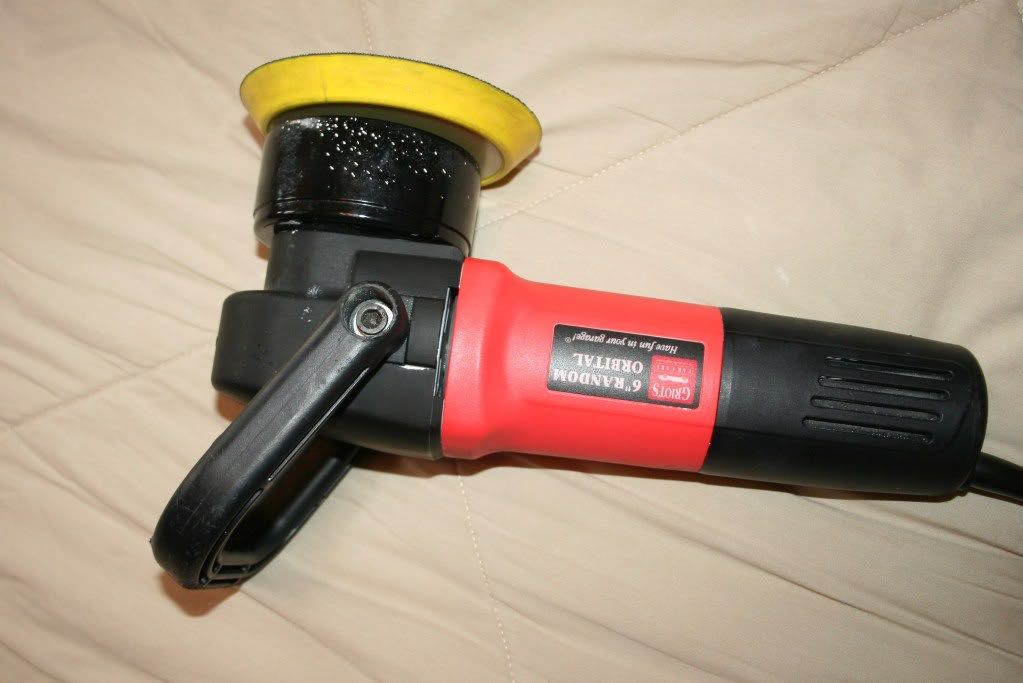
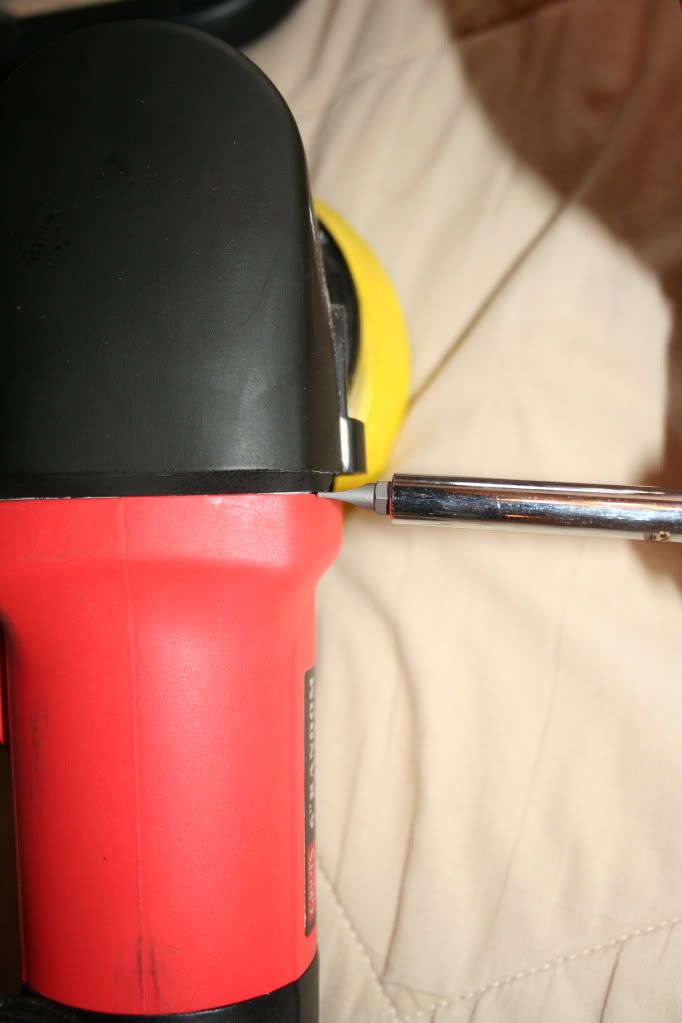
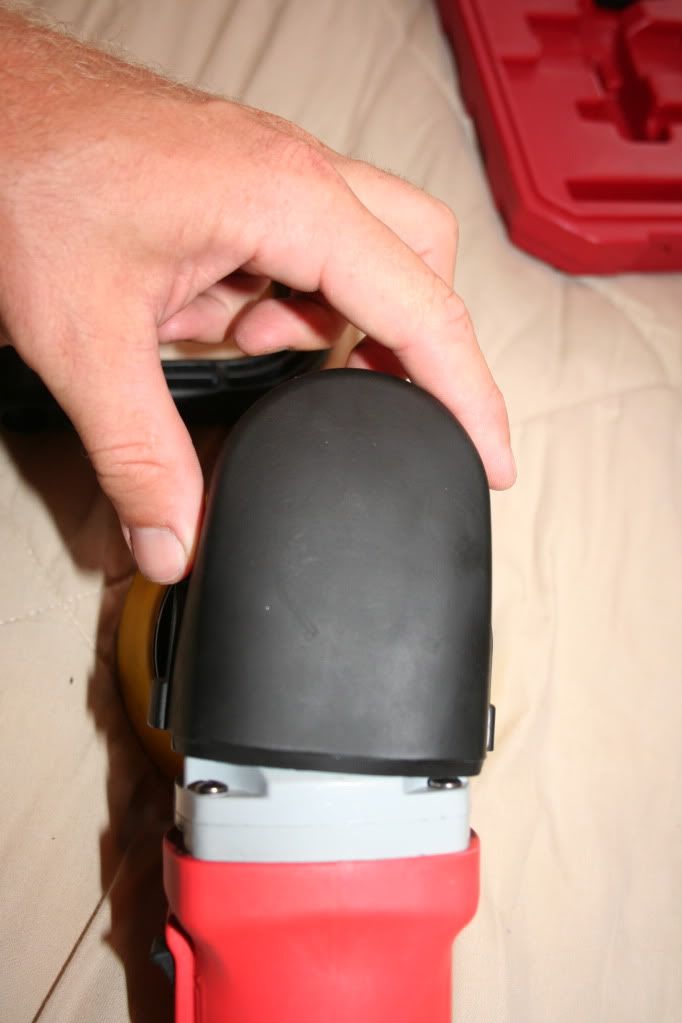
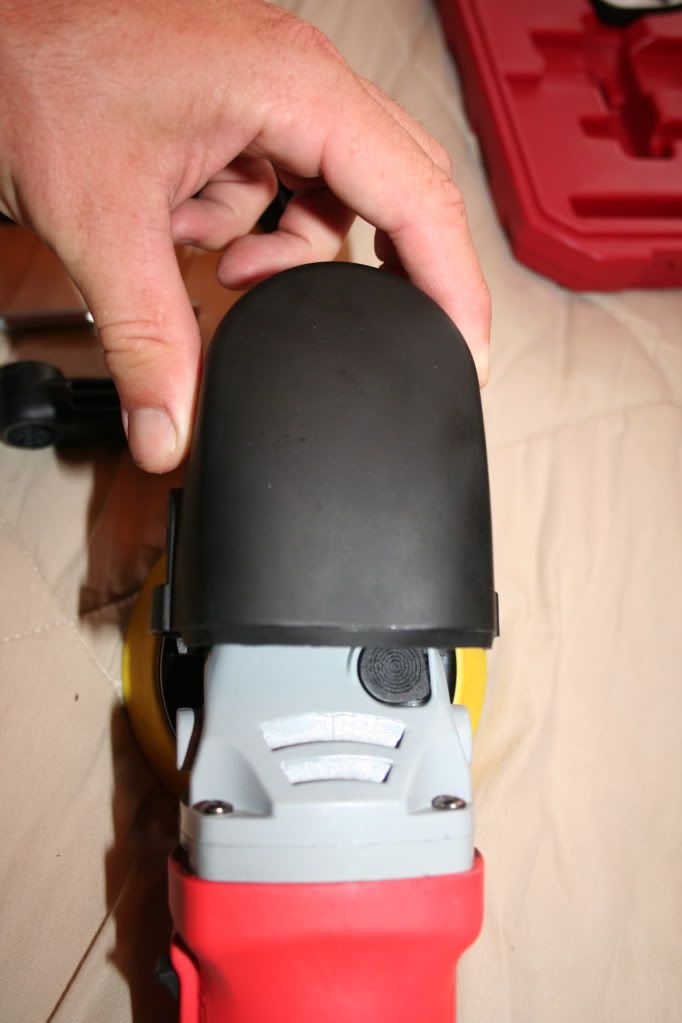
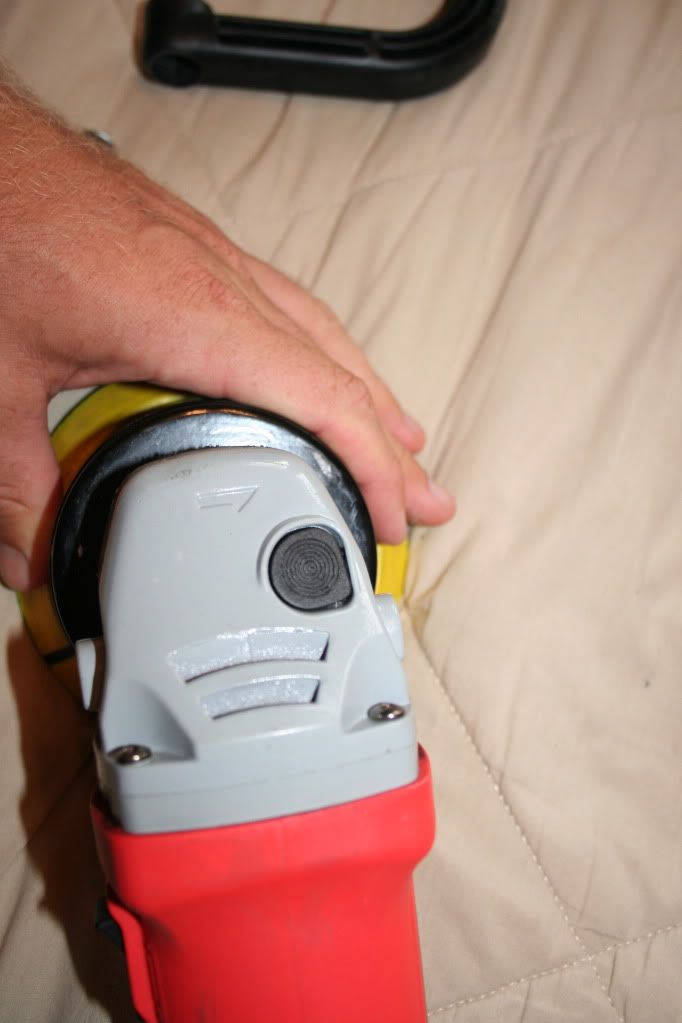
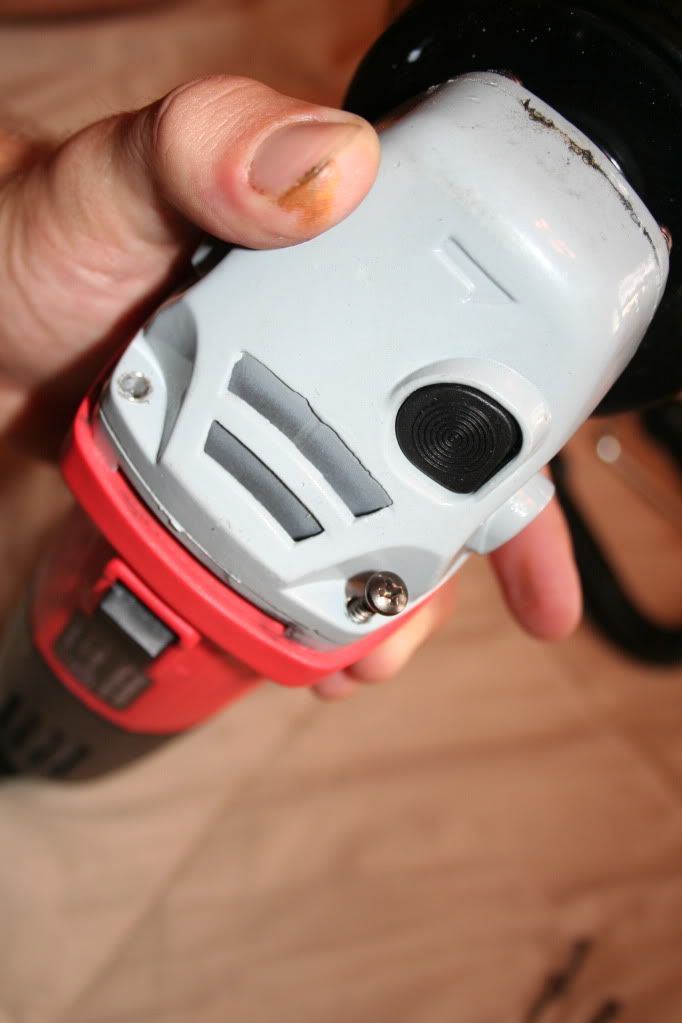
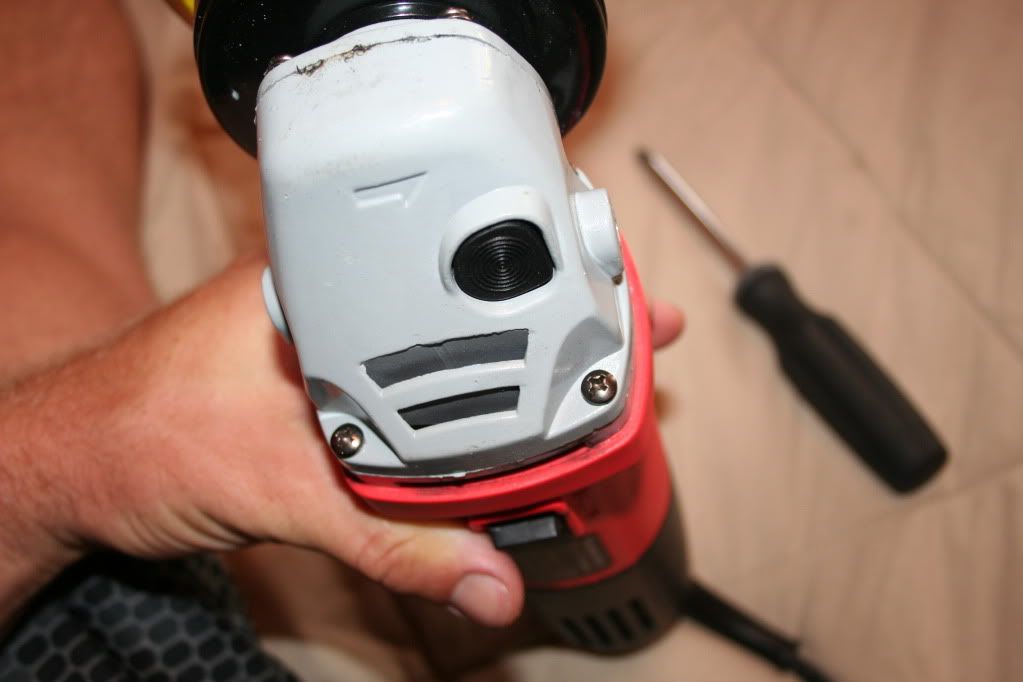
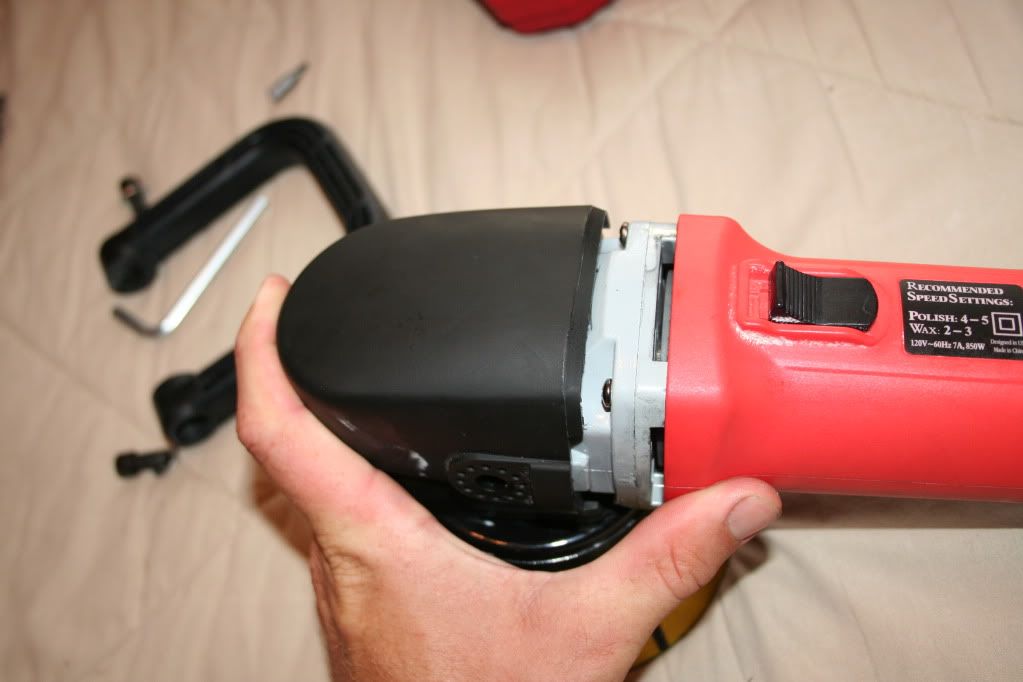
Now that the handle has been removed from the tool, it is time to remove the black cover at the tip of the polisher. The cover can be carefully pried off with a flat head screwdriver or probably even just carefully removed using just your hands.

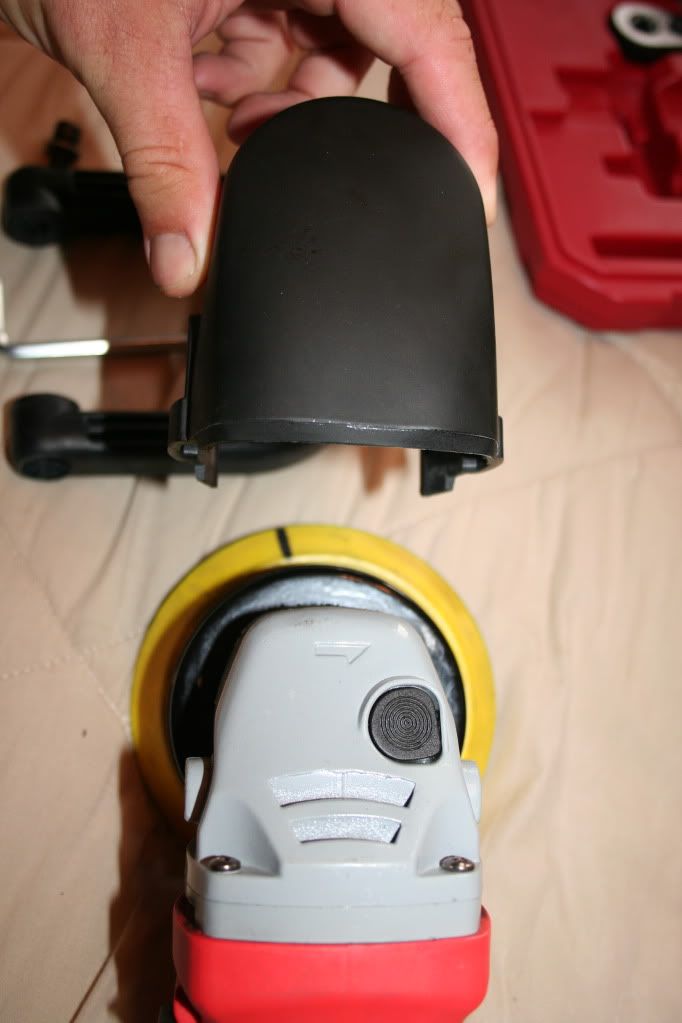
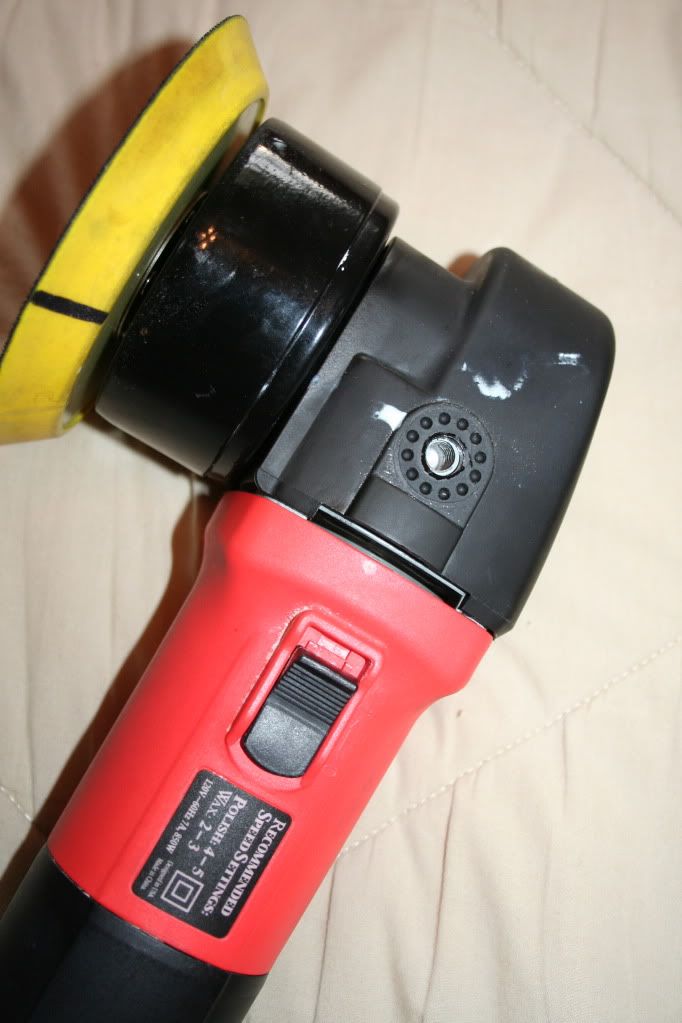
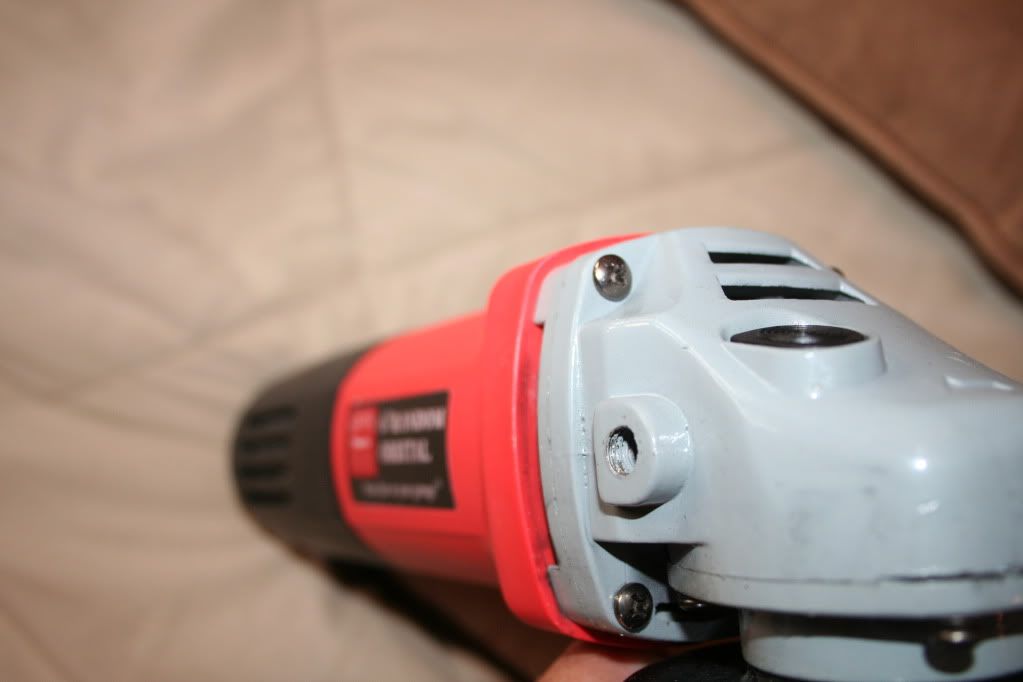
Once the cover is removed you will find 4 screws that hold the head of the polisher to the body of the polisher. Each of these screws can be carefully removed with a Phillips head screwdriver. After the last screw is removed the head of the polisher will separate from the body.
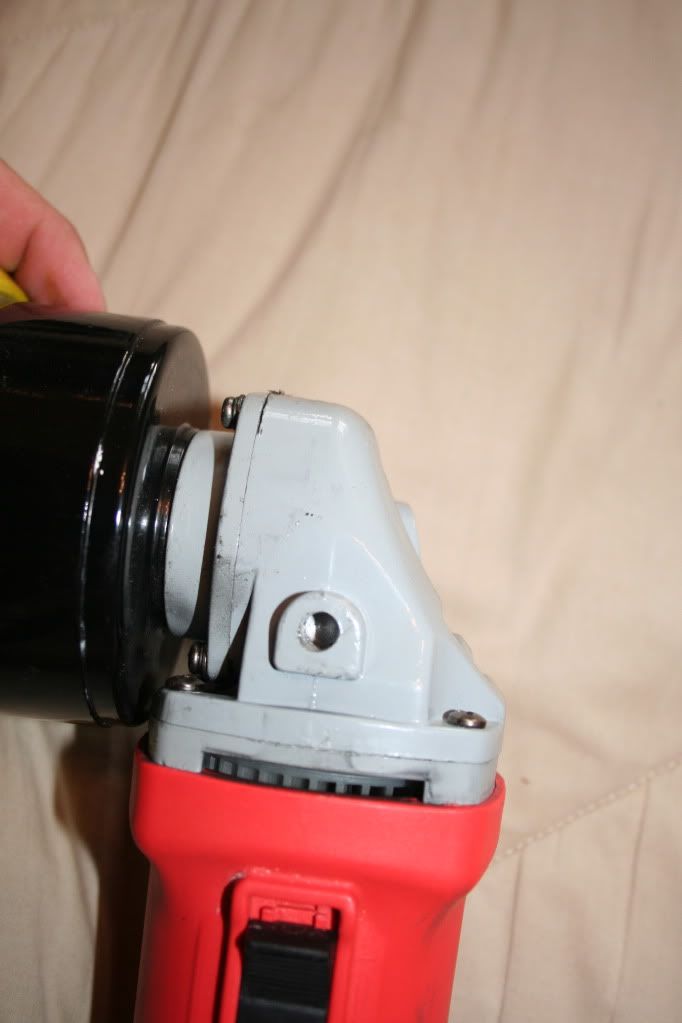
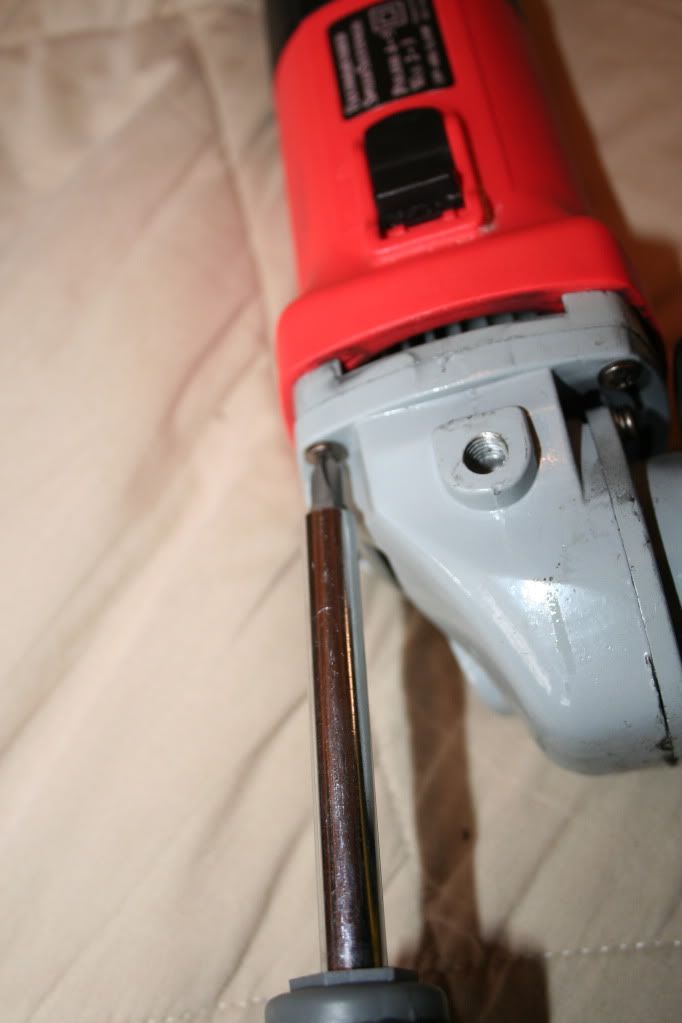
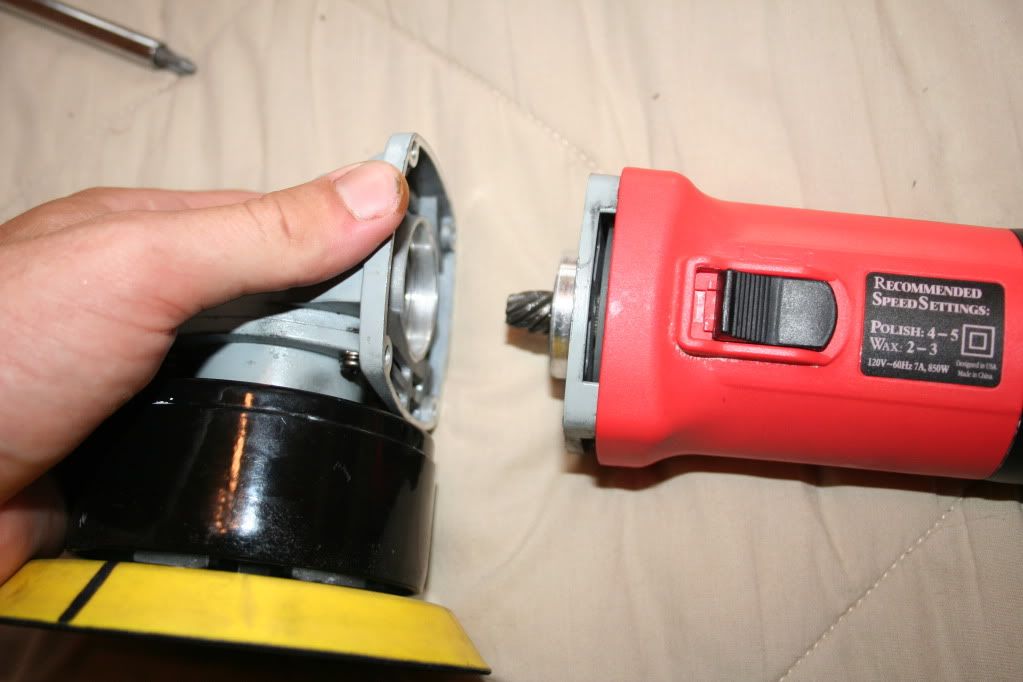
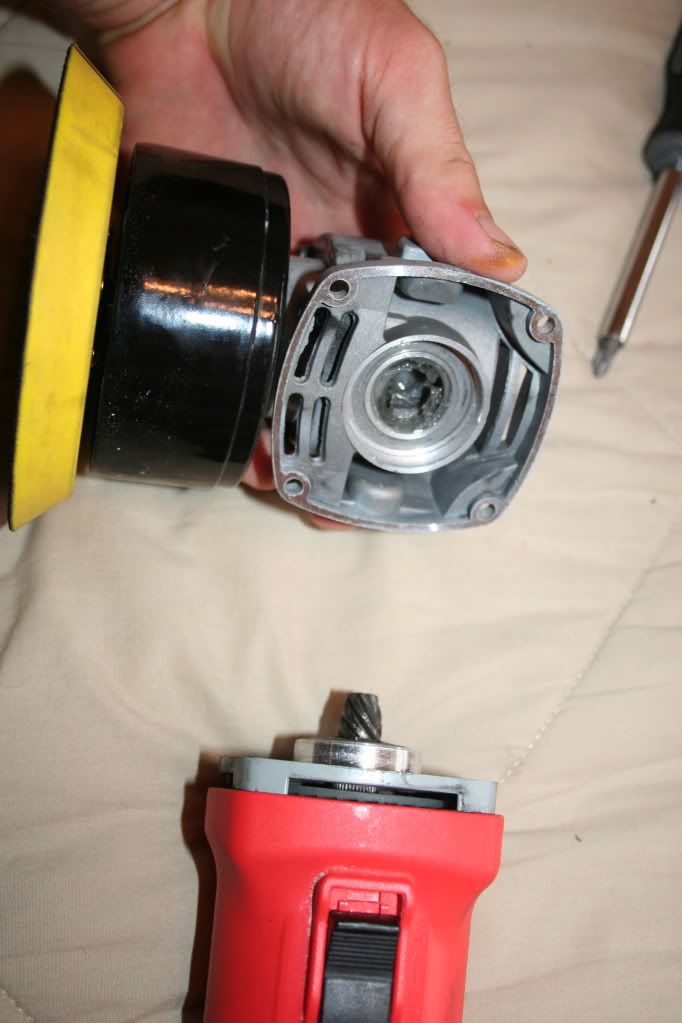
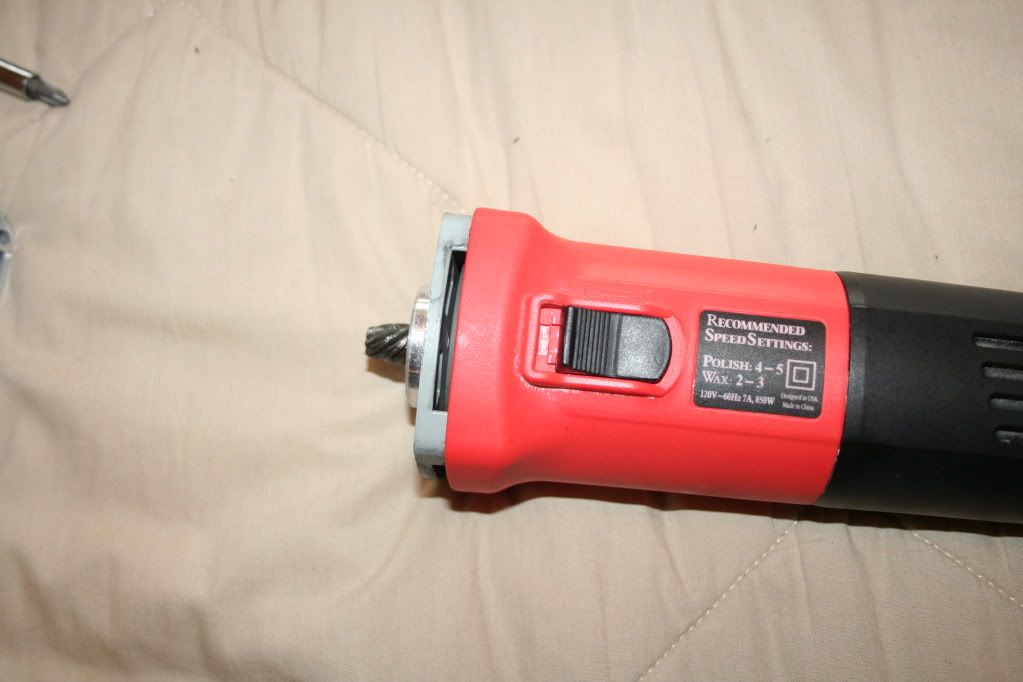
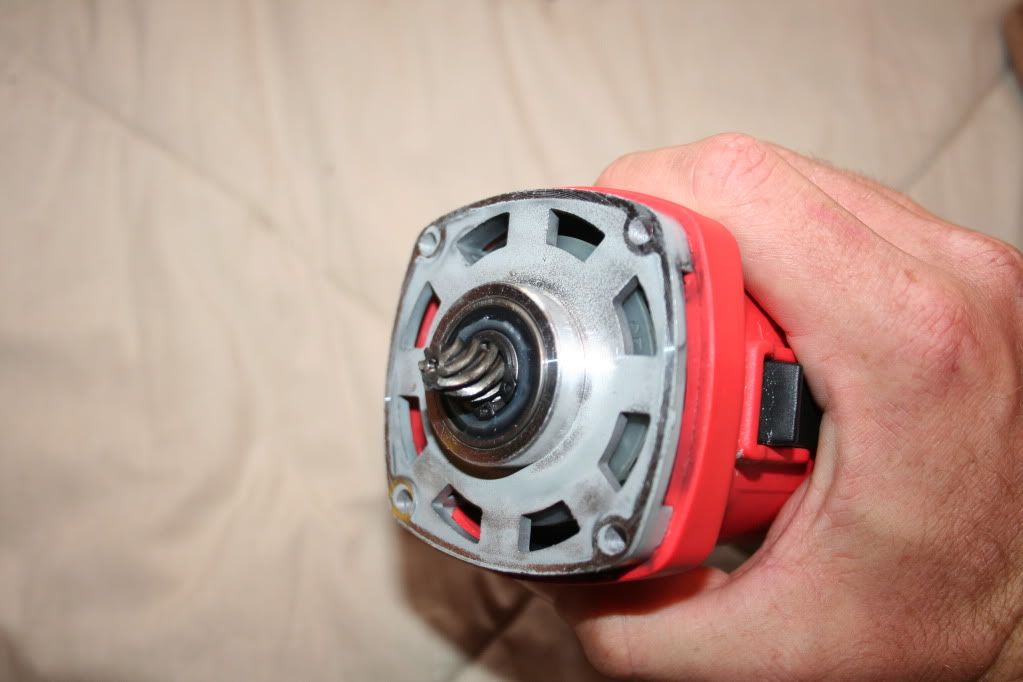
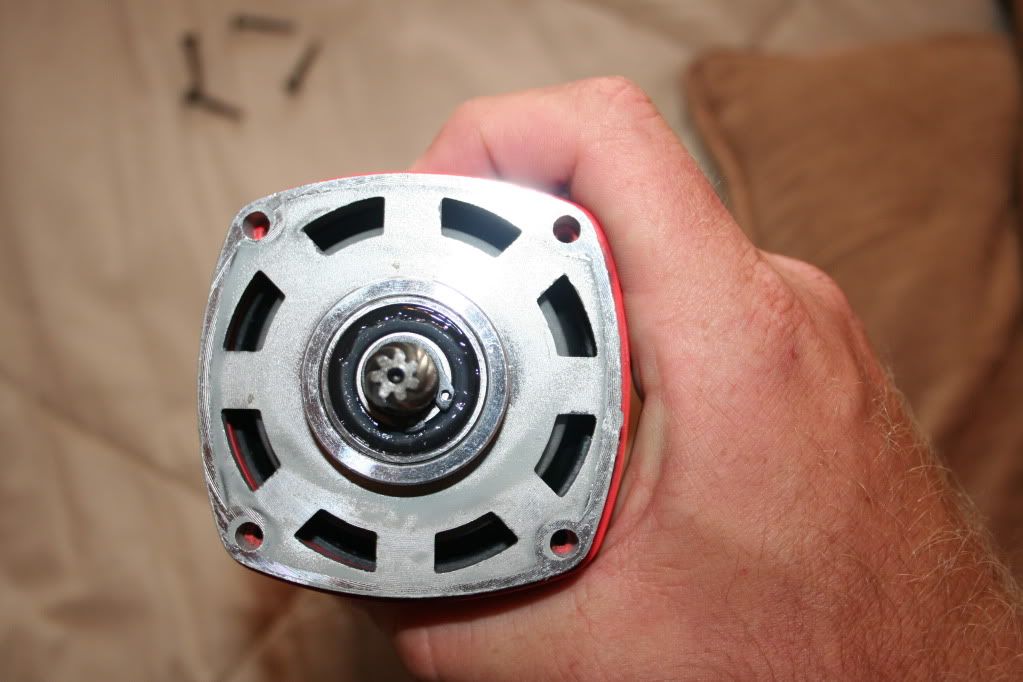
Now you are going to rotate the body of the polisher to the position where the switch will be in the position you would like for it to be, in relation to the head of the polisher. For me I wanted to move the switch to the top of the machine.
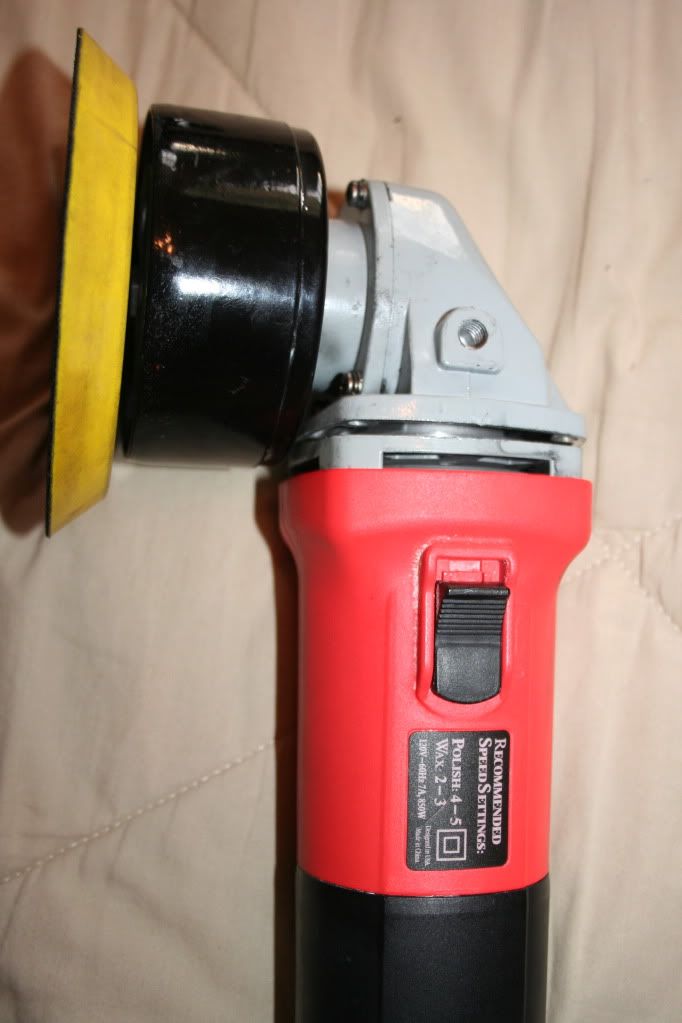
Once the head of the polisher is back together with the body of the polisher, just repeat the steps of removal to get the tool put back together.
Hope this helps people put the switch in a position that I feel it should have been to start with. Feel free to ask any questions.
(**this write up is based off of Gary Dean’s video**)
After constantly shutting of my GGDA while using it (accidently bumping switch with my thumb) I decided to relocate the switch to the top of the polisher. The video tutorial Gary Dean put together was very helpful.
First thing to do is remove the handle of the polisher if it is attached, I know some guys have the handle already removed. The tool to remove the handle should have come with your polisher.
Now that the handle has been removed from the tool, it is time to remove the black cover at the tip of the polisher. The cover can be carefully pried off with a flat head screwdriver or probably even just carefully removed using just your hands.
Once the cover is removed you will find 4 screws that hold the head of the polisher to the body of the polisher. Each of these screws can be carefully removed with a Phillips head screwdriver. After the last screw is removed the head of the polisher will separate from the body.
Now you are going to rotate the body of the polisher to the position where the switch will be in the position you would like for it to be, in relation to the head of the polisher. For me I wanted to move the switch to the top of the machine.
Once the head of the polisher is back together with the body of the polisher, just repeat the steps of removal to get the tool put back together.
Hope this helps people put the switch in a position that I feel it should have been to start with. Feel free to ask any questions.