Mike Phillips
Active member
- Dec 5, 2022
- 51,004
- 6
How to photograph and capture swirls in the sun
Here are some tips and technique you can use to take pictures of the before condition of a detailing project and also the after condition. As you look at these pictures, note how,
First I frame up the shot so you have a good idea what it is I'm taking a photograph, (type of car), or the section of the car.
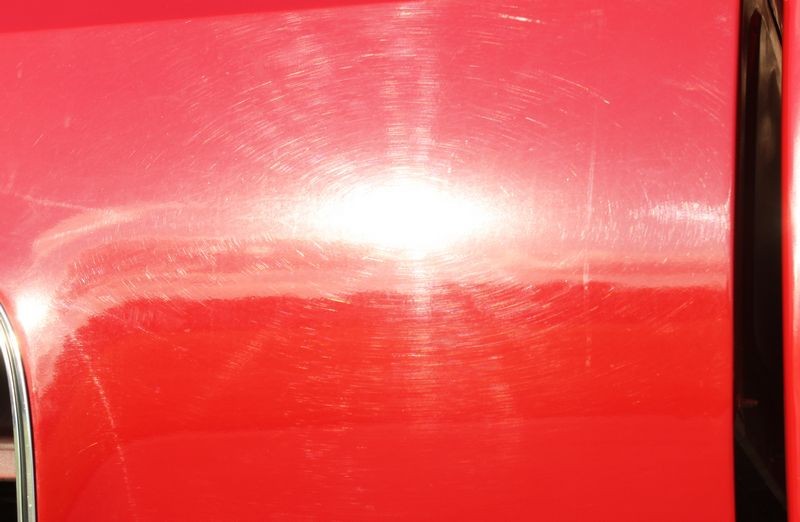
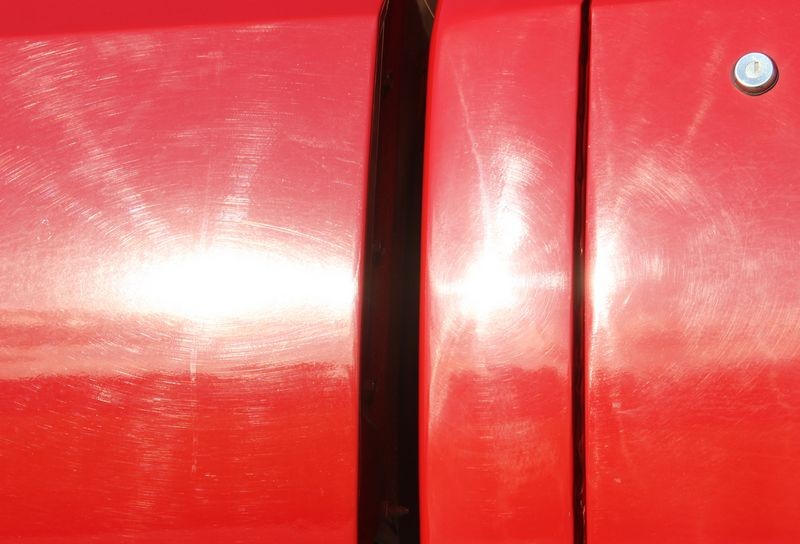
Second, I zoom in on just the topic of the picture, in this example it will be swirls
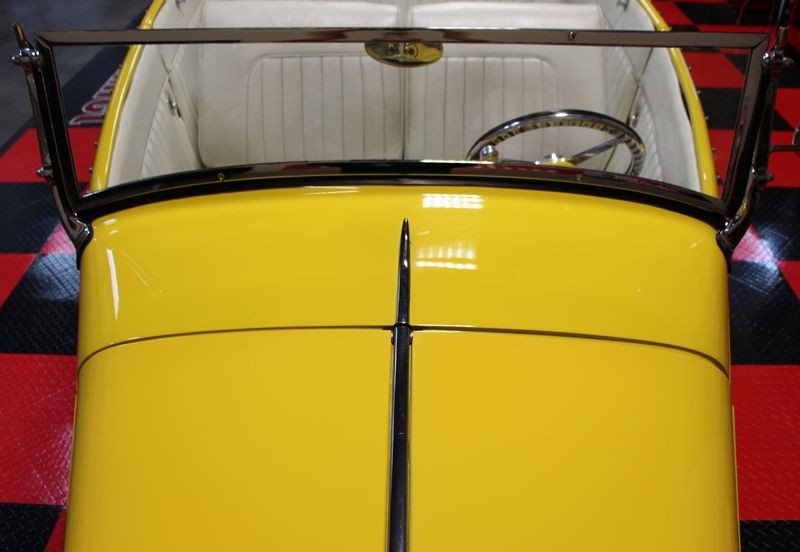
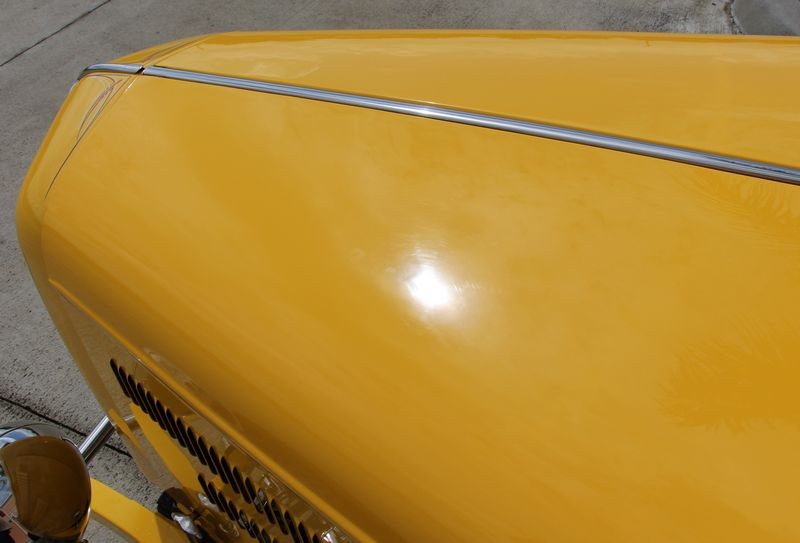
Sun on hood shot
Here I'm zoomed out and holding the camera way over my head while pointing the lens at the hood.
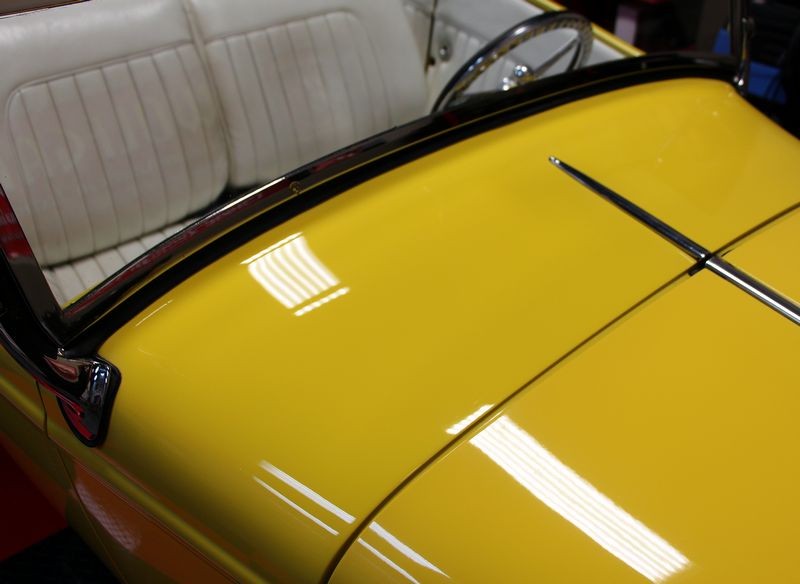
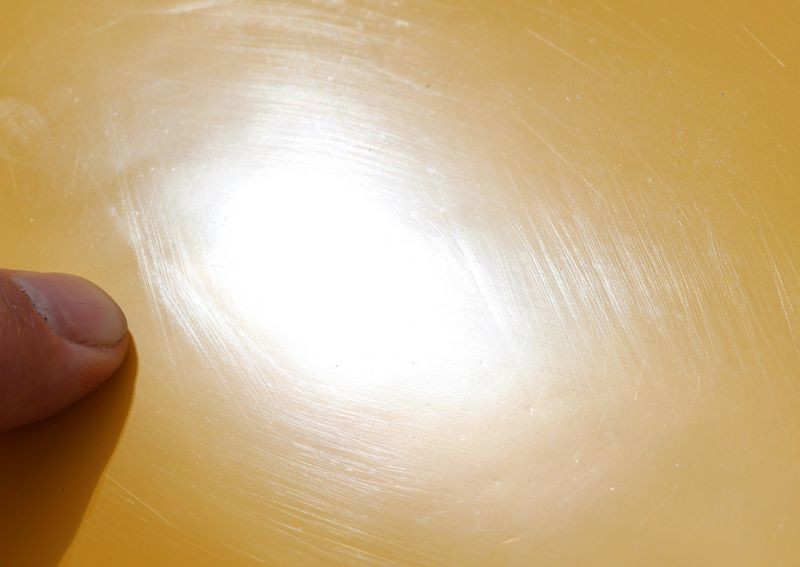
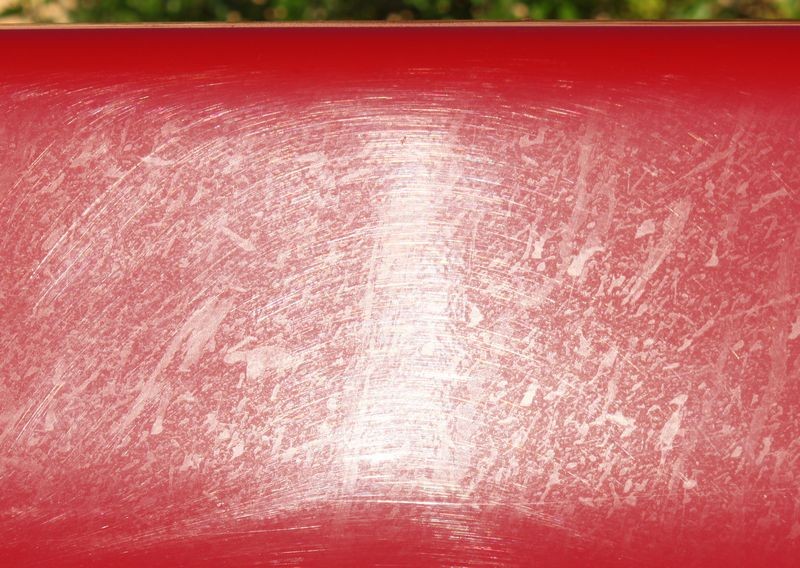
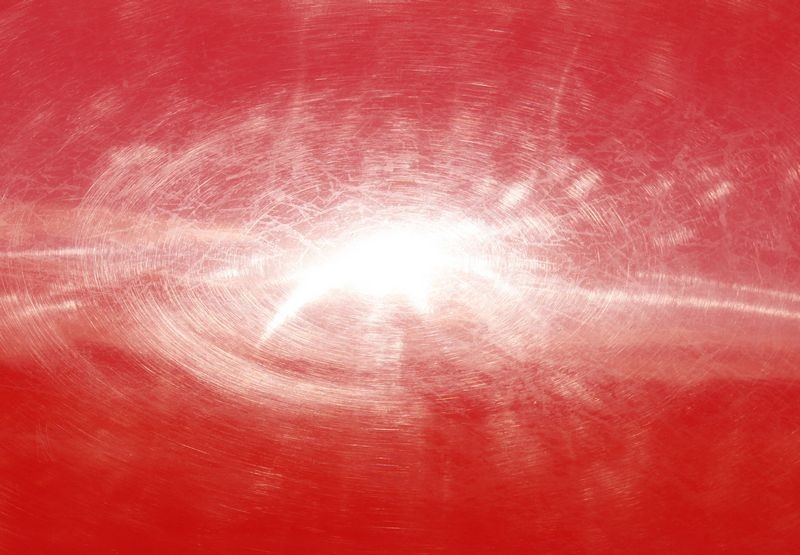
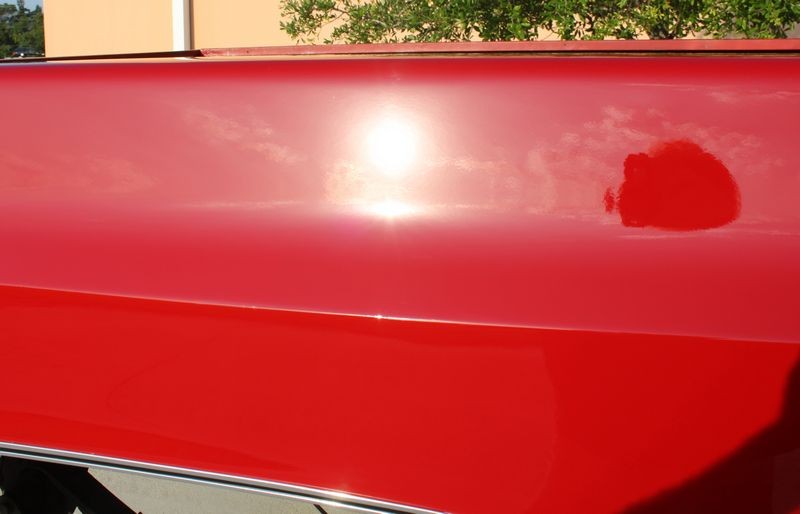
Close-up shot of swirls
Note my finger on the paint? While it looks like I'm pointing to the swirls and I am, the real reason my finger is in the shot is to give the camera a focus point on the hood. By focusing on my finger, the camera also focuses on the "surface" of the paint to capture the swirls and scratches on the surface. I have an article about this photography technique here.
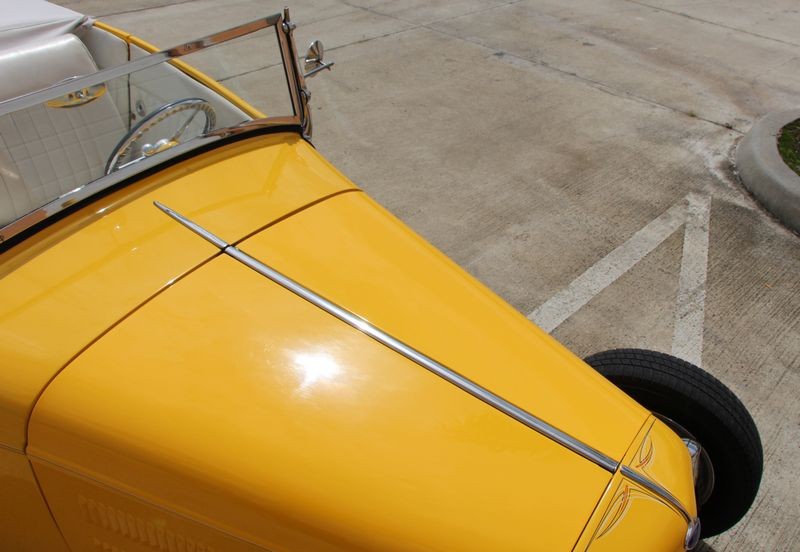
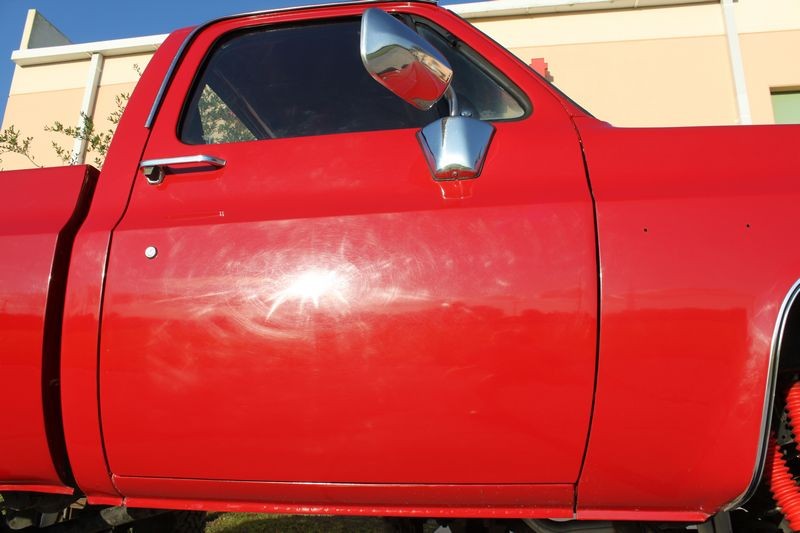
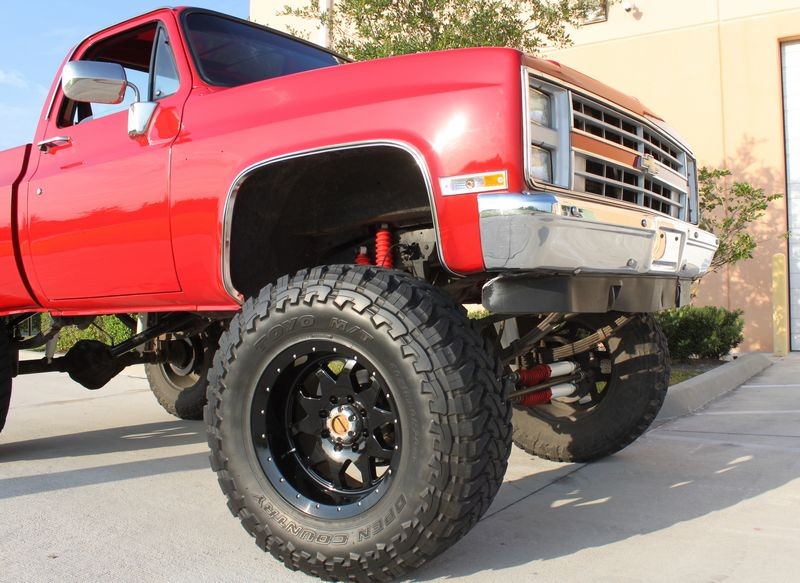
Sun on hood shot
In this pictures we've actually turned the hot rod around as we were getting ready to move it into the garage when all of a sudden, the sun poked his head out of the clouds a little better than in the above pictures. So I took a few more shots...
Hood framed up...
Giving the camera a focus point
Here I'm about still zoomed all the way out but holding the camera a lot close to the hood now and I've moved my finger into position.

Close-up Shot
Now I'm zoomed all the way in...

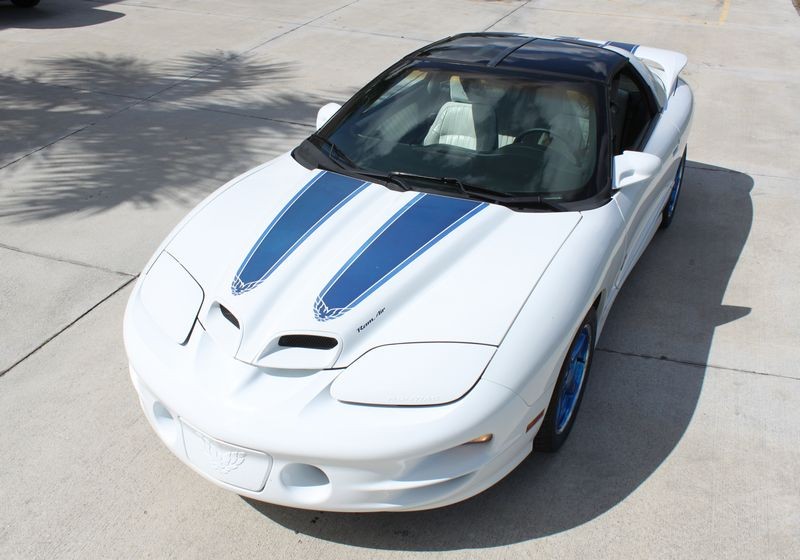
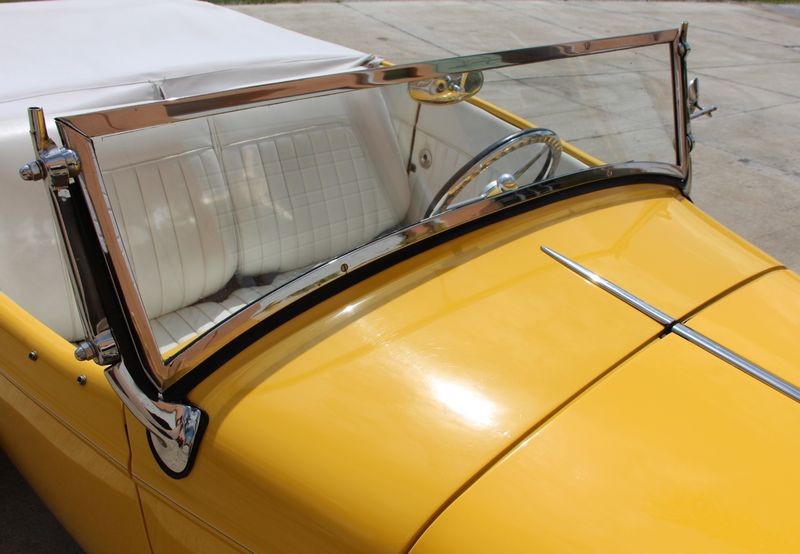
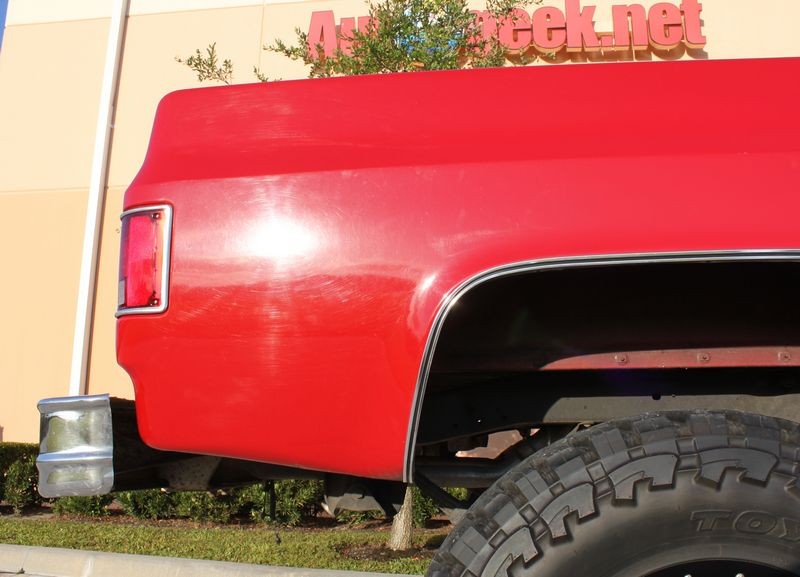
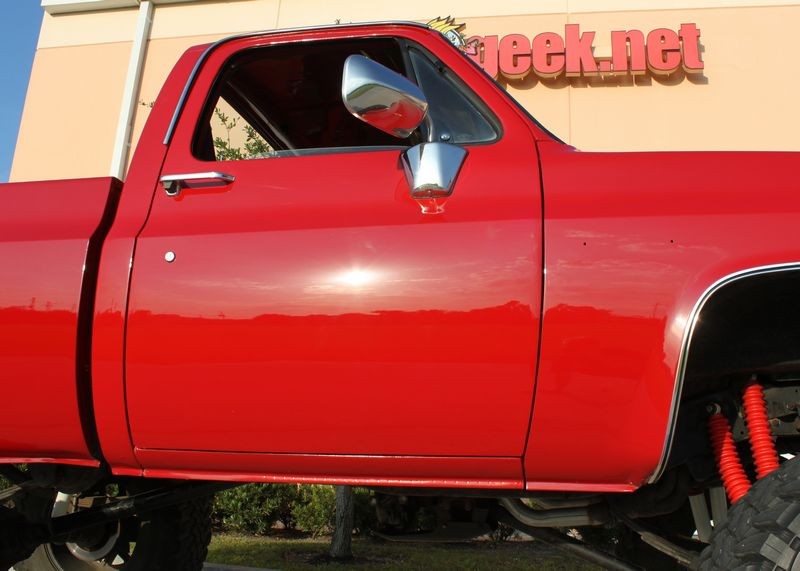
Framing-up the shot
Here I wanted to show the swirls and scratches are equally distributed throughout the body panels.

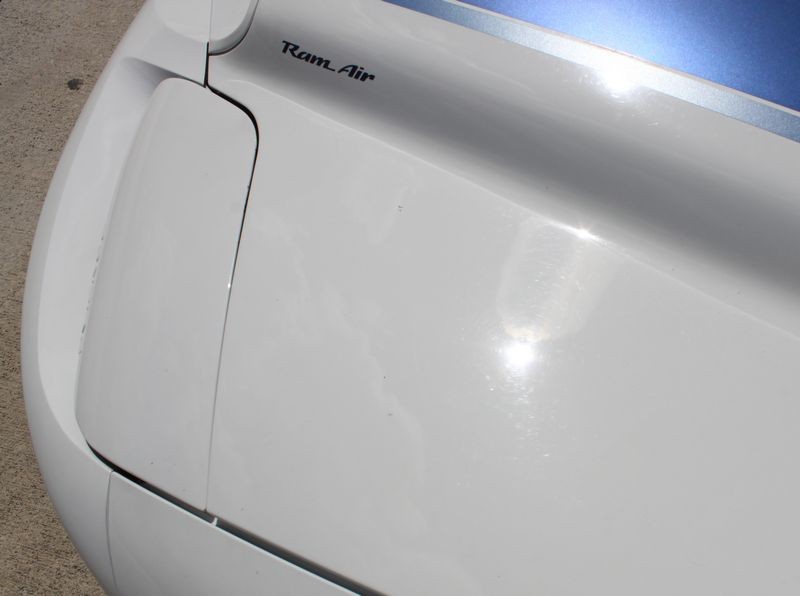
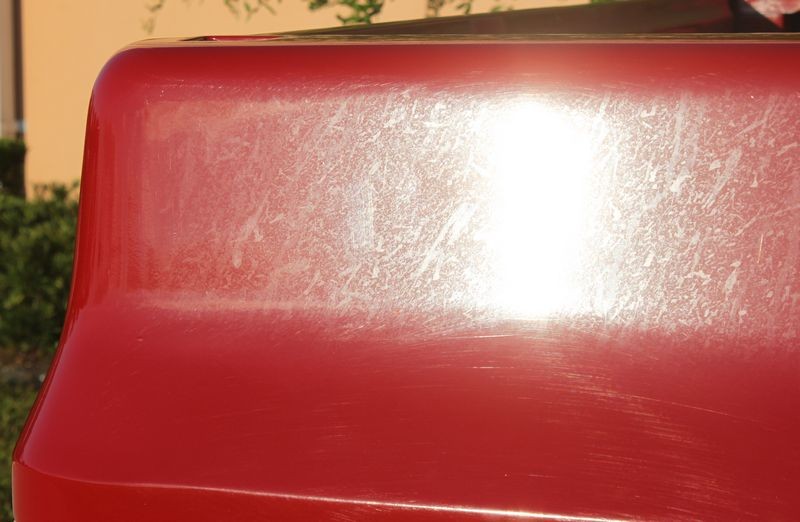
Close-up Shot
For this picture, my camera is able to use the edge of the hood and the radiator shell to focus on so I don't need to use my finger for this shot.

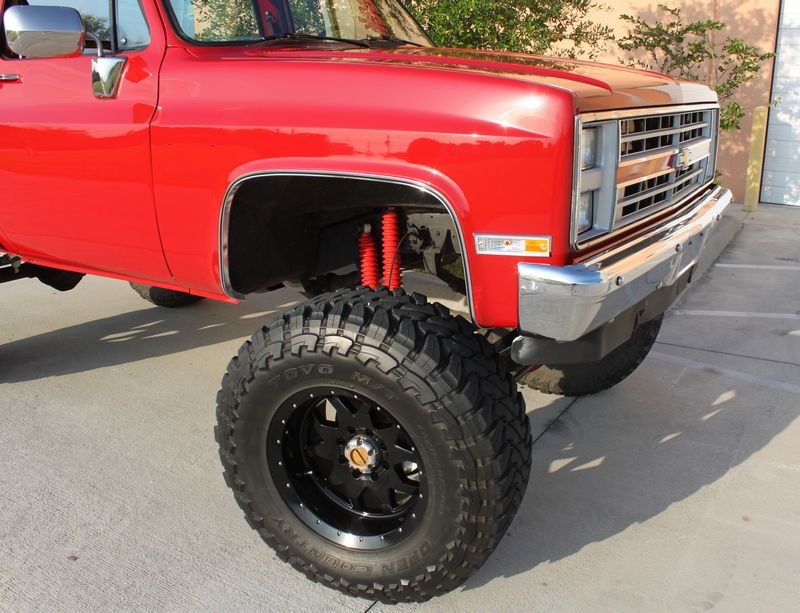
Framing-up the shot
Close-up shot

And there you go. That's how to use your camera to take pictures to show the before condition of the paint by framing up a shot and then getting the close-up shot.
By doing this I've also documented the true condition of the paint when the car arrived.
 icture:
Here are some tips and technique you can use to take pictures of the before condition of a detailing project and also the after condition. As you look at these pictures, note how,
First I frame up the shot so you have a good idea what it is I'm taking a photograph, (type of car), or the section of the car.
Second, I zoom in on just the topic of the picture, in this example it will be swirls
Sun on hood shot
Here I'm zoomed out and holding the camera way over my head while pointing the lens at the hood.
Close-up shot of swirls
Note my finger on the paint? While it looks like I'm pointing to the swirls and I am, the real reason my finger is in the shot is to give the camera a focus point on the hood. By focusing on my finger, the camera also focuses on the "surface" of the paint to capture the swirls and scratches on the surface. I have an article about this photography technique here.
Sun on hood shot
In this pictures we've actually turned the hot rod around as we were getting ready to move it into the garage when all of a sudden, the sun poked his head out of the clouds a little better than in the above pictures. So I took a few more shots...
Hood framed up...
Giving the camera a focus point
Here I'm about still zoomed all the way out but holding the camera a lot close to the hood now and I've moved my finger into position.
Close-up Shot
Now I'm zoomed all the way in...
Framing-up the shot
Here I wanted to show the swirls and scratches are equally distributed throughout the body panels.
Close-up Shot
For this picture, my camera is able to use the edge of the hood and the radiator shell to focus on so I don't need to use my finger for this shot.
Framing-up the shot
Close-up shot
And there you go. That's how to use your camera to take pictures to show the before condition of the paint by framing up a shot and then getting the close-up shot.
By doing this I've also documented the true condition of the paint when the car arrived.
icture: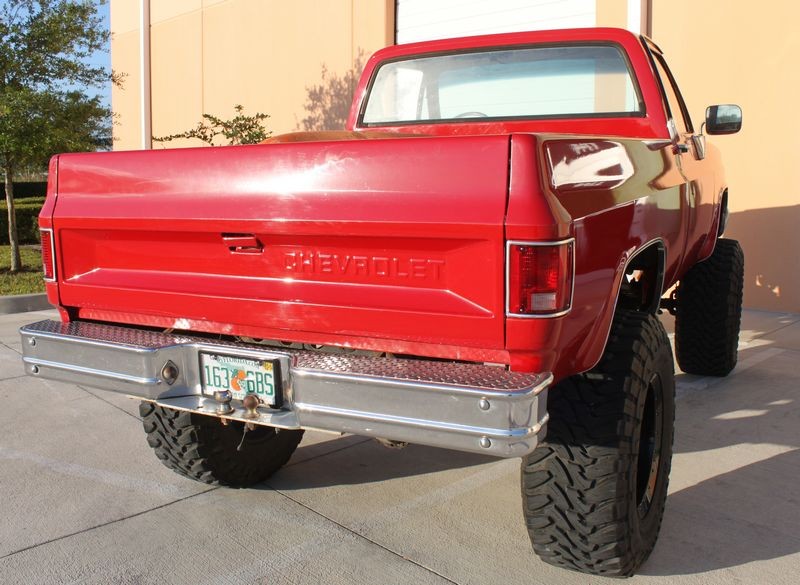


")