Mike Phillips
Active member
- Dec 5, 2022
- 51,004
- 6
How-to: Protect Door Gaskets with SONAX GummiPfleger
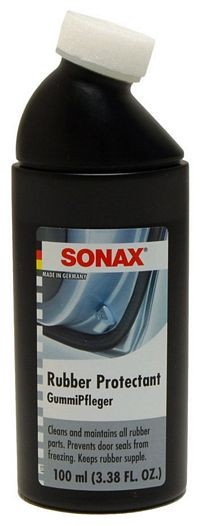
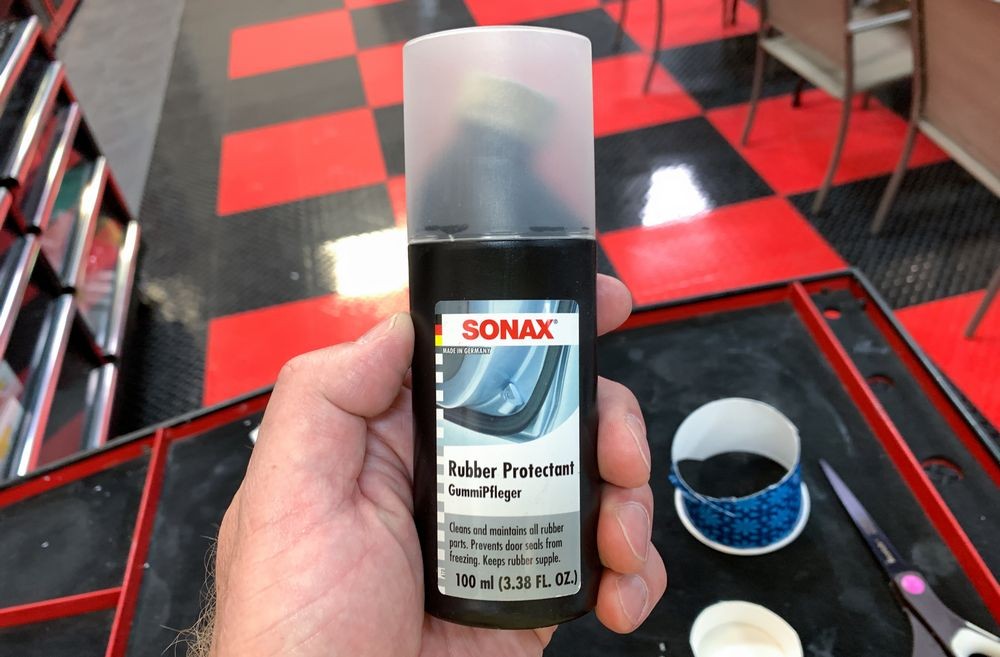
SONAX GummiPfleger
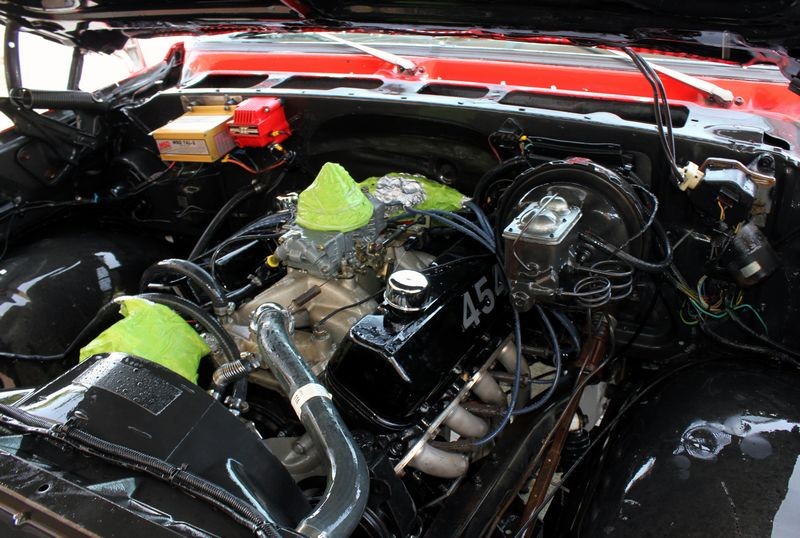
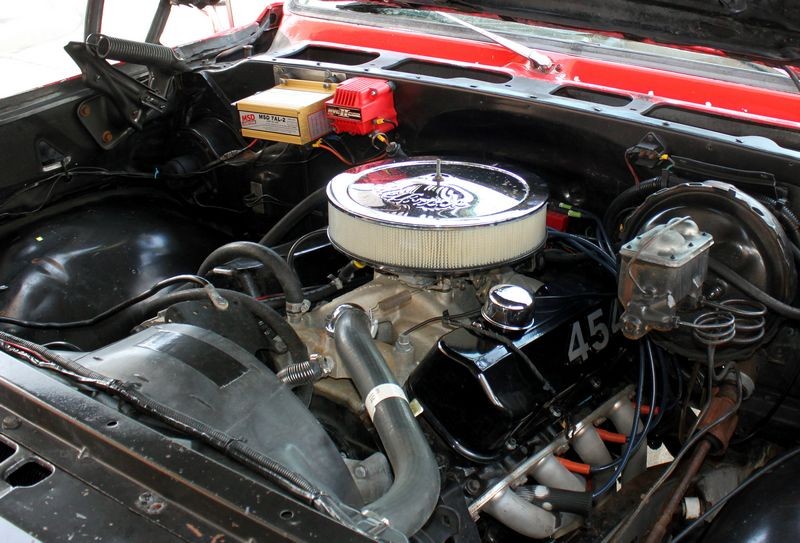
So a buddy of mine buys an old 2-door Mercedes-Benz,

And then asks me,
Do you know how to detail rubber door gaskets?

I say,
Cleaning and detailing rubber gaskets around door is not really what I'm known for but "sure" I can do it.
So he drops his car off and I tackled it. When he asked about the rubber door gaskets, he clarified by asking me to address all the ALL the rubber gaskets. :wowwow:
EDPM Sponge Rubber
Shared from TheRubberCompany.com
EPDM sponge rubber is a high-quality, closed cell material that is commonly used to create an air and watertight seal. EPDM sponge is great for use in outdoor sealing applications due to the superior UV and Ozone resistance the material offers. Aside from offering excellent weathering resistance, EPDM also features good flexibility, tensile strength and recovery properties. The closed cell structure enables the material to handle high-pressure sealing applications at a better rate. This serves to increase the life expectancy of the material in physically demanding applications.
When it comes to detailing cars, instead of trying to play the part of a chemist and thus investing time researching basically everything there is to know about everything, instead I simply use products from respected, established brands. I trust that the owner and their team have done their due diligence in research and hired actual chemist that know what they are doing. Thus by picking a respected, established brand... I can do me, (detailer), and trust the product I've picked is formulated for the task at hand.
Enter GummiPfleger
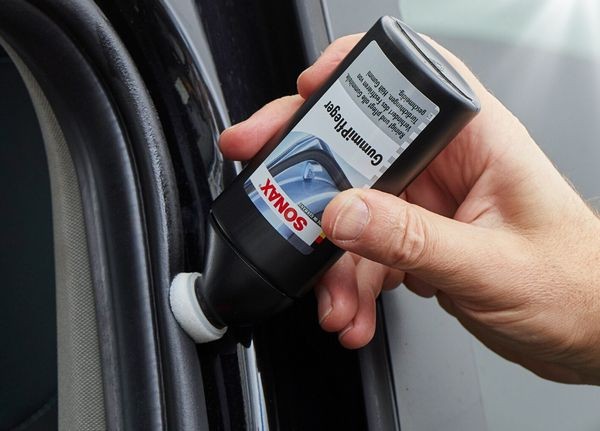
SONAX makes a lot of great products including a specialized protectant just for door gaskets as well as all the various gaskets used to seal a car including around the doors, the hatchback, trunk lid and the hood.
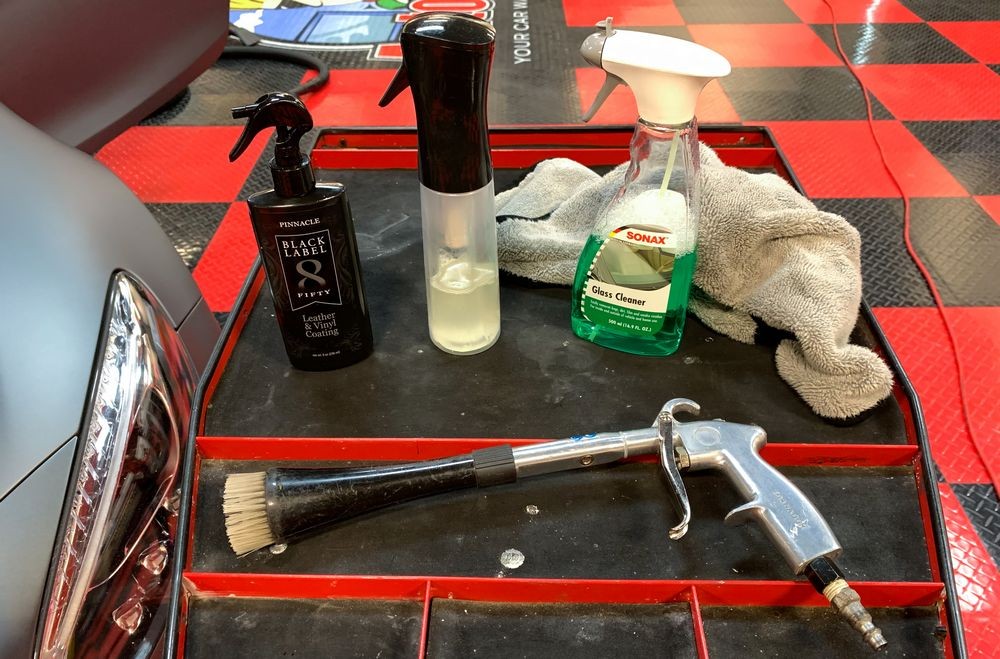
Setting-up to treat rubber body gaskets
This type of "detailing" is different than most other aspects in that you are working on a flexible material that normally has design features that make doing the actual working on it a tick on the tricky side. Here's how I approach this type of detailing.
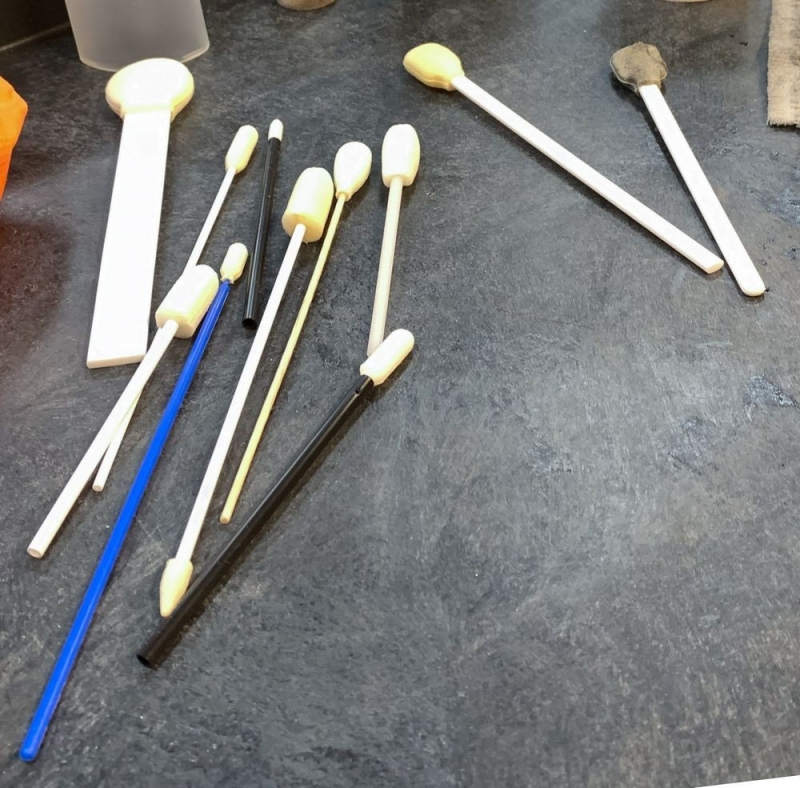
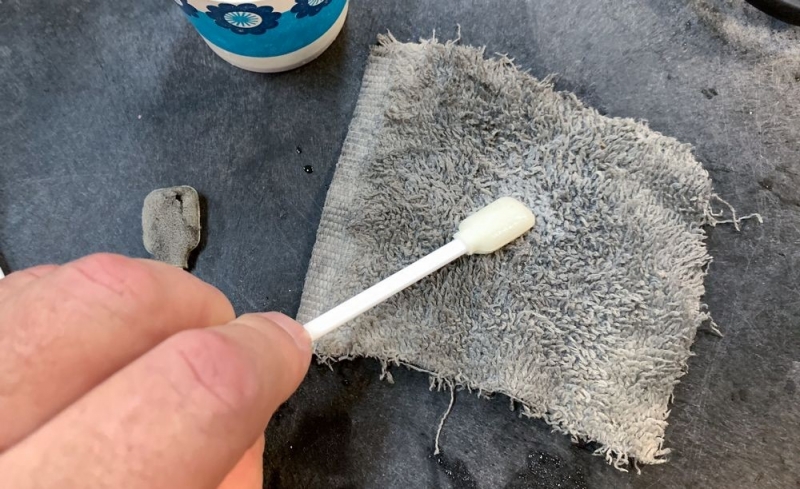
First you need some small tools, like foam swabs and tiny patches of cotton terrycloth.
Various shaped foam swabs
Scrap Rags
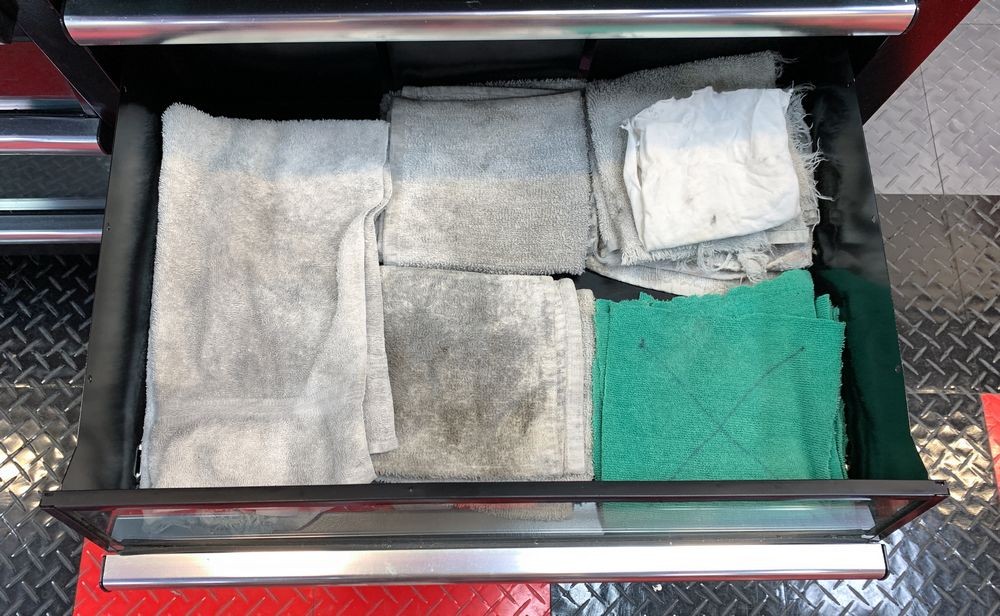
Everyone should have a collection of Scrap Rags in their detailing arsenal. These can be both cotton and microfiber. Sometimes you want and need the gentleness of microfiber but sometimes you want the extra scrubbing power you get from ordinary cotton terrycloth.
Here's the Scrap Rag drawer I maintain at Autogeek

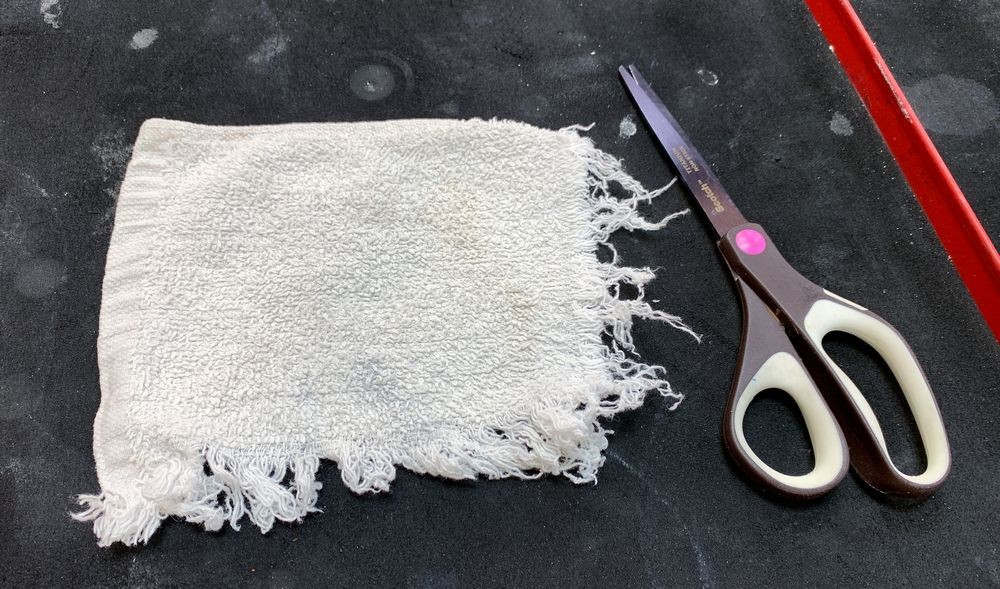
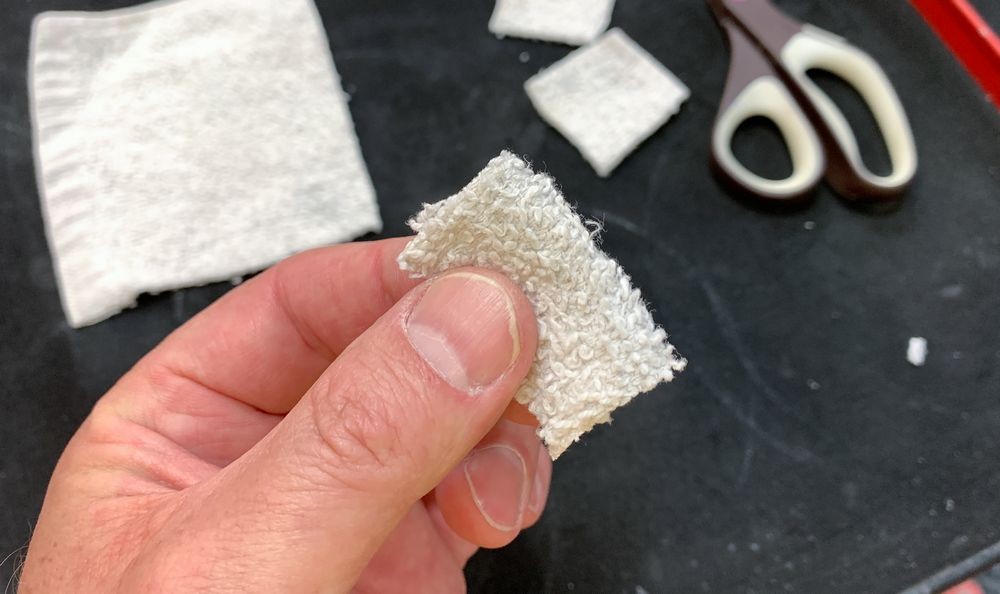
I normally have a cotton scrap rag that I've cut-up for other various projects and then keep the leftover for future projects. When needed, simply cut out some small patches of cloth for the task at hand, in this example I'll be rubbing down rubber gaskets.


How to use SONAX GummiPfleger
The GummiPfleger comes in a small plastic bottle with a spring-loaded foam sponge applicator that works like and old-school shoe polish. The idea being to press the face of the sponge applicator against a surface and in so doing, the liquid inside is released and spread via the foam sponge.
While this works great for some applications, I have another method I use that works for me.
First I get a small Dixie Cup and cut it down to make an even smaller cup.

Next, grab the foam dabber head and gently twist and pull to remove it from the bottle.


Then pour some of the GummiPfleger into the Dixie Cup.
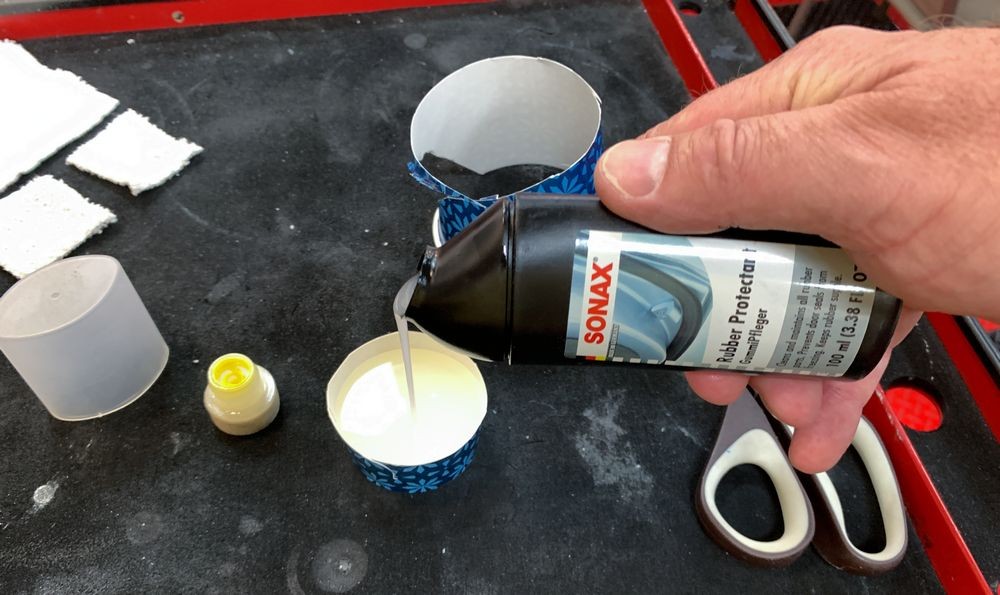
Here's the product you'll use. Be careful not to tip the small paper cup over.

Place everything you'll use on a cart or workbench and it's time to get started.

Choose the appropriate size foam swab and dunk it into the GummiPfleger...


Then start the meticulous process of using the swab to get into the various design shapes of the gasket you're working on and massage the GummiPfleger thoroughly over the gasket.


Starting to see how and why the foam swabs work well for this?


For the larger surfaces, I use the swab to dab GummiPfleger onto one of the small cotton patches and then use the cotton patch to massage the GummiPfleger over the larger rubber and even vinyl surfaces.


Continue this process to all the gaskets on the car.

Don't forget the gaskets that surround the door. There's usually gaskets in the door frame as well as around the door itself.

Also - after finishing a door, trunk lid, etc., take a clean microfiber towel and gently wipe off any excess product. This type of car detailing requires the right product, a few simple tools and an extra dose of patience. But for most cars you can do a great job in 2-3 hours.

Then when you're done, put the sponge dabber back onto the bottle, put the lid on the bottle and store in a cool place for the next time you detail rubber gaskets.

On Autogeek.com
SONAX GummiPfleger Rubber Protectant
These are not the swabs I used, just the swabs available on Autogeek.com
S100 Detailing Swabs - 50 count
Cotton Detailing Sticks
")
SONAX GummiPfleger
So a buddy of mine buys an old 2-door Mercedes-Benz,
And then asks me,
Do you know how to detail rubber door gaskets?
I say,
Cleaning and detailing rubber gaskets around door is not really what I'm known for but "sure" I can do it.
So he drops his car off and I tackled it. When he asked about the rubber door gaskets, he clarified by asking me to address all the ALL the rubber gaskets. :wowwow:
EDPM Sponge Rubber
Shared from TheRubberCompany.com
EPDM sponge rubber is a high-quality, closed cell material that is commonly used to create an air and watertight seal. EPDM sponge is great for use in outdoor sealing applications due to the superior UV and Ozone resistance the material offers. Aside from offering excellent weathering resistance, EPDM also features good flexibility, tensile strength and recovery properties. The closed cell structure enables the material to handle high-pressure sealing applications at a better rate. This serves to increase the life expectancy of the material in physically demanding applications.
When it comes to detailing cars, instead of trying to play the part of a chemist and thus investing time researching basically everything there is to know about everything, instead I simply use products from respected, established brands. I trust that the owner and their team have done their due diligence in research and hired actual chemist that know what they are doing. Thus by picking a respected, established brand... I can do me, (detailer), and trust the product I've picked is formulated for the task at hand.
Enter GummiPfleger
SONAX makes a lot of great products including a specialized protectant just for door gaskets as well as all the various gaskets used to seal a car including around the doors, the hatchback, trunk lid and the hood.
Setting-up to treat rubber body gaskets
This type of "detailing" is different than most other aspects in that you are working on a flexible material that normally has design features that make doing the actual working on it a tick on the tricky side. Here's how I approach this type of detailing.
First you need some small tools, like foam swabs and tiny patches of cotton terrycloth.
Various shaped foam swabs
Scrap Rags
Everyone should have a collection of Scrap Rags in their detailing arsenal. These can be both cotton and microfiber. Sometimes you want and need the gentleness of microfiber but sometimes you want the extra scrubbing power you get from ordinary cotton terrycloth.
Here's the Scrap Rag drawer I maintain at Autogeek
I normally have a cotton scrap rag that I've cut-up for other various projects and then keep the leftover for future projects. When needed, simply cut out some small patches of cloth for the task at hand, in this example I'll be rubbing down rubber gaskets.
How to use SONAX GummiPfleger
The GummiPfleger comes in a small plastic bottle with a spring-loaded foam sponge applicator that works like and old-school shoe polish. The idea being to press the face of the sponge applicator against a surface and in so doing, the liquid inside is released and spread via the foam sponge.
While this works great for some applications, I have another method I use that works for me.
First I get a small Dixie Cup and cut it down to make an even smaller cup.
Next, grab the foam dabber head and gently twist and pull to remove it from the bottle.
Then pour some of the GummiPfleger into the Dixie Cup.
Here's the product you'll use. Be careful not to tip the small paper cup over.
Place everything you'll use on a cart or workbench and it's time to get started.
Choose the appropriate size foam swab and dunk it into the GummiPfleger...
Then start the meticulous process of using the swab to get into the various design shapes of the gasket you're working on and massage the GummiPfleger thoroughly over the gasket.
Starting to see how and why the foam swabs work well for this?
For the larger surfaces, I use the swab to dab GummiPfleger onto one of the small cotton patches and then use the cotton patch to massage the GummiPfleger over the larger rubber and even vinyl surfaces.
Continue this process to all the gaskets on the car.
Don't forget the gaskets that surround the door. There's usually gaskets in the door frame as well as around the door itself.
Also - after finishing a door, trunk lid, etc., take a clean microfiber towel and gently wipe off any excess product. This type of car detailing requires the right product, a few simple tools and an extra dose of patience. But for most cars you can do a great job in 2-3 hours.
Then when you're done, put the sponge dabber back onto the bottle, put the lid on the bottle and store in a cool place for the next time you detail rubber gaskets.
On Autogeek.com
SONAX GummiPfleger Rubber Protectant
These are not the swabs I used, just the swabs available on Autogeek.com
S100 Detailing Swabs - 50 count
Cotton Detailing Sticks