Mike Phillips
Active member
- Dec 5, 2022
- 51,004
- 7
How to remove orange peel by wet sanding - Advanced Detailing Class
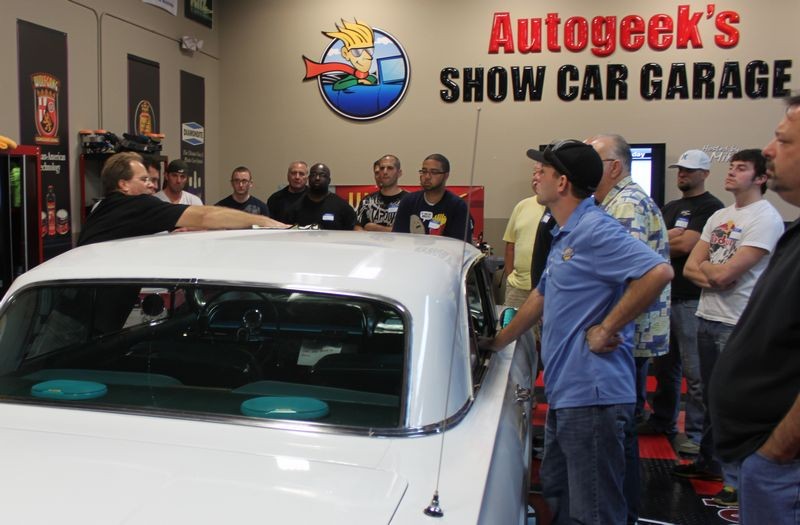
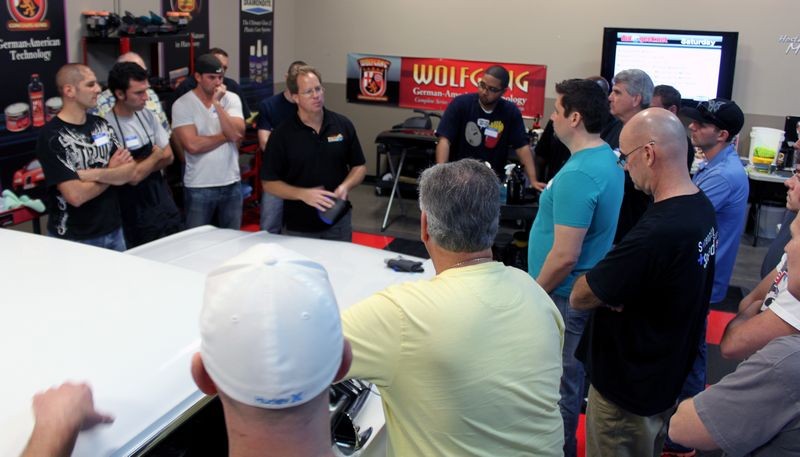
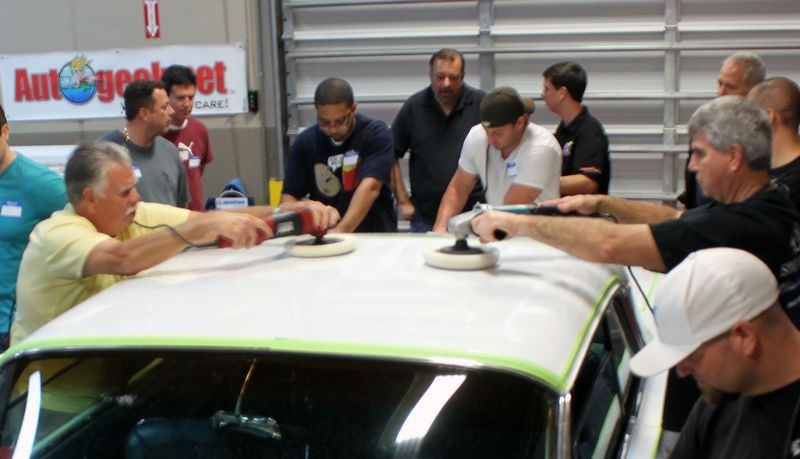
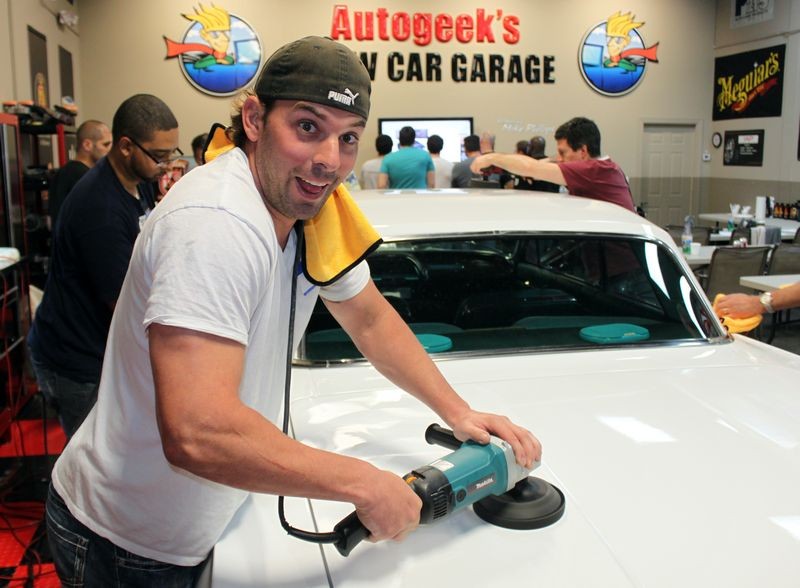
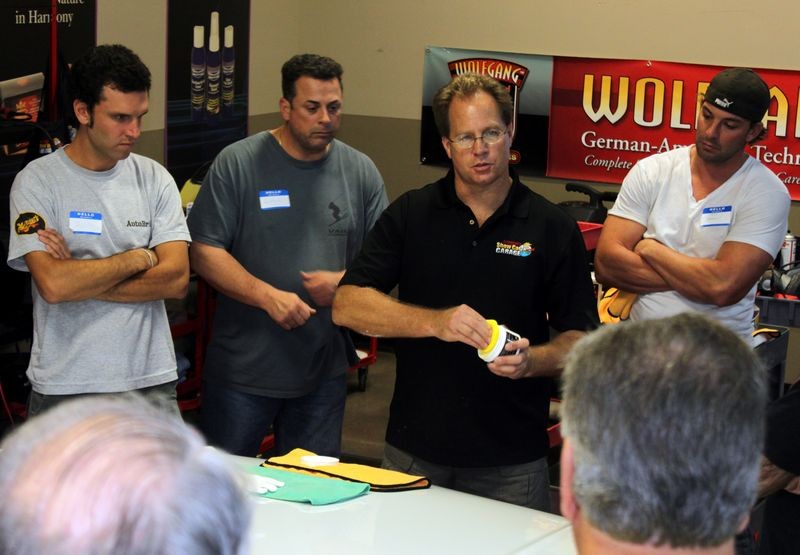
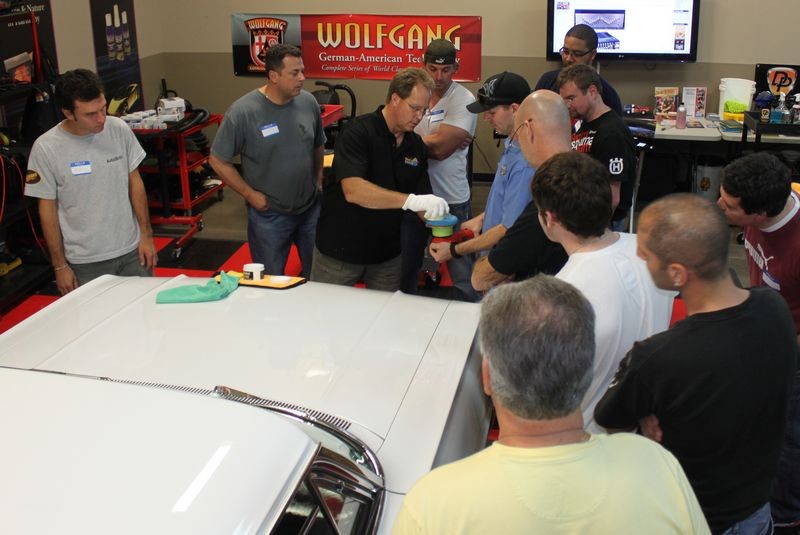
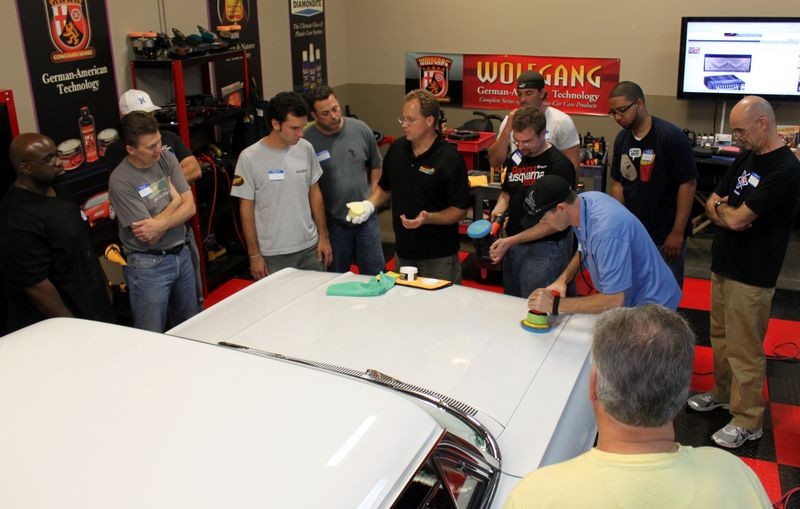
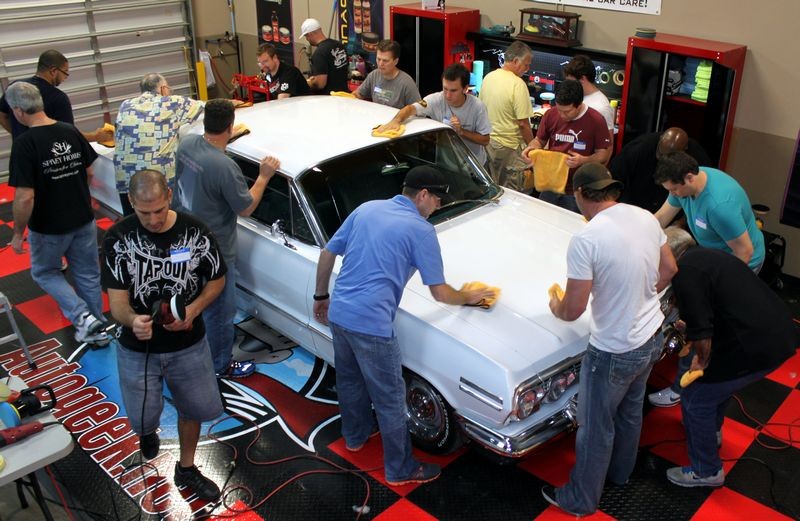
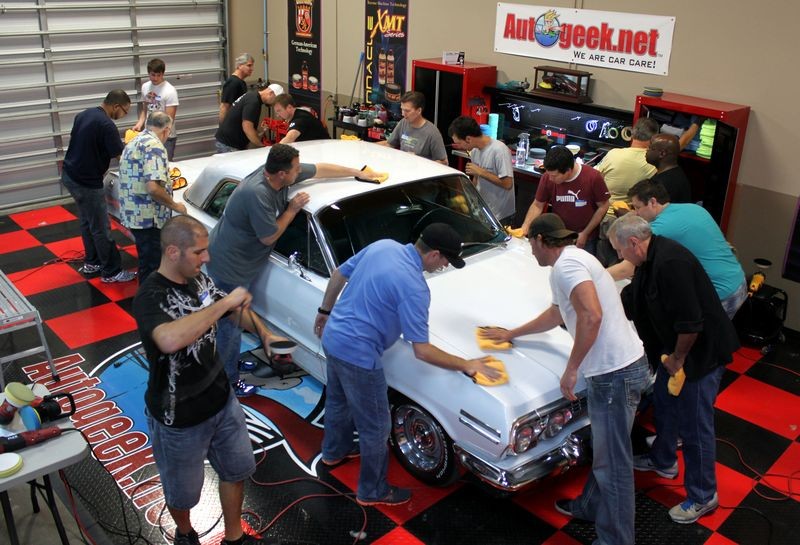
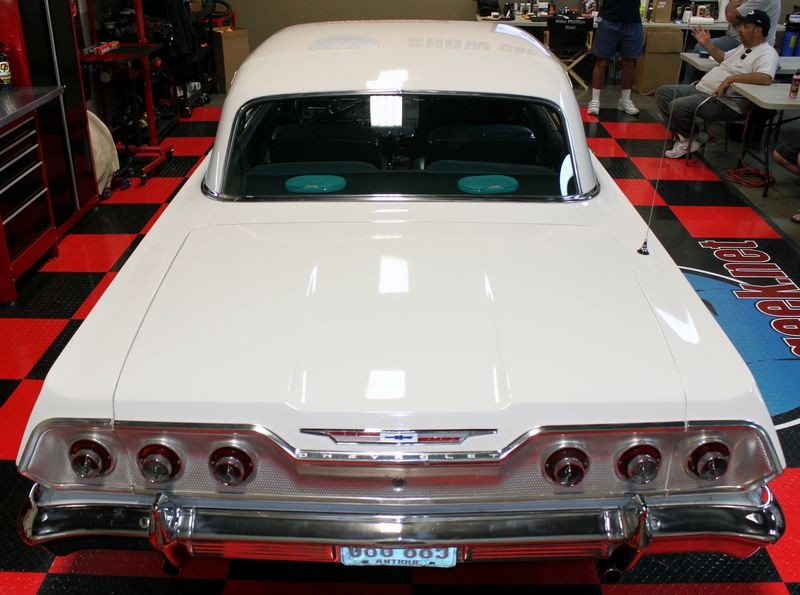
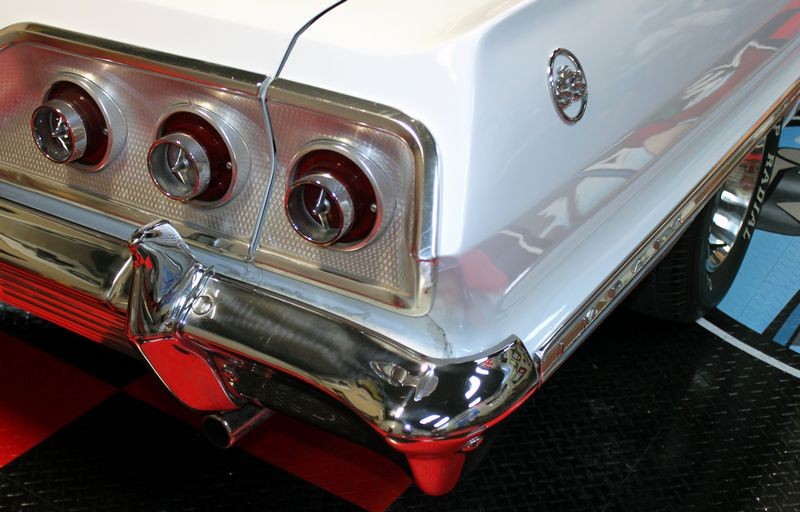
At a recent detailing class here at Autogeek in Stuart, Florida, everyone that attended had the opportunity to learn how to remove orange peel by wet sanding the paint by machine. This included the entire process from start to finish working on a custom, 1963 Chevrolet Impala.
Here are the steps taught in this class...
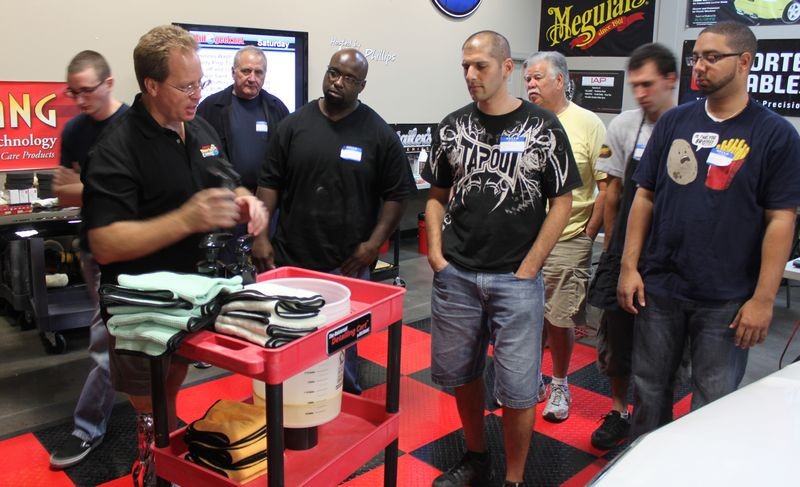
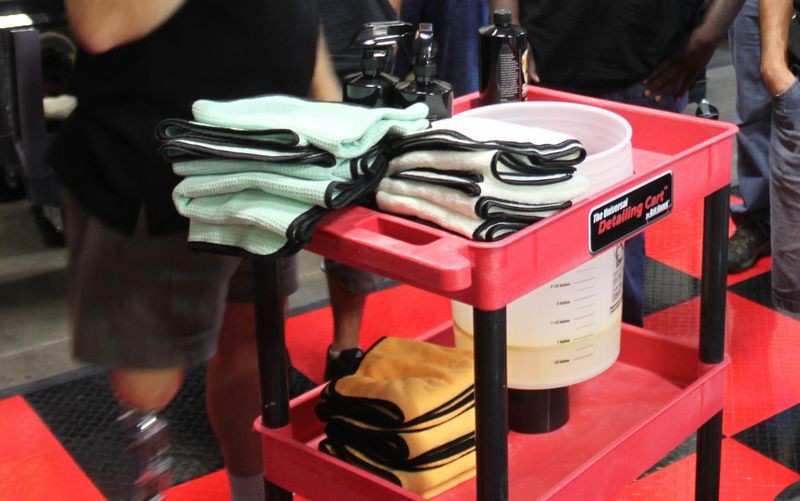
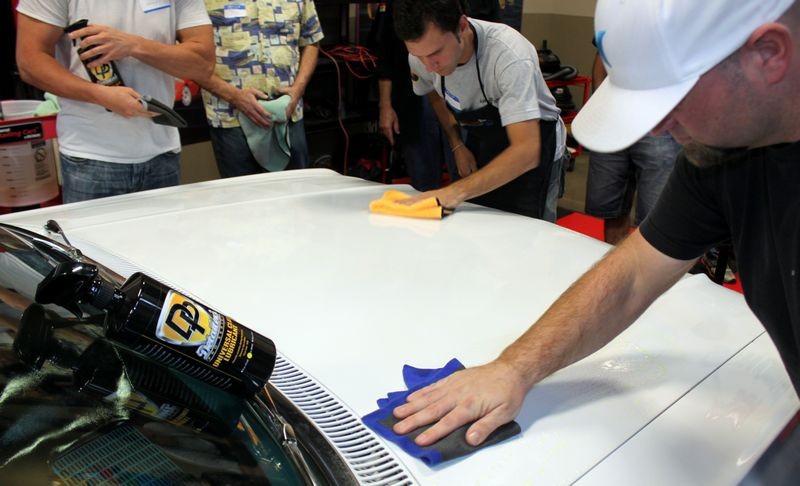
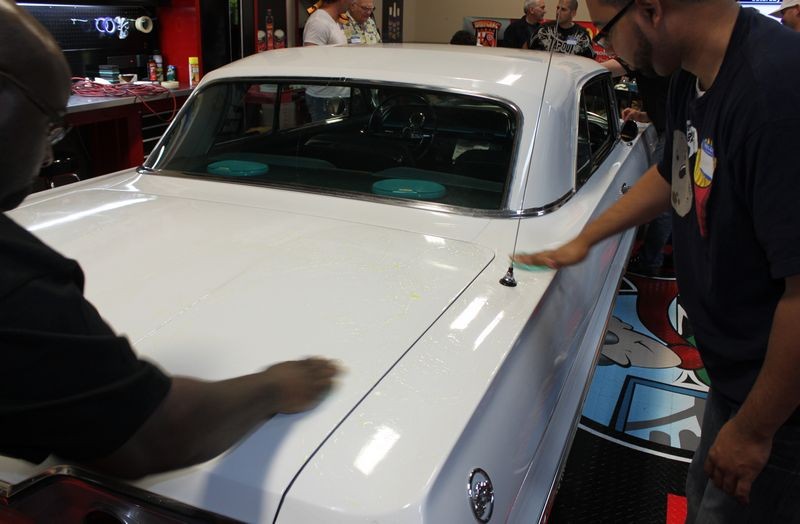
Waterless & Rinseless Wash to clean exterior before sanding
You must remove any loose dirt as a normal "best practice" before doing any other procedure, especially wet sanding. When it comes to classic cars, as a practice it's not a good idea to use a normal wash with lots of water running into areas you cannot dry as this can cause a potential rust problem.
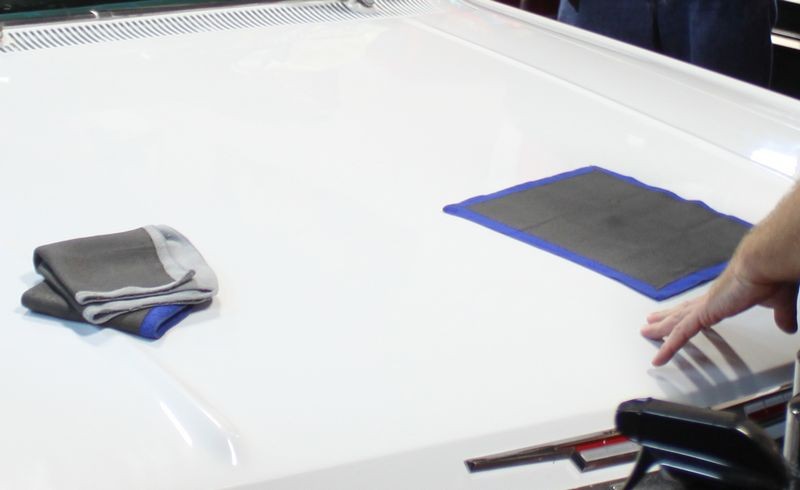
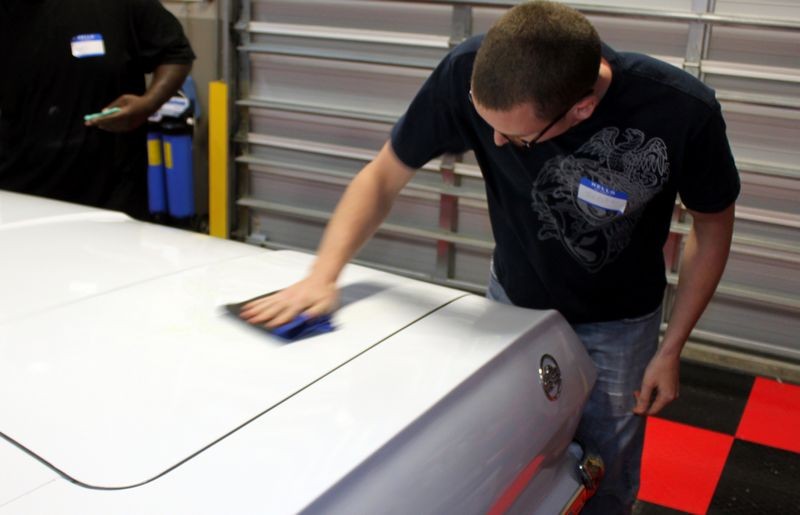
Removing above surface bonded contaminants
For this project we used the Speedy Prep Surface Towels. After washing we inspected the paint and sure enough it has a rough, coarse texture. So before using high-end sanding discs it's faster and more cost effective to remove the contaminants before you sand.
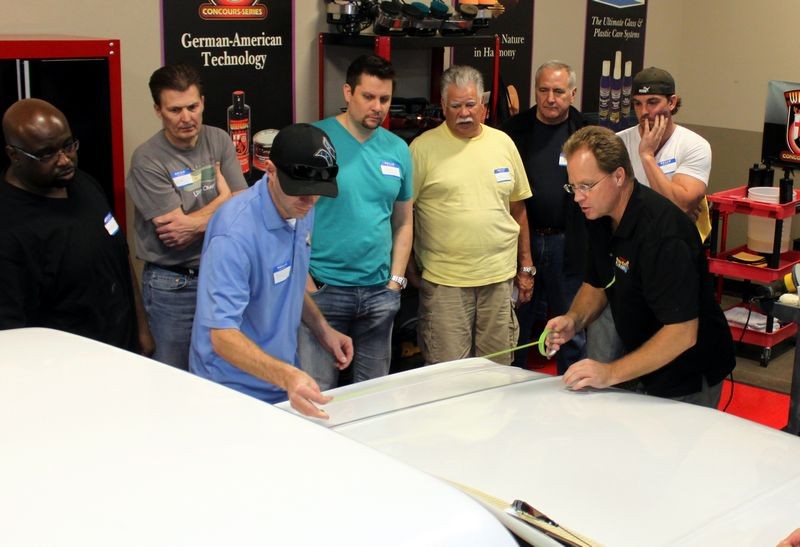
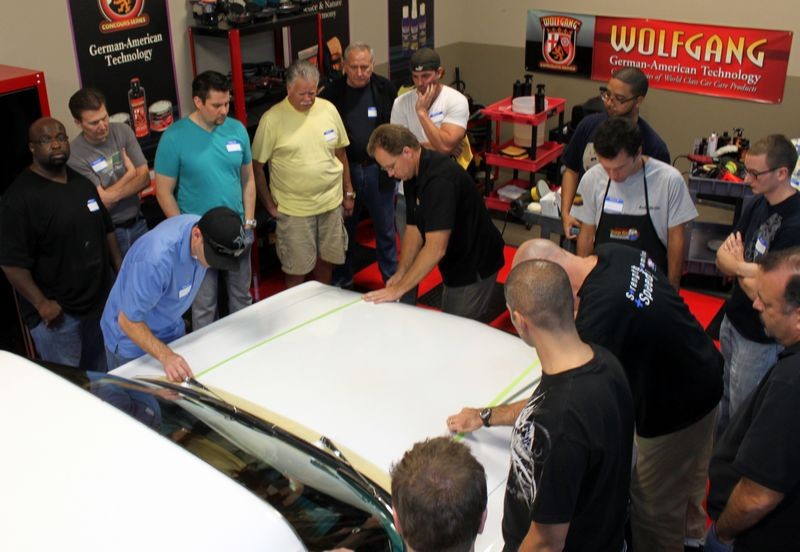
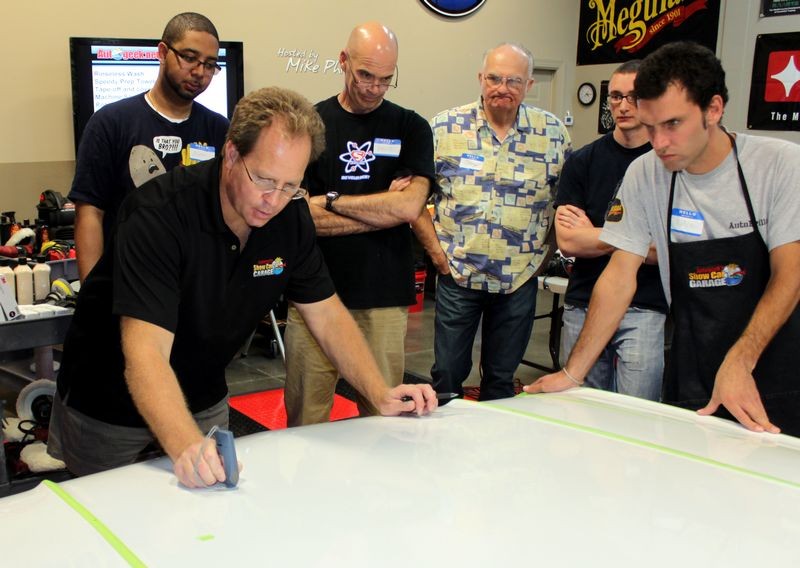
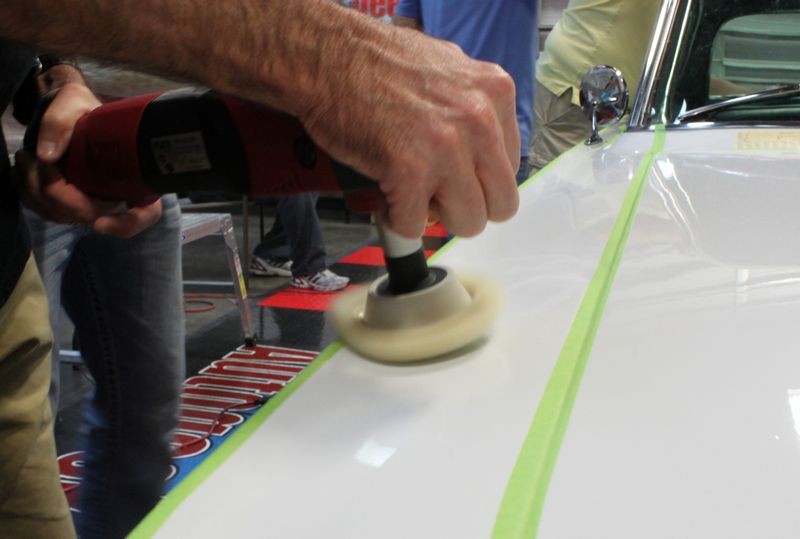
Tape off edges, raised body lines, trim and any other area that you want to protect
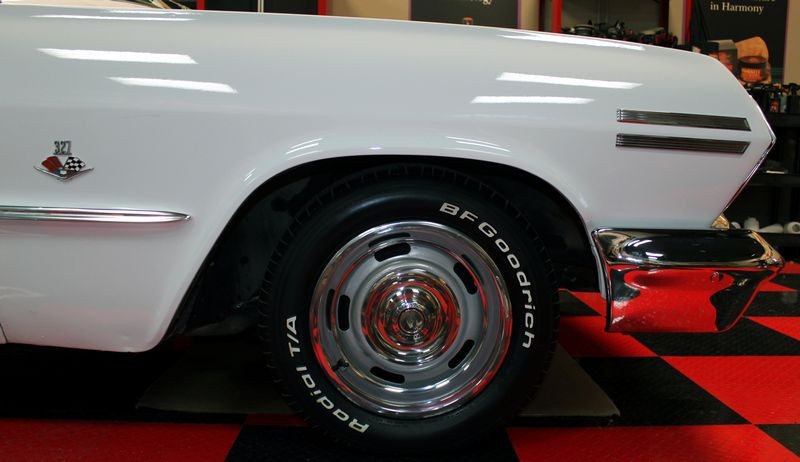
The 1963 Impala has a raised body lines so we taped these off as well as edges between panels. Paint tends to be thinnest on edges and raised body lines so it's important not to sand over these areas.
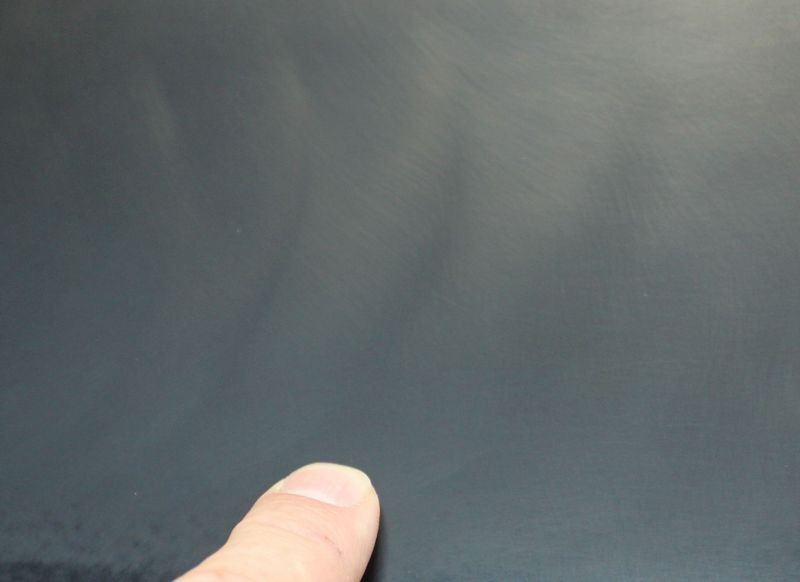
Measure paint thickness
Before you do any work to a car it's important to measure the various body panels to get an idea of how thick or how thin the paint it. A paint thickness gauge is used as a "Big Picture Indicator" to help you make the "Go" or "No Go" decision for any paint correction process and especially when you're going to turn loose a group of people new to sanding and using rotary buffers on a custom car with a custom paint job.
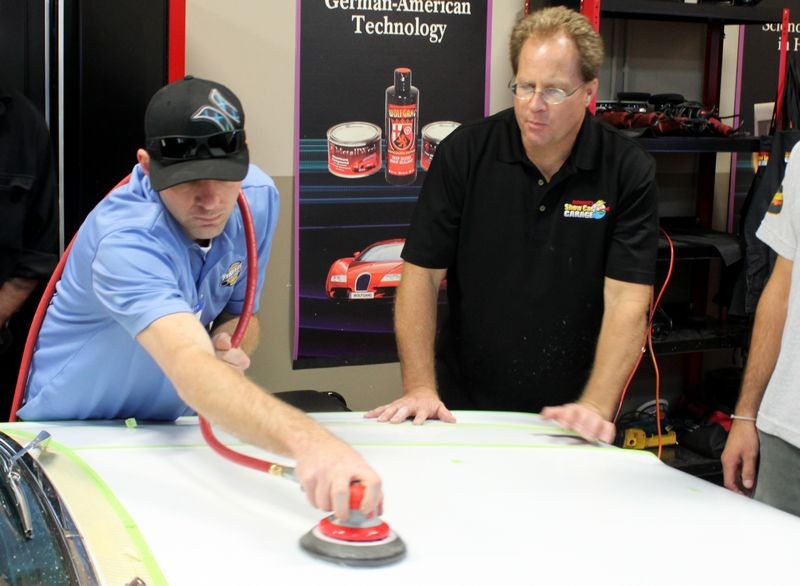
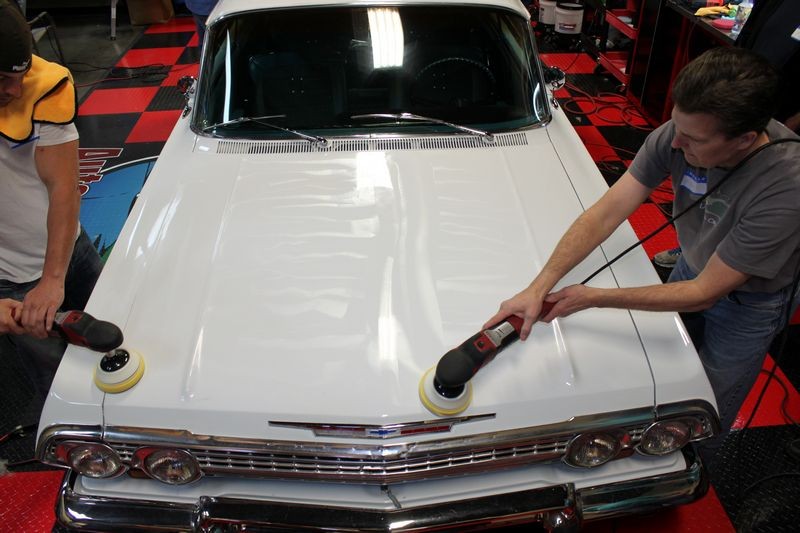
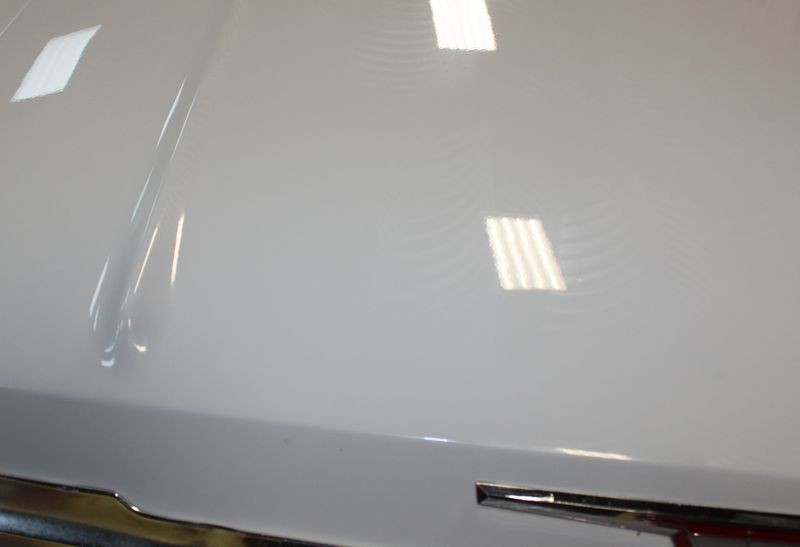
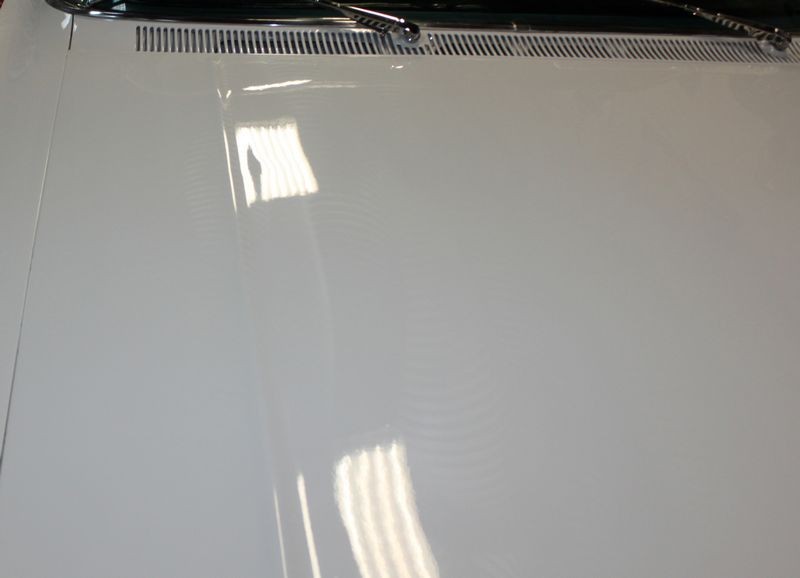
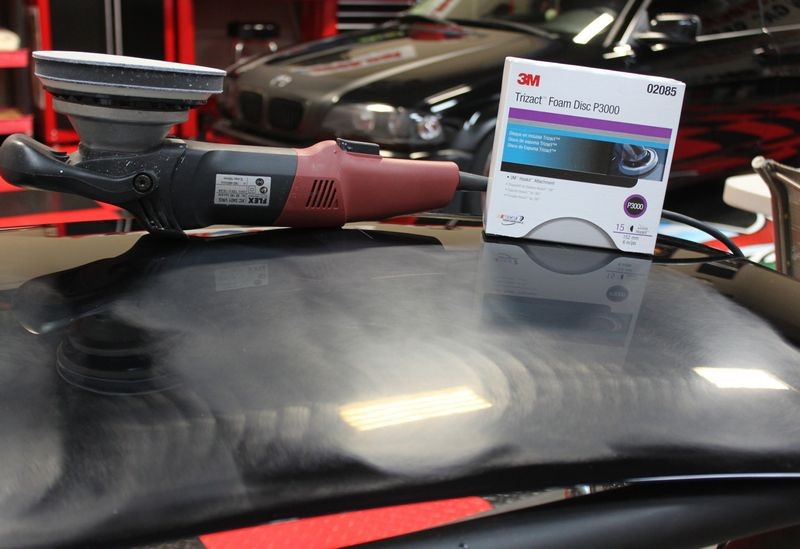
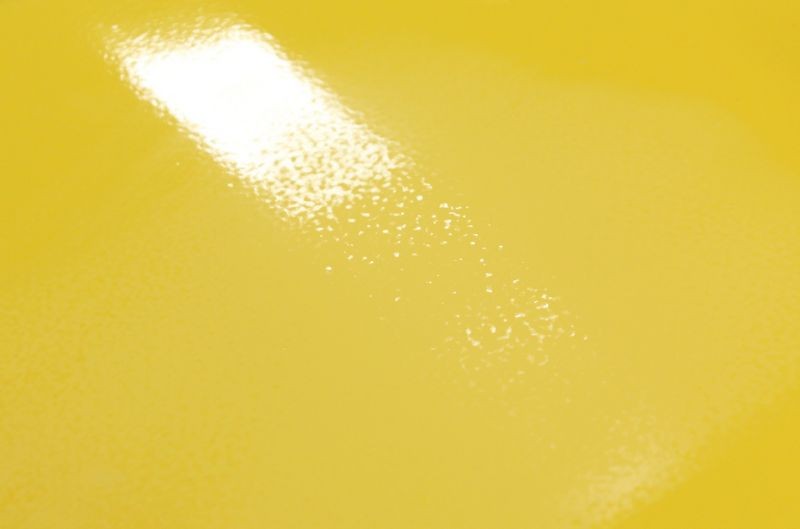
Machine sand to level orange peel and surface texture
For this project we used 3M Trizact 3000 Sanding Discs with a variety of dual action polishers including,
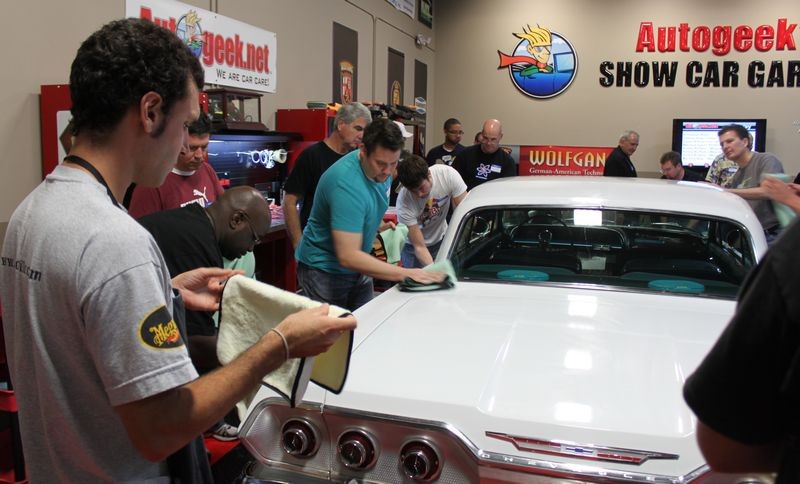
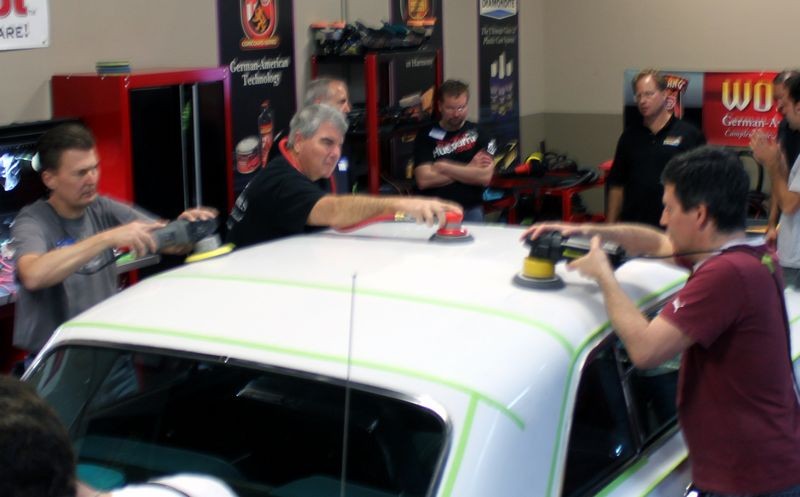
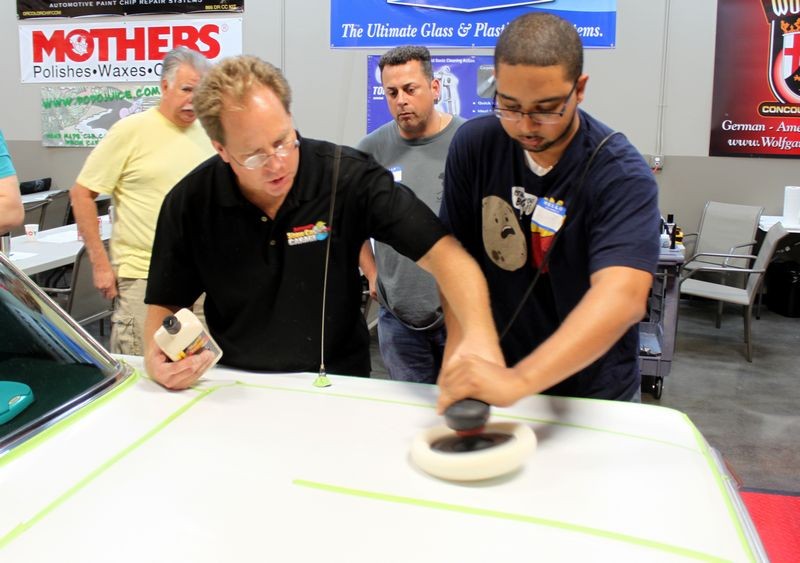
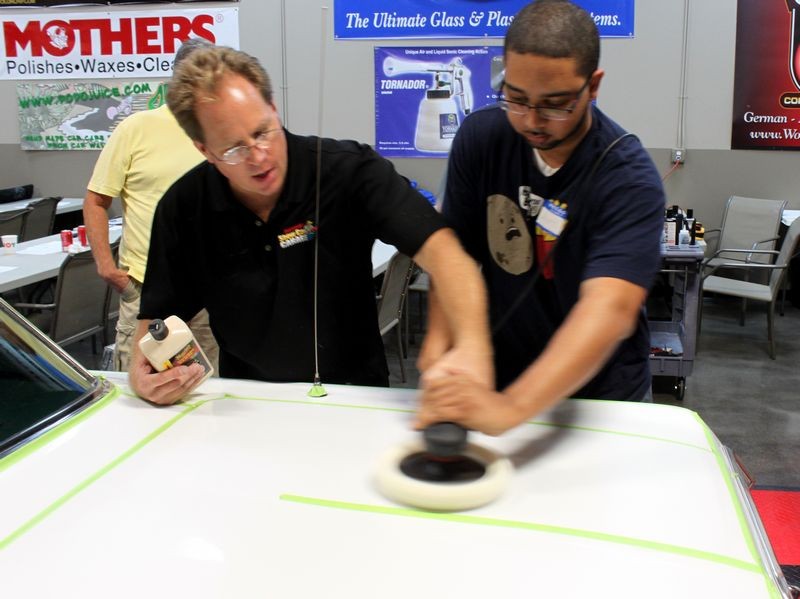
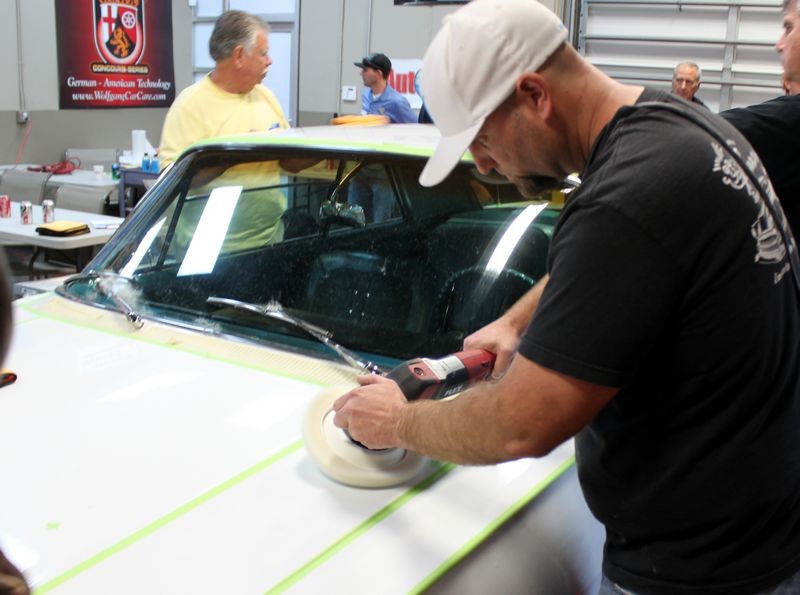
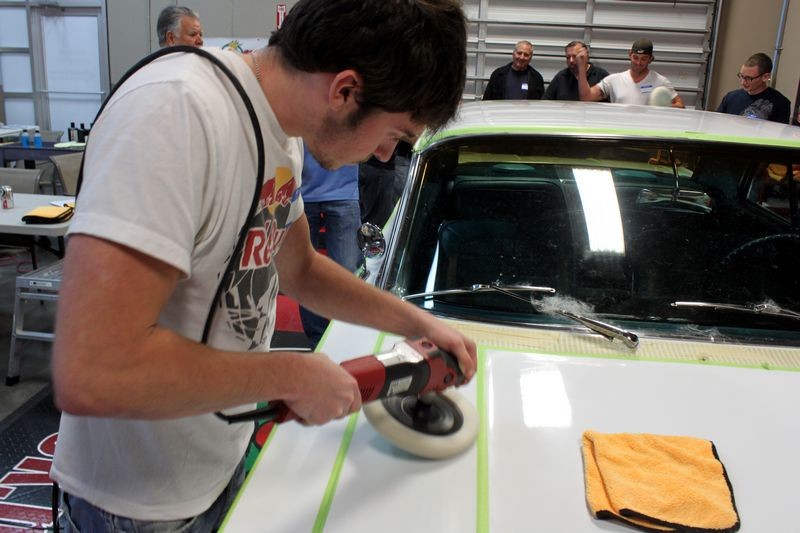
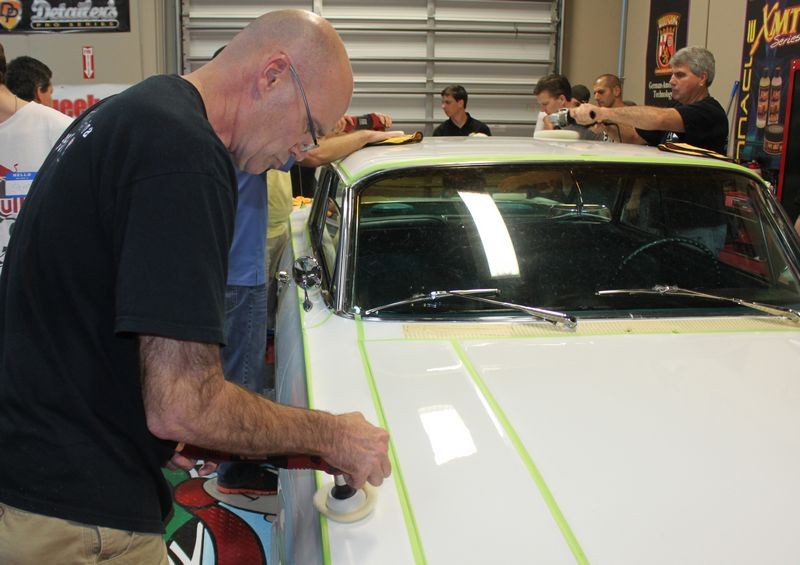
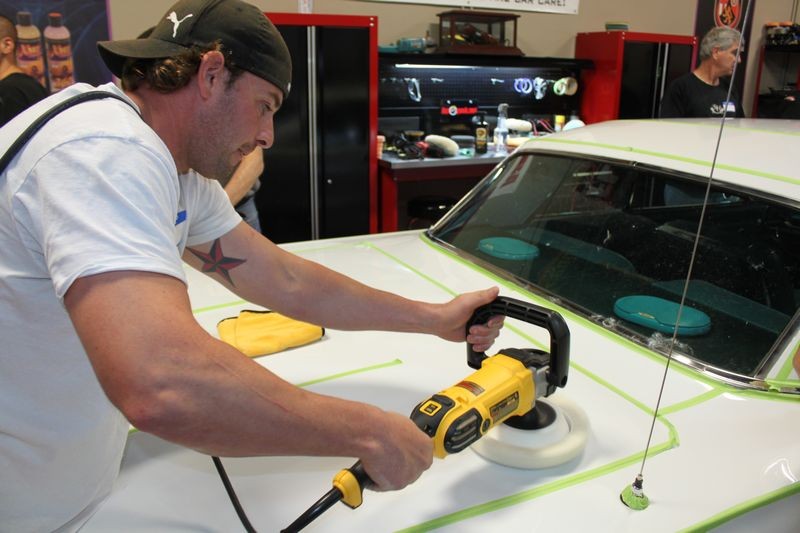
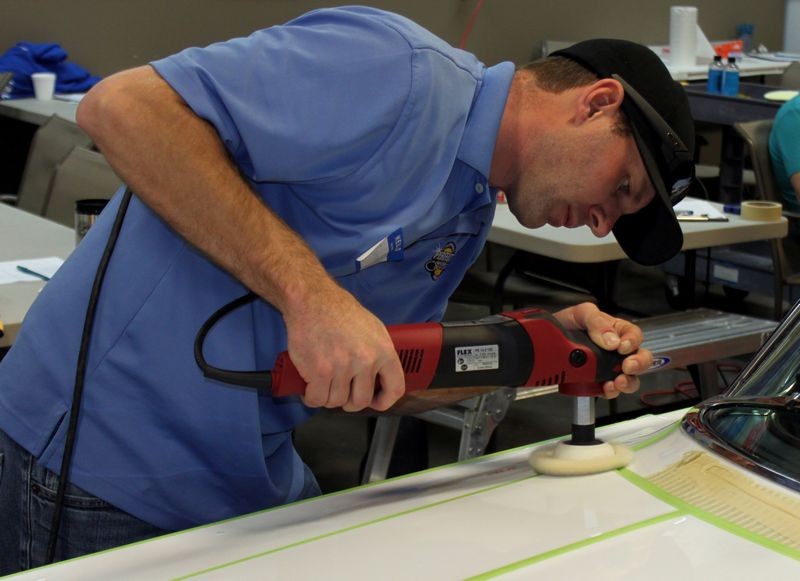
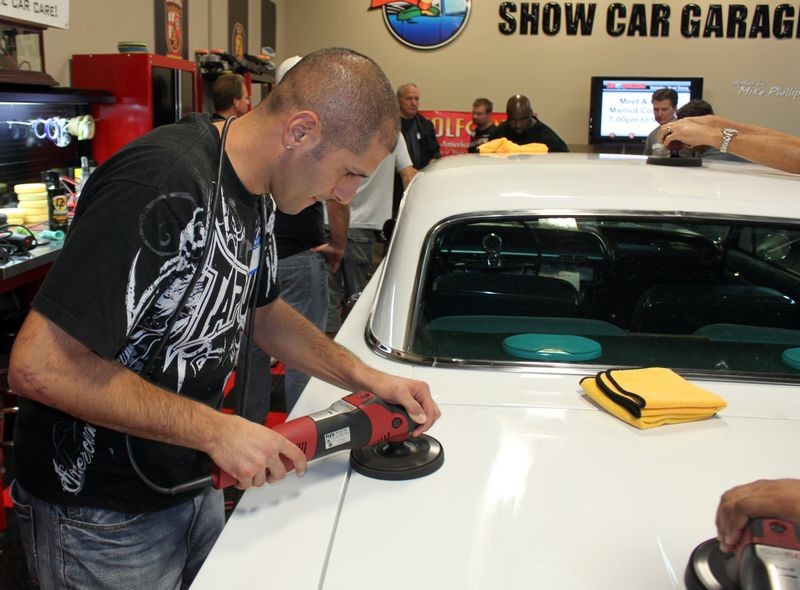
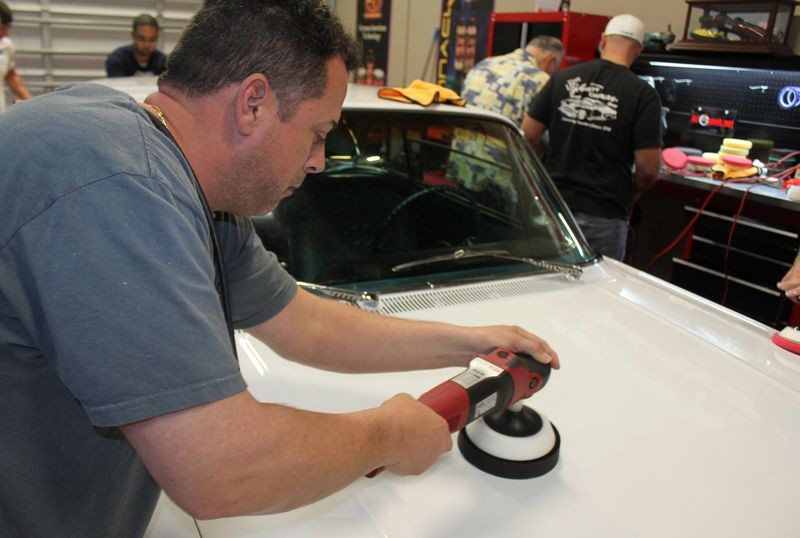
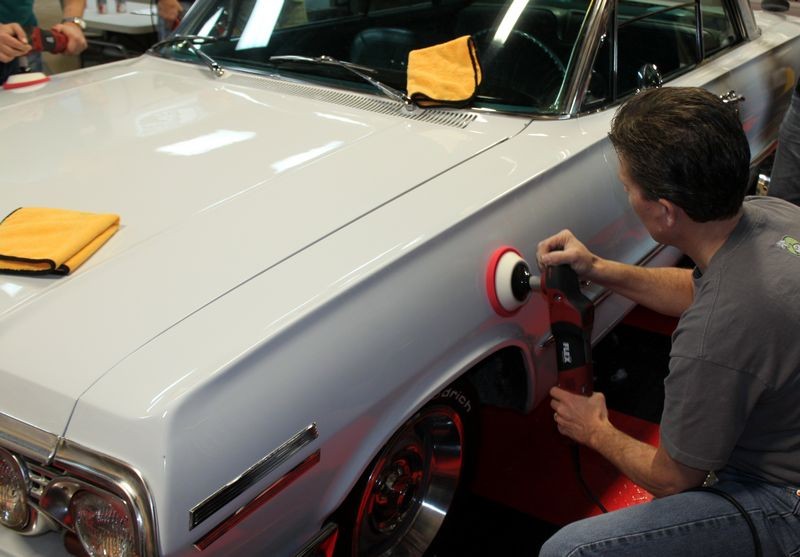
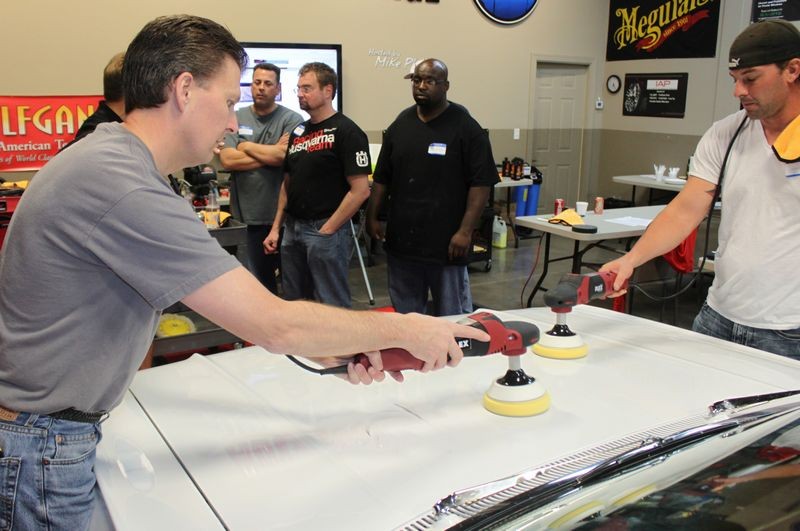
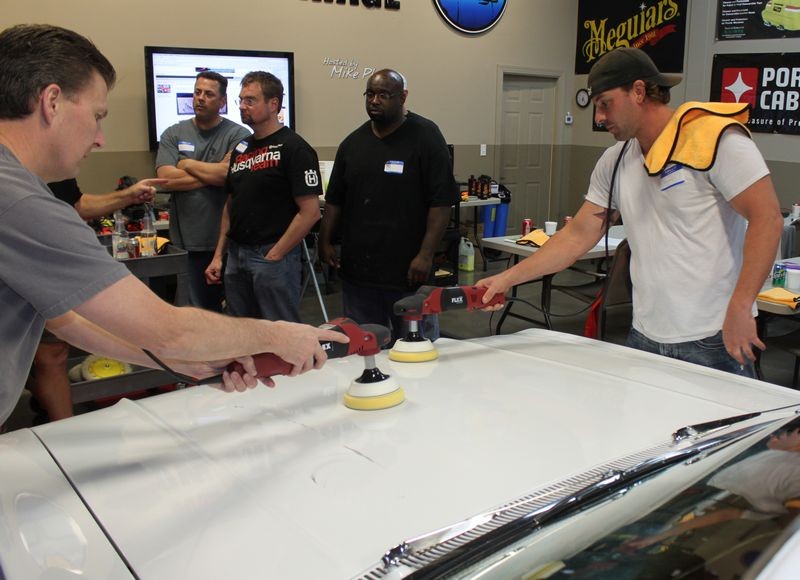
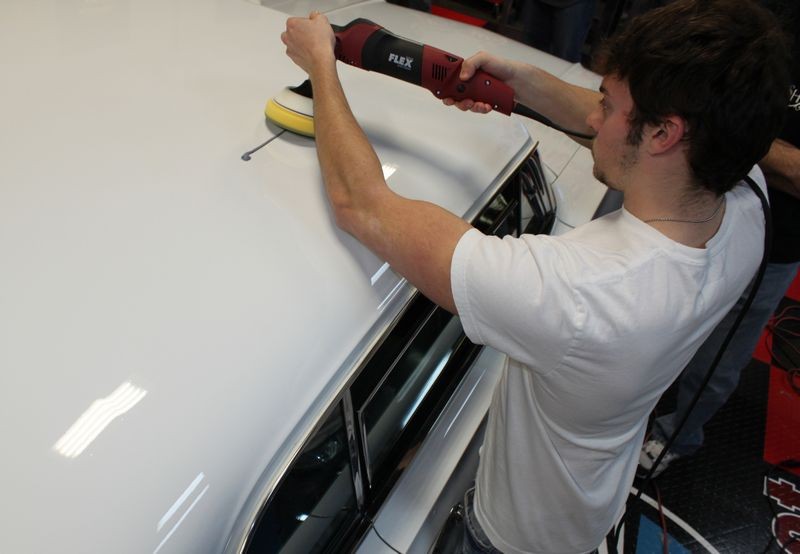
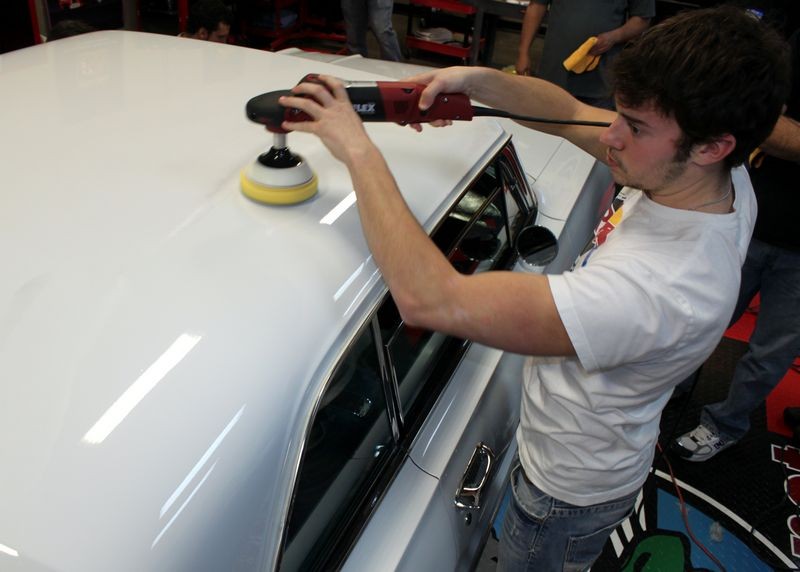
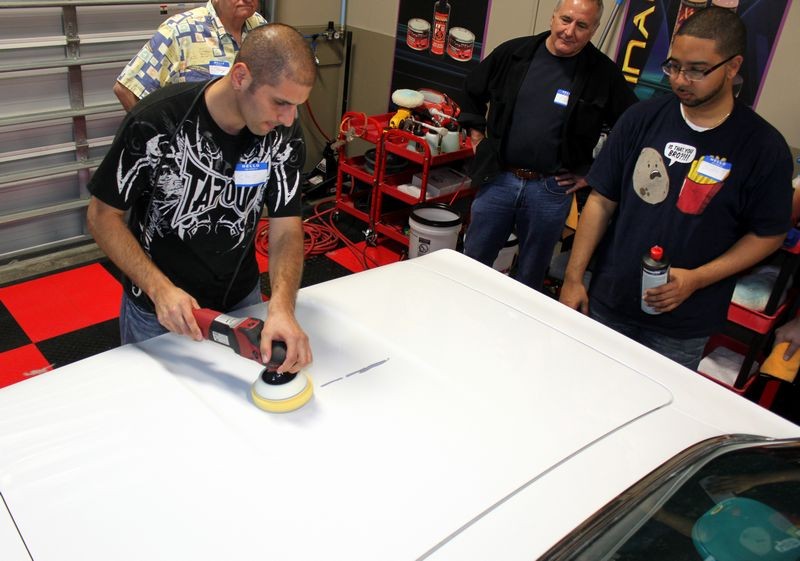
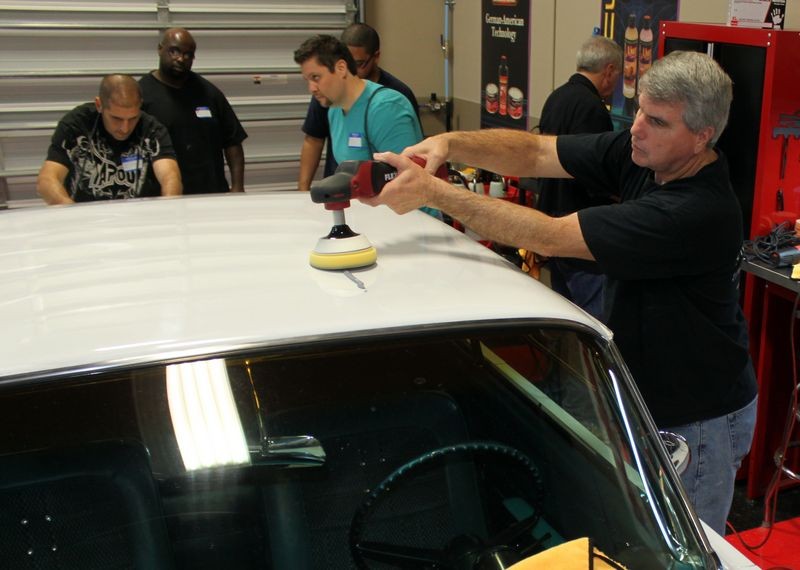
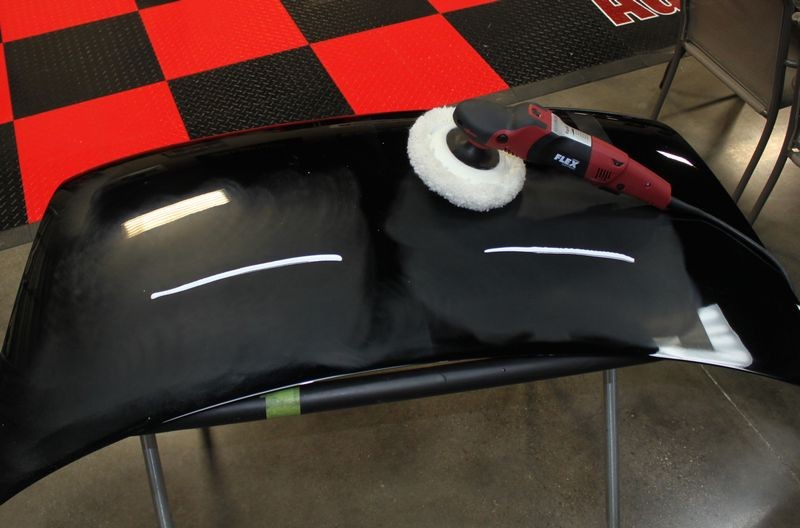
Compound paint using rotary buffers to remove sanding marks
For this project we used Meguiar's M100 Pro Speed Compound with Lake Country 100% Wool Cutting pads and a variety of rotary buffers including,
For this project we used the same rotary buffers but switched over the Meguiar's M205 Ultra Finish Polish and Lake Country Black CCS and Flat Foam Finishing Pads.
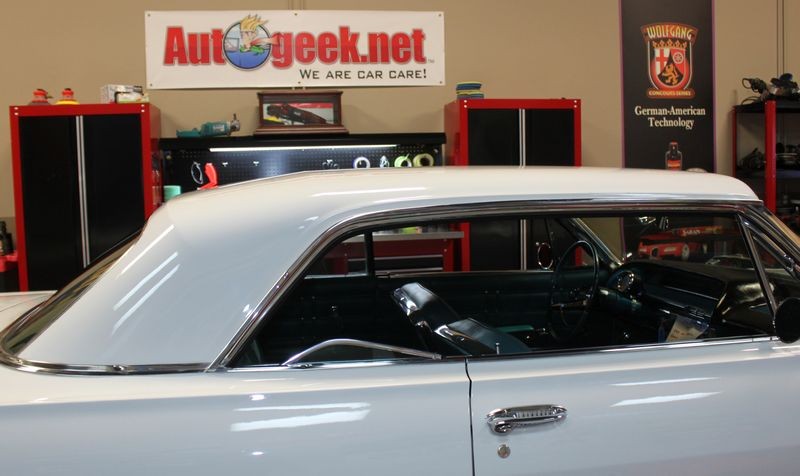
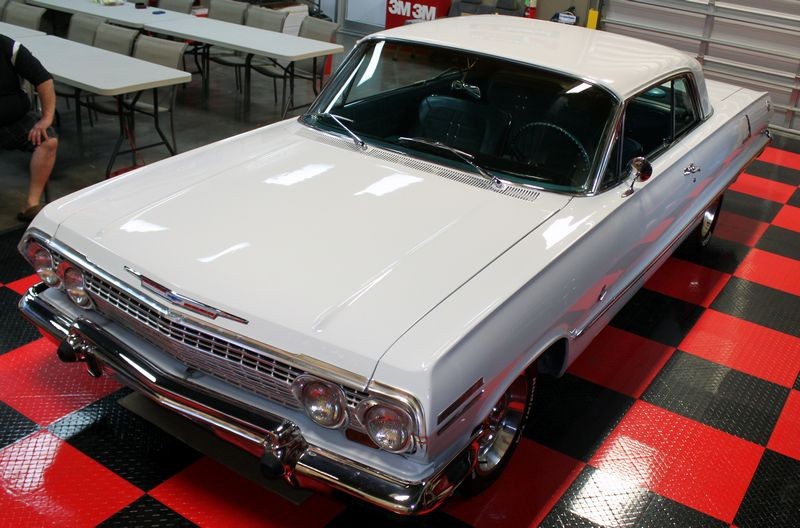
Jewel paint to maximize gloss and clarity for a show car finish
For this project we used the same rotary buffers plus Lake Country Gold Jewelling Pads and Menzerna SF 4500
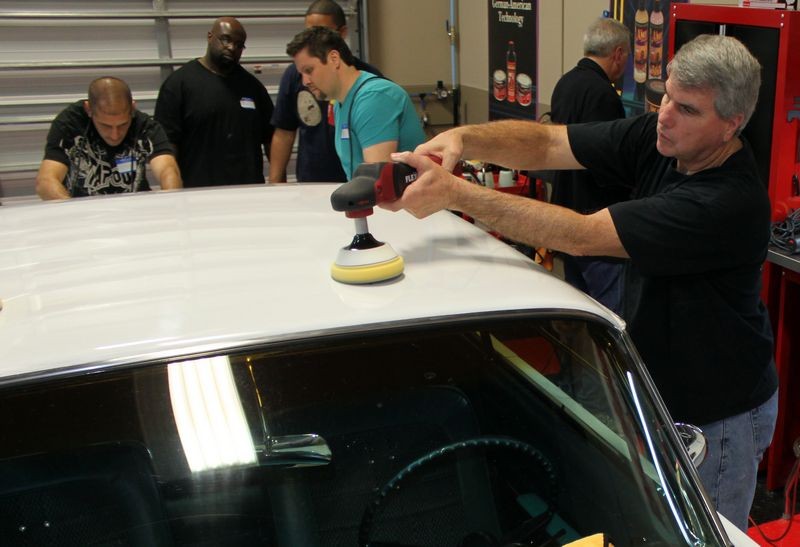
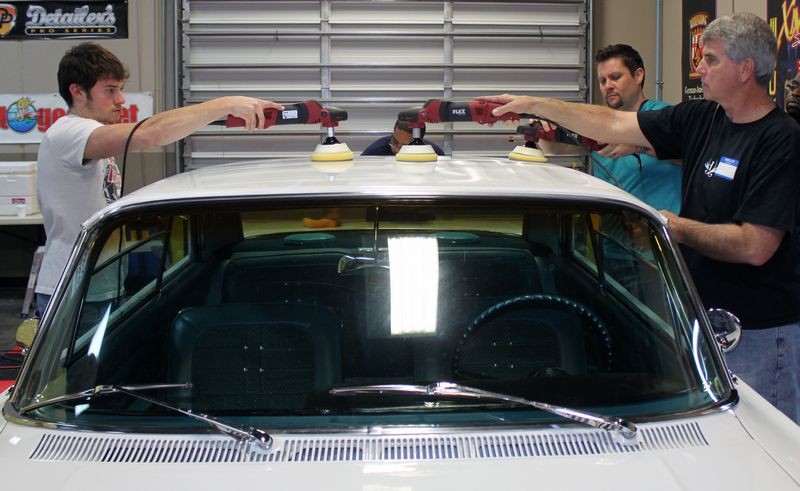
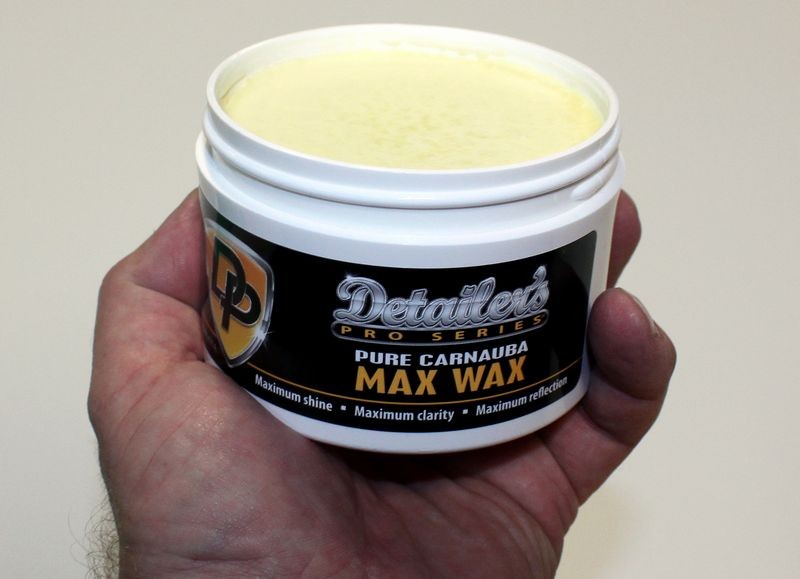
Machine wax to seal the paint
For this project I shared tips and techniques on how to apply a show car finishing wax by hand just so everyone could see how to do this carefully and then shared how to use basic DA polishers like the Porter Cable, Meguiar's and Griot's DA Polishers to machine apply Max Wax a non-cleaning, show car wax.
Now I'll let the pictures do the talking...
")
At a recent detailing class here at Autogeek in Stuart, Florida, everyone that attended had the opportunity to learn how to remove orange peel by wet sanding the paint by machine. This included the entire process from start to finish working on a custom, 1963 Chevrolet Impala.
Here are the steps taught in this class...
Waterless & Rinseless Wash to clean exterior before sanding
You must remove any loose dirt as a normal "best practice" before doing any other procedure, especially wet sanding. When it comes to classic cars, as a practice it's not a good idea to use a normal wash with lots of water running into areas you cannot dry as this can cause a potential rust problem.
Removing above surface bonded contaminants
For this project we used the Speedy Prep Surface Towels. After washing we inspected the paint and sure enough it has a rough, coarse texture. So before using high-end sanding discs it's faster and more cost effective to remove the contaminants before you sand.
Tape off edges, raised body lines, trim and any other area that you want to protect
The 1963 Impala has a raised body lines so we taped these off as well as edges between panels. Paint tends to be thinnest on edges and raised body lines so it's important not to sand over these areas.
Measure paint thickness
Before you do any work to a car it's important to measure the various body panels to get an idea of how thick or how thin the paint it. A paint thickness gauge is used as a "Big Picture Indicator" to help you make the "Go" or "No Go" decision for any paint correction process and especially when you're going to turn loose a group of people new to sanding and using rotary buffers on a custom car with a custom paint job.
Machine sand to level orange peel and surface texture
For this project we used 3M Trizact 3000 Sanding Discs with a variety of dual action polishers including,
- 3M Orbital Air Sander
- Porter Cable 7424XP
- Meguiar's G110v2
- Griot's 6" DA Polisher
- Griot's 3" DA Polisher
Compound paint using rotary buffers to remove sanding marks
For this project we used Meguiar's M100 Pro Speed Compound with Lake Country 100% Wool Cutting pads and a variety of rotary buffers including,
- Flex PE14 lightweight, compact rotary polisher
- DeWALT 849X full size rotary buffer
- Makita 9227 full size rotary buffer
For this project we used the same rotary buffers but switched over the Meguiar's M205 Ultra Finish Polish and Lake Country Black CCS and Flat Foam Finishing Pads.
Jewel paint to maximize gloss and clarity for a show car finish
For this project we used the same rotary buffers plus Lake Country Gold Jewelling Pads and Menzerna SF 4500
Machine wax to seal the paint
For this project I shared tips and techniques on how to apply a show car finishing wax by hand just so everyone could see how to do this carefully and then shared how to use basic DA polishers like the Porter Cable, Meguiar's and Griot's DA Polishers to machine apply Max Wax a non-cleaning, show car wax.
Now I'll let the pictures do the talking...