Jaddie
New member
- Oct 30, 2011
- 454
- 0
Dear Friends
A few days ago the ground of my Master Blaster's plug broke off into my extension cord.
I'm not a card-carrying DIYer, but after wiring up my son's model railroad and doing a Google search for "Repairing 3-Prong Electrical Plug," I found this YouTube video:
Repairing a 3-Pronged Grounded Electrical Cord - YouTube
I read the comments and learned that the instructor made one error: it does matter which wire goes to which blade on the plug. In short, the green wire will go to the ground, the positive or black wire will go to the silver blade (or the blade on the top right of the ground plug if you're facing it), and the white or negative wire will go to the brass blade (or the blade on the top left of the ground plug).
A quick check at Wikipedia provided a wealth of information, including nomenclature and wiring diagrams for this type of plug as well as many others.
Here is the plug I purchased from Lowe's to replace the plug that came with my Master Blaster.
In short, here are the basic steps:
Here are some quick-and-blurry pictures from my iPhone from my Master Blaster repair:

Broken stock plug
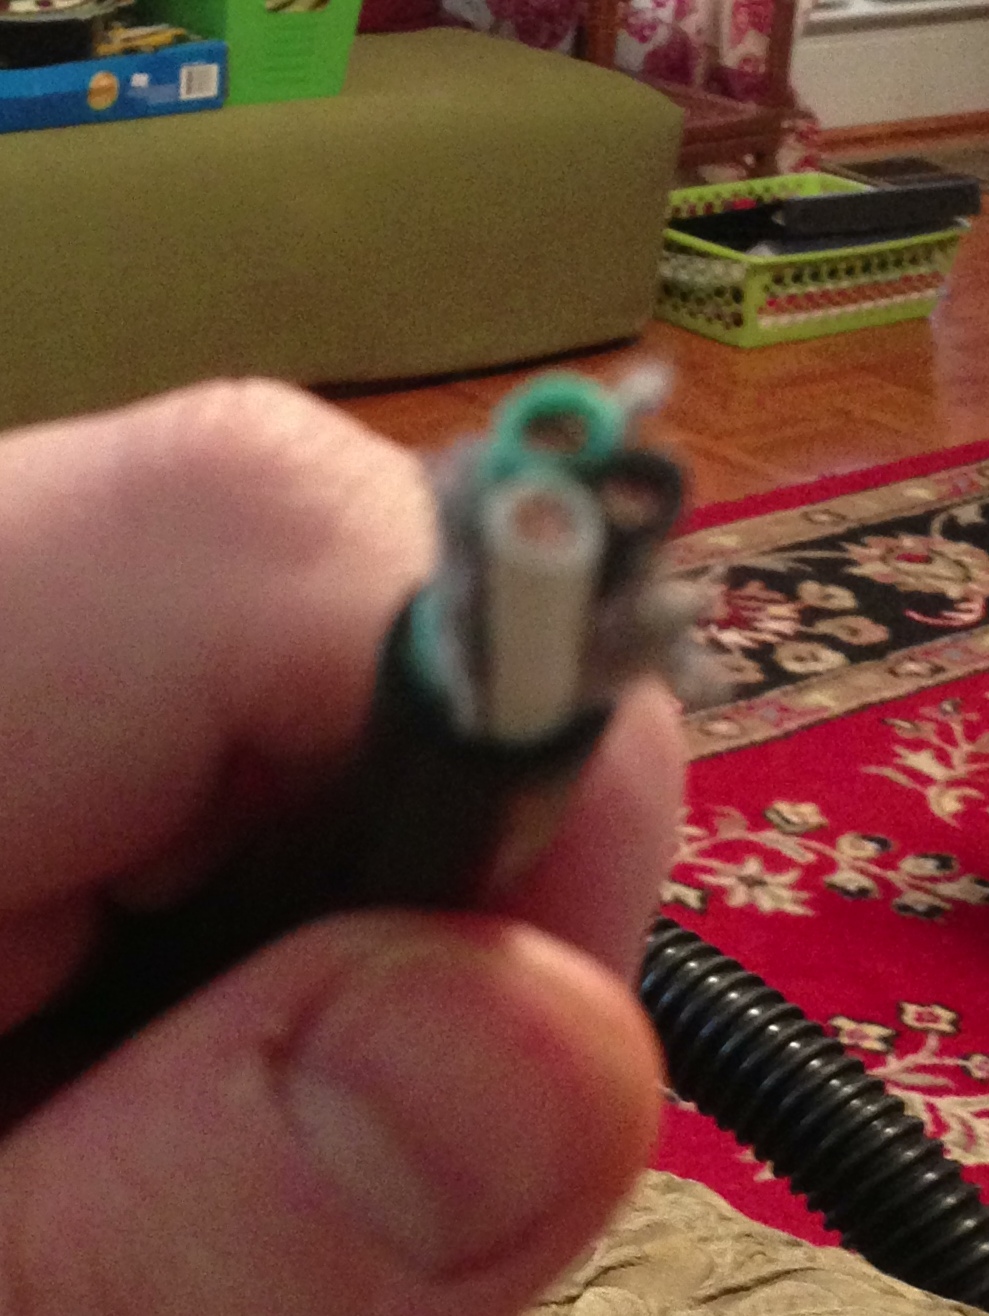
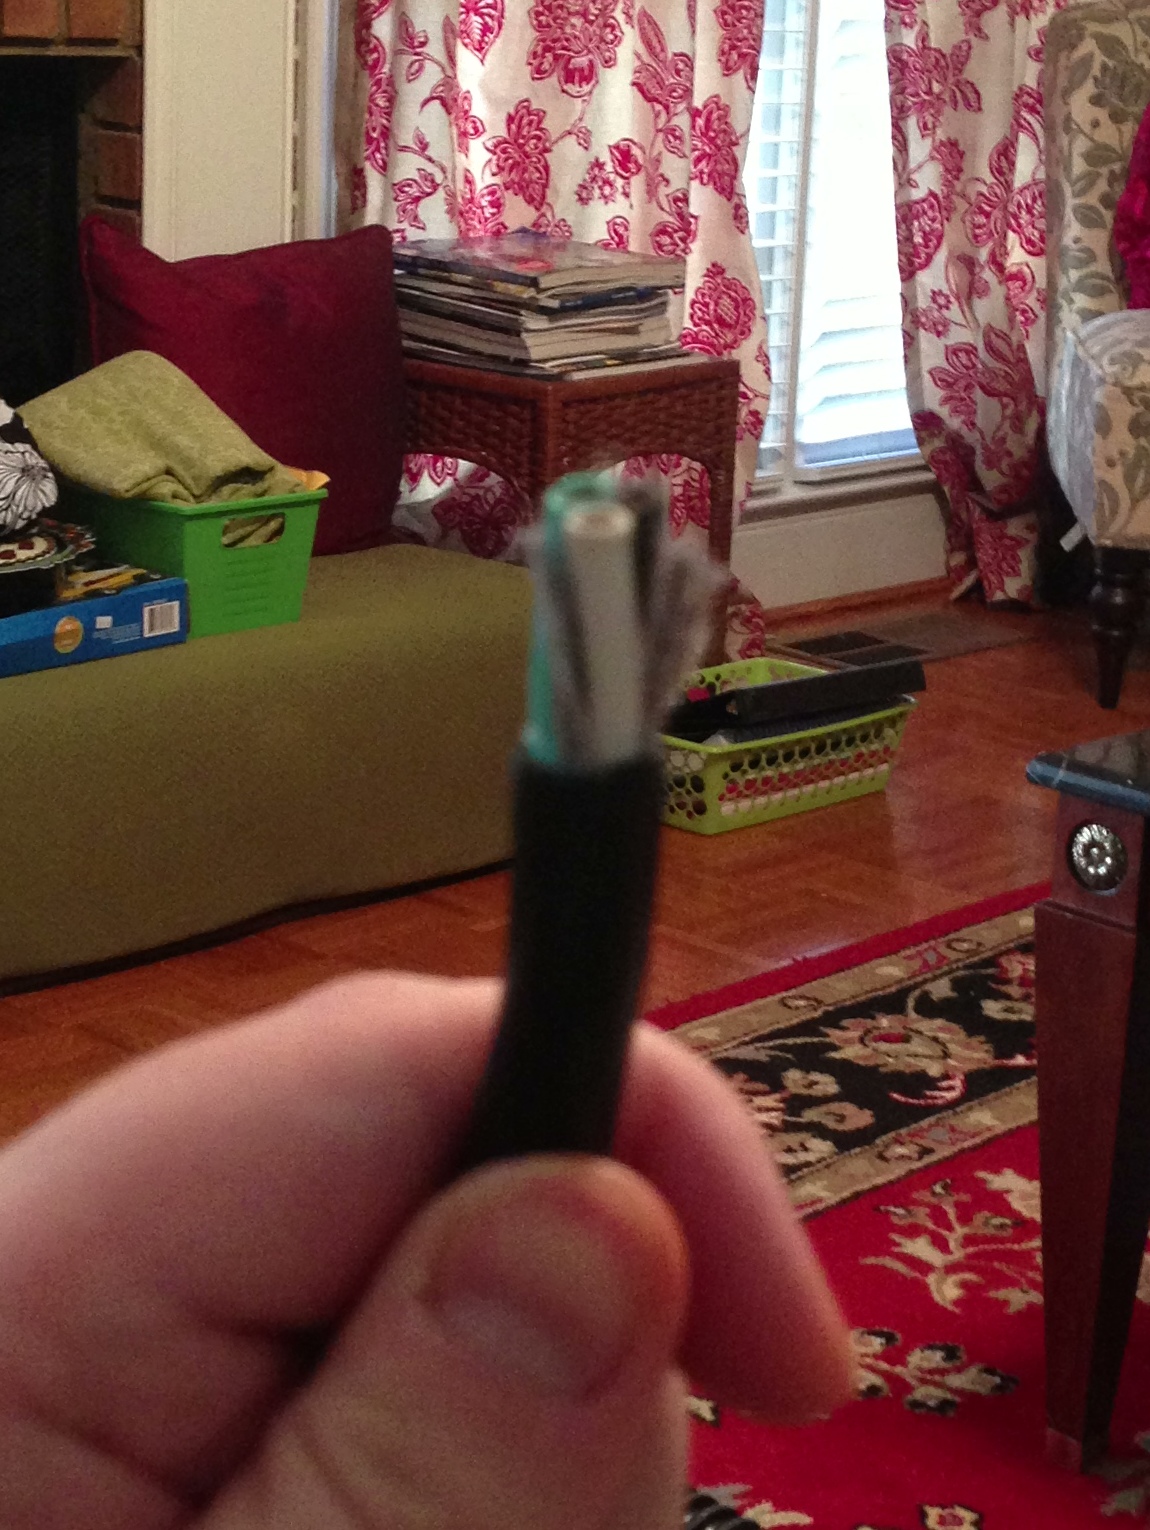
Exposed wires after snipping off broken plug. Notice the stringy insulation. I snipped those loose strings off when attaching the wires to their connector points on the replacement plug.
Another image of the exposed wires after snipping off broken plug
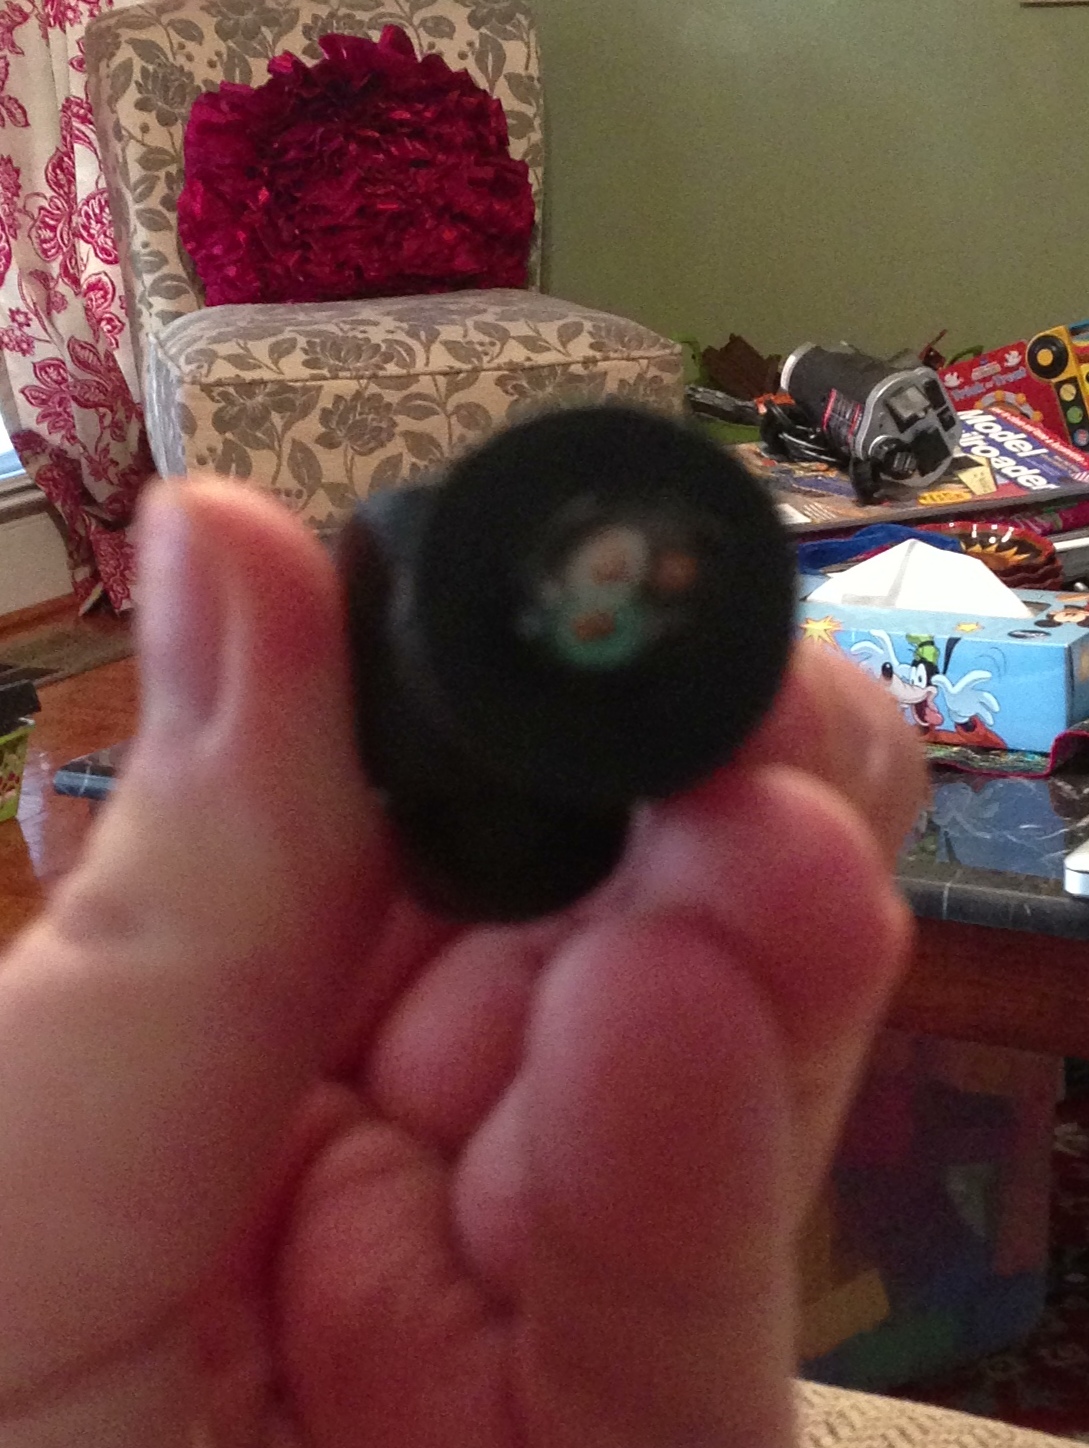
Snipped-off plug
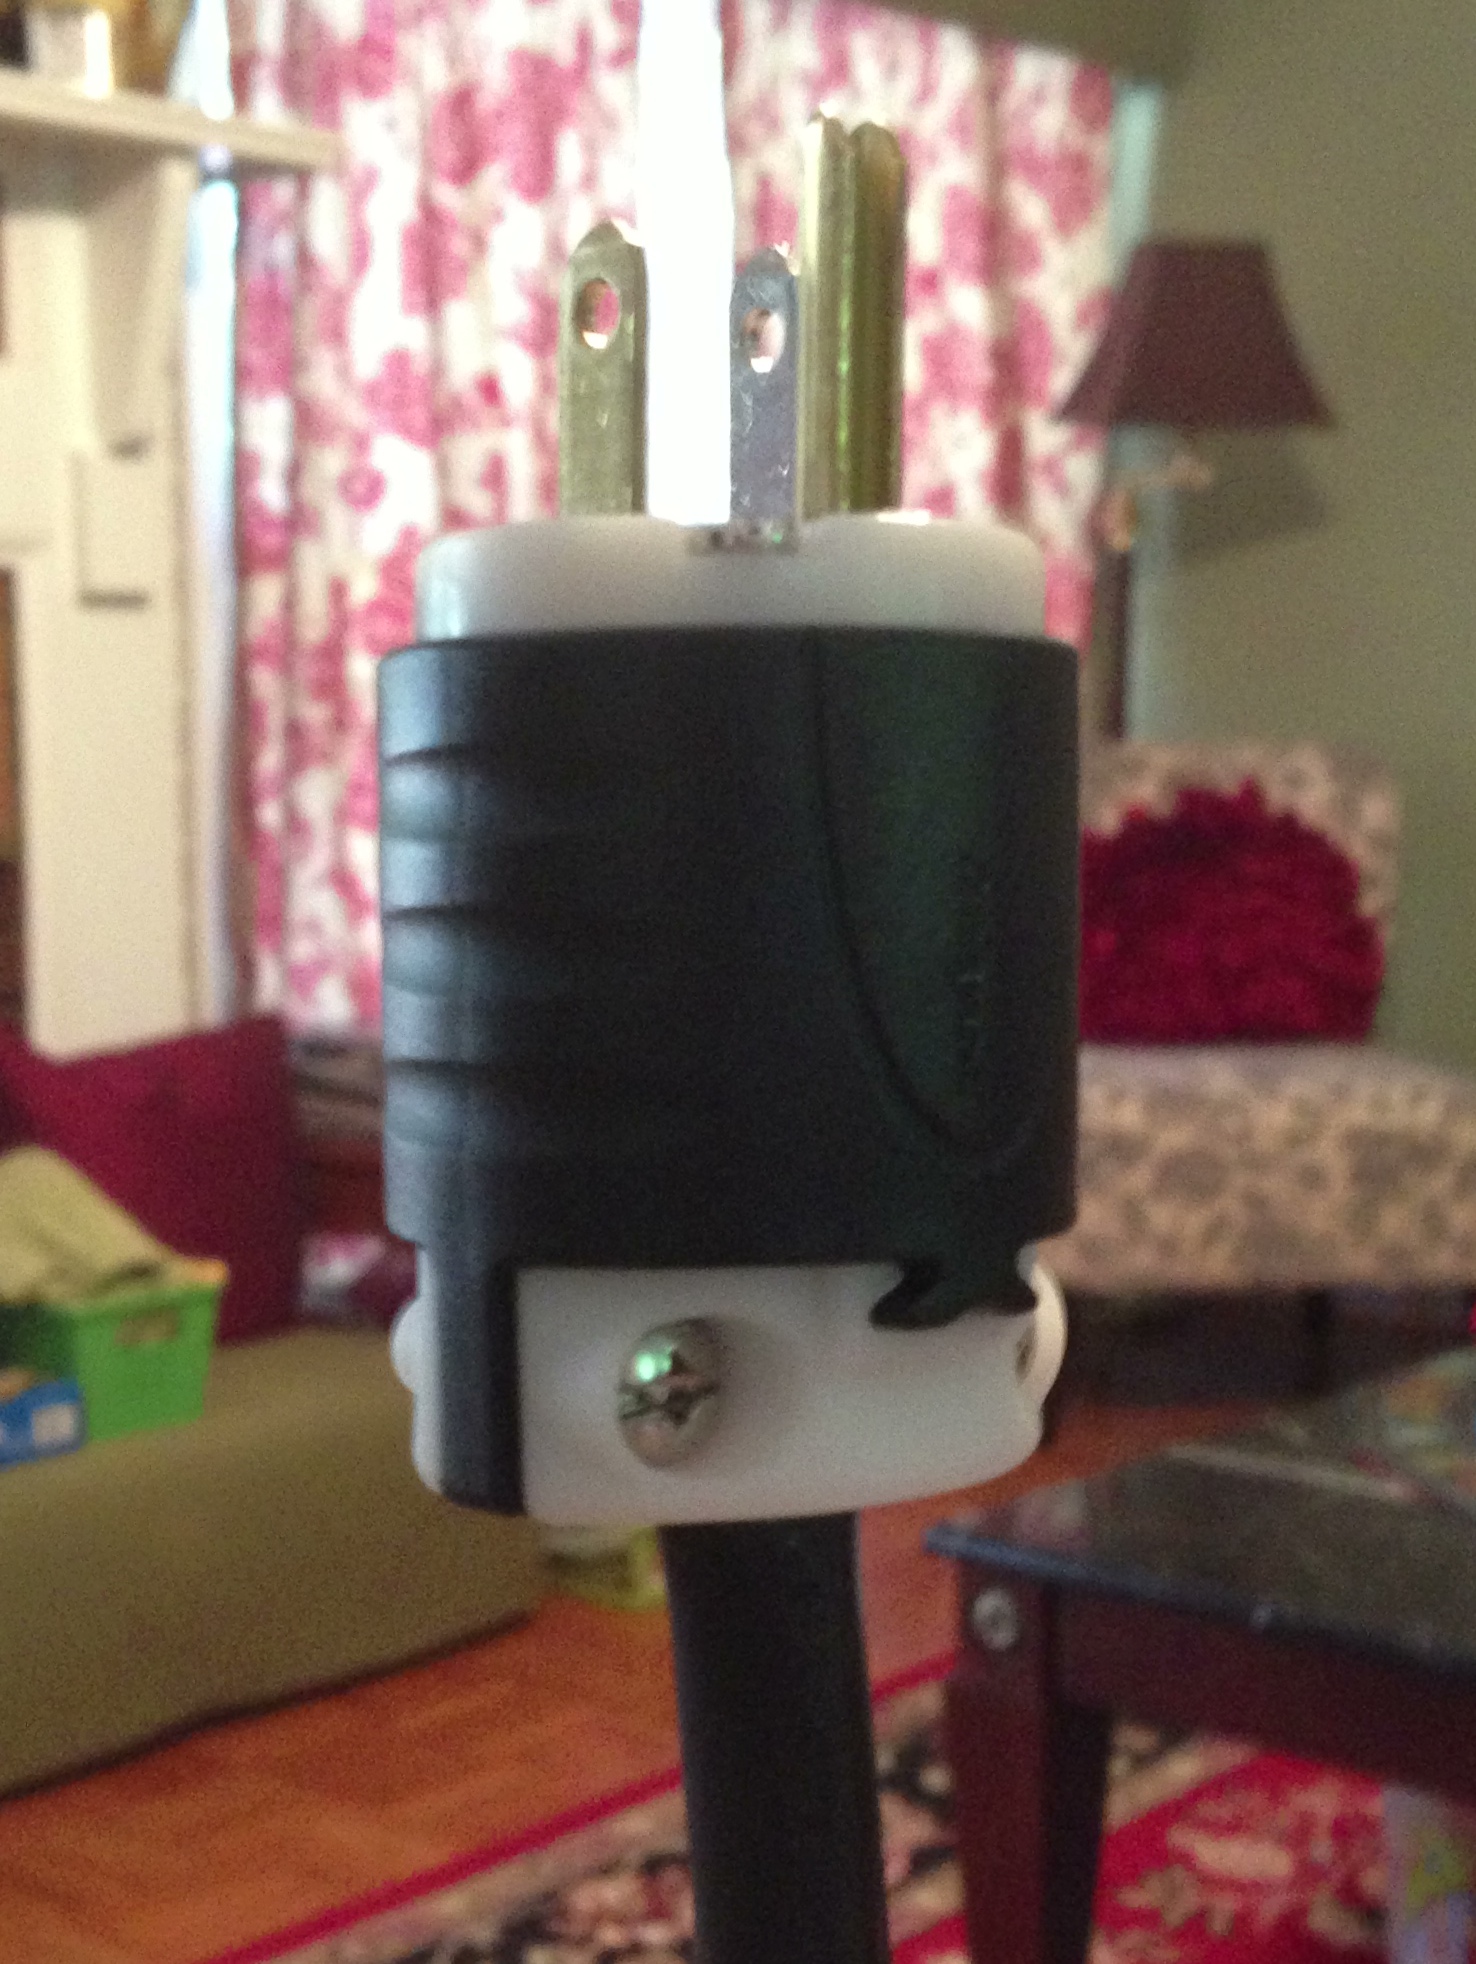
Replacement plug properly installed
I'm embarrassed to admit that this process took me half an hour. I forgot to put the replacement plug's housing on the cord prior attaching the three wires, so I had to repeat some of this process.
A few days ago the ground of my Master Blaster's plug broke off into my extension cord.
I'm not a card-carrying DIYer, but after wiring up my son's model railroad and doing a Google search for "Repairing 3-Prong Electrical Plug," I found this YouTube video:
Repairing a 3-Pronged Grounded Electrical Cord - YouTube
I read the comments and learned that the instructor made one error: it does matter which wire goes to which blade on the plug. In short, the green wire will go to the ground, the positive or black wire will go to the silver blade (or the blade on the top right of the ground plug if you're facing it), and the white or negative wire will go to the brass blade (or the blade on the top left of the ground plug).
A quick check at Wikipedia provided a wealth of information, including nomenclature and wiring diagrams for this type of plug as well as many others.
Here is the plug I purchased from Lowe's to replace the plug that came with my Master Blaster.
In short, here are the basic steps:
- Cut off the old plug with wire cutters.
- Using wire strippers strip about 0.5–0.75" of cover from the blunt end created in the previous step. This will expose three wires, each covered by its own jacket.
- Strip about half to three quarters of the exposed length of each of the three wires.
- Twist the ends of each of the three wires so that each is compact and can be threaded through a small opening.
- Thread housing of replacing plug on electrical cord.
- Insert each of the wires into its proper place on the replacement plug (green for ground, black for positive or top right, and white for negative or top left).
- Tighten the corresponding screws to secure the wire.
- Reassemble the plug and test.
Here are some quick-and-blurry pictures from my iPhone from my Master Blaster repair:
Broken stock plug
Exposed wires after snipping off broken plug. Notice the stringy insulation. I snipped those loose strings off when attaching the wires to their connector points on the replacement plug.
Another image of the exposed wires after snipping off broken plug
Snipped-off plug
Replacement plug properly installed
I'm embarrassed to admit that this process took me half an hour. I forgot to put the replacement plug's housing on the cord prior attaching the three wires, so I had to repeat some of this process.
") Just a note, the YT guy is correct in that if you do mess up the black and whit, It really wont matter a whole lot. nice to get it 100% but I have done lots over the years and it has never had an ill effect that I could see. Most important though is your Ground.
Just a note, the YT guy is correct in that if you do mess up the black and whit, It really wont matter a whole lot. nice to get it 100% but I have done lots over the years and it has never had an ill effect that I could see. Most important though is your Ground.