Mike Phillips
Active member
- Dec 5, 2022
- 51,004
- 6
How to restore exterior black plastic trim
I'm teaching 6 different classes at Mobil Tech this year and one of them is on how to restore exterior black plastic trim. If you've ever been to one my detailing classes anywhere over the years, you know I try to keep the class as hands-on as much as possible.
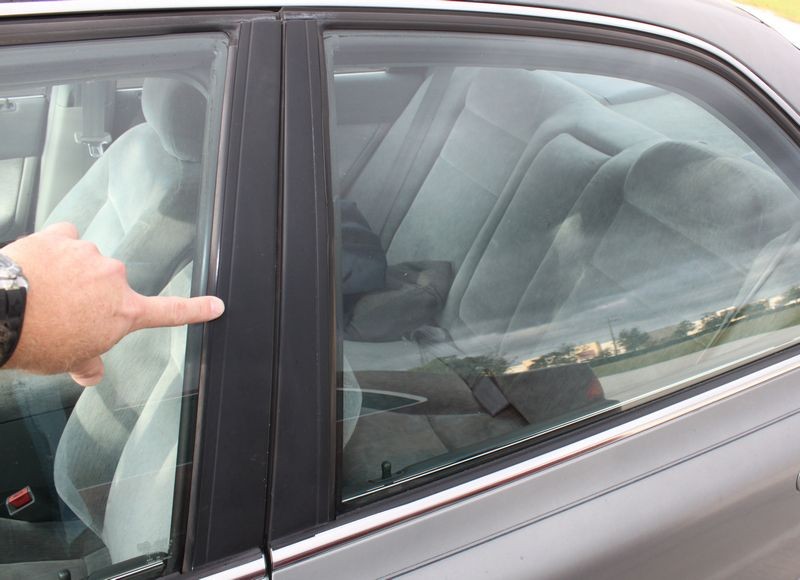
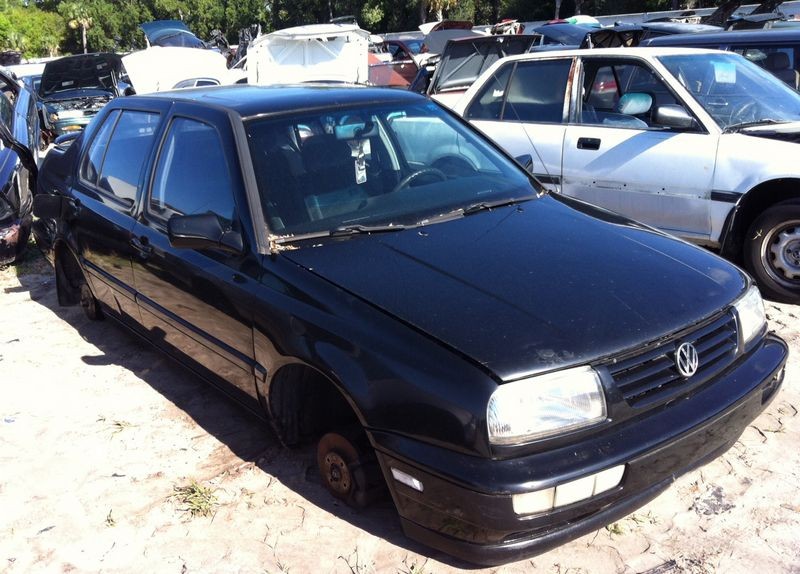
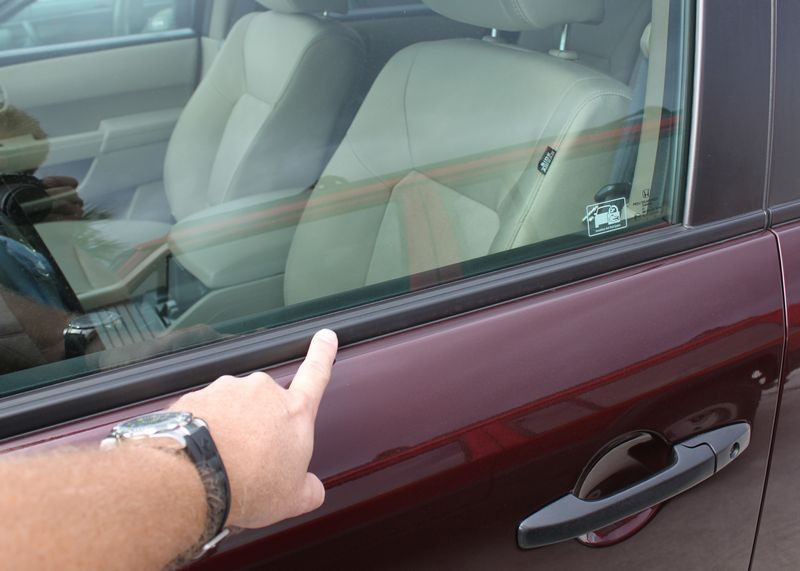
In keeping with the hands-on theme, for a Saturday of fun, I took a trip to my local salvage yard Snake Road Salvage right down the road and pried off all types of rubber, vinyl and black plastic trim in horribly neglected condition for my students to practice on.
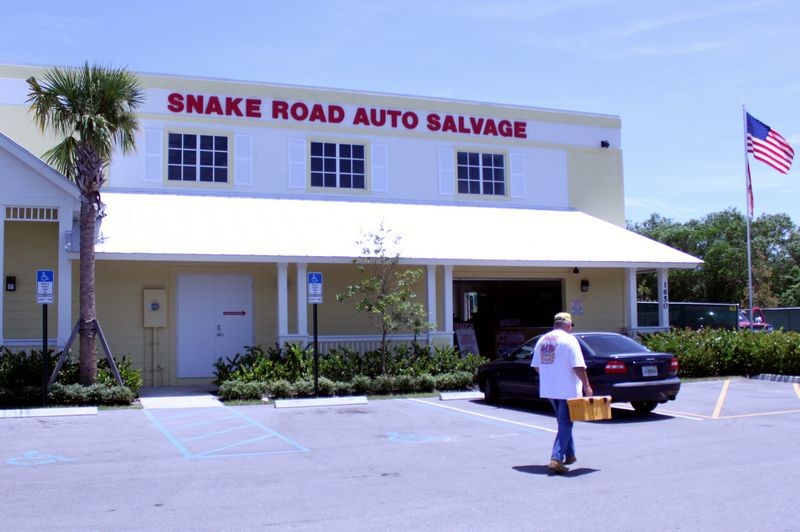
Here's my buddy's Phil's salvage yard, Phil is also a local hotrodder and I'm sure you'll be seeing one of his streetrods at our Show Car Garage sometime in the future...
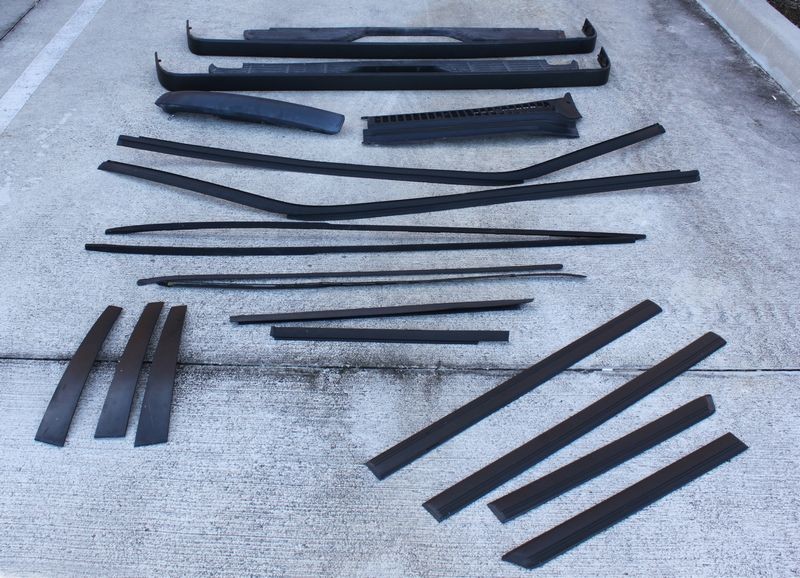
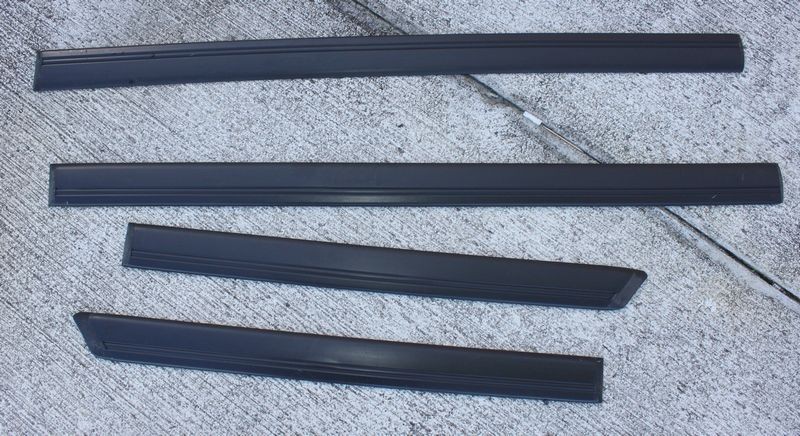
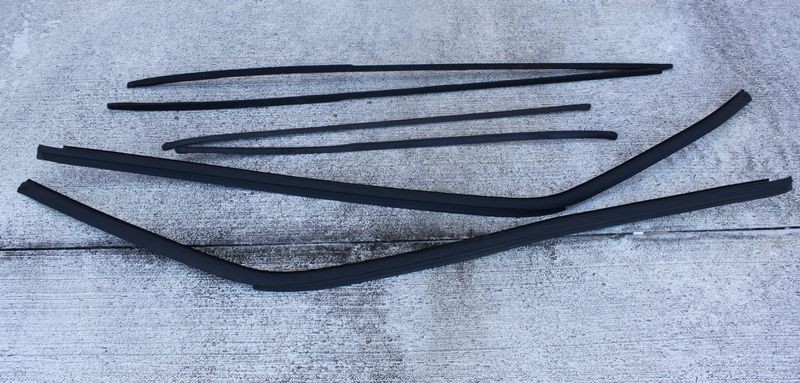
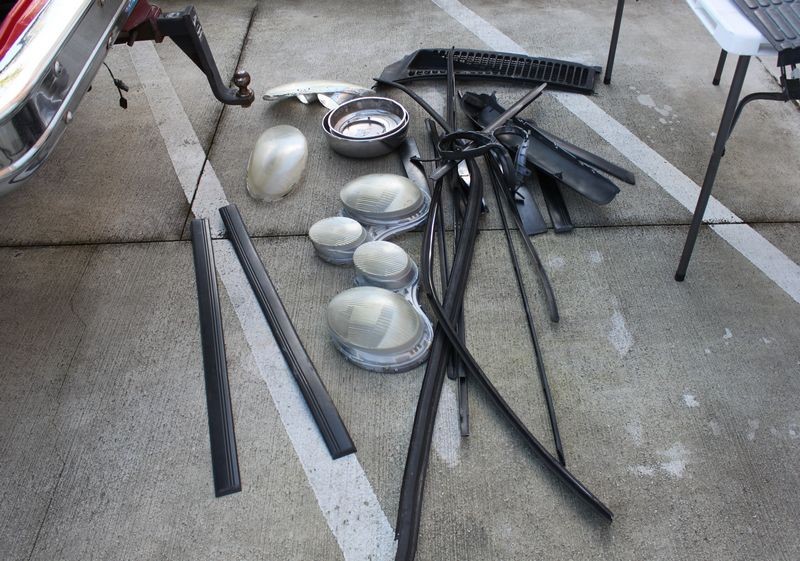
And here's my booty... lots of neglected trim from both cars and trucks and even some headlight and hubcaps...
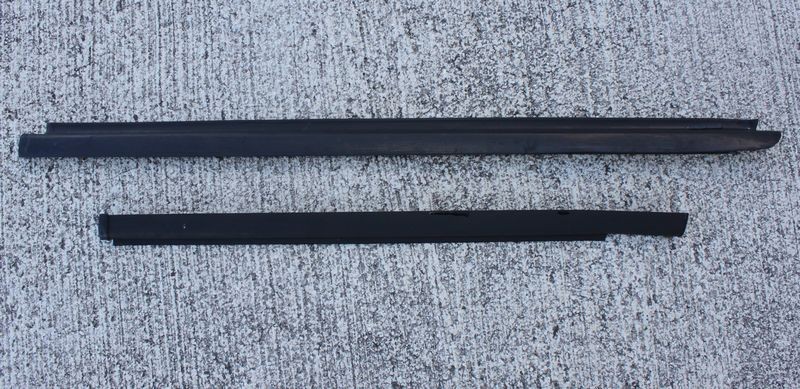
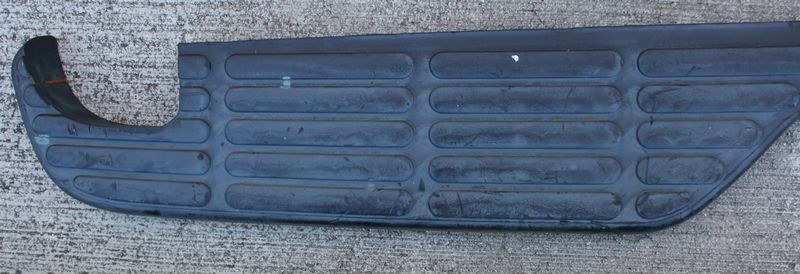
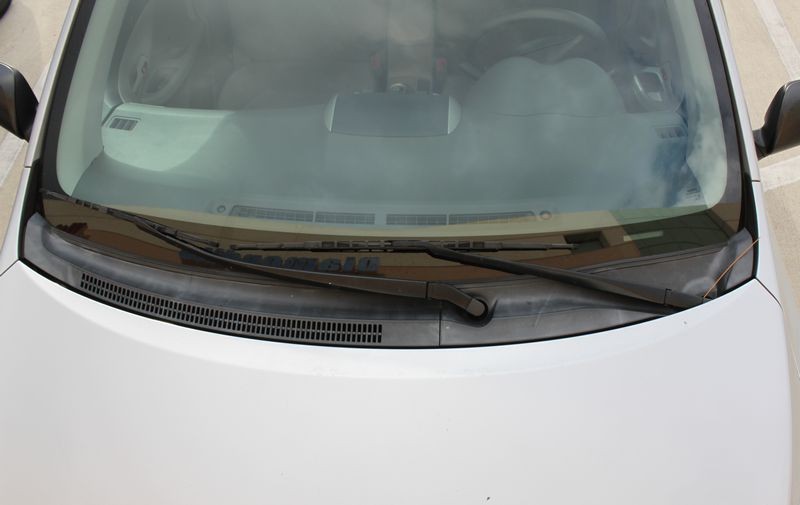
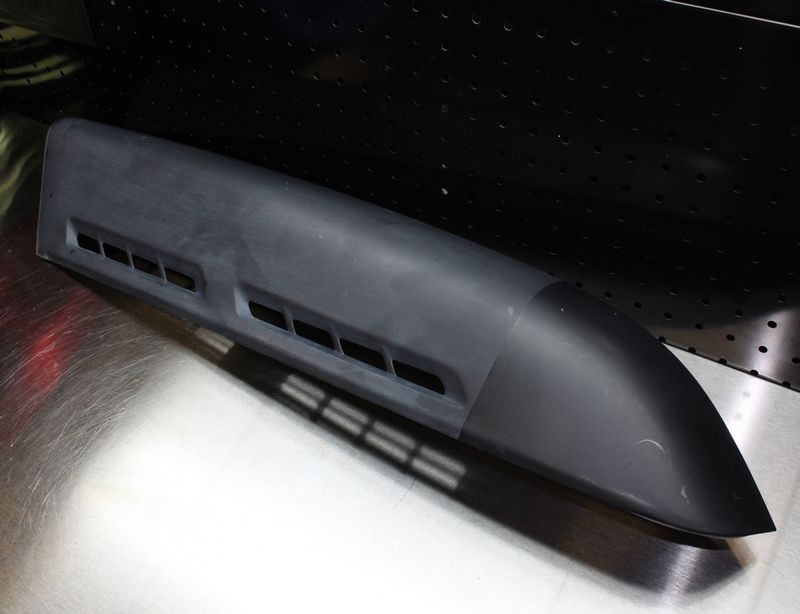
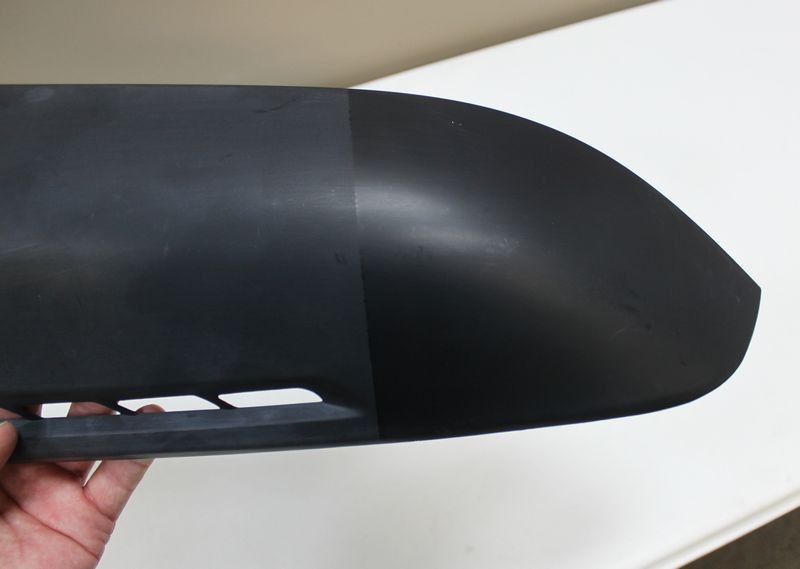
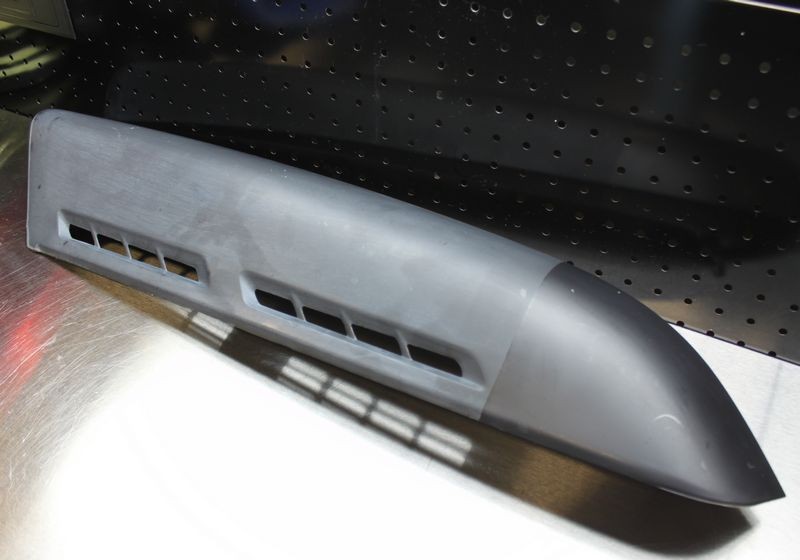
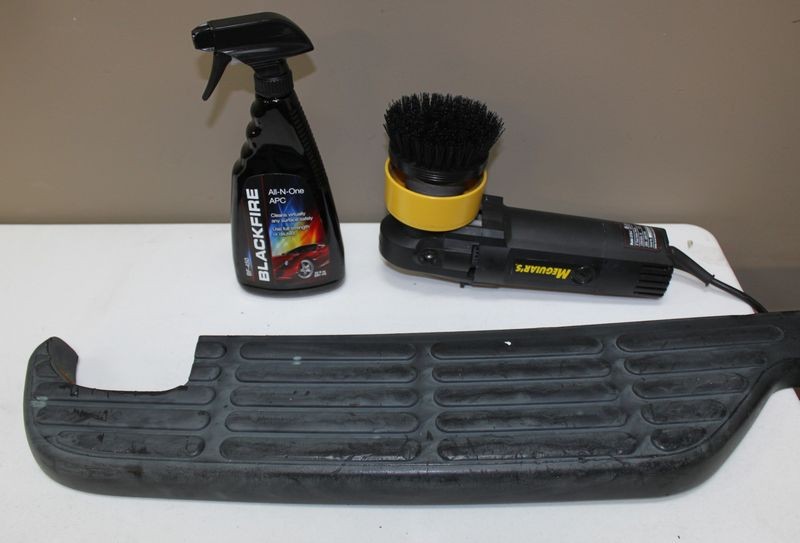
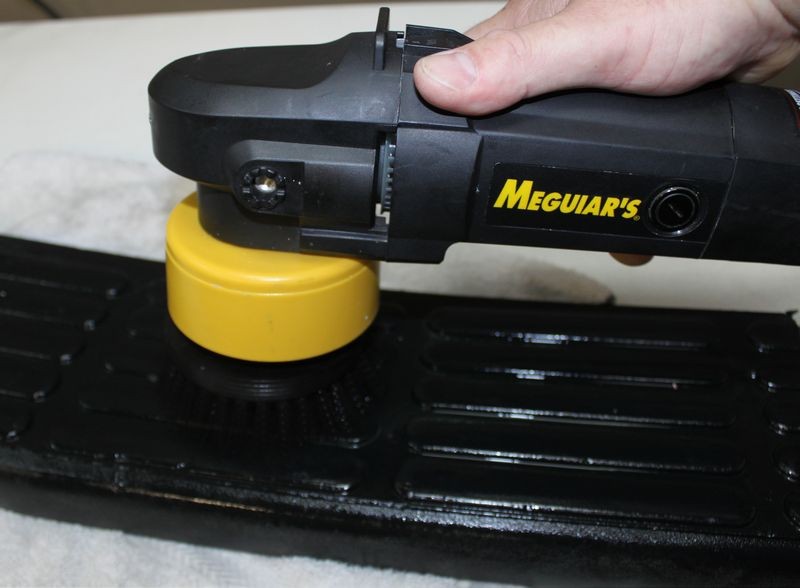
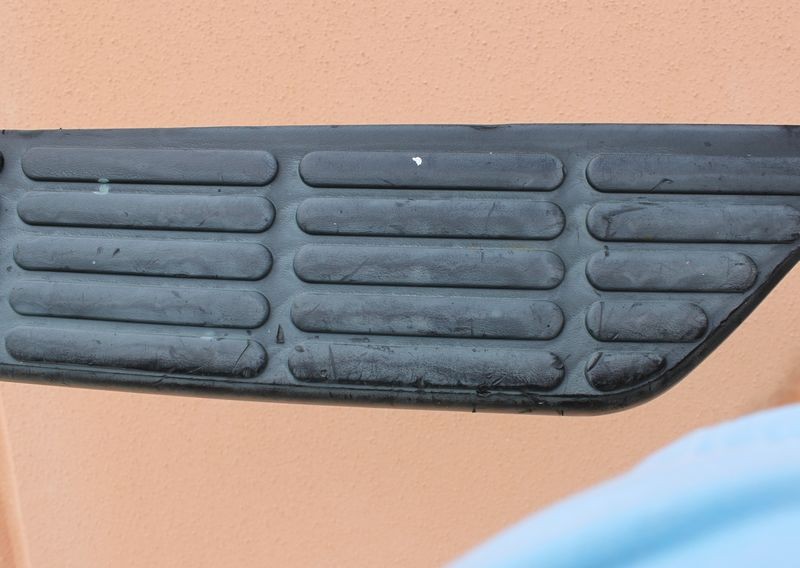
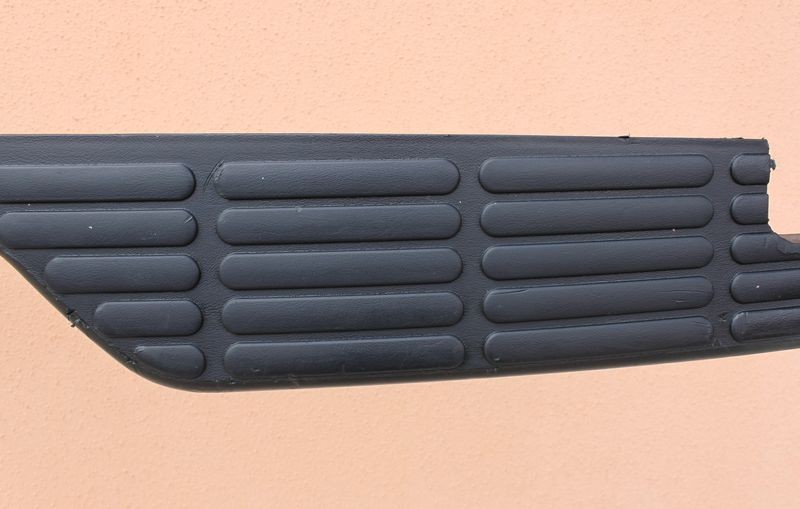
You'll recognize the trim below off the front and back of truck bumpers, all of it the worst kind... Pebble Textured Black Plastic Trim

Snagged a few hubcaps for some of my car guy buddies to hang on the wall of their garage or office or like me, use them to hold nuts and bolts when working on car projects.

Next up I'm going outside to scrub all this stuff clean because you don't restore dirty trim. Need to get it ready for my class next Thursday at Mobil Tech Expo.
:dblthumb2:
I'm teaching 6 different classes at Mobil Tech this year and one of them is on how to restore exterior black plastic trim. If you've ever been to one my detailing classes anywhere over the years, you know I try to keep the class as hands-on as much as possible.
In keeping with the hands-on theme, for a Saturday of fun, I took a trip to my local salvage yard Snake Road Salvage right down the road and pried off all types of rubber, vinyl and black plastic trim in horribly neglected condition for my students to practice on.
Here's my buddy's Phil's salvage yard, Phil is also a local hotrodder and I'm sure you'll be seeing one of his streetrods at our Show Car Garage sometime in the future...
And here's my booty... lots of neglected trim from both cars and trucks and even some headlight and hubcaps...
You'll recognize the trim below off the front and back of truck bumpers, all of it the worst kind... Pebble Textured Black Plastic Trim
Snagged a few hubcaps for some of my car guy buddies to hang on the wall of their garage or office or like me, use them to hold nuts and bolts when working on car projects.
Next up I'm going outside to scrub all this stuff clean because you don't restore dirty trim. Need to get it ready for my class next Thursday at Mobil Tech Expo.
:dblthumb2:
")