Mike Phillips
Active member
- Dec 5, 2022
- 51,004
- 6
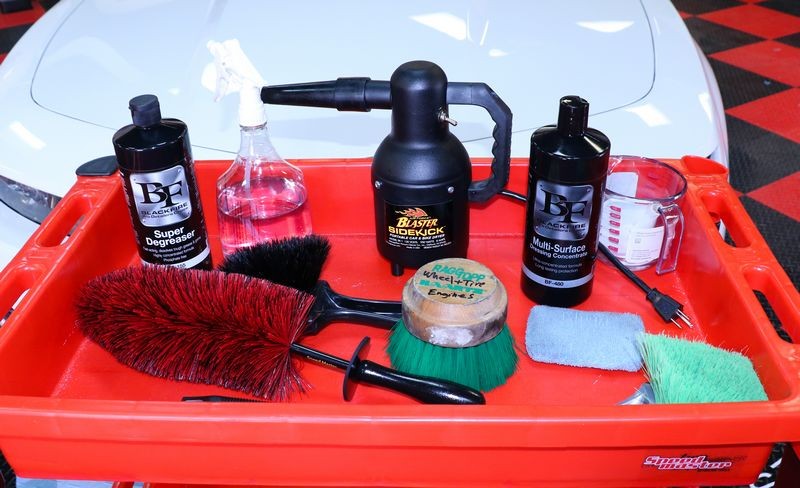
How to use a Degreaser to clean your engine compartment - BLACKFIRE Super Degreaser Review
BLACKFIRE Super Degreaser


From the AG Store page
BLACKFIRE Super Degreaser uses proprietary ingredients to quickly dissolve and remove even the toughest grease and grime from heavily contaminated areas - including engine compartments, undercarriages, and wheel wells. Super Degreaser is highly concentrated and can be diluted accordingly for your use. This phosphate and residue free formula is biodegradable and safe for use in all environments.
BLACKFIRE Super Degreaser features:
The above reads good. I'm not a chemist and instead of trying to become a chemist I trust the company that makes the product has a chemist that actually knows what the are doing. Like John Dillon once told me, focus on the performance of the product, not the ingredients in the bottle.
No mock-up here folks...
The ONLY way to write a REAL review for a product like this is to actually use it and if I'm going to take the time to use it I might as well show everyone how to use it at the same time. So here's my how-to article and at the end I'll tell you what I think.
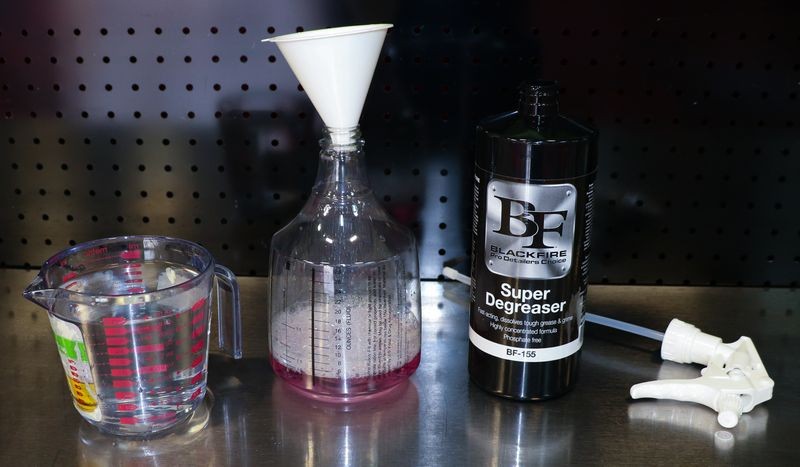
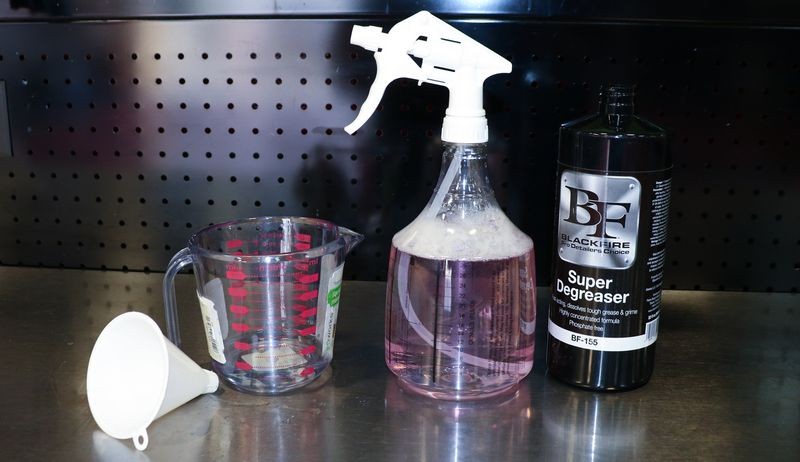
Mix proper dilution
The BLACKFIRE Super Degreaser is a concentrate so before you can use it you need to mix it to the proper dilution for whatever it is you want to clean.
Dillution levels
1:4 Heavy Degreasing
1:10 Moderate Degreasing
1:15 Light Degreasing
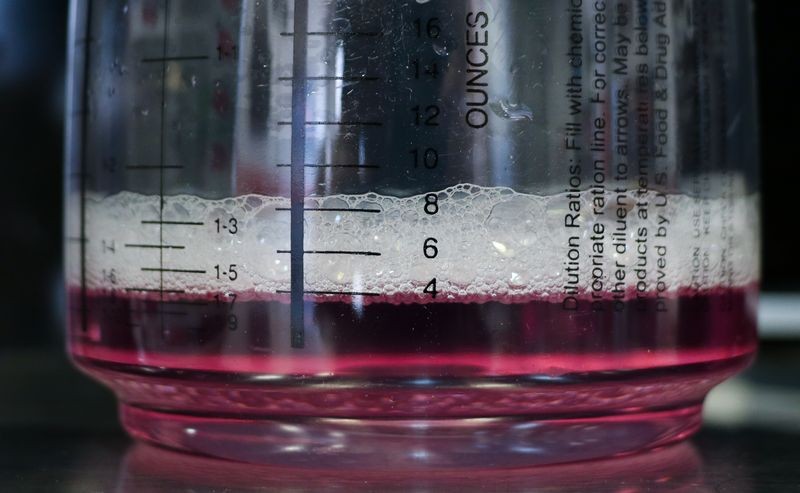
I'm going to mix for heavy degreasing. The pour-off bottle olds 30 ounces. 1:4 means a total of 5 parts. 30 divided by 5 equals 5 parts of 6 ounces. This means I need 5 ounces of cleaner and 35 ounces of water.
Here I eyed-up 5 ounces....
I was close at 4 ounces. Good enough, the grime in the engine won't care...
Then I added water till I hit 30 ounces of product.
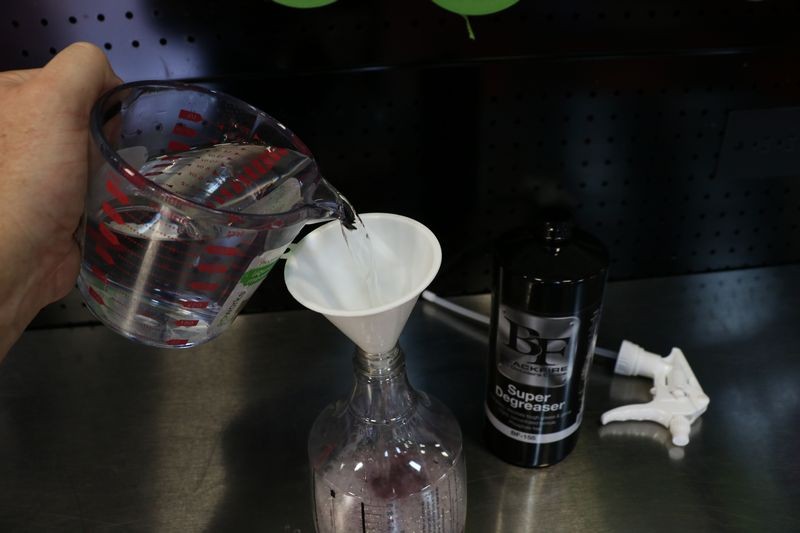
Mixed and ready to go... to do this type of stuff it helps to have a funnel.
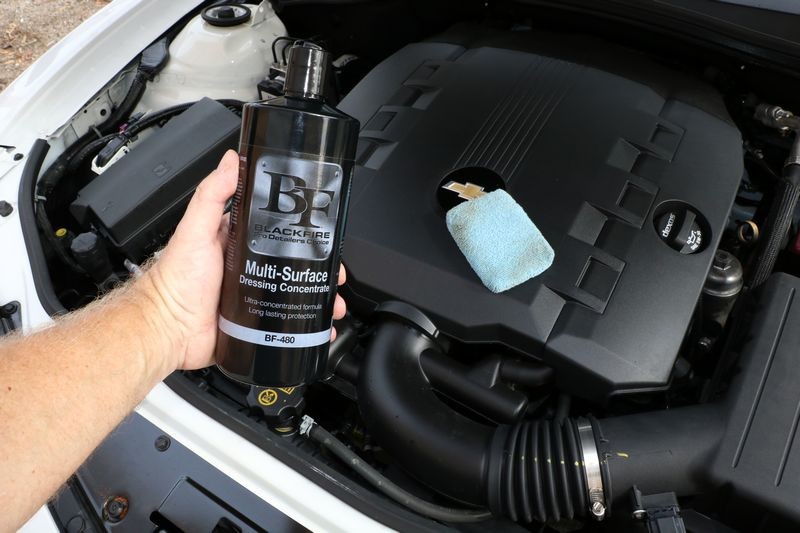
Victim = Co-workers Camaro
I borrowed a Camaro from one of the guys here at work. Promised him nothing would go wrong. wink/wink
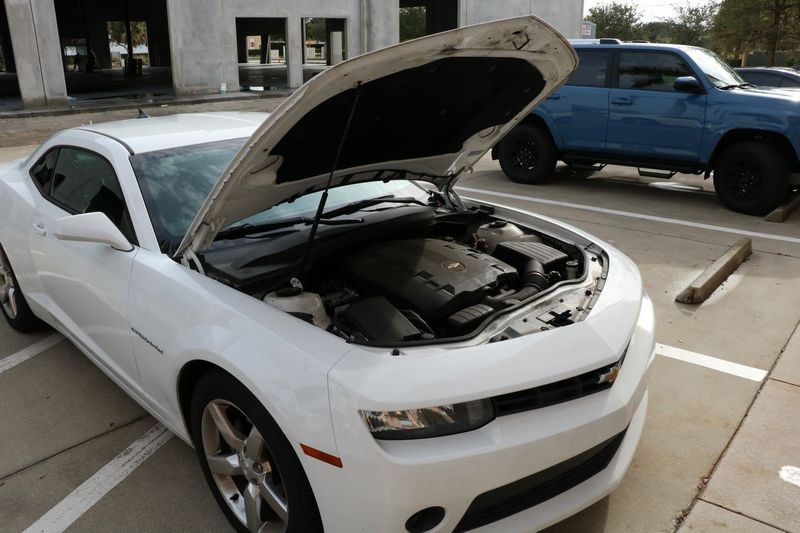
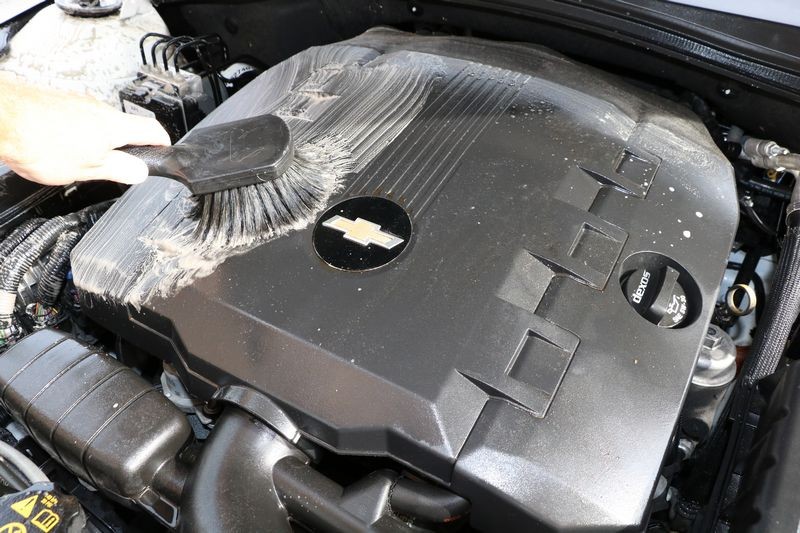
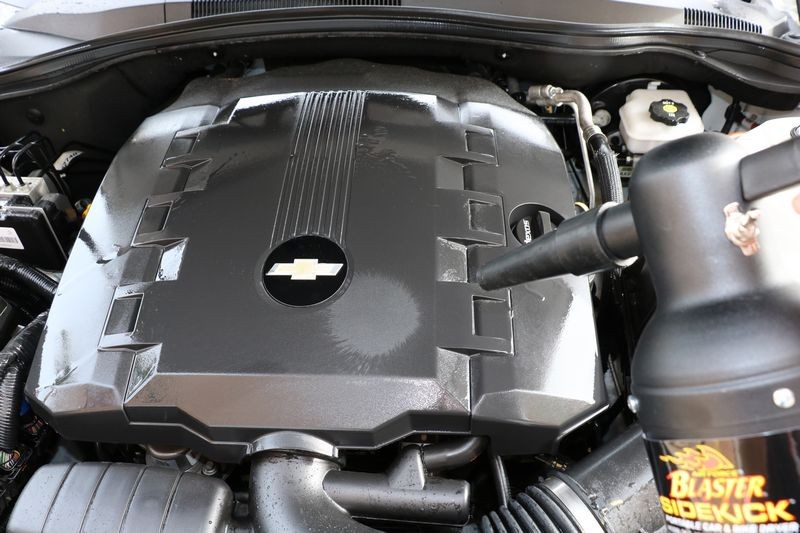
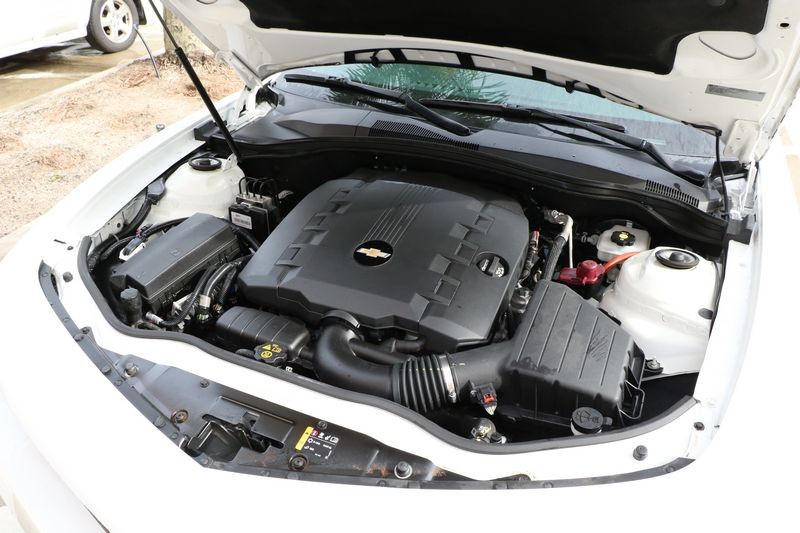
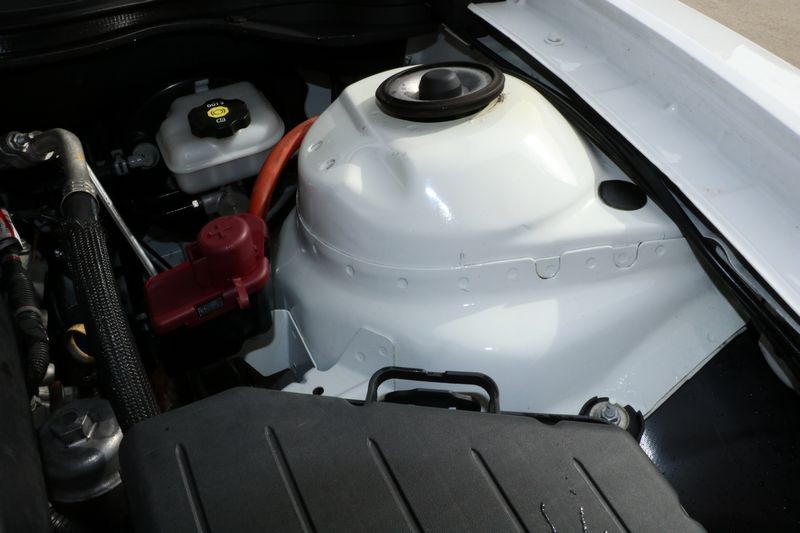
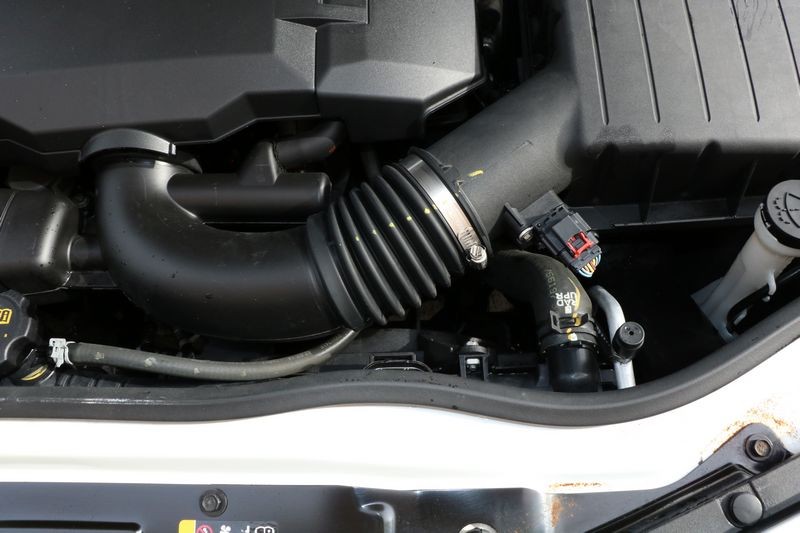
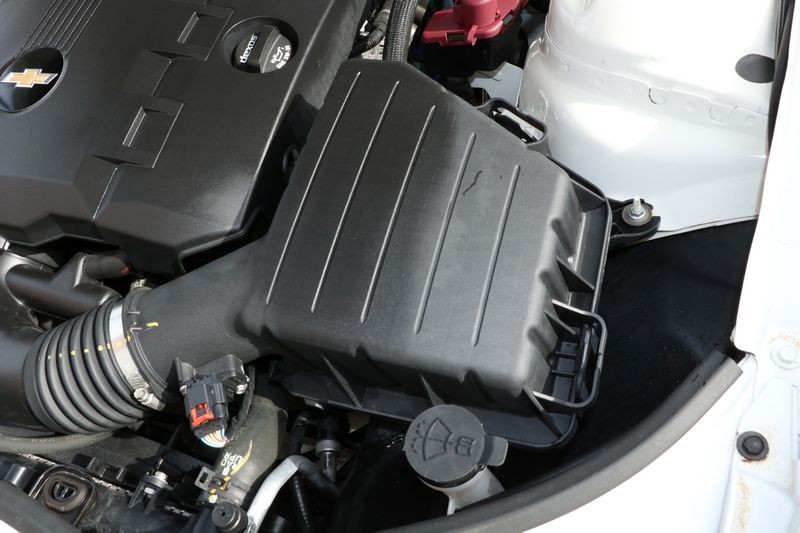
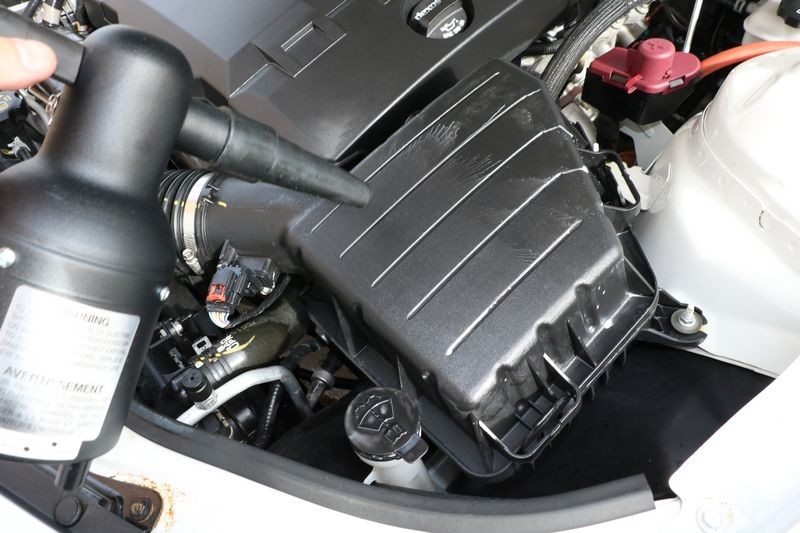
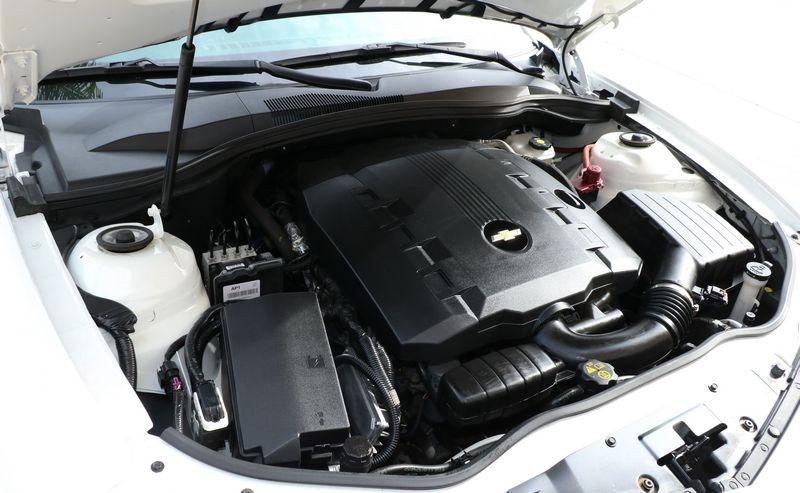
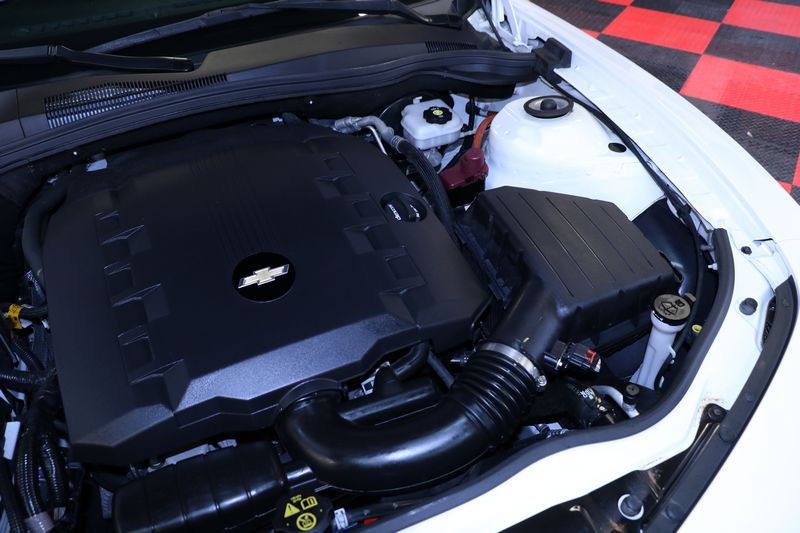
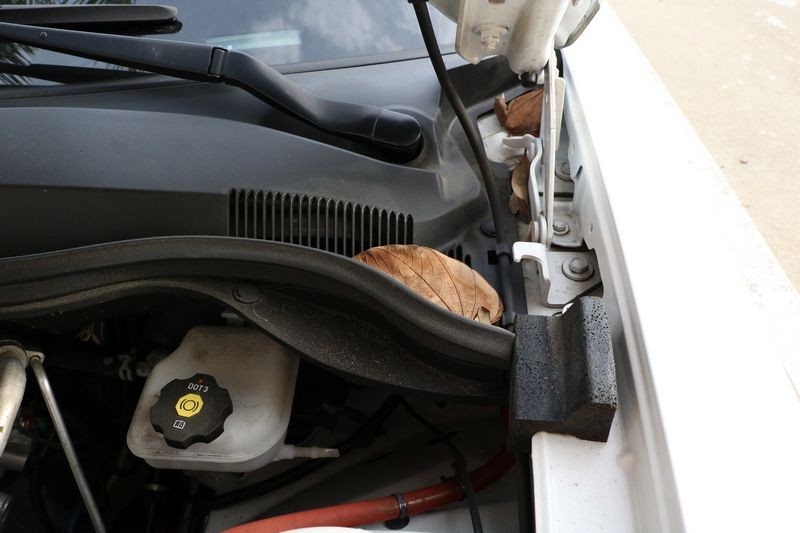
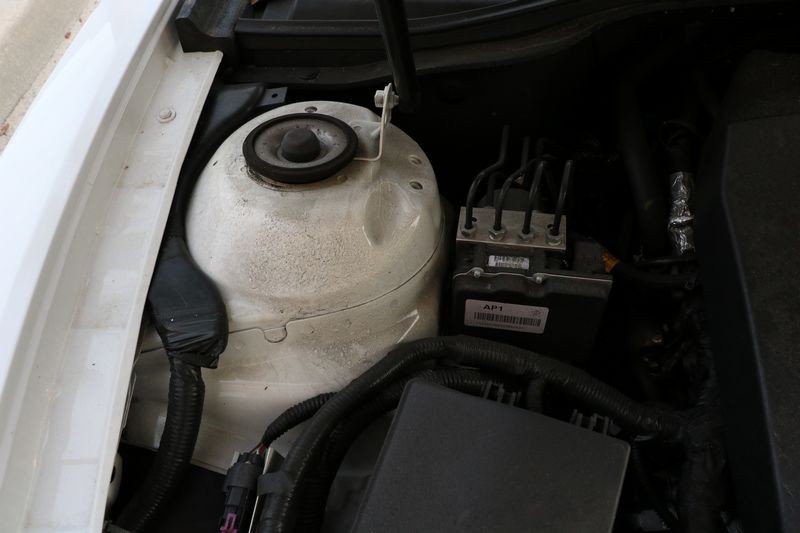
Here's the motor and engine compartment - doesn't look like it's ever been cleaned.
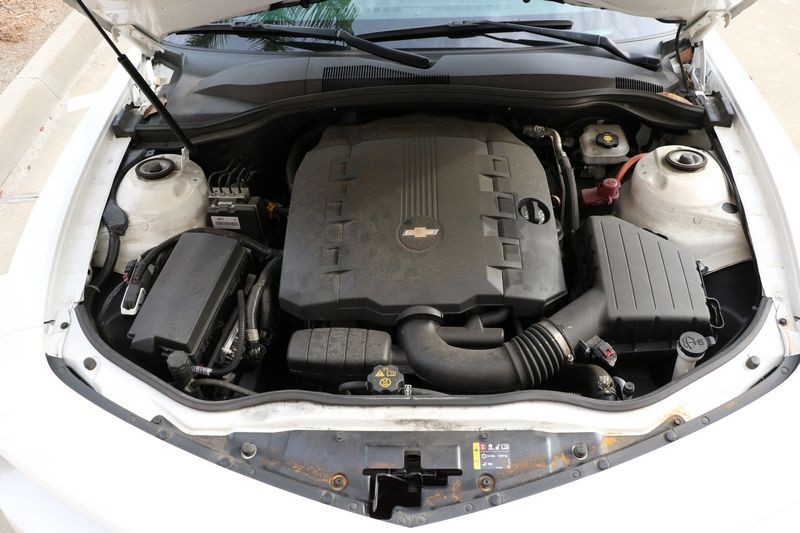


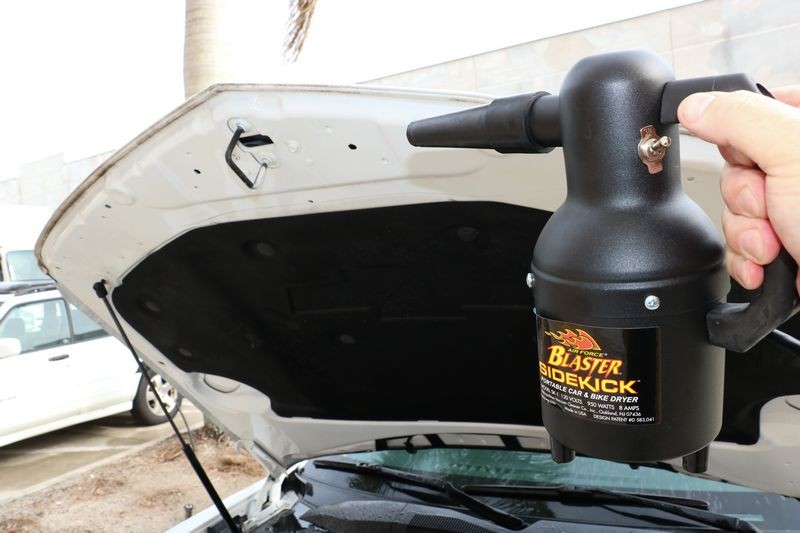
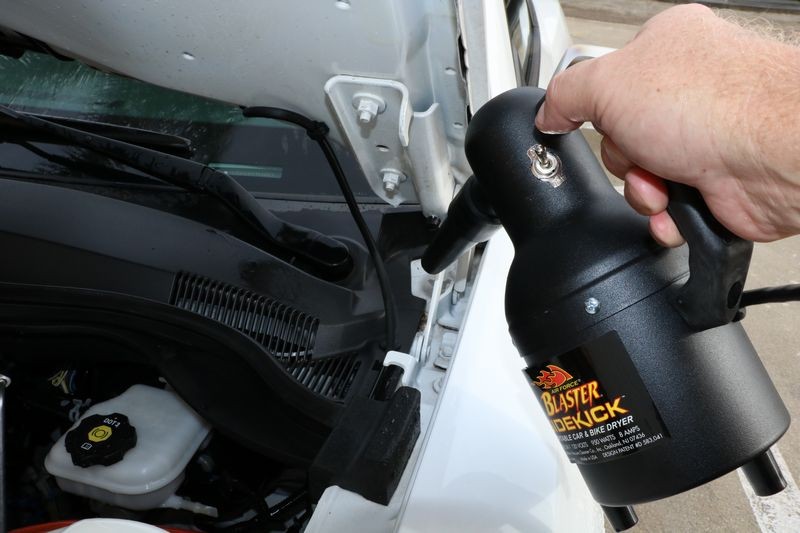
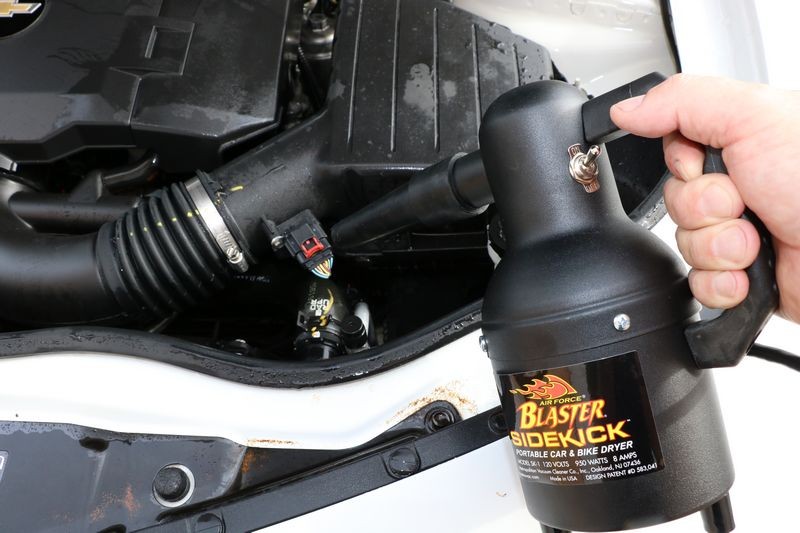
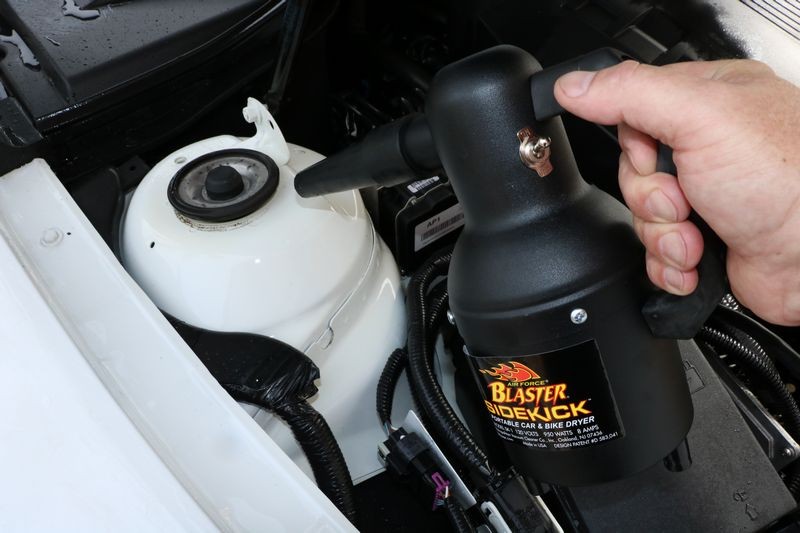
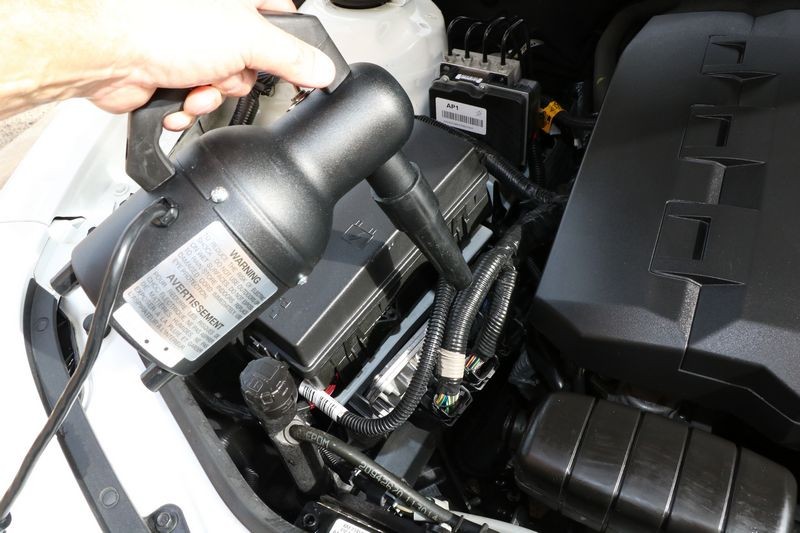
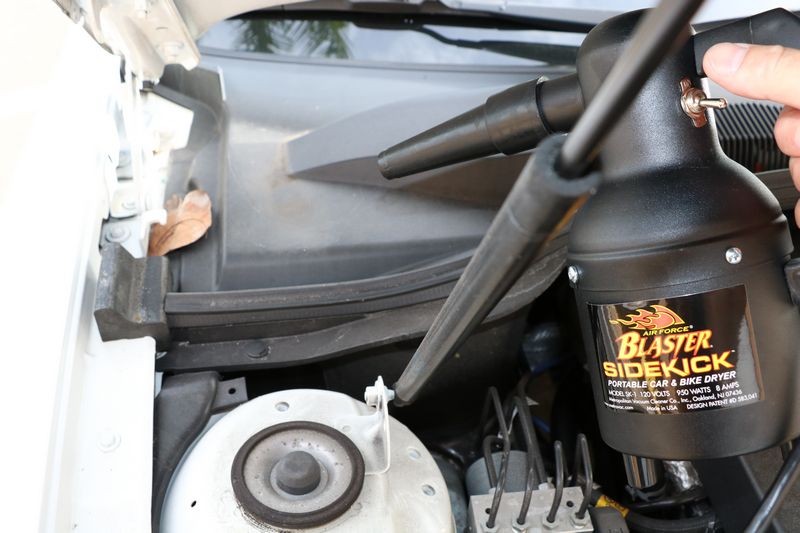
Step 1: Blow out all loose dirt and debris


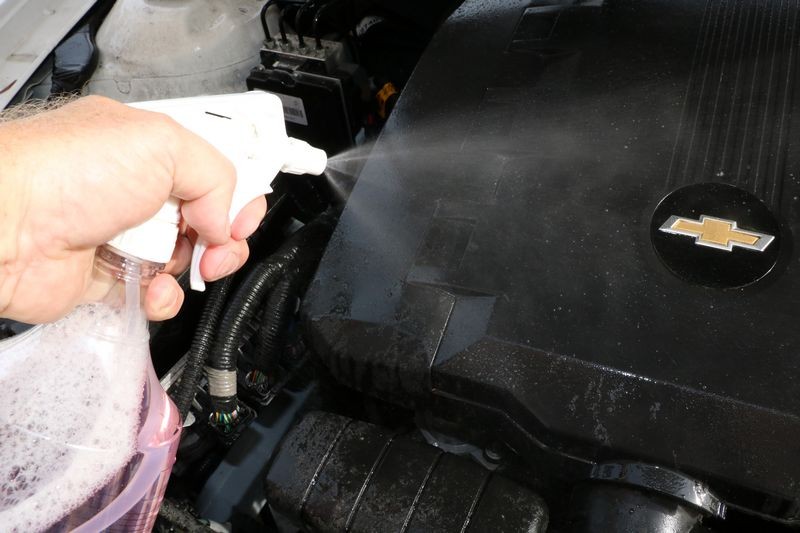
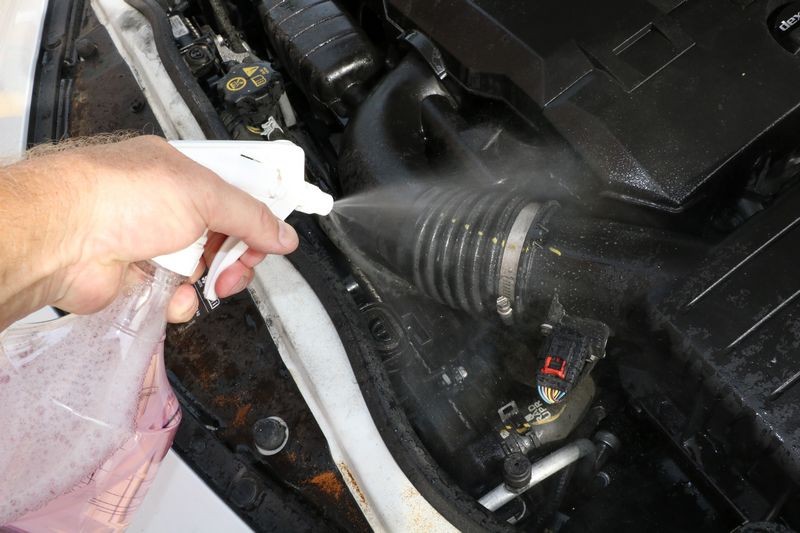
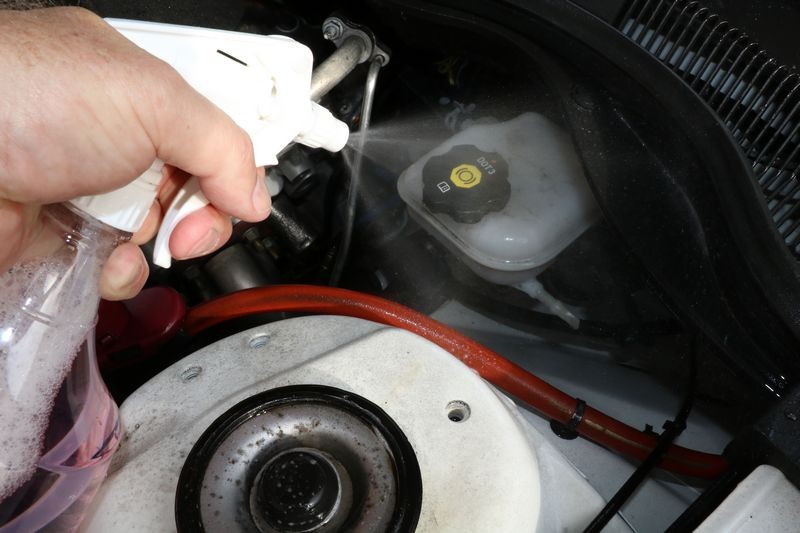
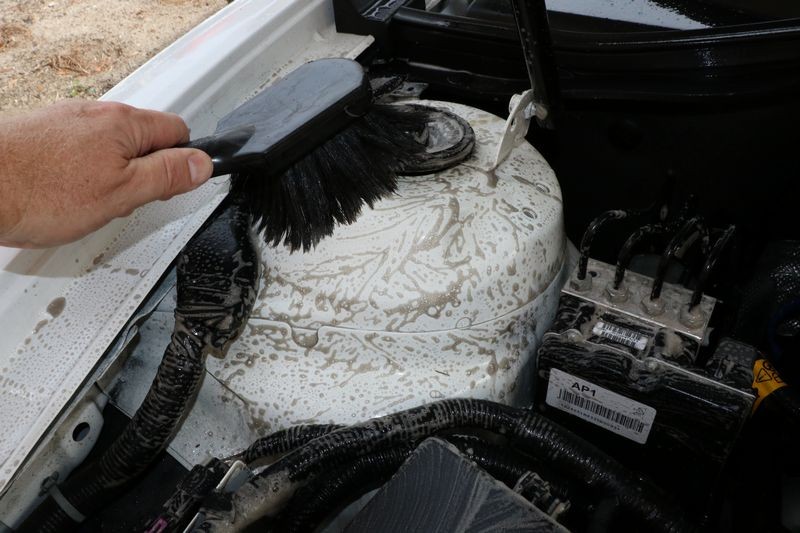
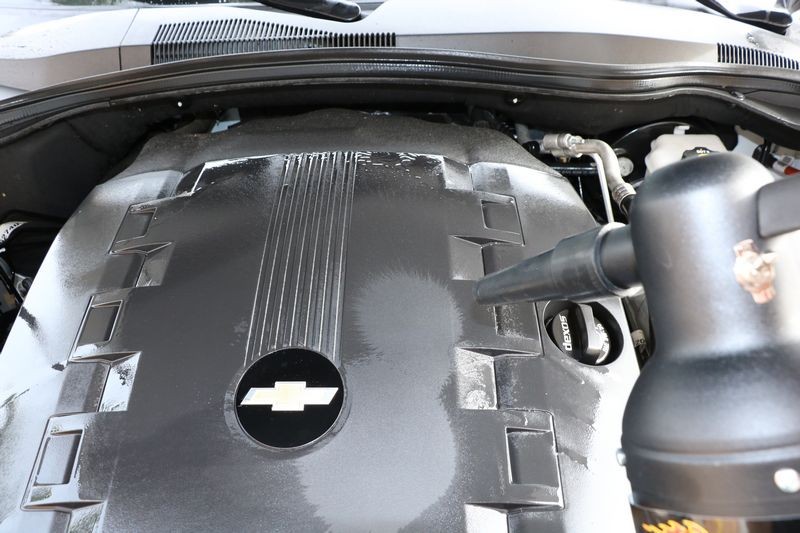
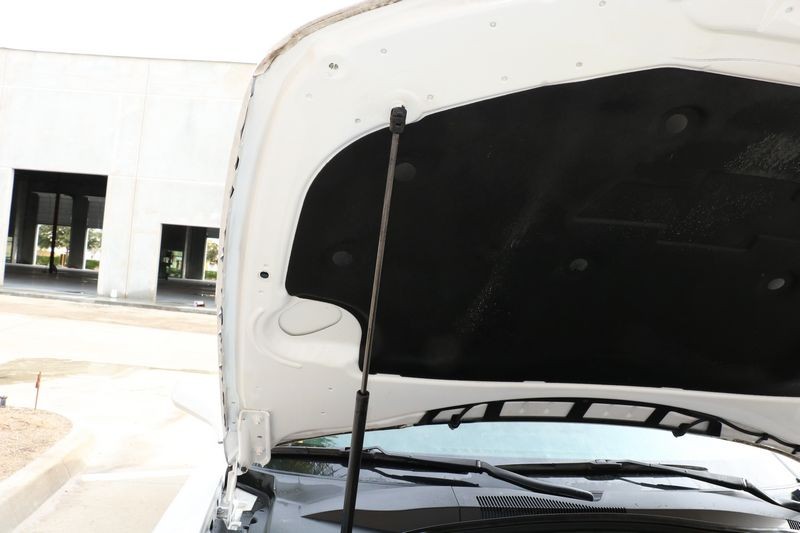
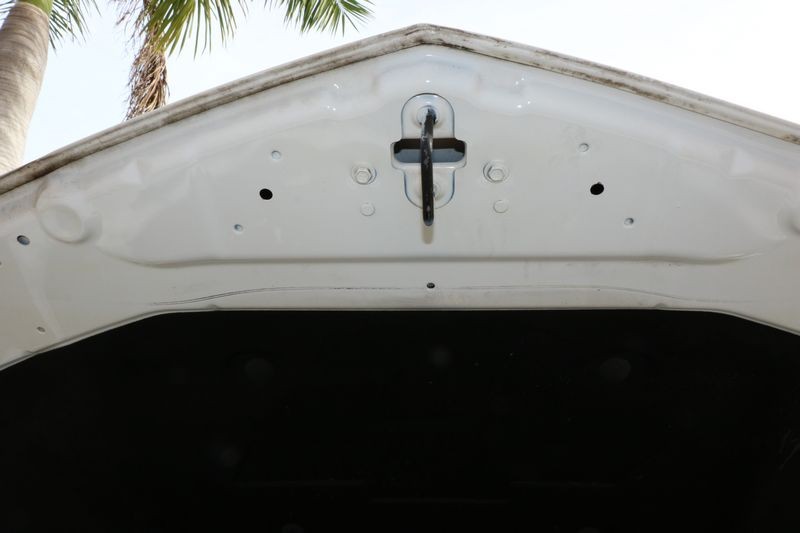
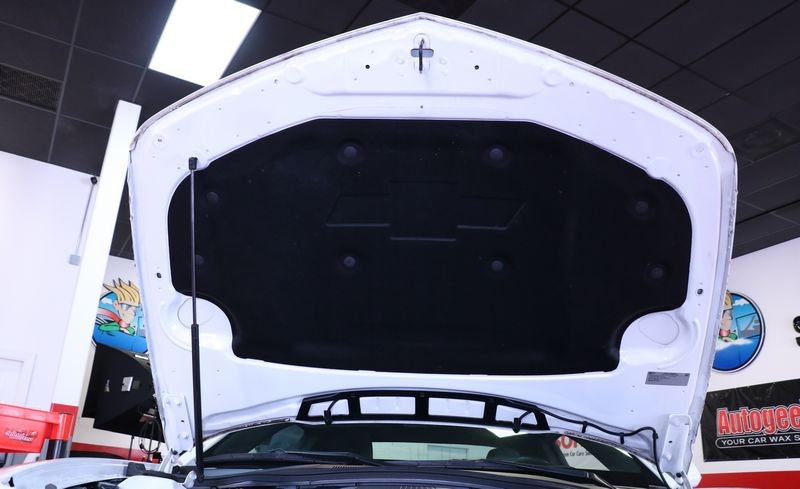
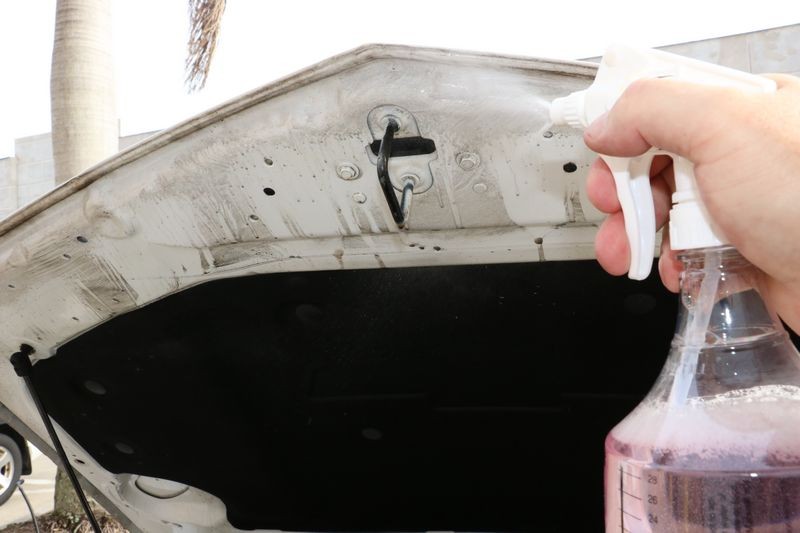
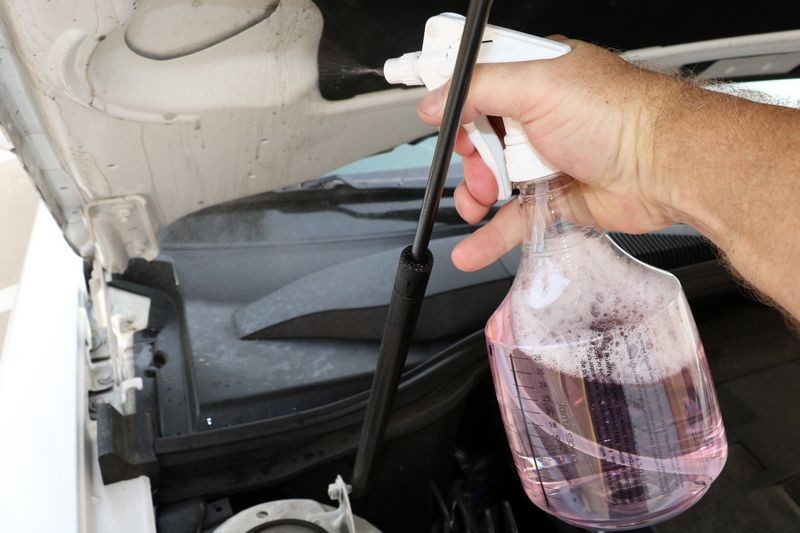
Step 2: Spray BLACKFIRE Super Degreaser to painted portions on underneath of hood.
I always start up high and then work down. If you clean the motor first and then clean the inside of the hood you'll have grime loosened by the degreaser dripping down on a clean engine, same goes for when you rinse, you'll be rinsing grime onto a clean motor so start high and then go low.

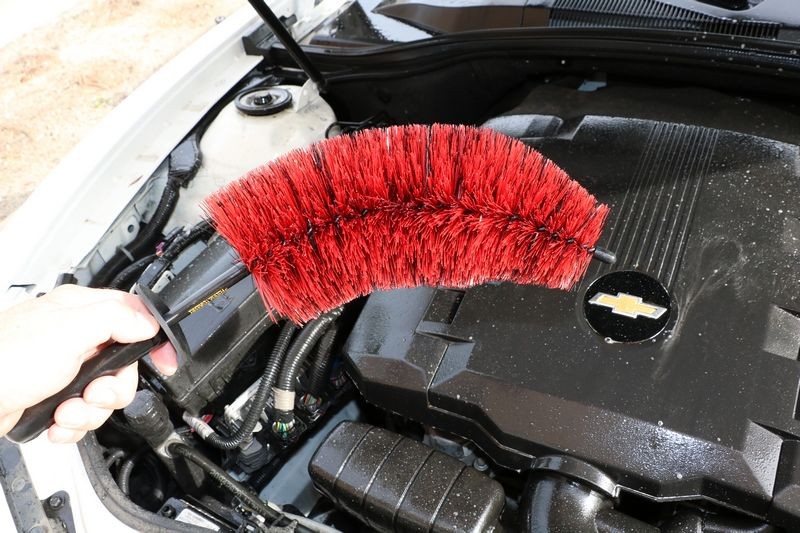
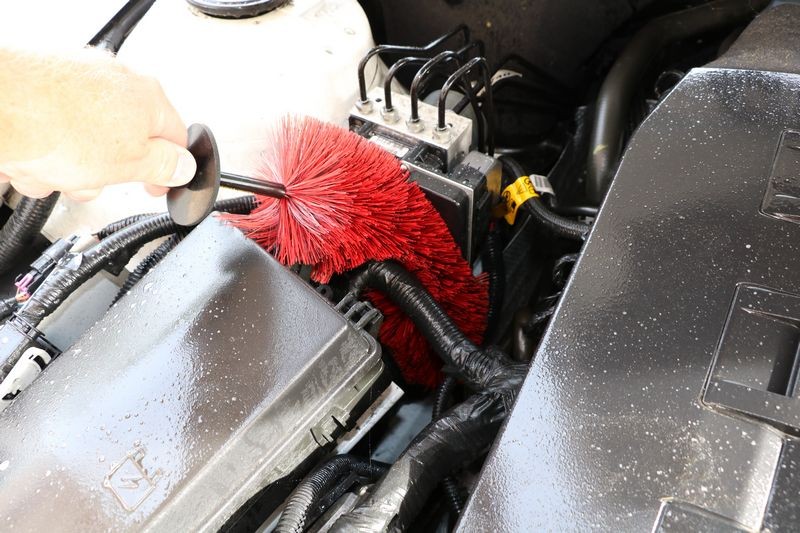
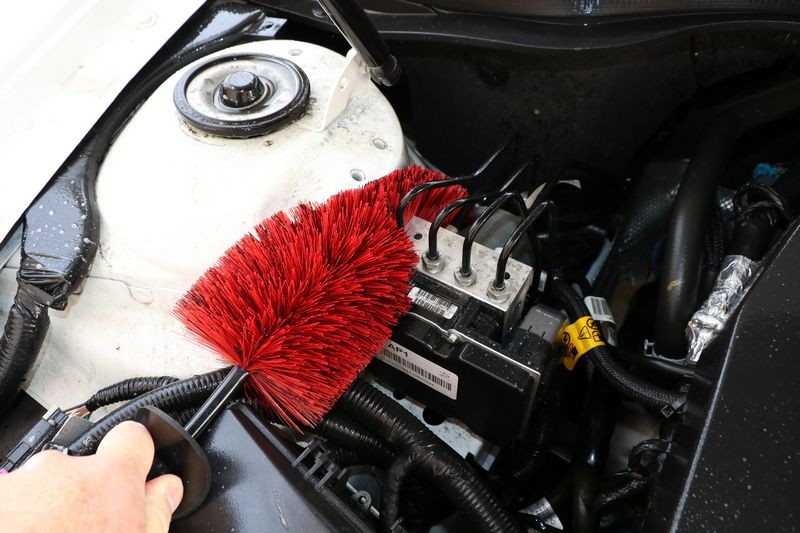
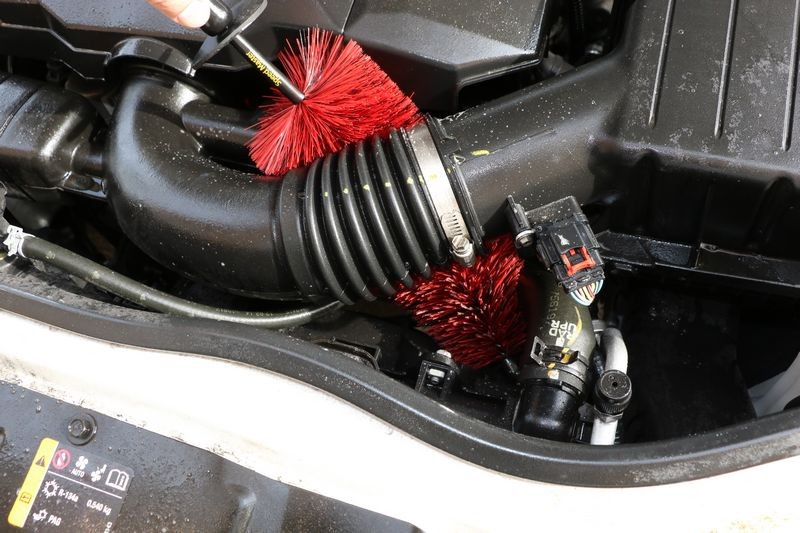
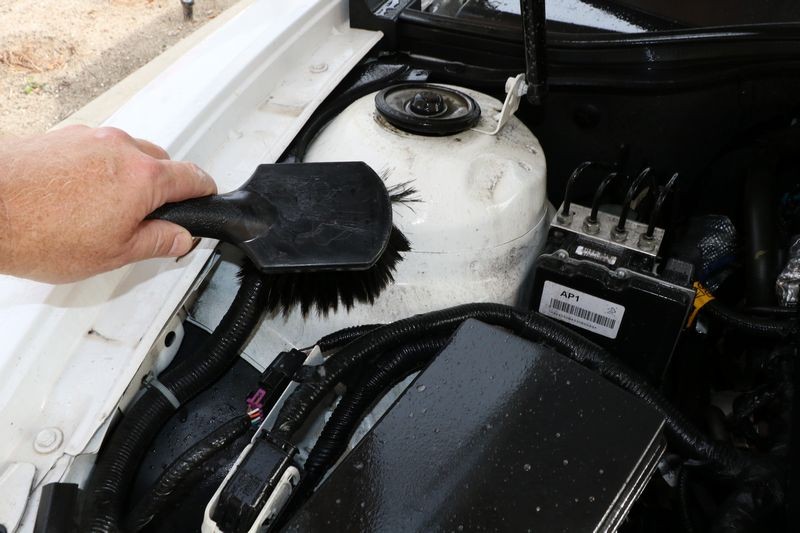
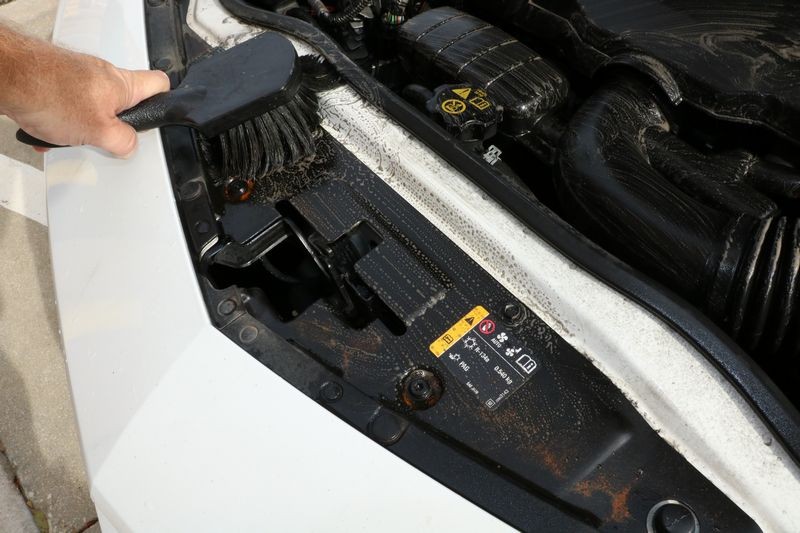
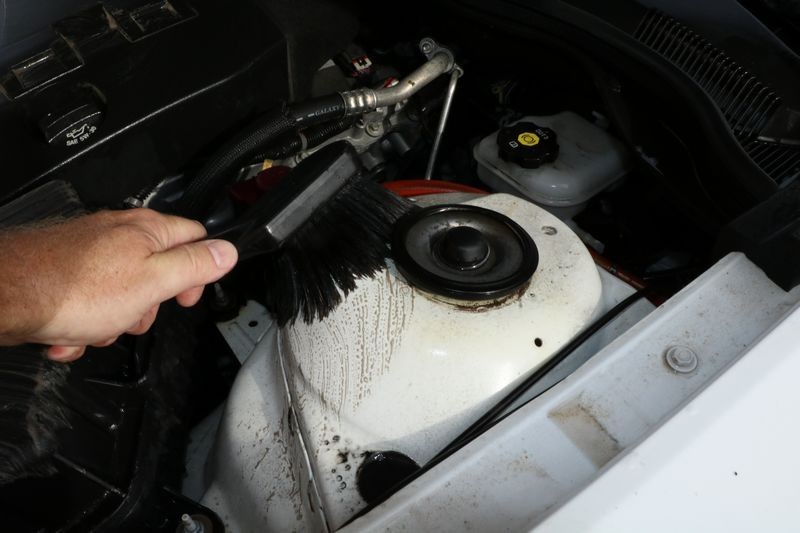
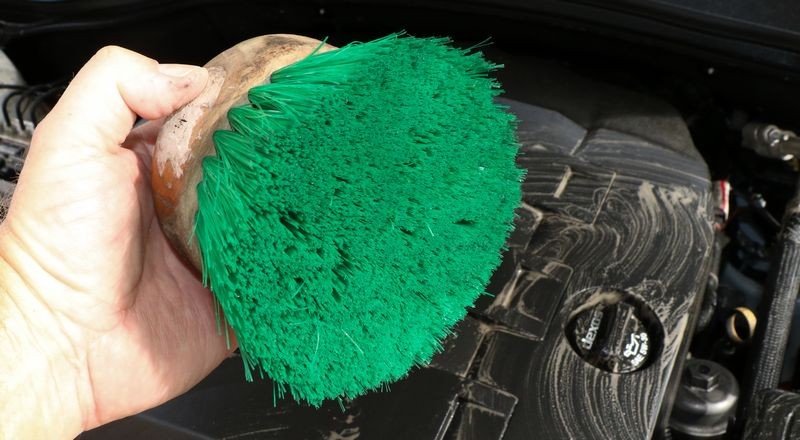
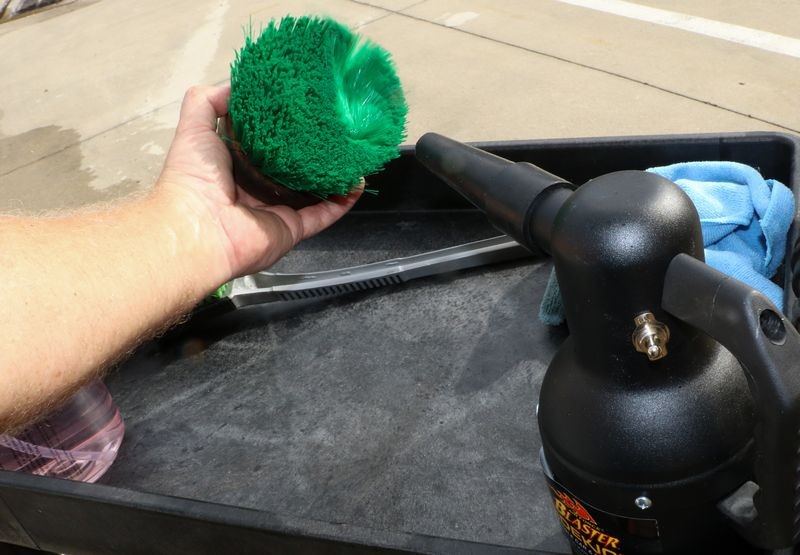
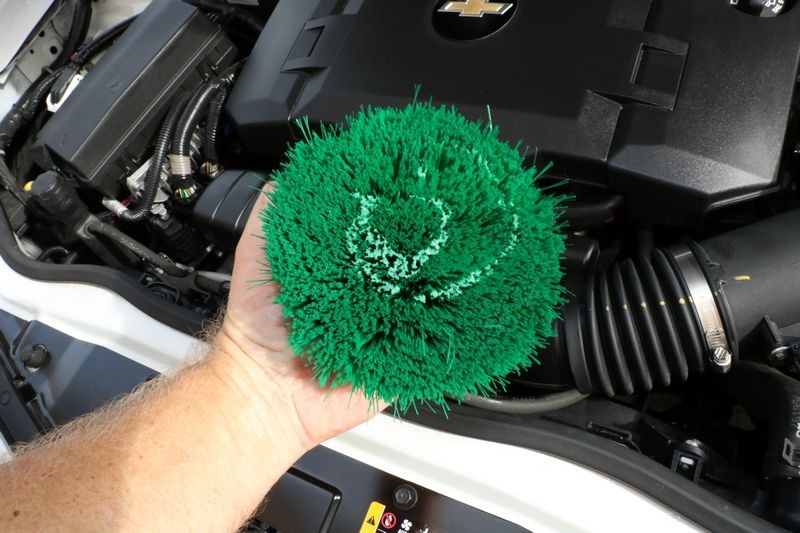
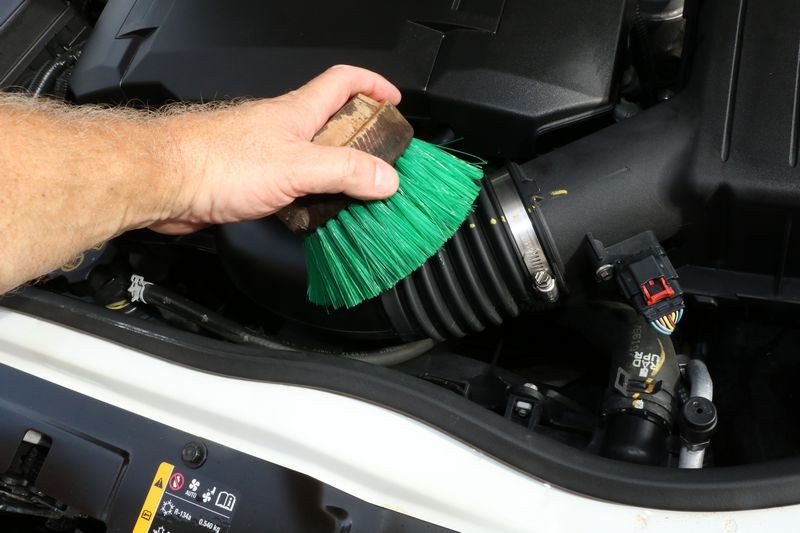
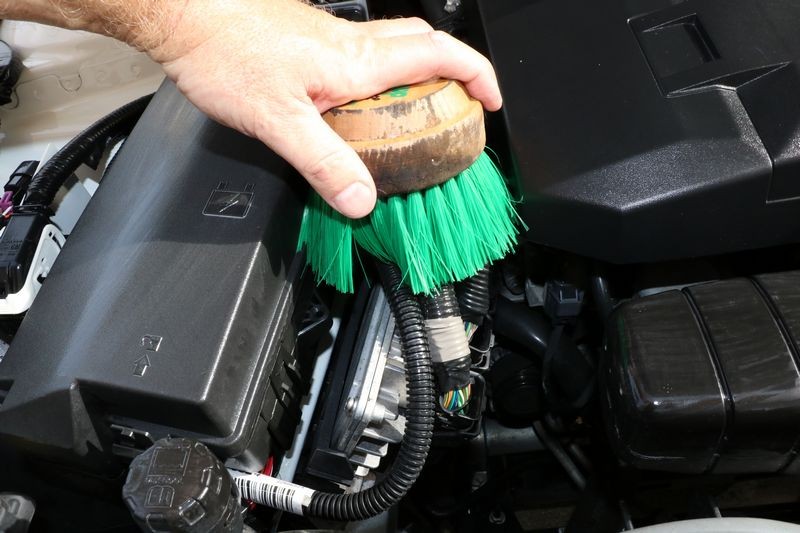
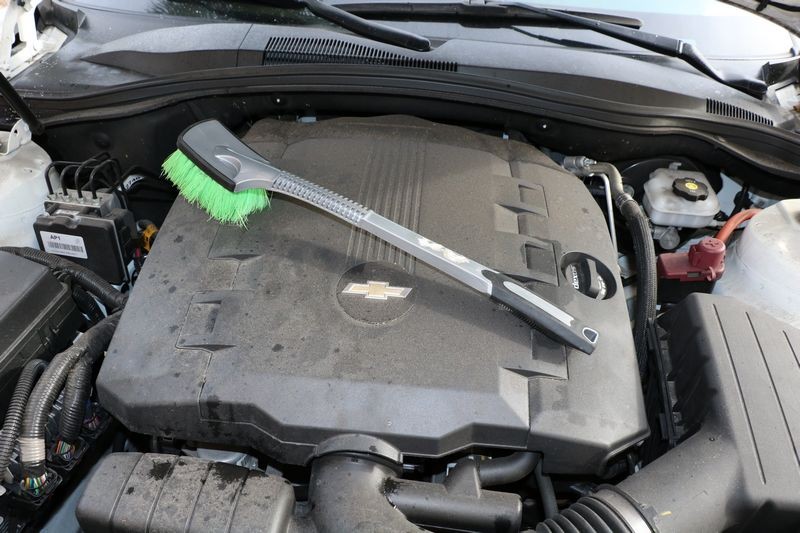
Step 3: Agitate degreaser wit ha brush.
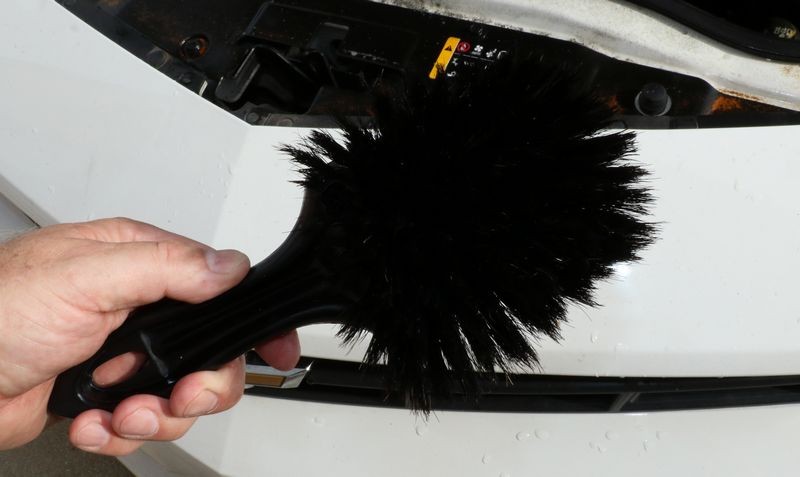
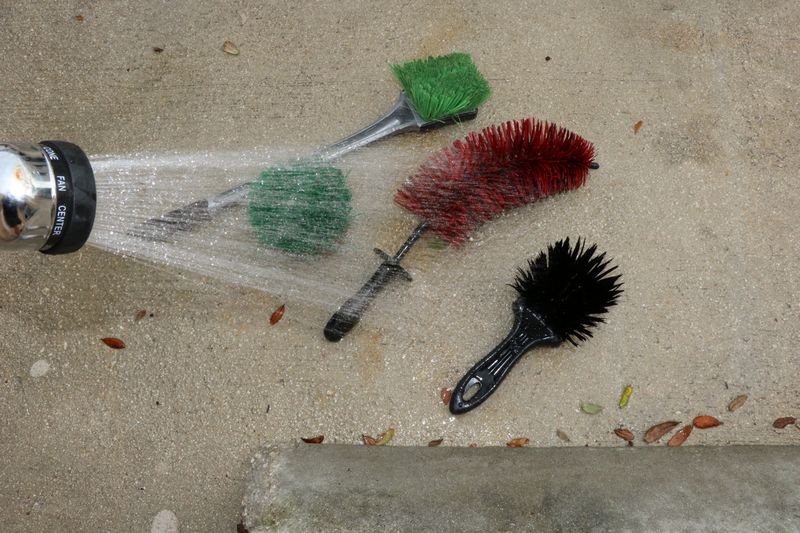
I like to use a fenderwell brush for the inside of the hood as it makes it easy to reach the middle back of the hood.


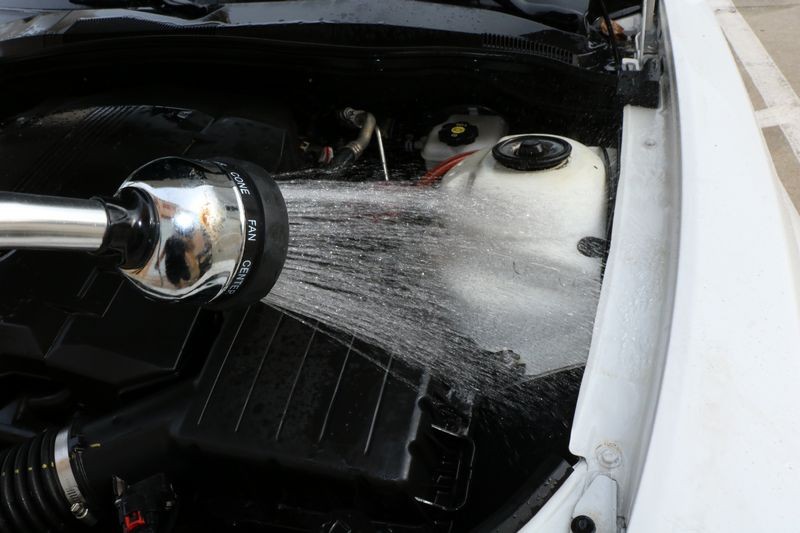
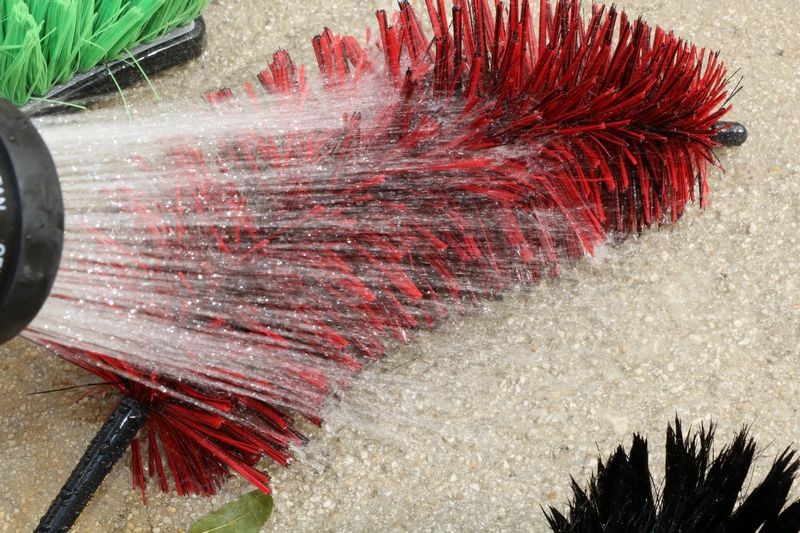
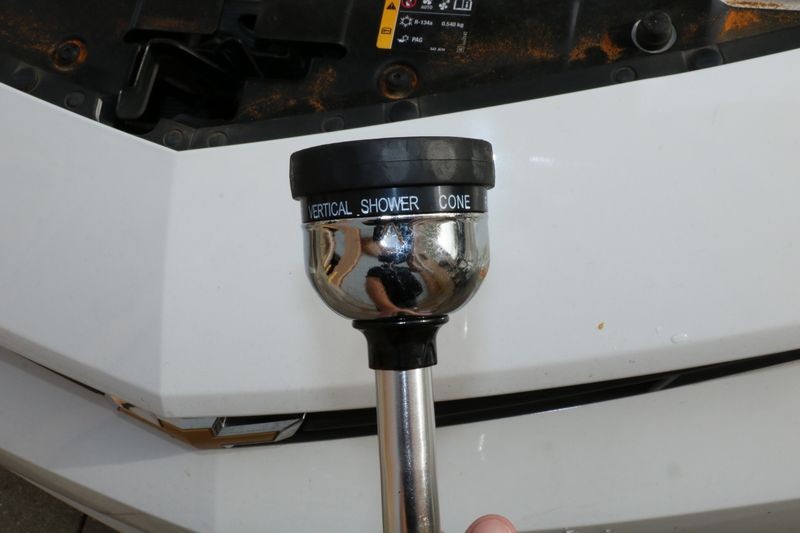
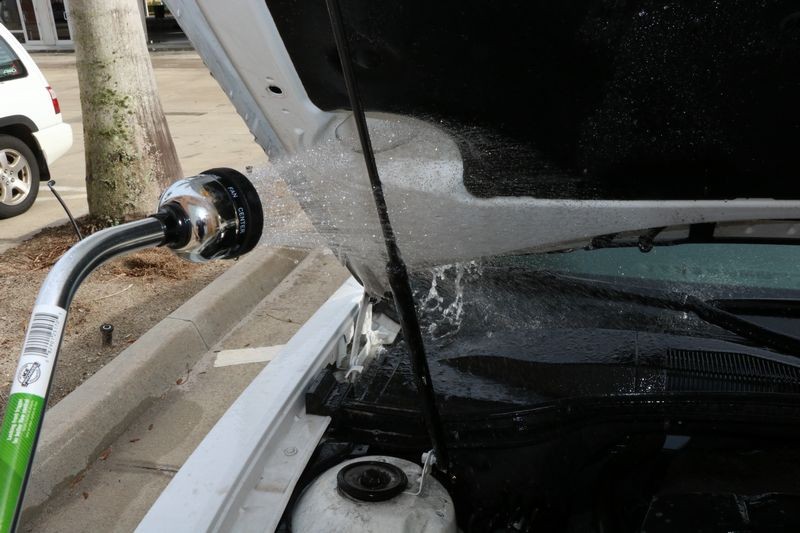
Step 4: Rinse inside of hood
My Technique: What I teach I all my detailing class is the VALUE of a water sprayer with a SHOWER setting. The idea being to loosen grease and grime with a degreaser and using a brush and elbow grease and with this approach a SHOWER setting is all you need to flush away the gunk. The technique I don't like, use or teach is high pressure, either from a sprayer or a pressure washer. The reason why is you risk forcing water into places that it can cause problems and who needs problems? Find your own way, this is what works for me.

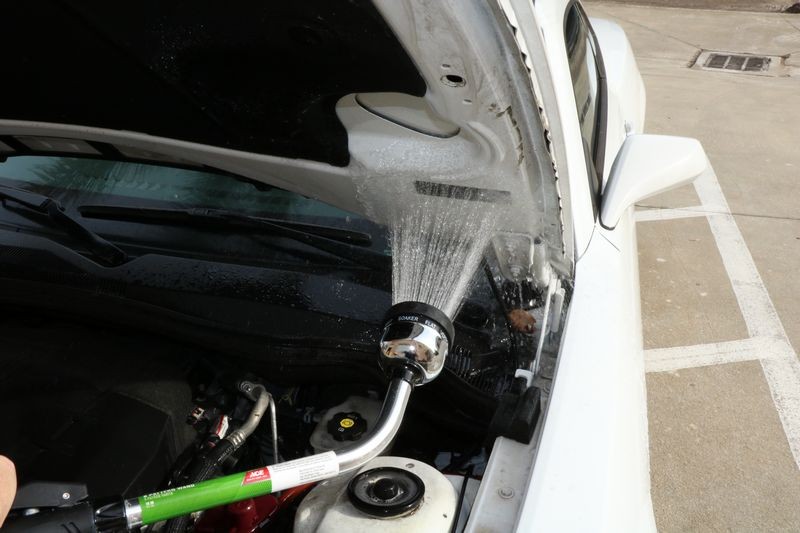
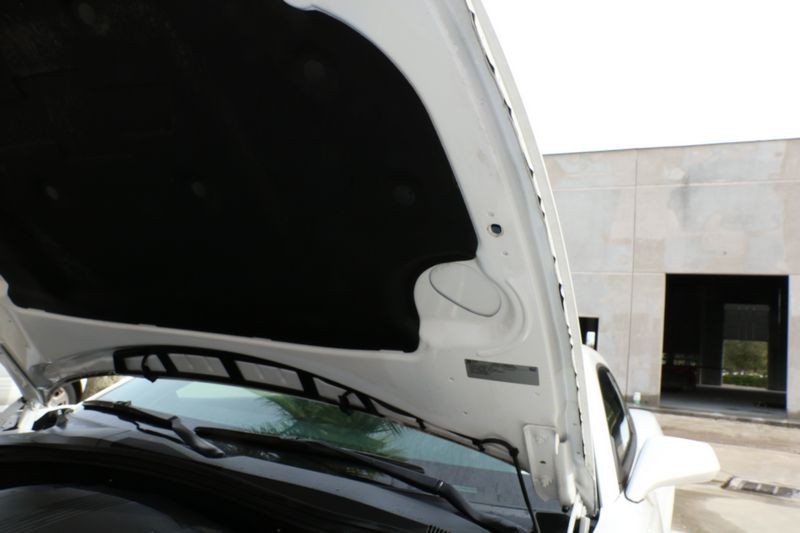
Done - Inside of hood is spotlessly clean.

On Autogeek.com
NOTE: This is a CONCENTRATE and should be diluted accordingly
BLACKFIRE Super Degreaser - 32 ounce
BLACKFIRE Super Degreaser 128 oz.
")
BLACKFIRE Super Degreaser
From the AG Store page
BLACKFIRE Super Degreaser uses proprietary ingredients to quickly dissolve and remove even the toughest grease and grime from heavily contaminated areas - including engine compartments, undercarriages, and wheel wells. Super Degreaser is highly concentrated and can be diluted accordingly for your use. This phosphate and residue free formula is biodegradable and safe for use in all environments.
BLACKFIRE Super Degreaser features:
- Fast-acting
- Dissolves tough grease and grime
- Highly concentrated formula
- Phosphate free
The above reads good. I'm not a chemist and instead of trying to become a chemist I trust the company that makes the product has a chemist that actually knows what the are doing. Like John Dillon once told me, focus on the performance of the product, not the ingredients in the bottle.
No mock-up here folks...
The ONLY way to write a REAL review for a product like this is to actually use it and if I'm going to take the time to use it I might as well show everyone how to use it at the same time. So here's my how-to article and at the end I'll tell you what I think.
Mix proper dilution
The BLACKFIRE Super Degreaser is a concentrate so before you can use it you need to mix it to the proper dilution for whatever it is you want to clean.
Dillution levels
1:4 Heavy Degreasing
1:10 Moderate Degreasing
1:15 Light Degreasing
I'm going to mix for heavy degreasing. The pour-off bottle olds 30 ounces. 1:4 means a total of 5 parts. 30 divided by 5 equals 5 parts of 6 ounces. This means I need 5 ounces of cleaner and 35 ounces of water.
Here I eyed-up 5 ounces....
I was close at 4 ounces. Good enough, the grime in the engine won't care...
Then I added water till I hit 30 ounces of product.
Mixed and ready to go... to do this type of stuff it helps to have a funnel.
Victim = Co-workers Camaro
I borrowed a Camaro from one of the guys here at work. Promised him nothing would go wrong. wink/wink
Here's the motor and engine compartment - doesn't look like it's ever been cleaned.
Step 1: Blow out all loose dirt and debris
Step 2: Spray BLACKFIRE Super Degreaser to painted portions on underneath of hood.
I always start up high and then work down. If you clean the motor first and then clean the inside of the hood you'll have grime loosened by the degreaser dripping down on a clean engine, same goes for when you rinse, you'll be rinsing grime onto a clean motor so start high and then go low.
Step 3: Agitate degreaser wit ha brush.
I like to use a fenderwell brush for the inside of the hood as it makes it easy to reach the middle back of the hood.
Step 4: Rinse inside of hood
My Technique: What I teach I all my detailing class is the VALUE of a water sprayer with a SHOWER setting. The idea being to loosen grease and grime with a degreaser and using a brush and elbow grease and with this approach a SHOWER setting is all you need to flush away the gunk. The technique I don't like, use or teach is high pressure, either from a sprayer or a pressure washer. The reason why is you risk forcing water into places that it can cause problems and who needs problems? Find your own way, this is what works for me.
Done - Inside of hood is spotlessly clean.
On Autogeek.com
NOTE: This is a CONCENTRATE and should be diluted accordingly
BLACKFIRE Super Degreaser - 32 ounce
BLACKFIRE Super Degreaser 128 oz.