How to use Meguiar's Unigrit Sanding Blocks to remove runs and dirt nibs in paint

Joined
Dec 5, 2022
Messages
51,004
Reaction score
6
How to use Meguiar's Unigrit Sanding Blocks to remove runs and dirt nibs in paint


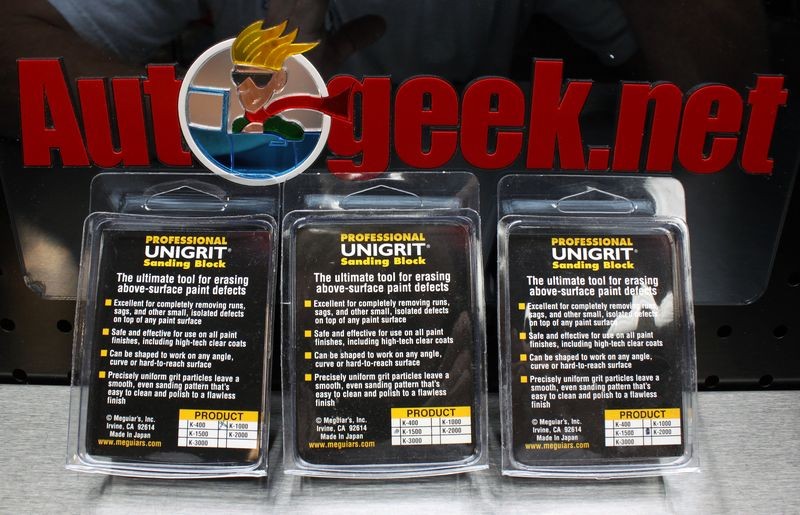
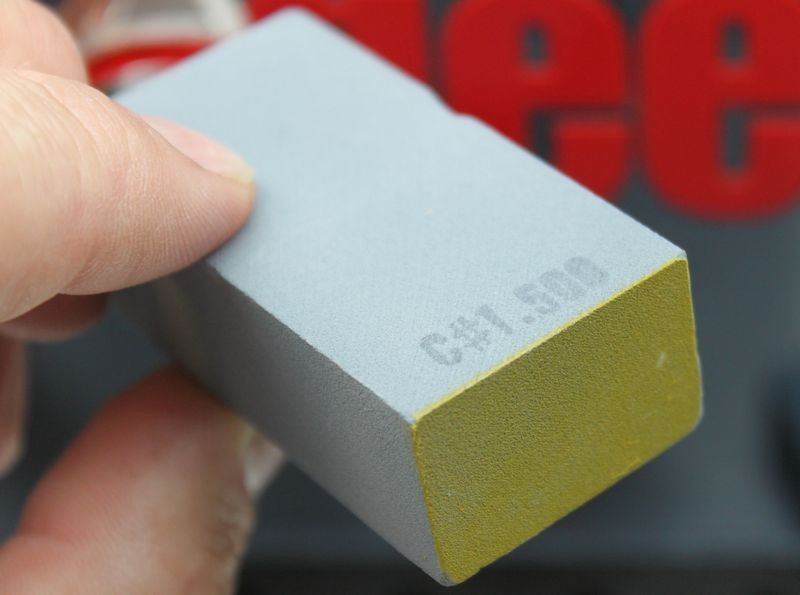
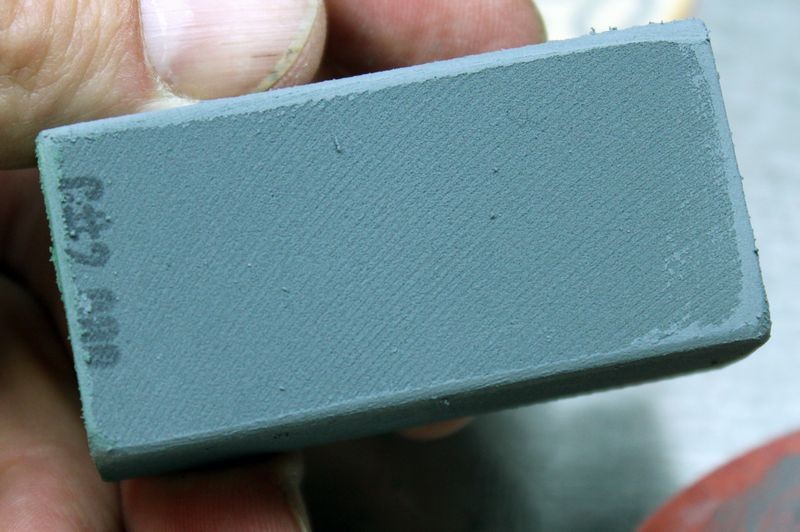
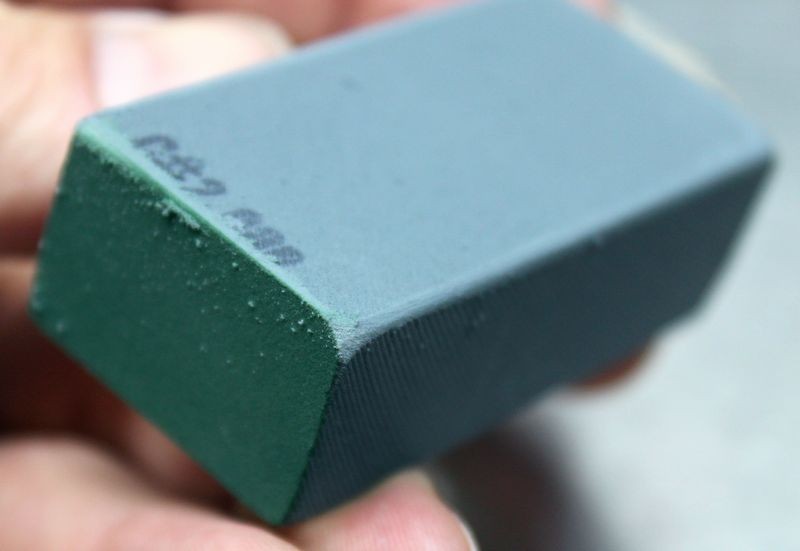
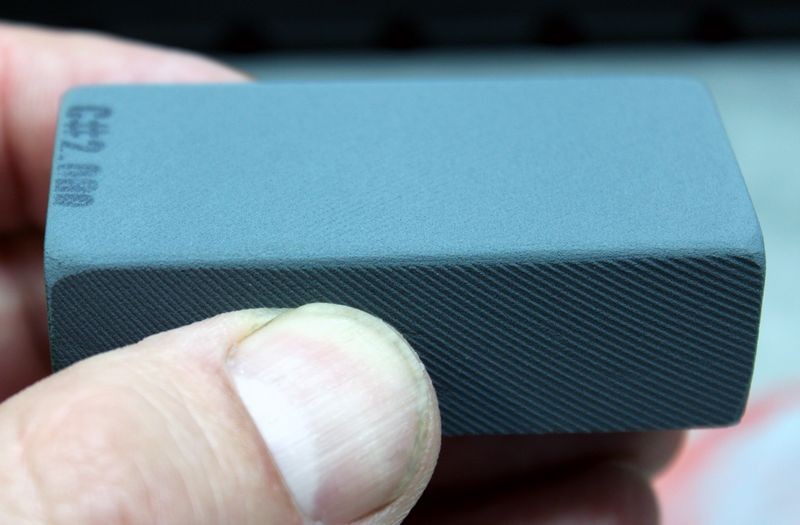
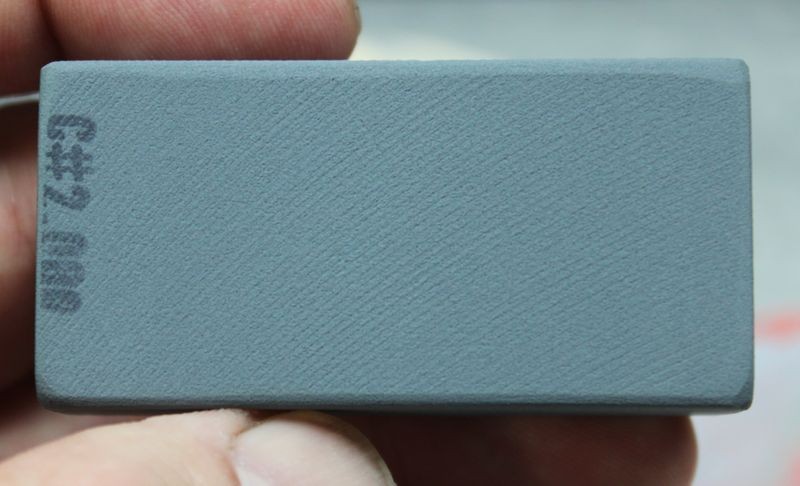
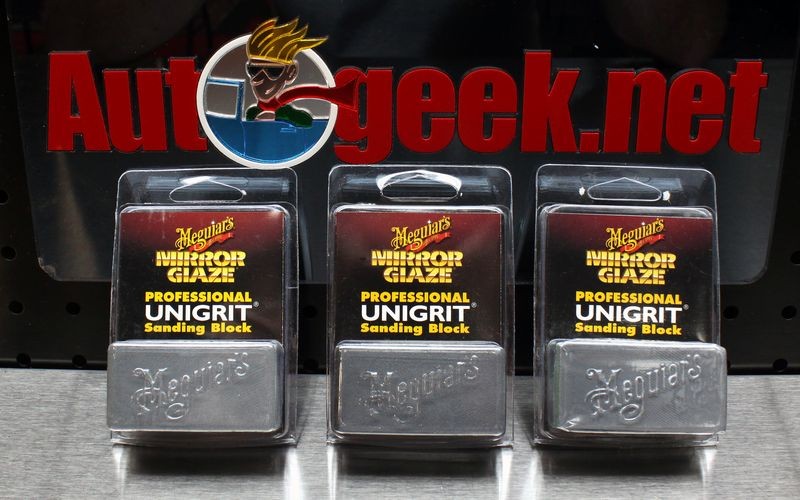
Meguiar's Unigrit Sanding blocks are solid blocks of precise, uniform grit particles that can be used to remove above surface paint defects like runs, sags and dirt nibs protruding out of the paint.

Dirt nibs = dirt particles or other contaminants that land or lodge into fresh paint before it hardens to dust free or tack free.

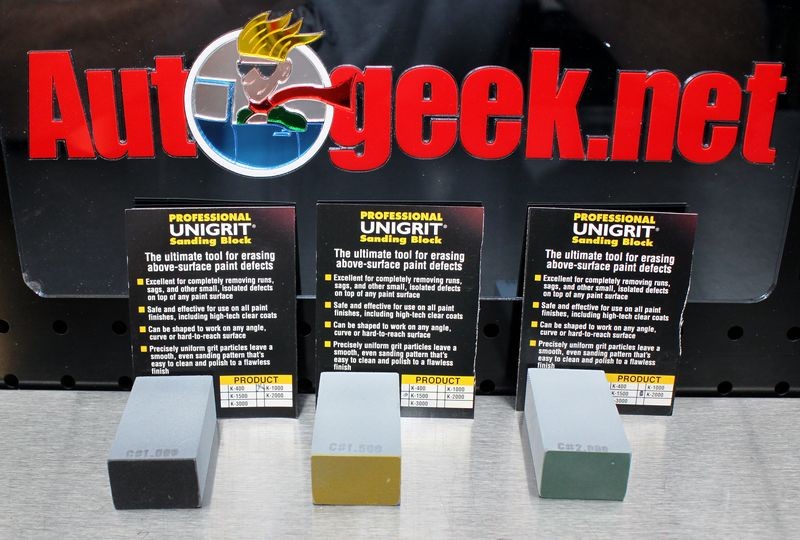
Meguiar's Unigrit Sanding Blocks are available in 3 different levels of aggressiveness.

#1000
#1500
#2000
MegsSandingBlock011.jpg


MegsSandingBlock012.jpg


MegsSandingBlock013.jpg


MegsSandingBlock014.jpg


MegsSandingBlock015.jpg


MegsSandingBlock016.jpg


Dressing or shaping Unigrit Sanding Blocks
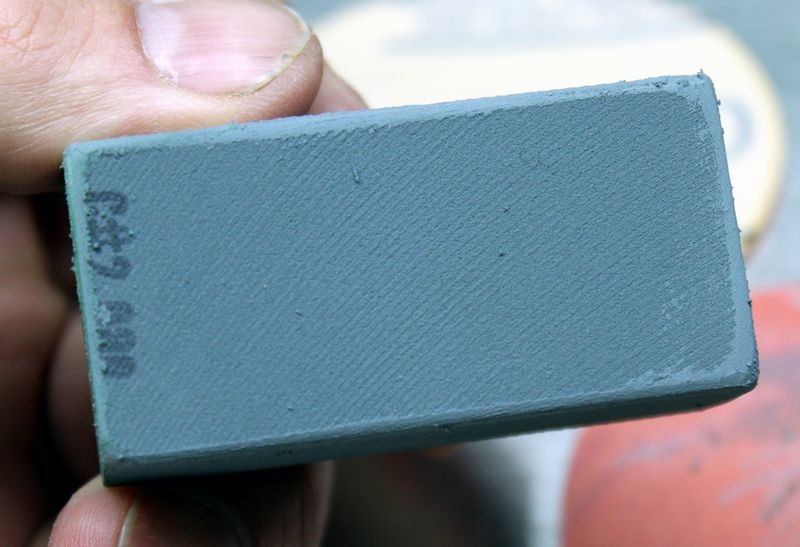
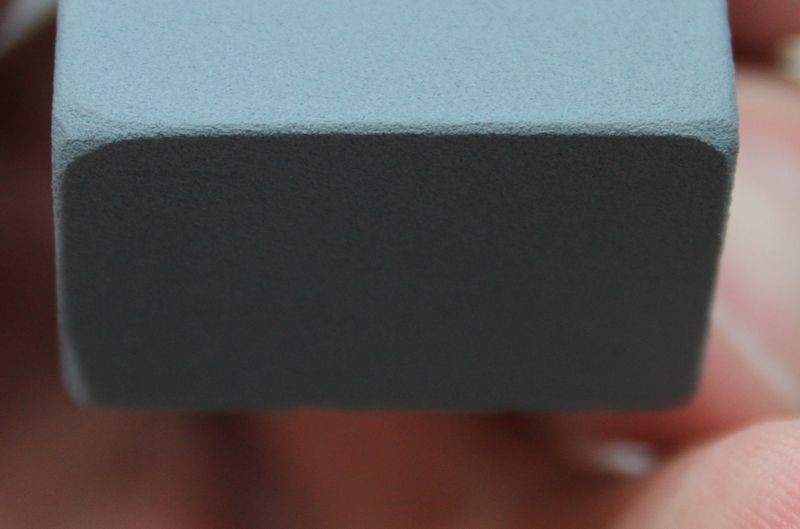
Before using a Unigrit Sanding Block, knock down the sharp edges by rounding them off this will prevent you from gouging or scratching the paint. Remember, if you're working on fresh paint, (whee these sanding blocks are normally used), the paint will tend to still be soft as it hasn't fully dried and hardened.

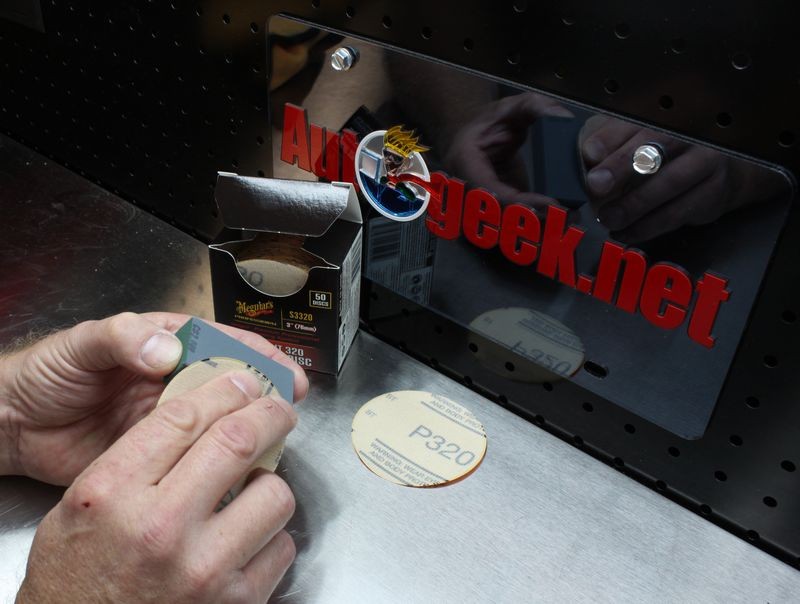
To dress your Unigrit Sanding Blocks you can use a more aggressive sheet of sanding paper to round the edges.

MegsSandingBlock019.jpg


MegsSandingBlock021.jpg


MegsSandingBlock022.jpg


MegsSandingBlock023.jpg


MegsSandingBlock024.jpg


MegsSandingBlock025.jpg


MegsSandingBlock026.jpg


MegsSandingBlock027.jpg


Rinse off grit particles
After dressing your Unigrit Sanding Blocks, it's a good idea to rinse them off before placing them in your bucket of water to prevent contaminating your water source.
MegsSandingBlock028.jpg


MegsSandingBlock029.jpg


MegsSandingBlock030.jpg


MegsSandingBlock031.jpg


Soak before use
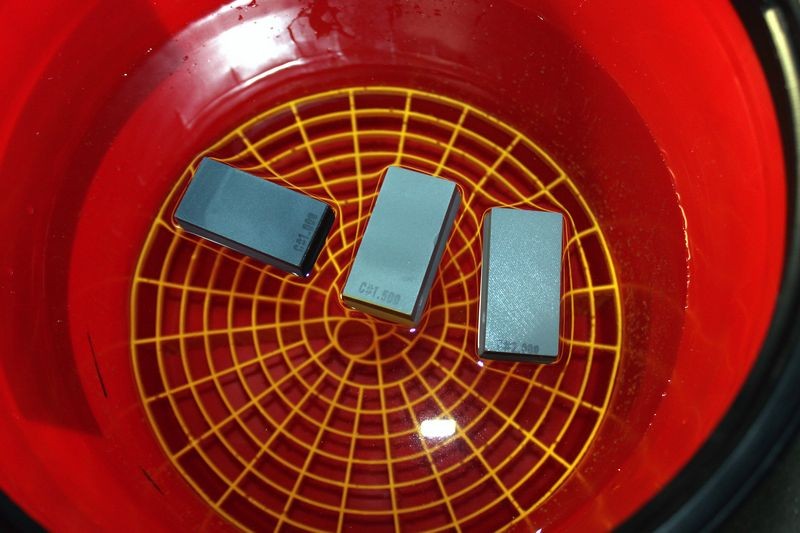
Before using Meguiar's Unigrit Sanding blocks first soak them in clean water until they sink. This is a sign that the blocks have completely saturated throughout with water.

Keep your Unigrit Sanding Blocks in a bucket of water when using them so you can quickly and easily dunk the blocks into the water and rinse any particles off as you're using them. When not in use, Meguiar's Unigrit Sanding Blocks can stored in water to keep them saturated with water and ready to use. Change your water often to help prevent contamination.


Lubrication
You can add a few drops of soap to increase lubricity in the water. If working in a body shop (fresh paint environment), be sure to use a body shop safe soap.

MegsSandingBlock017.jpg


Grit Guard Inserts
To trap any loosened particles of paint or grit particles that wear off the Unigrit Sanding Blocks you can place a Grit Guard Insert in the bottom of your bucket. Some people even use two Grit Guard Inserts to help ensure any abrasive particles on the bottom of the bucket don't migrate.
MegsSandingBlock018.jpg


:xyxthumbs:
 
How to remove a run or paint sag
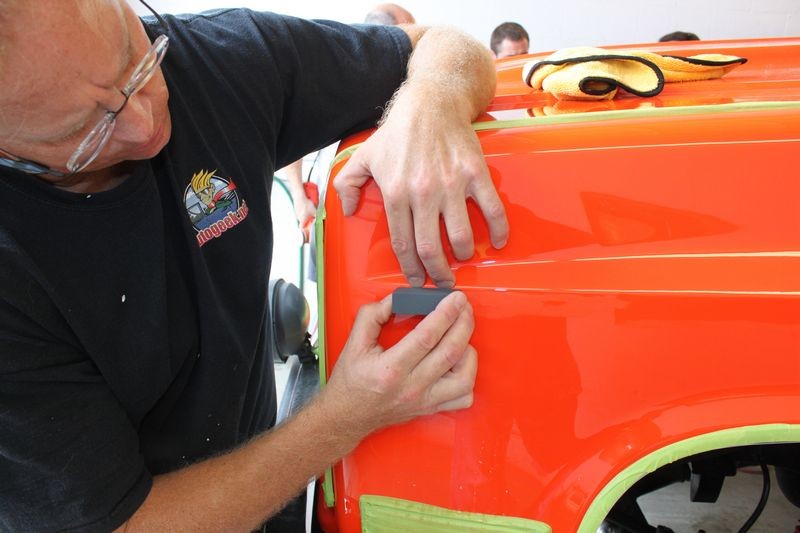
To remove a run, you want to use the side of the block and only sand on top of the run. If the run is thick, you can place tape on the sides of the run to prevent you from sanding on surrounding paint while knocking down the run. At some point you'll have to remove the tape and at this point focus on the task at hand and hold the block in such a way as to only sand on the high points of the run.

MegsSandingBlock000.jpg


MegsSandingBlock001.jpg


MegsSandingBlock002.jpg


Back and forth direction
Holding the Unigrit Sanding Block firmly, use a fast back and forth motion to sand the run down flat.
MegsSandingBlock003.jpg


Use fingers as a guide
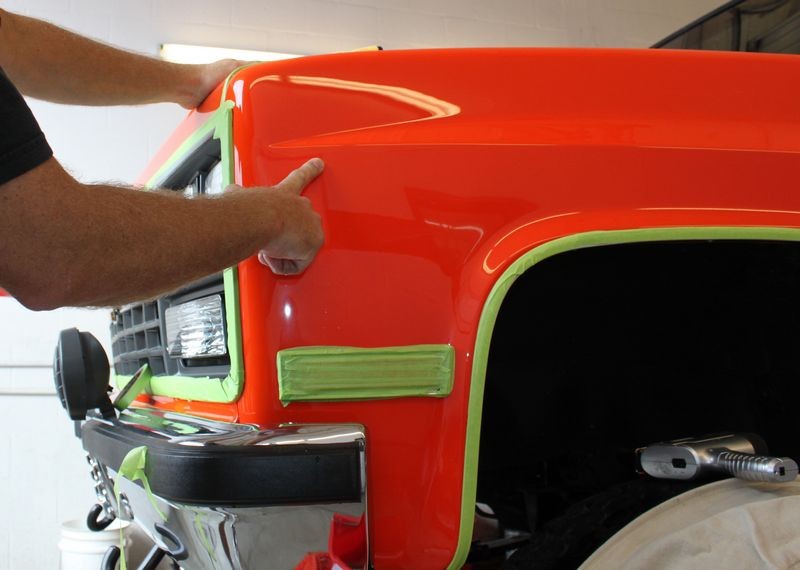
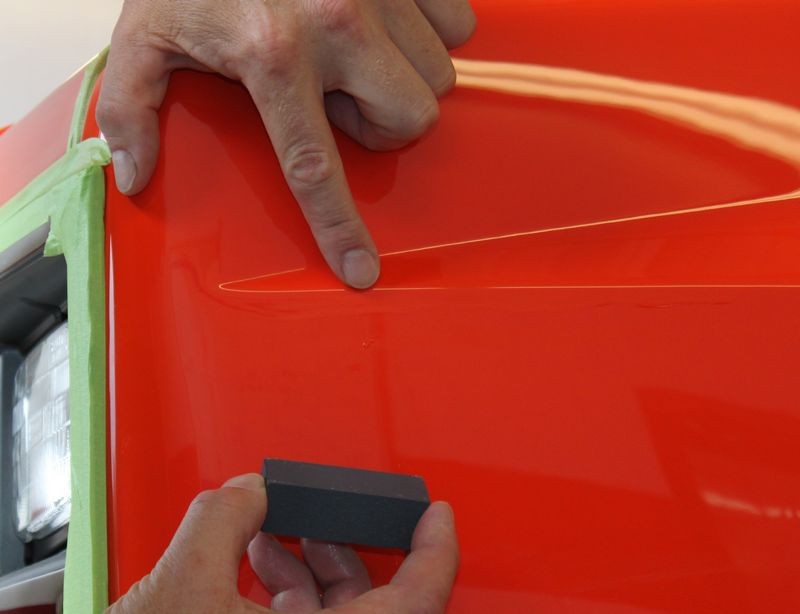
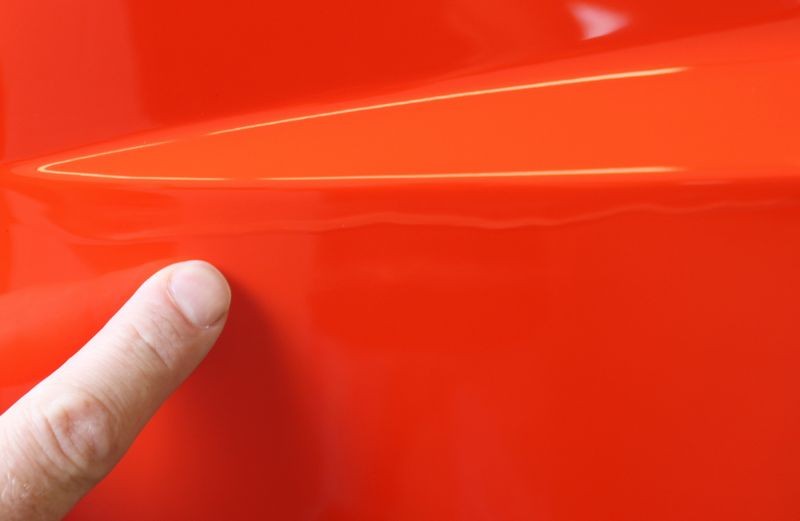
On the panel below, the run was just below a raised body line. The run was too close to the raised body line to use tape to cover the body line so instead I placed my fingers on the raised body line and used my fingernails as a guide or bumper to prevent my hand motion from running the sanding block over the paint on the raised body line.

MegsSandingBlock004.jpg


Here I've sanded just a little and then stopped to take this picture as the sanding marks have made the run easier to see and capture on film.
MegsSandingBlock005.jpg


The section above was sanded flat and then the sanding marks were buffed out using a compound and a wool pad on a rotary buffer. Next I continued to move down the fender sanding the run flat.
MegsSandingBlock006.jpg


After the majority of the run has been sanded flat I re-sanded the entire area using a Meguiar's 3" #3000 Unigrit foam backed sanding disc on a Griot's Garage 3" Mini Polisher to refine the sanding marks left by the Unigrit Sanding Block to a more shallow depth to make removing faster and easier and without generating as much heat.
MegsSandingBlock007.jpg


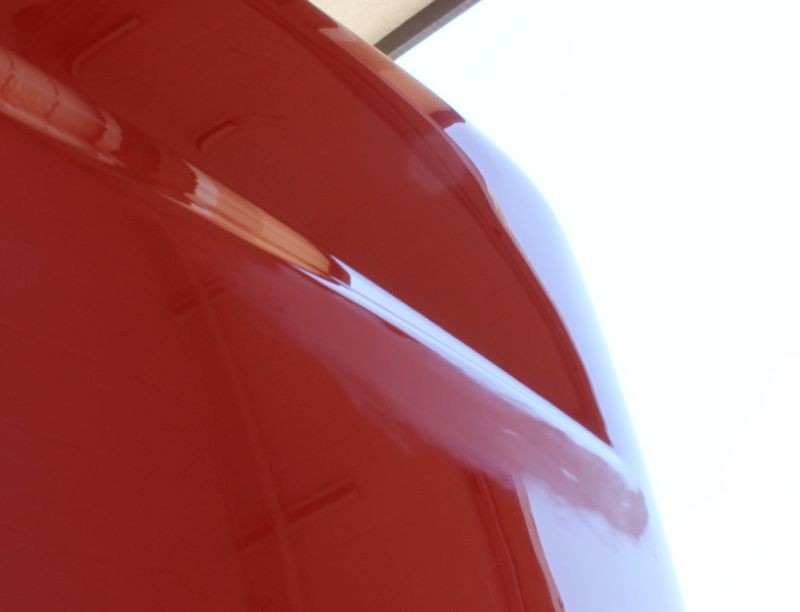
Here's another run sanded flat using a Unigrit Sanding Block
MegsSandingBlock008.jpg


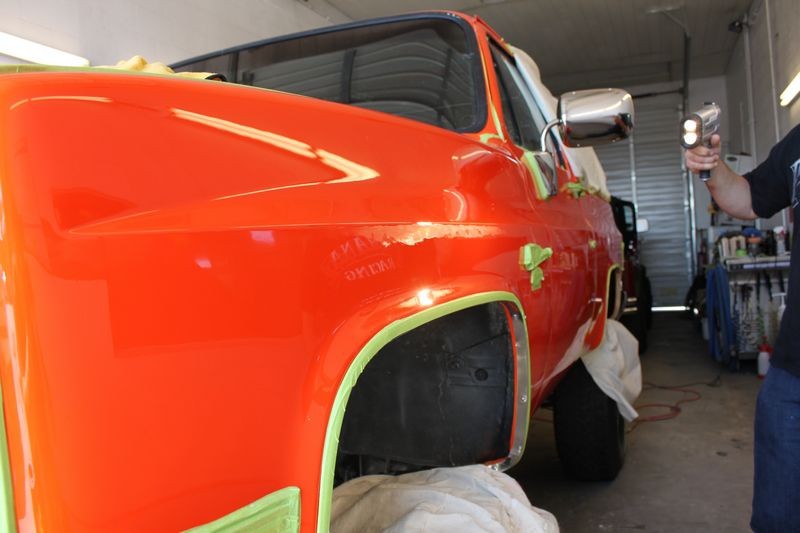
Here's Robert DiTerlizzi of Impressions Fine Detailing sanding out a run on the high side of the rear fender body line.
MegsSandingBlock009.jpg


After sanding the run flat Robert will dampsand using a Meguiar's 3" #3000 Unigrit foam backed sanding disc on a Griot's Garage 3" Mini Polisher and the buff the area using a compound with a wool pad on a rotary buffer.
MegsSandingBlock010.jpg


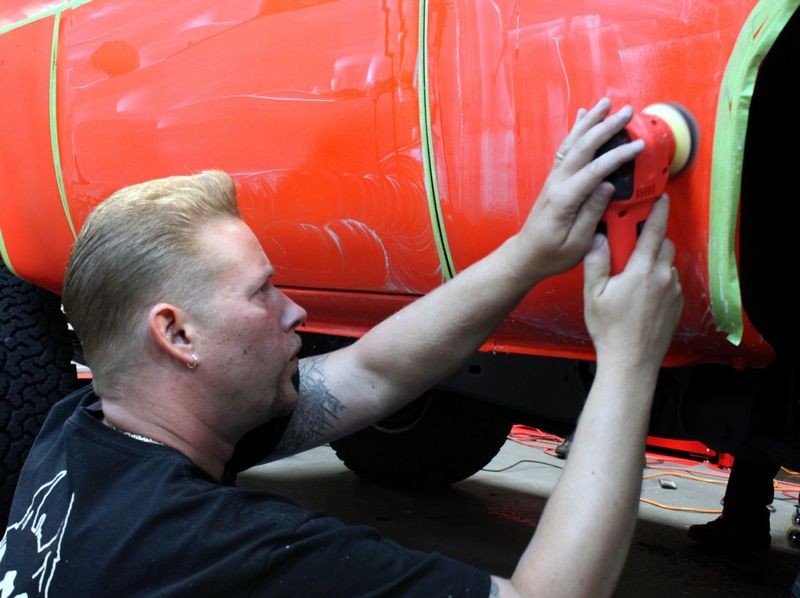
Griot's 3" Mini Polisher works great as a 3" Dampsander


Most people don't need to wetsand and probably shouldn't wetsand but if you're ever working on a project that requires sanding then do yourself a favor and get yourself a Griot's Garage 3" Mini Polisher and then get the Meguiar's 3" Unigrit Finishing Discs and the 3" Interface Pad and you're going to love what this little tool can do.


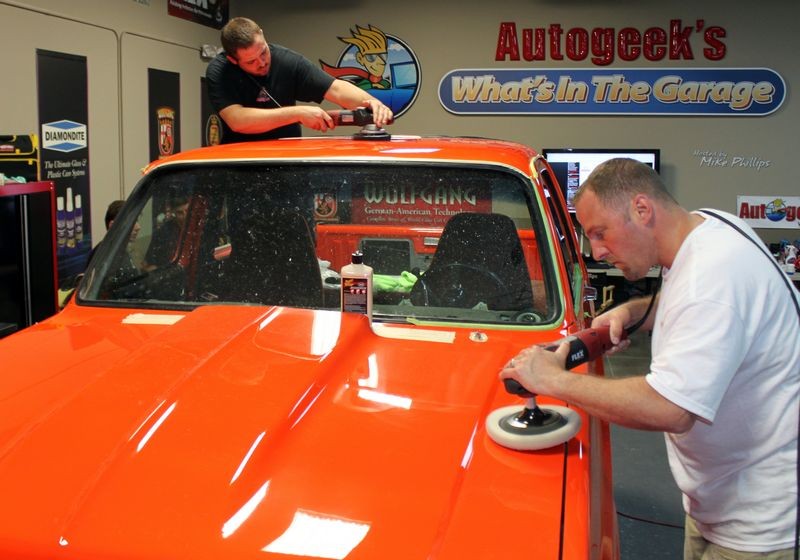
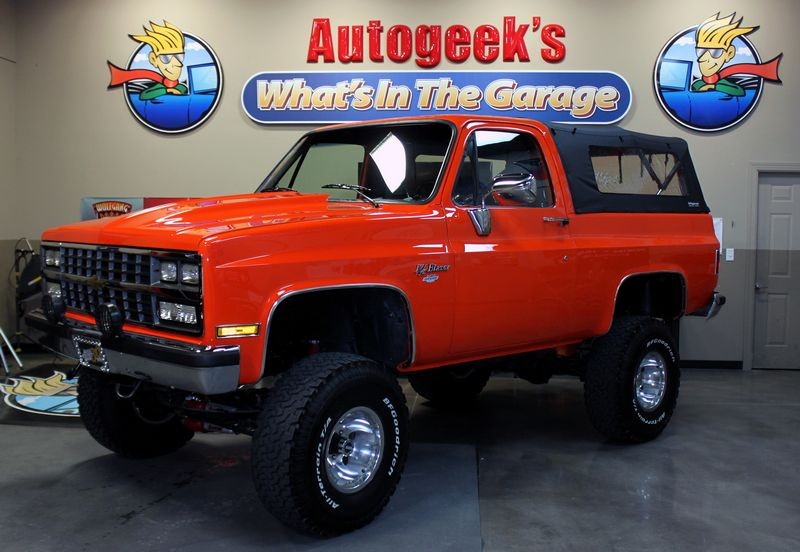
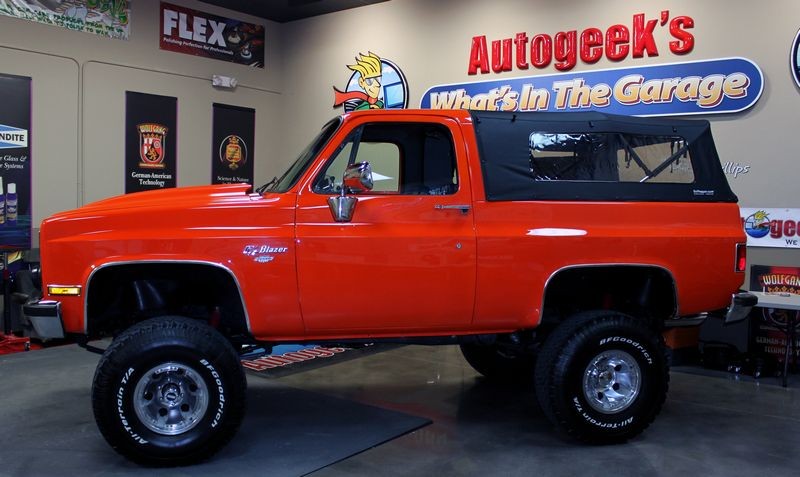
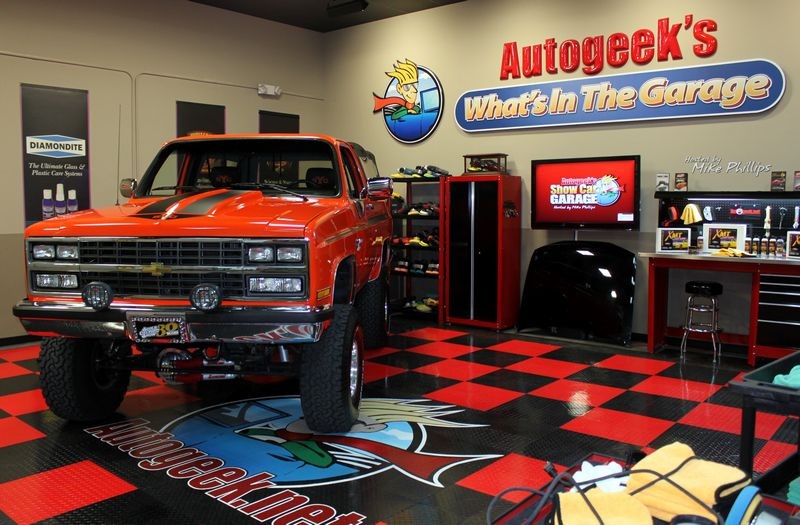
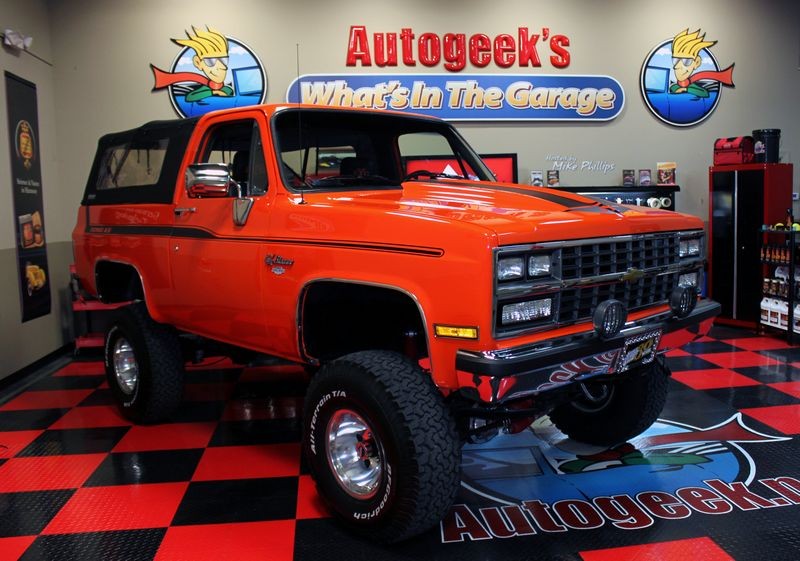
Here's a few pictures from our recent Wetsanding Project where we machine dampsanded my friend Jay's 1989 K5 Blazer which you're going to see on the 2nd Season of our TV show, What's in the Garage".

Because the 3" sanding and finishing discs have such a small footprint the are EASY to control so you can sand close to edges or tape lines with accuracy.

If you're NEW to any type of sanding, the Griot's 3" Mini Polisher used as 3" Dampsander is a great way to learn and increase your confidence in the art of machine sanding.


3inchdampsanding001.jpg


3inchdampsanding002.jpg


3inchdampsanding003.jpg


3inchdampsanding004.jpg


3inchdampsanding005.jpg


3inchdampsanding006.jpg


3inchdampsanding007.jpg


MorePeopleMoreBuffers001.jpg


MorePeopleMoreBuffers002.jpg


MorePeopleMoreBuffers003.jpg


MorePeopleMoreBuffers004.jpg


End results...
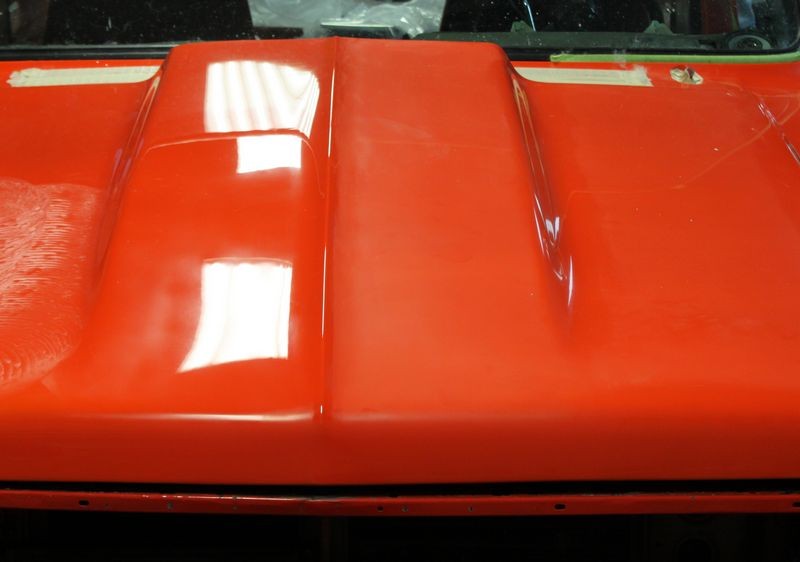
After the orange peel, runs and dirt nibs were removed, the paint was compounded and machine polished and after 30 days air dry the paint was sealed.

jaysk505.jpg


jaysk507.jpg


jaysk508.jpg


jaysk509.jpg


jaysk510.jpg


Don Yenko Stripe Package
After all the hard work was done Jay added a Yenko stripe package. Jay's thoughts on this were that Don Yenko never built a Yenko Blazer but if he did it would look something like mine.


JaysBlazer006.jpg


JaysBlazer007.jpg


Be sure to watch for Jay's K5 Blazer on the second season of Autogeek's What's in the Garage"


:xyxthumbs:
 
Thank you for this Mike.

Having never seen the sanding blocks (in person) I thought they were much bigger, NOW I understand them a whole lot better.

Bill
 
Thank you for this Mike.

Having never seen the sanding blocks (in person) I thought they were much bigger, NOW I understand them a whole lot better.

Bill

Like the old saying goes...

A picture tells a thousands words...


I'm good friends with the guy that painted the 1934 Ford Pick-up with the blown Hemi engine and he's asked me if I want to do some sanding projects for him in the future so when I can I'll show these cool little tools in action.


34Ford005.jpg


:xyxthumbs:
 
Wow amazing! Way to increase your carbon footprint Mike lol :props:
 
Wow amazing! Way to increase your carbon footprint Mike lol :props:


Hi Shawn,

The 1989 Blazer belongs to my friend Jay, so that would be his carbon footprint.

(I'm not sure if I'm even reading your post correctly?)


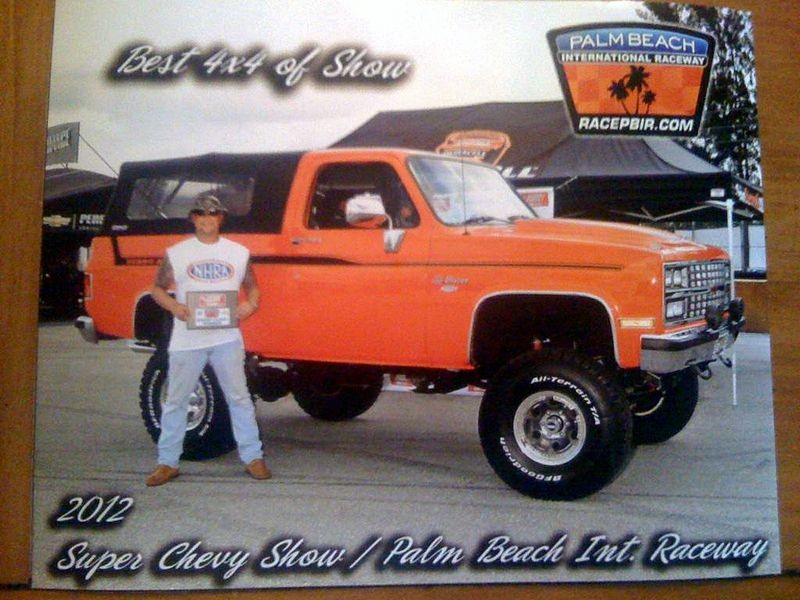
Jay also won Show Class Winner at the 2012 Super Chevy Show at Palm Beach Internatioinal Raceway after we sanded and buffed the paint...


3 "Best of Class" wins for Autogeek Forum Members at Super Chevy!


JaysBestinClassAward01.jpg


Jay's Award Plaque
JaysBestinClassAward03.jpg


Jay with his Award Plaque
JaysBestinClassAward02.jpg


:D
 
Mike,

Is there a reason why the edges aren't taken off during the manufacturing process?
 
Mike,

Is there a reason why the edges aren't taken off during the manufacturing process?

Good question and I don't know the specific answer. I'll take a guess?

It's not that hard for the end-user to do this and to also custom shape the block to their needs.

Also, it would be an added cost of time and labor plus another quality control process to implement.

It's really pretty easy to do, you can even use your fingernail.


:)
 
:dblthumb2:

Mike, appreciate the how-to on this.

I just bought the 1500 and 2k for a paint chip repair I am attempting. I anticipate the repair will end up a little taller than the oe paint... Any recommendations for using these on a chip repair specifically?
 
Mike, appreciate the how-to on this.

I just bought the 1500 and 2k for a paint chip repair I am attempting. I anticipate the repair will end up a little taller than the oe paint... Any recommendations for using these on a chip repair specifically?


Just the tips I shared in the article.

Also - take your time, factory clear coat paint is thin.


:)
 
Just the tips I shared in the article.

Also - take your time, factory clear coat paint is thin.


:)

Really appreciate the quick response Mike.

Is the unigrit block abrasive through-and-through, or is it only the surfaces? I.e. If I were to shape one of the corners into more of a "nub" to get into a tight area, will it still have the ability to cut there?
 
Really appreciate the quick response Mike.

Is the unigrit block abrasive through-and-through, or is it only the surfaces? I.e. If I were to shape one of the corners into more of a "nub" to get into a tight area, will it still have the ability to cut there?

Yes. The Unigrit blocks are 100% solid abrasives. What's on the outside is in the inside.

Cool tools.


:)
 
Back
Top