how much product do I use on the pad to prime, then how much for each 2x2 area? Is that the same if I need to use a cyan hydro pad?
And how much po106fa-with white....and 85rd with a blue---do I use for prime, then use for all the rest of the panels??
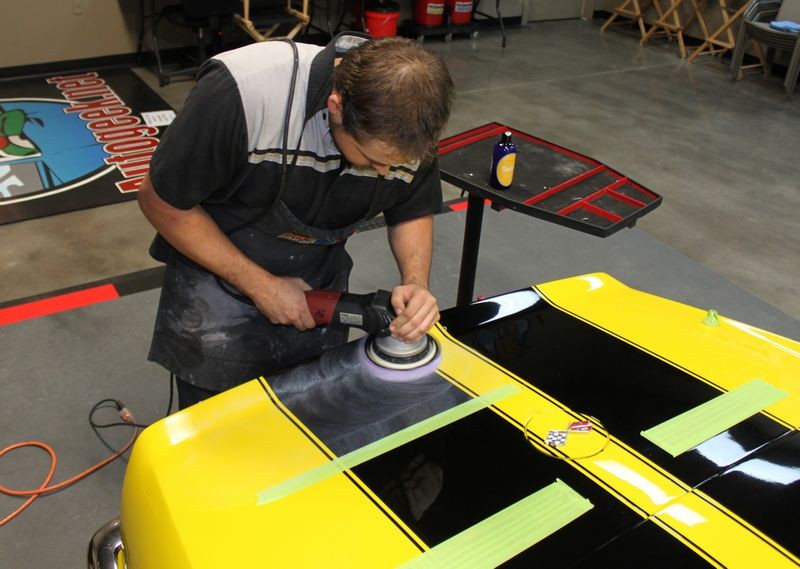
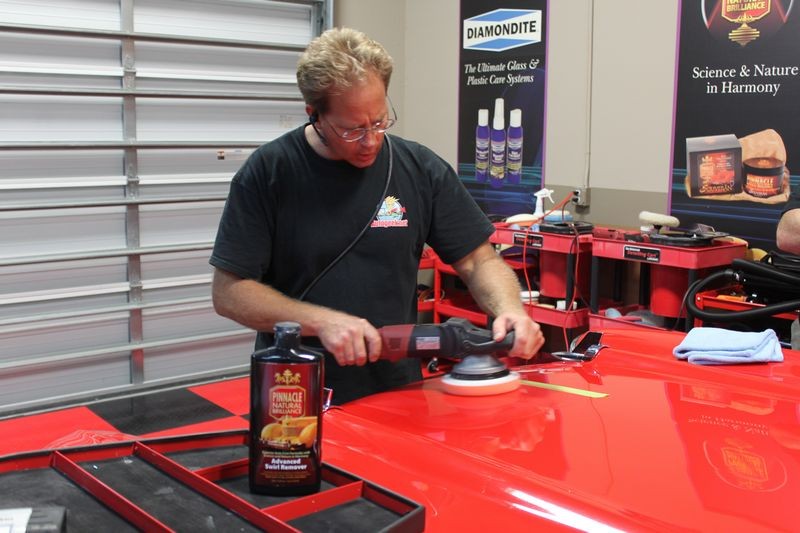
How to prime a foam pad when using a DA Polisher
Priming the pad then adding product to work with
Priming a clean, dry pad is considered the best approach for using a DA Polisher because it ensures that 100% of the working surface of the pad is wet with product and working at maximum efficiency when you turn the polisher on. I originally learned of this technique from my friend Kevin Brown.
Priming the pad also ensures that you don't have any dry portion of the pad working over the paint un-lubricated. This really isn't a risk because since you're just starting out you're going to be removing defects a lot more serious than would be caused by any portion of the pad that is dry and spinning against the paint.
Plus, after just a few passes, the product you apply to specific areas of the face of the pad will migrate over the entire face of the pad and it will do this rather quickly when you're on the higher speed settings.
Priming the Pad - For clean, dry pads
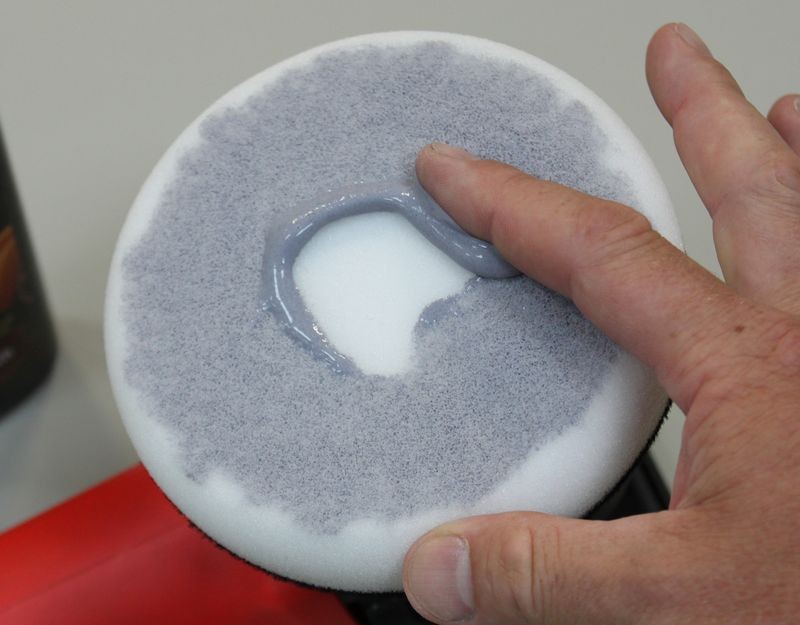
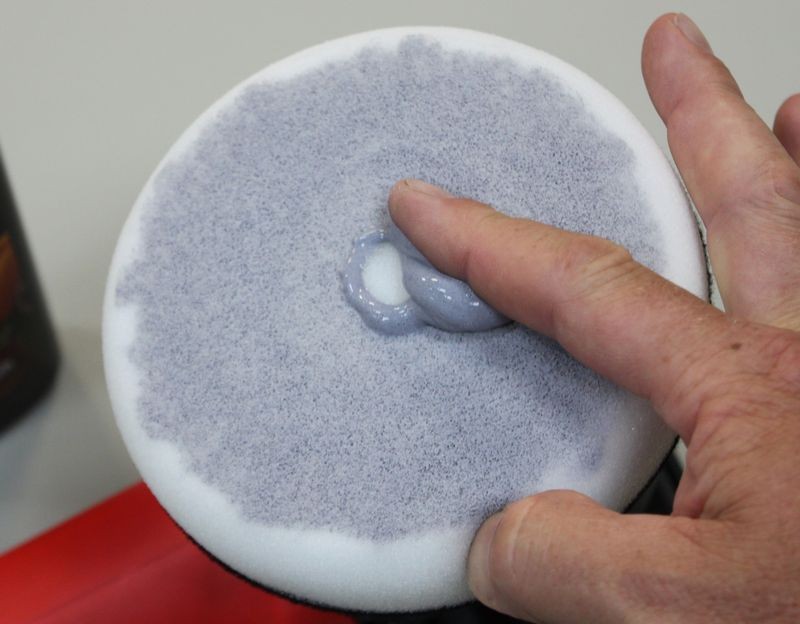
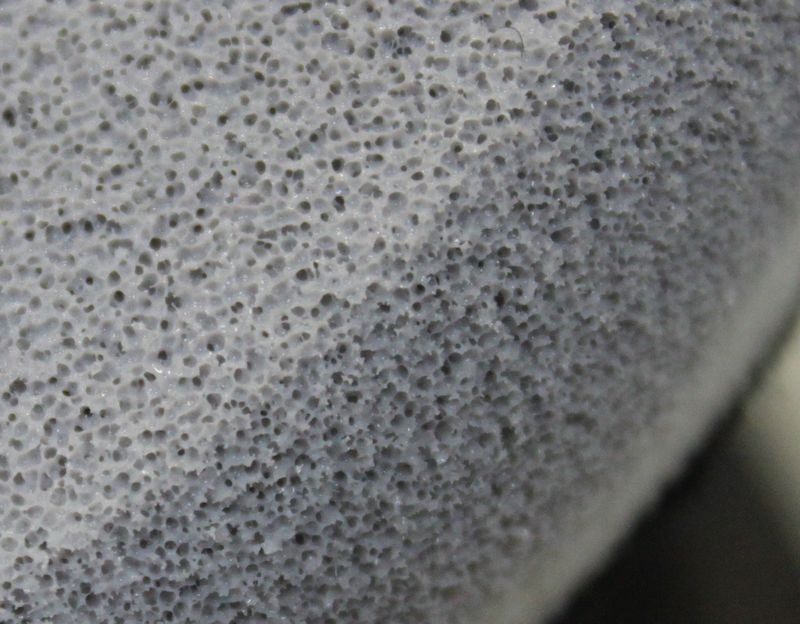
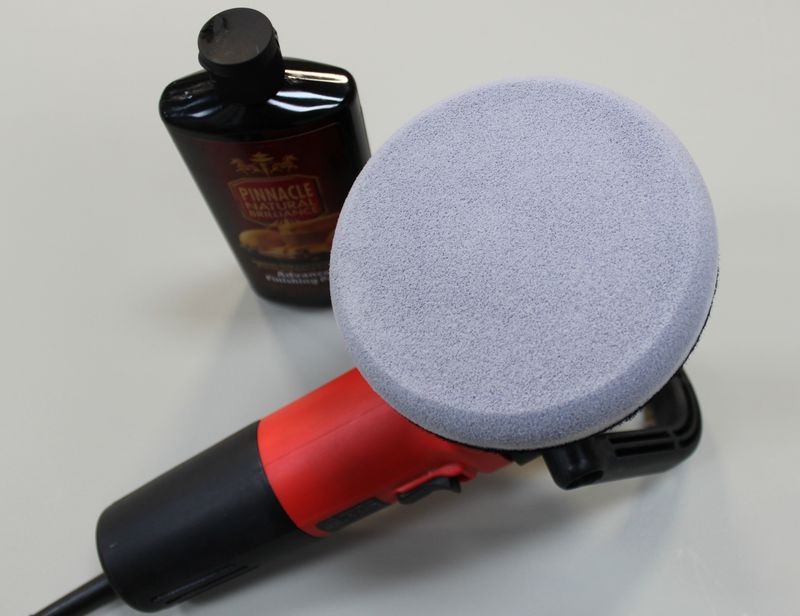
Start with a clean, dry pad and add some fresh product to be spread out to the face of the pad. Using your finger, spread the product out over the pad and then using your finger work it into the pores of the pad. Don't saturate the pad, just use enough product to make sure that 100% of the working face of the pad has product coverage.
Work the product around the face of the pad and into the pores
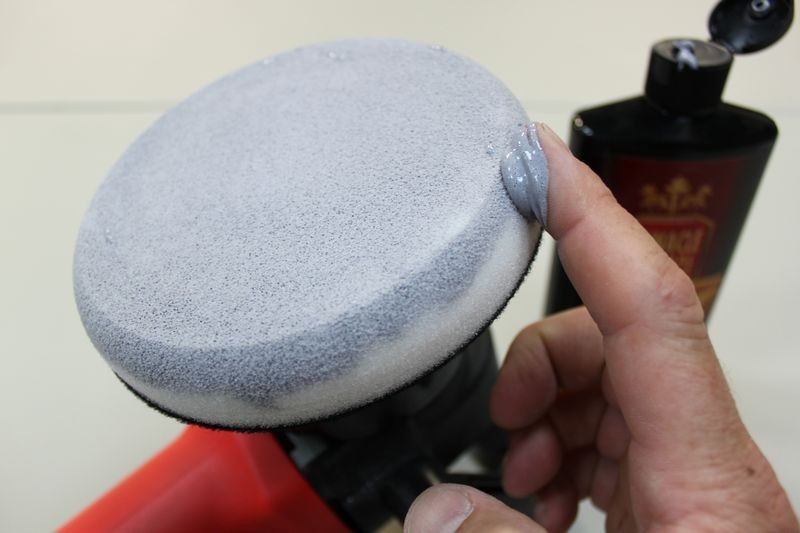
Any extra, take and apply to the outer edge until 100% of the working face of the pad is primed with product.
As an option you can also prime the outer edge. This helps if you're buffing around convex curves or around panels that the edge of your buffing pad may come into contact with, like spoilers, side mirror housings, curved panels etc.
Primed and ready to add "Working Product" to.
Adding "Working Product" to the primed pad
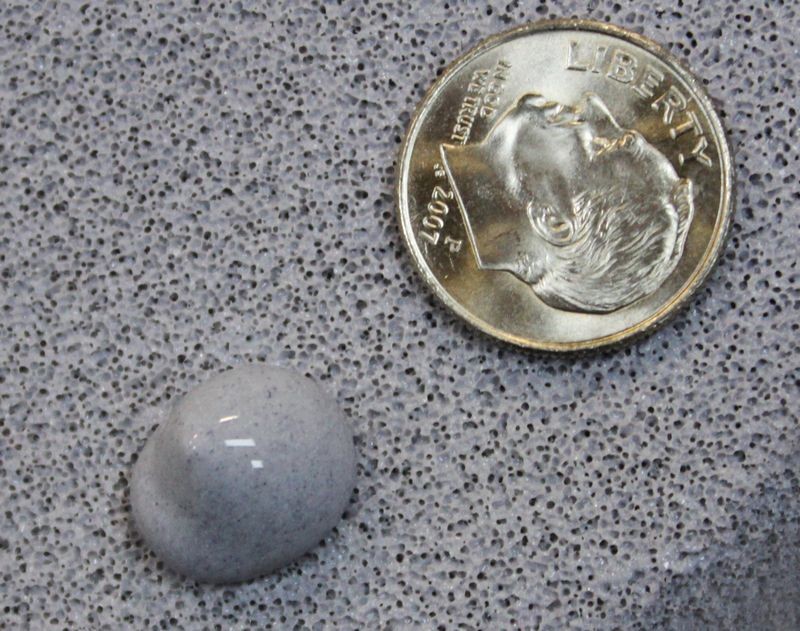
Some people will recommend 3 to 4 pea size drops of product as the proper amount of product to use and this can be correct for
concentrated products or working small sections and if you follow this advice make sure you are not
under-lubricating the surface being worked.
Pea size drops of product
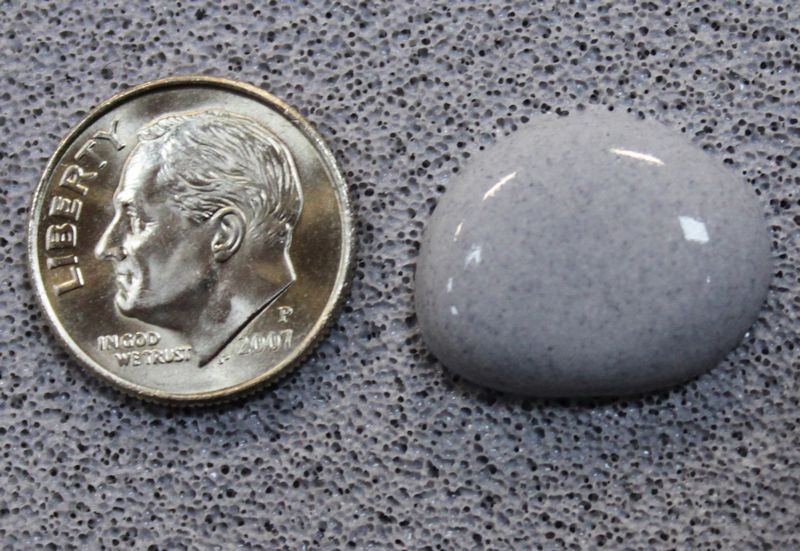
For some products and paint conditions, you may want more product on the surface working for you. Here's an example of dime size drops of product.
Dime size drops of product
How much product to use after priming
Ample
You want an AMPLE amount of product when first starting out because you pad is dry and some of the product is going to seep into the pad leaving less on the surface to LUBRICATE and ABRADE the paint
Cut down on the amount of product AFTER pad is broken-in...
After your pad is broken in with product, clean your pad after each section pass and when you apply fresh product you can cut down on the amount of product you actually apply to the face of your pad.
Too Little Product
Under-using product reduces lubricity and will make it more difficult for your pad to rotate efficiently.
Too Much Product
Using too much product will
hyper-lubricate or over-lubricate the pad and will interfere with the abrasives ability to abrade the paint.
Keep in mind that you want enough product on the surface so you have,
- Abrasives working for you.
- A lubricating film between the paint and the pad.
Often times if you don't have enough product to work with you'll end up buffing to a dry buff. When you lose lubrication,
friction increase and this can lead to micro-marring or hazing.
And it terms of passes...on a 2 x 2 area with these---I work the polish slowly up and down, then left to right---that's one pass--do I typically do that 6 passes for each section--wipe down--inspect--and repeat if necessary?
Any input would be appreciated....thanks!!!!
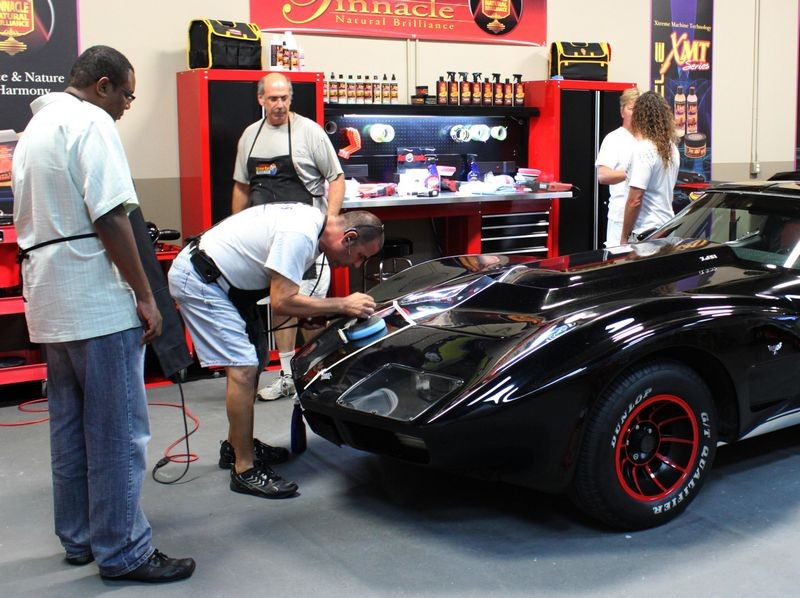
Show Car Garage Video: How-To do a "Section Pass" when Machine Polishing with a DA Polisher
Copyright ©PBMA - AutogeekOnline.net® All Rights Reserved
Here's how to do a "Section Pass" when trying to remove swirls, scratches and other below surface paint defects.
When talking about machine polishing on discussion forums or even in detailing classes, the below questions always comes up,
- What's a pass?
- How many passes do I make?
- What's a section pass?
The definition of a pass
There are two definitions of the word pass as it relates to machine polishing with any type of machine.
Single Pass
A single pass is just that. It's when you move the polisher from one side of the section you're buffing to the other side of the section you're buffing. That's a single pass.
Section Pass
A section pass is when you move the polisher back and forth, or front to back with enough single overlapping passes to cover the entire section
one time. That's a section pass.
In most cases if you're removing any substantial below surface defects you're going to make 6-8 section passes to the section you’re working before you either feel comfortable you've removed the defects or you're at the end of the
buffing cycle for the product you're using.
Buffing Cycle
The buffing cycle is the amount of time you are able to work the product before the abrasives have broken down, (if you’re using a product that uses diminishing abrasives), and/or the product begins to dry and you lose the lubricating features of the product. Different products have different buffing cycles depending upon the type of abrasives used in the formula and the different ingredients used to suspend the abrasives and provide lubrication.
Factors that affect the buffing cycle include,
- Ambient temperature
- Surface temperature
- Size of work area
- Type of machine
- Type of pad material
- Humidity
- Wind or air flow surrounding the car
- Amount of product used
- Technique
Wet buffing technique
Most compounds and polishes should be used so that there is enough product on the surface to maintain a wet film while the product is being worked. The wetness of the product is lubricating the paint as the abrasives abrade the paint and cushion or buffer the abrading action so the abrasives don’t simply scour the finish leaving behind swirls and scratches.
Dry Buffing Technique - Buffing to a dry buff
There are some products on the market where the manufacture recommends buffing the product until it dries. As the product dries you’ll tend to see some dusting as the product residue becomes a powder and the paint will have a hard, dry shine to it.
Although some manufactures recommend this, it’s important to understand what’s taking place at the surface level as you buff to a dry buff. As the product dries, in essence you are losing the lubricating features of the product and as this happens friction and heat will increase. As friction and heat increases, so does the risk of micro-marring the paint or instilling swirls either by the product residue or the pad material and/or a combination of both.
While we trust that the manufacture knows their products best, when we take a close look at what it means to buff on a delicate surface like an automotive clear coat, it doesn’t make sense to run a buffing pad on top of the paint
without some kind of wet film to lubricate the paint at the same time. We always recommend that you follow the manufacturer's recommendations and use your own judgment.
Everyone new to buffing wants to be told some easily identifiable sign that they can use to tell when it's time to stop buffing and it's not that simple, so here's an indicator I've always used and taught to others,
Wet film behind your path-of-travel
As you're making a single pass with the polisher, the paint behind the path of travel of the buffer should have a visible wet film on it. If the paint behind the pad is dry and shiny, you've run out of lubrication and you're dry buffing. Turn the polisher off. Wipe the residue off and inspect using a Swirl Finder Light to make sure you didn't dull or mar the paint, you usually won't cause any harm, but pay attention when your running the polisher and don't buff to a dry buff. If you do, you can quickly re-polish that section by cleaning your pad and adding a little fresh product and making a few new section passes.
UMR
Remember, in most cases the goal is UMR or Uniform Material Removal. The reason for this is so that you remove an equal amount of paint over each section and in turn over the entire car. In order to do this you need a method that you can control and duplicate and for most people following a back and forth, side-to-side pattern works because it’s easy to remember, easy to do and easy to duplicate.
Resources
The above video segment is a 4 minute clip filmed during the extended version of
How To Remove Swirls using any Dual Action Polisher like the
Meguair's G110v2 and the
Griot's Garage ROP and all models of he Porter Cable Dual Action Polisher, including the
PC7424XP, PC7424, PC7336, G100
How to Remove Swirls using the Porter Cable 7424XP or any D.A. Polisher


