Mike Phillips
Active member
- Dec 5, 2022
- 51,004
- 6
How to use the Meguiar's Microfiber DA Correction System
Next up... we'll see how the class does using the Meguiar's Microfiber DA Correction System to remove the swirls and scratches out of a 2008 Cadillac with factory black basecoat/clearcoat paint.
Here's the system our students get to learn how to use in entirety...

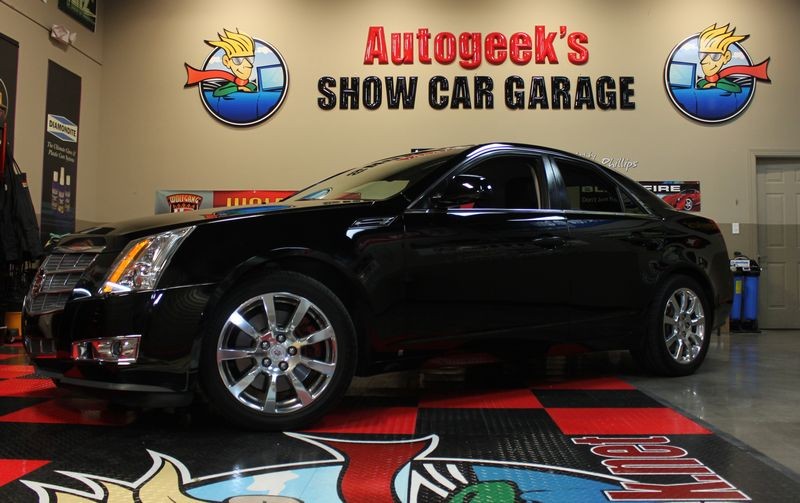
Here's our victim... a trashed 2008 Cadillac CTS. Looks good in the shade huh?

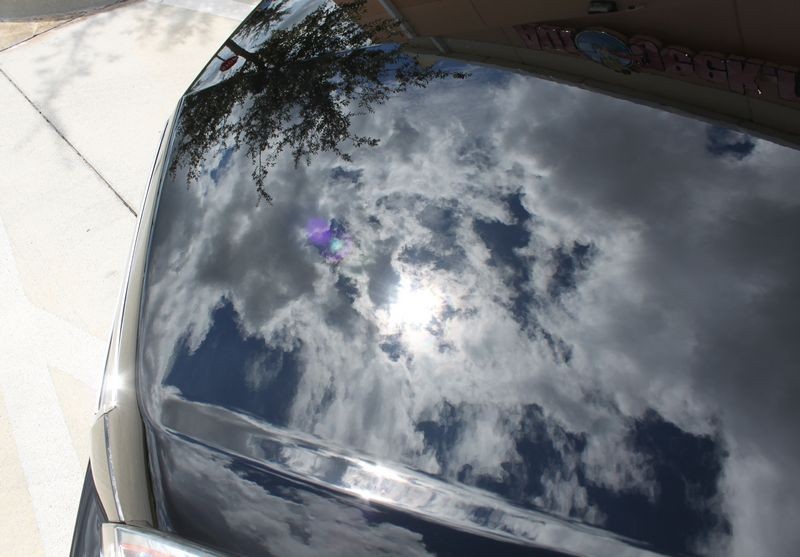
Doesn't look as good in full sun...


Here's what the paint looks like in the studio under the florescent lights...

A clean approach
One of the benefits to the D300 and the D301 is you don't have to tape and cover everything off.
That said I have my students for 2 days so I like to share as many tips and techniques as possible and that includes the Beach Towel Tip to cover the wiper arms and the plastic surrounding the wiper arms common to new cars.
They can use this technique to cover these areas and avoid getting splatter on everywhere no matter what product line they're using, they can make this decision, my job is to just show the technique.

The Beach Towel Tip does come in hand for anytime you're using a rotary buffer to reduce clean-up of the windshield, fresh air grills, wipers and plastic around the wipers.

New to machine polishing
Since some of the people attending this class have never worked by machine before including a Meguiar's G110v2 Dual Action Polisher, one of the things I like to do is to show them in a very dramatic way how safe they actually are for your car's paint by turning the polisher on and then,
Holding the pad against my hand...

Actually holding the pad with my hand with the tool turned on...
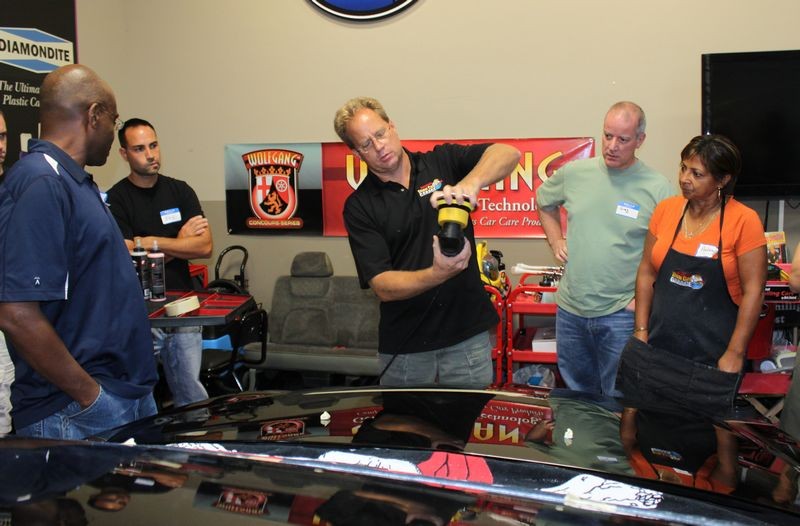
Pressing it against my hand in the same way it would be pressed against paint - point being it's a completely safe tool even for a beginner.

After centering and placing the pad onto the matching backing plate, the next thing you want to do is prime your pad.

Apply some product directly to the face of the pad and then spread it over the face and work it in well to the microscopic fibers that make microfiber what it is...

You know your students are paying close attention to any topic with pictures like these...

After priming the pad and thoroughly working the D300 Correction Compound over and into the fibers then add 3 small drops of product to the face of the pad and you're ready to start removing swirls and scratches.

Speed Setting 4
Meguiar's recommends 4800 OPM's for removing defects and on the Meguiar's G110v2 you would put the speed setting on the 4 on the variable dial.
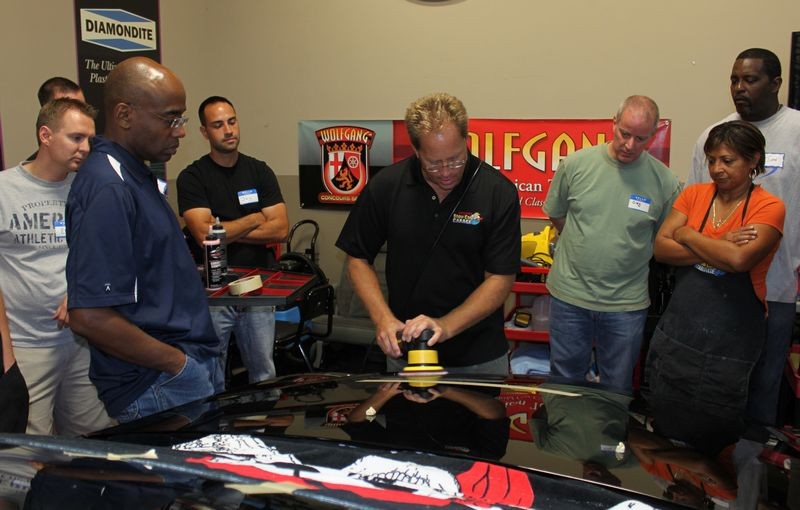
Hold the pad flat to the surface, this is done best by using your forward hand to apply pressure directly over the top of the head of the polisher.

Make slow overlapping passes
Then make slow, overlapping passes working a small section of paint at one time. a two foot squared section is usually too large to tackle at one time, especially for a finish with as many swirls and scratches as this Cadillac had, so use good judgment and divide each panel up into smaller sections and then work one section at a time.
When you finish with one section, inspect your results and if the results look good move onto a new section and overlap a little into the previous section.
Inspect Results
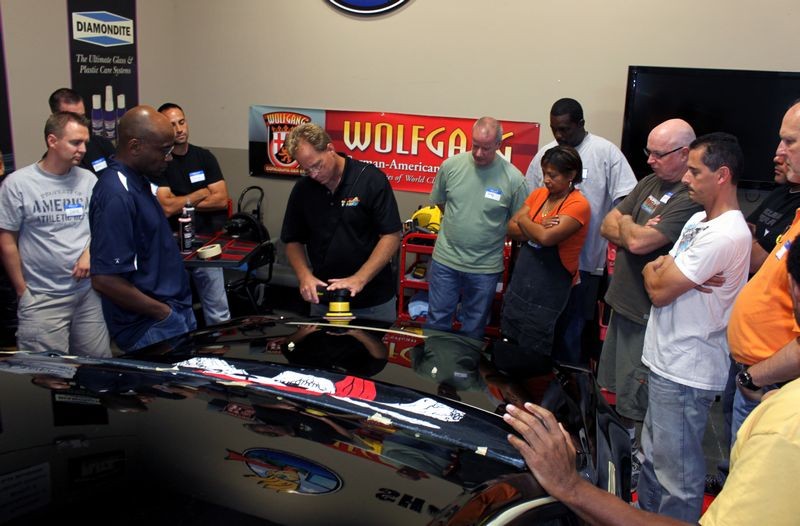
After demonstrating how slow to move the polisher over the surface, the size of a section to tackle at one time and what "Section Passes" are and how to do them we turned the polisher off and inspected the results from the compounding step.

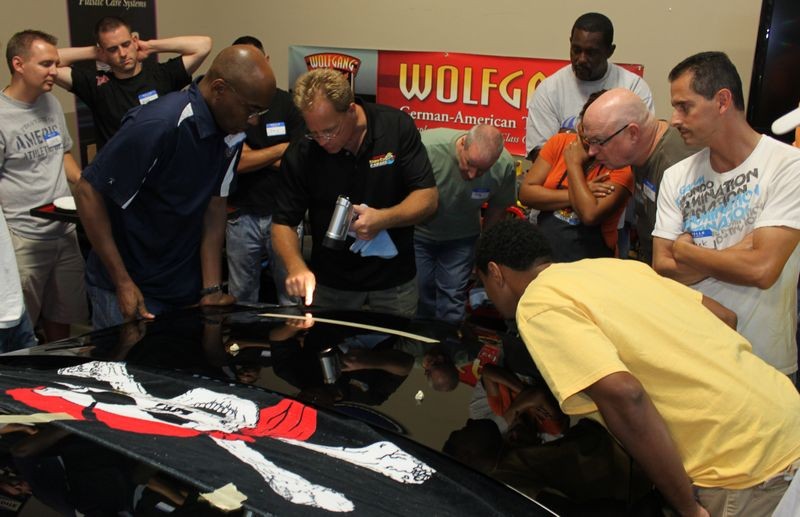
RIDS = Random Isolated Deeper Scratches - Not to worry...
In this picture I'm pointing out a random, deeper isolated scratch still remaining while pointing out the millions of swirls and scratches in the paint before we started are now completely removed. No matter what car you buff out you will always tend to have a few deeper scratches that remain and after removing the thousands of scratches that were surrounding them these remaining deeper scratches will tend to stick out like a Sore Thumb.
Second Step - D301 Finishing Wax
Although the results look great there is some light hazing which is really easy to see on black colored cars, but that's okay because the first step is the aggressive compounding step, the next step refines the results from the compounding step to produce a clear, swirl-free finish.

Finishing out...
For the D301 Finishing Wax you don't need to move as slow, use as much speed or as much downward pressure. The Finishing Wax offers light cleaning ability, just enough to remove any haze left by the D300 Correction Compound while leaving a layer of protection behind on the finish. So this step should go a lot quicker and you can tend to tackle a larger section. For speed setting, for the Meguiar's G110v2 set the variable speed dial to the 3 setting.

Inspect your results
For your Test Spot, like we're doing here, it's a good idea to re-inspect your results after working the D301 Finishing Wax. The paint should look clear and reflective with excellent gloss and shine.

If everything looks good then you've proven your system and you're ready to buff out the rest of the car simply by duplicating this same process over each panel. Normally you would start at the top and work your way down. Divide larger panels into smaller sections and overlap a little into the previous section when buffing out a new section.
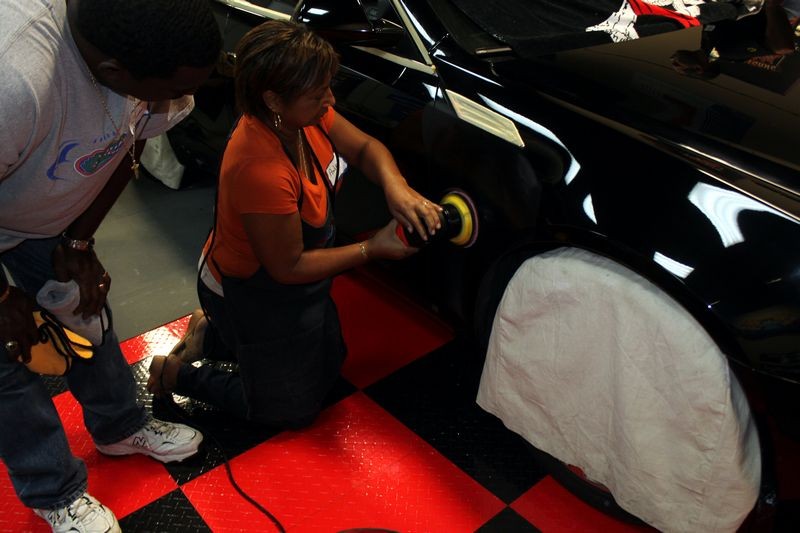
Here's Audry removing swirls and scratches out of the passenger side fender using the D300 Correction Compound
Here's Erik removing swirls and scratches out of the hood, note how he places his hand inside the D-Handle to position his hand directly onto the head of the polisher.

")
Next up... we'll see how the class does using the Meguiar's Microfiber DA Correction System to remove the swirls and scratches out of a 2008 Cadillac with factory black basecoat/clearcoat paint.
Here's the system our students get to learn how to use in entirety...
Here's our victim... a trashed 2008 Cadillac CTS. Looks good in the shade huh?
Doesn't look as good in full sun...
Here's what the paint looks like in the studio under the florescent lights...
A clean approach
One of the benefits to the D300 and the D301 is you don't have to tape and cover everything off.
That said I have my students for 2 days so I like to share as many tips and techniques as possible and that includes the Beach Towel Tip to cover the wiper arms and the plastic surrounding the wiper arms common to new cars.
They can use this technique to cover these areas and avoid getting splatter on everywhere no matter what product line they're using, they can make this decision, my job is to just show the technique.
The Beach Towel Tip does come in hand for anytime you're using a rotary buffer to reduce clean-up of the windshield, fresh air grills, wipers and plastic around the wipers.
New to machine polishing
Since some of the people attending this class have never worked by machine before including a Meguiar's G110v2 Dual Action Polisher, one of the things I like to do is to show them in a very dramatic way how safe they actually are for your car's paint by turning the polisher on and then,
Holding the pad against my hand...
Actually holding the pad with my hand with the tool turned on...
Pressing it against my hand in the same way it would be pressed against paint - point being it's a completely safe tool even for a beginner.
After centering and placing the pad onto the matching backing plate, the next thing you want to do is prime your pad.
Apply some product directly to the face of the pad and then spread it over the face and work it in well to the microscopic fibers that make microfiber what it is...
You know your students are paying close attention to any topic with pictures like these...
After priming the pad and thoroughly working the D300 Correction Compound over and into the fibers then add 3 small drops of product to the face of the pad and you're ready to start removing swirls and scratches.
Speed Setting 4
Meguiar's recommends 4800 OPM's for removing defects and on the Meguiar's G110v2 you would put the speed setting on the 4 on the variable dial.
Hold the pad flat to the surface, this is done best by using your forward hand to apply pressure directly over the top of the head of the polisher.
Make slow overlapping passes
Then make slow, overlapping passes working a small section of paint at one time. a two foot squared section is usually too large to tackle at one time, especially for a finish with as many swirls and scratches as this Cadillac had, so use good judgment and divide each panel up into smaller sections and then work one section at a time.
When you finish with one section, inspect your results and if the results look good move onto a new section and overlap a little into the previous section.
Inspect Results
After demonstrating how slow to move the polisher over the surface, the size of a section to tackle at one time and what "Section Passes" are and how to do them we turned the polisher off and inspected the results from the compounding step.
RIDS = Random Isolated Deeper Scratches - Not to worry...
In this picture I'm pointing out a random, deeper isolated scratch still remaining while pointing out the millions of swirls and scratches in the paint before we started are now completely removed. No matter what car you buff out you will always tend to have a few deeper scratches that remain and after removing the thousands of scratches that were surrounding them these remaining deeper scratches will tend to stick out like a Sore Thumb.
Second Step - D301 Finishing Wax
Although the results look great there is some light hazing which is really easy to see on black colored cars, but that's okay because the first step is the aggressive compounding step, the next step refines the results from the compounding step to produce a clear, swirl-free finish.
Finishing out...
For the D301 Finishing Wax you don't need to move as slow, use as much speed or as much downward pressure. The Finishing Wax offers light cleaning ability, just enough to remove any haze left by the D300 Correction Compound while leaving a layer of protection behind on the finish. So this step should go a lot quicker and you can tend to tackle a larger section. For speed setting, for the Meguiar's G110v2 set the variable speed dial to the 3 setting.
Inspect your results
For your Test Spot, like we're doing here, it's a good idea to re-inspect your results after working the D301 Finishing Wax. The paint should look clear and reflective with excellent gloss and shine.
If everything looks good then you've proven your system and you're ready to buff out the rest of the car simply by duplicating this same process over each panel. Normally you would start at the top and work your way down. Divide larger panels into smaller sections and overlap a little into the previous section when buffing out a new section.
Here's Audry removing swirls and scratches out of the passenger side fender using the D300 Correction Compound
Here's Erik removing swirls and scratches out of the hood, note how he places his hand inside the D-Handle to position his hand directly onto the head of the polisher.