Mike Phillips
Active member
- Dec 5, 2022
- 51,004
- 6
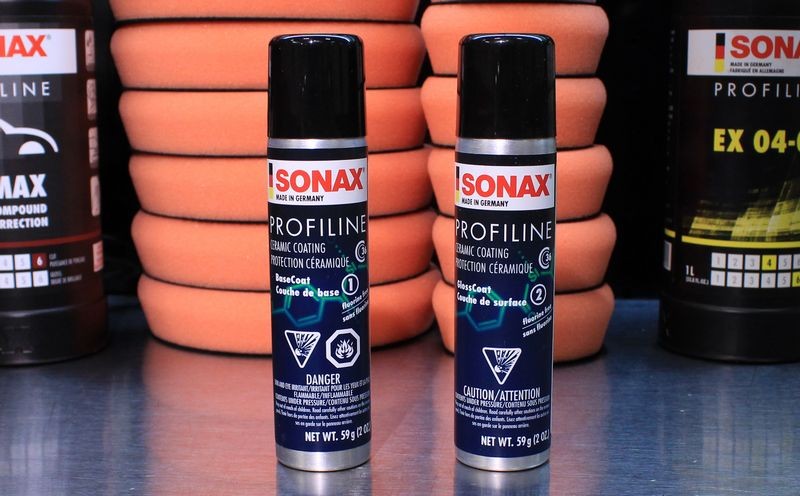
How to use the SONAX CC36 Ceramic Paint Coating
SONAX History
In 1903, Franz Hoffmann, the great grandfather of Manfred Hoffmann extracted Neuburg siliceous earth in Neuburg, Germany. This very fine mineral was used as a polish in many household cleaning products including a silver polish called SONA.
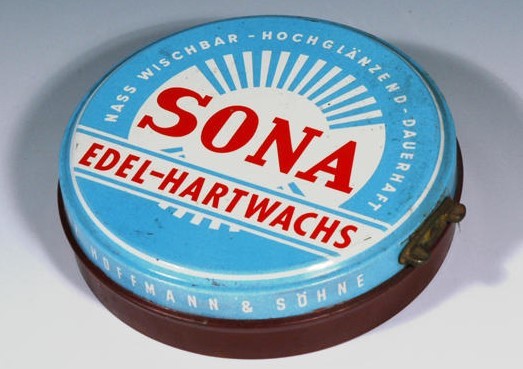
After the second world war another branch for manufacturing products was added to the company. The brand SONA was registered to protect the household line of products and the brand name SONAX was registered to protect car care products. The letter “x” was added to the end of SONA as a synonym for the word “wax” as the early SONAX products for their automotive line were primarily car waxes.

You can red the entire history of the SONAX company here.
Fast forward to the year 2016 when SONAX introduced their ceramic paint coating at the U.S. 2016 SEMA show in Las Vegas. I've had the good fortune to visit the SONAX headquarters in Neuburg, Germany and tour their manufacturing plant and even better, met with their chemists. They are the real deal. While many Americans may be new to the SONAX brand, one way I use to give people an idea of how big and how popular SONAX is in Europe goes like this,
SONAX is the Meguiar's of Europe
I think it's safe to say that here in the U.S. Meguiar's is a trusted and popular brand of car care products and that's because they have a LONG history of providing high quality products that do what they say they'll do and that's perform at a high level no matter what the category. The same thing applies to SONAX products. They formulate all their own products, manufacture them and bottle them. This hold true for their new ceramic paint coating, it is their own in-house chemistry and formulations.
Recently I used the CC36 Ceramic Paint Coating on a modern muscle car, a 2012 Dodge Challenger SRT8 392 Hemi Yellow Jacket. You can read about this project and see the CC36 ceramic coating results here,
Review: - LC HDO Foam Pads - Makita PO5000C - Supercharged Dodge Yellow Jacket
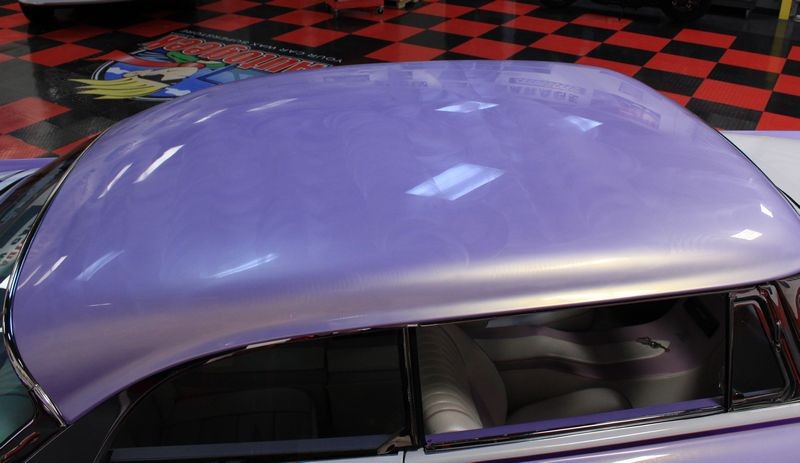
When I detailed that car and by the word detail I mean I did a multiple-step show car detailing process, I was under a tight time constraint and unlike my normal practice, I did not take a lot of pictures. Currently I have another show car in the garage that is very different than the Yellow Jacket. They are both MOPARS and they both have Hemi Engines, only this current product is from 1956 and was built by the late famous custom car builder, Richard Zocchi. We actually had this car here for one of our 3-day detailing classes back in 2014. Here's the link to the write-up for that class.
Richard Zocchi Kustom 1956 Dodge Lancer - Detailing Class at Autogeek
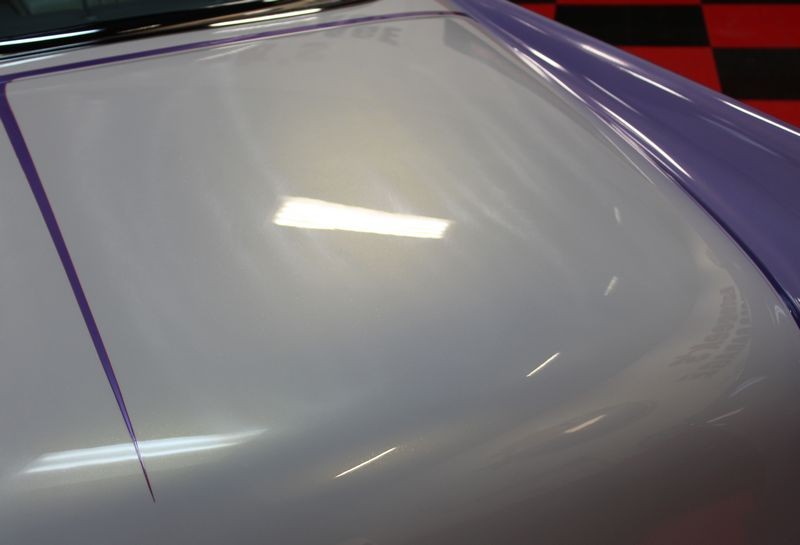
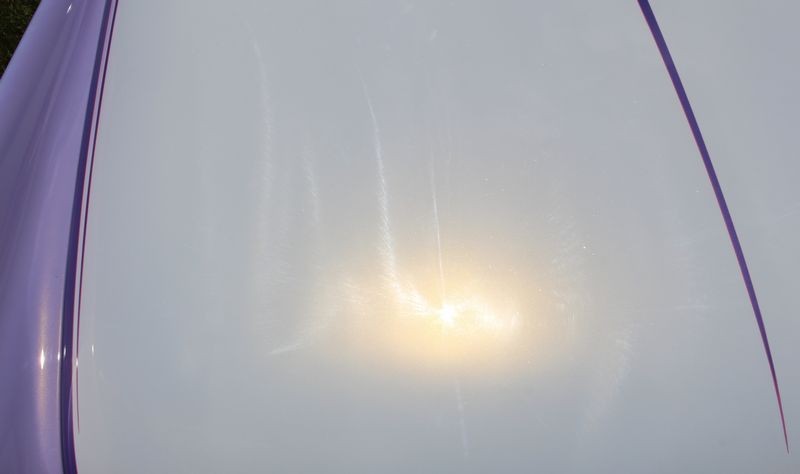
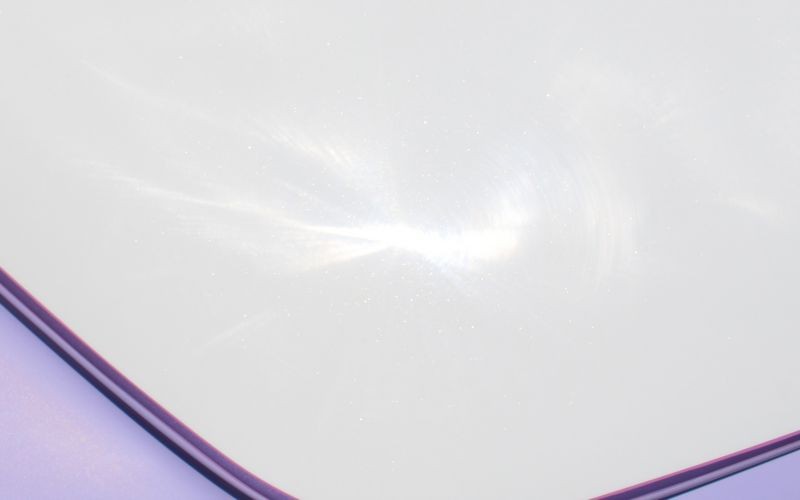
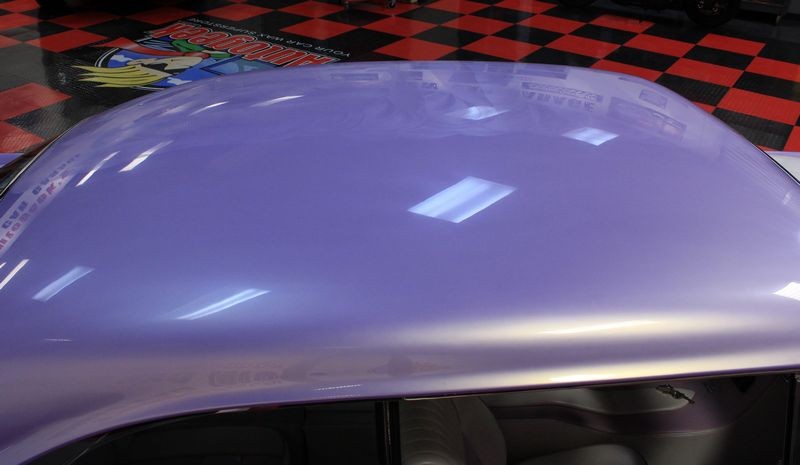
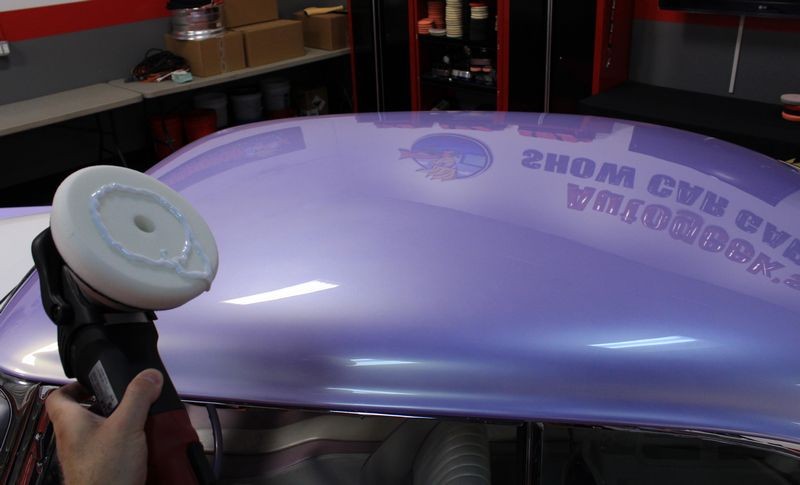
Since that class I'm sad to say this car was in an accident and hit in the front end by another car. It's since been repaired and repainted and the good news is the quality of the rebuild and repaint are incredible. The shop, a buddy of mine usually does the wetsanding and the initial compounding step and then lets me take over the polishing and finishing steps. So the car arrived here with holograms from the compounding step which give me the perfect condition paint to showcase tools, pads and compounds and polishes and also the SONAX CC36 Ceramic Paint Coating.
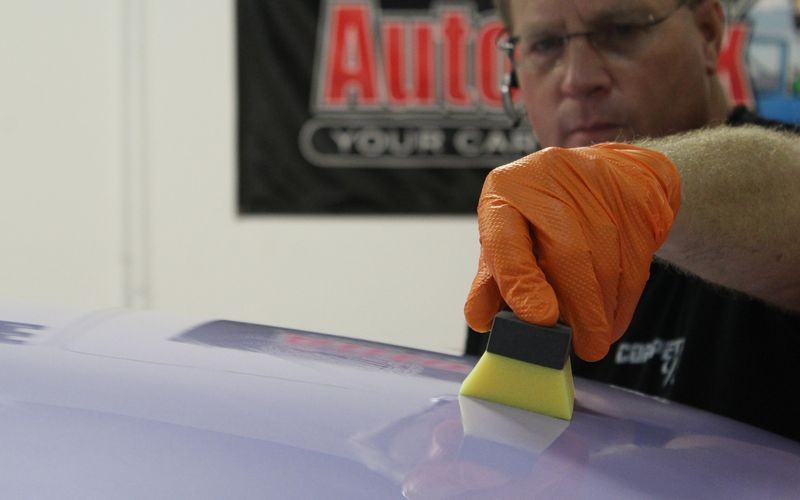
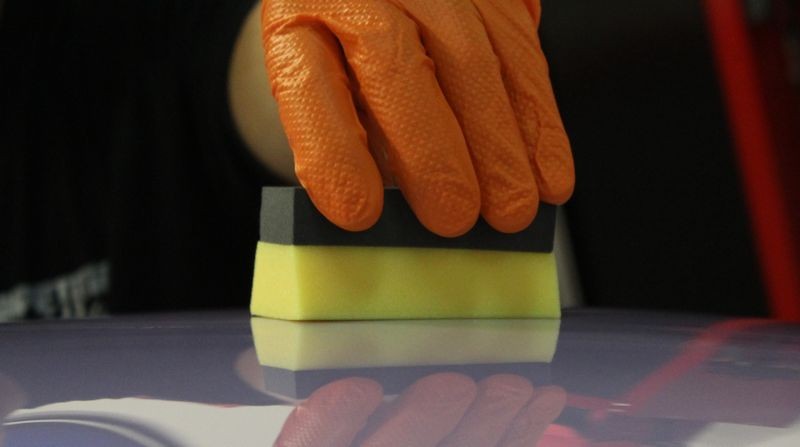
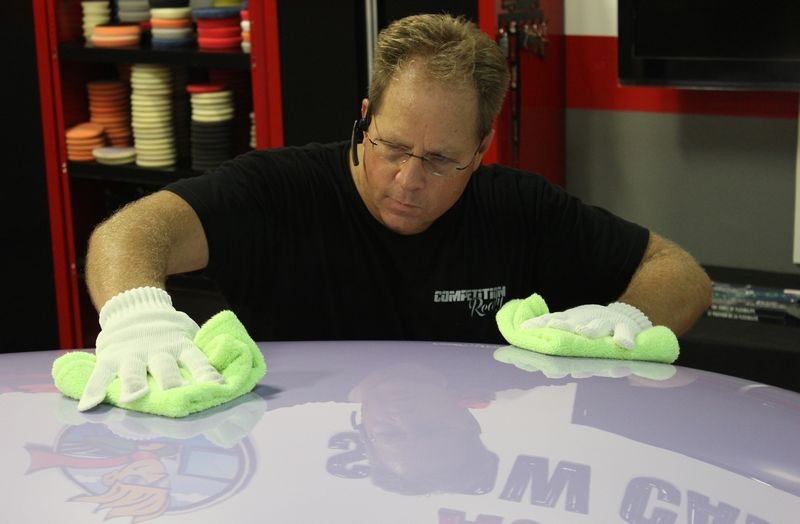
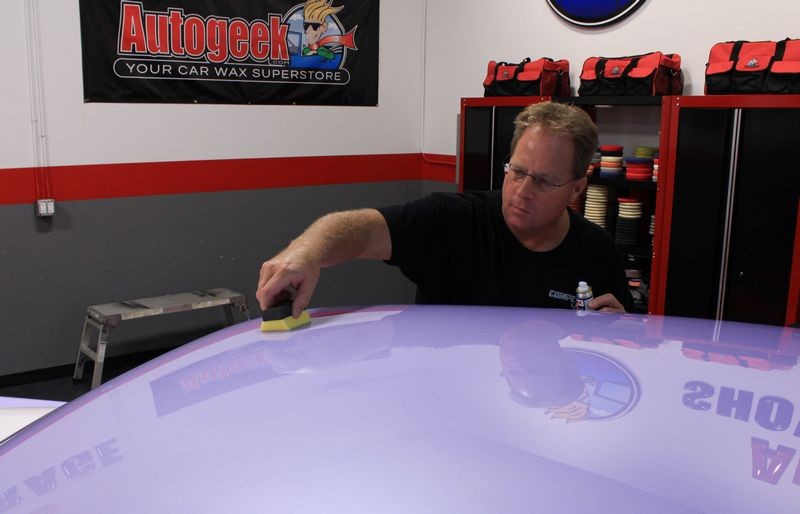
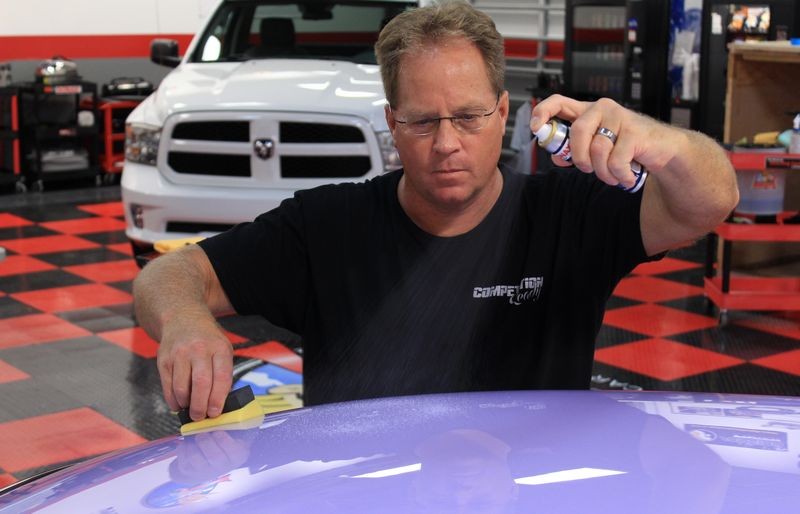
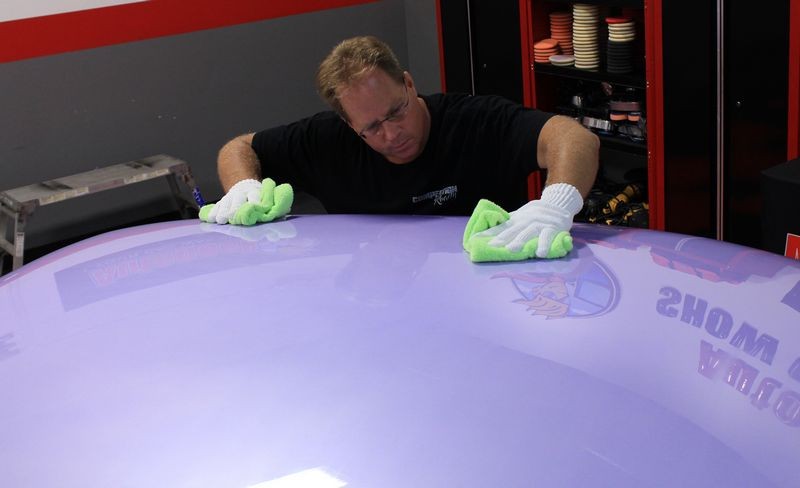
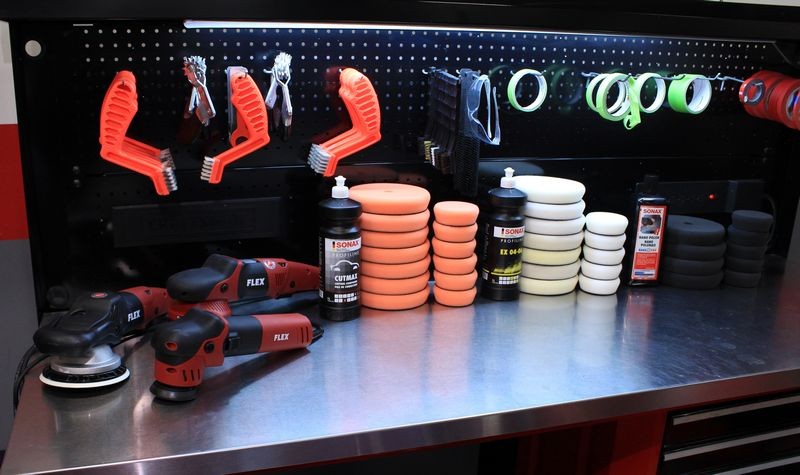
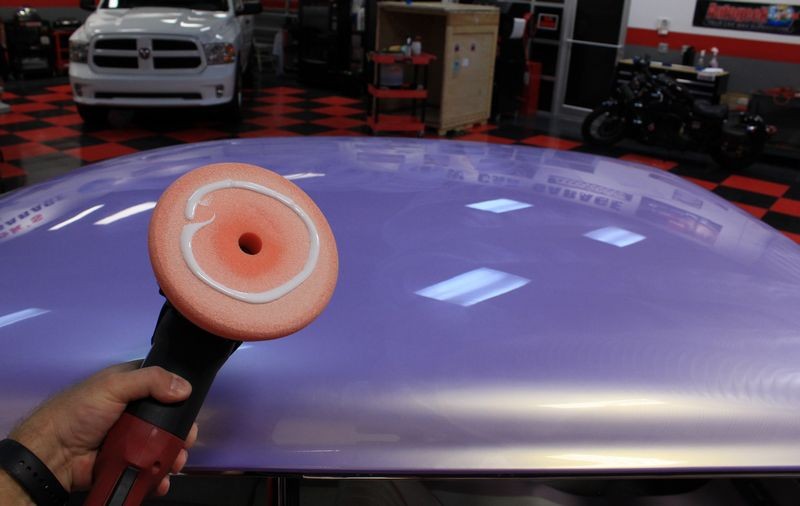
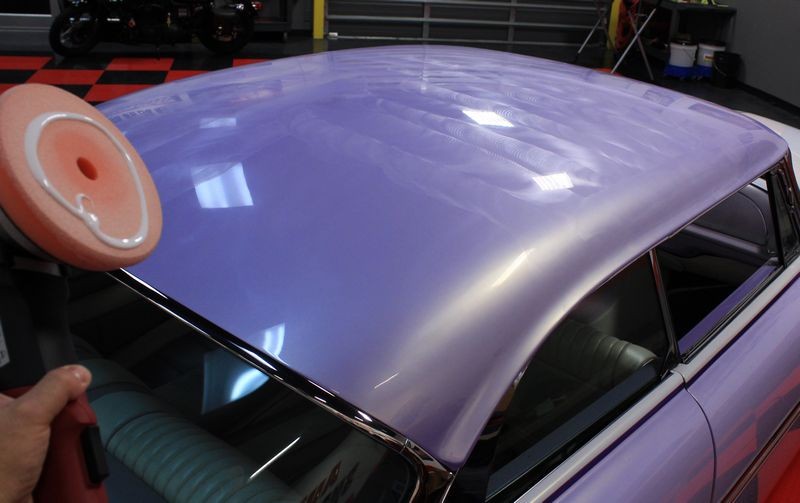
Below are the steps to follow to chemically strip car paint to remove residual polishing oils and other substances after compounding and polishing and then how to apply the 2-step coating.
")
SONAX History
In 1903, Franz Hoffmann, the great grandfather of Manfred Hoffmann extracted Neuburg siliceous earth in Neuburg, Germany. This very fine mineral was used as a polish in many household cleaning products including a silver polish called SONA.
After the second world war another branch for manufacturing products was added to the company. The brand SONA was registered to protect the household line of products and the brand name SONAX was registered to protect car care products. The letter “x” was added to the end of SONA as a synonym for the word “wax” as the early SONAX products for their automotive line were primarily car waxes.
You can red the entire history of the SONAX company here.
Fast forward to the year 2016 when SONAX introduced their ceramic paint coating at the U.S. 2016 SEMA show in Las Vegas. I've had the good fortune to visit the SONAX headquarters in Neuburg, Germany and tour their manufacturing plant and even better, met with their chemists. They are the real deal. While many Americans may be new to the SONAX brand, one way I use to give people an idea of how big and how popular SONAX is in Europe goes like this,
SONAX is the Meguiar's of Europe
I think it's safe to say that here in the U.S. Meguiar's is a trusted and popular brand of car care products and that's because they have a LONG history of providing high quality products that do what they say they'll do and that's perform at a high level no matter what the category. The same thing applies to SONAX products. They formulate all their own products, manufacture them and bottle them. This hold true for their new ceramic paint coating, it is their own in-house chemistry and formulations.
Recently I used the CC36 Ceramic Paint Coating on a modern muscle car, a 2012 Dodge Challenger SRT8 392 Hemi Yellow Jacket. You can read about this project and see the CC36 ceramic coating results here,
Review: - LC HDO Foam Pads - Makita PO5000C - Supercharged Dodge Yellow Jacket
When I detailed that car and by the word detail I mean I did a multiple-step show car detailing process, I was under a tight time constraint and unlike my normal practice, I did not take a lot of pictures. Currently I have another show car in the garage that is very different than the Yellow Jacket. They are both MOPARS and they both have Hemi Engines, only this current product is from 1956 and was built by the late famous custom car builder, Richard Zocchi. We actually had this car here for one of our 3-day detailing classes back in 2014. Here's the link to the write-up for that class.
Richard Zocchi Kustom 1956 Dodge Lancer - Detailing Class at Autogeek
Since that class I'm sad to say this car was in an accident and hit in the front end by another car. It's since been repaired and repainted and the good news is the quality of the rebuild and repaint are incredible. The shop, a buddy of mine usually does the wetsanding and the initial compounding step and then lets me take over the polishing and finishing steps. So the car arrived here with holograms from the compounding step which give me the perfect condition paint to showcase tools, pads and compounds and polishes and also the SONAX CC36 Ceramic Paint Coating.
Below are the steps to follow to chemically strip car paint to remove residual polishing oils and other substances after compounding and polishing and then how to apply the 2-step coating.


")