Mike Phillips
Active member
- Dec 5, 2022
- 51,004
- 6
How to wet sand a car - Time Lapse Video
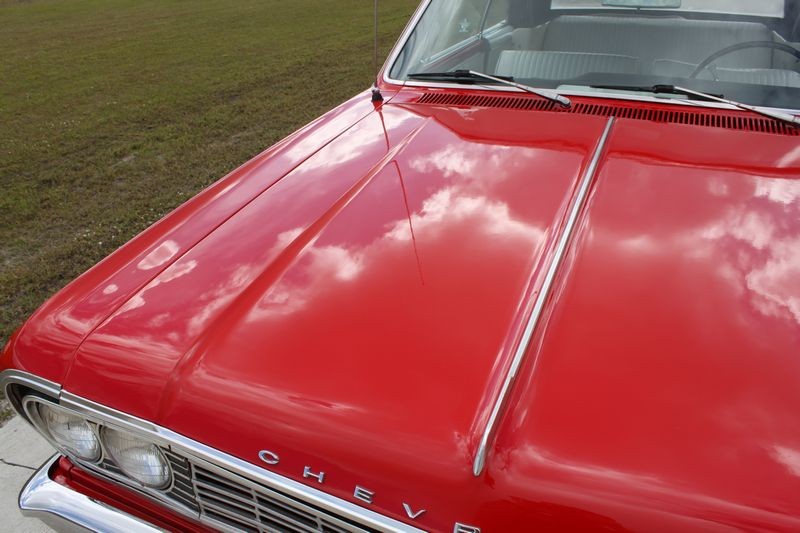
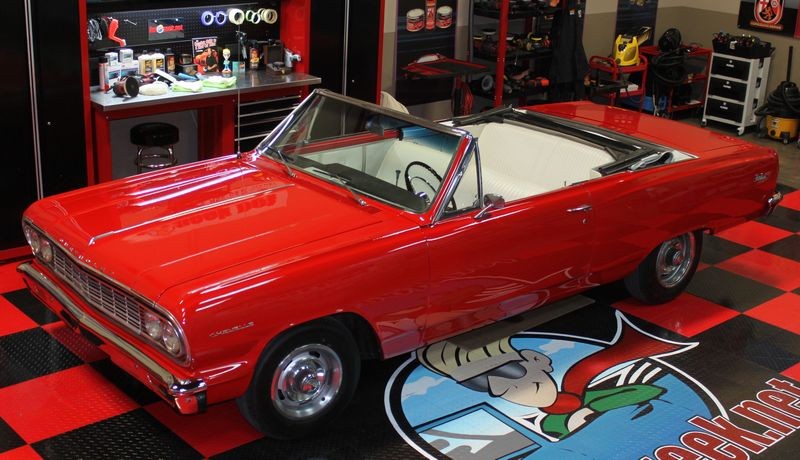
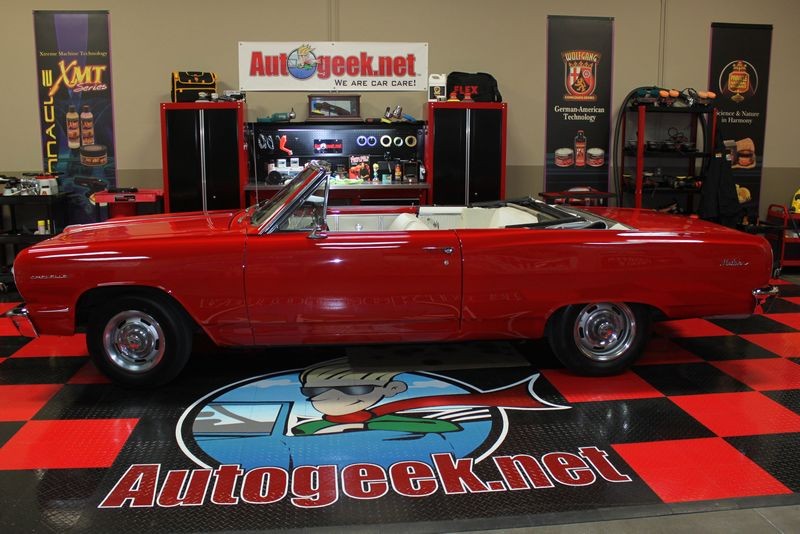
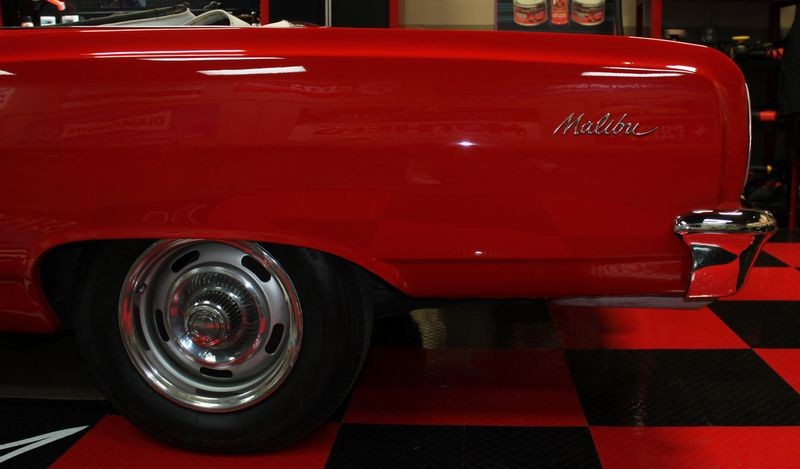
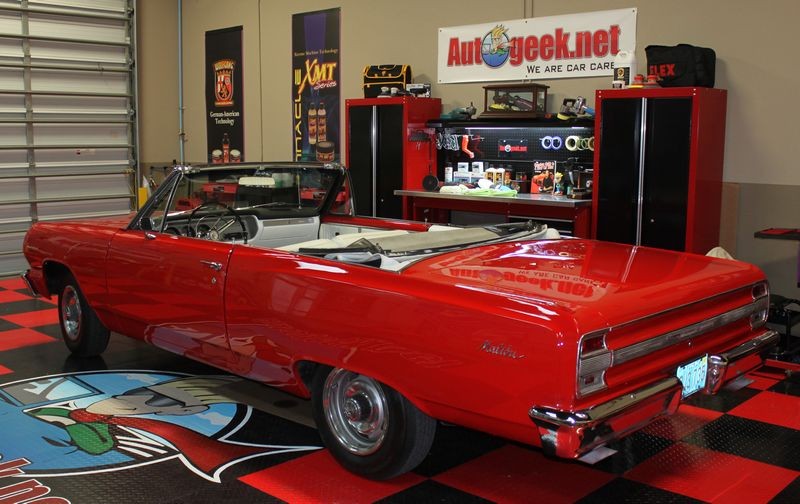
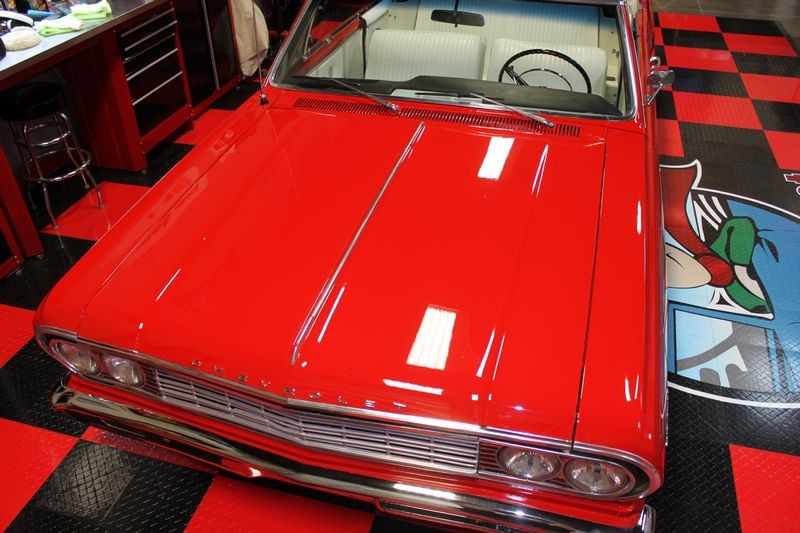
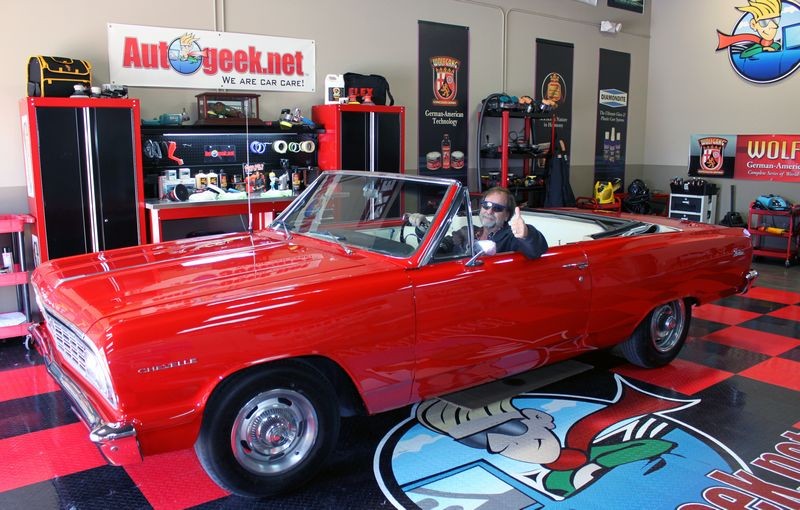
Back in March of this year, (2013), I did a complete wet sand, cut, polish and even machine waxed a 1964 Chevrolet Malibu and while doing this project, Yancy set the GoPro camera up to take a picture every minute.
It's been in queue for editing since then but I'm happy to announce it's now been edited and uploaded to our YouTube Channel.
Here's the steps I followed...
Covered windshield using the Beach Towel Tip.
Covered interior and convertible top with Eco-friendly drop cloth.
Removed easy to access chrome emblems and script.
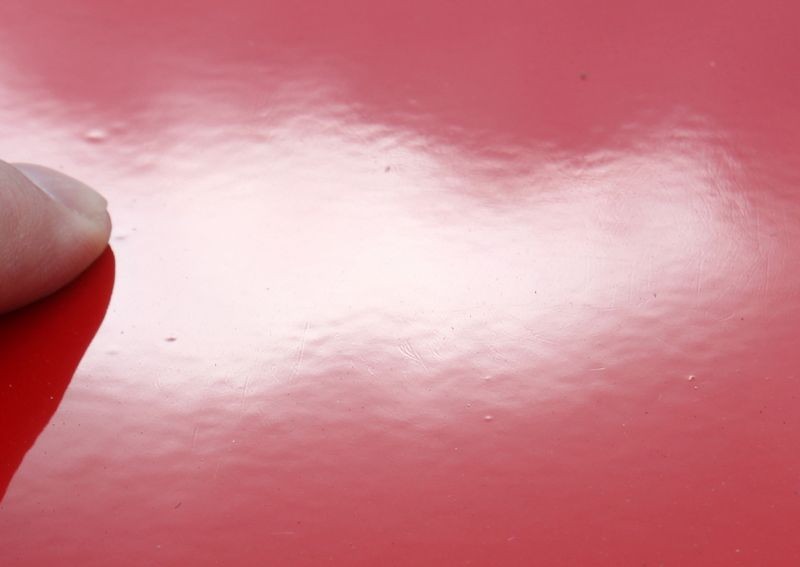
Wiped entire car down with Wurth Clean-Solve per what I wrote in post #5 here.
Taped-off all edges and raised body lines using 3M Blue Vinyl Tape. Tape-off video here.
Machine sanded all body panels using a 2-step system
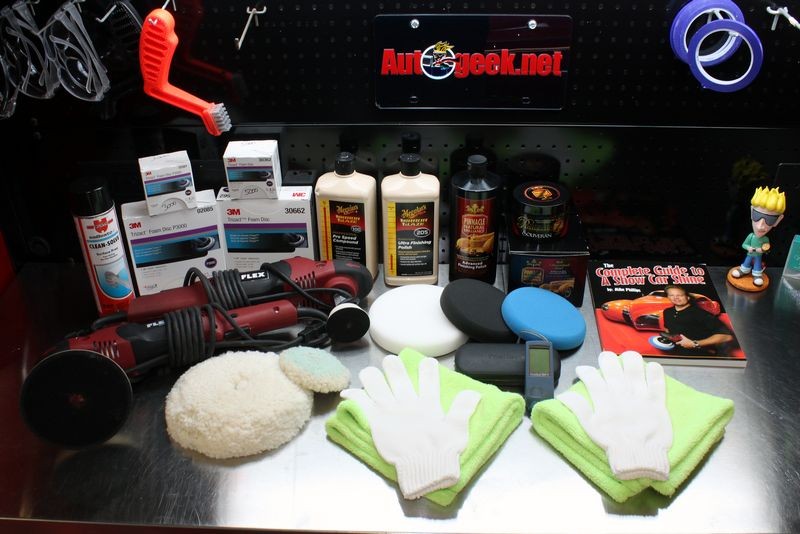
First sanding step: I used 3M Trizact #3000 Grit Discs. I used 3" discs for thin panels and around edges and body lines. Used the 6" discs for the major flat sections of each panel.
Second sanding step: I used 3M Trizact #5000 Grit Discs. I used 3" discs for thin panels and around edges and body lines. Used the 6" discs for the major flat sections of each panel.
Removed all sanding marks.
For this I used the new Meguiar's M100 Pro Speed Compound with a LC Wool Cutting pad on the Flex PE14. At the time I did this project back in March of 2013 this compound had just been introduced to the market, so it was a new compound and I think this is the first car completely sanded and compounded and caught on video using M100 Pro Speed Compound. Speed on the Flex PE14 = 1000 RPM.
Removed any swirls left by the wool pad and the compounding step.
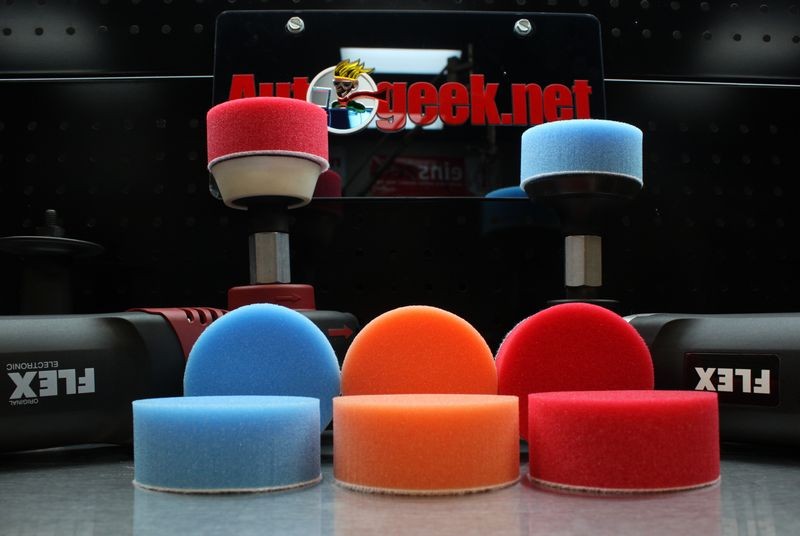
For this I used Meguiar's M205, the follow-up polish for M100 with a 6.5" Lake Country Flat Foam Polishing Pad on the Flex PE14. Speed on the Flex PE14 = 1000 RPM
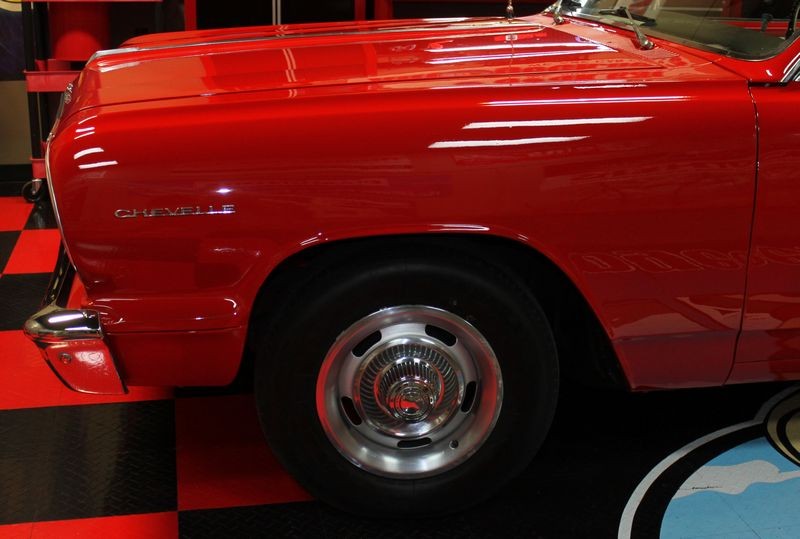
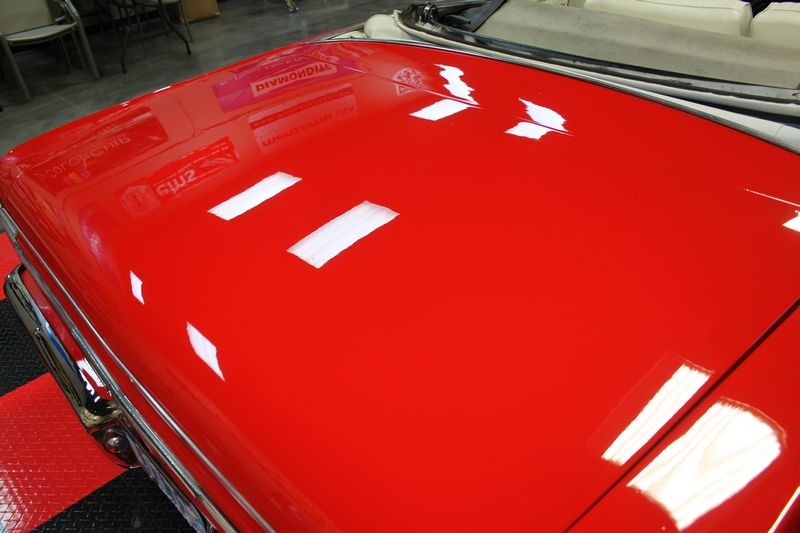
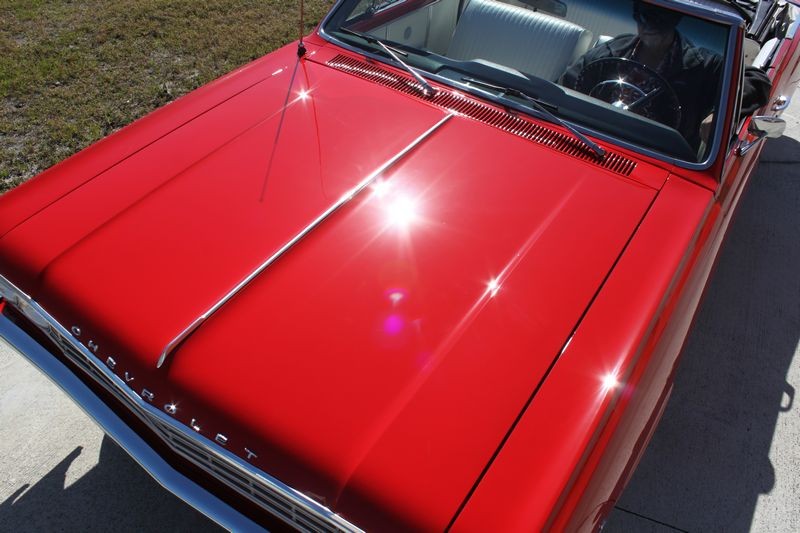
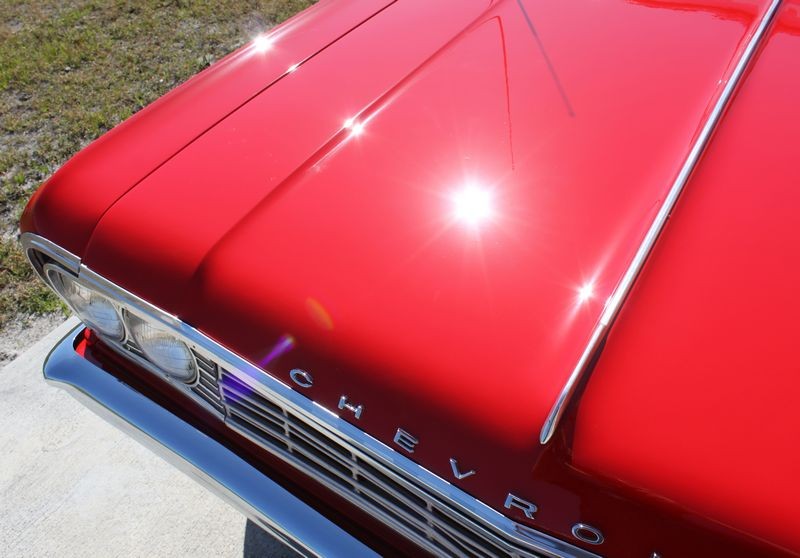
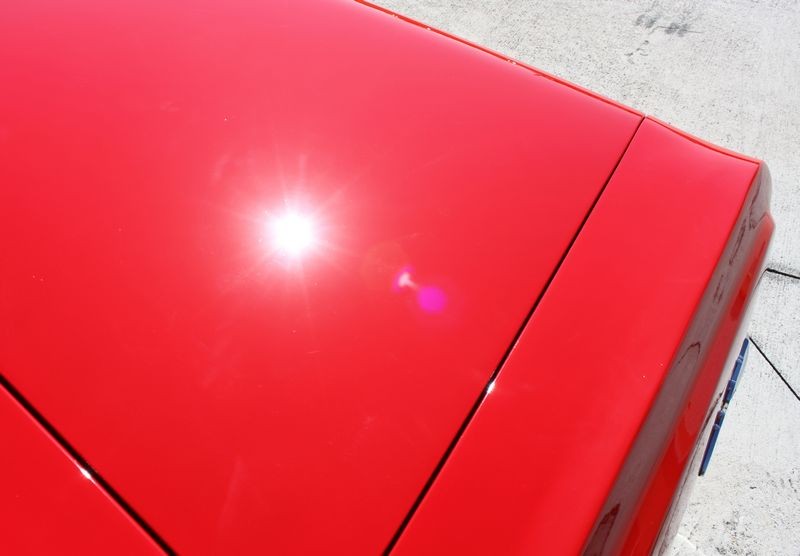
Finish Polished to maximize gloss and ensure no holograms
After using the rotary buffer with the M205 I re-polished every square inch of paint using Pinnacle Advanced Finishing Polish with a 5.5" Lake Country Foam Flat Finishing Pad on the Porter Cable 7424XP on the 6.0 speed setting.
Machine Waxed
After wiping all the finishing polish off I machine applied Pinnacle Souveran Paste Wax using the Porter Cable 7424XP with a 5.5" Lake Country Foam Waxing Pad on the 4-5 speed setting.
Removed Wax
I removed the wax wearing microfiber gloves and using super soft rolled edge microfiber towels.
Comments....
I wanted to document not only the process but how long it would take me to do this type of project all by myself working non-stop. If you watch the video you'll see around the 4:47 time stamp that the car has now been turned around and is facing forward in the garage.
Here's what was going on...
While I did the actual work non-stop, as in once I started in the morning I did not stop till end of day, I did have to spread the work out over two days as I have too many other job duties to process outside of the garage.
The first day I sanded all the horizontal panels and the driver's side panels. The second day I turned the car around and only had to sand the passenger side.
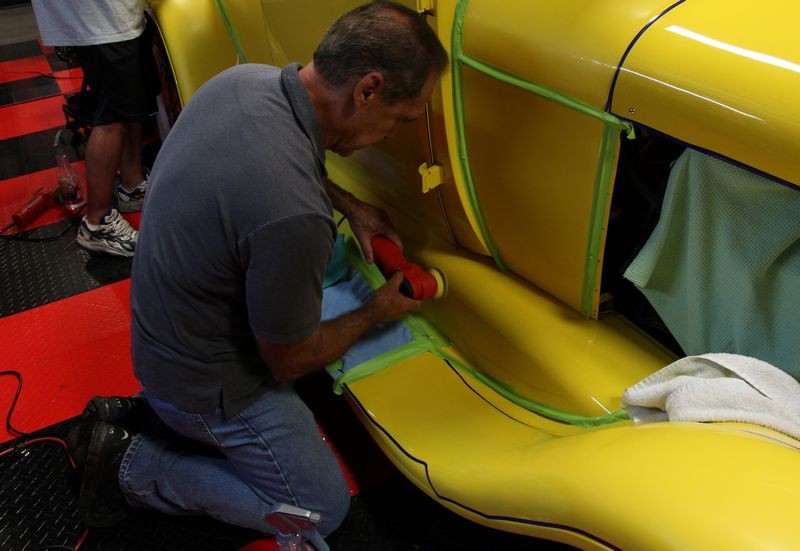
In a number of places you'll see me standing while I either sand and buff or sitting on the floor while I sand and buff and the reason for this is we don't have a car lift in our garage and proper technique when sanding and buffing is to always be looking across from the paint you're working on. This is especially true when sanding and compounding. I always say,
If you can't bring the car up to you, (with a lift), then you have to lower yourself to the car"
The entire process from start to finish as I listed the steps above except for the initial wiping down of the car with a waterless wash and removing the chrome trim took me approximately,
12 Hours
I hustled the entire time. Only a few times did I stop to either take a water break, switch to different products or pads, or talk to someone that may have entered the garage.
I don't recommend ever trying to do this type of work in a hurry as you'll make mistakes so I didn't hurry but I did hustle. Time is valuable for all of us and I did this during business hours so another reason I had to hustle is because when working in the garage, other job responsibilities are on standby.
Besides this time-lapse video of completely sanding and buffing out an entire car, I think the first time this was ever caught on a GoPro camera using time lapse video was when a team of guys and myself did the full wet sand, cut and buff to a 1969 AMX in November of 2012 as documented in this thread,
Time Lapse Picture Capture of the 1969 AMX Nebraska Project
This was a fun project and I hope you enjoy the video.
")
Back in March of this year, (2013), I did a complete wet sand, cut, polish and even machine waxed a 1964 Chevrolet Malibu and while doing this project, Yancy set the GoPro camera up to take a picture every minute.
It's been in queue for editing since then but I'm happy to announce it's now been edited and uploaded to our YouTube Channel.
How to wet sand a car in 8 minutes
Here's the steps I followed...
Covered windshield using the Beach Towel Tip.
Covered interior and convertible top with Eco-friendly drop cloth.
Removed easy to access chrome emblems and script.
Wiped entire car down with Wurth Clean-Solve per what I wrote in post #5 here.
Taped-off all edges and raised body lines using 3M Blue Vinyl Tape. Tape-off video here.
Machine sanded all body panels using a 2-step system
First sanding step: I used 3M Trizact #3000 Grit Discs. I used 3" discs for thin panels and around edges and body lines. Used the 6" discs for the major flat sections of each panel.
Second sanding step: I used 3M Trizact #5000 Grit Discs. I used 3" discs for thin panels and around edges and body lines. Used the 6" discs for the major flat sections of each panel.
Removed all sanding marks.
For this I used the new Meguiar's M100 Pro Speed Compound with a LC Wool Cutting pad on the Flex PE14. At the time I did this project back in March of 2013 this compound had just been introduced to the market, so it was a new compound and I think this is the first car completely sanded and compounded and caught on video using M100 Pro Speed Compound. Speed on the Flex PE14 = 1000 RPM.
Removed any swirls left by the wool pad and the compounding step.
For this I used Meguiar's M205, the follow-up polish for M100 with a 6.5" Lake Country Flat Foam Polishing Pad on the Flex PE14. Speed on the Flex PE14 = 1000 RPM
Finish Polished to maximize gloss and ensure no holograms
After using the rotary buffer with the M205 I re-polished every square inch of paint using Pinnacle Advanced Finishing Polish with a 5.5" Lake Country Foam Flat Finishing Pad on the Porter Cable 7424XP on the 6.0 speed setting.
Machine Waxed
After wiping all the finishing polish off I machine applied Pinnacle Souveran Paste Wax using the Porter Cable 7424XP with a 5.5" Lake Country Foam Waxing Pad on the 4-5 speed setting.
Removed Wax
I removed the wax wearing microfiber gloves and using super soft rolled edge microfiber towels.
Comments....
I wanted to document not only the process but how long it would take me to do this type of project all by myself working non-stop. If you watch the video you'll see around the 4:47 time stamp that the car has now been turned around and is facing forward in the garage.
Here's what was going on...
While I did the actual work non-stop, as in once I started in the morning I did not stop till end of day, I did have to spread the work out over two days as I have too many other job duties to process outside of the garage.
The first day I sanded all the horizontal panels and the driver's side panels. The second day I turned the car around and only had to sand the passenger side.
In a number of places you'll see me standing while I either sand and buff or sitting on the floor while I sand and buff and the reason for this is we don't have a car lift in our garage and proper technique when sanding and buffing is to always be looking across from the paint you're working on. This is especially true when sanding and compounding. I always say,
If you can't bring the car up to you, (with a lift), then you have to lower yourself to the car"
The entire process from start to finish as I listed the steps above except for the initial wiping down of the car with a waterless wash and removing the chrome trim took me approximately,
12 Hours
I hustled the entire time. Only a few times did I stop to either take a water break, switch to different products or pads, or talk to someone that may have entered the garage.
I don't recommend ever trying to do this type of work in a hurry as you'll make mistakes so I didn't hurry but I did hustle. Time is valuable for all of us and I did this during business hours so another reason I had to hustle is because when working in the garage, other job responsibilities are on standby.
Besides this time-lapse video of completely sanding and buffing out an entire car, I think the first time this was ever caught on a GoPro camera using time lapse video was when a team of guys and myself did the full wet sand, cut and buff to a 1969 AMX in November of 2012 as documented in this thread,
Time Lapse Picture Capture of the 1969 AMX Nebraska Project
This was a fun project and I hope you enjoy the video.


 rops:
rops: