Mike Phillips
Active member
- Dec 5, 2022
- 51,004
- 6
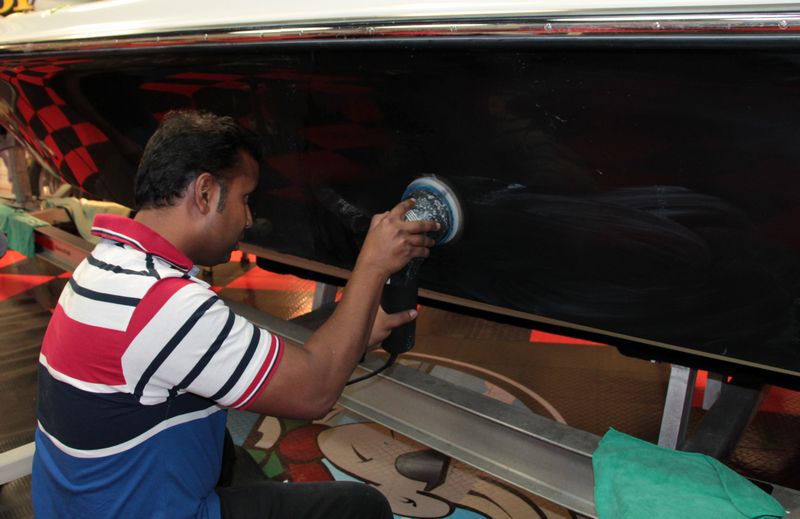
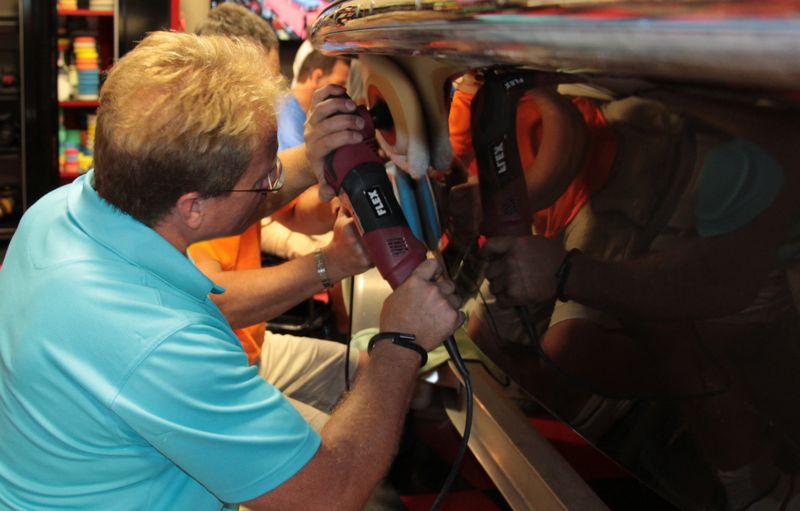
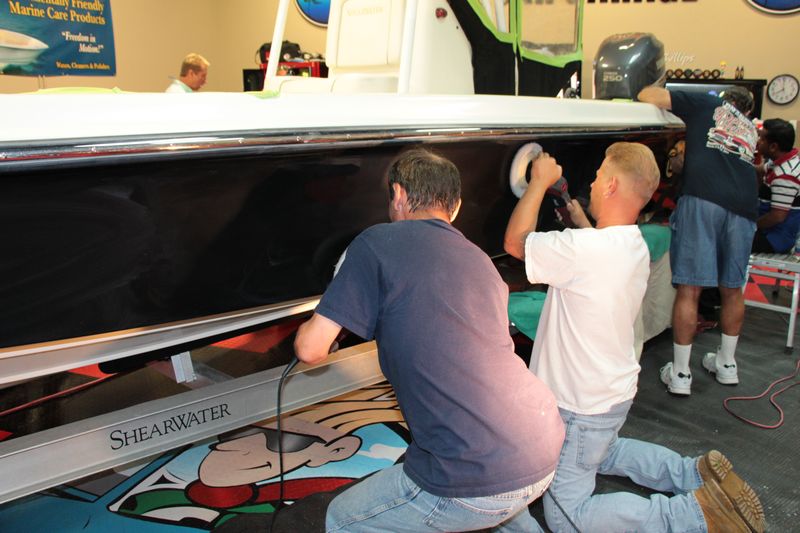
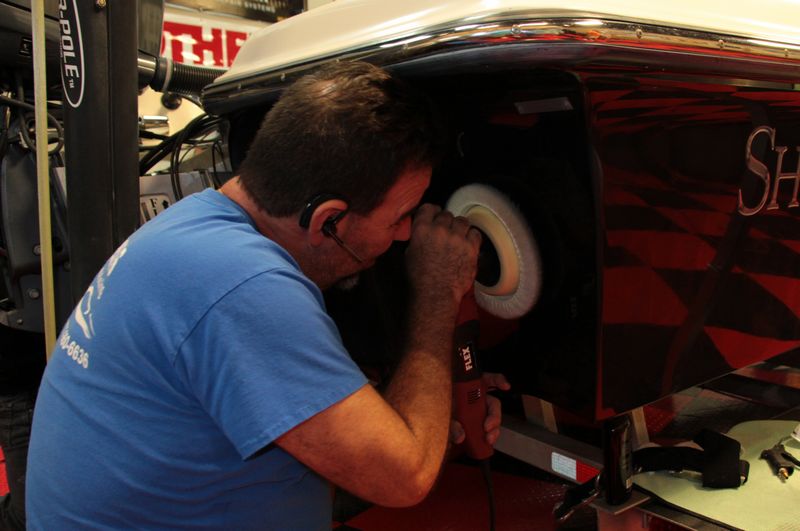
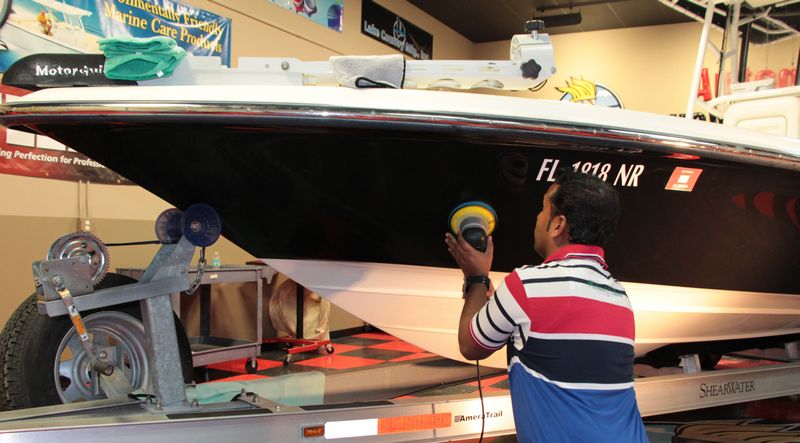
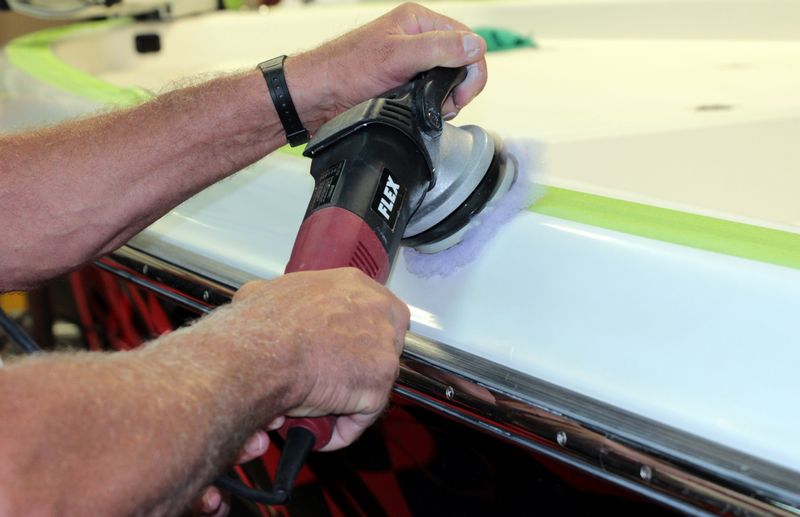
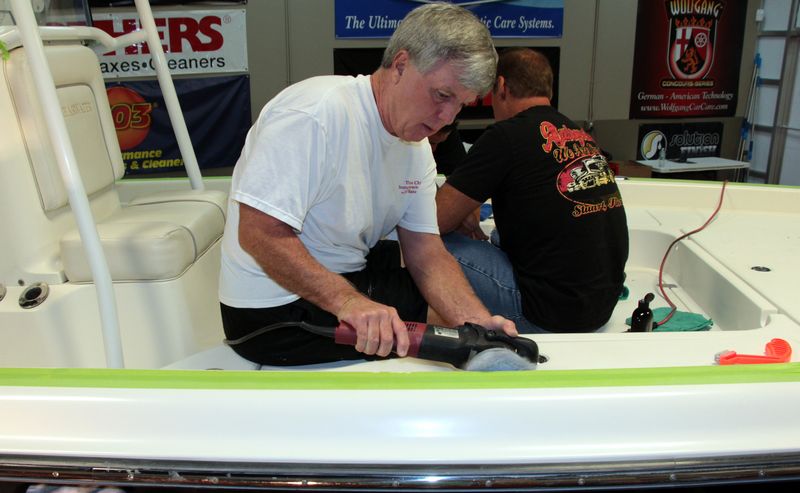
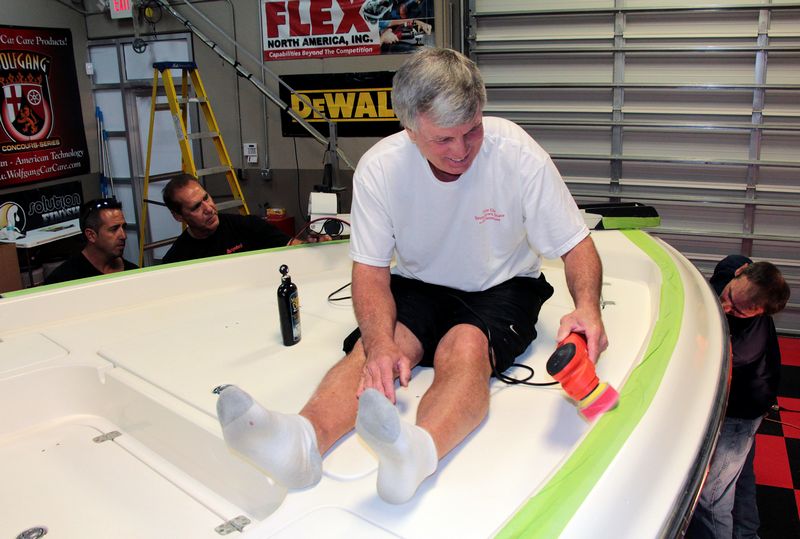
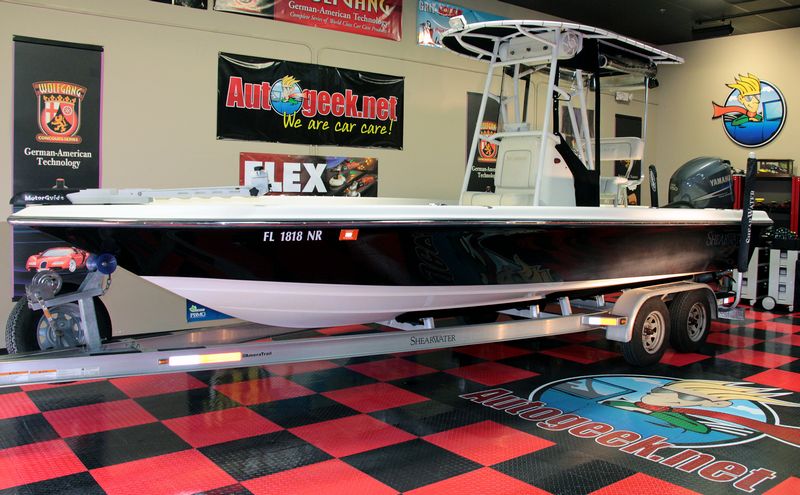
How to wetsand, cut and buff a gel-coat boat
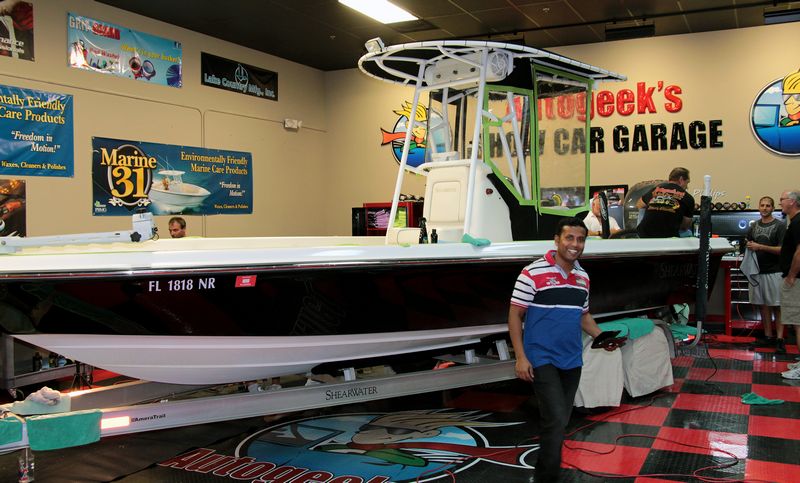
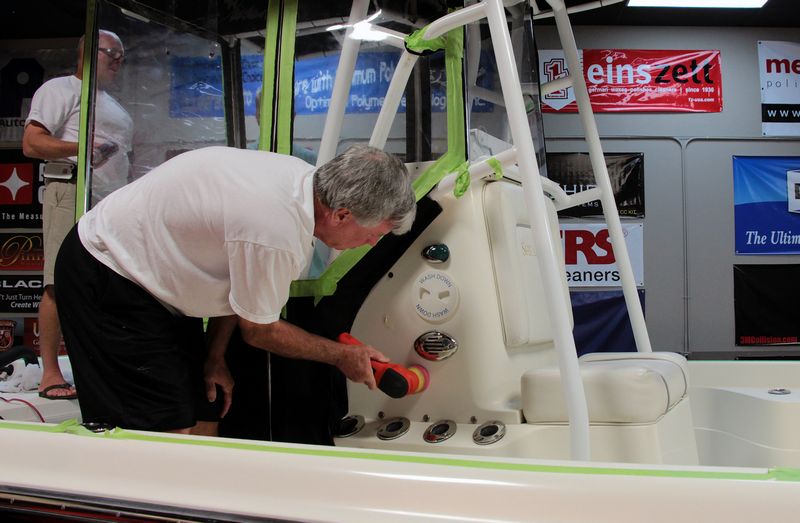
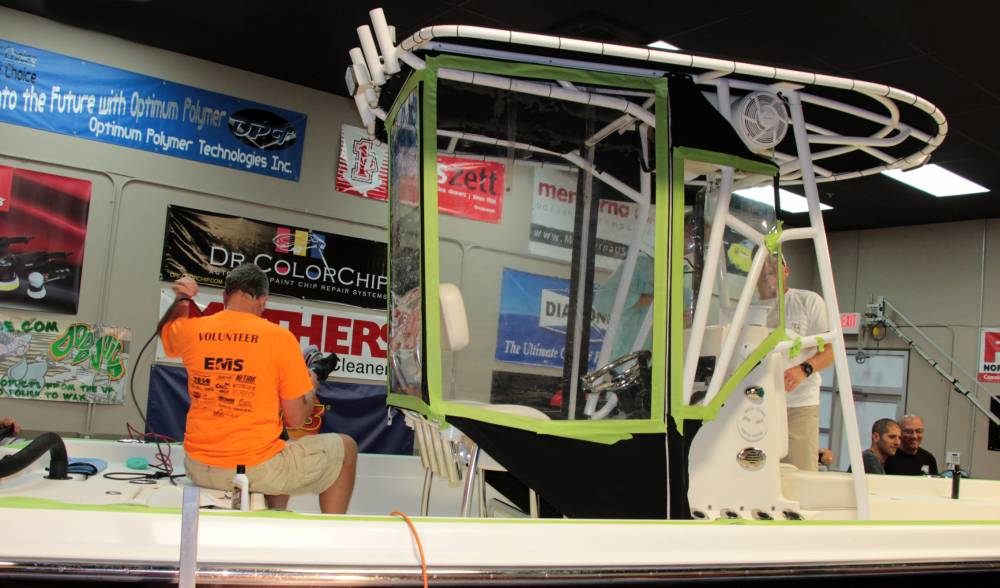
Here's the "before" pictures to document the condition of the boat before we started this project.

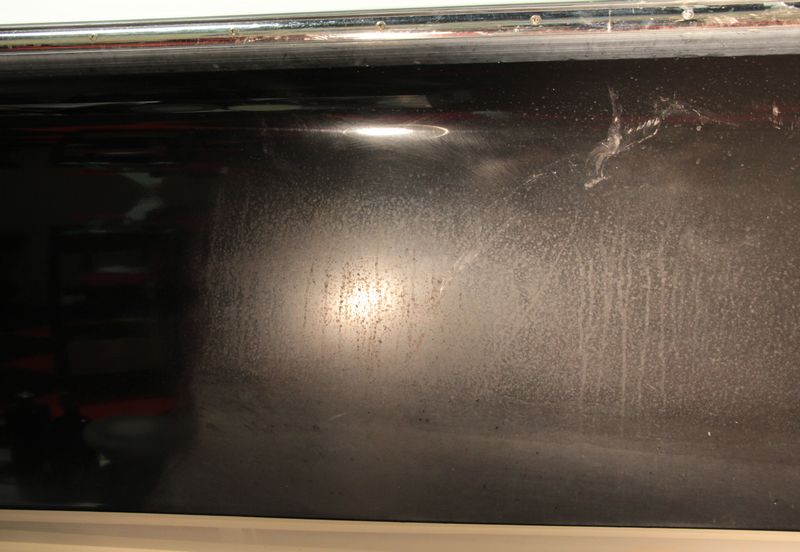
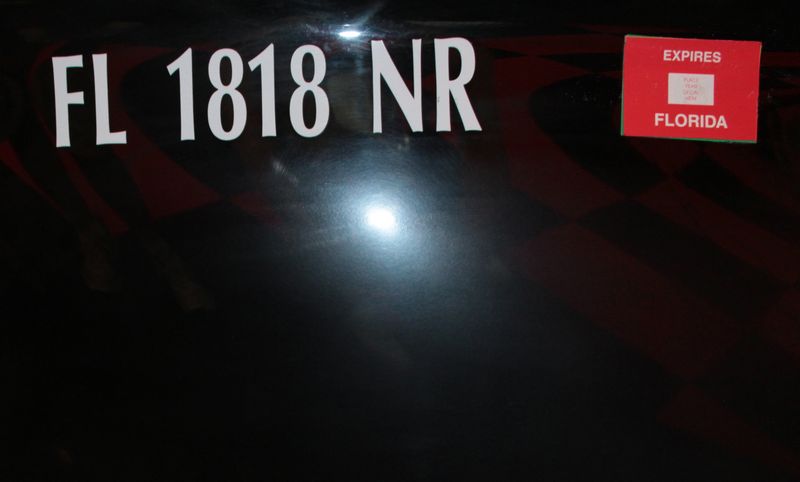
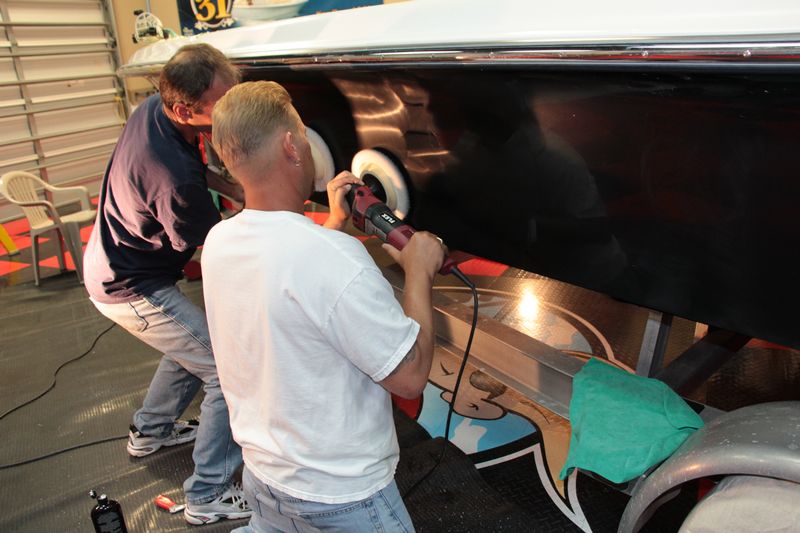
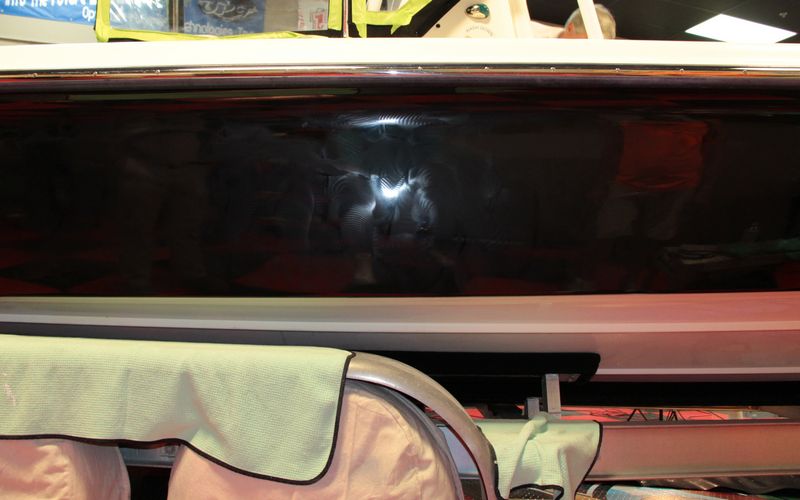
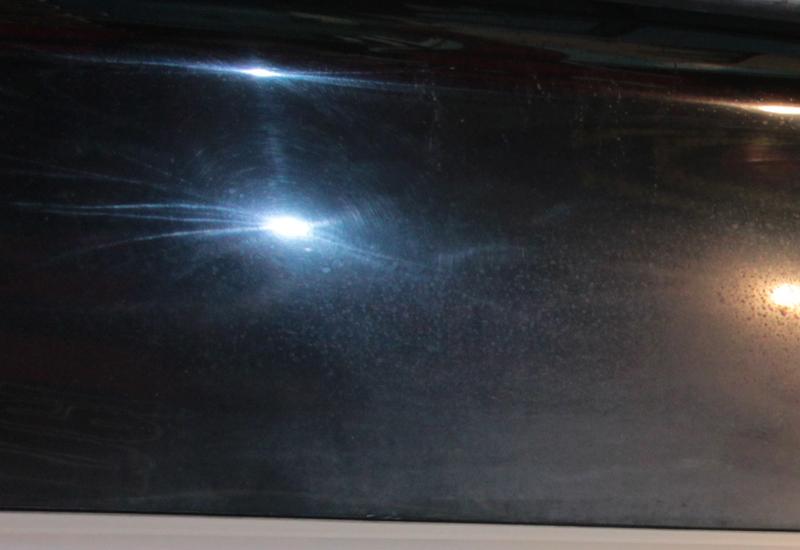
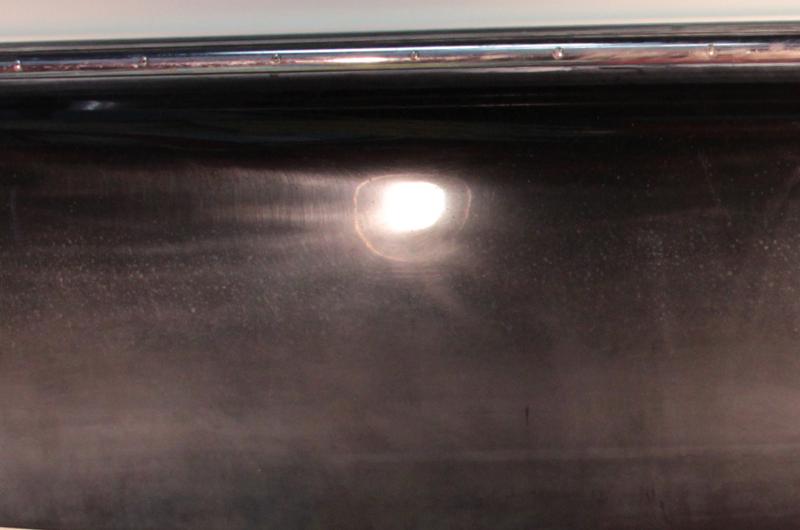
Holograms in gel-coat
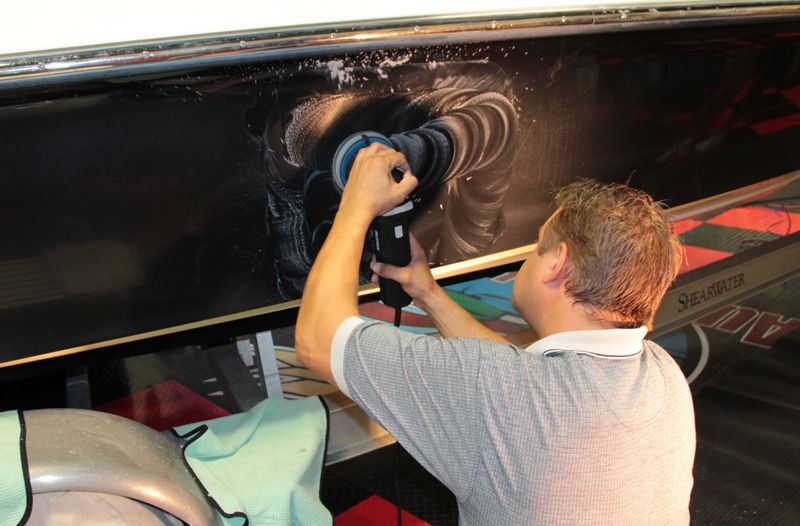
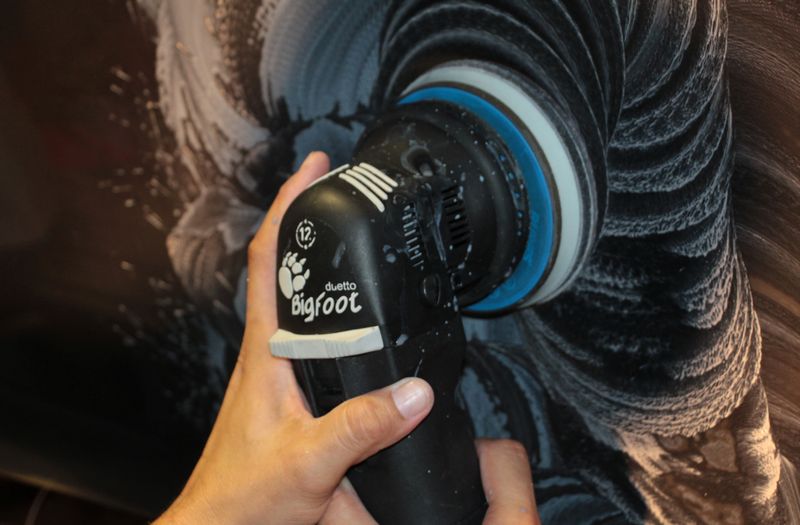
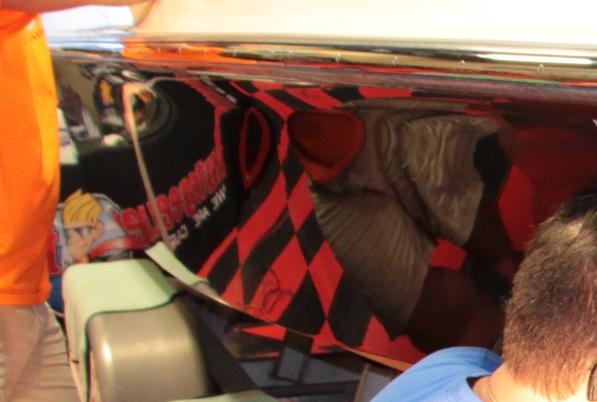
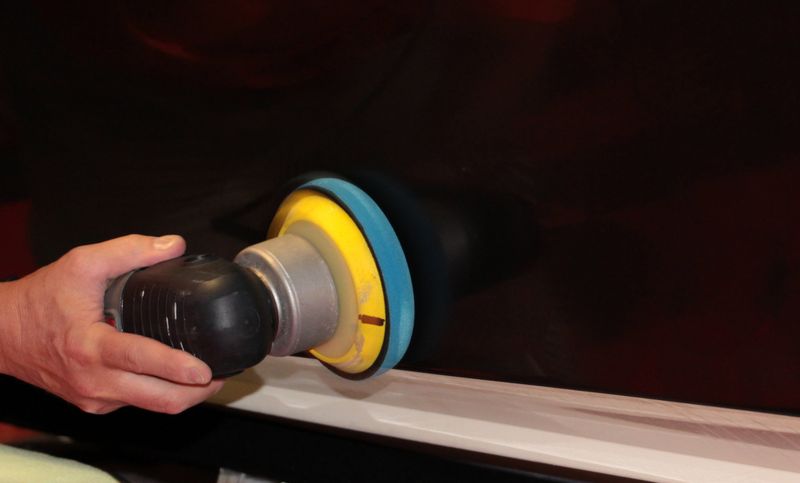
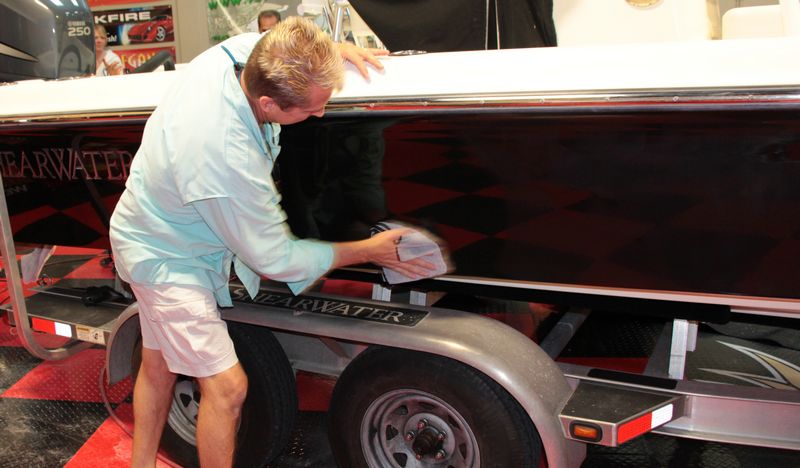
The below picture is a full size section cropped out of the above resized picture. The lines you see running back and forth across where the flash from my camera is lighting up the side of the hull are holograms from a rotary buffer.
Holograms in gel-coat
The below picture is a full size section cropped out of the above resized picture. The lines you see running back and forth across where the flash from my camera is lighting up the side of the hull are holograms from a rotary buffer.
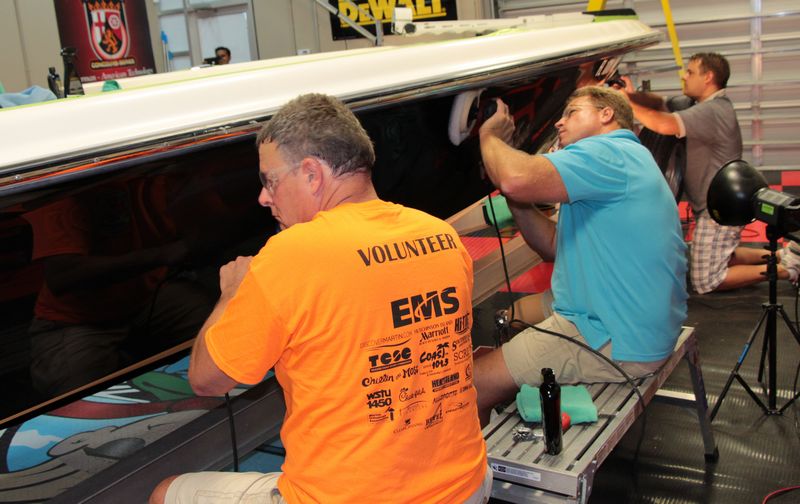
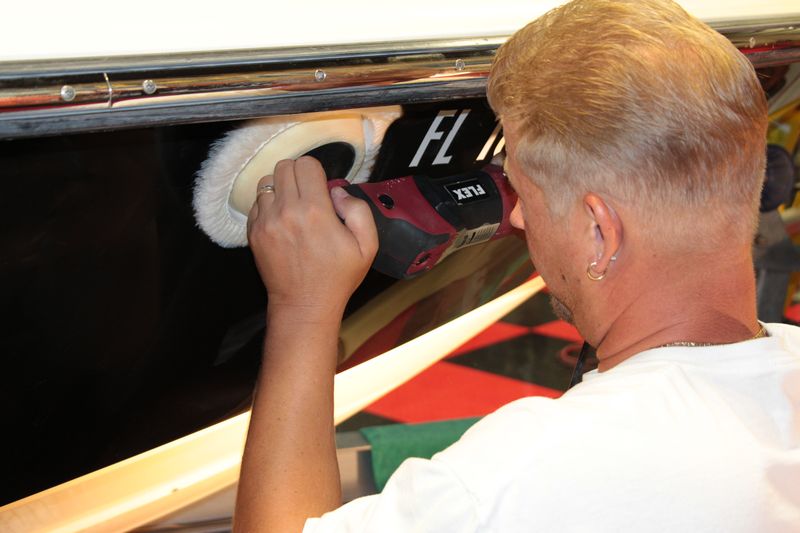
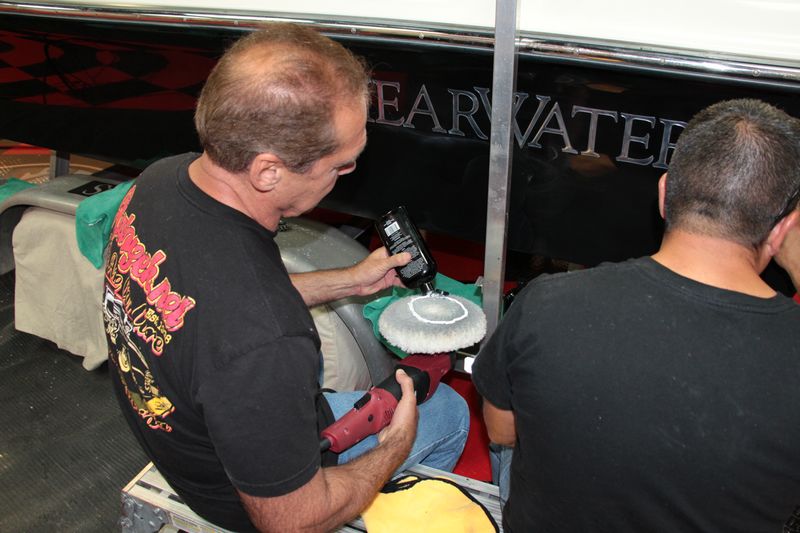
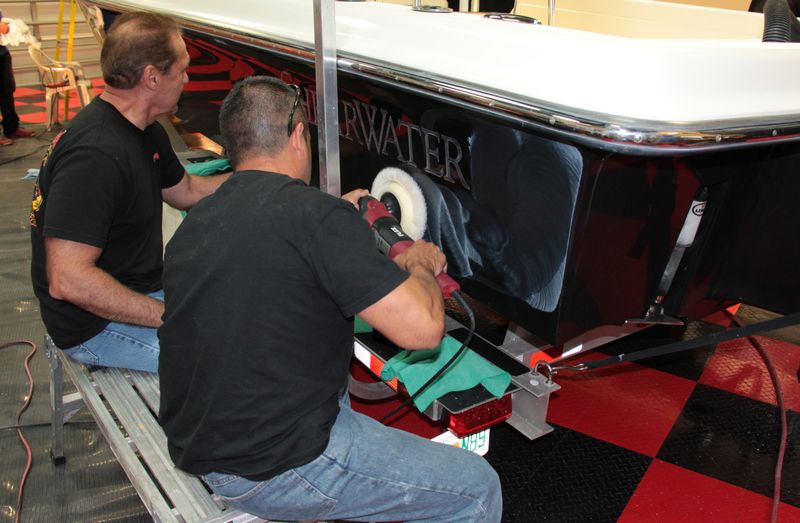
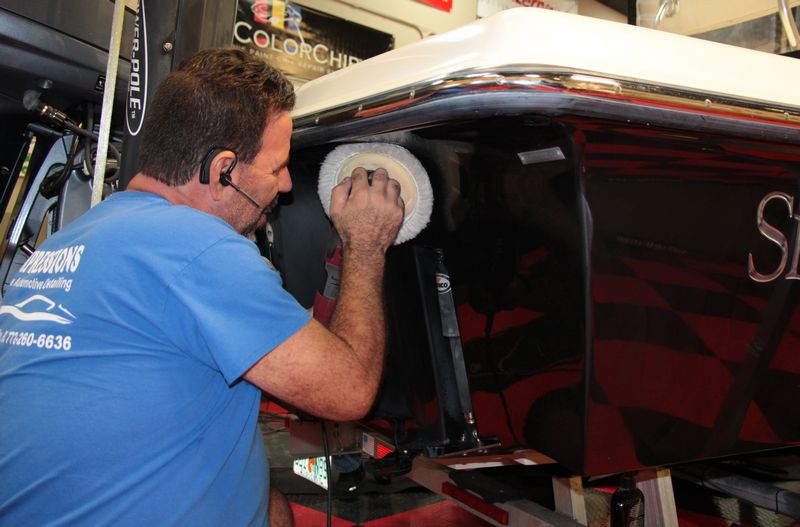
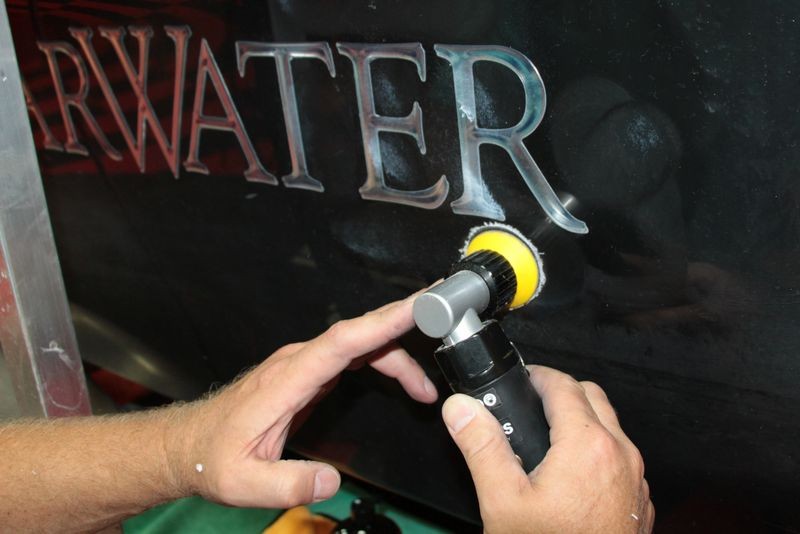
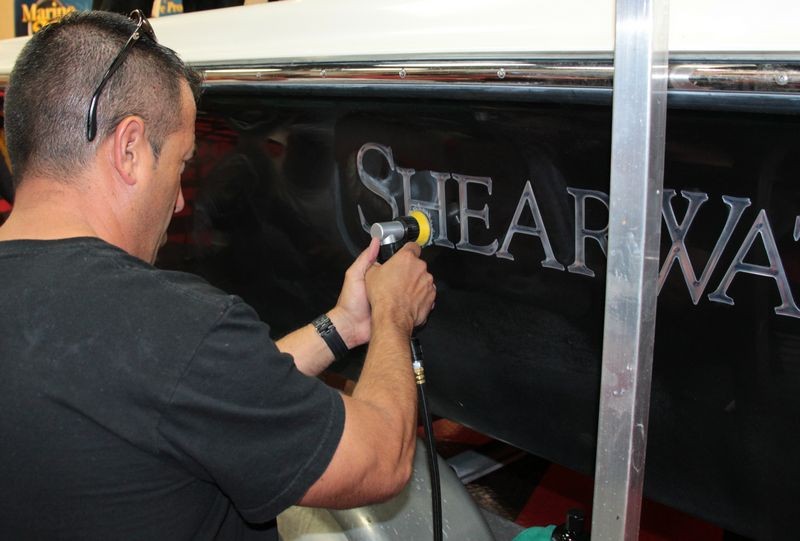
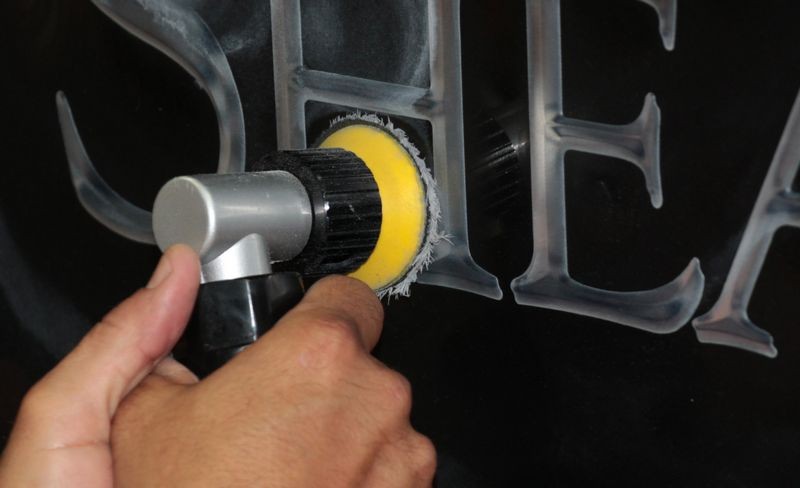
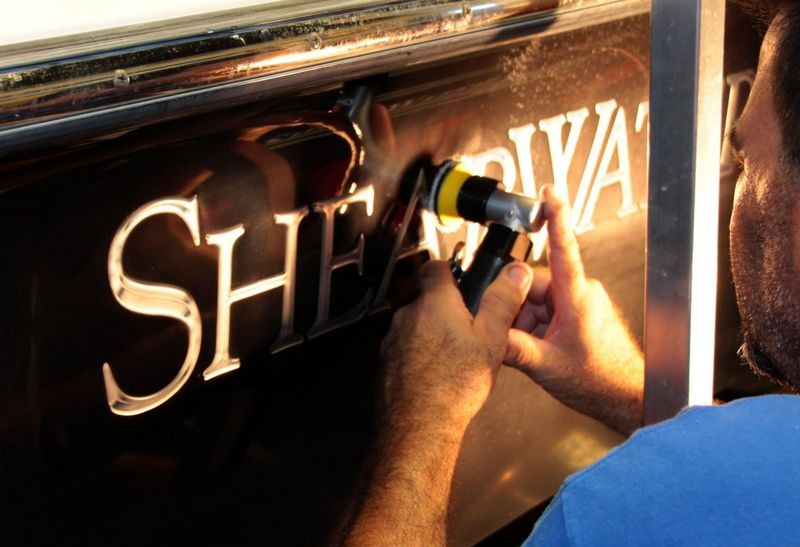
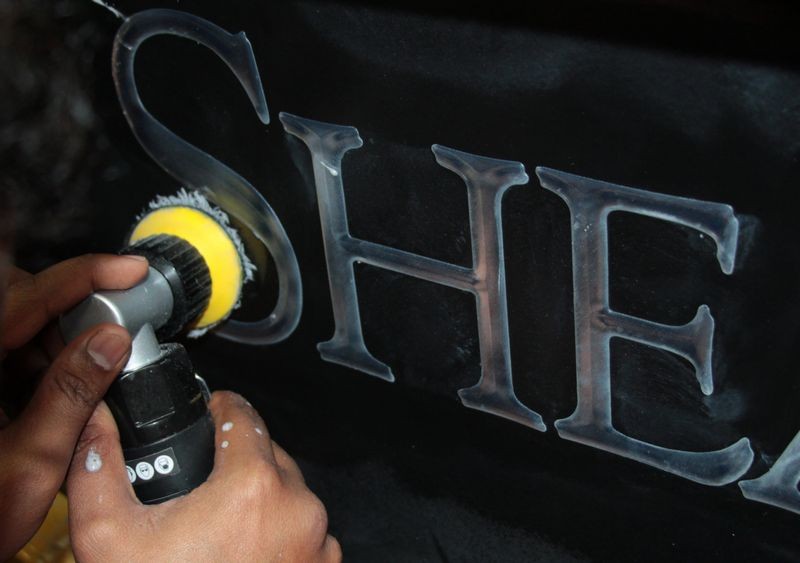
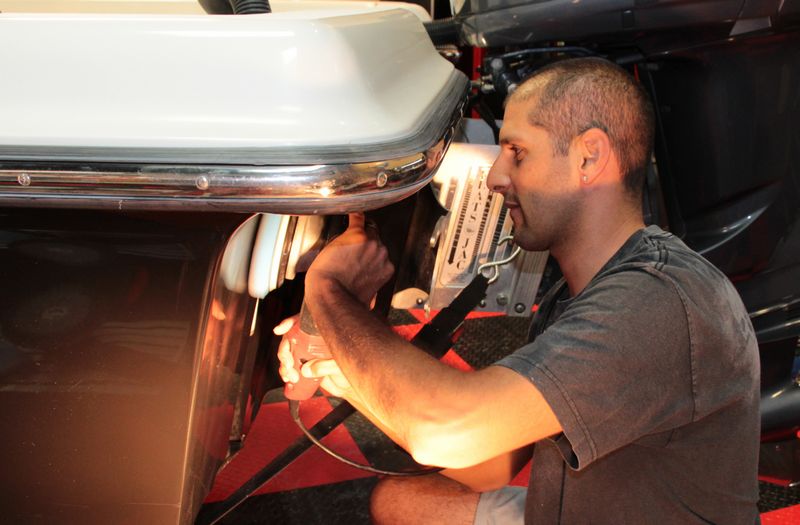
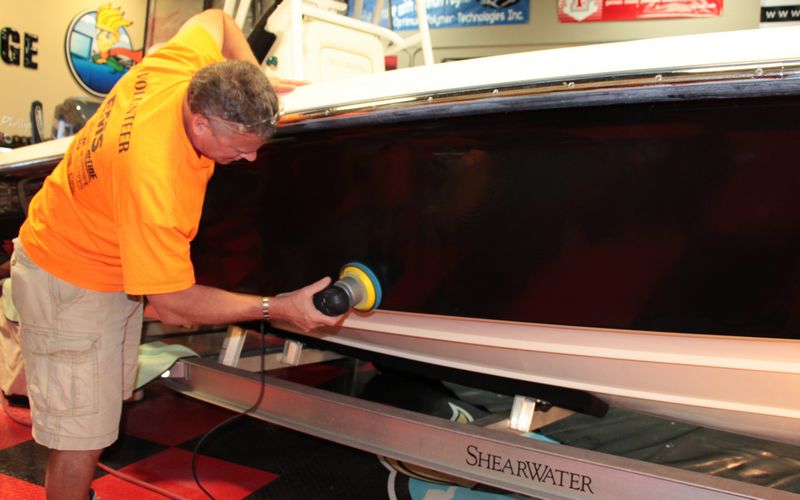
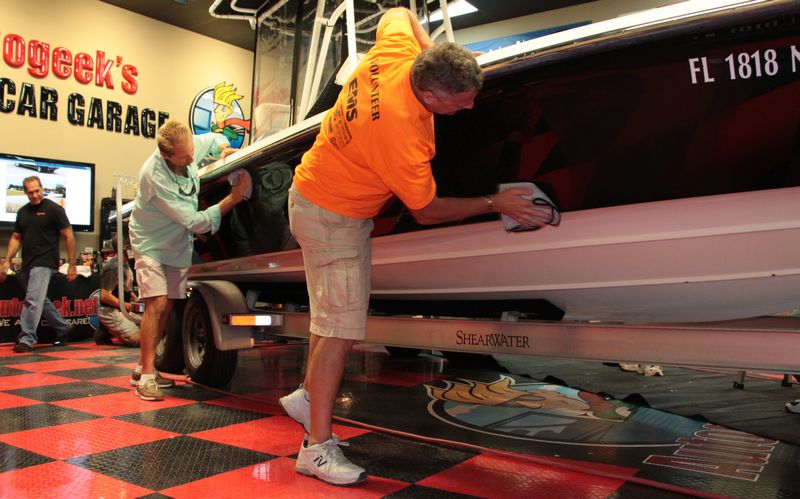
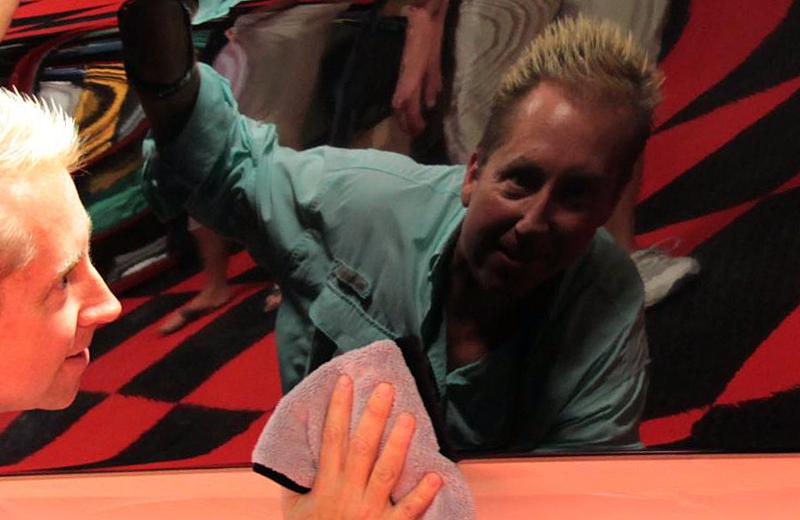
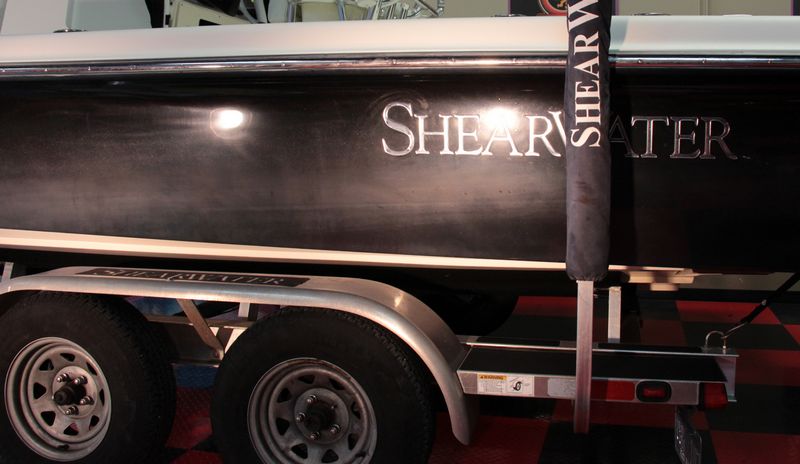
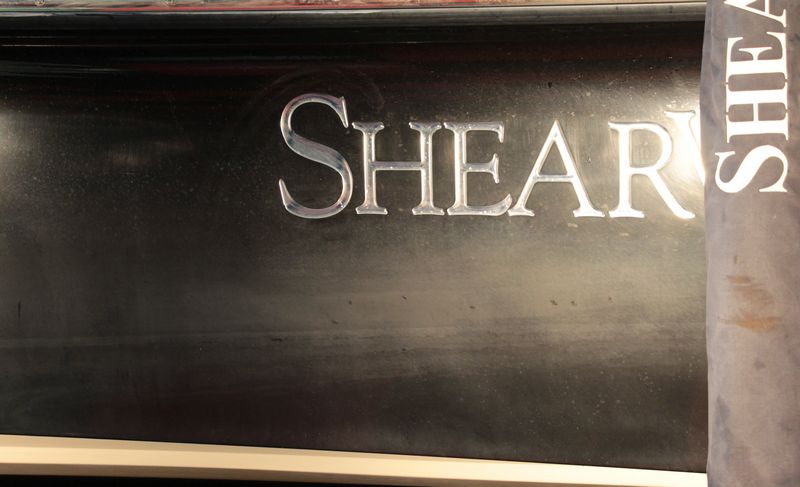
These graphics that spell out Shearwater are a soft form of plastic that feels like rubber. If you run a buffing pad on a rotary buffer over them you will harm them and even disfigure them.
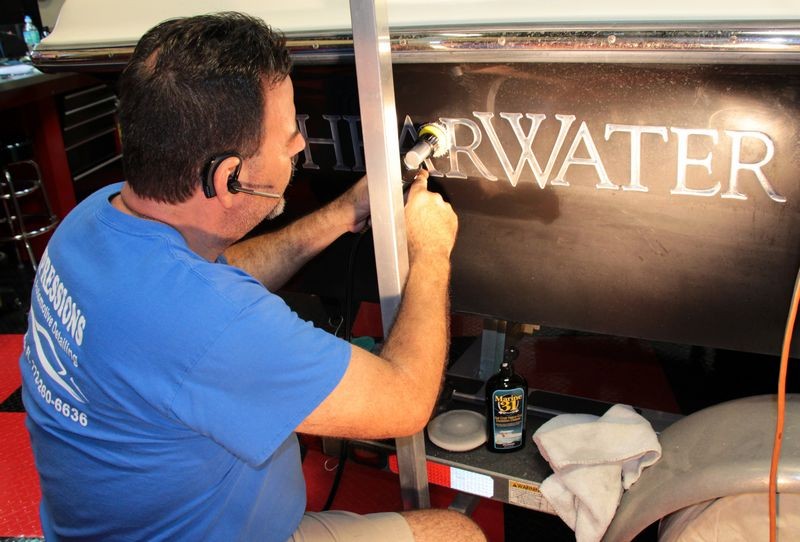
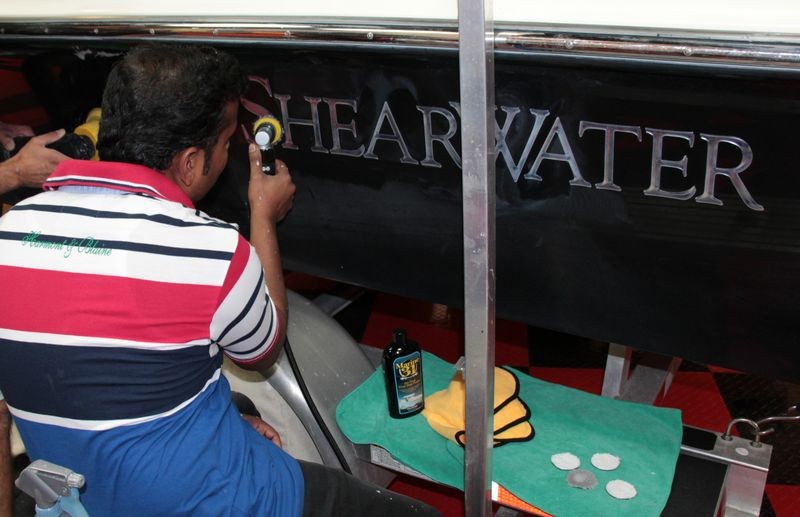
All of the gel-coat in and around these graphics will have to be addressed very carefully.
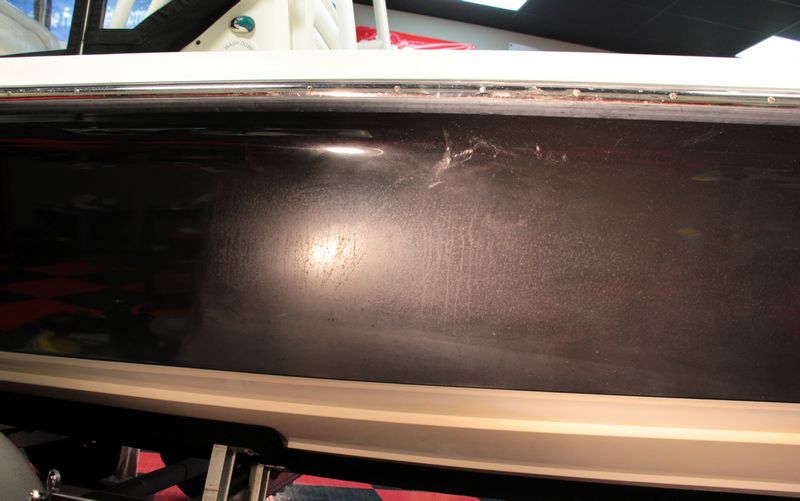
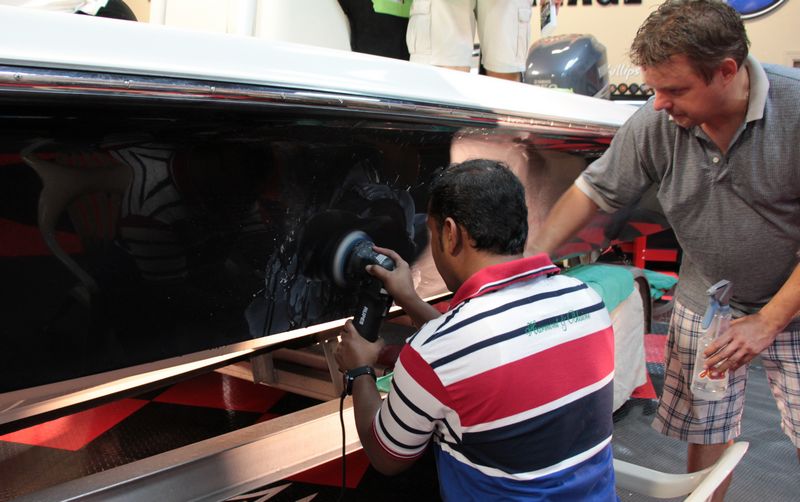
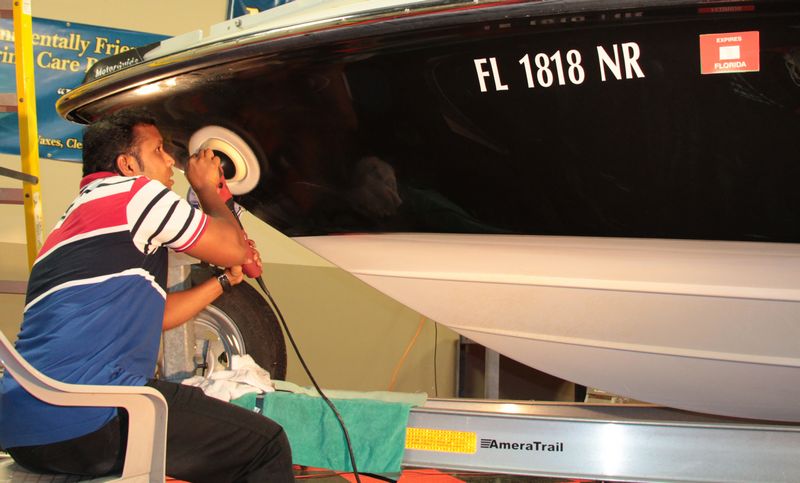
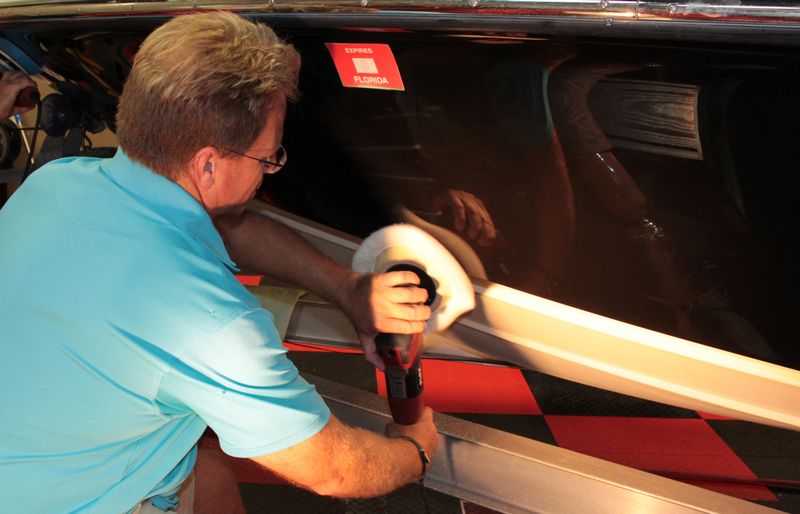
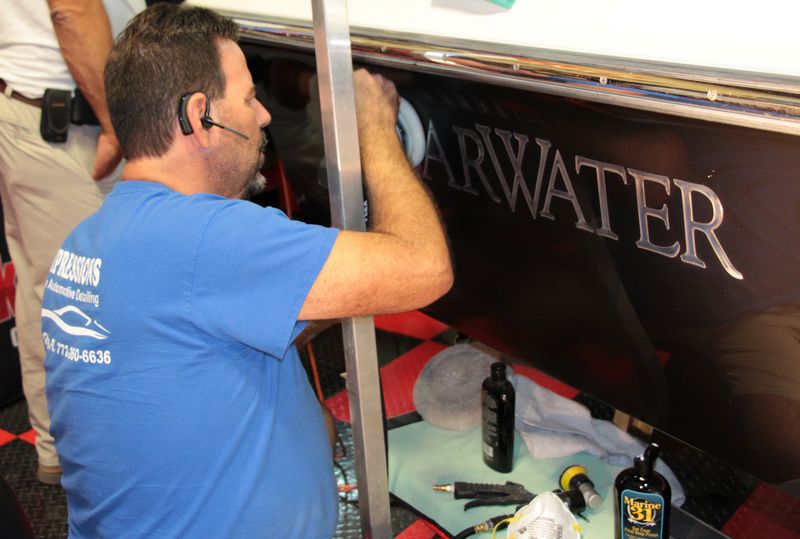
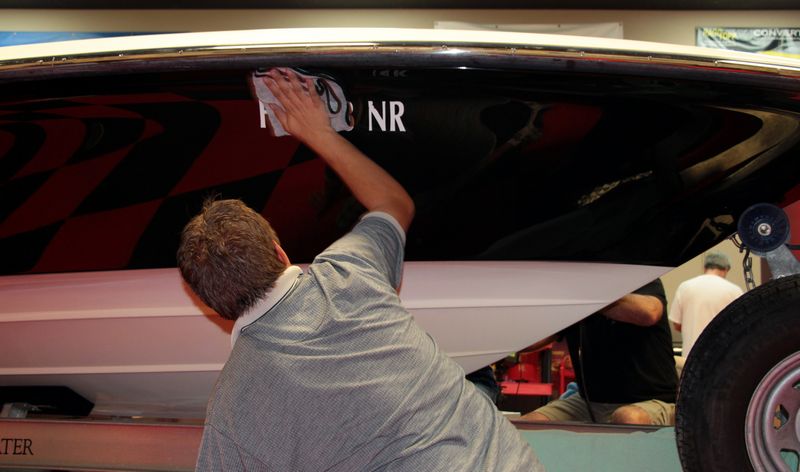
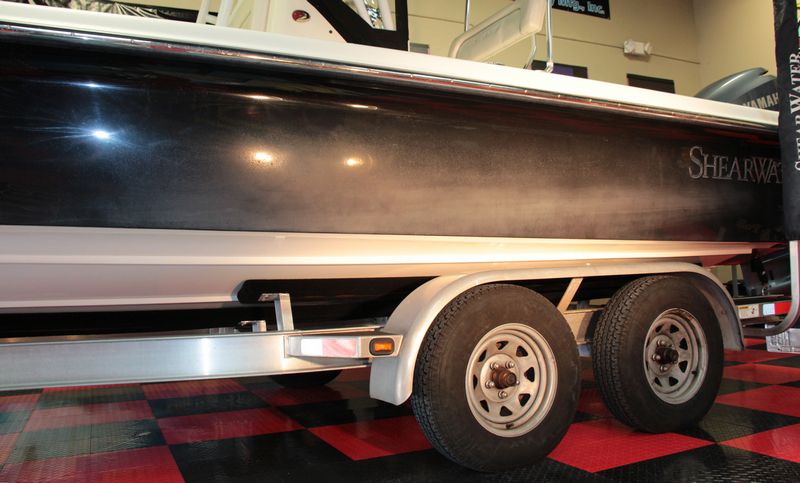
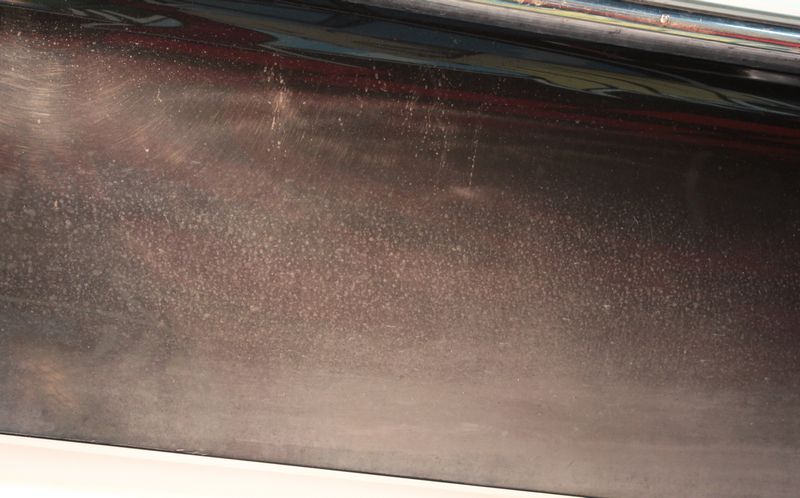
Water Spot Stains & Oxidation
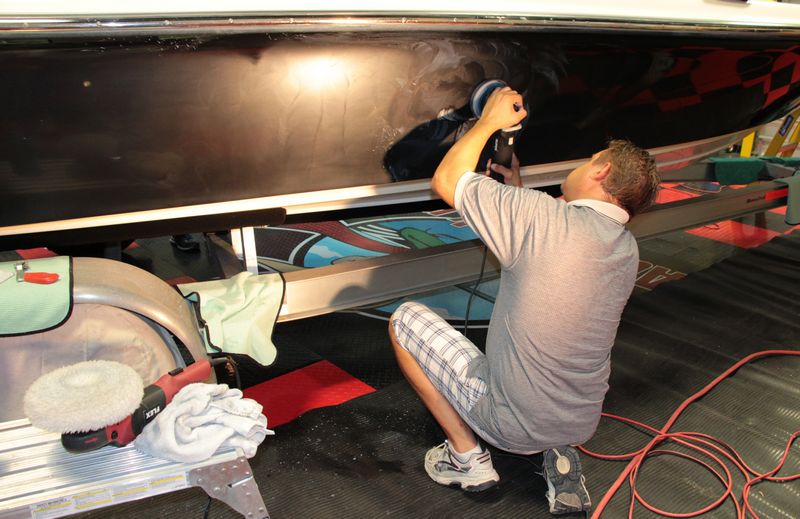
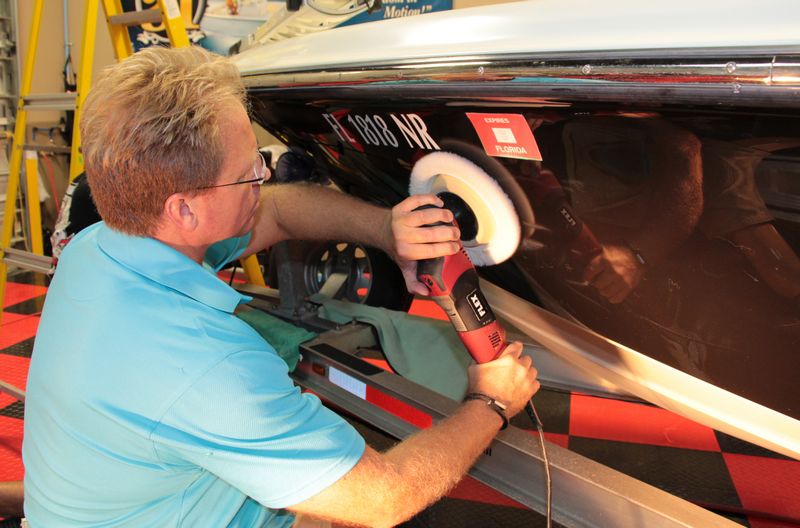
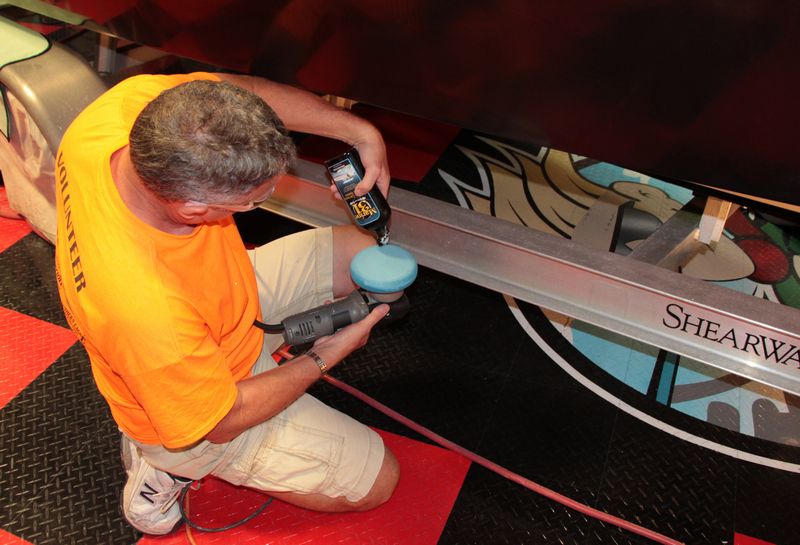
Not only is the entire hull filled with holograms from the misuse of a rotary buffer, (the normal practice by most boat detailers), the gel-coat is also oxidized and covered with water spot stains.
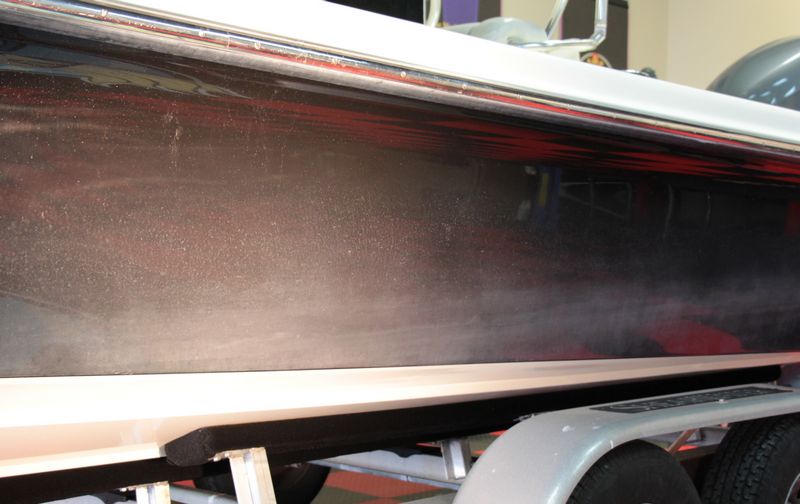
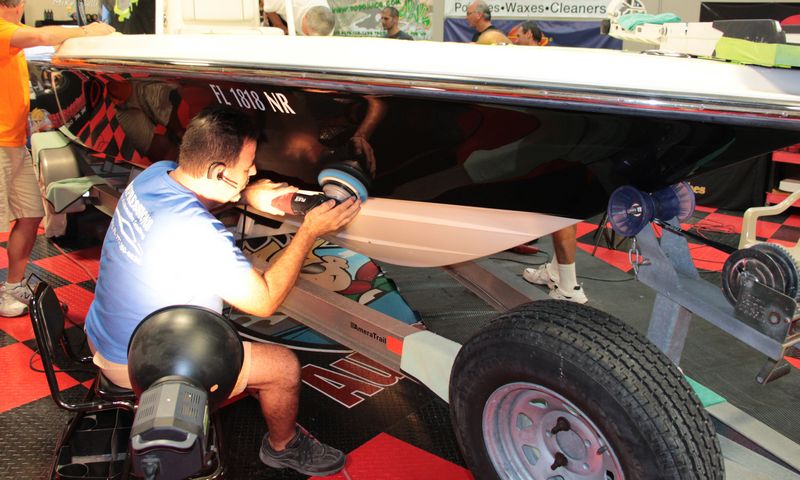
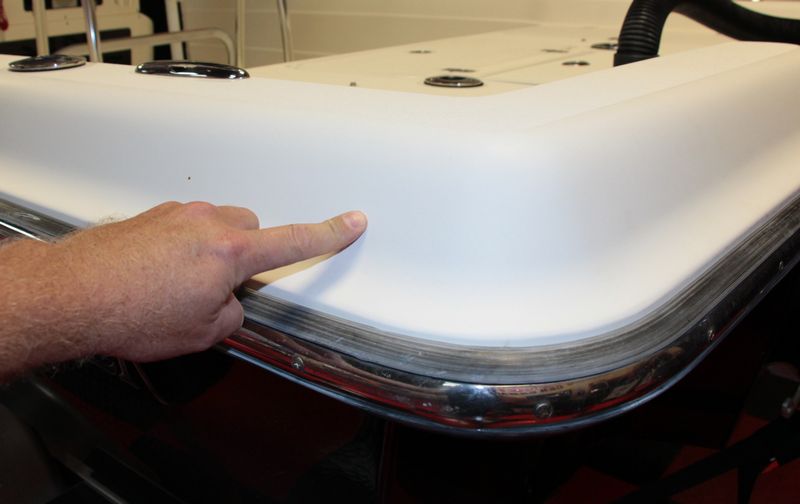
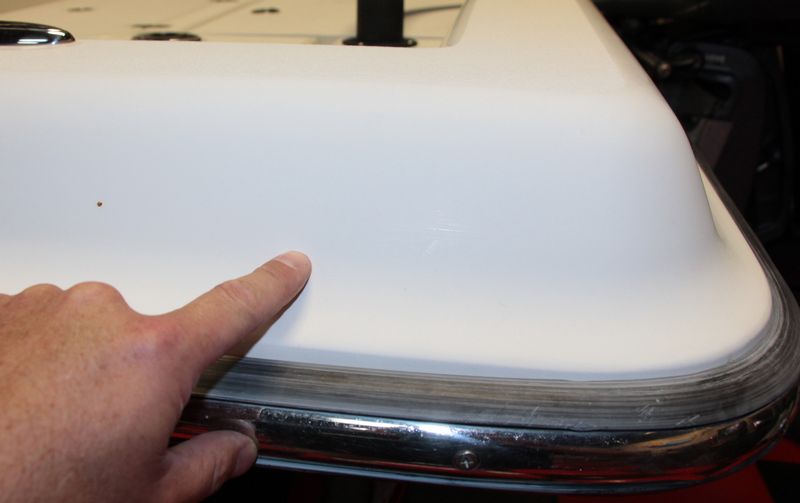
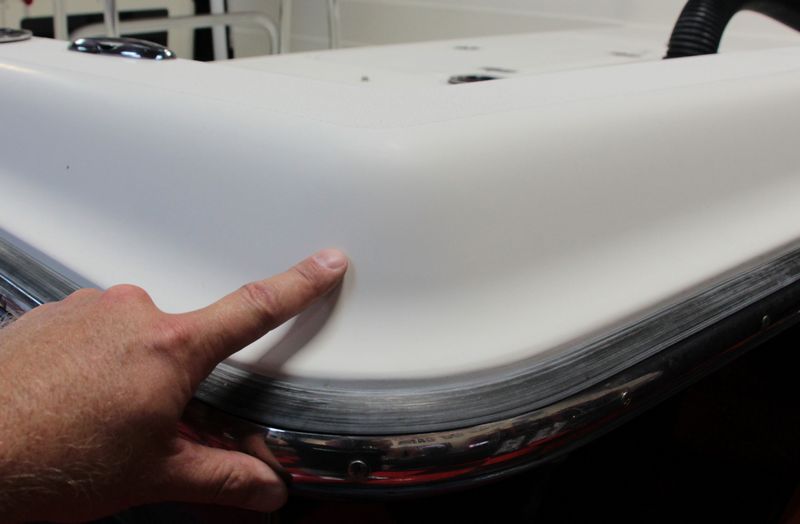
Oxidized Gel-coat
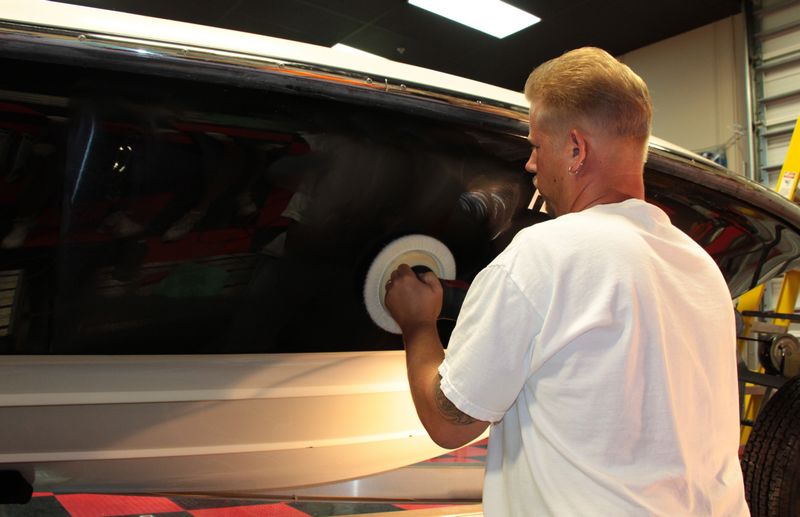
The top side is oxidized from exposure to the sun. The white gel-coat cap has no gloss, shine or reflection. Gel-coat in this condition is very porous and will tend to deteriorate even faster than gel-coat that is smooth, glossy and sealed with wax.
Because the sides of this boat are filled with holograms, more than likely from someone finishing while using a wool pad on a rotary buffer, chances are VERY good that the top side is also filled with holograms it's just with the oxidation and because the gel-coat is white we can't see the holograms. That doesn't meant they are not there, it just means we can't see them. We still have to remove them.

")
Here's the "before" pictures to document the condition of the boat before we started this project.
Holograms in gel-coat
The below picture is a full size section cropped out of the above resized picture. The lines you see running back and forth across where the flash from my camera is lighting up the side of the hull are holograms from a rotary buffer.
Holograms in gel-coat
The below picture is a full size section cropped out of the above resized picture. The lines you see running back and forth across where the flash from my camera is lighting up the side of the hull are holograms from a rotary buffer.
These graphics that spell out Shearwater are a soft form of plastic that feels like rubber. If you run a buffing pad on a rotary buffer over them you will harm them and even disfigure them.
All of the gel-coat in and around these graphics will have to be addressed very carefully.
Water Spot Stains & Oxidation
Not only is the entire hull filled with holograms from the misuse of a rotary buffer, (the normal practice by most boat detailers), the gel-coat is also oxidized and covered with water spot stains.
Oxidized Gel-coat
The top side is oxidized from exposure to the sun. The white gel-coat cap has no gloss, shine or reflection. Gel-coat in this condition is very porous and will tend to deteriorate even faster than gel-coat that is smooth, glossy and sealed with wax.
Because the sides of this boat are filled with holograms, more than likely from someone finishing while using a wool pad on a rotary buffer, chances are VERY good that the top side is also filled with holograms it's just with the oxidation and because the gel-coat is white we can't see the holograms. That doesn't meant they are not there, it just means we can't see them. We still have to remove them.