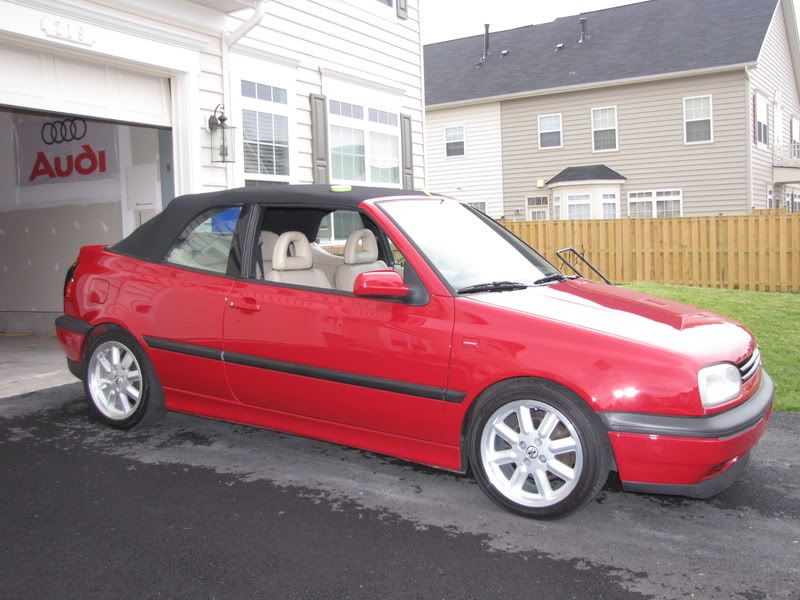
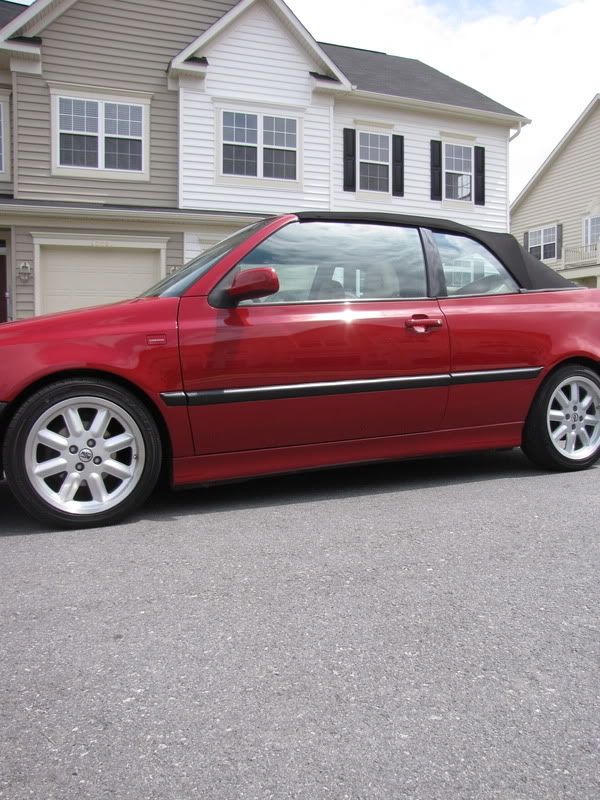
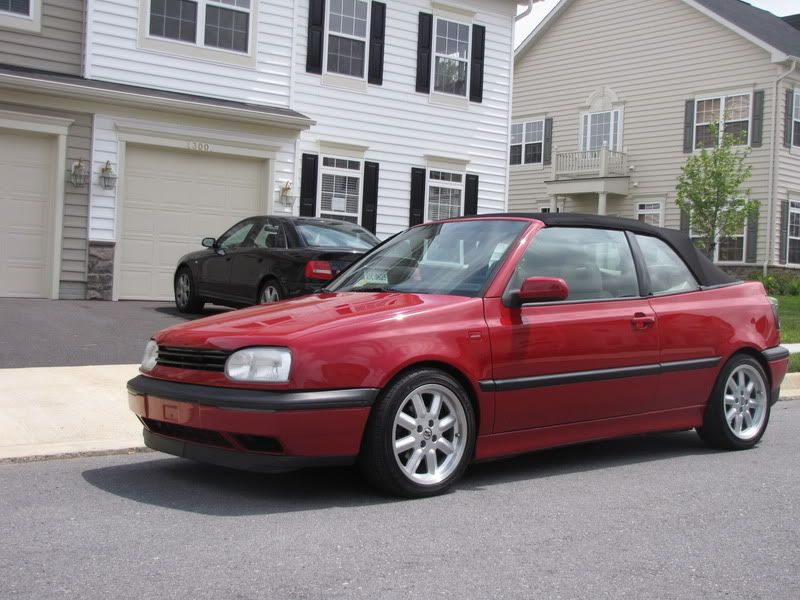
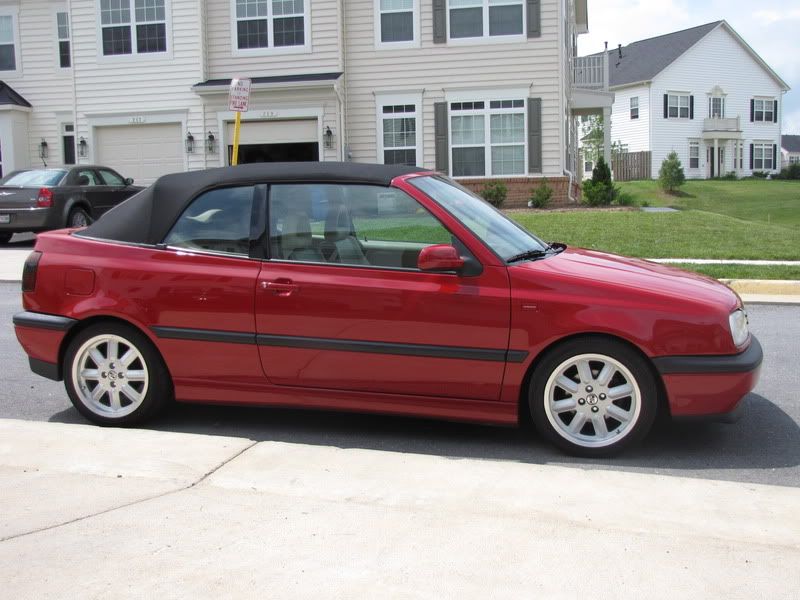
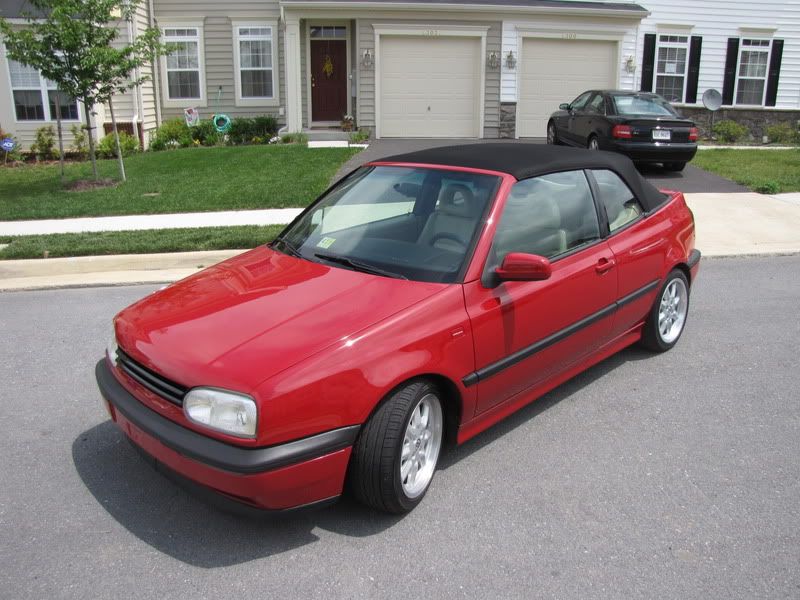
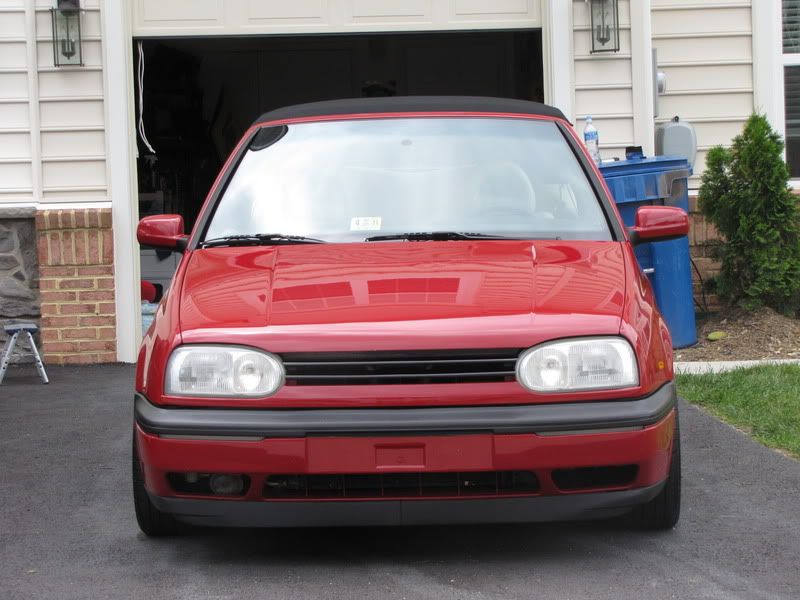
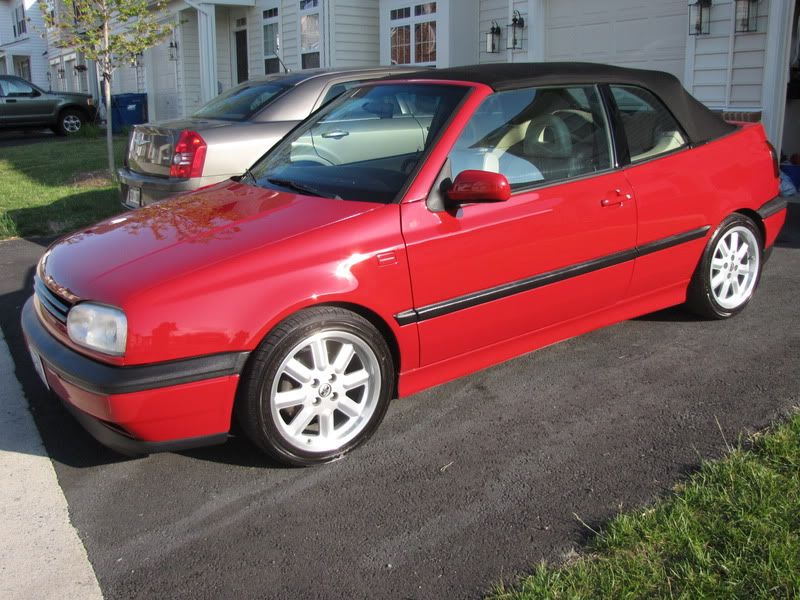
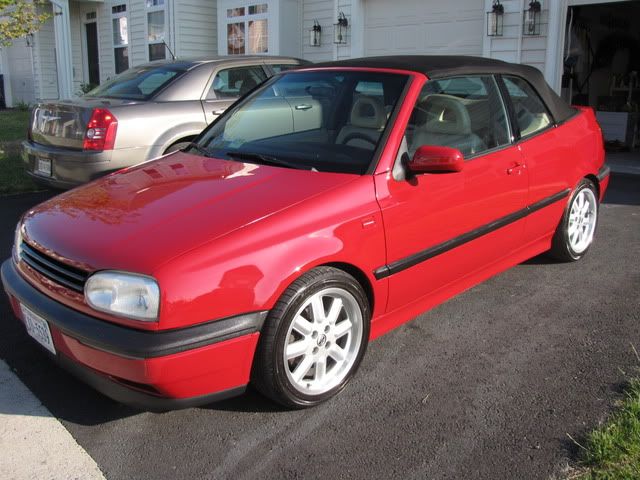
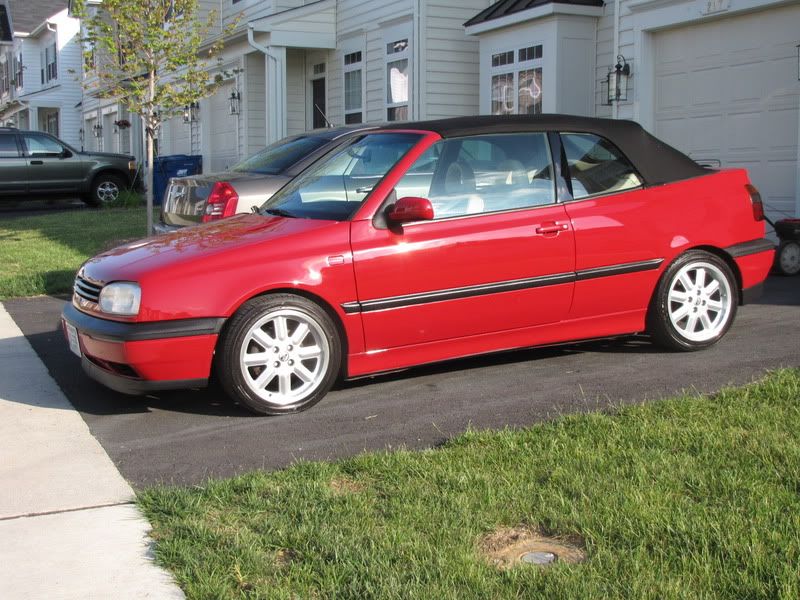
The owner contacted me about doing an exterior correction on his MKIII cabrio before a local show Bug-out. We talked about the time/money needed for correction and how much would be needed. We decided that a one-step correction would do the trick. Being that this car had a fresh respray in BMW Imola Red about a year ago the finish was not in all that bad shape as you can see from the before pics. The car had light washed induced swirls and water spots and thats about it.
Process
Wash/clay
-Two bucket wash w/ Megs Gold class
-DP Extreme Auto foam/Dawn mix via AG Foam cannon
-Pinnacle Clay bar
-Red LC wash mitt
-Dried with LC HD WW towels
Fabric Top Treated w/ 303 fabric convertible top kit
Wheels/Tires
-Various Brushes w/ P21s Wheel Gel
-Meg's Gold class tire gel
-Wheel wells received some Aerospace 303
Correction
-PCXP 7424
-Megs 205 New DA ver. w/ LC White pad (3 Passes)
LSP
-Black Fire Wet Diamond Paint Sealant
-DoDo Juice Super Natural
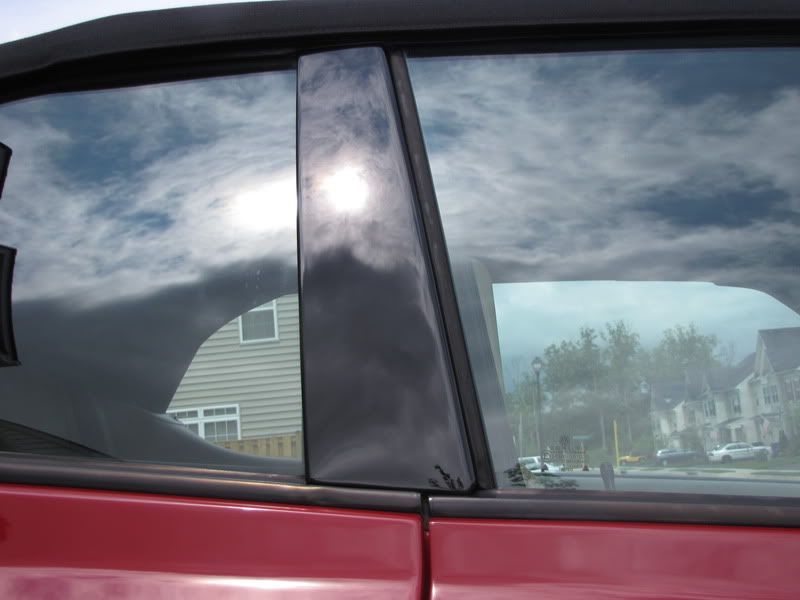
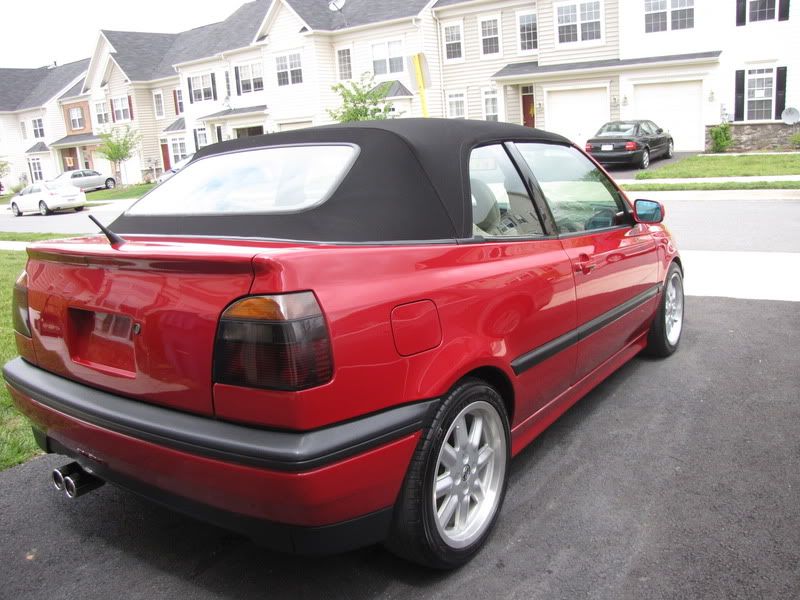
All exterior textured trim received some Black WoW
Total Time: 10 hours
The car arrived fairly clean as the owner had washed it earlier in the week. I tried to capture the defects the best I could. Its been raining on and off this weekend so the before and aftershots lack full sun shots. I did manage to get just a few when the storm decided to break for a few mins.
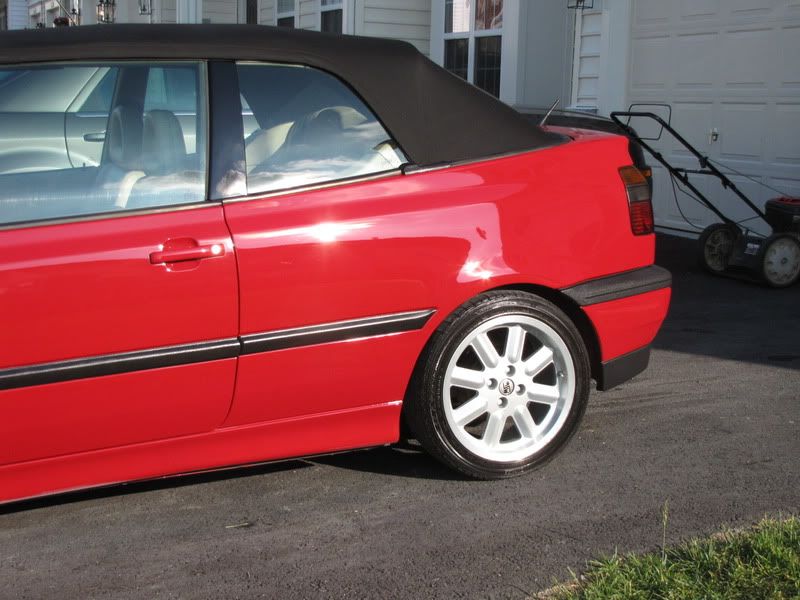
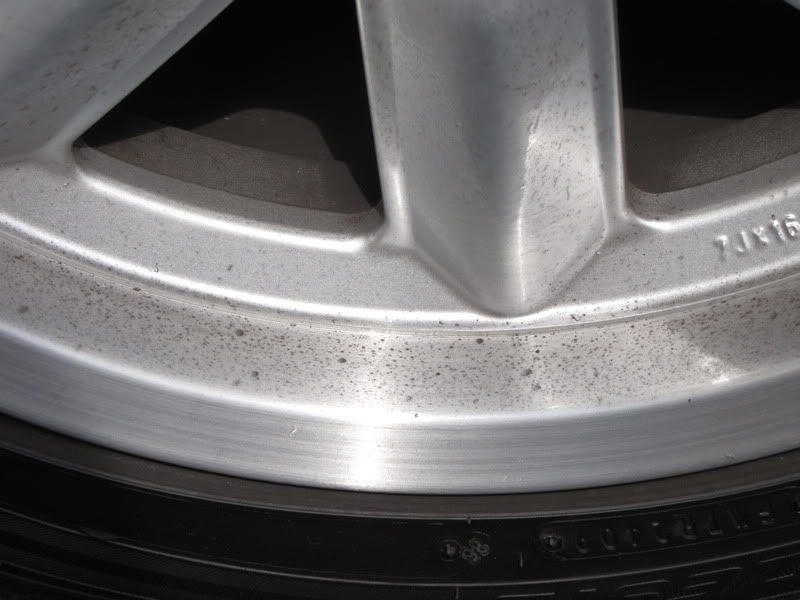
Wheels were dirty.

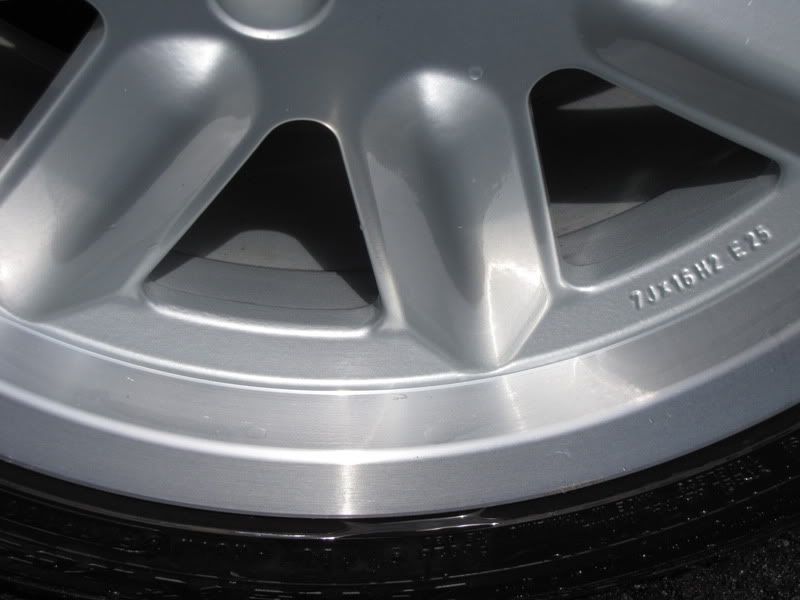
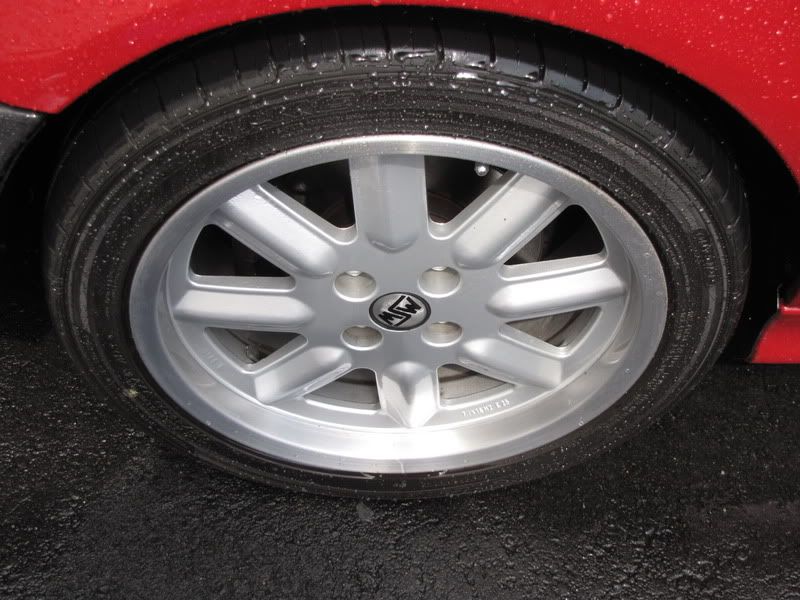
Whees after
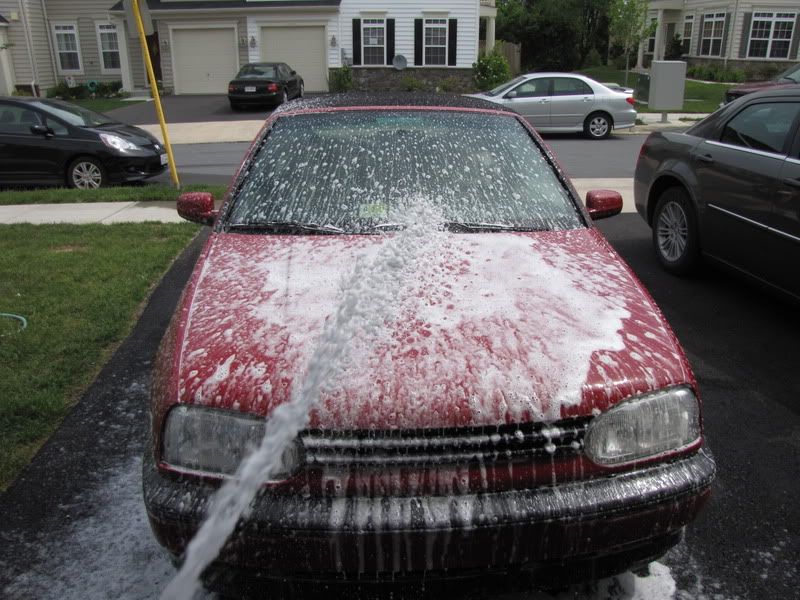
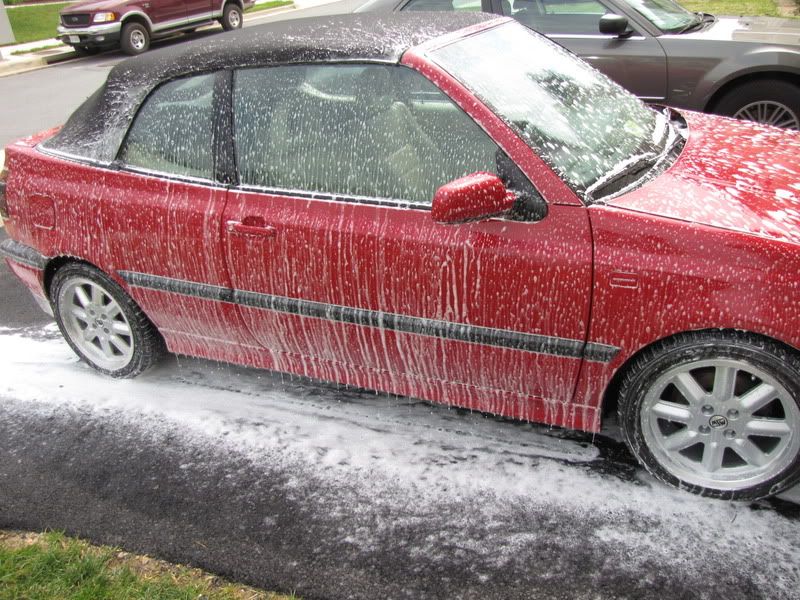
So after the wheels were clean the car received a nice foam bath via AG foam cannon. Let foam dwell for 5 mins then washed it with a 2 bucket method.
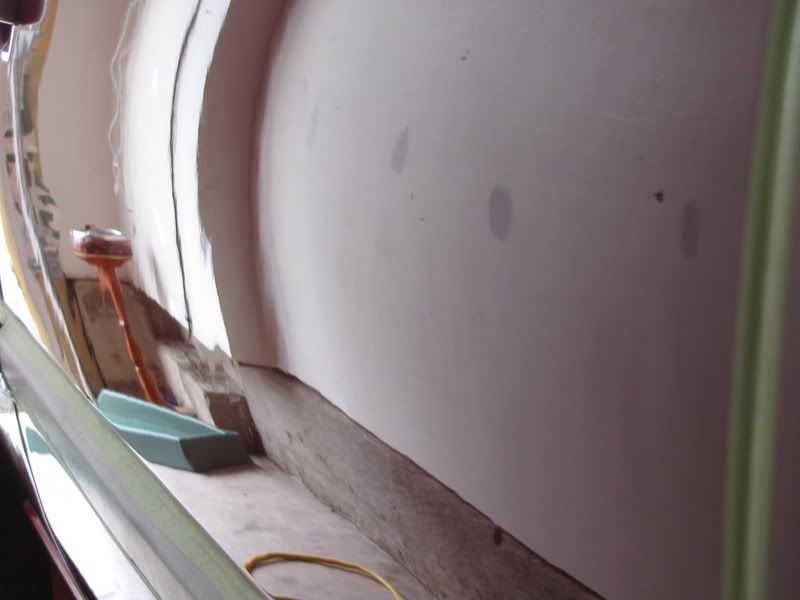
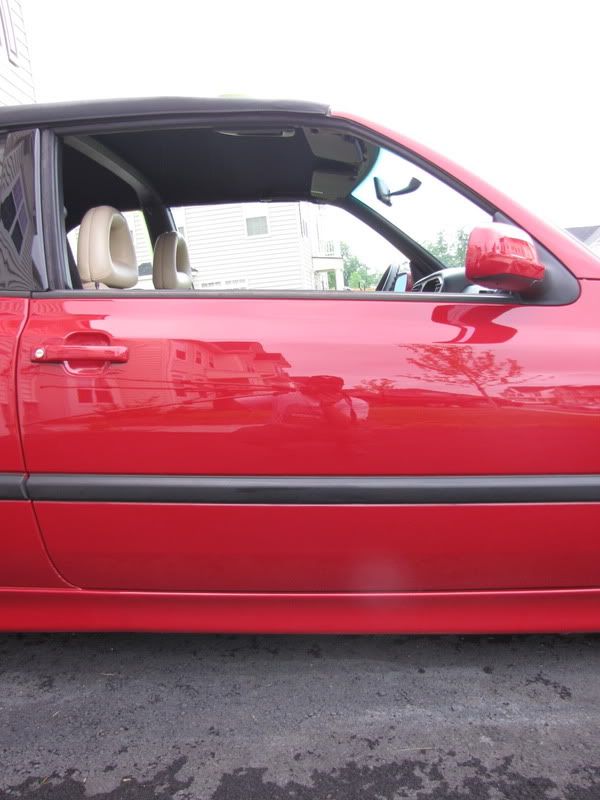
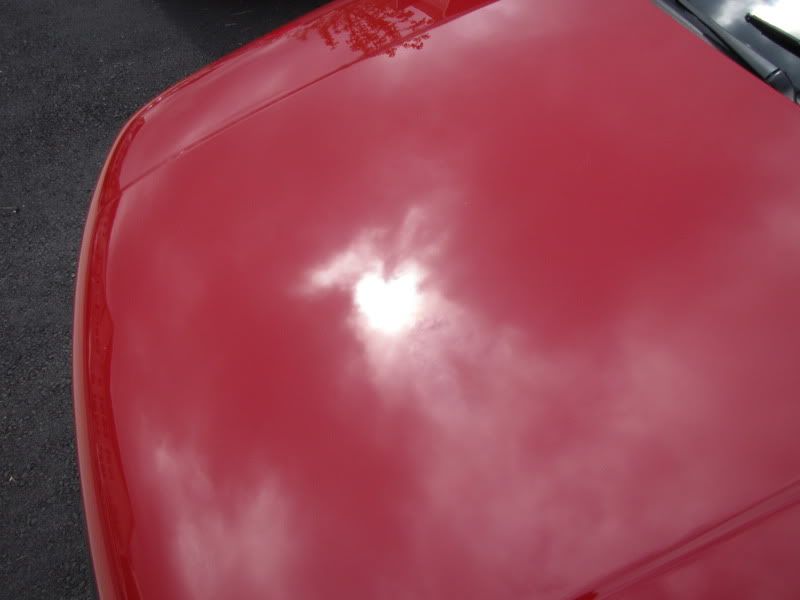
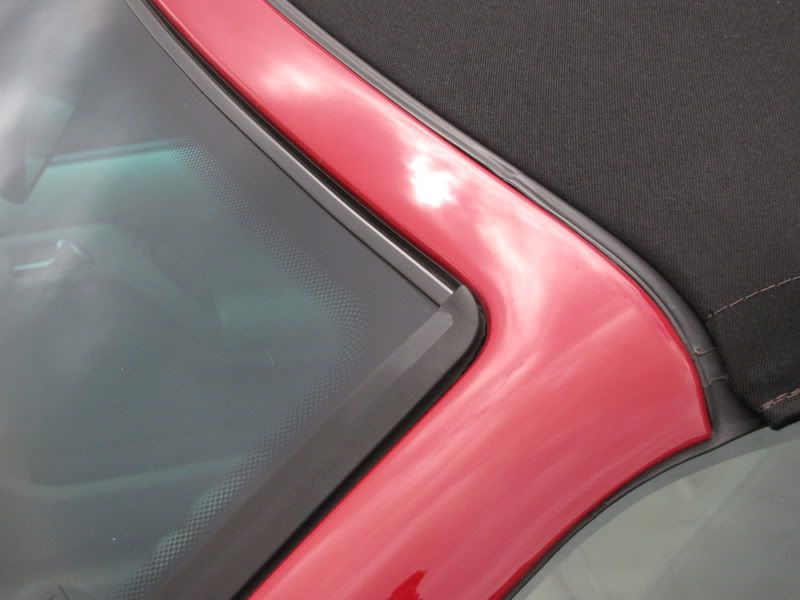
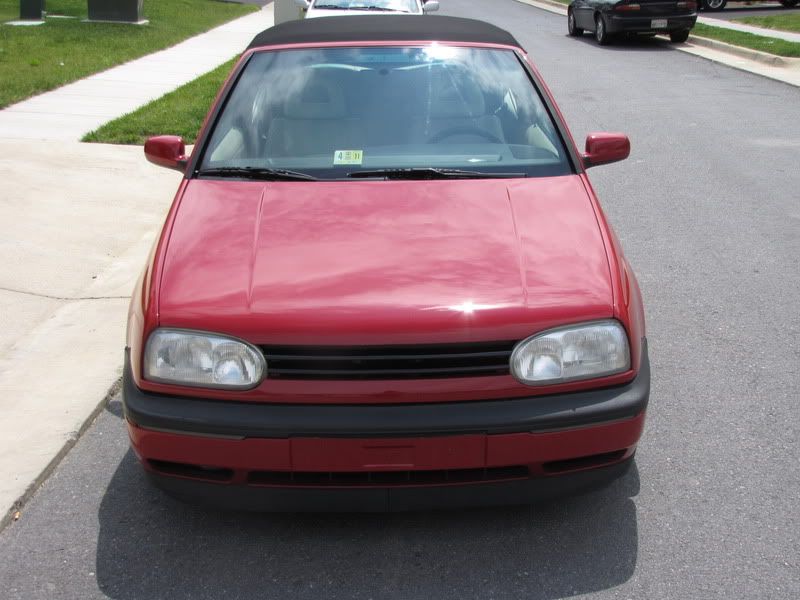
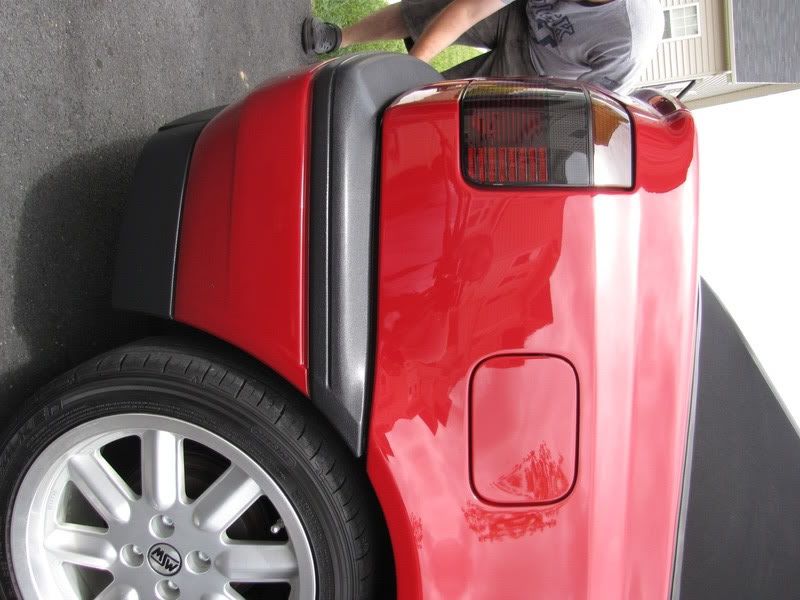
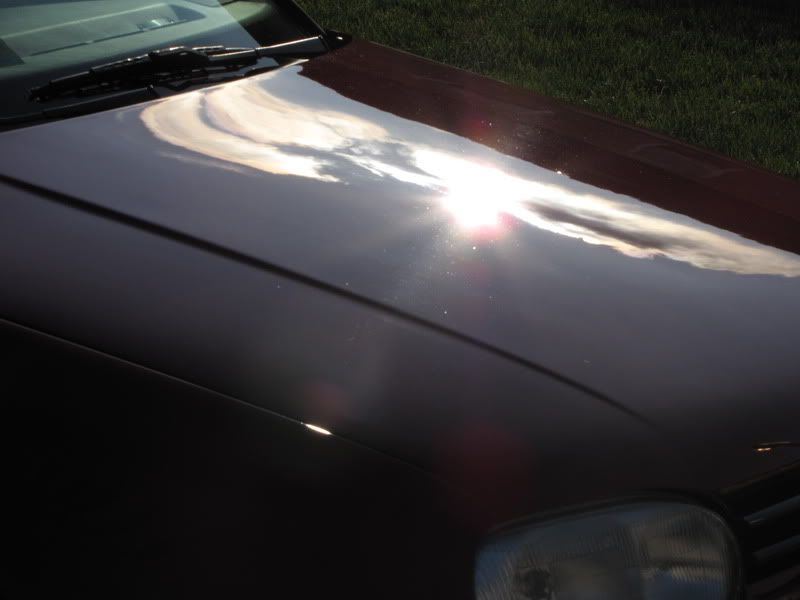
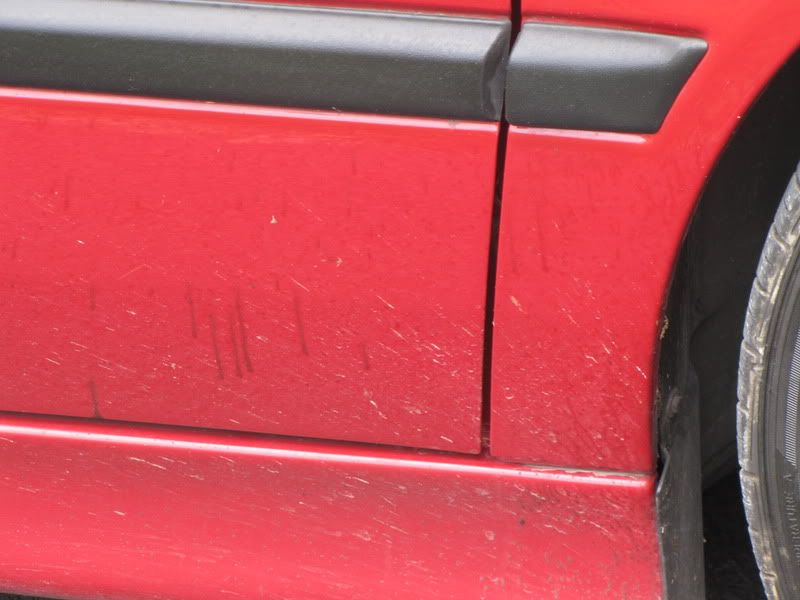
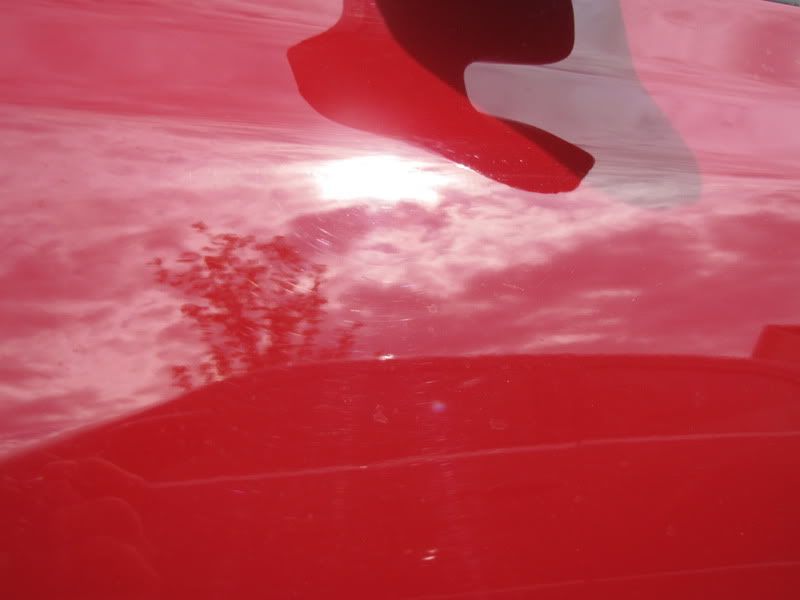
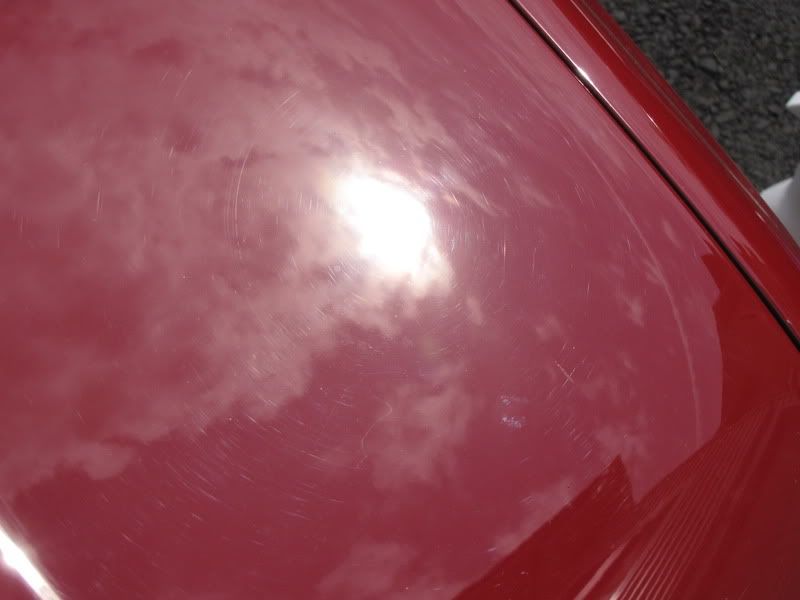
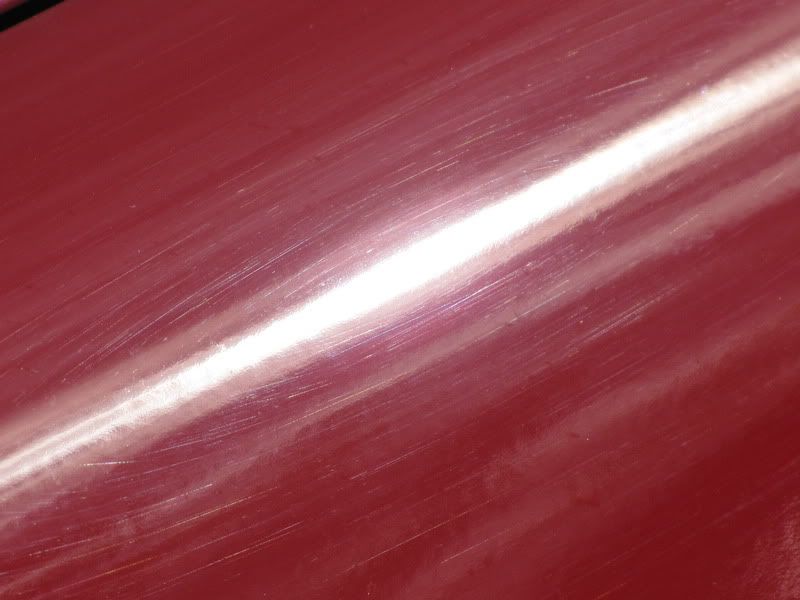
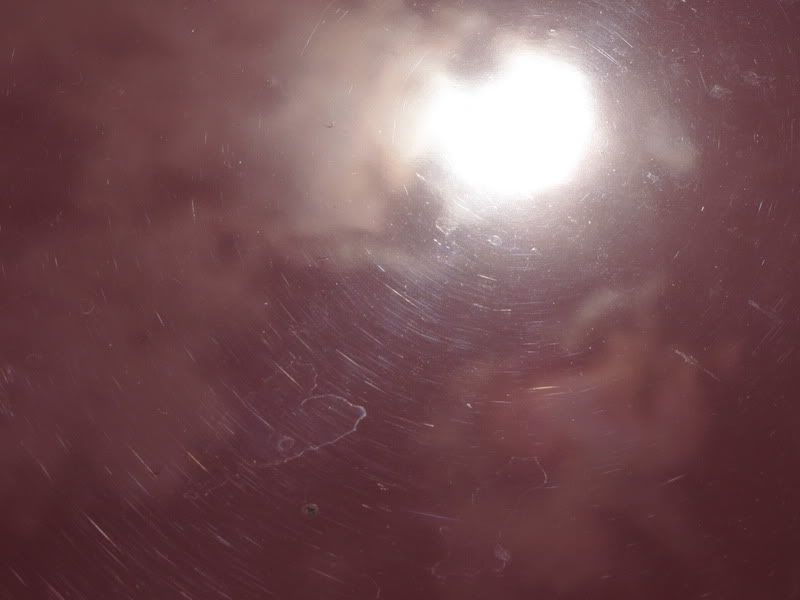
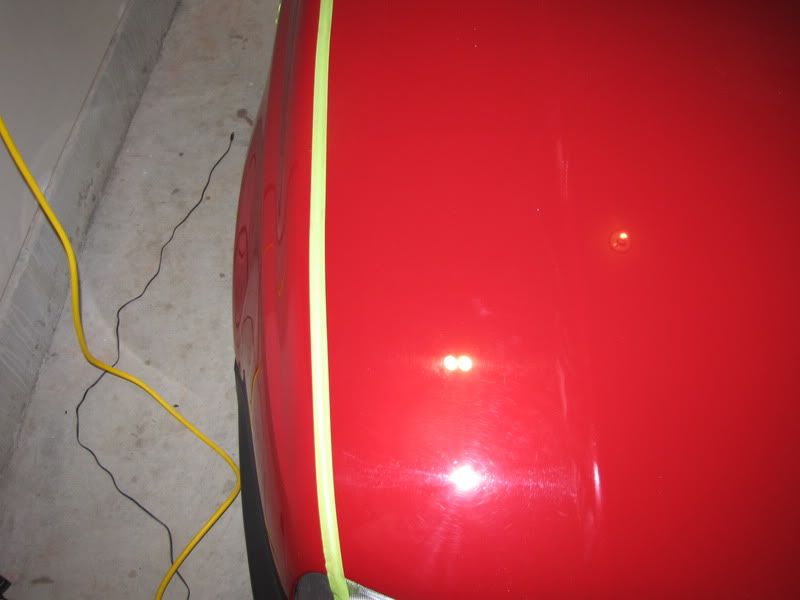
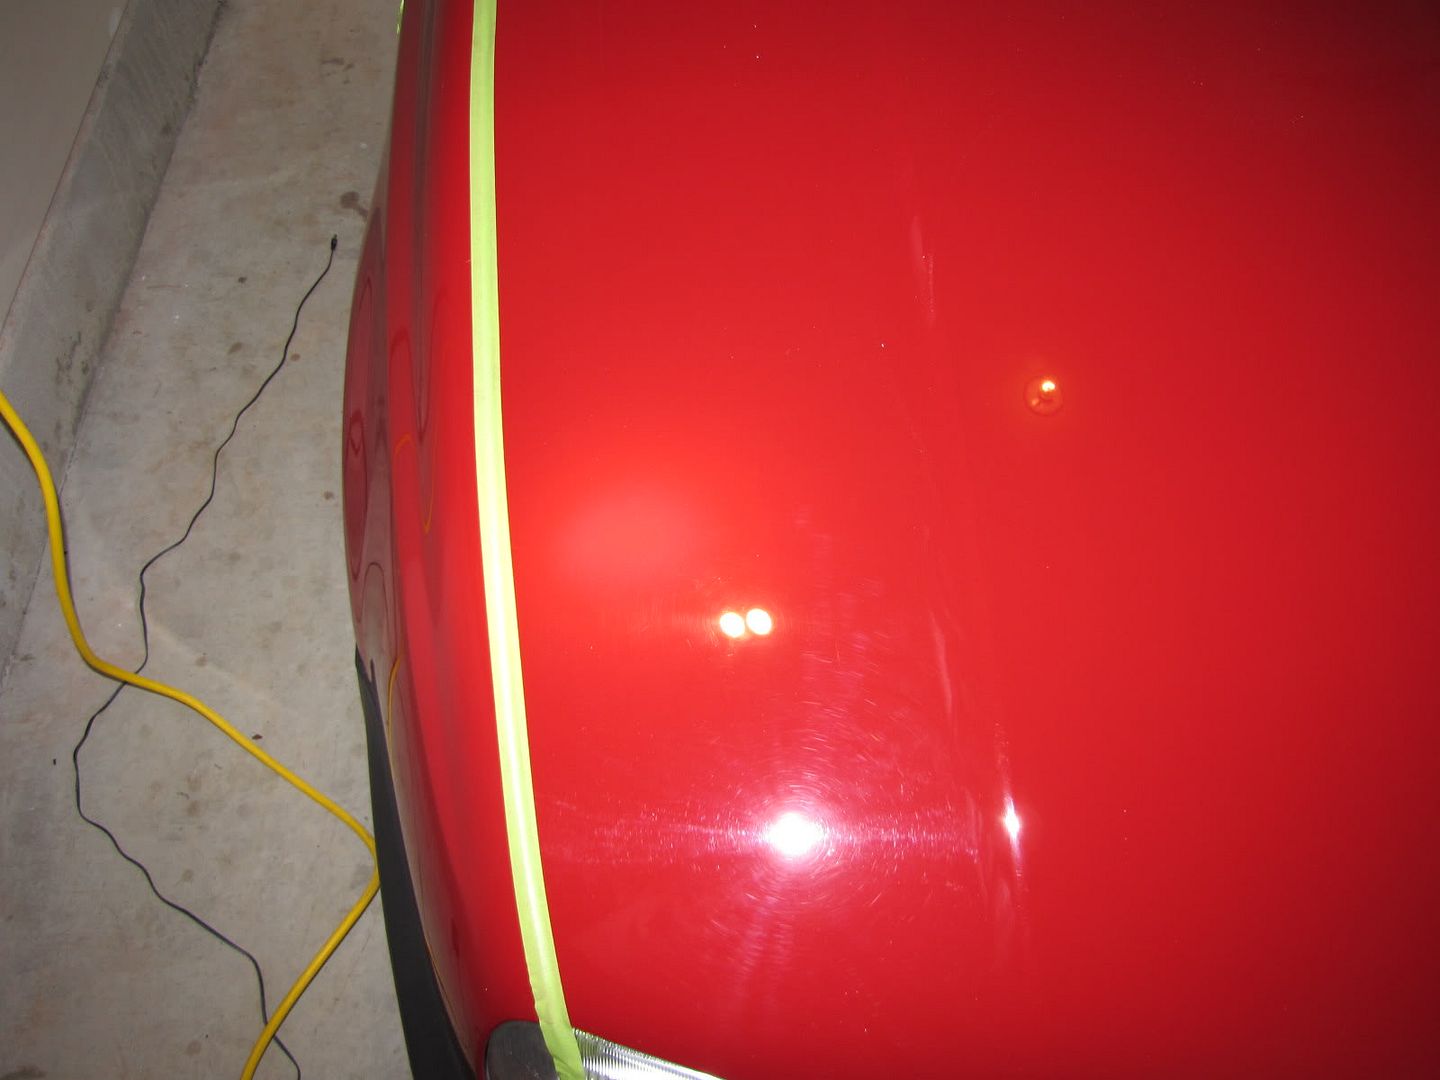
After the wash and clay you can see the real defects. light to moderate swirling from washing and a good amount of water spots.
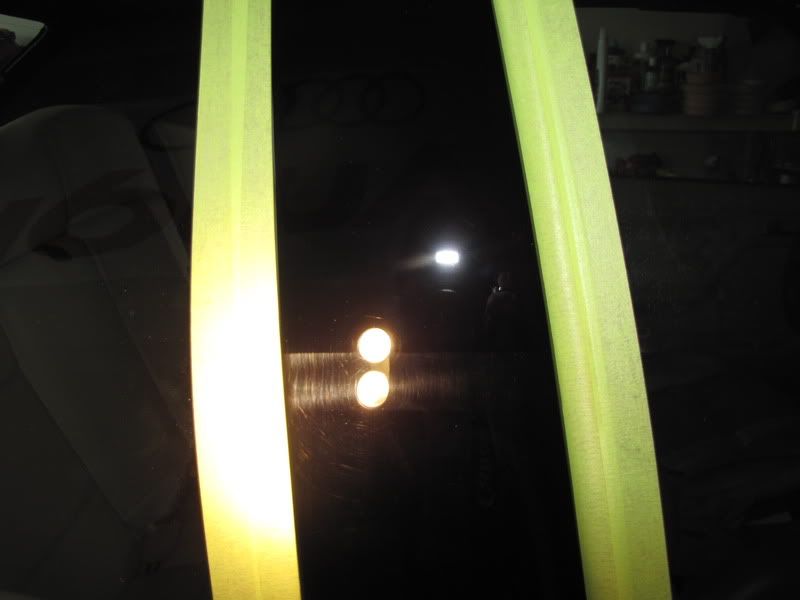
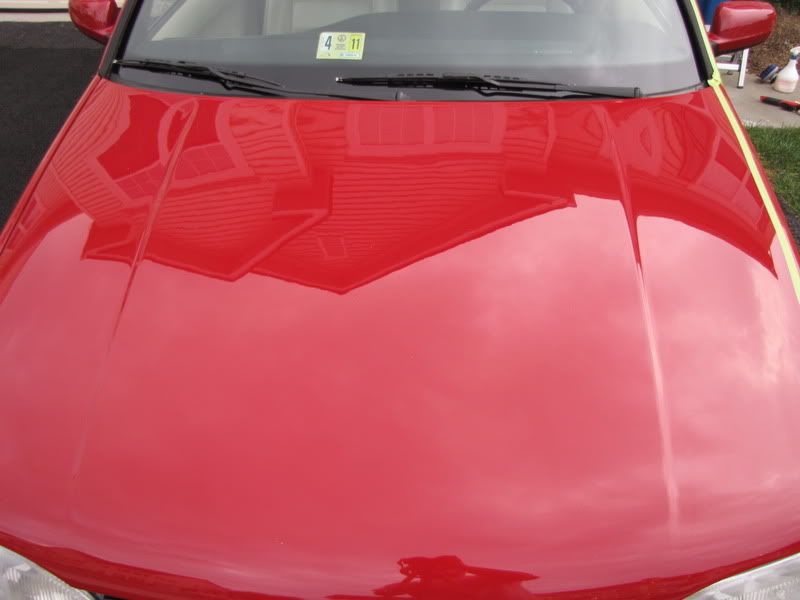
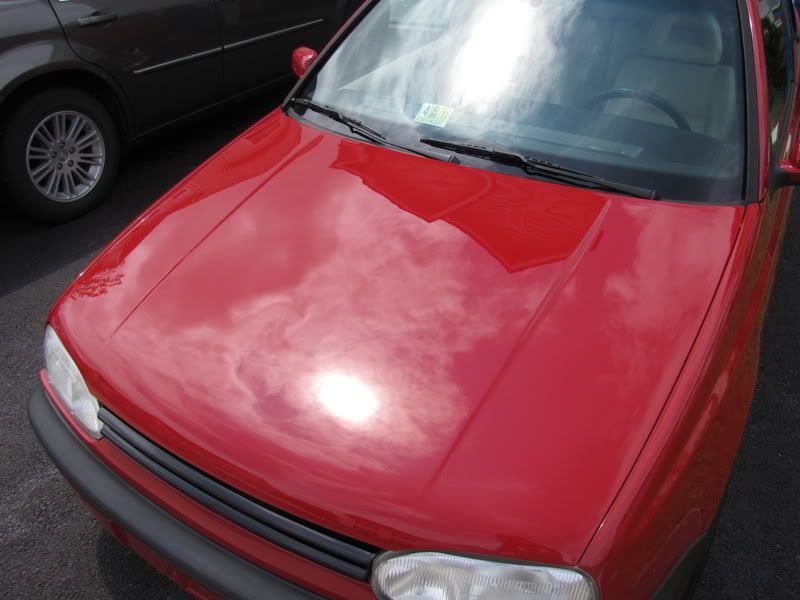
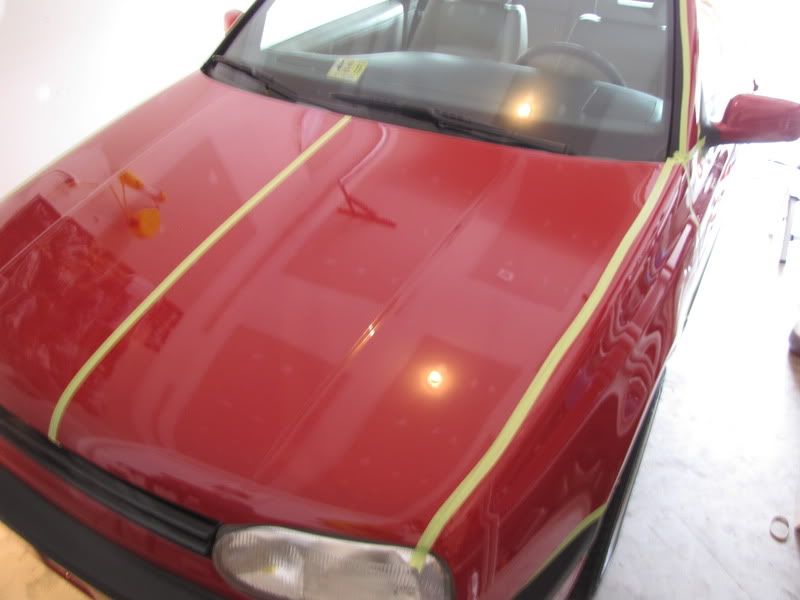
After drying the car with some LC HD WW towels I taped it up and did a test spot on the hood. It was found that 3 passes with a LC white pad with M205 would do the trick. This process was followed through out the entire car.
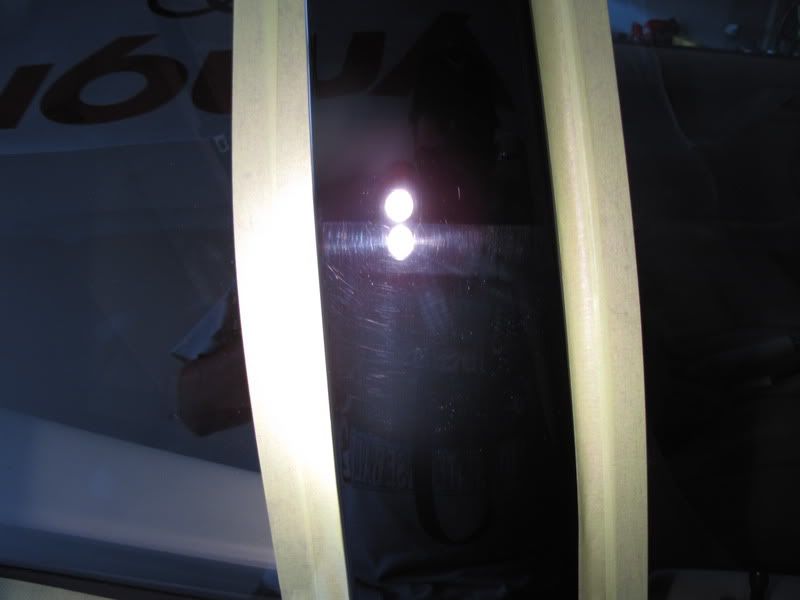
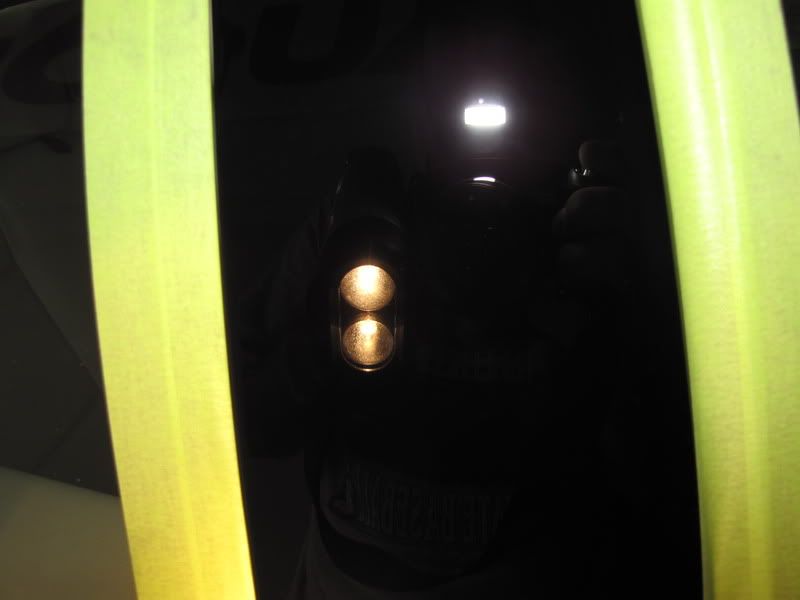
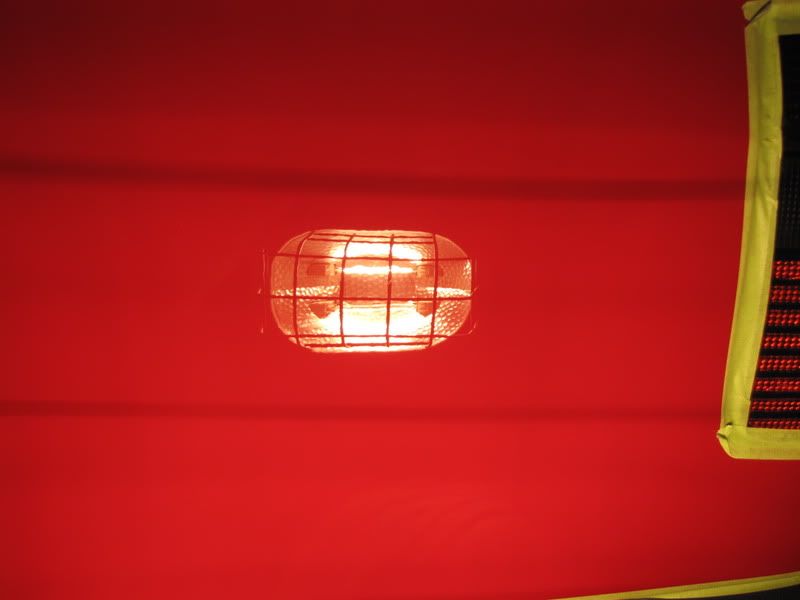
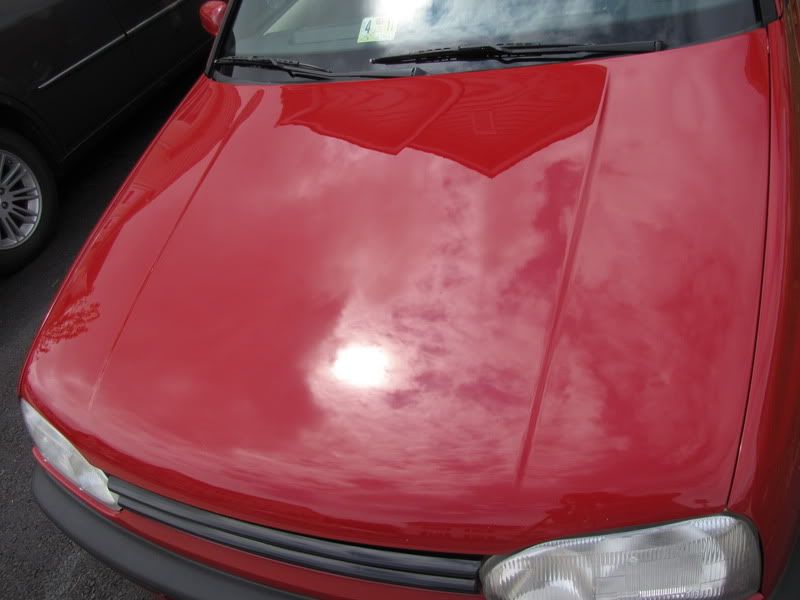
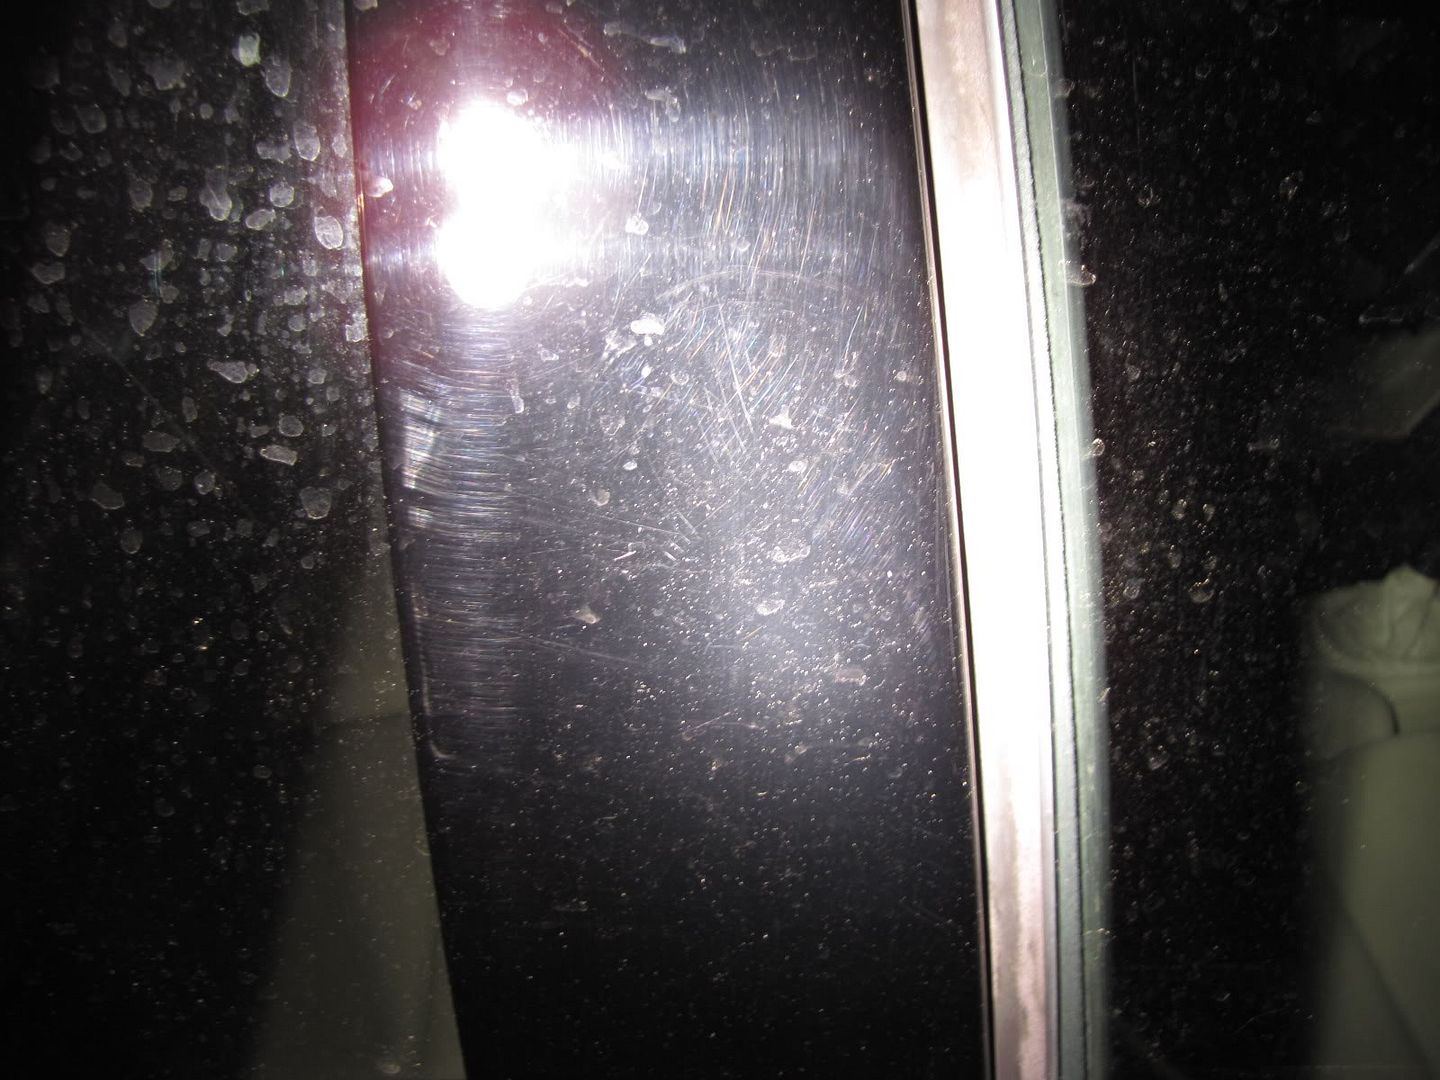
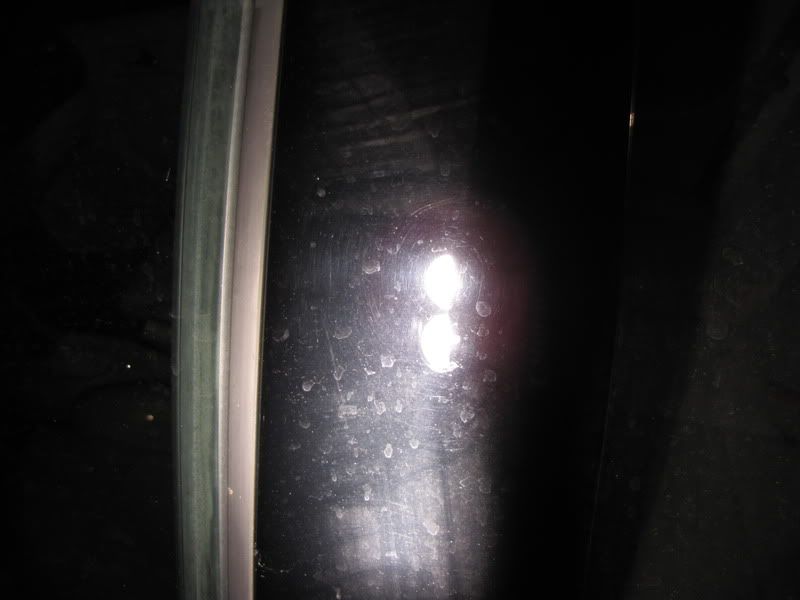
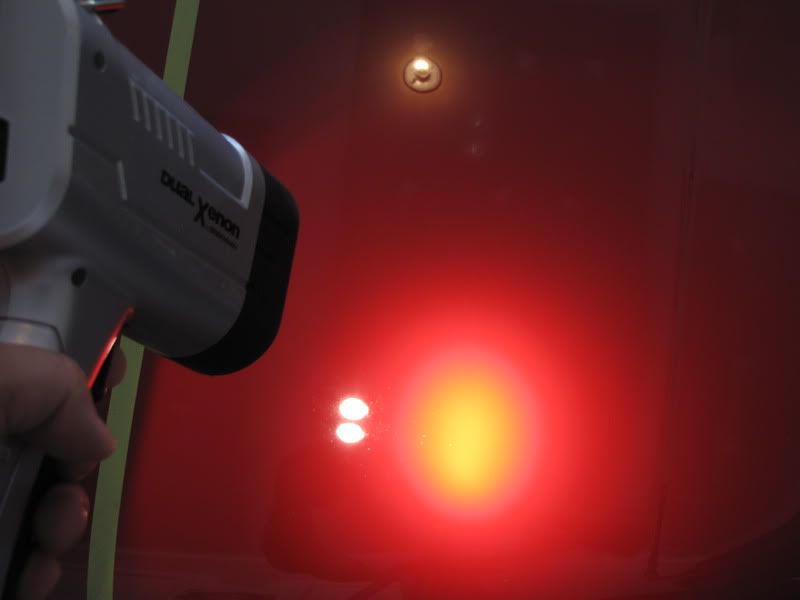
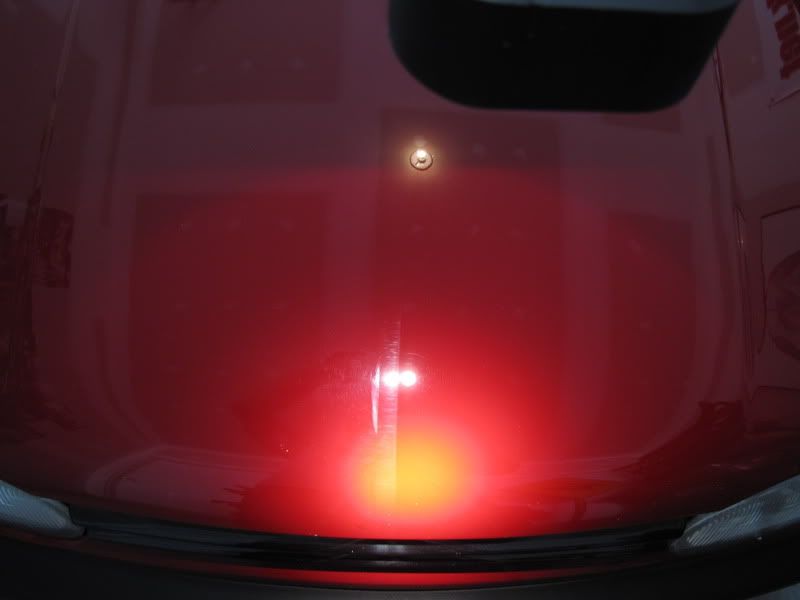
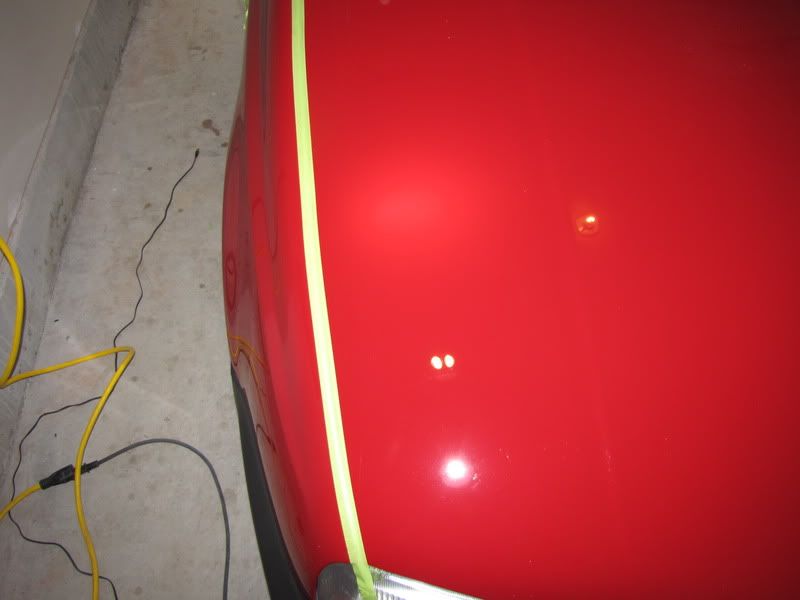
Using the Brinkman to show correction on the right side of the hood.
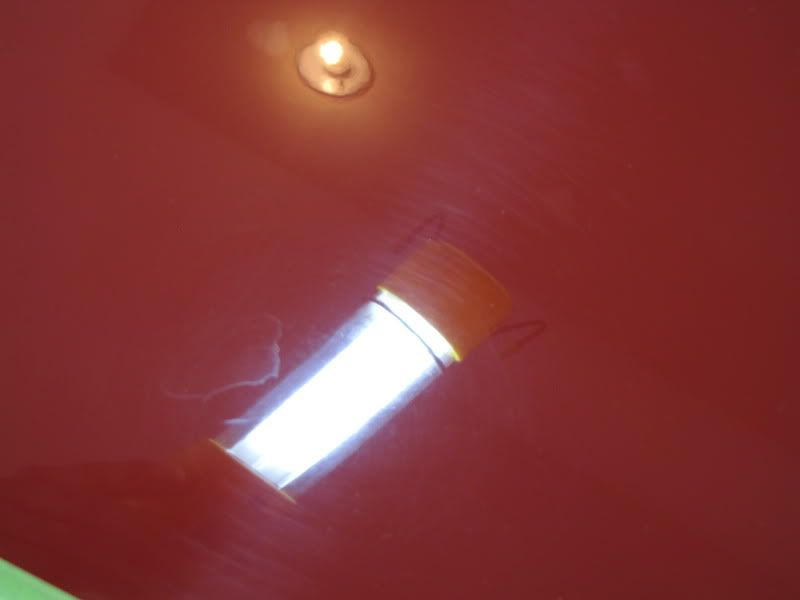
A few 50/50's of this area using different lighting


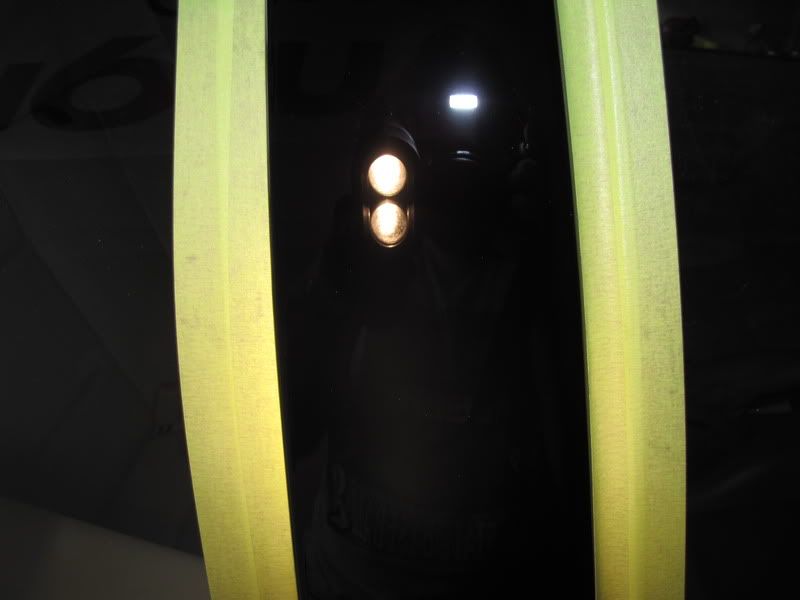
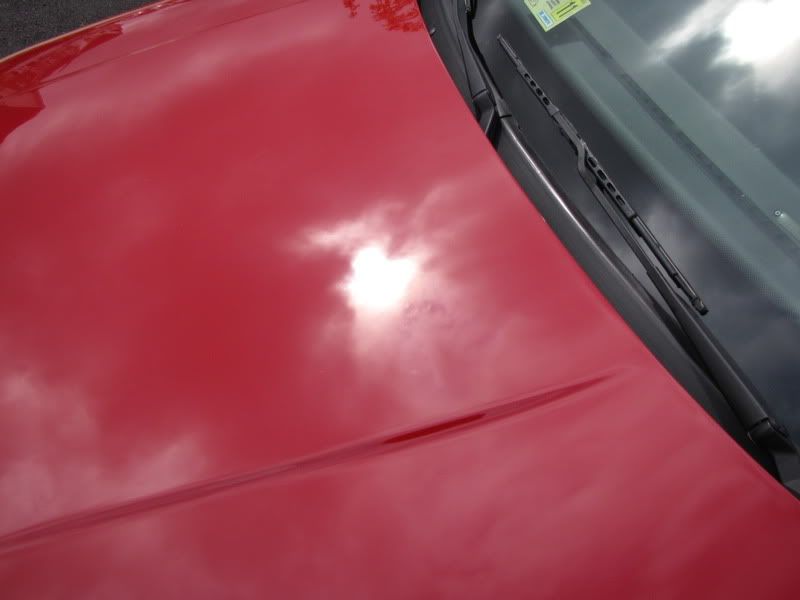
I then moved on to the left side of the hood. Here are a few shots showing defects.
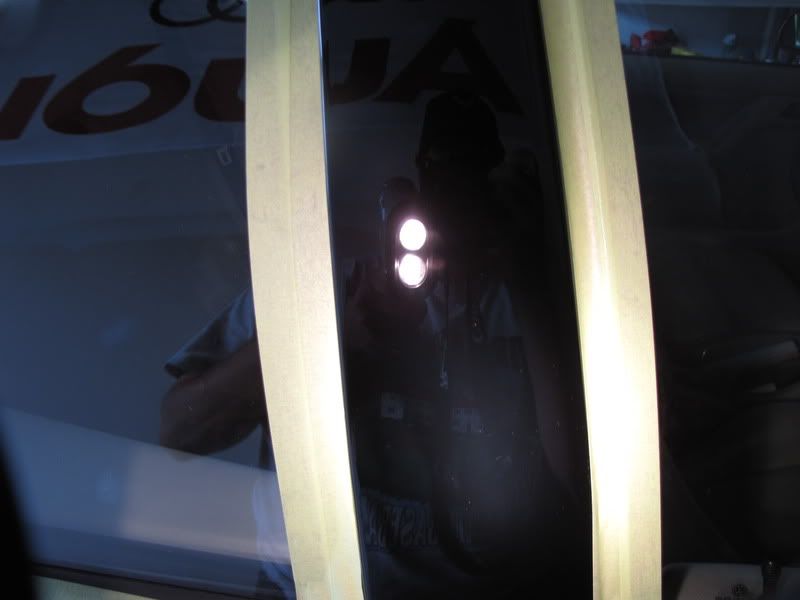
Here is after with a bunch of different lights
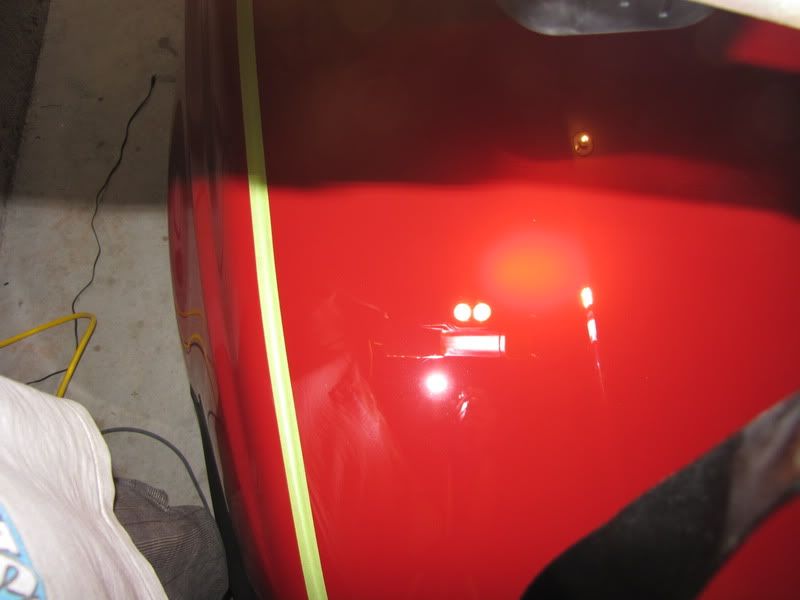
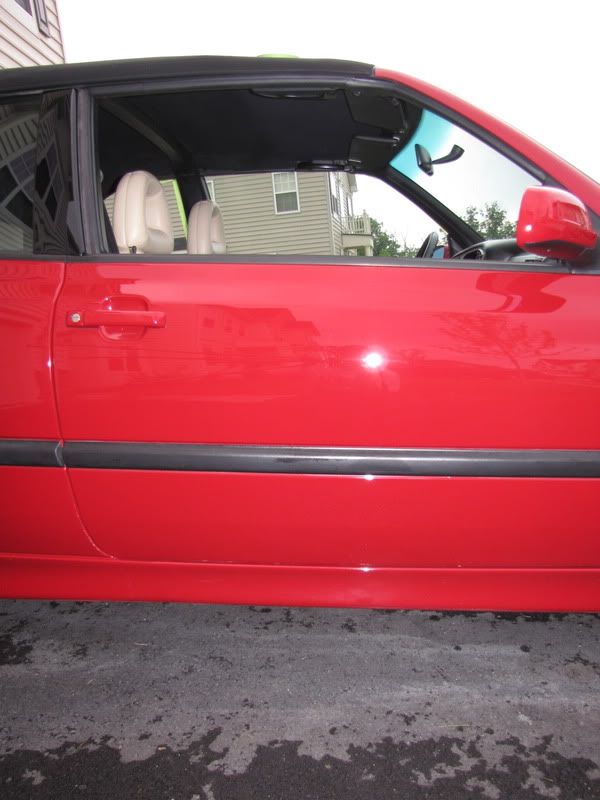
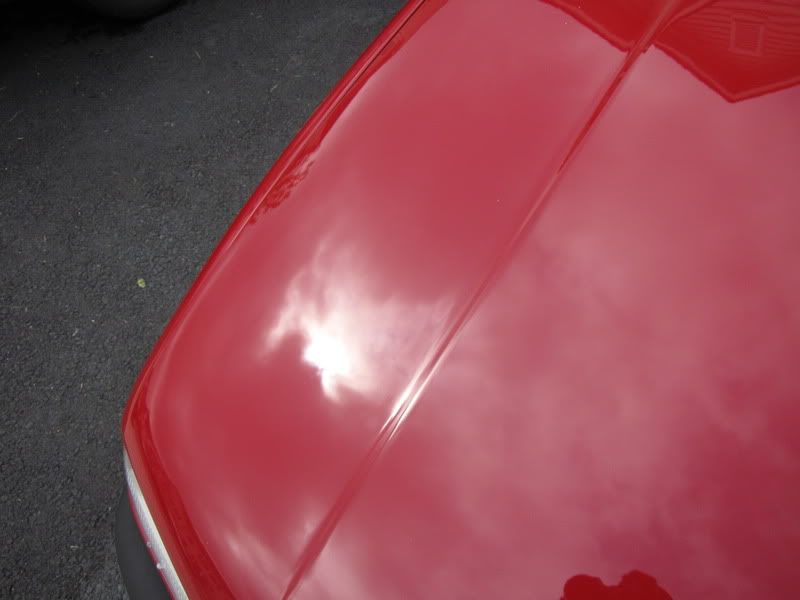
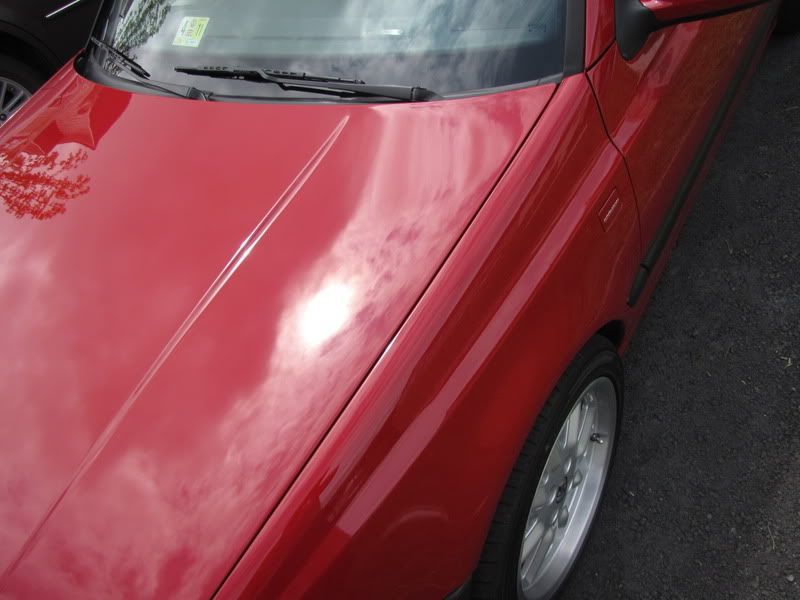
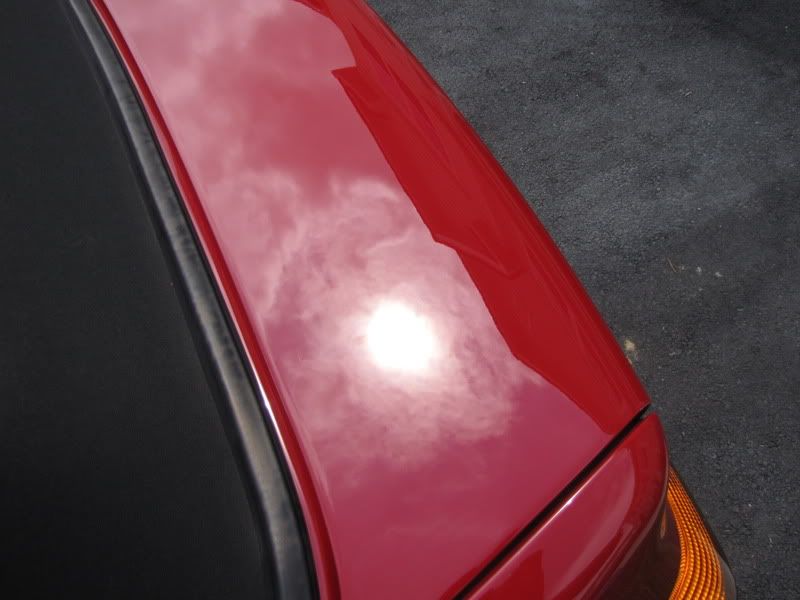
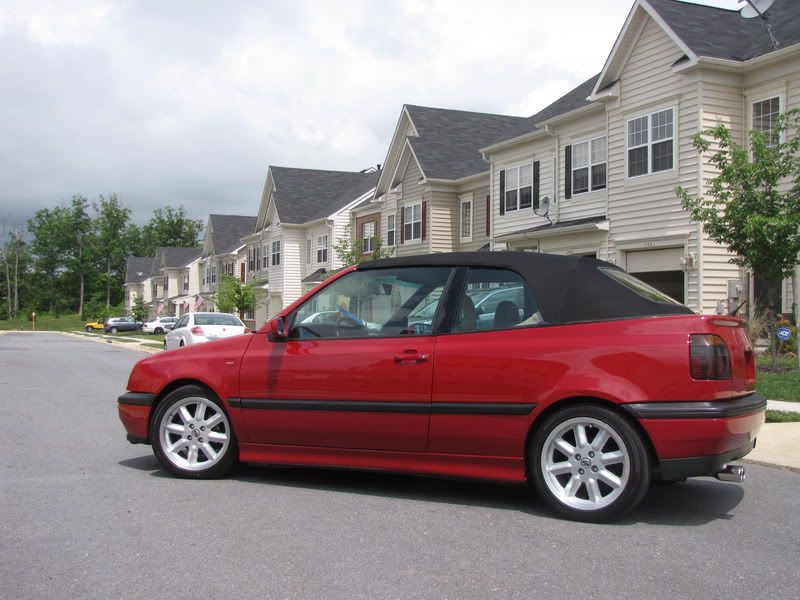
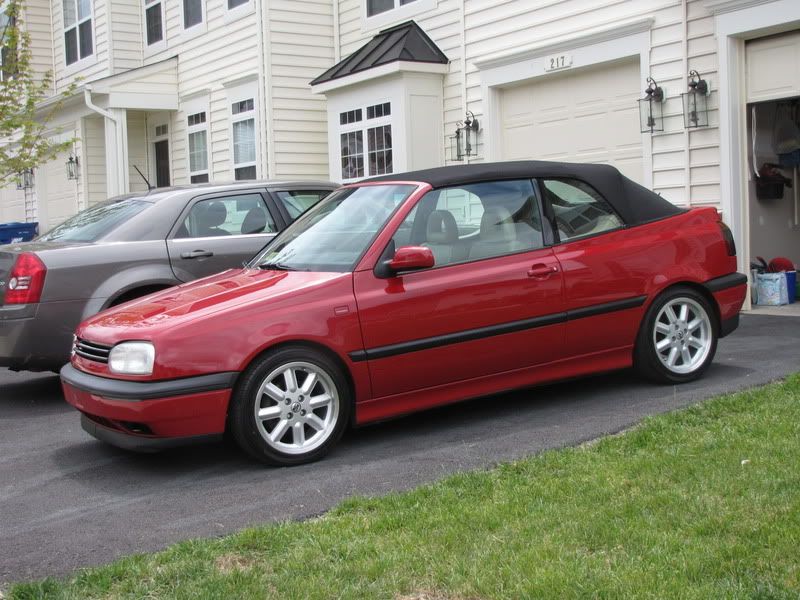
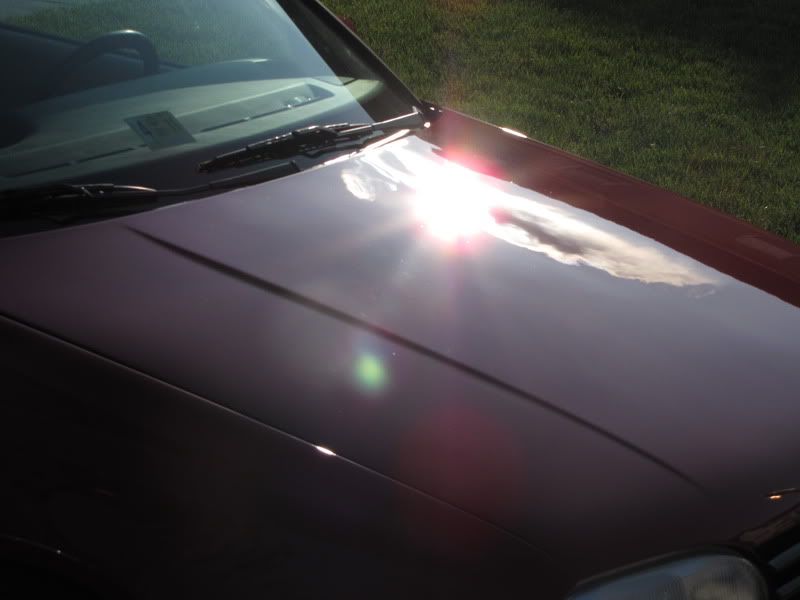
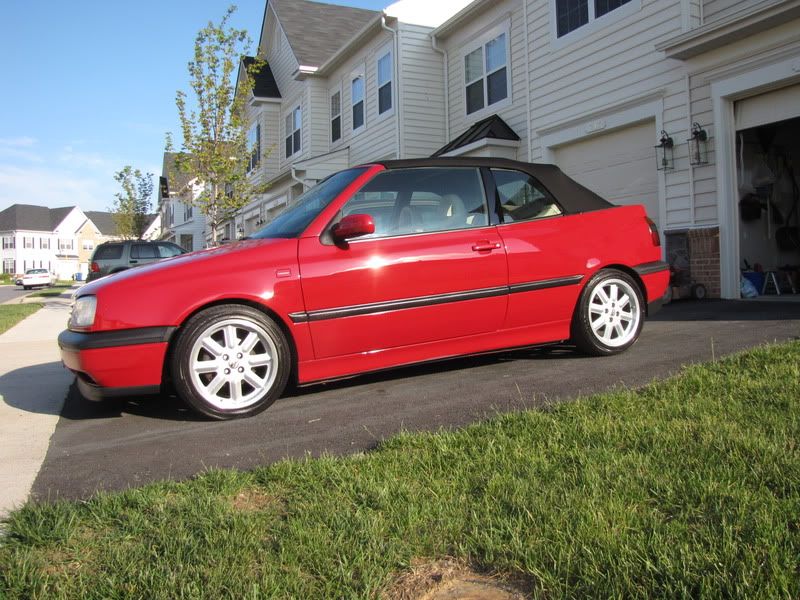
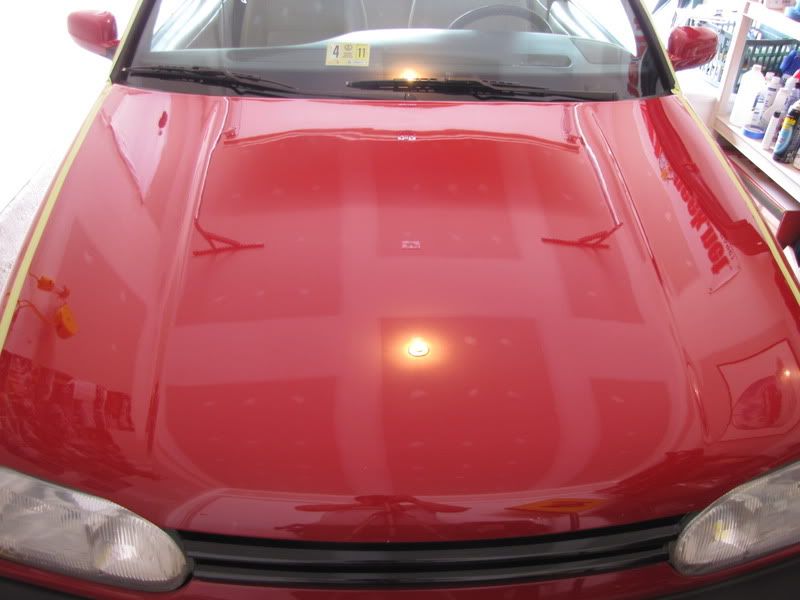
Finally a bunch of gloss was restored.
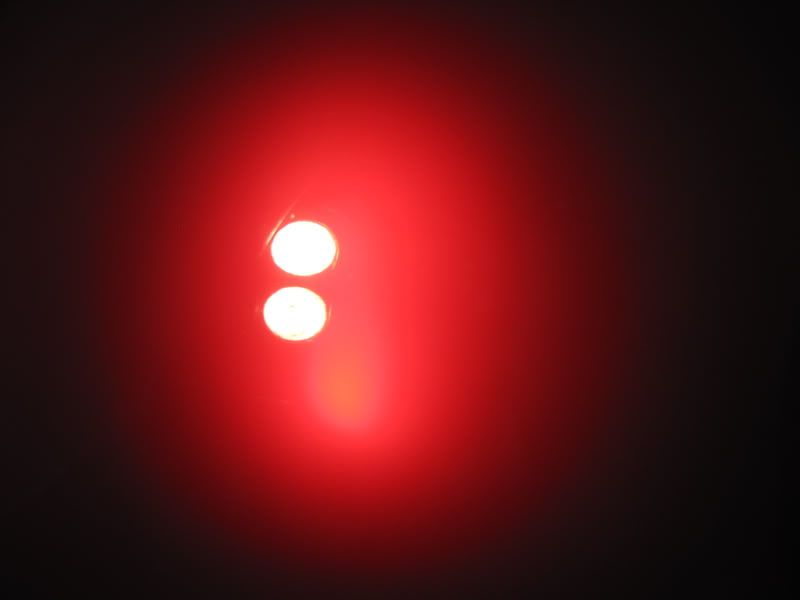
Shot using the Brinkman of this area
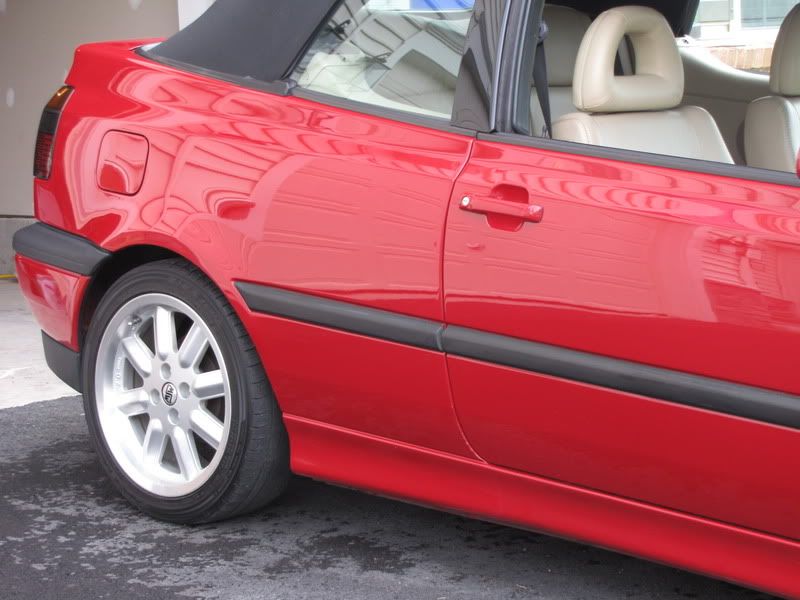
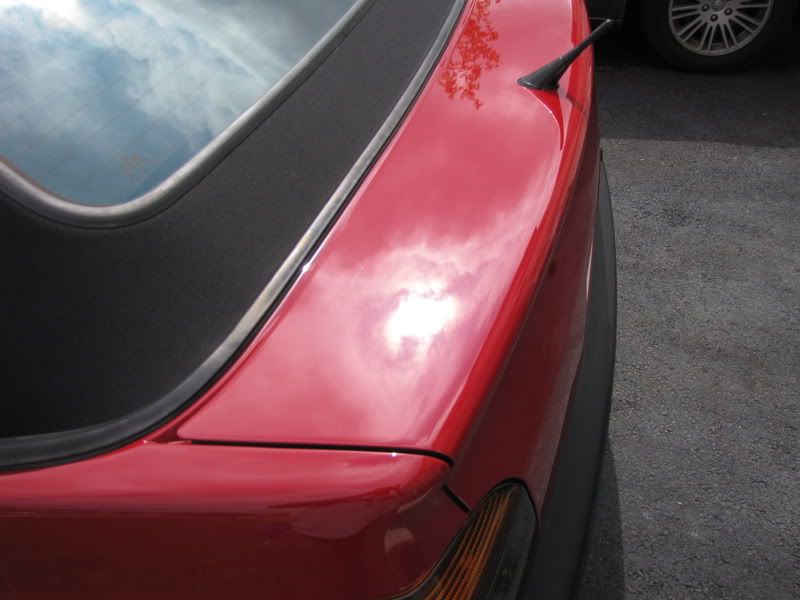
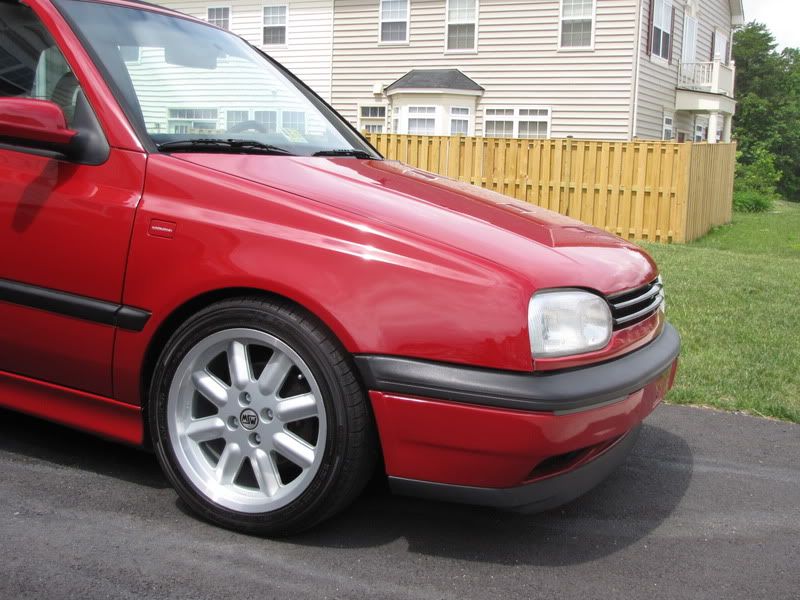
I them moved on to the fender using the same process here are a few 50/50's of this area

Process
Wash/clay
-Two bucket wash w/ Megs Gold class
-DP Extreme Auto foam/Dawn mix via AG Foam cannon
-Pinnacle Clay bar
-Red LC wash mitt
-Dried with LC HD WW towels
Fabric Top Treated w/ 303 fabric convertible top kit
Wheels/Tires
-Various Brushes w/ P21s Wheel Gel
-Meg's Gold class tire gel
-Wheel wells received some Aerospace 303
Correction
-PCXP 7424
-Megs 205 New DA ver. w/ LC White pad (3 Passes)
LSP
-Black Fire Wet Diamond Paint Sealant
-DoDo Juice Super Natural
All exterior textured trim received some Black WoW
Total Time: 10 hours
The car arrived fairly clean as the owner had washed it earlier in the week. I tried to capture the defects the best I could. Its been raining on and off this weekend so the before and aftershots lack full sun shots. I did manage to get just a few when the storm decided to break for a few mins.
Wheels were dirty.
Whees after
So after the wheels were clean the car received a nice foam bath via AG foam cannon. Let foam dwell for 5 mins then washed it with a 2 bucket method.
After the wash and clay you can see the real defects. light to moderate swirling from washing and a good amount of water spots.
After drying the car with some LC HD WW towels I taped it up and did a test spot on the hood. It was found that 3 passes with a LC white pad with M205 would do the trick. This process was followed through out the entire car.
Using the Brinkman to show correction on the right side of the hood.
A few 50/50's of this area using different lighting
I then moved on to the left side of the hood. Here are a few shots showing defects.
Here is after with a bunch of different lights
Finally a bunch of gloss was restored.
Shot using the Brinkman of this area
I them moved on to the fender using the same process here are a few 50/50's of this area