Mike Phillips
Active member
- Dec 5, 2022
- 51,004
- 6
KISS Detail - Extreme Makeover - Toyota Highlander
A friend of mine who's not really into cars but knows I'm into cars asked me if his paint could be saved and if it could be saved if I could recommend the products he would need to restore the finish. At first I told him a handful of products to get and then I said, heck... why don't you bring it down to the studio and I'll help you to buff it out and I'll use this project to make a point about matching your services to your customer.
In this case, this is a daily driver which is parked outside 24 hours a day, 7 days a week. It's an older S.U.V. and but it still runs great but after we polish it out it's still going to be a daily driver that sits out side 24x7. The point is this, match your services to your customer and in this case if a person were to bring you a detailing project like this the right approach would be the simple approach, that is a KISS Detail.
KISS = Keep it Simple Simon
KISS Detail = Keep it Simple - Wash, Clay use a One-Step Cleaner/Wax
The owner, John has NEVER used any kind of machine to buff out car paint. He's heard about the horror stories associated with improper machine buffing but never actually used an electric buffer to buff out a car. After this detailing project he is no longer worried about instilling swirls, burning through the paint or making a mistake when machine polishing.
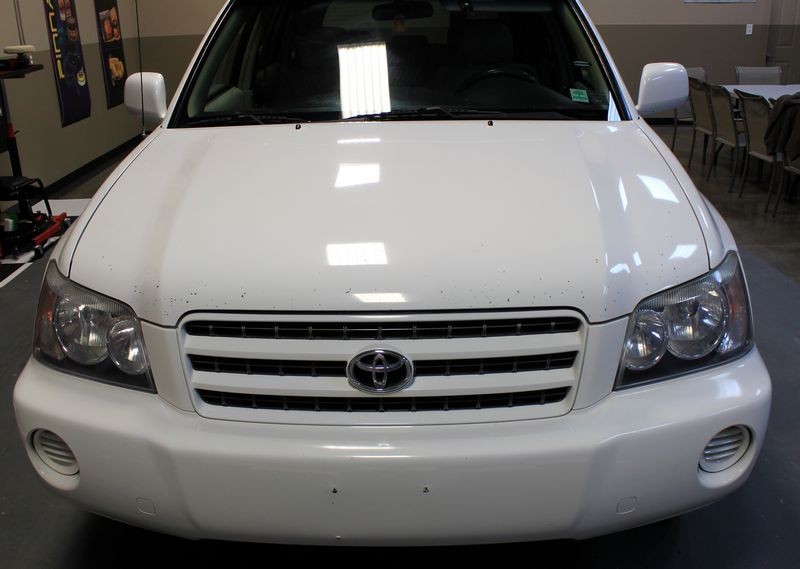
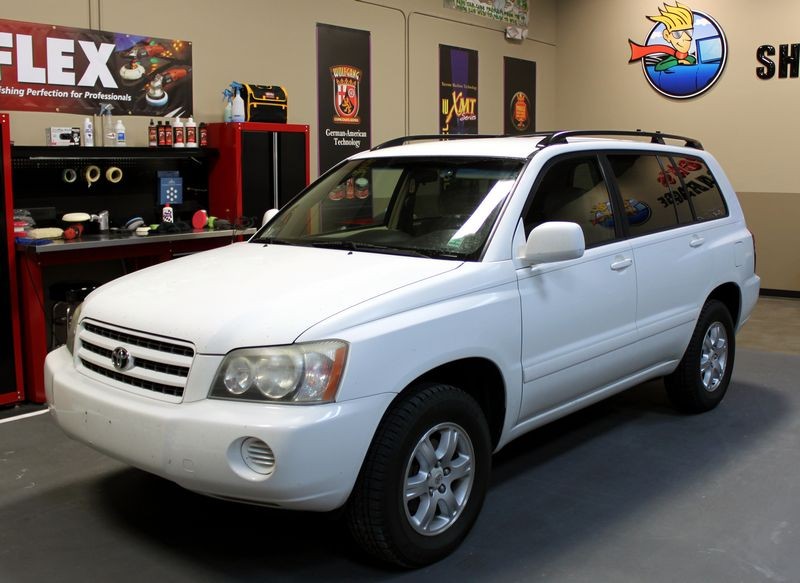
Without further ado... here's the rig and here's the process...
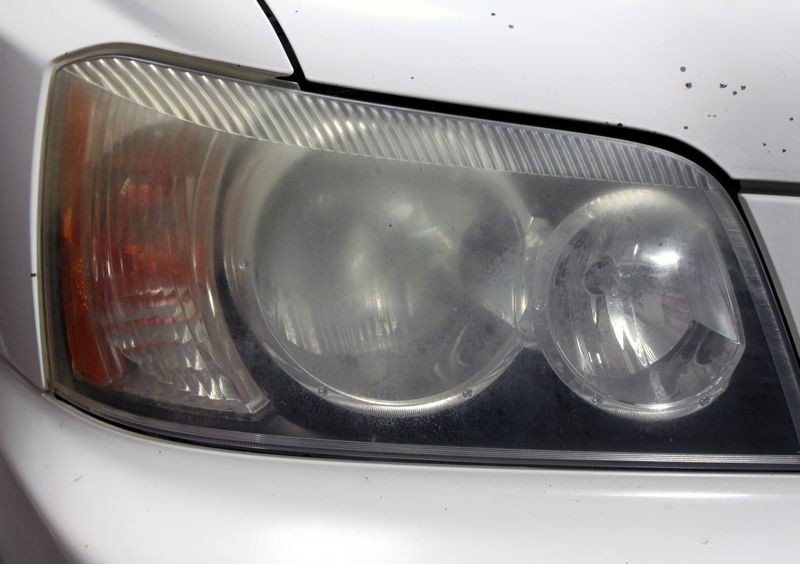
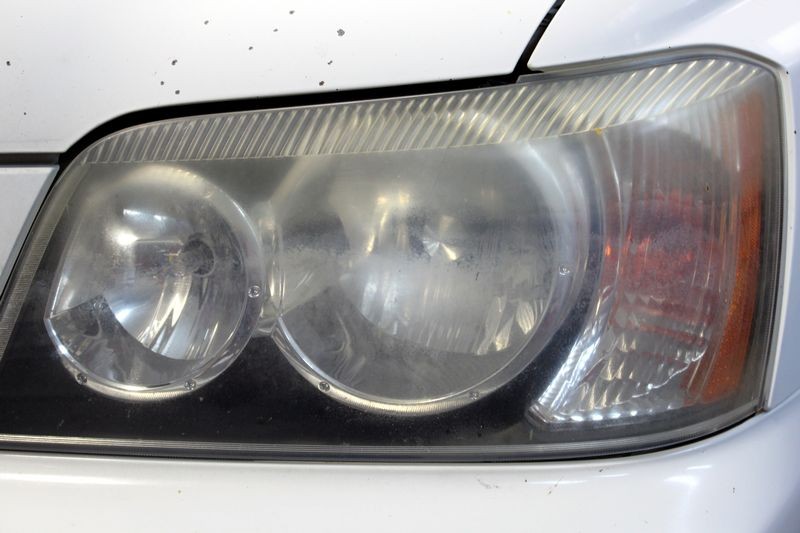
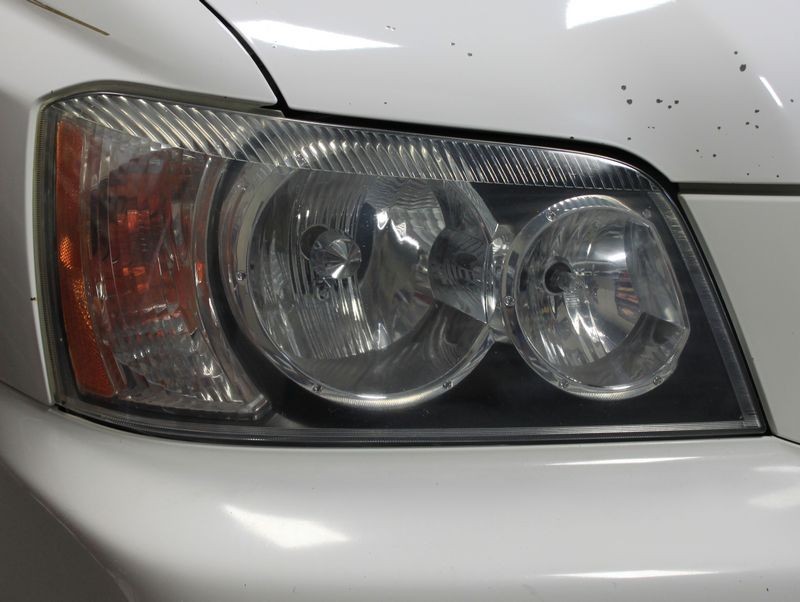
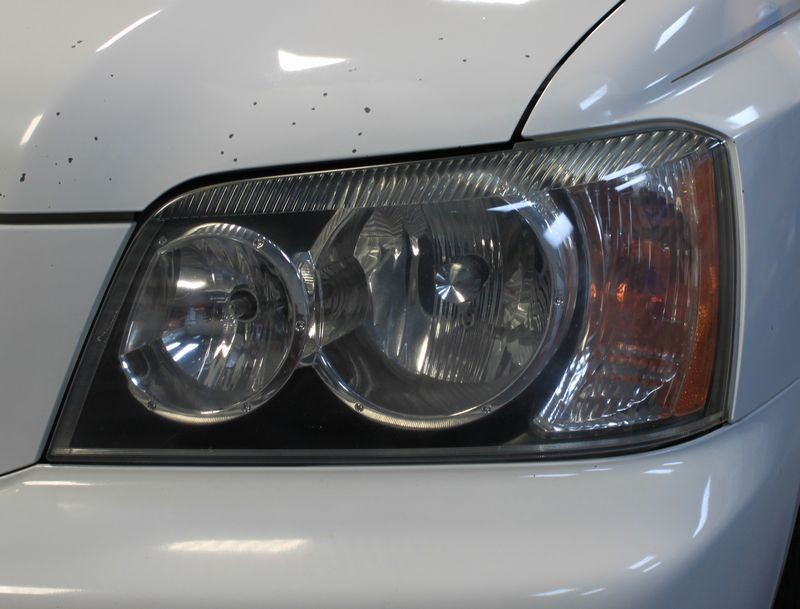
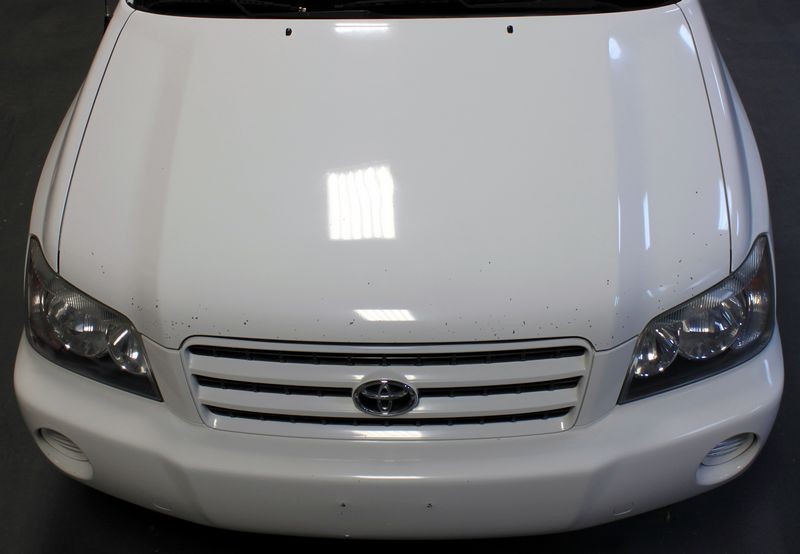
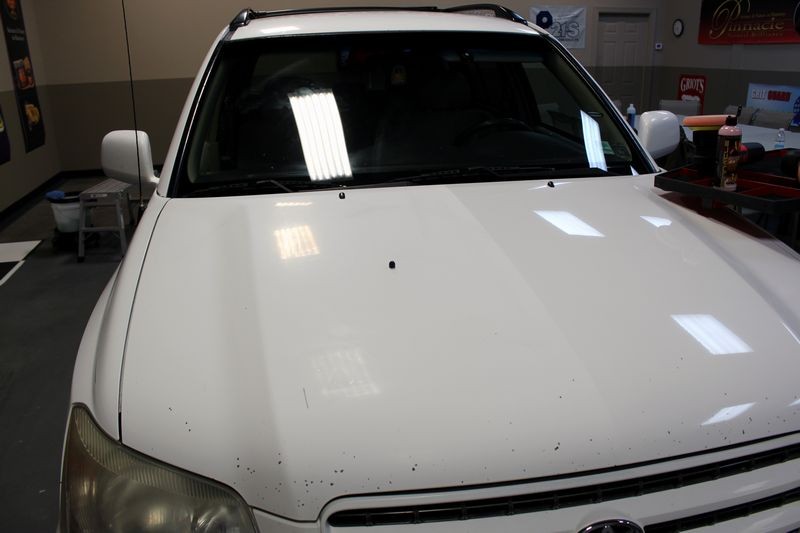
The paint is chalky and dull with extreme oxidation on the horizontal surfaces. There's absolutely no gloss, slickness or shine left in the paint.
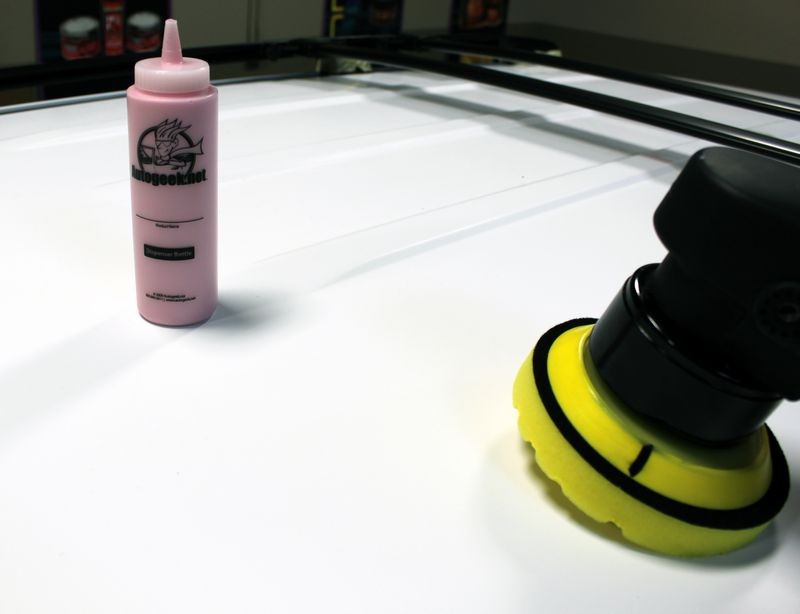
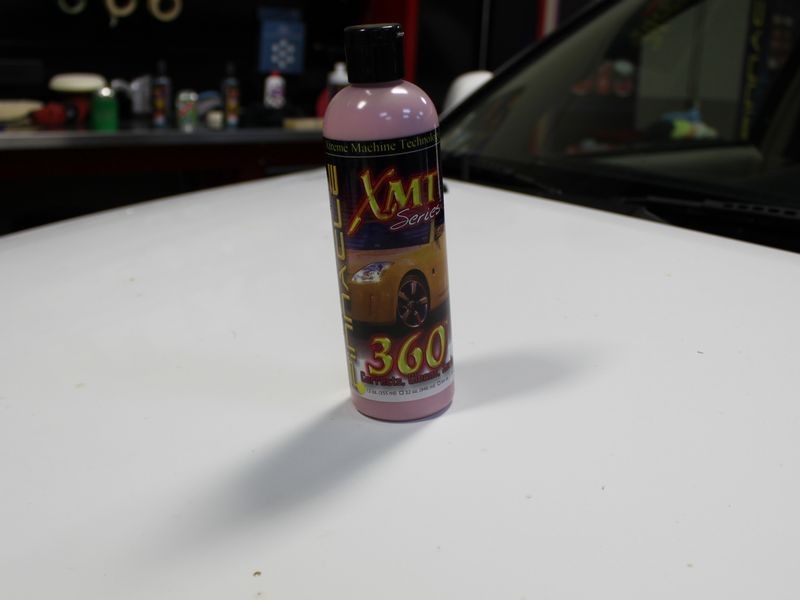
Pinnacle XMT Series 360 is a one-step cleaner wax specifically for machine application and it does a great job of cleaning, polishing and leaving behind a coat of protection in one, easy step.

Note how flat and dull the paint is...
This is the paint near the windshield squirter, it's so oxidized it looks more like white primer than a high gloss auto paint.

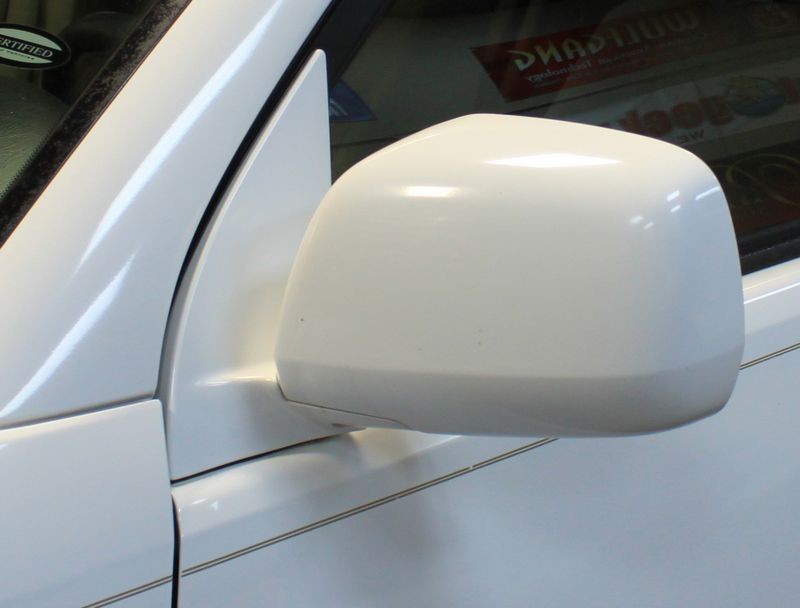
The mirrors actually have a texture to them...

Right now in Florida we're going through a cold spell, so instead of washing this rig outside, we opted to use Optimum No Rinse or ONR

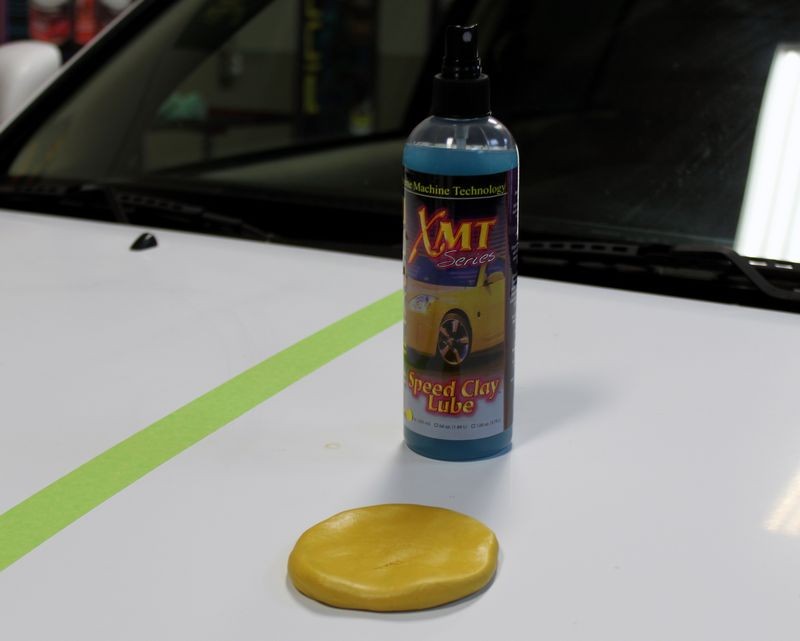
After washing and drying the exterior we then clayed the paint using XMT Speed Clay and Pinnacle XMT Speed Clay Lube. John had also never used detailing clay before.
After a little information on how DA Polishers work and how to do a "Section Pass" , I turned John loose on the Driver's side of the hood while I tackled the roof.
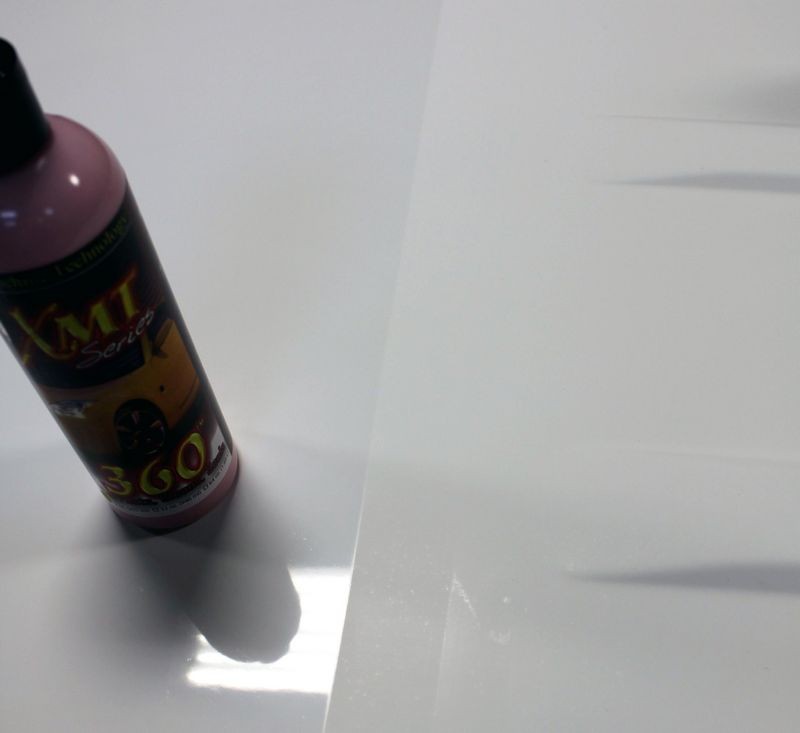
We placed some 3M Painter's Tape down the middle of the hood to show the before and after difference in results.

After machine application of the XMT 360 the gloss, shine and slickness have been restored.

The passenger side is still dull, lifeless and rough looking...

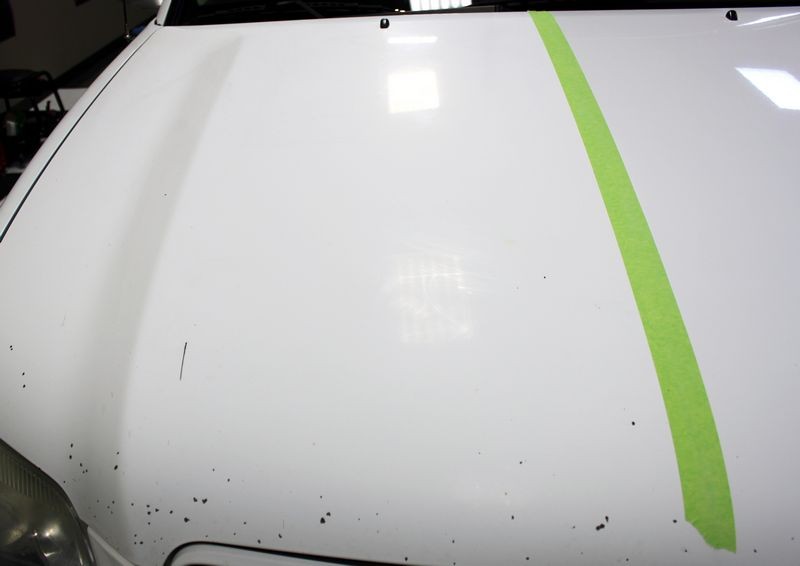
From this shot you can really see the difference in gloss and shine between the before and after sides...
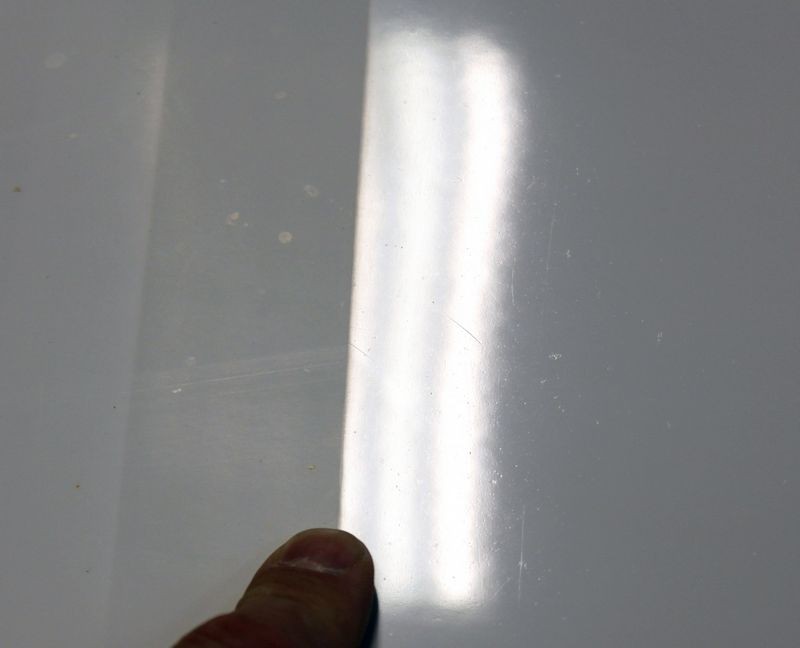
Close-up of the overhead florescent lights reflecting off the machine cleaned, polished and waxed side and no reflection at all on the before side.
After we proved our system would work to restore the paint I placed some green 3M painter's tape on the hood to show John how a person would normally divide a panel like the hood up into sections. Buffing out a car by machine is simply a matter of buffing out section by section and after buffing out one section and moving onto new territory, be sure to overlap a little into the previous section for good UMR
UMR = Uniform Material Removal
The tape was just for John's benefit to better visualize how to divide a panel up into smaller sections and after the point was made we removed the tape.

We did about half the Toyota using 5.5" Lake Country Orange Light Cutting Pads and then so he would have a chance to try out a different pad system for experience we also used the 5.5" Lake Country Yellow CCS Cutting Pads for the rest of the Toyota.
John used the Porter Cable 7424XP while I used the Griot's Garage 6" Random Orbital Polisher.
(The same type of polishers, just different brands)

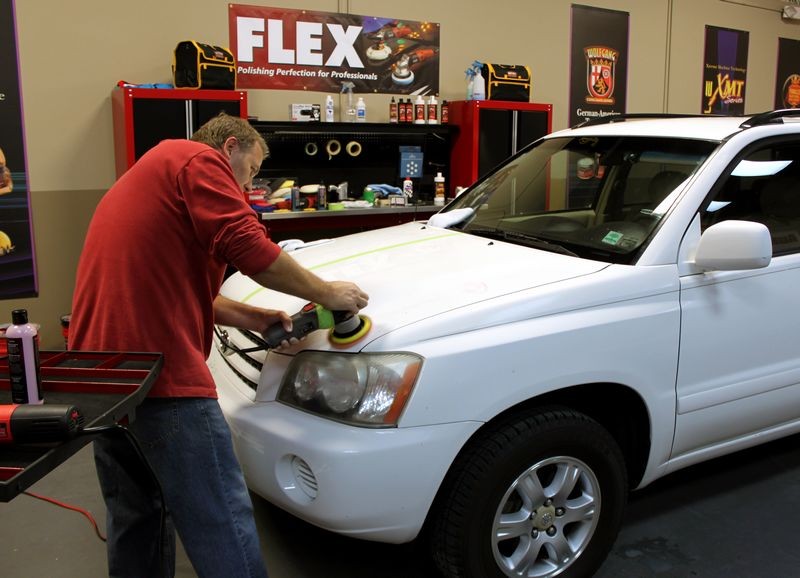
John buffing out his Toyota using the Porter Cable 7424XP

")
A friend of mine who's not really into cars but knows I'm into cars asked me if his paint could be saved and if it could be saved if I could recommend the products he would need to restore the finish. At first I told him a handful of products to get and then I said, heck... why don't you bring it down to the studio and I'll help you to buff it out and I'll use this project to make a point about matching your services to your customer.
In this case, this is a daily driver which is parked outside 24 hours a day, 7 days a week. It's an older S.U.V. and but it still runs great but after we polish it out it's still going to be a daily driver that sits out side 24x7. The point is this, match your services to your customer and in this case if a person were to bring you a detailing project like this the right approach would be the simple approach, that is a KISS Detail.
KISS = Keep it Simple Simon
KISS Detail = Keep it Simple - Wash, Clay use a One-Step Cleaner/Wax
The owner, John has NEVER used any kind of machine to buff out car paint. He's heard about the horror stories associated with improper machine buffing but never actually used an electric buffer to buff out a car. After this detailing project he is no longer worried about instilling swirls, burning through the paint or making a mistake when machine polishing.
Without further ado... here's the rig and here's the process...
The paint is chalky and dull with extreme oxidation on the horizontal surfaces. There's absolutely no gloss, slickness or shine left in the paint.
Pinnacle XMT Series 360 is a one-step cleaner wax specifically for machine application and it does a great job of cleaning, polishing and leaving behind a coat of protection in one, easy step.
Note how flat and dull the paint is...
This is the paint near the windshield squirter, it's so oxidized it looks more like white primer than a high gloss auto paint.
The mirrors actually have a texture to them...
Right now in Florida we're going through a cold spell, so instead of washing this rig outside, we opted to use Optimum No Rinse or ONR
After washing and drying the exterior we then clayed the paint using XMT Speed Clay and Pinnacle XMT Speed Clay Lube. John had also never used detailing clay before.
After a little information on how DA Polishers work and how to do a "Section Pass" , I turned John loose on the Driver's side of the hood while I tackled the roof.
We placed some 3M Painter's Tape down the middle of the hood to show the before and after difference in results.
After machine application of the XMT 360 the gloss, shine and slickness have been restored.
The passenger side is still dull, lifeless and rough looking...
From this shot you can really see the difference in gloss and shine between the before and after sides...
Close-up of the overhead florescent lights reflecting off the machine cleaned, polished and waxed side and no reflection at all on the before side.
After we proved our system would work to restore the paint I placed some green 3M painter's tape on the hood to show John how a person would normally divide a panel like the hood up into sections. Buffing out a car by machine is simply a matter of buffing out section by section and after buffing out one section and moving onto new territory, be sure to overlap a little into the previous section for good UMR
UMR = Uniform Material Removal
The tape was just for John's benefit to better visualize how to divide a panel up into smaller sections and after the point was made we removed the tape.
We did about half the Toyota using 5.5" Lake Country Orange Light Cutting Pads and then so he would have a chance to try out a different pad system for experience we also used the 5.5" Lake Country Yellow CCS Cutting Pads for the rest of the Toyota.
John used the Porter Cable 7424XP while I used the Griot's Garage 6" Random Orbital Polisher.
(The same type of polishers, just different brands)
John buffing out his Toyota using the Porter Cable 7424XP