Look what my Ref did to my pads

rohnramirez

New member
Joined
Feb 18, 2010
Messages
827
Reaction score
0
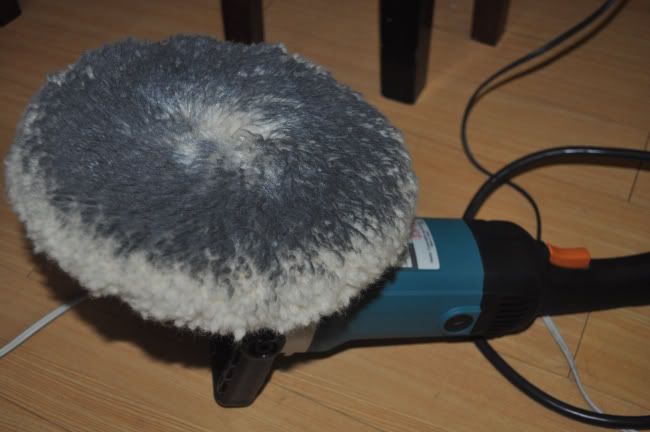
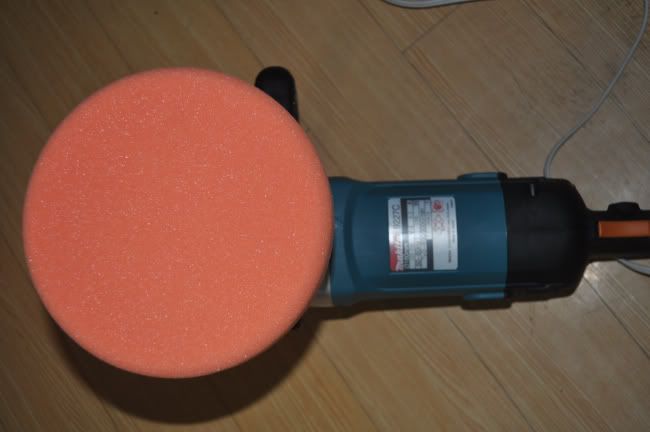
I was really excited to try my new superbuff 9" wool pad, megs BP and the HT pads. And since i just got a new camera, that didn't help with resisting the urge to try it out. Neither was the weather cooperating, it was pouring outside, so i looked around for something to work on, then poof i saw the fridge. So i took my stuff out and went to work.
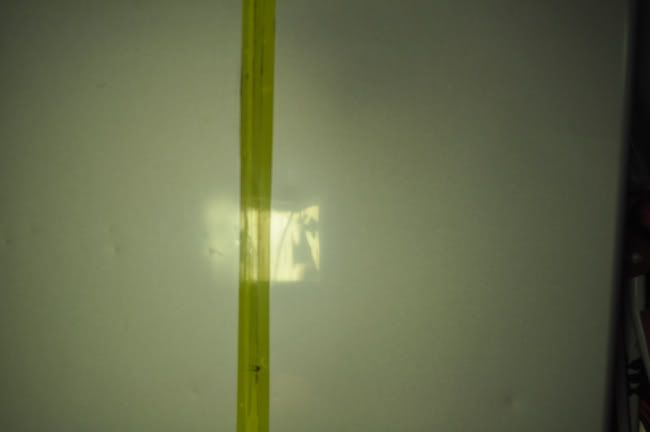
I started with this
DSC_0040_01.jpg


After 2 passes with the wool pad
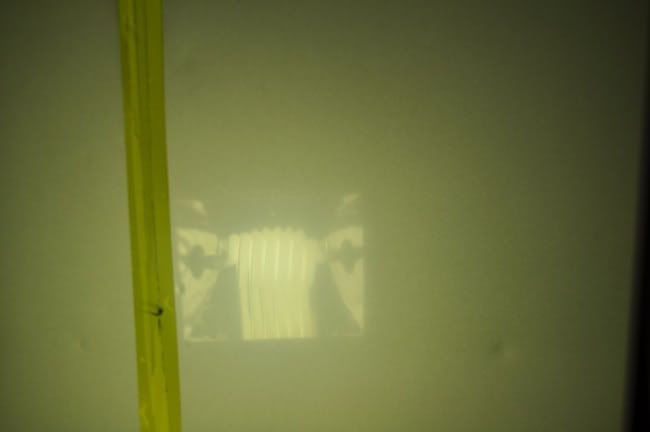
DSC_0041_01.jpg


Another two passes
DSC_0042_01.jpg


And look at that stain! This was EXTREMELY hard to remove..lol
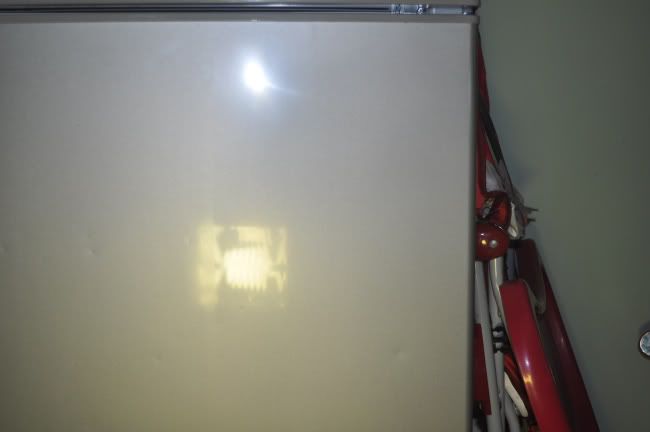
DSC_0044_01.jpg


Off to the HT pad
DSC_0045_01.jpg


AFter 2 passes with the Tang HT
DSC_0046_01.jpg


DSC_0047_01.jpg


50/50
DSC_0050_01.jpg


DSC_0051_01.jpg


DSC_0052_01.jpg


DSC_0053_01.jpg
 
LOL, I've had the same problem... Must.. resist urge... to... polish everything! Did you finish the rest of it?
 
Yes i did..lol.

That's why it was a PITA to clean the wool pad afterwards. But the wife loved how it turned out. Looked pretty new except for the dings.

And i really need to learn how to use the camera, somehow on some pictures the paint doesn't appear gray.
 
Wow. How did you know what camera i was using? Will look and read more if it, thanks for the link. Appreciate it.
 
Wow. How did you know what camera i was using? Will look and read more if it, thanks for the link. Appreciate it.

An add-on for firefox called Exif data viewer, once installed just right-click a pic and choose "veiw exif data". It just shows all the info that the camera saves in the data for each picture, which is much more info than shown in "properties" or "get info". Very useful when doing creative photography, for figuring out how you took a shot that turned out well, or advising people on camera settings. :xyxthumbs:
 
Ooooh! You must be an expert in photography. Will try and download that too. I didn't know photography could be so complicated..lol. I'm just used to the point and shoot ones, which i just borrow from my sister.

See how we learn a lot here from AGO aside from detailing! Many thanks.
 
Holy cow..i just downloaded it. That's just awesome. It tells you tons about the picture (well, i gotta be honest, most of it i didn't understand). And it even shows the location of the folders and albums where the picture was stored.

Is there a way to remove some of those info? The stuff i wouldn't want anyone to see. Sorry for going off topic. :)

Well, it's your thread! :xyxthumbs:

Choosing "Basic information only" will make it much easier to make sense of.

Editing the pic usually will remove it, try the only pic in my gallery... no info. Not sure if the AG gallery removed the data or other editing/cropping. I think the work flow I describe below will remove the data and resize your pics for upload/posting. I haven't payed any attention to what process does/doesn't remove the data... I like to be able to see it.

Quote from the thread: http://www.autogeekonline.net/forum/off-topic/23600-how-do-you-add-pics-thread.html

Here is a link to Paint.NET, a free photo editing program. It is pretty powerful, get creative! It's more than necessary for the purposes of this discussion.

Easy Thumbnails is great because you can resize many pics at once. A couple things to know:

1- Files tab- Find the folder with your pics and highlight each one you intend to resize.

2- Settings tab- Choose a width/height (view the preview window). As Mike say's 800 width is good.

3- Save in- Be sure you remember where the pics are going. If you don't define a new place to save them they will save in the original folder with a "tn_" prefix to whatever the pic was previously named (you can change this in the settings tab).

4- Click "MAKE" to resize all the pics you had highlighted, do not click "Make all" as this will resize every pic in the folder (unless that is what you want to do, of course)

5- Upload and share! :)

There's some great info and links in http://www.autogeekonline.net/forum...ke-phillips/23722-articles-mike-phillips.html

BTW, is your camera's quality setting on the best resolution, "Large (L) 4288x2848"?
 
I have it on small and FINE JPEG setting. Does the size (in terms of pixels) dictate the quality of the image? Sorry for the noob photo questions.
 
Back
Top