Looking for Pebble Beach shine on a 300SL

ctpj

New member
Joined
Jul 27, 2013
Messages
13
Reaction score
0
Looking for Pebble Beach shine on a 300SL


Looking for advise on getting Pebble Beach quality shine. I’m about to do an exterior detail on a 300SL and am looking for that deep, wet, mirror-like million-dollar shine.

To provide a little background, the car is light blue metallic and was painted about 15 years ago with two-stage Glasurit clear-coat. The paint is in excellent condition and shows some very minor swirl marks and surface scratches on some panels.

The car is primarily a show/Sunday driven car that is kept in a climate controlled garage and is driven about 500 miles a year only in sunny weather.

The last time the exterior was detailed, the following was done:

1. Washed with boar’s hair brush, two bucket method
2. Dried with leaf blower
3. Griots clay bar with SpeedShine
4. Trim remove (taped-off if it couldn’t be removed)
5. Minor paint correction with Meg #83/#81 and PC using Griots orange pad
6. Meg #21 (two coats) applied with Griots red pad
7. Meg #7 hand applied​

The finish has been maintained by using a car cover, steps 1&2 after each drive, periodic applications of Meg #7, and regular use of Meg Quik Detailer and Quik Wax.

The finish still looks great and beads nicely, however, I feel it is time for more . As mentioned, besides minor paint correction, I’m looking for that incredible show shine. I am looking for advise on products and procedures to accomplish this.

Specifically, how far should I go to remove what’s currently on there now? What products should I use to accomplish the results I’m looking for (along with application process and application order)? I use Klasse twins on other cars.

Should I use them here? If so, what part of the process and with what other products? I have a Brinkmann Xenon light on order and can post picture of the paint once I get it.

I have to admit I’m a little overwhelmed by all the product choices and procedures currently available and would greatly appreciate any help and advise.

Thank you,

Todd
 
Meguiar's M83 and M81 are great products and I've used barrels of these over the years but take a look at some of the new polishes on the market.


My buddy Tommy wins a first place trophy dang near every time he enters this car into a car show...


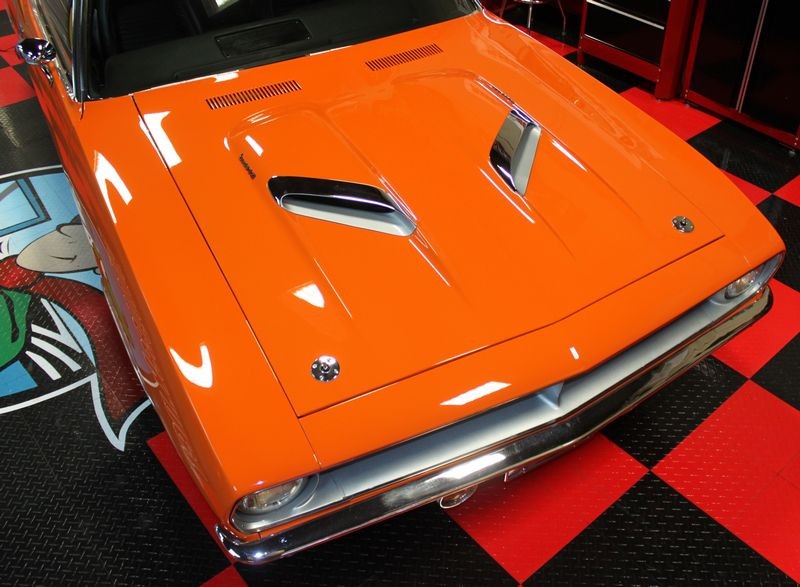
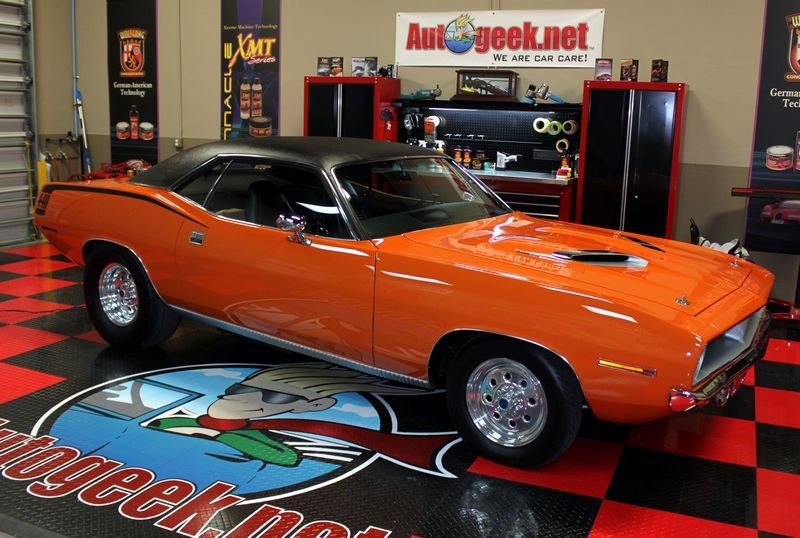
1970 Barracuda Extreme Makeover


Before

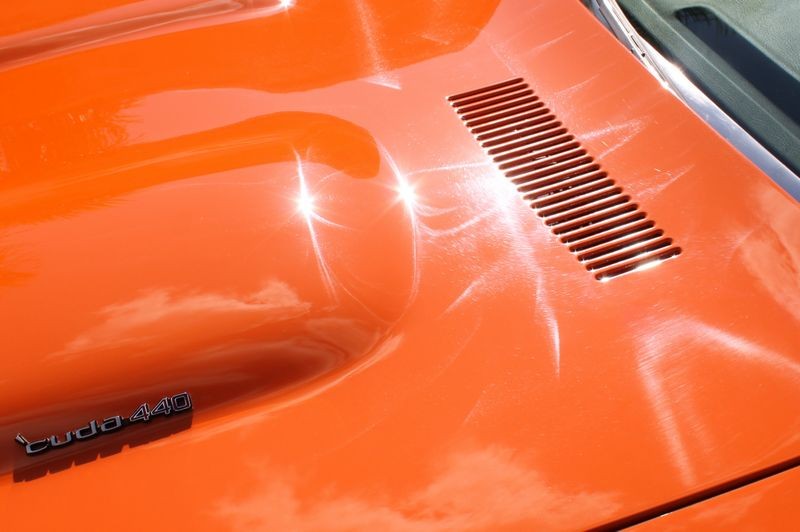
Completely filled with holograms from the mis-use of a rotary buffer!
Tommys70Cuda009.jpg


Tommys70Cuda013.jpg


After
Tommys70Cuda031.jpg


Tommys70Cuda032.jpg


;)
 
First...Hi Todd and...:welcome:...to AGO!

Looking for advise on getting Pebble Beach quality shine.

I'm sure that Mr. Phillips, and some other Professional Detailers here on the AGO forum,
have detailed a vehicle, or two, for Concours events...perhaps even for Pebble Beach.

But for now...
It probably wouldn't cause any harm to contact: Pebble Beach Concours d'Elegance : People...
and tell them you're interested in their suggestions on whom to have your: "I-Class vehicle" detailed.

Bob
 
First...Hi Todd and...:welcome:...to AGO!


I'm sure that Mr. Phillips, and some other Professional Detailers here on the AGO forum,
have detailed a vehicle, or two, for Concours events...perhaps even for Pebble Beach.

But for now...
It probably wouldn't cause any harm to contact: Pebble Beach Concours d'Elegance : People...
and tell them you're interested in their suggestions on whom to have your: "I-Class vehicle" detailed.

Bob


Mike & Bob,

Thank you.

I'm doing the job myself looking for a concour level of finish. With all that is out there, I'm interested in what products and process would produce that type of result. I know that a light blue car is different from a darker car (more difficult?) for obtaining a deep wet look and that some products are better suited than others.

Todd
 
Looking for advise on getting Pebble Beach quality shine. I’m about to do an exterior detail on a 300SL and am looking for that deep, wet, mirror-like million-dollar shine.


The definition of shine can mean different things to different people but to really get paint "shiny", it starts with a smooth surface and that means claying or some other mechanical means of removing any type of contaminant off the finish.

Have you done the baggies test?


Right now, out in our studio I have a 1932 Ford Phaeton and a 1979 Firebird. The Ford failed the baggie test when it arrives last week even thought it's a garage-kept streetrod.

From this write-up...

Rupes 21 & Flex 3401 Comparison + Detailer's Paint Coating


Inspect for above surface bonded contaminants
So many people think because a car looks cool or the because the paint is shiny automatically means there's nothing wrong with it and it certainly wouldn't need to be clayed.

Not true. Car Guys like Mike area always spraying paint on other car projects and this car was owned by someone else for at least 15 years before Mike purchased it, so there's no way of knowing what's been in the air around this car since it popped out of the paint booth.

Both Eric and I felt the paint with our bare hands and we could feel the paint was rough. Even so, I had Eric feel the paint using the Baggie Test and this made it VERY apparent we needed to clay this hot rod Ford.

1932_Ford_Phaeton_050.jpg


The Baggie Test - How to inspect for above surface bonded contaminants

1932_Ford_Phaeton_051.jpg


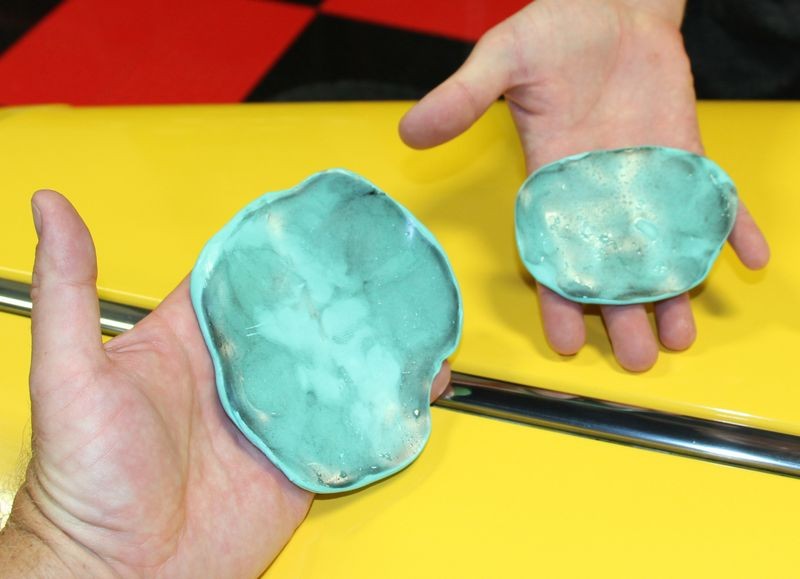
Below is what the clay looked like after we clayed it.


Pinnacle Ultra Poly Clay
I love this clay. It's an Ultra Fine Grade Clay so it's as safe as you can get for detailing clay yet it will tackle just about anything with enough passes while still being safe for frequent use on daily drivers.

1932_Ford_Phaeton_052.jpg


1932_Ford_Phaeton_053.jpg


Article: Even show cars might need to be clayed...

I don't know what was on the paint but it's now on the clay. I clayed JUST half the hood and Eric clayed just the other half and look how much junk we were removing off the paint.

1932_Ford_Phaeton_054.jpg


To provide a little background, the car is light blue metallic and was painted about 15 years ago with two-stage Glasurit clear-coat. The paint is in excellent condition and shows some very minor swirl marks and surface scratches on some panels. The car is primarily a show/Sunday driven car that is kept in a climate controlled garage and is driven about 500 miles a year only in sunny weather.

Every Glasurit paint job I've ever worked on has always been a great experience.

Glasurit-logo.jpg


The last time the exterior was detailed, the following was done:
1. Washed with boar’s hair brush, two bucket method
2. Dried with leaf blower
3. Griots clay bar with SpeedShine
4. Trim remove (taped-off if it could’t be removed)
5. Minor paint correction with Meg #83/#81 and PC using Griots orange pad
6. Meg #21 (two coats) applied with Griot's red pad
7. Meg #7 hand applied
The finish has been maintained by using a car cover, steps 1&2 after each drive, periodic applications of Meg #7, and regular use of Meg Quik Detailer and Quik Wax.

The finish still looks great and beads nicely, however, I feel it is time for more .


Even the paint on show cars will tend to go downhill with time even when you're always really careful with however you "touch" the paint.


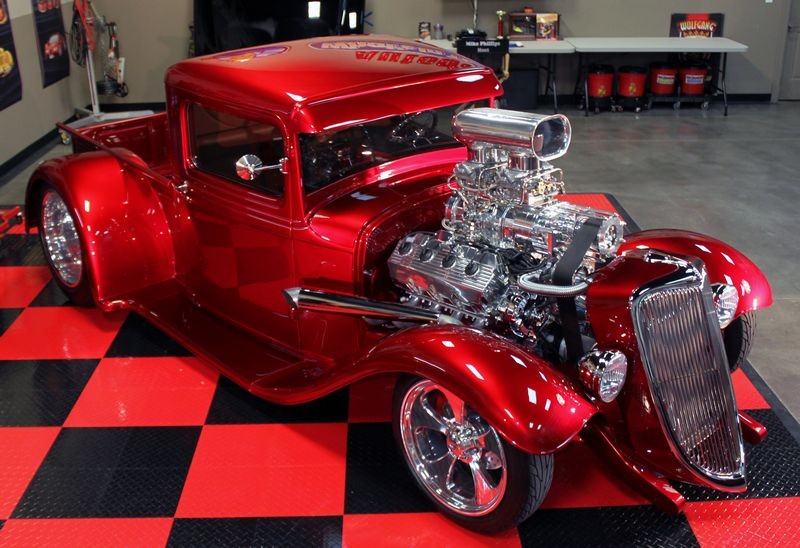
Here's a great example of a true show street rod that has an absolutely mind-blowing candy apple paint job but just from years from being wiped with spray detailers and microfiber towels it has a build-up of fine scratches over the entire finish.

We fixed that here at AGO...

Blown 1934 Ford Pick-up - Show Car Makeover - Modeled by Kristin


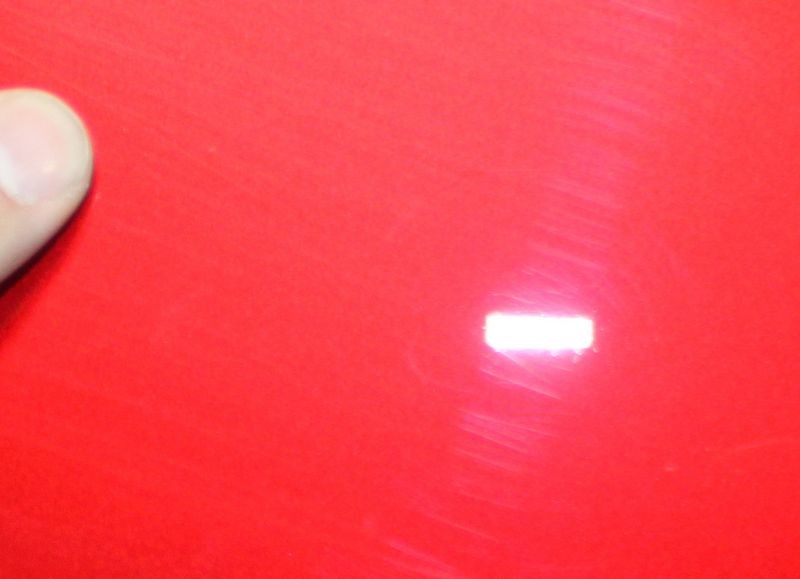
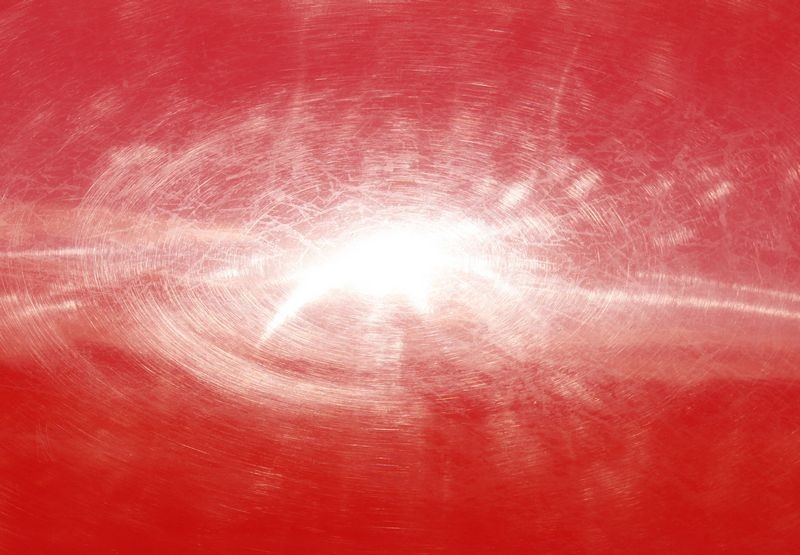
See the fine scratches I captured with my camera...

Project34021.jpg


Project34022.jpg


All gone....


Project34012.jpg


Here's what we used on the above paint job to restore the deep, wet shine... its' also in the write-up with around 100 pictures which you can get to by clicking the link I posted above.


On Autogeek.net


Waterless Wash
Detailer's Pro Series Waterless Auto Wash


Tools
Flex PE 14
Porter Cable 7424XP
Griot's Garage 6" ROP
Meguiar's G110v2
Griot's Garage 3" Mini Polisher


Sanding Tools
Meguiars Unigrit 1000 3 Inch Finishing Discs, 15 per box
Meguiars Unigrit 3000 3 Inch Finishing Discs, 15 per box
Meguiars Unigrit 3 Inch Foam Interface Pad


Buffing Pads
5.5" Lake Country Flat Pads
Griot's Garage 3 Inch Mini Red Wax Pad 3 Pack
Griot's Garage 6 Inch Orange Polishing Foam Pads, Set of 3


*** Note: Below are the two polishes we used on the paint, we also used these on Tommy's 1970 440 Cuda.

Wax
Wolfgang Füzion Carnauba Polymer Estate Wax


Microfiber Towels
Super Soft Deluxe Green Microfiber Towels with Rolled Edges
Super Soft Deluxe Blue Microfiber Towels with Rolled Edges, 3 Pack


Miscellaneous Items
Gold Wax Finger Pocket
Microfiber Gloves
Brinkmann Swirl Finder Light
Kreepstool Rolling Utility Seat
Autogeek Detailing Cover-Up Towel


As mentioned, besides minor paint correction, I’m looking for that incredible show shine. I am looking for advise on products and procedures to accomplish this.

I use the Pinnacle swirl remover and finishing polish on a lot of the show cars I do here at Autogeek, I even used them on my personal daily driver. They will do exactly for you the same thing they do for all the cars I work on...


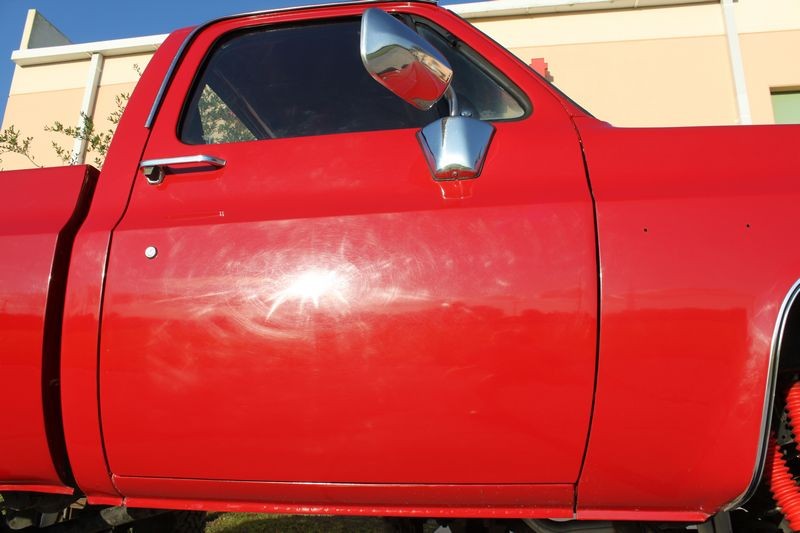
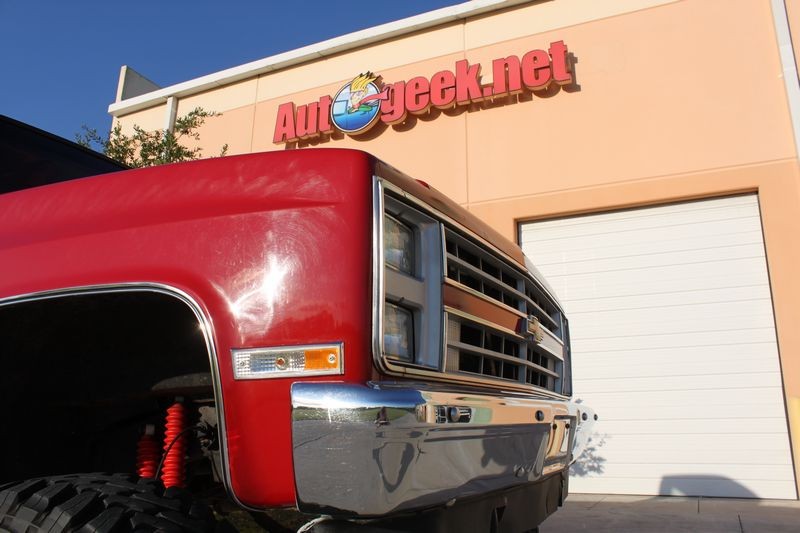
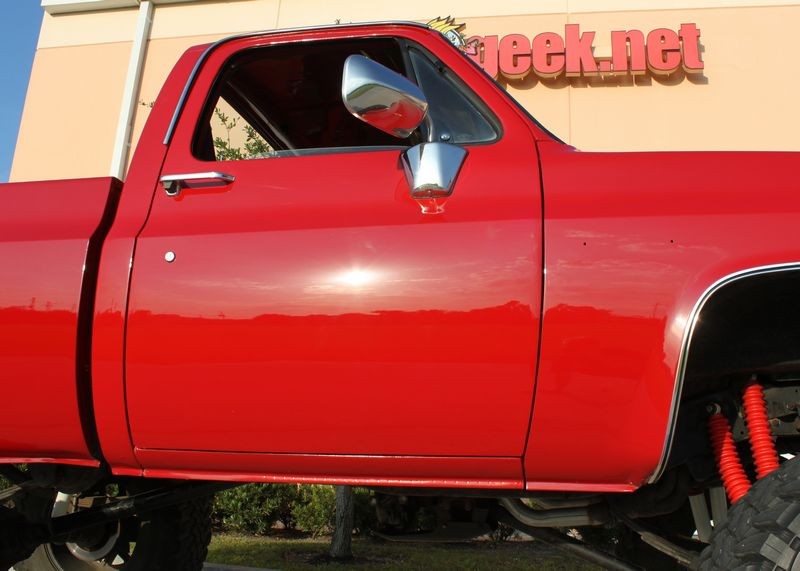
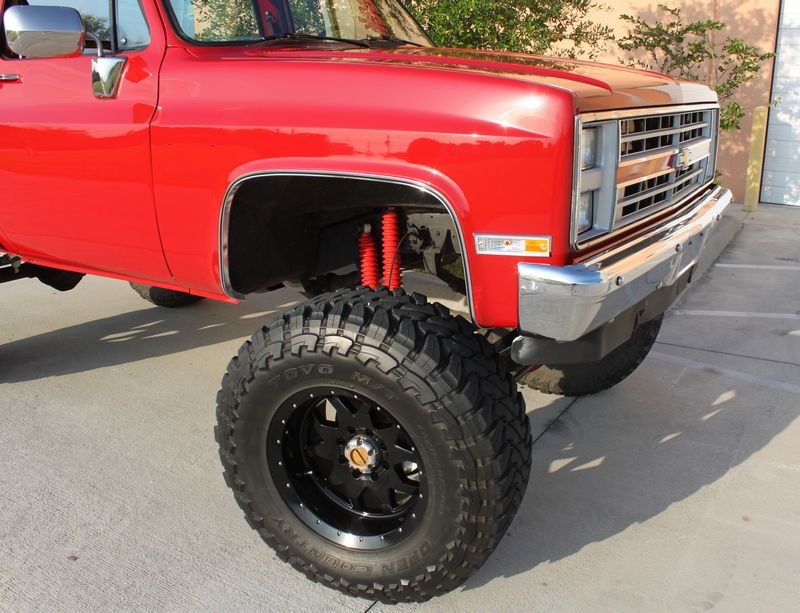
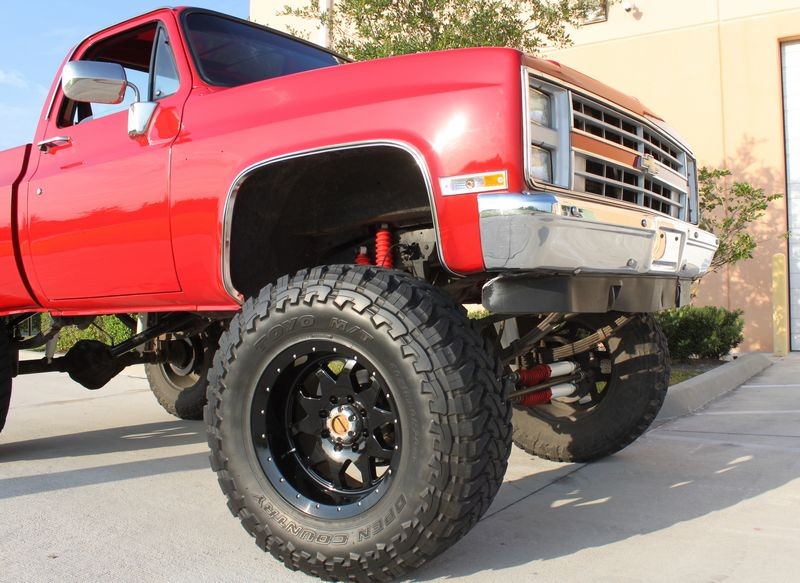
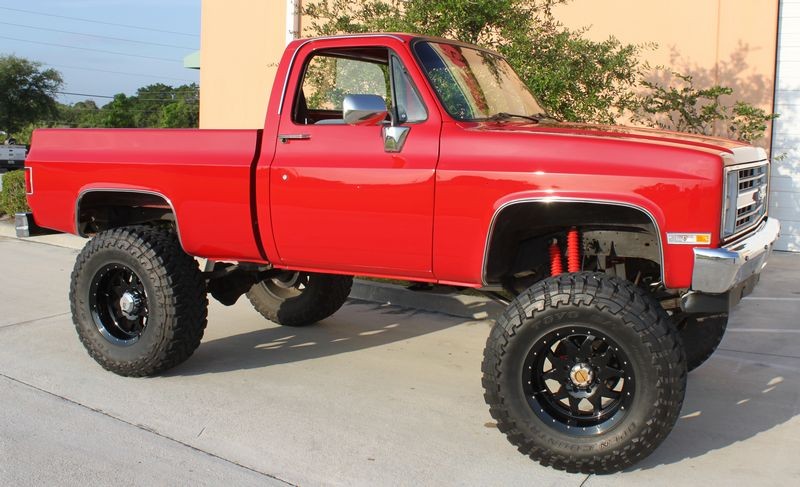
1987 Chevy 4x4 Monster Truck "Before & After" Pictures

(I'm not really a car guy, I like a truck)


Before

1987_Chevy_Moster_Truck_036.jpg


1987_Chevy_Moster_Truck_037.jpg


1987_Chevy_Moster_Truck_038.jpg


1987_Chevy_Moster_Truck_039.jpg


After

Same truck, photographed 24 hours later in the same location at the same time...

1987_Chevy_Moster_Truck_090.jpg


1987_Chevy_Moster_Truck_091.jpg


1987_Chevy_Moster_Truck_092.jpg


1987_Chevy_Moster_Truck_093.jpg


Ready for Pebble Beach!

1987_Chevy_Moster_Truck_094.jpg


Specifically, how far should I go to remove what’s currently on there now?

Polishing with any quality polish will obliterate whatever is still remaining on the surface.


What products should I use to accomplish the results I’m looking for (along with application process and application order)?


I posted these above and in all my write-ups I pretty much outline the "process", just click on the links and read through the write-up.


Blown 1934 Ford Pick-up - Show Car Makeover - Modeled by Kristin


1987 Chevy 4x4 Monster Truck "Before & After" Pictures


1970 Barracuda Extreme Makeover


I use Klasse twins on other cars. Should I use them here? If so, what part of the process and with what other products?

The Klasse AIO is a good by very light chemical paint cleaner, polish and wax all in one and it will remove whatever is on your car right now.

I wouldn't try to use the Klasse SG for a show car wax but that's just me...


I have to admit I’m a little overwhelmed by all the product choices and procedures currently available and would greatly appreciate any help and advise.

Thank you,

Todd

The key thing is to use good abrasive technology and after that... good technique.

Using good foam pads goes without saying and you should do all your work by machine if you want your results to look like this...


1970Camaro061.jpg


1970Camaro068.jpg


Or this...

1939LincolnZephyr066.jpg


Or this...

54Ford148m.jpg


54Ford108.jpg


All of the above cars have basecoat/clearcoat paint systems and all of the above were polished by machine with Pinnacle polishes including machine waxed.


Hope the above helps a little.... now I'll send the link to this guy on the phone asking how to improve the paint on his Mercedes-Benz over the results he's getting with some Turtle wax product.


:)
 
Mike & Bob,

Thank you.

I'm doing the job myself looking for a concour level of finish. With all that is out there, I'm interested in what products and process would produce that type of result. I know that a light blue car is different from a darker car (more difficult?) for obtaining a deep wet look and that some products are better suited than others.

Todd


Use products that use quality abrasive technology, your results start here.
Work by machine
Take your time and use good technique.


Watch this video it covers TONS of technique...


Video: How to remove shallow RIDS and how to machine apply both a paint sealant and a finishing wax


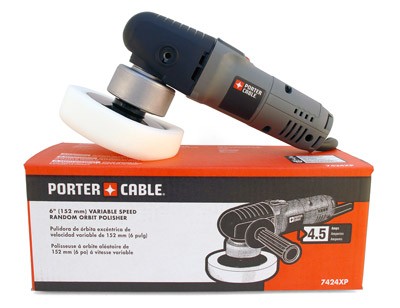
PorterCable7424XP2.jpg


In this video, you'll see how to inspect and remove RIDS or Random Isolated Deeper Scratches using 4" Spot Repair Pads on a Porter Cable 7424XP DA Polisher.


How to remove shallow RIDS and how to machine
apply both a paint sealant and a finishing wax
[video=youtube_share;3xJH_MGgbLw&hd=1"]How to remove shallow RIDS and how to machine...[/video]​


This how-to video also covers,

  • RIDS - Random Isolated Deeper Scratches
  • Removing watches and any jewelery
  • Using a DA Polisher without the handle
  • Placing cord over shoulder
  • Priming the pad on a DA Polisher
  • Speed settings for removing isolated defects
  • Downward pressure needed for removing isolated defects
  • How to clean a pad on the fly
  • Where and why to mark your backing plate with a black mark
  • Rotating the body of the tool to keep the pad flat to a panel
  • Why to allow the pad to stop spinning before lifting the pad off the paint
  • How to swap backing plates from a 3.5" to a 5"
  • Machine waxing using 5.5" Hydro-Tech Crimson Finishing pads with Menzerna Power Lock
  • The "Kissing the Finish" Technique
  • How to do the Swipe Test to check if a wax or paint sealant is dry
  • How to remove dried paint sealant using a microfiber bonnet on a dry pad on a DA Polisher
  • How to clean a microfiber bonnet on the fly with your fingernails
  • How to apply a paste wax by machine - Souveran Paste Wax
  • How to carefully wipe a WOWO wax off by hand using Microfiber Gloves and plush Microfiber Towels
  • How and why to fold a microfiber towel 4-ways to wipe wax off
  • How to break-open a coat of wax and then creep out to carefully wipe off a coating of wax
  • How to do the "Final Wipe"
:)
 
I think the results on the cars speak for themselves and all my write-ups document the steps and the order in which they were performed.

A complete newbie could click on any one of them, read them carefully, and then get the same products and duplicate the same results.

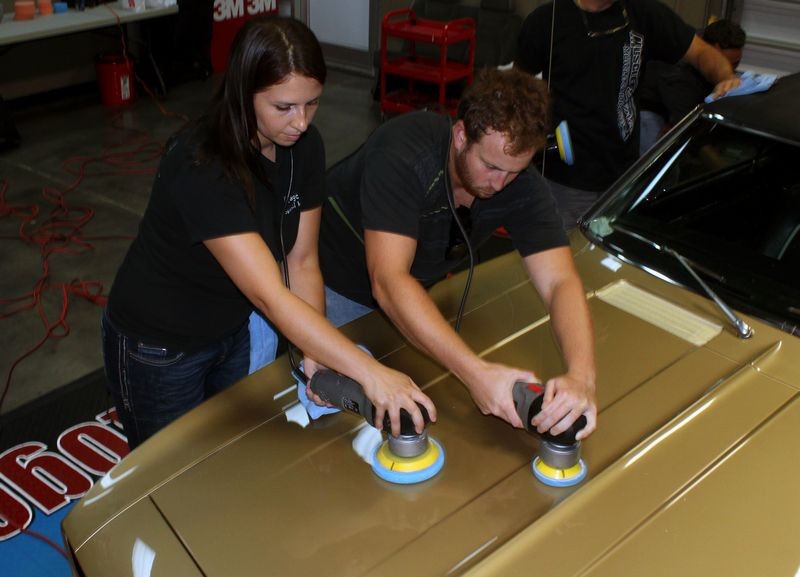
Like I show in this thread, it's not that hard... all the pictures of the people in the below article are brand new to machine polishing and learned how to create a show car finish here at AGO and they span a wide range of ages from a young boy to a seasoned member of our society and even a couple of young ladies.


I actually love documenting this kind of stuff on this forum, it's where all the action's at...


It's not that hard...


Note these people are not just "learning" on daily drivers aka new cars, they're learning on someone's "toys" or Special Interest Vehicles. More risk for me, more fun for them...


In the below live broadcast I show a 15 year old boy how to machine polish

Live Broadcast Video - 1965 Plymouth Valiant - Extreme Makeover

1965Plymouth034.jpg


And in this one I show a 21 year old girl how to machine polish

Video & Pictures: 1965 Fastback Mustang - Gtechniq EXO Show Car Makeover!

Trista working with the rest of the team to machine polish this 1965 Mustang Fastback 2+2
TristaBuffingFortheFirstTime001.jpg


Trista removing swirls on a show car...

TristaBuffingFortheFirstTime002.jpg


And in this one I show a 80 year old man and a young lady and here boyfriend how to machine polish for their first time...

Video and Pictures - Two 1967 Camaro's - Show Car Makeovers!


CamaroNight001.jpg


CamaroNight002.jpg


PLUS you have everyone on this forum to help you along the way...

:)
 
Mike and others,

Thank you for the wealth of information and knowledge! The resources here are invaluable. I checked the paint with a Brinkmann Xenon light and noticed very few surface marks, HOWEVER, upon doing a baggy test, I was Shocked with the roughness of the paint. Even after doing it, I went over the same area with my hand and couldn't feel it. So, after a thorough wash and dry, on to extensive claying. I currently have Griot's clay and Speed Shine in my cabinet. What are people's thoughts on these products? Also, with very minor swirl marks on some panels and a few light surface scratches , what would be suggested for pads and polish using an old Griots PC (10+ years)? I tried taking pictures of the surface with my iPhone and the Xenon light but the imperfections were so minor that they would not show up; possibly due to the color (unlike my black daily driver).

Again, thank you all,

Todd
 
Mike and others,

Thank you for the wealth of information and knowledge! The resources here are invaluable.

Thank you for the feedback, remember to share our forum with your car buddies, that's win/win.


I checked the paint with a Brinkmann Xenon light and noticed very few surface marks, HOWEVER, upon doing a baggy test, I was Shocked with the roughness of the paint.


That's a pretty good word to describe how you react when you feel your paint using the baggie test. I've seen a lot of people "shocked" in my life.


Even after doing it, I went over the same area with my hand and couldn't feel it. So, after a thorough wash and dry, on to extensive claying. I currently have Griot's clay and Speed Shine in my cabinet.

What are people's thoughts on these products?

Griot's makes very good products. I have not used their paint clay myself but I'm sure it's of high quality. Next time I have a car in here I'll give it a try though...


Also, with very minor swirl marks on some panels and a few light surface scratches , what would be suggested for pads and polish using an old Griot's PC (10+ years)?

See this thread,

http://www.autogeekonline.net/forum...on-t-accept-lake-country-5-backing-plate.html


IF you have the same polisher and here are some pictures, it won't do you any good to try to remove swirls as this polisher did not have the ability to rotate a pad under pressure. I explain why in the above thread.


The shroud and the vanes surrounding the spindle assemble were to capture and remove wood dust while sanding.

First_Generation_Griots_Polisher_001.jpg


The holes in this backing plate were touted to help with keeping the polishing process cool but actually they are for sawdust extraction.

First_Generation_Griots_Polisher_003.jpg


First_Generation_Griots_Polisher_002.jpg


I tried taking pictures of the surface with my iPhone and the Xenon light but the imperfections were so minor that they would not show up; possibly due to the color (unlike my black daily driver).

Again, thank you all,

Todd


No problem Todd...

Need to have you check and see if your Griot's polisher looks like the one in the pictures above, if so, you'll need to update to a newer polisher.


Also, here's a video on how to clay...

Show Car Garage Video: How detailing clay works and how to use detailing clay to remove above surface bonded contaminants


:)
 
Back
Top