RaskyR1
New member
- Apr 14, 2008
- 3,733
- 0
This one was just in for a quick pre-sale polish and full correction was not the goal. I did put in a little more work than I was being paid for on this one as a 1-step just wasn’t getting the paint to a point where I was happy with it. ")
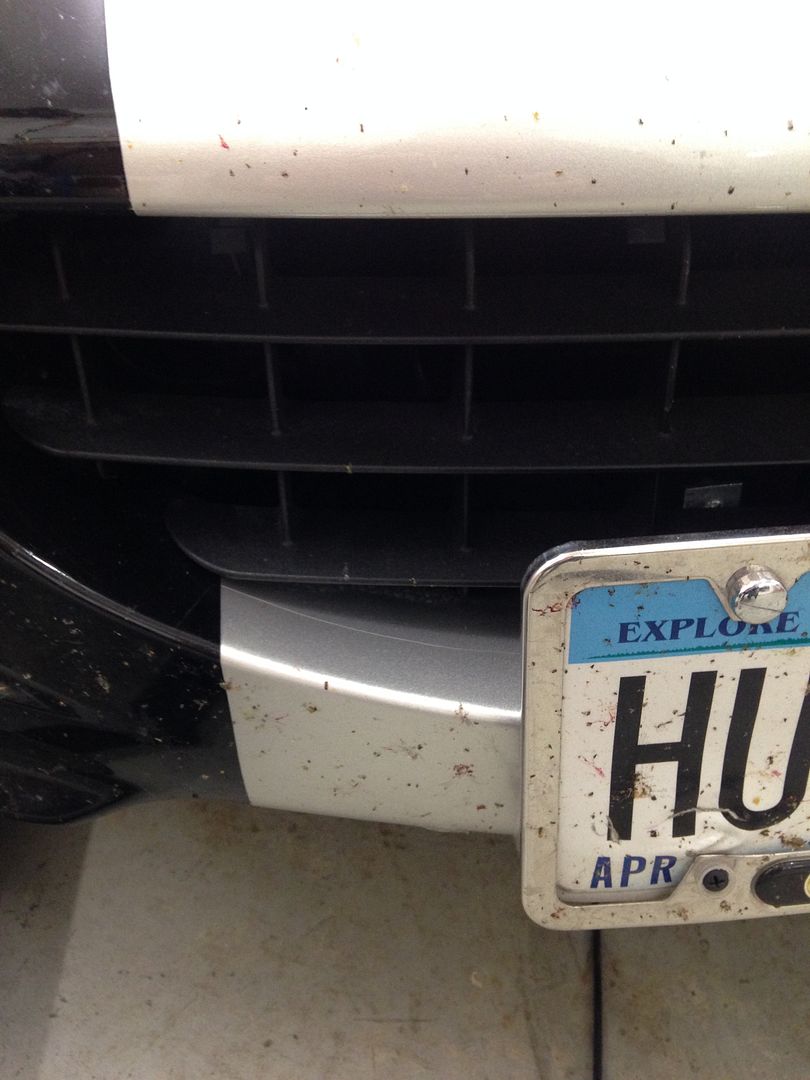
Before
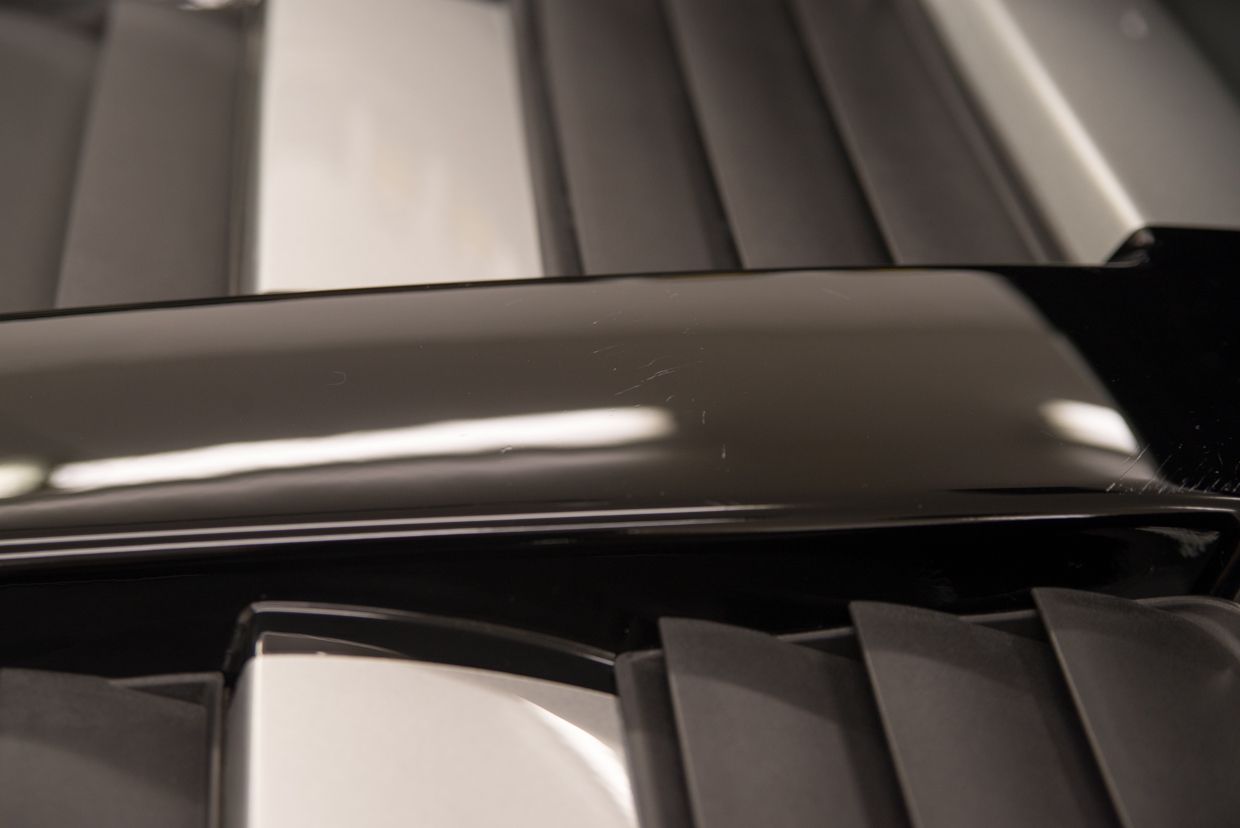
Bugs from the previous summer
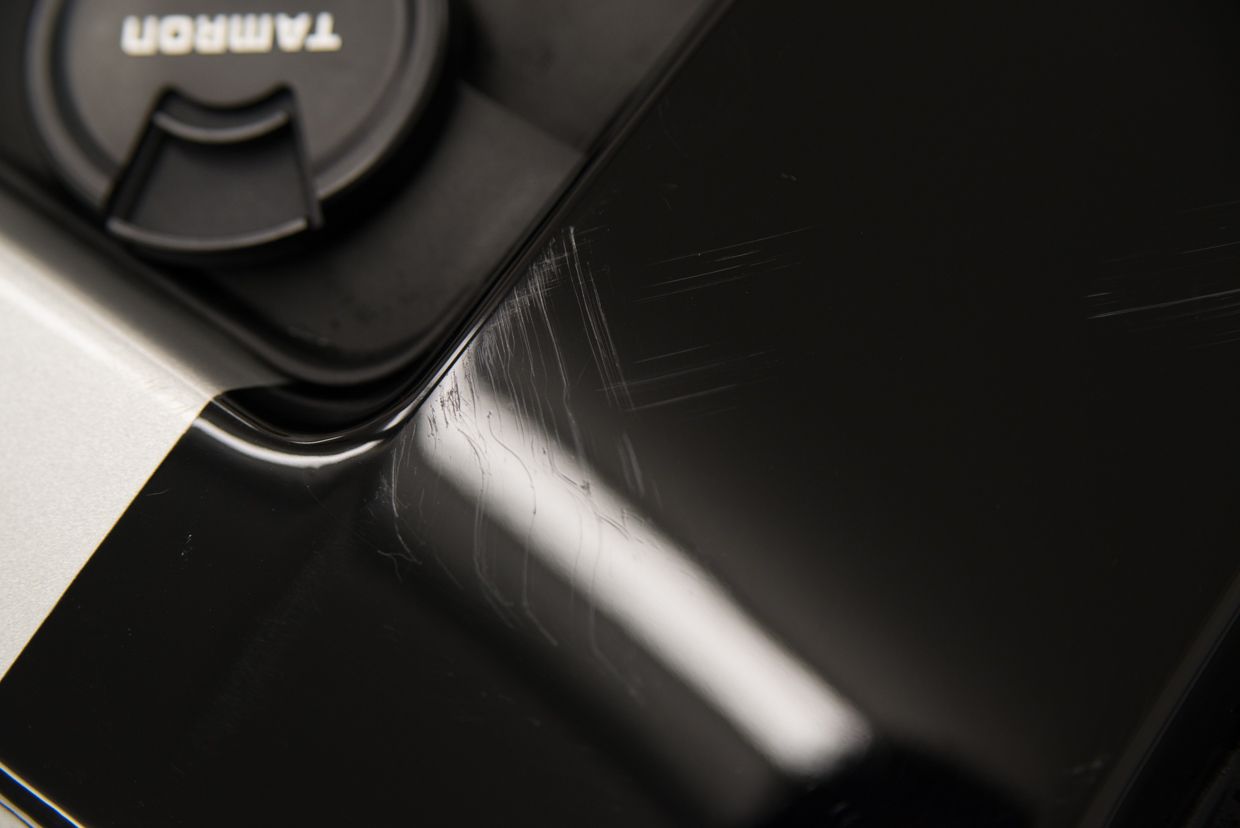
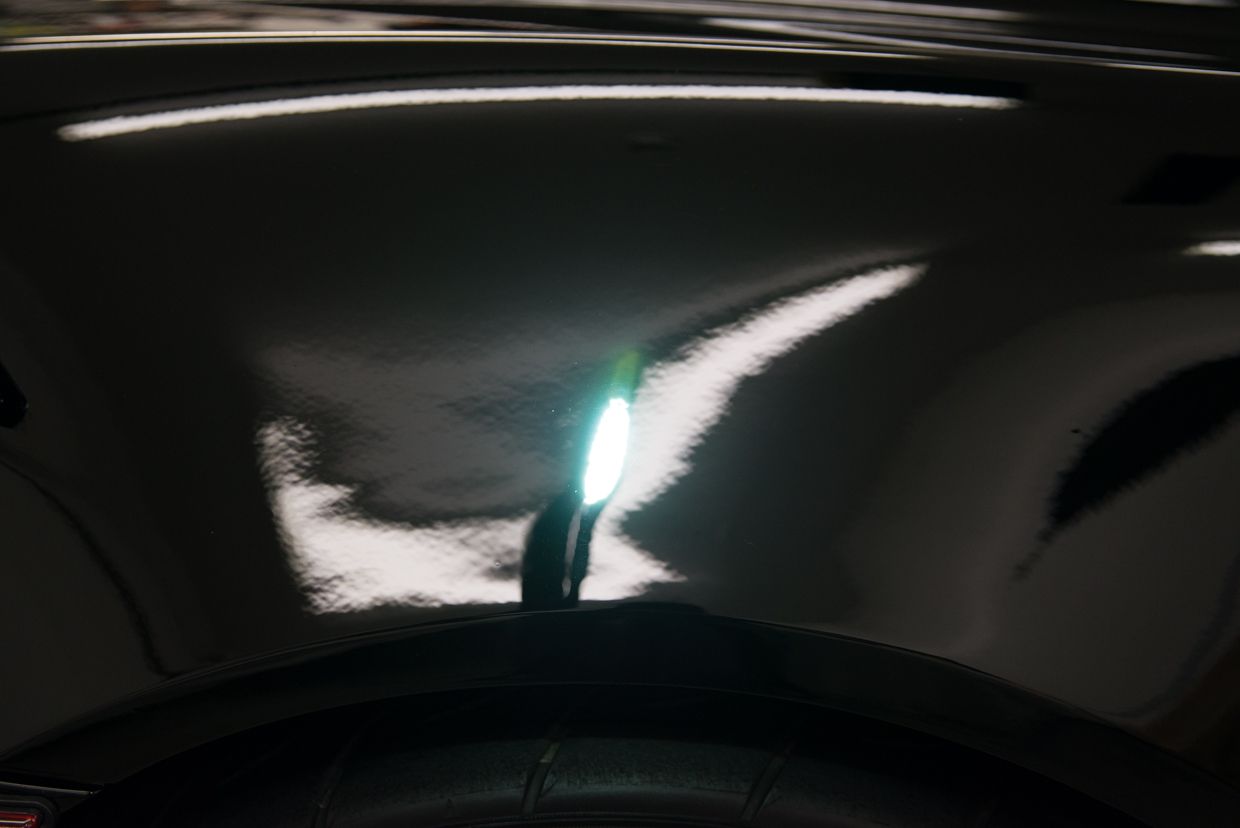
Rear hatch had some deep scratches that I tried to improve a little…


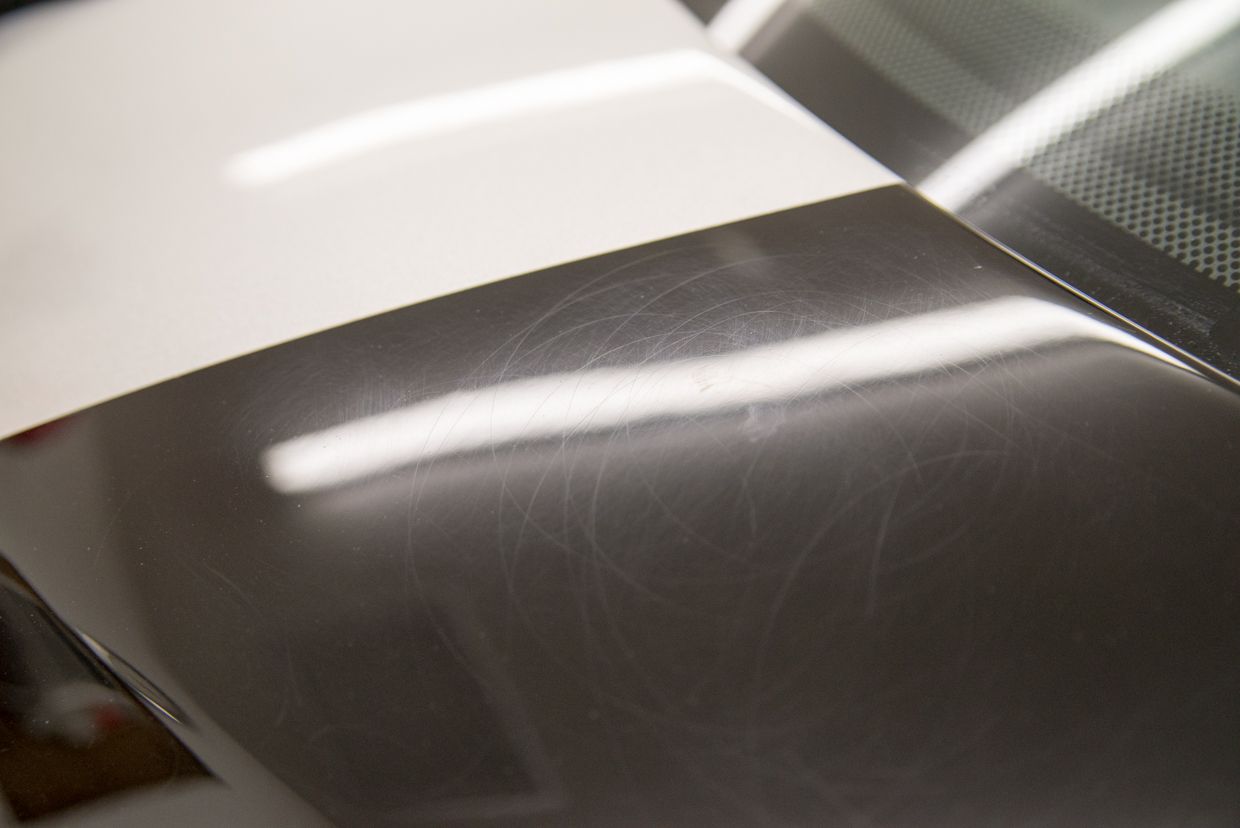
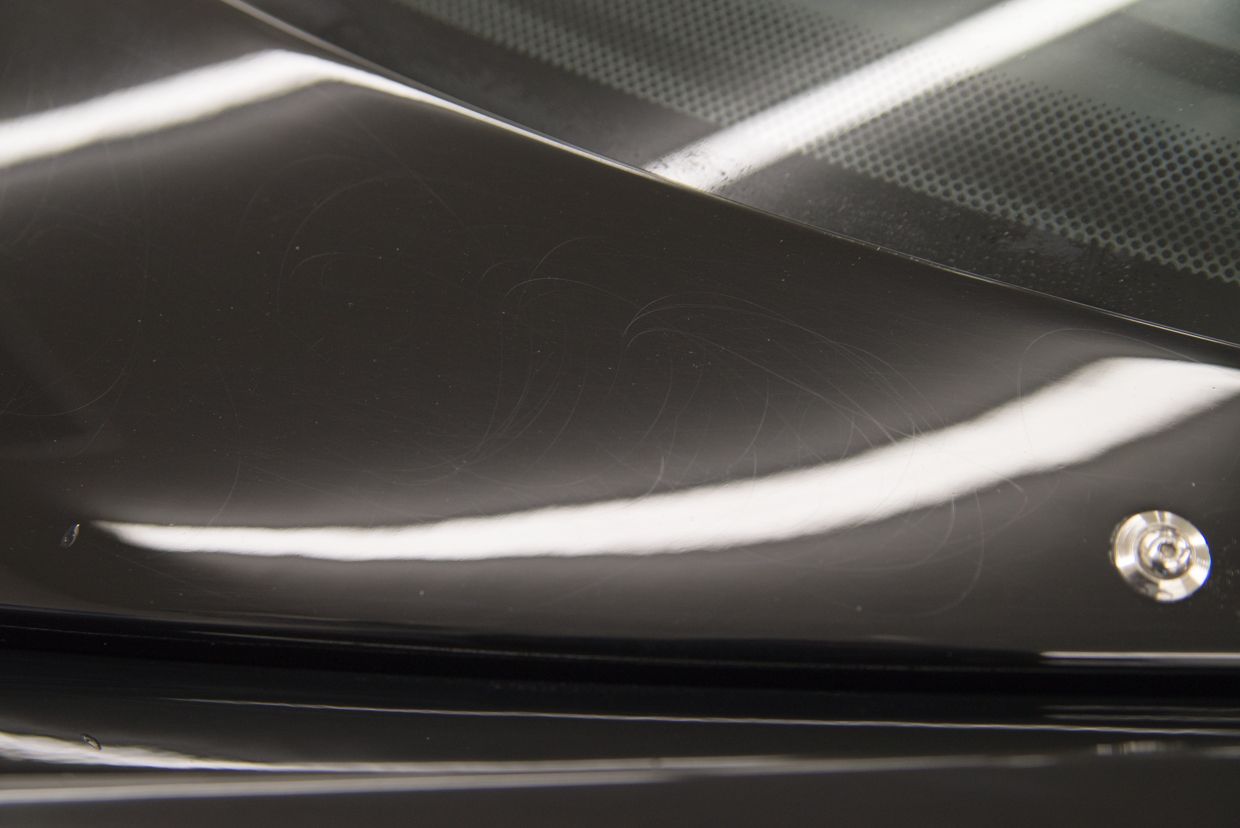
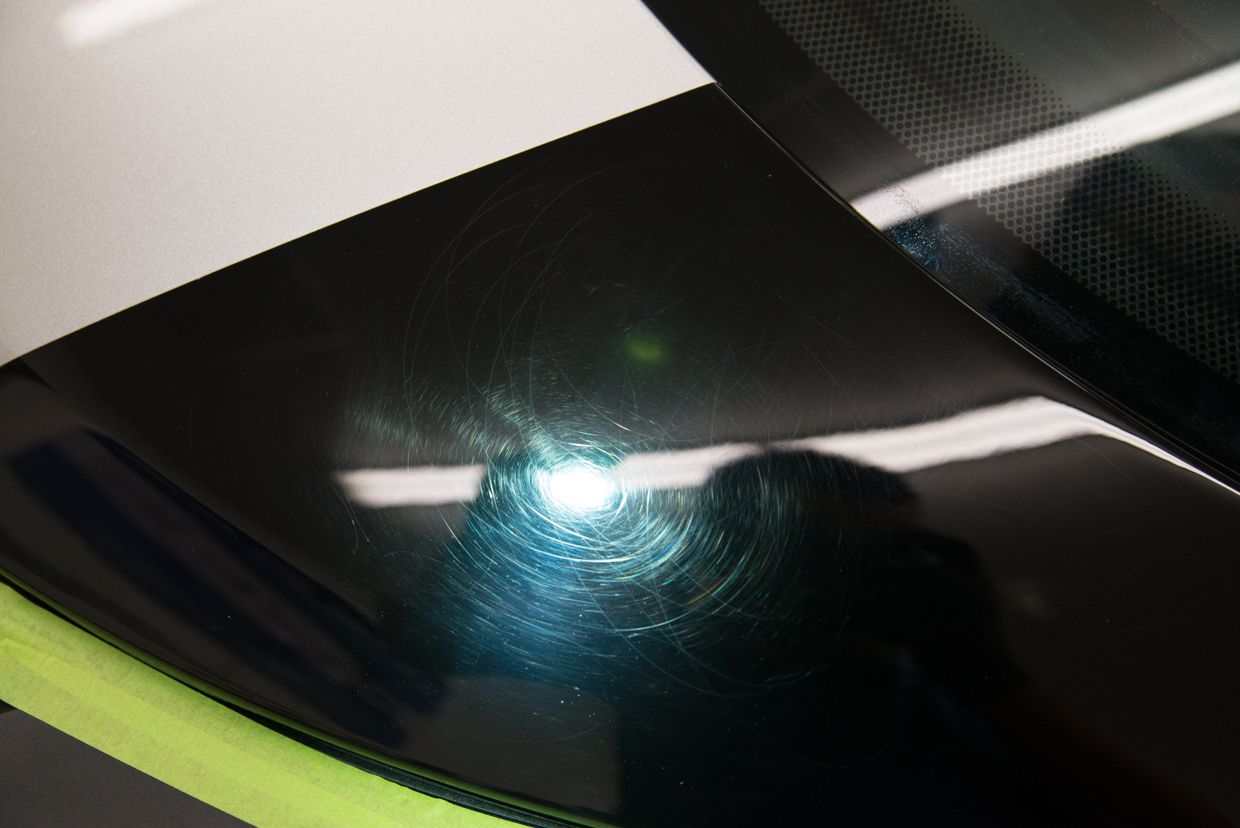
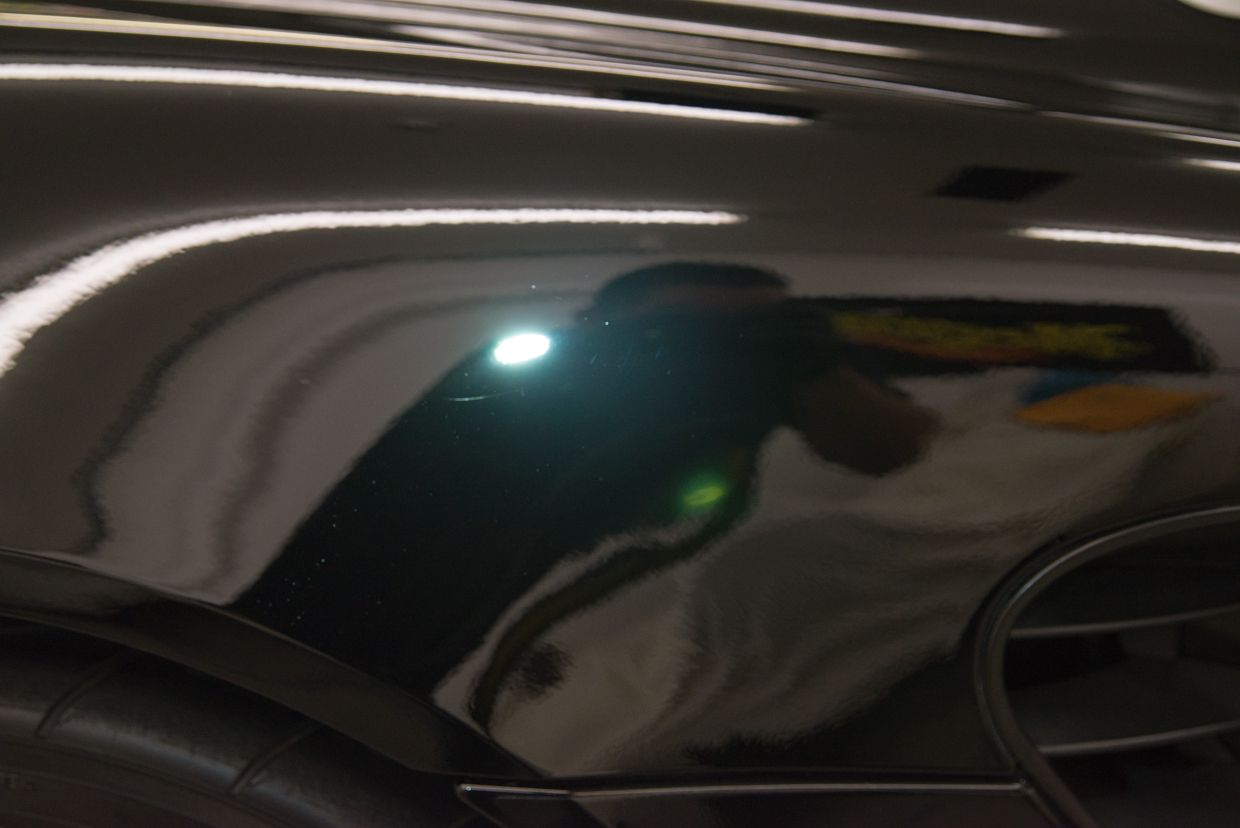
Front panel had some wicked scratches in it….not sure what happened here but I was able to remove most of them.

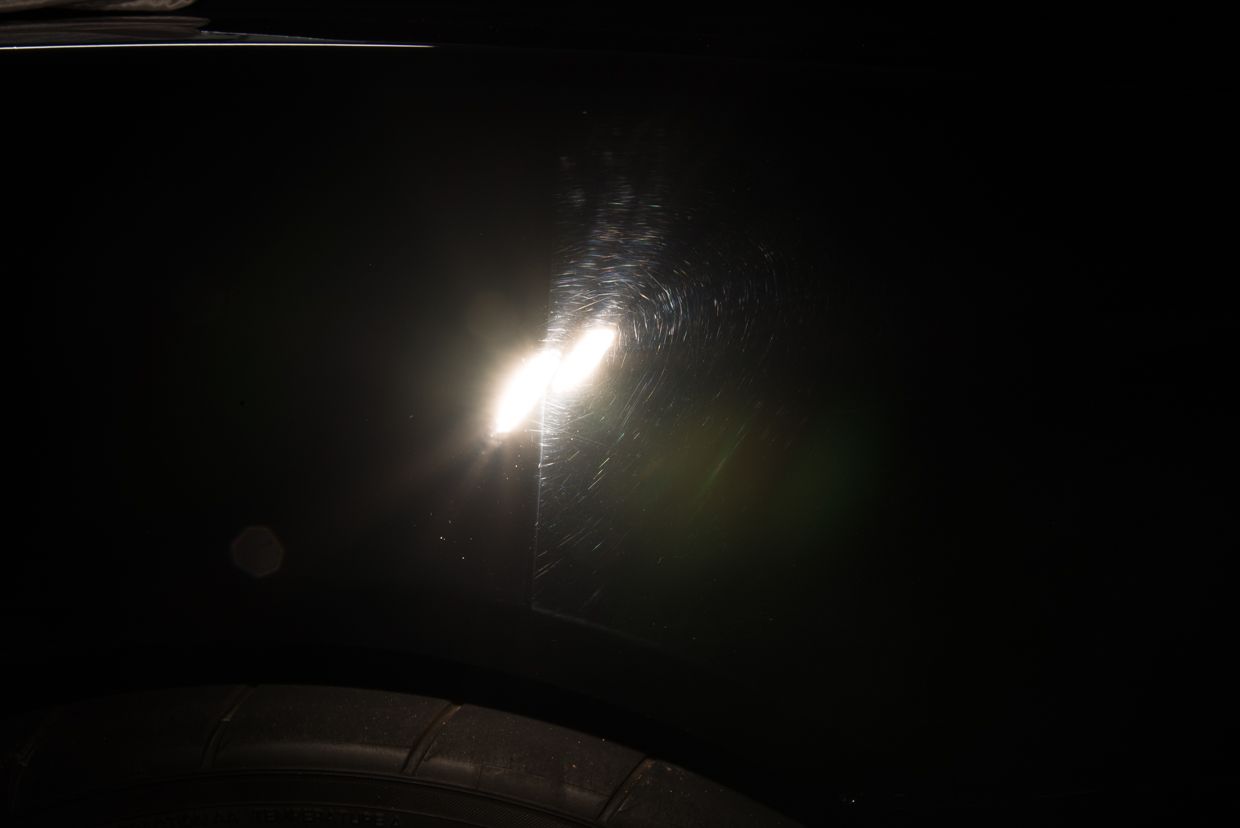
50/50 with the Brinkmann

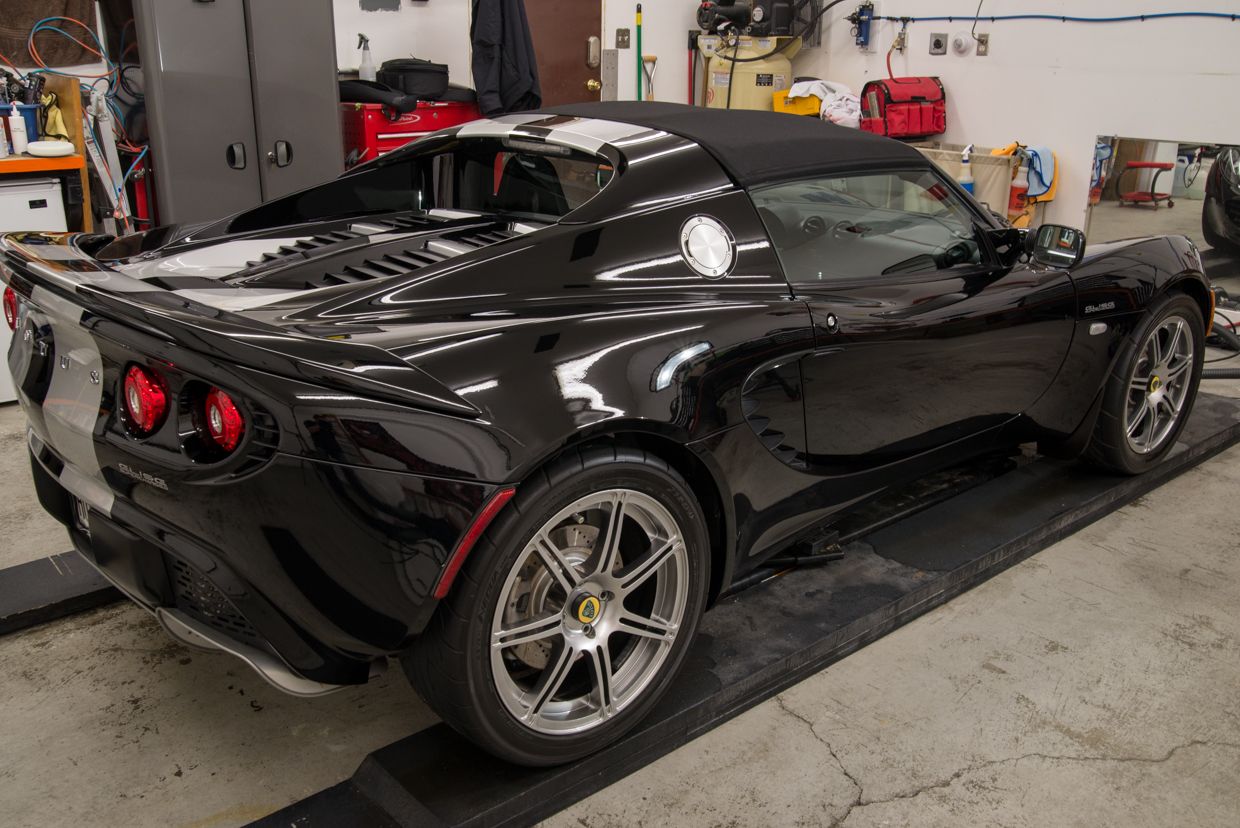
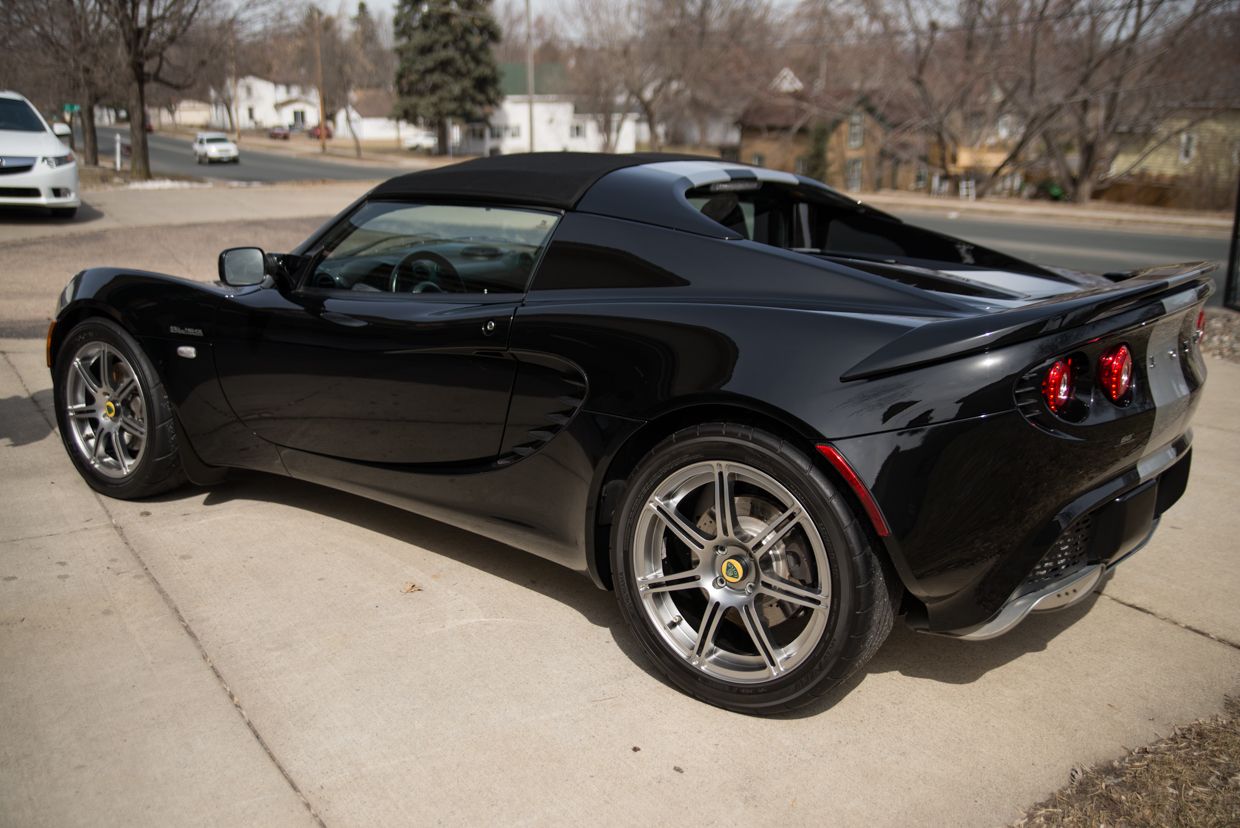
After pics


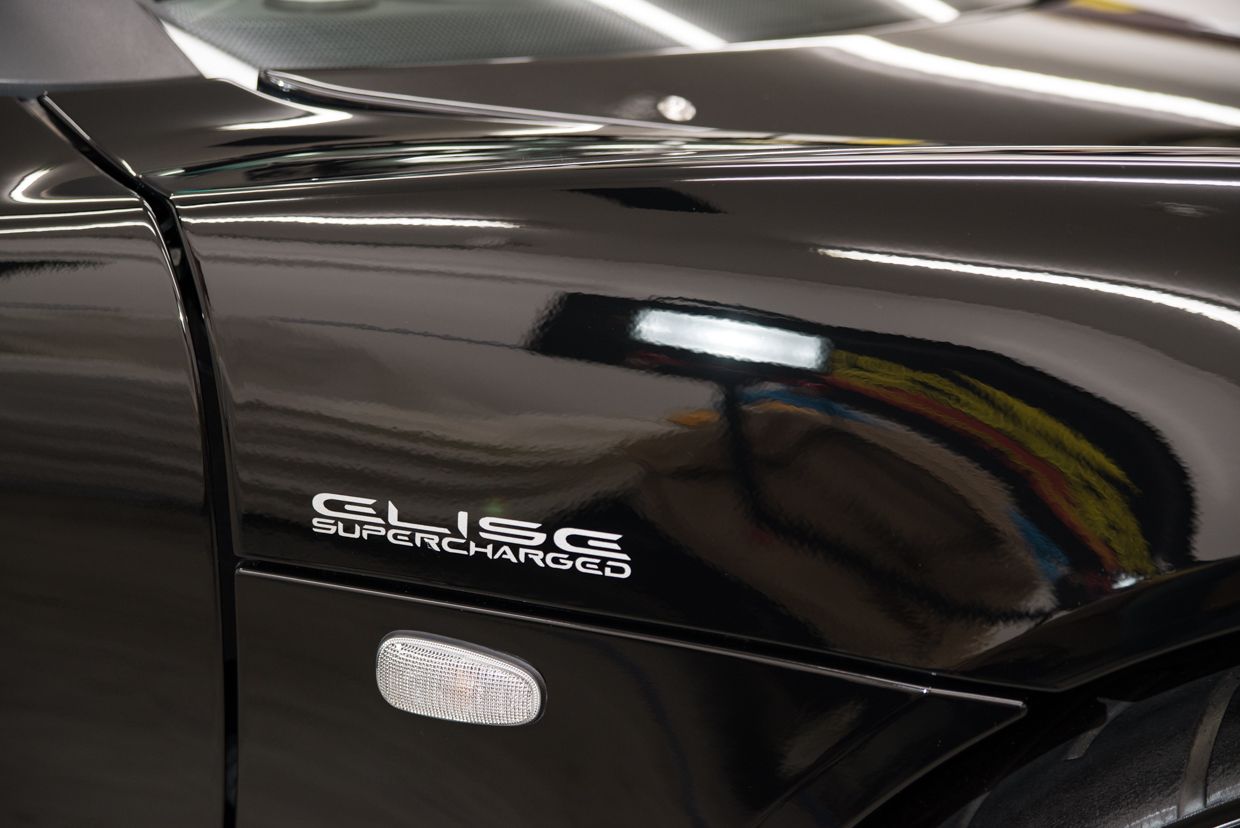
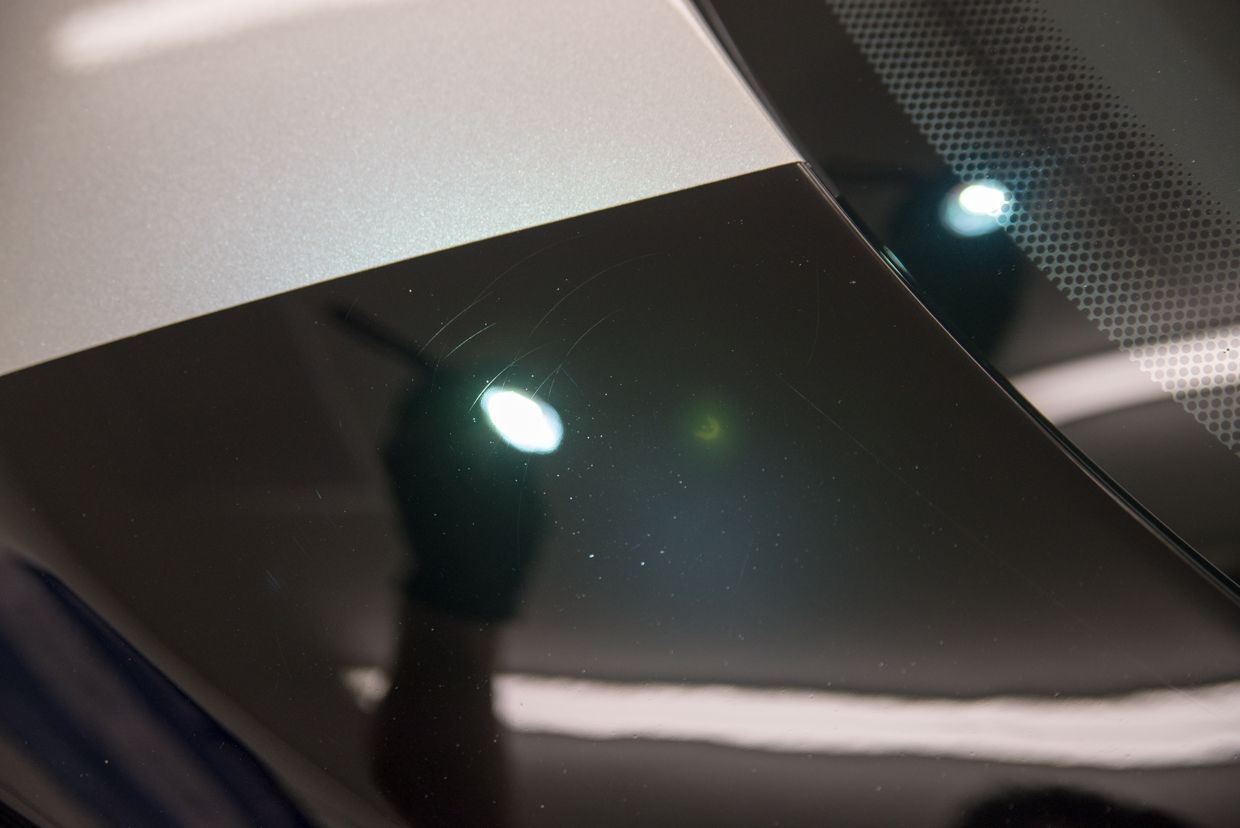
Some RIDS remained


Thanks for looking,
Rasky
Before
Bugs from the previous summer

Rear hatch had some deep scratches that I tried to improve a little…


Front panel had some wicked scratches in it….not sure what happened here but I was able to remove most of them.


50/50 with the Brinkmann


After pics


Some RIDS remained


Thanks for looking,
Rasky
")