Louvers. How to wet sand/cut/polish new paint on them?

arthur1920

New member
Joined
Sep 13, 2013
Messages
29
Reaction score
0
I have new paint on the center panel. I am correcting the orange peel and whatnot on it. I notice some orange peel on the louvers(sp?) and I am afraid to attack them because I wont be able to get a machine there to buff.

Any advice or link to an article would be appreciated. Thanks.
 
That's a real tough nut to crack.

There is no easy and especially easy or fast way to remove orange peel off louvers.

It can be done but it's painstakingly slow and difficult. Heck, just rubbing louvers down with a compound and polish is difficult.


I've done a bunch of this in my life and I dread it every time.


Is this your own car or for a paying customer?


:)
 
More....


In the 2020 February class we had an El Camino here with a fresh, custom paint job.


Pictures: February 2020 - 100% Hands-On Detailing Classes


We did NOT sand the louvers but instead worked around them. We did polish the paint on the lovers by hand and machine.

Detail_Classes_0031.JPG


Detail_Classes_0033.JPG


Detail_Classes_0034a.JPG


Detail_Classes_0035.JPG


Detail_Classes_0036.JPG


Detail_Classes_0038.JPG


Detail_Classes_0039.JPG


Detail_Classes_0039a.JPG


Detail_Classes_0040.JPG


Detail_Classes_0143.JPG


Detail_Classes_0041.JPG


Detail_Classes_0042.JPG


Detail_Classes_0043.JPG


Detail_Classes_0044.JPG


Detail_Classes_0045.JPG


:)
 
Here's another old 2-door Mercury where we polished the louvers...

Buffing curved panels with NEW RUPES Mark II BigFoot 21 & 15 Polishers


NOTE: The RUPES Nano had NOT been invented yet - thus we we're using the RUPES TA50


The polishing step

Alberto has started in on the polishing step while Todd and I tackle the louvers using the RUPES TA50

watermark.php


watermark.php


watermark.php


watermark.php


watermark.php


This is really difficult work.

You have to be UBER careful or you will burn through the paint on all the sharp edges of the louver.

Just WIPING the lovers down after any type of liquid is used on them - it is so easy to induce swirls and scratches.


:)
 
One more contribution from this project,

Article

Ceramic Coating & Paint Correction 1932 Ford Roadster

32_Duece_Roadster_087.JPG


Finger Painting Technique

I use the finger painting technique for all types of detailing. Here's a video I made that walks you through the process.

Mike Phillips - How to compound and seal louvers!


Here's how I use the finger painting technique for louvers.

First pour out the product you're going to use onto a clean place on a nearby panel that you can draw from. Then poke your finger into the pile of product and gather some up.

32_Duece_Roadster_071a.JPG


Then PAINT the product onto the area you're going to work on.

32_Duece_Roadster_072a.JPG


Technique Tip

Coat all the louvers with product using the finger painting technique. This way it will be easy to see which louvers you've worked and which lovers still need paint correction.

32_Duece_Roadster_073.JPG


Working by hand

First apply some product to the edge of a microfiber applicator product.

32_Duece_Roadster_074a.JPG


Then using your fingertips press the microfiber applicator pad against the flat spot of the louver and rub like a mad-man. Be careful NOT to press against the edges.

32_Duece_Roadster_075a.JPG


Working by machine

The only safe way I know how to do this via a 1" buffing pad on the RUPES Nano. I prefer the long neck but feel free to use the short neck - they will both work.

Angry Nano!

32_Duece_Roadster_076a.JPG


IMPORTANT

Always use both hands to hold and guide the Nano when working on intricate panels like louvers. I'm only using one hand because the other hand is taking the picture.

32_Duece_Roadster_077a.JPG


Videos

VIDEOS: Removing Painted-on Pinstripes over Single Stage Paint


:)
 
MINE.
This is too much work to contemplate for some one else's car
 
If it was me... I'd very carefully sand and polish the louvers by hand. I wouldn't even consider doing any of it with a machine - too risky in my book.

I have a lot of experience with wet sanding from my younger painting days so although very time consuming, I wouldn't consider it risky at all.

May I suggest... Sand a very little at a time, then wipe and dry the area, so you can see your progress. Doing so will give you an idea of what areas you need to concentrate on, and what areas need extra caution, along with a general idea of how much sanding can be done between the progress checks.

Tedious for sure... But with some patience and finesse it is do-able.
 
I asked,

Mike Phillips said:
Is this your own car or for a paying customer?


You answered,

MINE.

This is too much work to contemplate for some one else's car

I was hoping this was the case. Can it be done? You bet. When it's your car and your time you can invest all the time in the world because it's your car.


The other scenario - that is someone, (not you), 
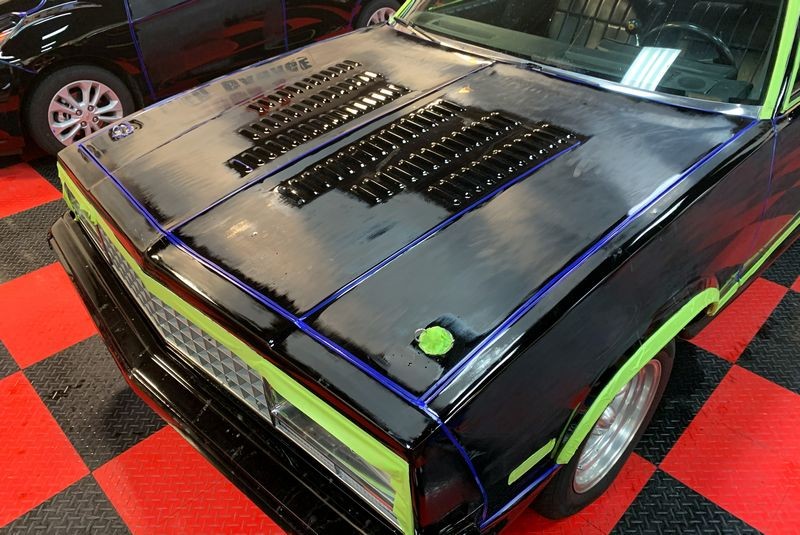
someone detailing for money asking how to remove orange peel on louvers not having a clue as to how much time this will take and how tedious it is. And for these people the answer is,

Take a pass and let some other person have the blessing


Of course there's something to be said for taking on difficult projects like this for the learning experience, in other words, on the job training or taking a class at "The School of Hard Knocks". Been there done that in my detailing live.


For a detailer to take on the job for MONEY there is the expectation of doing the work in a 
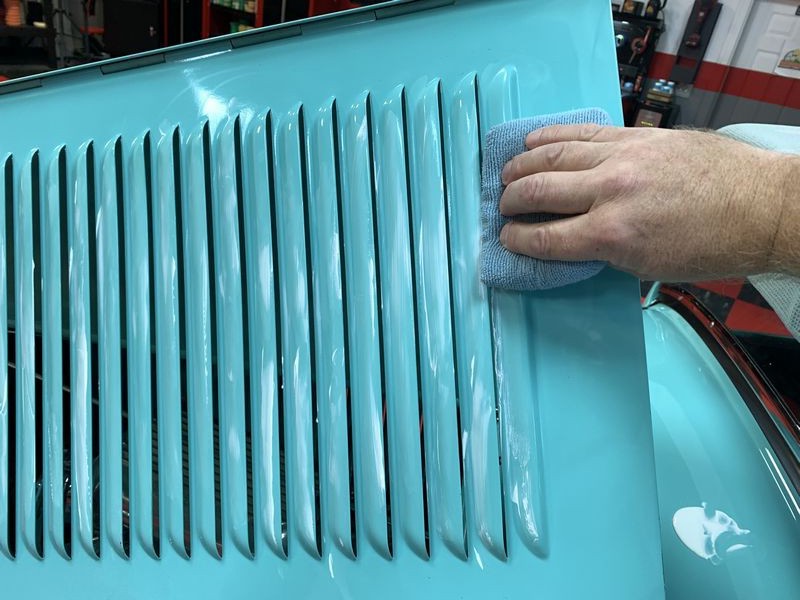
timely manner and trying to do this type of work "quickly" can lead to rubbing or burning through the edges of the louvers and/or leaving scratches everyone on the sides of the lovers where you and your hand rub in a back an forth motion. I know that of which I speak.


So good to here it's your car and your louver project. If you really want to remove actual orange peel, then it can be done but it will be incredibly tedious.

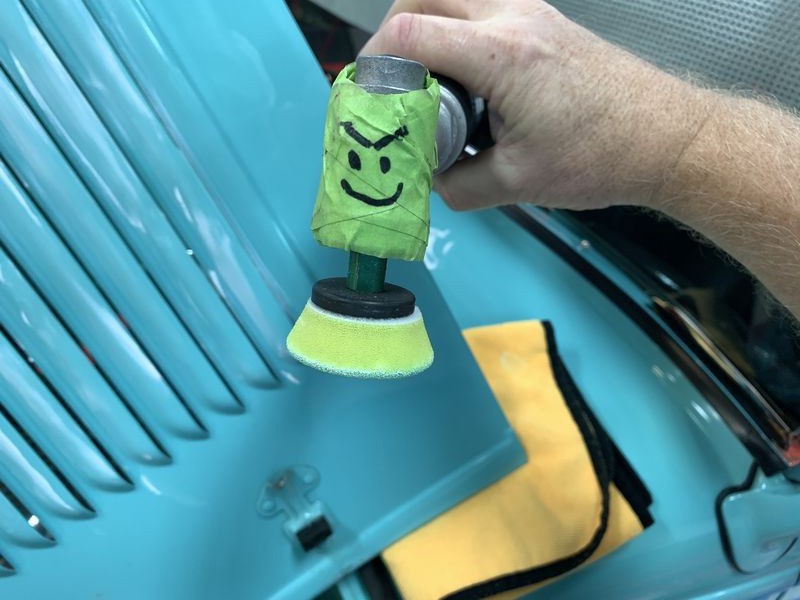
One thing I do to sand Orange Peel flat in tight areas or on thin panels is 
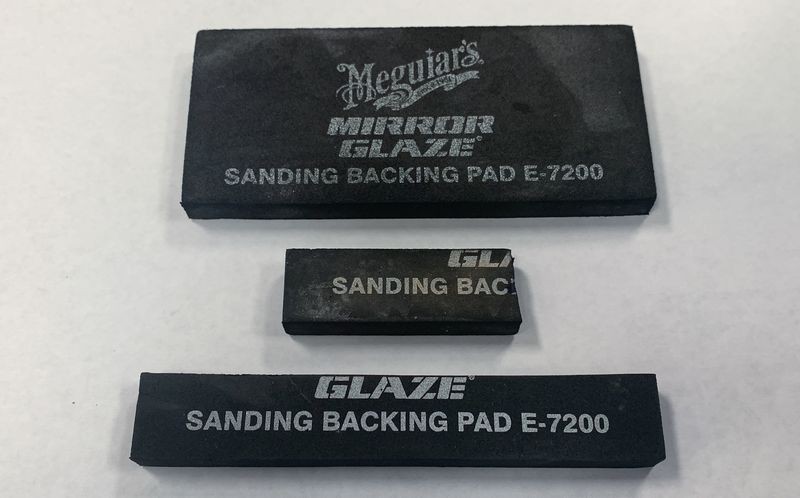
cut my own thin soft blocks out of a Meguiar's E-7200 backing pad. Not the most perfect backing pads but they work and I have easy access to the Meguiar's E-7200 backing pads. And hey, at the end of the day, you do what you have to do to get the job done.


This is a Meguiar's E-7200 Sanding Backing Pad - it's a firm but flexible rubber pad and the length is 5 3/8" and your basic half sheet of sandpaper is 5 1/2" in length.

Mike_Phillips_Custom_Sanding_Blocks_01.JPG


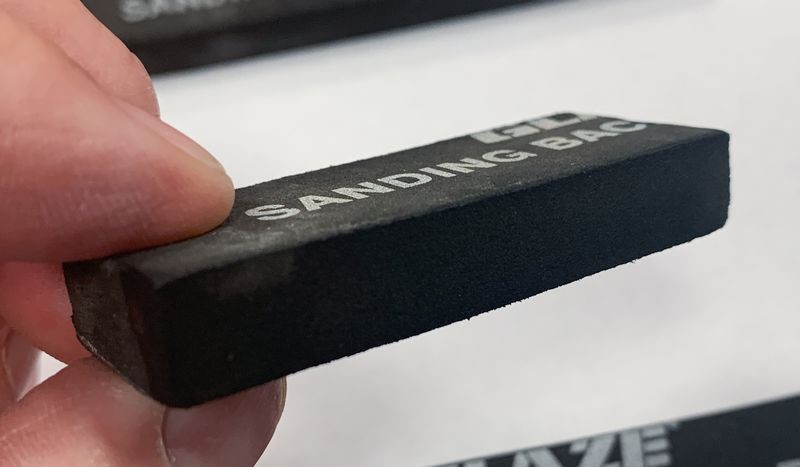
The face of this block is about 1" wide

Mike_Phillips_Custom_Sanding_Blocks_02.JPG


The side or edge of this block is 7/16" wide
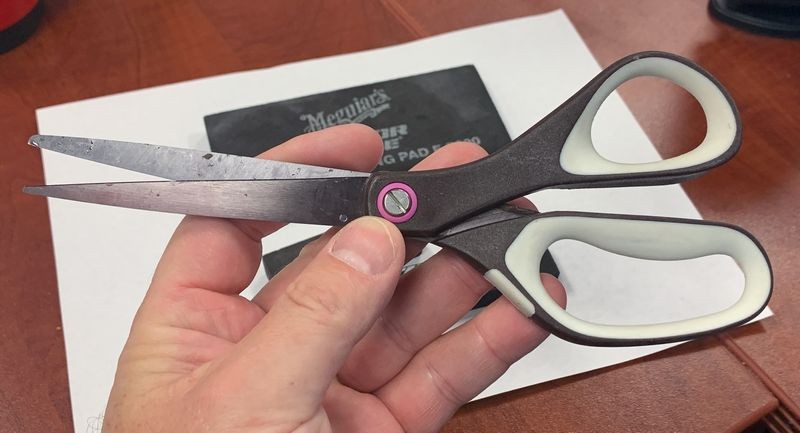
Mike_Phillips_Custom_Sanding_Blocks_03.JPG


Caveman Technique

Mike_Phillips_Custom_Sanding_Blocks_04.JPG


Then cut your sanding or finishing paper to fit/wrap around the custom backing pad.


:)
 
May I suggest... Sand a very little at a time, then wipe and dry the area, so you can see your progress.

Doing so will give you an idea of what areas you need to concentrate on, and what areas need extra caution, along with a general idea of how much sanding can be done between the progress checks.

Tedious for sure... But with some patience and finesse it is do-able.


Very good advice.

Take your time.

Less is more.


:dblthumb2:
 
Back
Top