Mike Phillips
Active member
- Dec 5, 2022
- 51,004
- 6
Machine Polishing Mag Wheels with BLACKFIRE Metal Polish & Metal Sealant
Short Video - Click the link to watch the video
Mike Phillips - Mag Wheel Polishing Quick & Easy
A few weeks ago I detailed this local streetrod that had neglected for years, both the paint and the wheels and tires. I addressed the paint and in the process tested and wrote a review for some new products from Dr. Beasley's. Here's the LINK to that review.
The final touches - polishing the wheels and dressing the tires
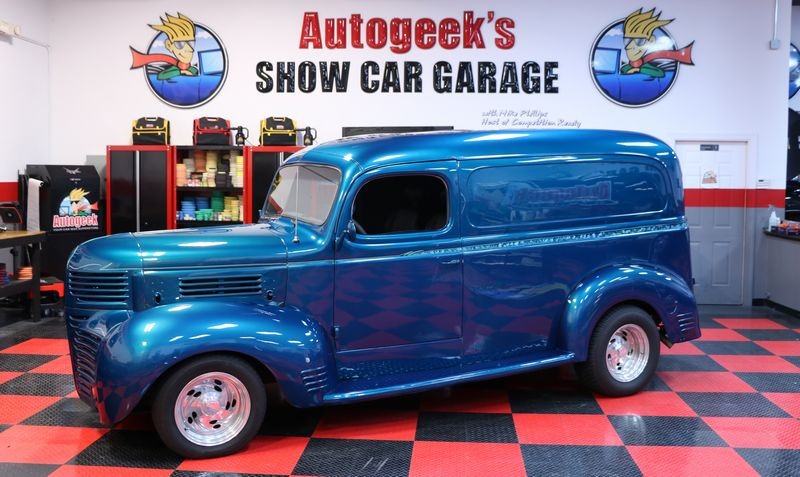
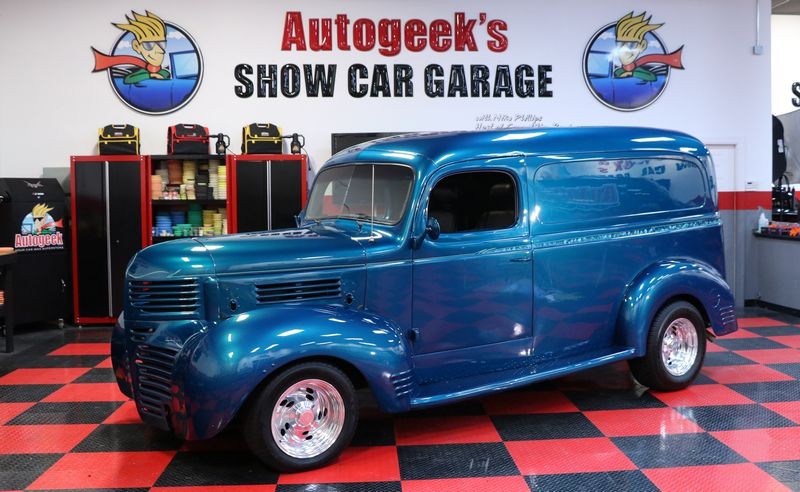
Here's the Dodge Panel Delivery and as you can see, the wheels are dull and oxidized. After polishing the paint clear and glossy, the wheels now take away from the overall appearance of this streetrod.

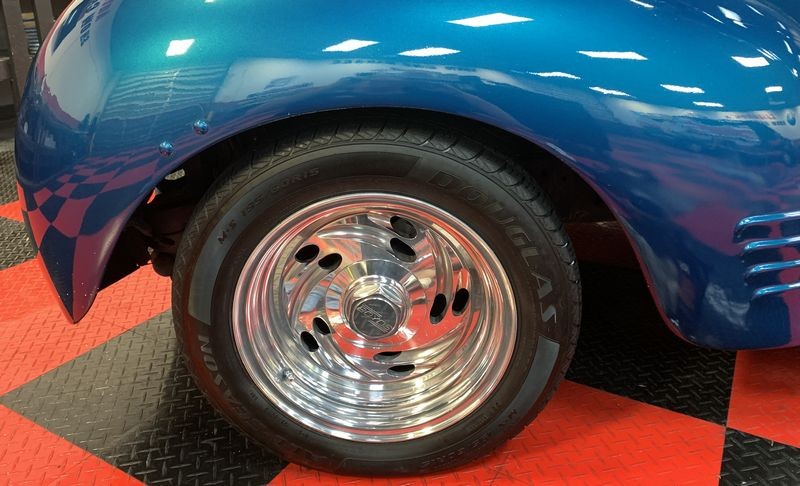
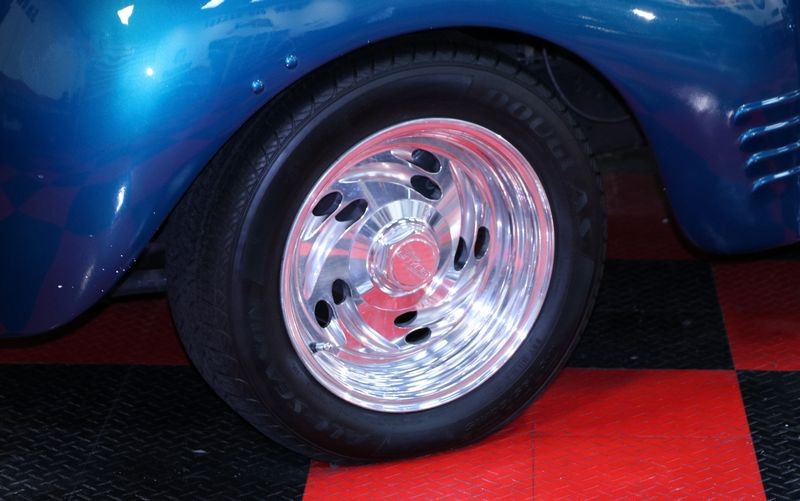
Here's the driver's side front wheel up close. The tires are also dull and tired looking.


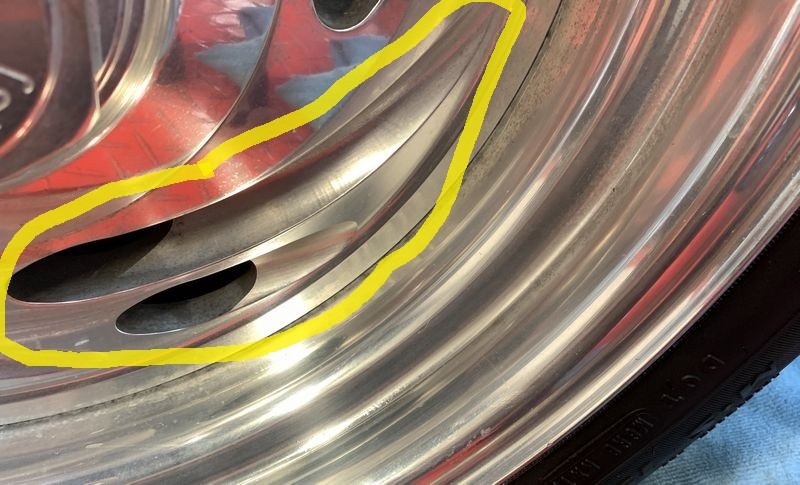
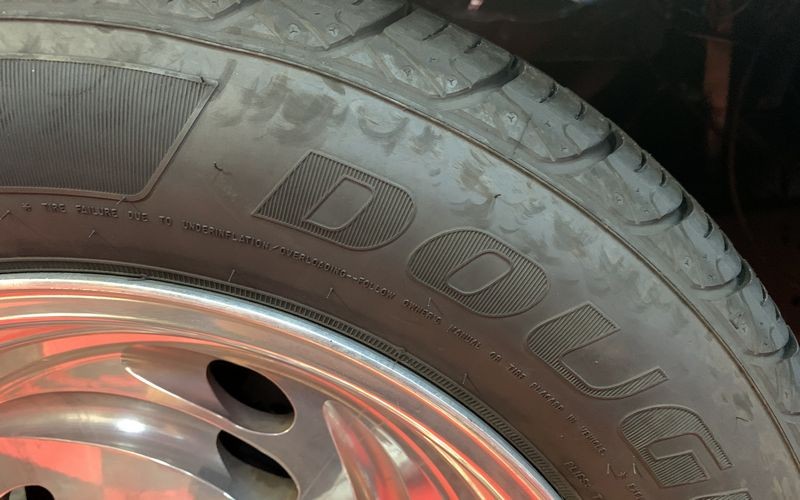
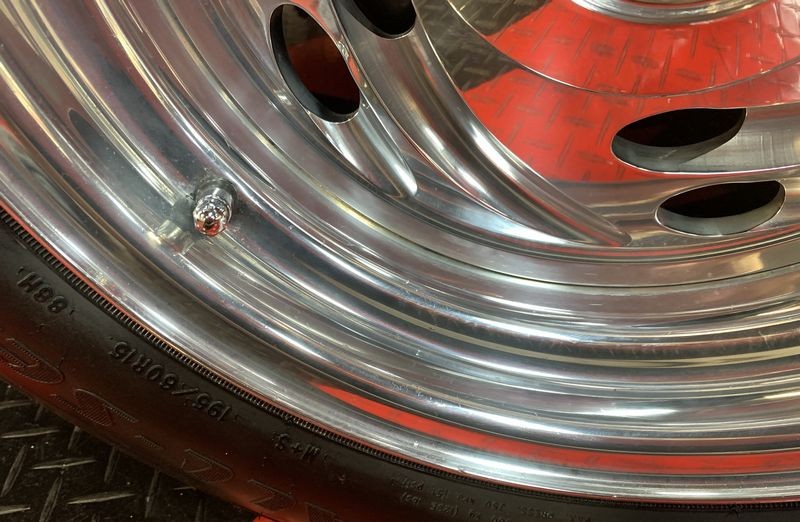
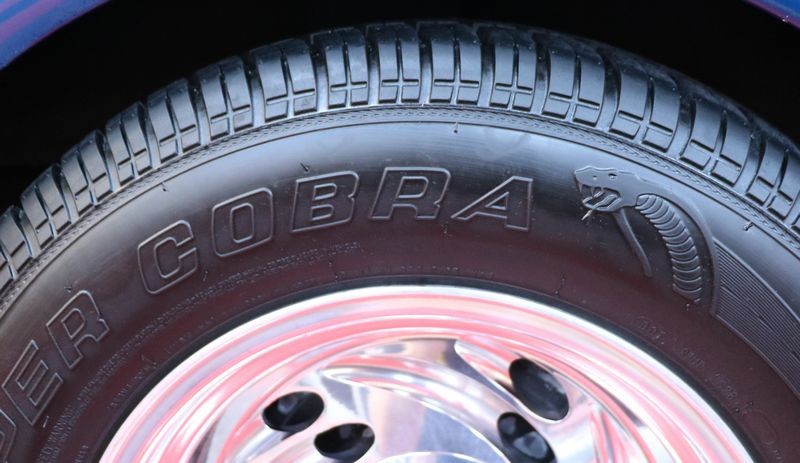
These close-ups show how dull and oxidized the aluminum has become over time and lack of regular polishing.


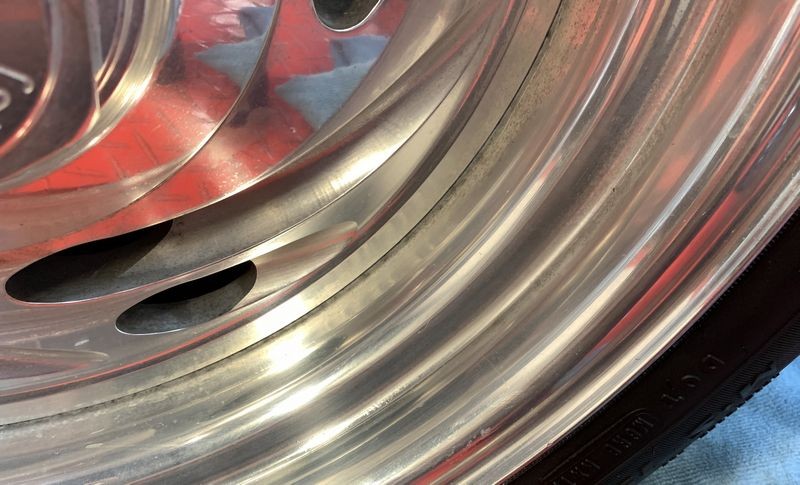
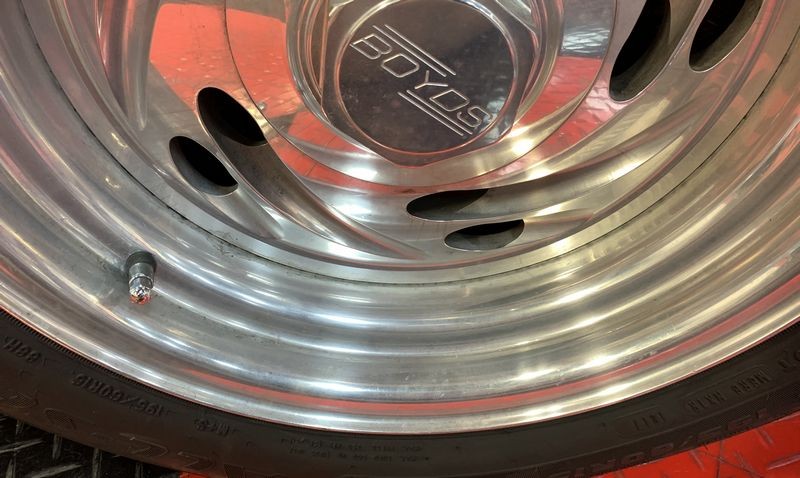
While I can't fix the "scuff marks" on the sidewall from rubbing against curbs, I can remove the oxidation and restore a deep, dark shine.
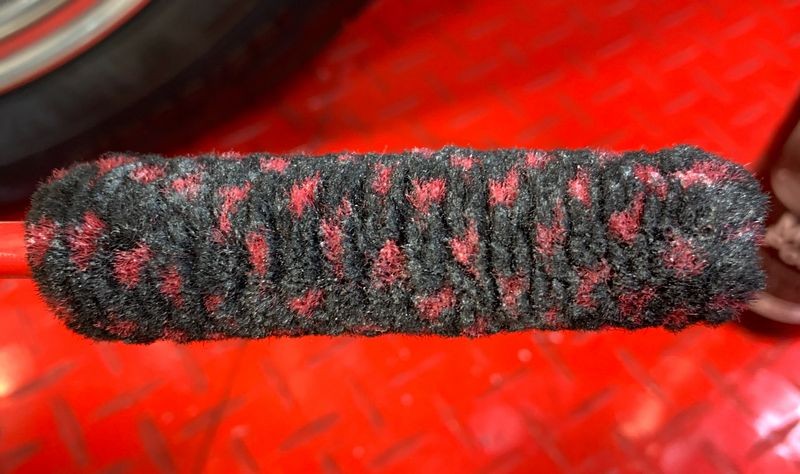
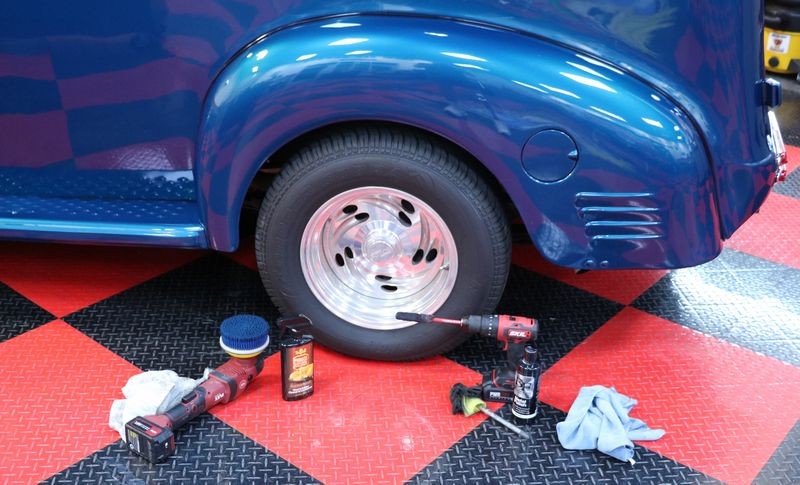
First I'll machine scrub the tires using a Heavy Duty DA Carpet Brush on the FLEX PE14 Rotary Polisher and Pinnacle Vinyl & Rubber Cleaner & Conditioner, which is an all-in-one type product.
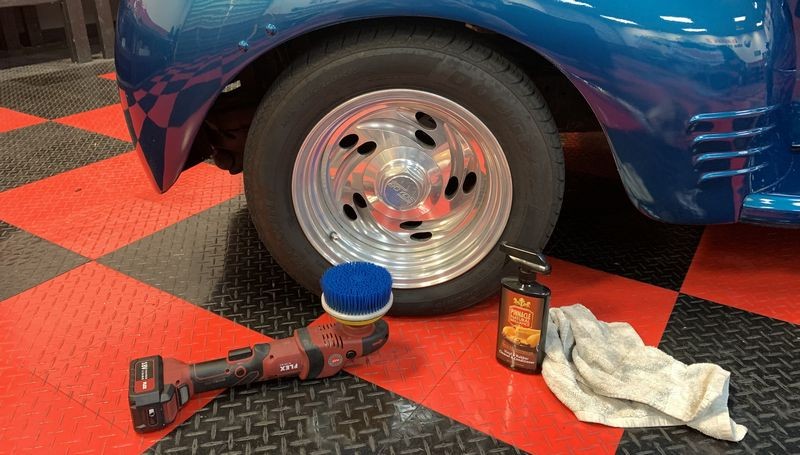
I like vinyl and rubber all-in-one type products simply because the enable me to do 3 things in one step.

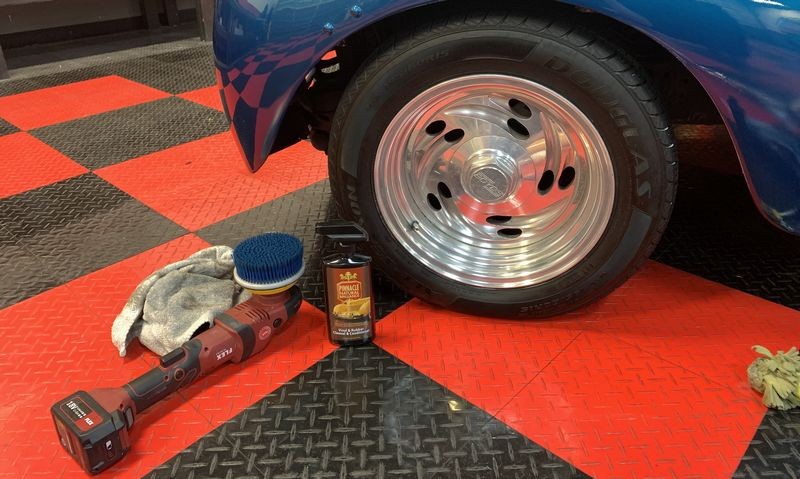
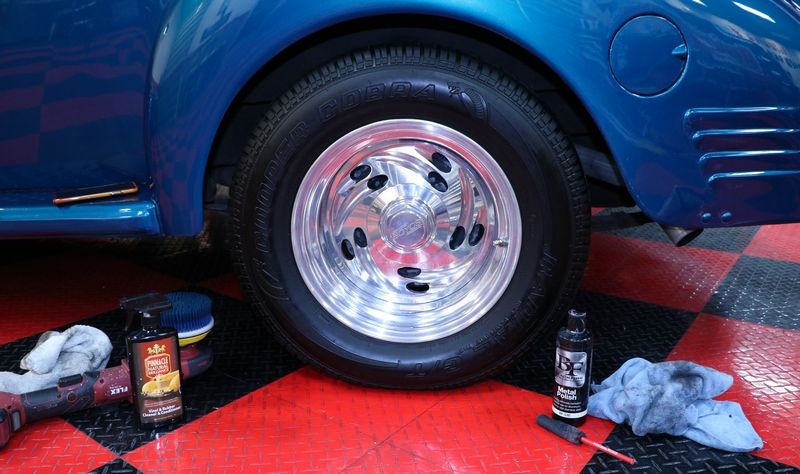
That was fast and easy and the results look great.
Aluminum Oxidation - Undoing years of neglected
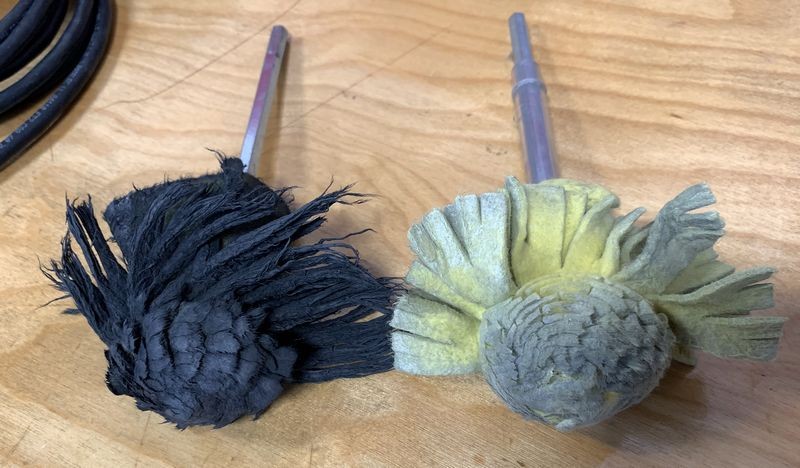
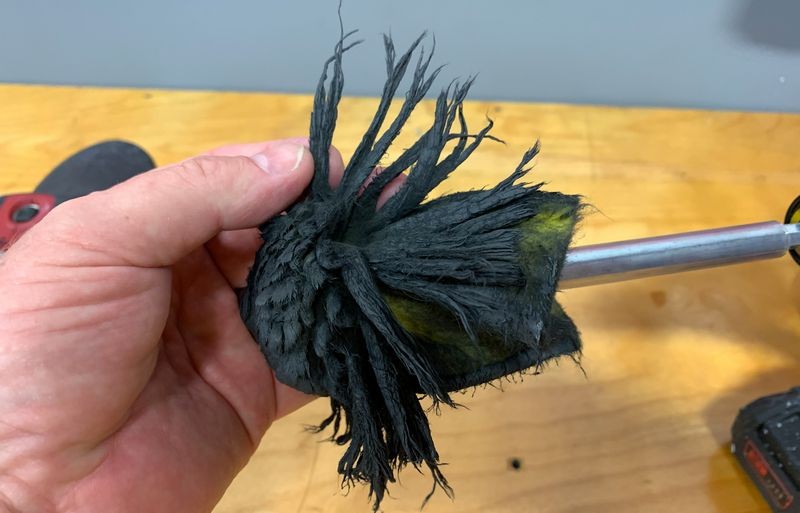
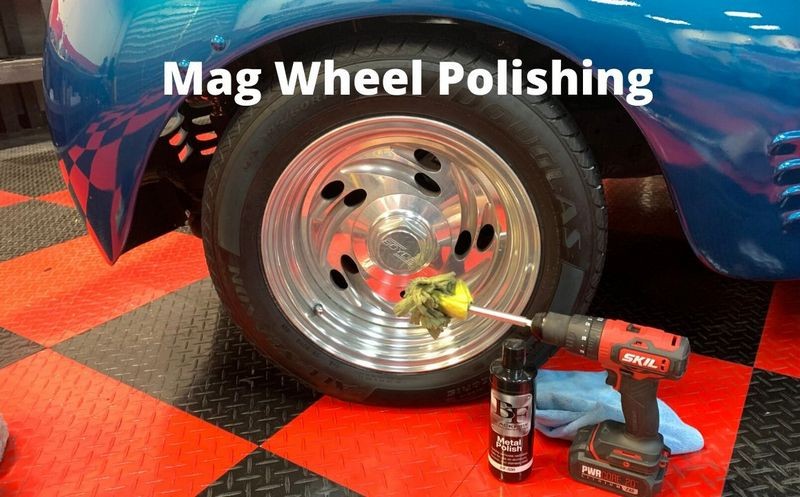
If you don't have a power tool you can work by hand but it's going to take longer and it's also going to be very hard on your hands. In the picture below, I'm using the FLITZ Buff Ball on a Cordless Skil Drill.
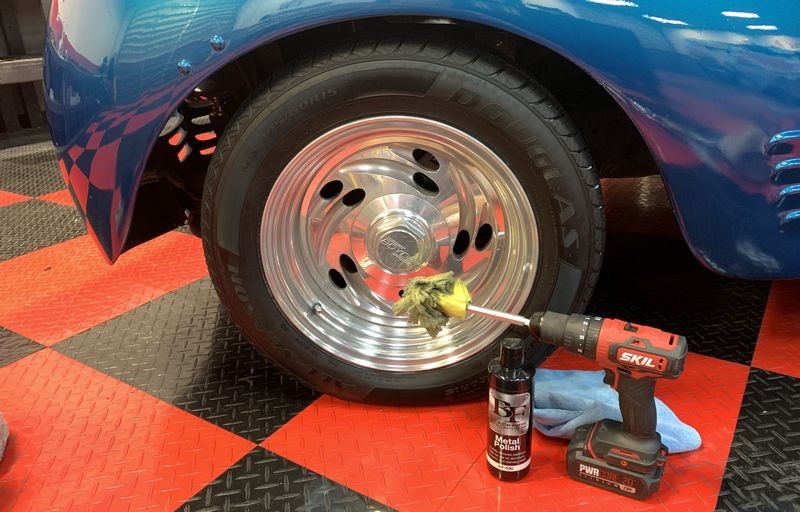
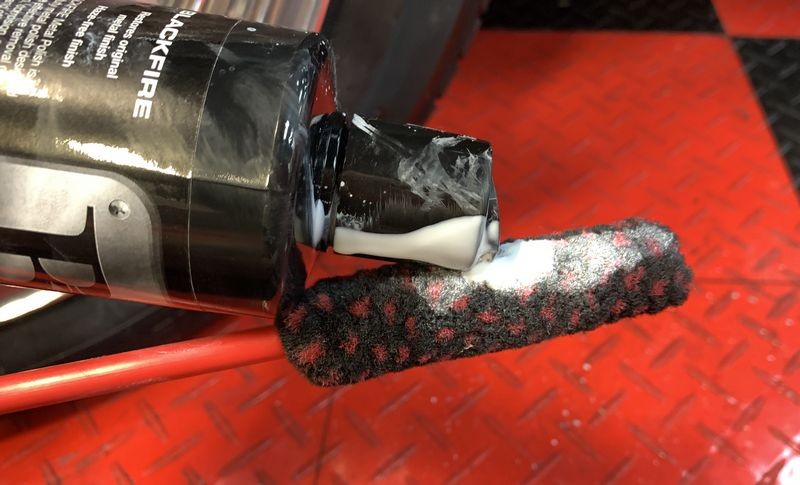
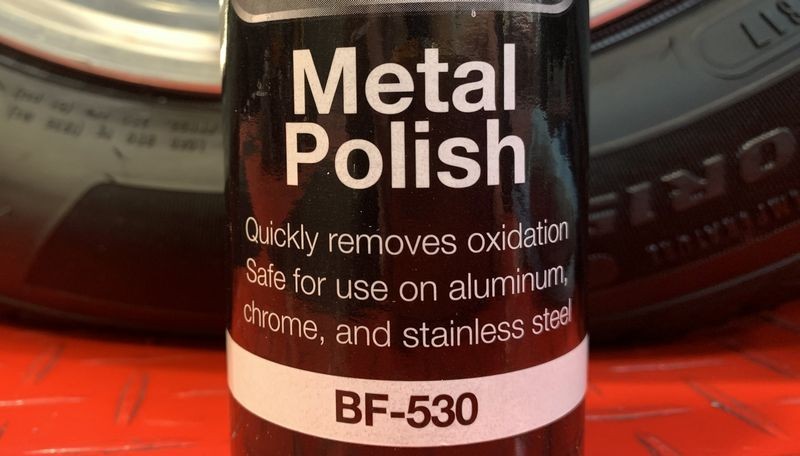
For this I'm going to use the BLACKFIRE Metal Polish followed by sealing the wheels with BLACKFIRE Metal Sealant.
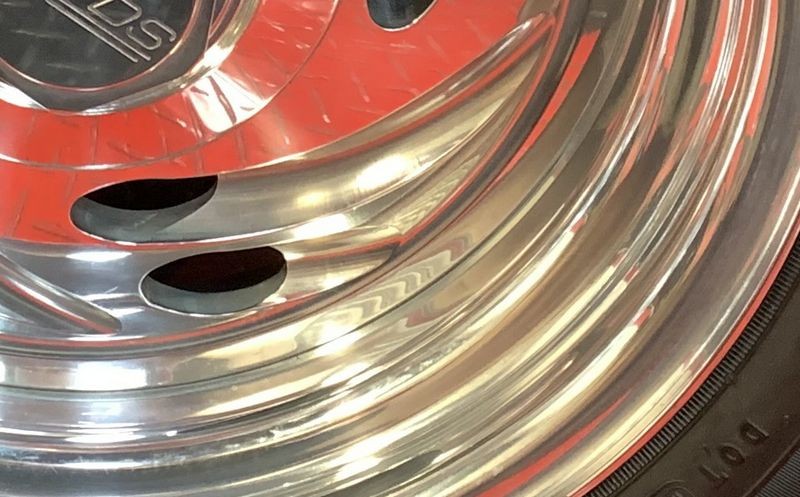
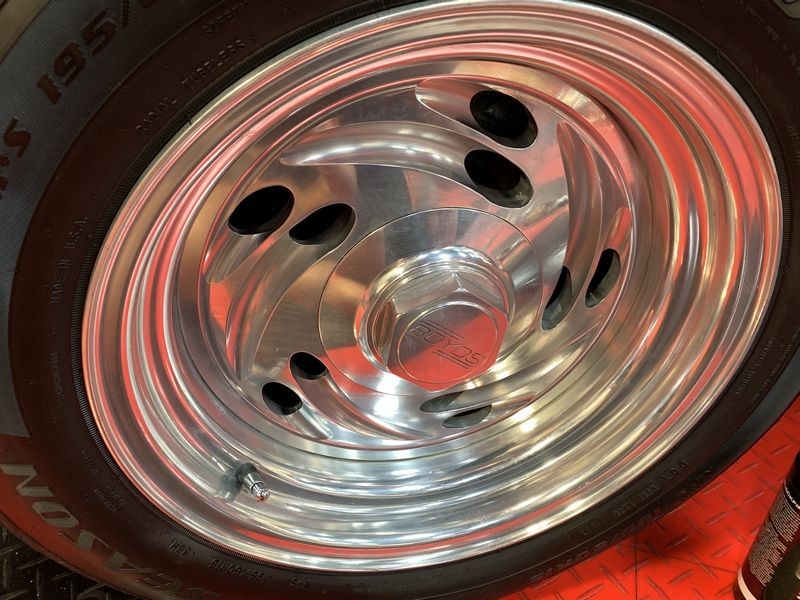
With about 5 minutes of running the buff ball around the wheel I was able to remove a majority of the oxidation and restore a decent shine with good clarity and brilliance.

Wow!
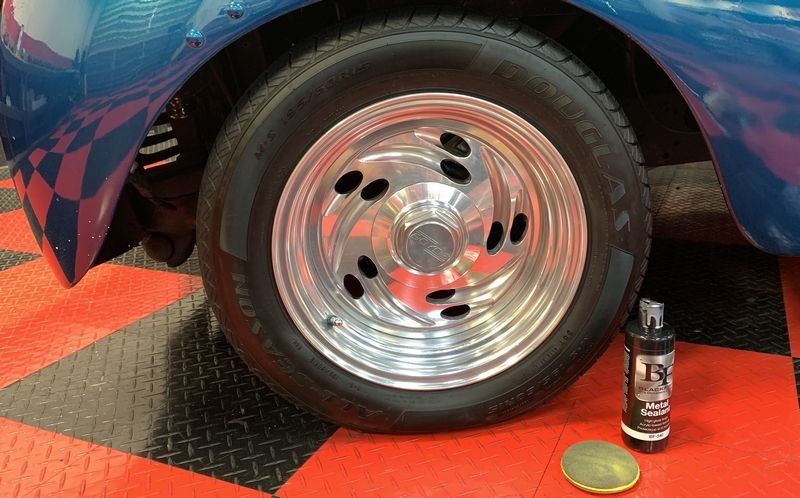
Now this looks so much better and really adds to the overall and completed look to the show car finish this streetrod now sports.
Here's the BEFORE
Then I simply moved around to repeat this process to the other three wheels and tires.


BOOM!
It took less than 10 minutes to go from neglected to respected.


Moving to the other side to repeat the process - again - total time about 10 minutes for both the tire and the wheel.
And finally the last wheel is done.
Sealing the aluminum wheels
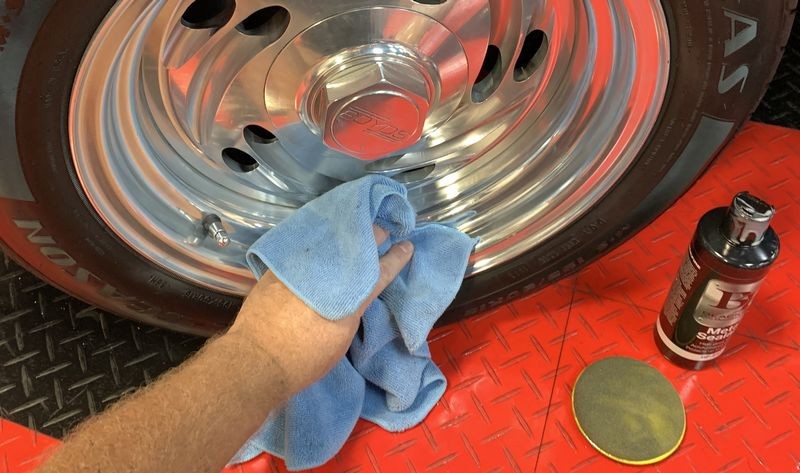
After the polishing work, I applied the BLACKFIRE Metal Sealant using a simple foam applicator pad.

After applying a thin coat, the wheels now look a little duller, that's just a FILM of sealant on the aluminum.
Directions state to allow the sealant to dry to a haze then remove with a microfiber towel.
BOOM BOOM BOOM!
Polished and sealed, ready to put back on the road.
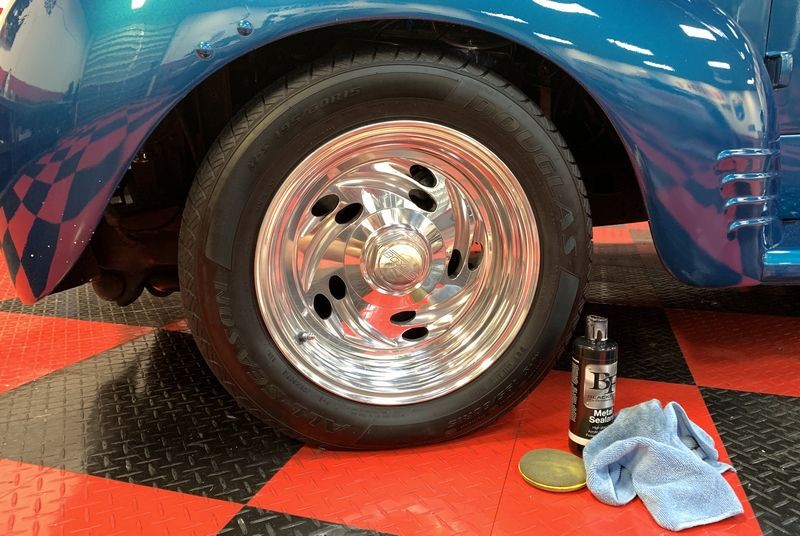
Here's the final results...

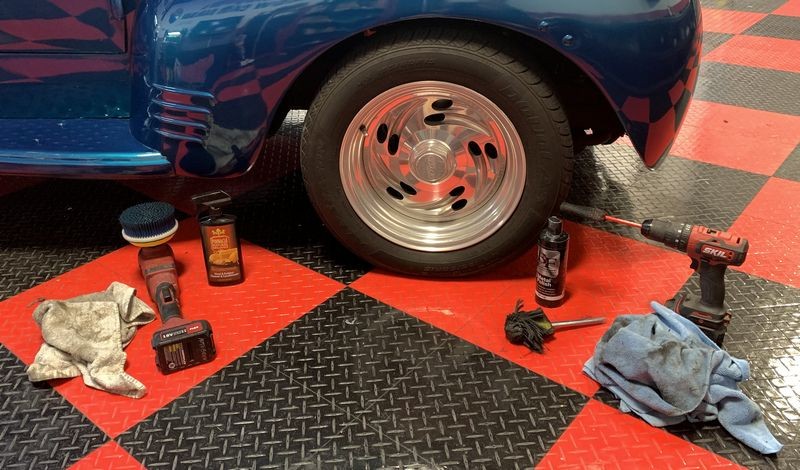
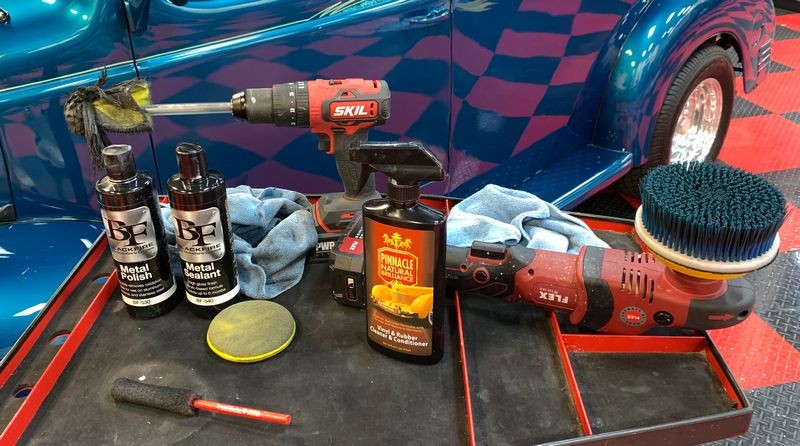
And here's everything I used....

On Autogeek.com
BLACKFIRE Metal Polish
BLACKFIRE Metal Sealant
Pinnacle Vinyl & Rubber Cleaner & Conditioner 16 oz.
Orange Heavy Duty Nitrile Gloves - Pick your size - Less prone to rip.
Black Nitrile Gloves - Pick your size
FLEX PE-150 Cordless Rotary Polisher
Rotary 4 ¾ inch Flexible Backing Plate
Heavy-Duty DA Carpet Brush – Long Bristles
13 inch Speed Master Wheel Detail Tool
Note: The above 13" wheel cleaning brush comes in a set of 3 wheel cleaning brushes.
Pinnacle Foam Wax Applicator - 12 Pack
The microfiber towels I used are what I call a "utility" towel. When new, clean and un-contaminated they can be used on car paint but I use these for doing "grunt work" that is NOT paint related. Everyone needs a collection of towels like these, might as well get a 12 pack and then you can make a "small wash load" and wash them with themselves.
Cobra Blue All Purpose Microfiber Towels - 12 pack
")
Short Video - Click the link to watch the video
Mike Phillips - Mag Wheel Polishing Quick & Easy
A few weeks ago I detailed this local streetrod that had neglected for years, both the paint and the wheels and tires. I addressed the paint and in the process tested and wrote a review for some new products from Dr. Beasley's. Here's the LINK to that review.
The final touches - polishing the wheels and dressing the tires
Here's the Dodge Panel Delivery and as you can see, the wheels are dull and oxidized. After polishing the paint clear and glossy, the wheels now take away from the overall appearance of this streetrod.
Here's the driver's side front wheel up close. The tires are also dull and tired looking.
These close-ups show how dull and oxidized the aluminum has become over time and lack of regular polishing.
While I can't fix the "scuff marks" on the sidewall from rubbing against curbs, I can remove the oxidation and restore a deep, dark shine.
First I'll machine scrub the tires using a Heavy Duty DA Carpet Brush on the FLEX PE14 Rotary Polisher and Pinnacle Vinyl & Rubber Cleaner & Conditioner, which is an all-in-one type product.
I like vinyl and rubber all-in-one type products simply because the enable me to do 3 things in one step.
That was fast and easy and the results look great.
Aluminum Oxidation - Undoing years of neglected
If you don't have a power tool you can work by hand but it's going to take longer and it's also going to be very hard on your hands. In the picture below, I'm using the FLITZ Buff Ball on a Cordless Skil Drill.
For this I'm going to use the BLACKFIRE Metal Polish followed by sealing the wheels with BLACKFIRE Metal Sealant.
With about 5 minutes of running the buff ball around the wheel I was able to remove a majority of the oxidation and restore a decent shine with good clarity and brilliance.
Wow!
Now this looks so much better and really adds to the overall and completed look to the show car finish this streetrod now sports.
Here's the BEFORE
Then I simply moved around to repeat this process to the other three wheels and tires.
BOOM!
It took less than 10 minutes to go from neglected to respected.
Moving to the other side to repeat the process - again - total time about 10 minutes for both the tire and the wheel.
And finally the last wheel is done.
Sealing the aluminum wheels
After the polishing work, I applied the BLACKFIRE Metal Sealant using a simple foam applicator pad.
After applying a thin coat, the wheels now look a little duller, that's just a FILM of sealant on the aluminum.
Directions state to allow the sealant to dry to a haze then remove with a microfiber towel.
BOOM BOOM BOOM!
Polished and sealed, ready to put back on the road.
Here's the final results...
And here's everything I used....
On Autogeek.com
BLACKFIRE Metal Polish
BLACKFIRE Metal Sealant
Pinnacle Vinyl & Rubber Cleaner & Conditioner 16 oz.
Orange Heavy Duty Nitrile Gloves - Pick your size - Less prone to rip.
Black Nitrile Gloves - Pick your size
FLEX PE-150 Cordless Rotary Polisher
Rotary 4 ¾ inch Flexible Backing Plate
Heavy-Duty DA Carpet Brush – Long Bristles
13 inch Speed Master Wheel Detail Tool
Note: The above 13" wheel cleaning brush comes in a set of 3 wheel cleaning brushes.
Pinnacle Foam Wax Applicator - 12 Pack
The microfiber towels I used are what I call a "utility" towel. When new, clean and un-contaminated they can be used on car paint but I use these for doing "grunt work" that is NOT paint related. Everyone needs a collection of towels like these, might as well get a 12 pack and then you can make a "small wash load" and wash them with themselves.
Cobra Blue All Purpose Microfiber Towels - 12 pack