Mike Phillips
Active member
- Dec 5, 2022
- 51,004
- 6
Making the Metallic Flake Pop! - Popping versus Muting
One of the goals everyone has that owns a car with a metallic finish is to figure out how to make the metalflake pop.
Because the majority of all cars with a metallic paint job have a clear coat over them, there's no way to physically affect the actual metallic flakes under the clear layer of paint. So to get the metallic flake to POP you want to do two thing, the first is the most important.
The way you maximize the clarity of a clear coat finish is you remove as many of the topical and sub-surface defects as possible without compromising or abrading through the clear layer finish.
This is done through a combination of the below,
Maximize the smoothness of the clear coat
The way you maximize the smoothness of the clear coat finish is by removing any above surface bonded contaminants as possible and if you have enough paint on the car, then to remove as much orange peel or surface texture like mottling as possible without compromising or abrading through the clear layer finish.
Keep in mind, anytime you wetsand paint, which removes paint, you're then going to have to compound and polish the paint and both of these procedure will also remove paint, so it's vitally important that you are working on a custom paint job or you have the experience, skill and confidence to carefully wetsand a factory finish.
Maximizing the smoothness is done through a combination of the below,
Obviously, between the two different goals of maximizing clarity and smoothness there are some overlapping procedures that you can do and which procedures you use will always be determined by the paint itself and your skill level.
Wetsanding paint should be reserved for custom paint jobs where the top coat of clear paint is purposefully sprayed on thicker by the painter because he knows the paint will be wetsanded. Wetsanding can be used by professionals and serious enthusiasts for factory paint jobs if and when the desire is strong enough to overcome the hardness and thinness factors that make sanding factory paint risky.
Besides wetsanding though, the majority of us can safely do the following relatively safely,
Making the metalflake pop!
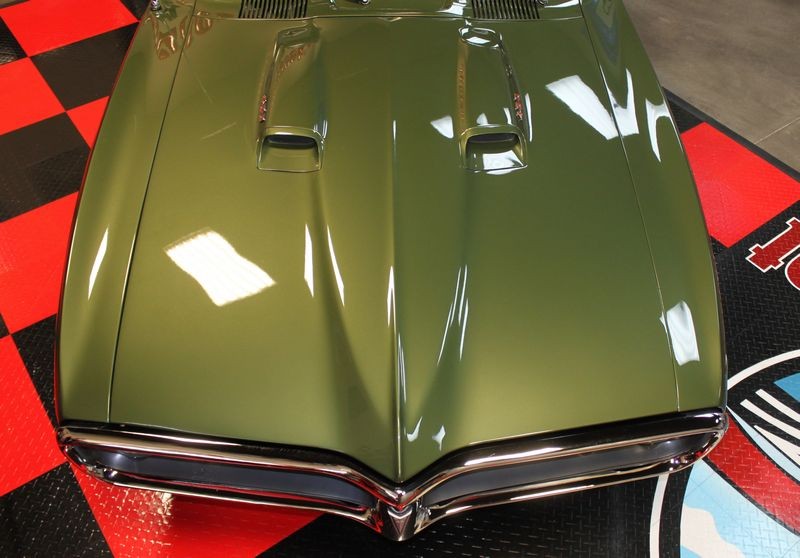
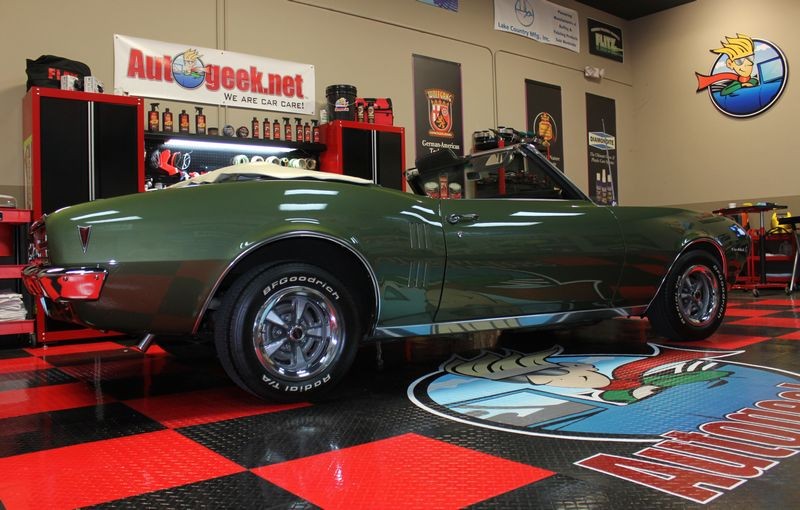
Below are the results from the Test Spot I performed to an all original 1968 Firebird Convertible except that it has been repainted with a basecoat/clearcoat finish.
When the car arrived I inspected the paint and documented with video and hi res pictures that the clear layer was in fact filled with swirls and scratches and this was clouding the clear layer hiding the beauty and definition of the metallic flakes in the basecoat.
My Test Spot not only was used to prove my paint polishing system but to also show the owner what the paint could truly look like and in the process make the metallic flake pop.
If you have a metallic or metal flake paint job on your car, truck or suv, you can too can get the metallic finish to pop by evaluating the finish and then doing the practical and safe procedures appropriate to your car's finish and your skill level and maximize the clarity and smoothness of the clear coat.
For this project we used,
Optimum Hyper-Compound
Optimum Hyper-Polish
Optimum Car Wax
Lake Country 5" Hybrid Pads
Lake Country 5.5" Hydro-Tech Pads
Flex 3401 Forced Rotation Dual Action Polisher
Griot's Garage 6" Random Orbital Polisher
Porter Cable 7424XP
Any quality compounds, polishes, pads and tools will create the same results.
Test Spot Results
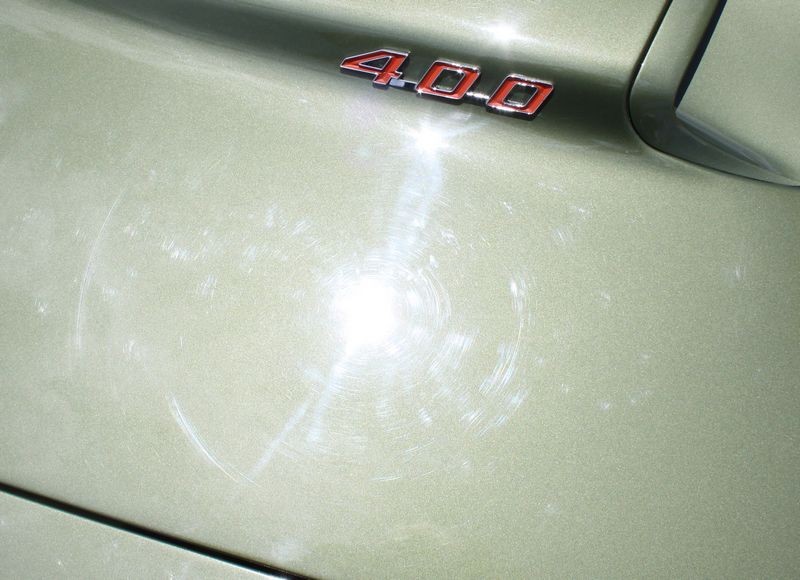
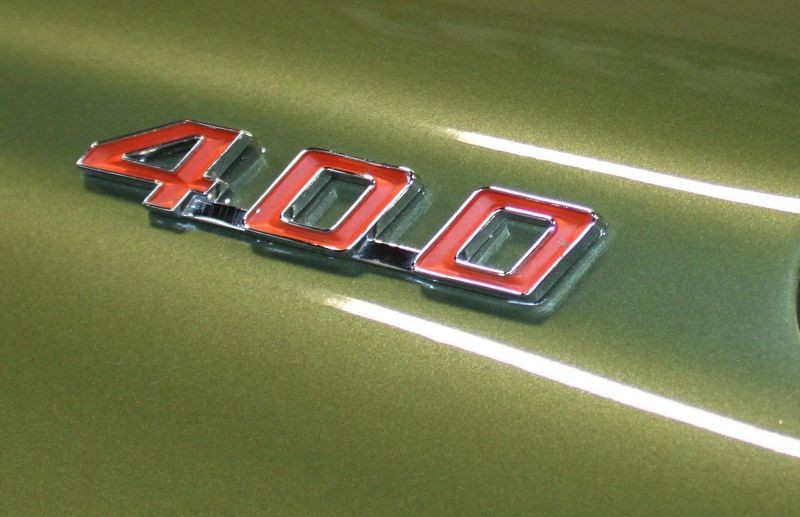
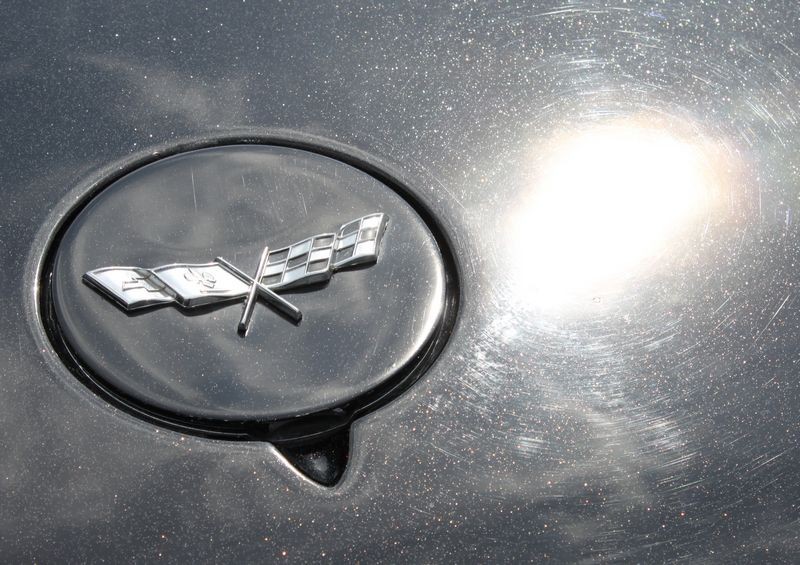
I taped off a section in front of the 400 emblem on the air scoop and then buffed on each side of it.

Restoring clarity makes the metallic flake pop
The left side is the before side, the right side is the after side. Millions of fine swirls and scratches act to make the top clear layer of paint hazy and opaque, this hides the metallic flake in the basecoat.
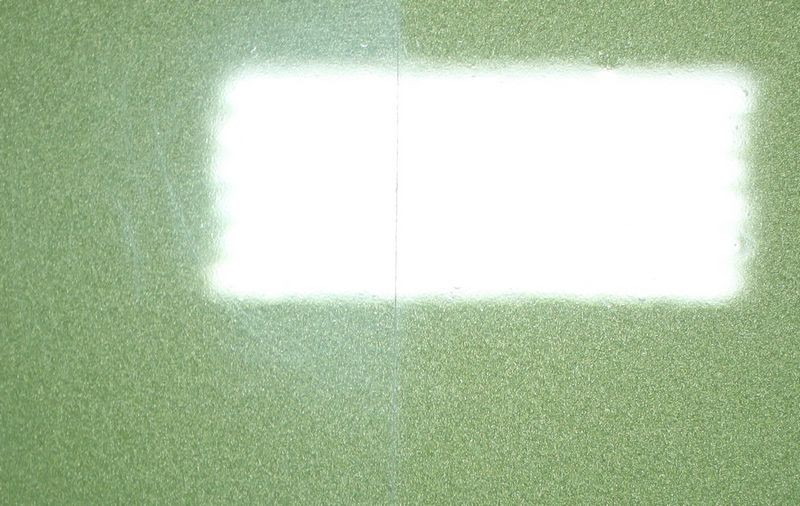
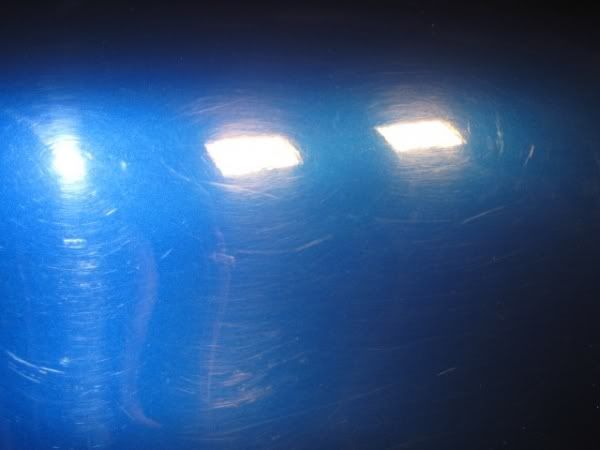
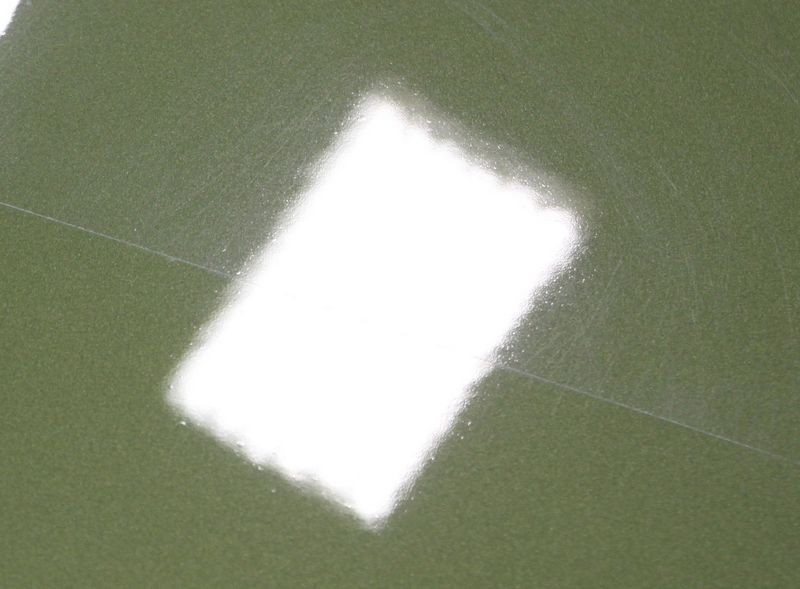
In the below shots you can see by where the overhead florescent lights are reflecting on the paint where the paint is hazy and where the paint is clear.


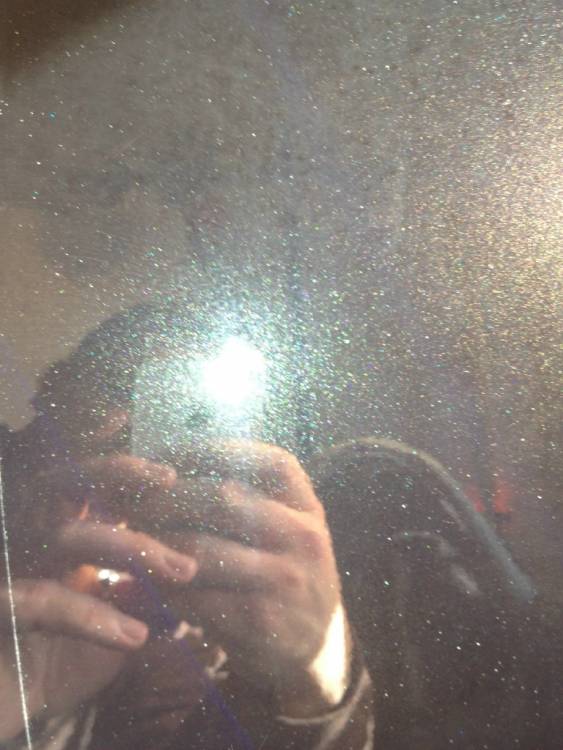
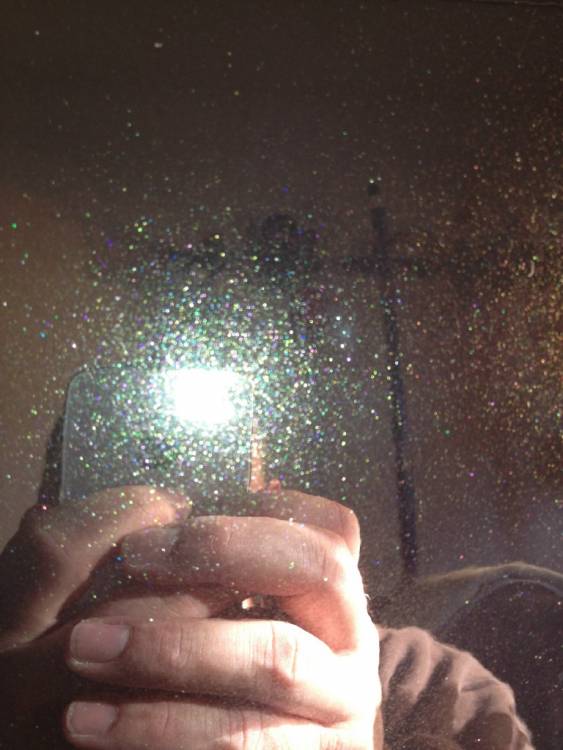
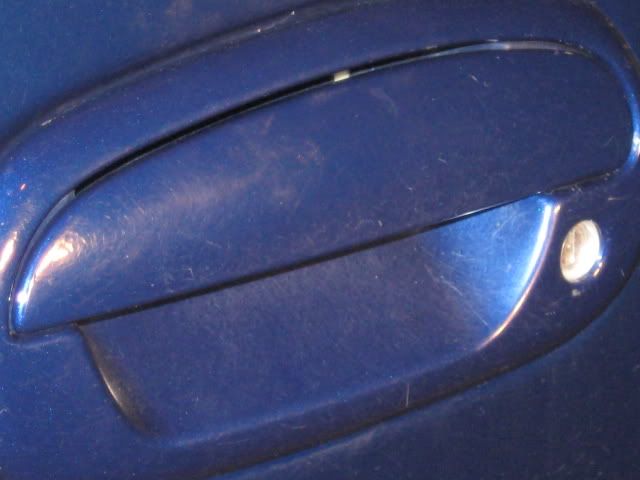
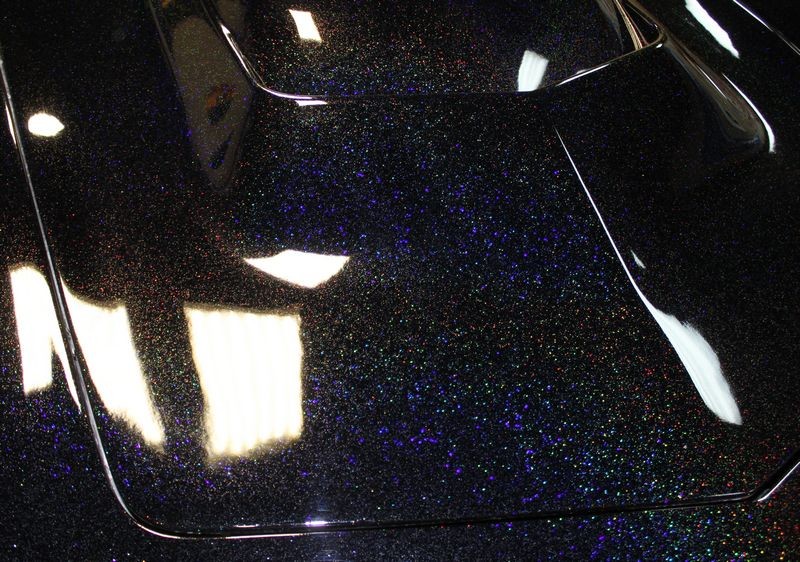
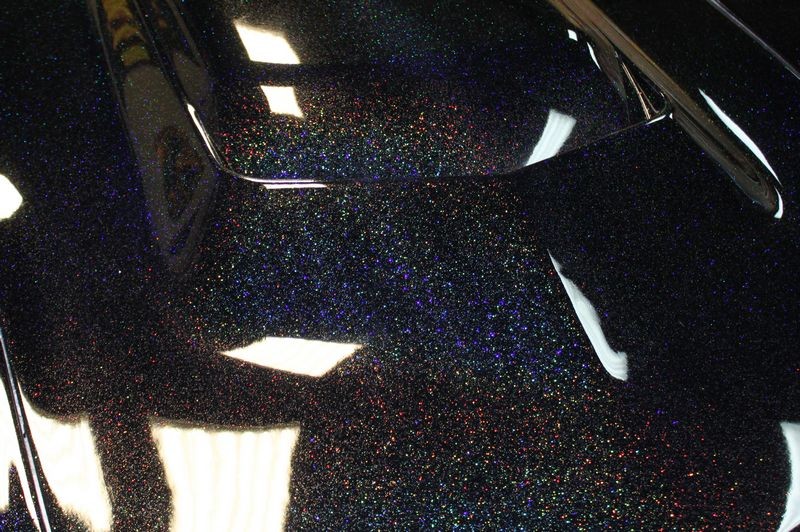
Here's the high resolution pictures of the hazy, swirled-out paint before we duplicated the process used for the Test Spot.
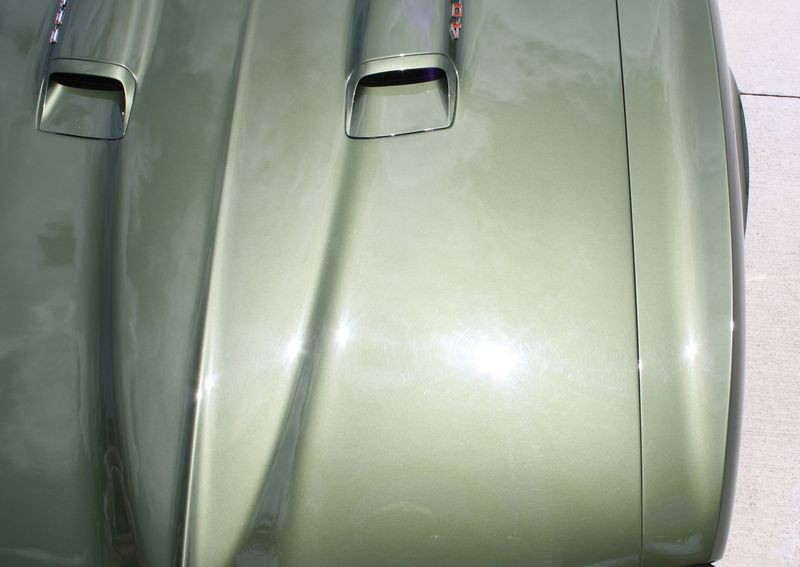


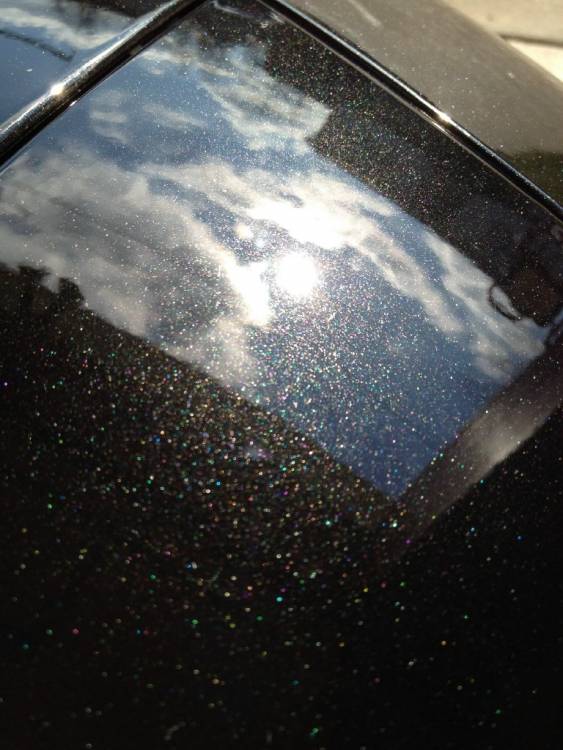
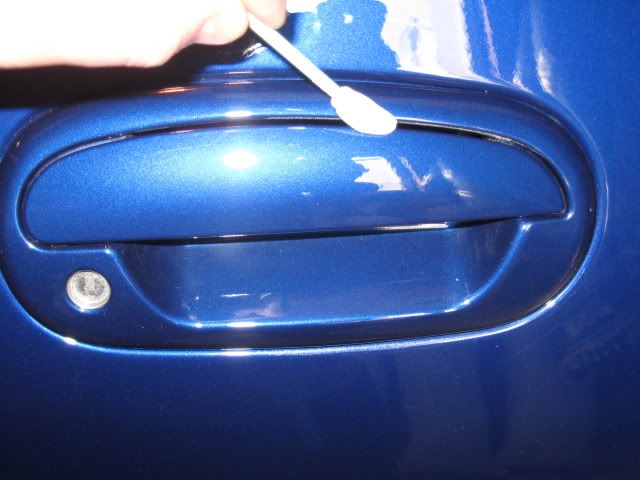
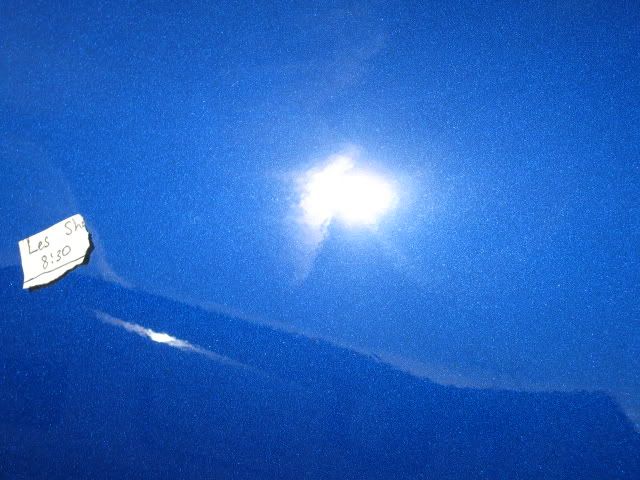
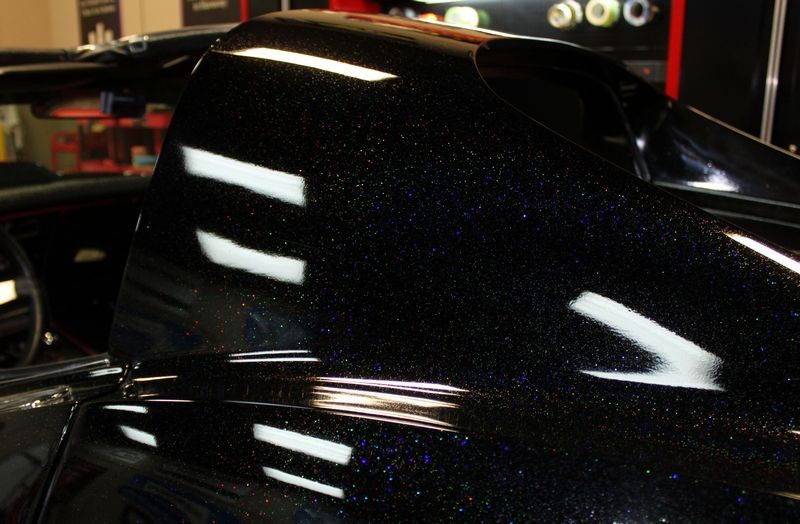
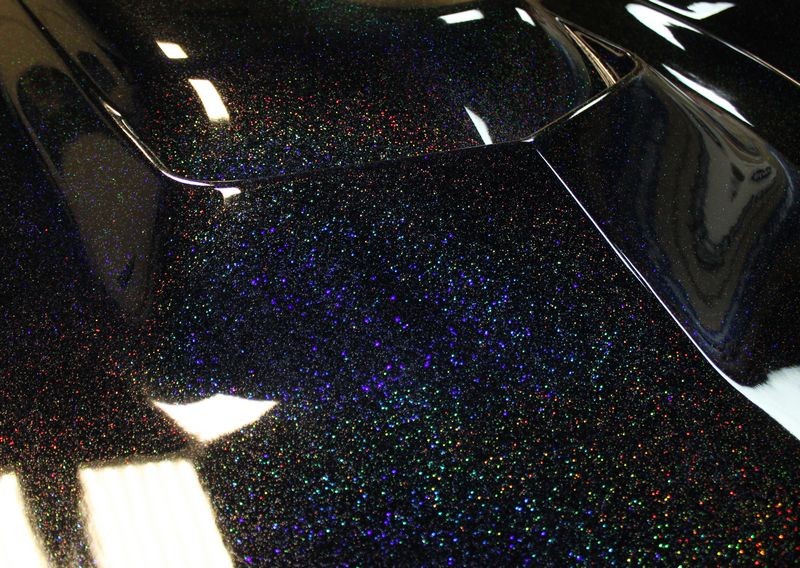
Here's the high resolution pictures of the paint after we maximized clarity and smoothness. Now the metalflake in the basecoat pops!


So if you want to really make the flake in your car's finish pop, focus on maximizing clarity and smoothness to the top, clear coat layer of paint.
This can be done by hand but it's best done by machine.
You can find the full write-up, process and pictures in the below thread,
Video and Pictures: 1968 Firebird Detailing Class at AutogeekOnline.net
")
One of the goals everyone has that owns a car with a metallic finish is to figure out how to make the metalflake pop.
Pop Definition
By the word "pop", people mean make the pretty, reflective shiny flakes in the basecoat easy to see through the clear coat.
By the word "pop", people mean make the pretty, reflective shiny flakes in the basecoat easy to see through the clear coat.
Because the majority of all cars with a metallic paint job have a clear coat over them, there's no way to physically affect the actual metallic flakes under the clear layer of paint. So to get the metallic flake to POP you want to do two thing, the first is the most important.
- Maximize the clarity of the clear coat
- Maximize the smoothness of the clear coat
The way you maximize the clarity of a clear coat finish is you remove as many of the topical and sub-surface defects as possible without compromising or abrading through the clear layer finish.
This is done through a combination of the below,
- Wetsanding to remove defects and orange peel
- Compounding to remove deeper below surface defects like swirls, scratches and water spots
- Polishing to either refine the results from the compounding step or remove shallow below surface defects like swirls, scratches and water spots where a true compound isn't needed.
Maximize the smoothness of the clear coat
The way you maximize the smoothness of the clear coat finish is by removing any above surface bonded contaminants as possible and if you have enough paint on the car, then to remove as much orange peel or surface texture like mottling as possible without compromising or abrading through the clear layer finish.
Keep in mind, anytime you wetsand paint, which removes paint, you're then going to have to compound and polish the paint and both of these procedure will also remove paint, so it's vitally important that you are working on a custom paint job or you have the experience, skill and confidence to carefully wetsand a factory finish.
Maximizing the smoothness is done through a combination of the below,
- Claying the paint or using a product like the Speedy Surface Prep Towel to remove above surface bonded contaminants
- Wetsanding or dampsanding to remove orange peel, surface texture, mottling
- Compounding to remove and/or level surface imperfections
- Polishing to either refine the results from the compounding step or remove shallow below surface defects like swirls, scratches and water spots where a true compound isn't needed.
Obviously, between the two different goals of maximizing clarity and smoothness there are some overlapping procedures that you can do and which procedures you use will always be determined by the paint itself and your skill level.
Wetsanding paint should be reserved for custom paint jobs where the top coat of clear paint is purposefully sprayed on thicker by the painter because he knows the paint will be wetsanded. Wetsanding can be used by professionals and serious enthusiasts for factory paint jobs if and when the desire is strong enough to overcome the hardness and thinness factors that make sanding factory paint risky.
Besides wetsanding though, the majority of us can safely do the following relatively safely,
- Claying or using a product like the Speedy Surface Prep Towel to remove above surface bonded contaminants.
- Compounding.
- Polishing.
Making the metalflake pop!
Below are the results from the Test Spot I performed to an all original 1968 Firebird Convertible except that it has been repainted with a basecoat/clearcoat finish.
When the car arrived I inspected the paint and documented with video and hi res pictures that the clear layer was in fact filled with swirls and scratches and this was clouding the clear layer hiding the beauty and definition of the metallic flakes in the basecoat.
My Test Spot not only was used to prove my paint polishing system but to also show the owner what the paint could truly look like and in the process make the metallic flake pop.
If you have a metallic or metal flake paint job on your car, truck or suv, you can too can get the metallic finish to pop by evaluating the finish and then doing the practical and safe procedures appropriate to your car's finish and your skill level and maximize the clarity and smoothness of the clear coat.
For this project we used,
Optimum Hyper-Compound
Optimum Hyper-Polish
Optimum Car Wax
Lake Country 5" Hybrid Pads
Lake Country 5.5" Hydro-Tech Pads
Flex 3401 Forced Rotation Dual Action Polisher
Griot's Garage 6" Random Orbital Polisher
Porter Cable 7424XP
Any quality compounds, polishes, pads and tools will create the same results.
Test Spot Results
I taped off a section in front of the 400 emblem on the air scoop and then buffed on each side of it.
Restoring clarity makes the metallic flake pop
The left side is the before side, the right side is the after side. Millions of fine swirls and scratches act to make the top clear layer of paint hazy and opaque, this hides the metallic flake in the basecoat.
In the below shots you can see by where the overhead florescent lights are reflecting on the paint where the paint is hazy and where the paint is clear.
Here's the high resolution pictures of the hazy, swirled-out paint before we duplicated the process used for the Test Spot.
Here's the high resolution pictures of the paint after we maximized clarity and smoothness. Now the metalflake in the basecoat pops!
So if you want to really make the flake in your car's finish pop, focus on maximizing clarity and smoothness to the top, clear coat layer of paint.
This can be done by hand but it's best done by machine.
You can find the full write-up, process and pictures in the below thread,
Video and Pictures: 1968 Firebird Detailing Class at AutogeekOnline.net


 rops:
rops: