Navigation
Install the app
How to install the app on iOS
Follow along with the video below to see how to install our site as a web app on your home screen.
Note: This feature may not be available in some browsers.
More options
Style variation
You are using an out of date browser. It may not display this or other websites correctly.
You should upgrade or use an alternative browser.
You should upgrade or use an alternative browser.
Meguiars 105/205 vs Wolfgang Total Swirl Remover 3.0 / Finishing Glaze 3.0
- Thread starter kb2ehj
- Start date
Harleyguy
New member
- Jan 6, 2009
- 2,349
- 0
That summed it short and sweet :iagree:105 is a compound that need to be follow-up. TSR 3.0 finishes down like power finish 203. It has a cut just below SIP and well below 105. TSR could be used as a one-step polish if paired with the right pad.
loudog2
New member
- Aug 5, 2008
- 2,880
- 0
Thanks Adam. I forgot not to abreviate. Sorry other people, don't be mad.!!That summed it short and sweet :iagree:
kb2ehj
Member
- Aug 10, 2009
- 472
- 0
- Thread starter
- #5
So if for some reason I didn't want to use TSR3.0 I could use Power Finish 203 and get roughly the same results?
I'm trying to put together a list of what products basically do the same thing should I want to try something new or a product is back ordered.
Thanks to all who have or will respond.
I'm trying to put together a list of what products basically do the same thing should I want to try something new or a product is back ordered.
Thanks to all who have or will respond.
ASPHALT ROCKET
SELF BANNED
- Mar 4, 2006
- 2,872
- 0
Would it be safe to assume that these two product combo's are the same?
In what they do, obviously they are made by two different companies.
Not at all, first the Wolfgang is diminishing abrasives and the Meguiars products are non-diminishing. With the Megs twins you can do so much more and vary the cut with them just by changing pads. The WG stuff you are pretty much stuck only doing certain defects.
Last edited:
ScottB
New member
- Mar 3, 2006
- 18,803
- 0
while there is a big difference in the use of diminishing to non-diminishing abrasives, I have found TSR/FG to be just as versatile and actually look better at end(more gloss and reflection). IMO it also offers more safety as the abrasives break down. Megs 105 however is indeed more abrasive than TSR and could help in light compounding needs. A nice combo might be 105 and FG or as some have suggested moving ultimately to Menzerna 085rd for final polishing.
ASPHALT ROCKET
SELF BANNED
- Mar 4, 2006
- 2,872
- 0
So if for some reason I didn't want to use TSR3.0 I could use Power Finish 203 and get roughly the same results?
I'm trying to put together a list of what products basically do the same thing should I want to try something new or a product is back ordered.
Thanks to all who have or will respond.
Get 105, 205, and Ultrafina and you will be able to work on almost anything out there.
Mike Phillips
Active member
- Dec 5, 2022
- 51,004
- 6
Would it be safe to assume that these two product combo's are the same?
In what they do, obviously they are made by two different companies.
With a wool pad on a rotary buffer on fresh paint M105 can remove down to #1200 grit sanding marks. With a wool pad on a rotary buffer on fresh paint Wolfgang Total Swirl Remover is probably able to remove around #2000 grit sanding marks so there's a difference in aggressiveness. M105 is an aggressive cutting compound, TSR is a much less aggressive SMR.
Wolfgang TSR has a much longer buffing cycle, that is the product will buff for a long time before drying up or becoming difficult to work with. M105 has a much shorter buffing cycle and a lot of people find the need to use some type of wetting agent like M34 or even water to buff longer with the product.
Both the M205 and the Wolfgang Finishing Glaze have long buffing cycles, produce similar results and are easy to work with and easy to wipe-off.
What are you working on?
What are your car care goals?
")
kb2ehj
Member
- Aug 10, 2009
- 472
- 0
- Thread starter
- #11
With a wool pad on a rotary buffer on fresh paint M105 can remove down to #1200 grit sanding marks. With a wool pad on a rotary buffer on fresh paint Wolfgang Total Swirl Remover is probably able to remove around #2000 grit sanding marks so there's a difference in aggressiveness. M105 is an aggressive cutting compound, TSR is a much less aggressive SMR.
Wolfgang TSR has a much longer buffing cycle, that is the product will buff for a long time before drying up or becoming difficult to work with. M105 has a much shorter buffing cycle and a lot of people find the need to use some type of wetting agent like M34 or even water to buff longer with the product.
Both the M205 and the Wolfgang Finishing Glaze have long buffing cycles, produce similar results and are easy to work with and easy to wipe-off.
What are you working on?
What are your car care goals?
Hi Mike,
Thanks for the response and in depth explanation.
Currently I'm not working on anything, future wise I'm attempting to get a co-worker to let me clean up her Blue Toyota Corolla that has a bunch of what appears to be very light swirls all over it.
The question/post started mostly as a learning lesson for me. I'm really really new to this car care stuff. Between people here and over on autopia talking about various 'twin' products and the current rollback specials that are going on. I was thinking would it be better to go with the Wolfgang products while they were on sale if they did the same thing.
Between your response and those of the others. It sounds like "they do but they don't" if I'm expressing myself correctly.
Love's Auto
New member
- Aug 14, 2013
- 218
- 0
I am a huge fan of Wolfgang products and to be honest it doesn't hurt to buy both! :whs
lunchboxmunchy
New member
- May 2, 2013
- 272
- 0
Hi Geeks. What is "M34"?
Hi Geeks. What is "M34"?
Meguiars Final Inspection spray.
Mike Phillips
Active member
- Dec 5, 2022
- 51,004
- 6
Hi Mike,
Thanks for the response and in depth explanation.
No problemo...
Currently I'm not working on anything, future wise I'm attempting to get a co-worker to let me clean up her Blue Toyota Corolla that has a bunch of what appears to be very light swirls all over it.
Hey practicing on co-workers cars is a good way to learn, since you don't own it though, do take the careful approach.
Remember, all of the UV protection is in the top layer of clear paint so the more clear paint you remove the less UV protection to last over the service life of the car.
Also, when working on daily drivers, most of the time you don't try to remove each and every little defect, heck I don't even do this to my own truck. The reason why is because it's a daily driver it's only natural that it's going to get scratched more into the future, so just use common sense.
If you were to buzz over this car with the Wolfgang Twins it will probably look as good and usually better than when it was new except for the RIDS. See this article as it explains why you don't need to care about the RIDS.
RIDS - The Definition of RIDS and the story behind the term...
How many hours does something like that take.
First... in my entire life I've NEVER claimed to be the fastest at this craft. I'll leave that claim up to someone else. And this is because you cannot rush quality and removing swirls and scratches, that is "below surface defects" takes a certain amount of time.
That is, you have to move the polisher slowly over the surface to allow the combination of,
- Abrasive technology
- Pad technology
- Downward Pressure
- Time - Arm Speed
- Tool action - This is usually a combination of rotation and oscillation but could be just rotation.
- Technique
The longest step in an exterior buff-out is the first machine step, in my how-to book I call it,
The Major Correction Step
Because that's what it is no matter what the tool, pad or product. The first step when working on a neglected finish is the major step and thus the Major Correction Step. (Had to give it a name).
If you don't remove the defects during this first step then chances are very good they will be their after the final wipe off of your LSP.
Deeper defects not removed during the major correction step are not likely going to be removed when you move onto the next step where you're now using less aggressive pads, products and even tools and technique.
So the end results, that is the BIG Picture, is determined during this crucial, first correction step and for this reason you cannot rush it.
All of the above said, for a car like you see in the above pictures, not including all the prep work you do before bringing the buffer down onto the paint, things like washing, claying, taping off, etc. to use a dual action polisher like a Porter Cable or variants, it's going to take a person that knows what they are doing a range of 3-6 hours.
The range of time is affected by the pad and product. With the Meguiar's Microfiber Cutting pad and their D300, a person can can knock out the correction step pretty quickly but I'd say 3 hours for the 350Z would still be pushing it and 4 hours minimum would be a better baseline.
The next step of course goes a lot faster because now you're not locked into doing as much work to each section you buffer out as the heavy lifting, so to speak is over.
So say you spent 4 hours on the first step, and 2 hours on the second step, and then applied a dedicated product for your last step, be it a wax, sealant or coating, you're looking at approximately 7 to 8 hours by the time you're making the final wipe down of the paint. And this time allotment does not count the other procedures like washing, drying, claying, taping-off, etc.
The above is doing a multiple-step process with the additional LSP application and removal.
With the Meguiar's Microfiber DA Correction System, you actually stop and are finished after the second step, that is using the D301. In this scenario you're looking at 5-6 hours for a two-step process over the average size passenger car.
NOTE: A person can do it faster but realistically, if you start buffing out sections faster you're not going to get as good of defect removal AND that's okay for doing production detailing. What i typed above would be more for the guy that actually owns the car he's working on and wants to do a good job.
And... you co-worker will love you. Plus the Wolfgang Twins are easy to work with. There's lots of good choices for "twins", these are just two of them but they have nothing but a stellar reputation.
Here's an old Chevy I treated with them...
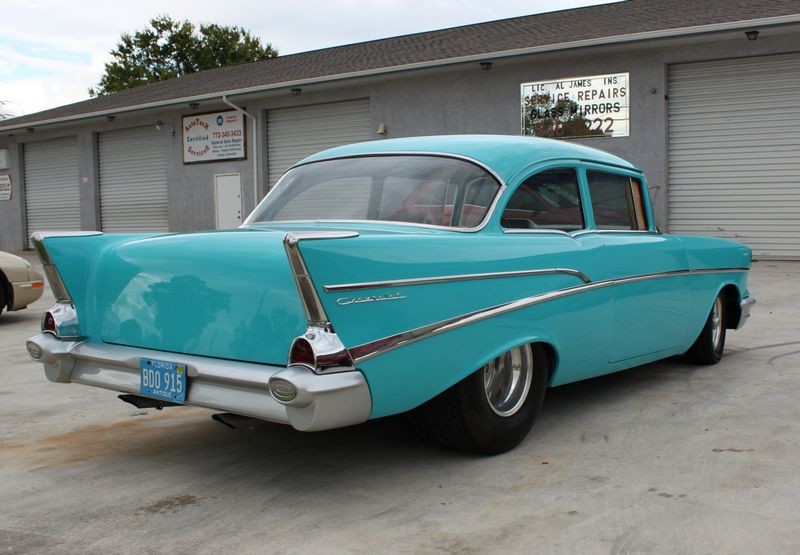
1957 Chevrolet Belair Extreme Makeover - Flex 3401 & Wolfgang Smackdown!
Before
Here's a candidate, a 1957 Chevrolet Belair. This car was painted approximately 10 years ago and while the color is very pretty for this body style, it's filled with swirls and scratches through the entire finish.
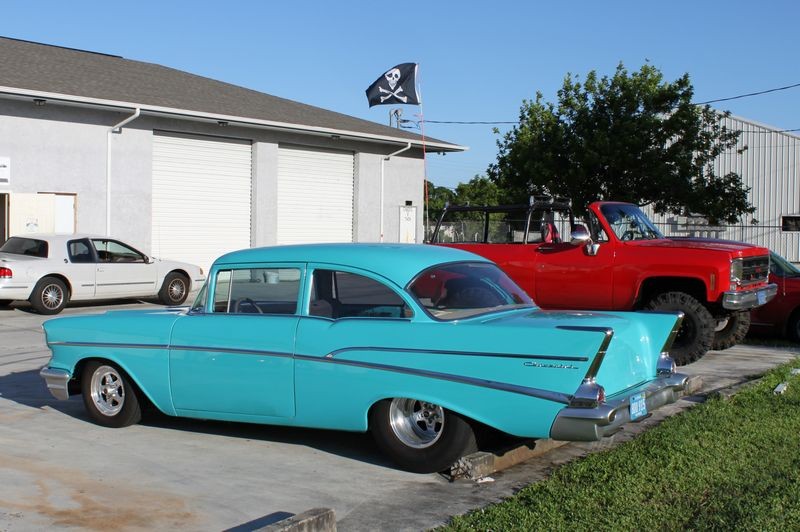
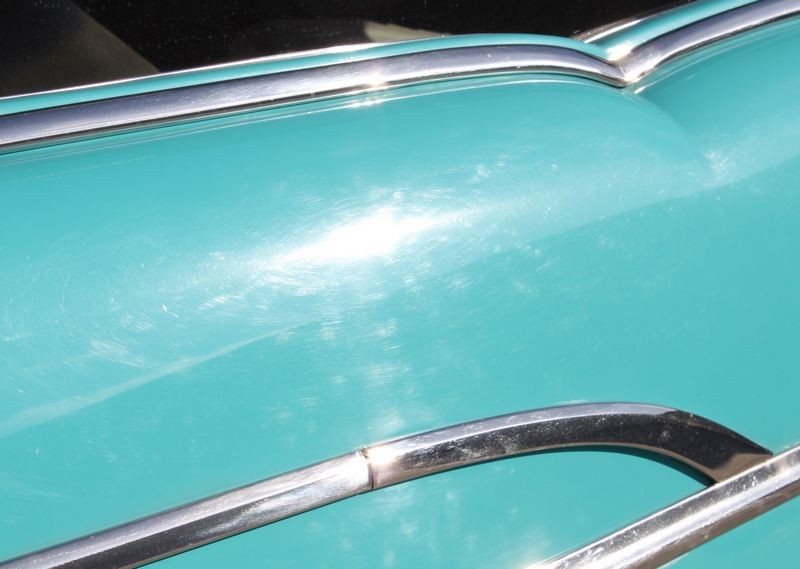
When the sun shines on the paint instead of having a deep, wet, high gloss shine, the paint turns all hazy looking. The swirls take your focus off the beautiful body lines the Tr-Fives are famous for and blinds you with ugliness.
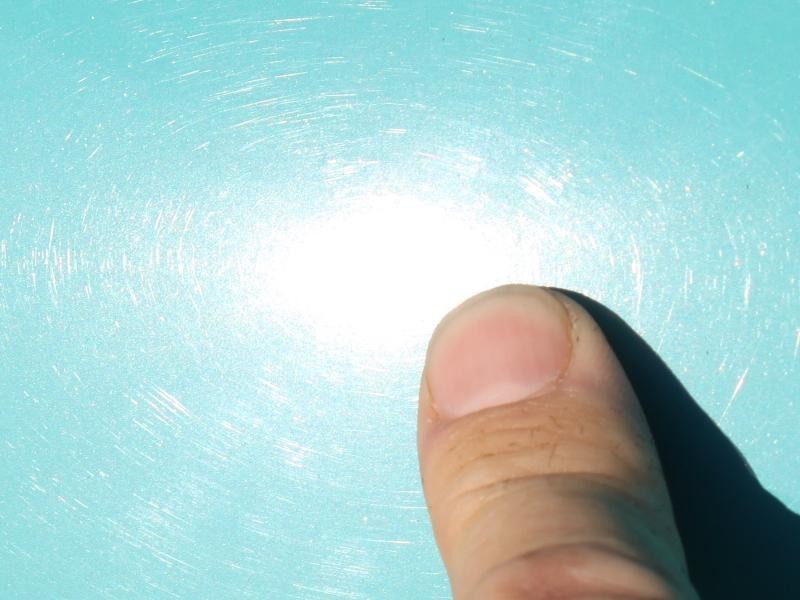

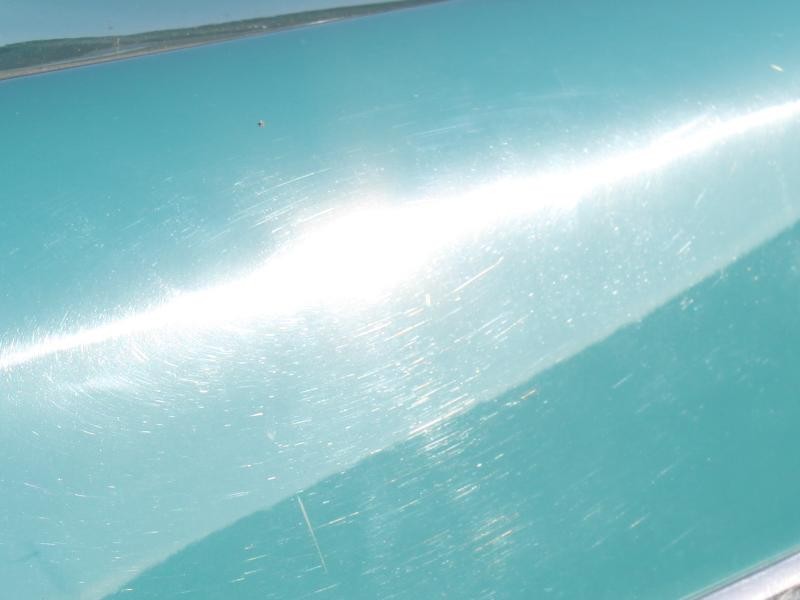
You can see these kinds of holograms or rotary buffer swirls throughout each panel when the sun hits them.

The below picture is a good representation of what's called holograms or rotary buffer swirls.

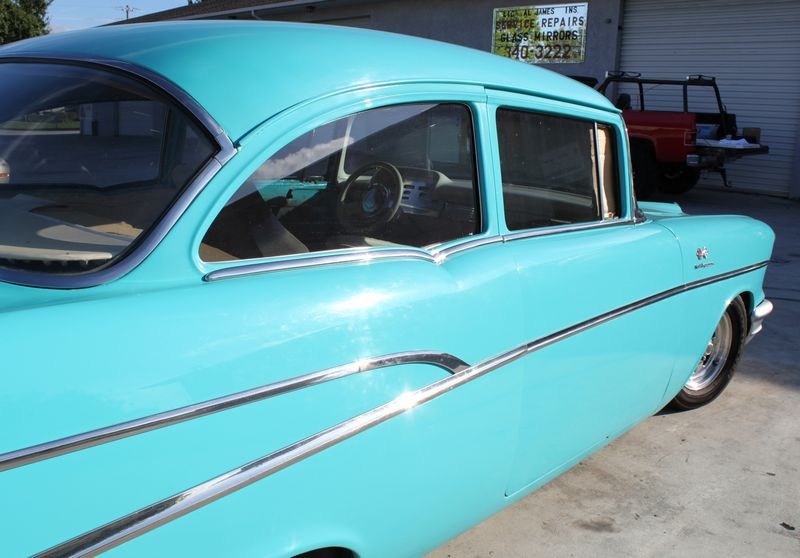

After
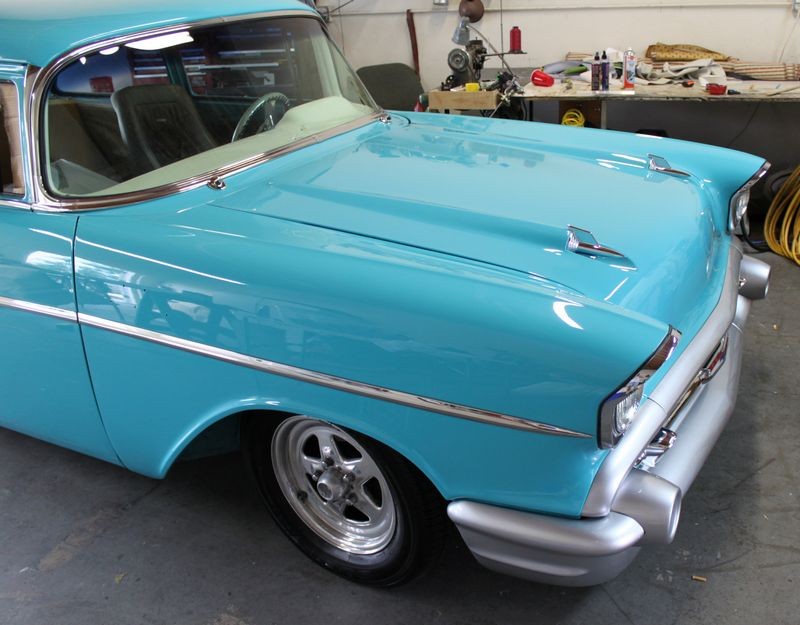


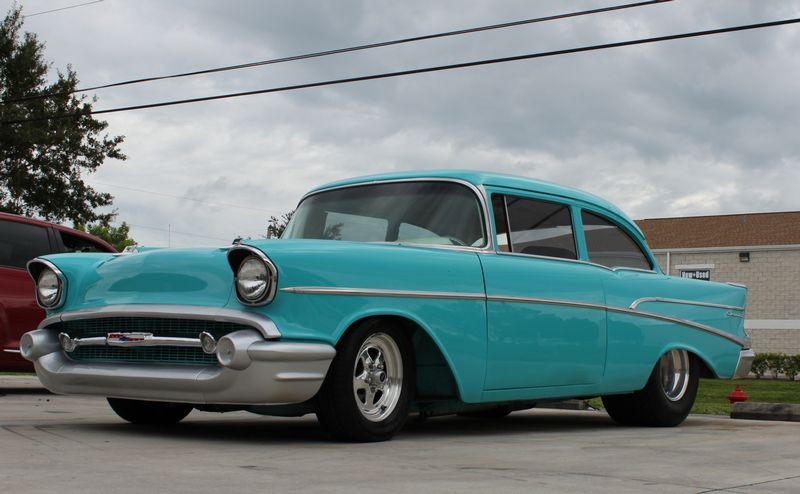

Good enough for the above old Chevy plenty good for a Toyo transportation car...
Between your response and those of the others. It sounds like "they do but they don't" if I'm expressing myself correctly.
Well the TSR is a Medium Cut Polish but that's all you need for most of your work on daily drivers. One thing for sure, sometimes just having a product that's easy to work with and produces consistent results over the widest spectrum of "paint systems" is also a real blessing.