christian900se
New member
- Apr 22, 2008
- 827
- 0
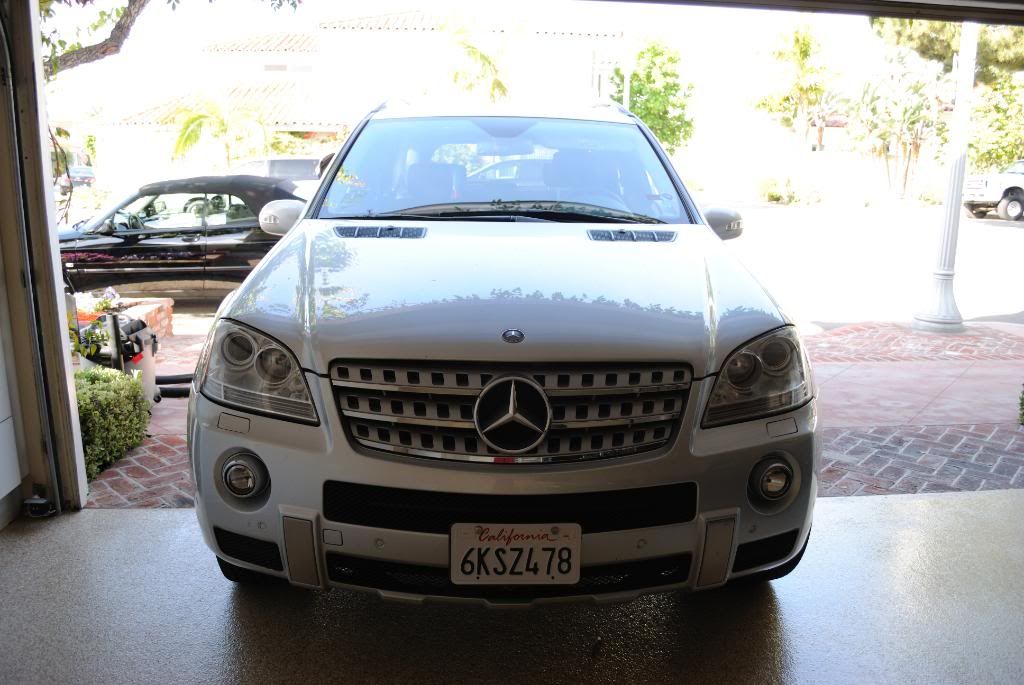
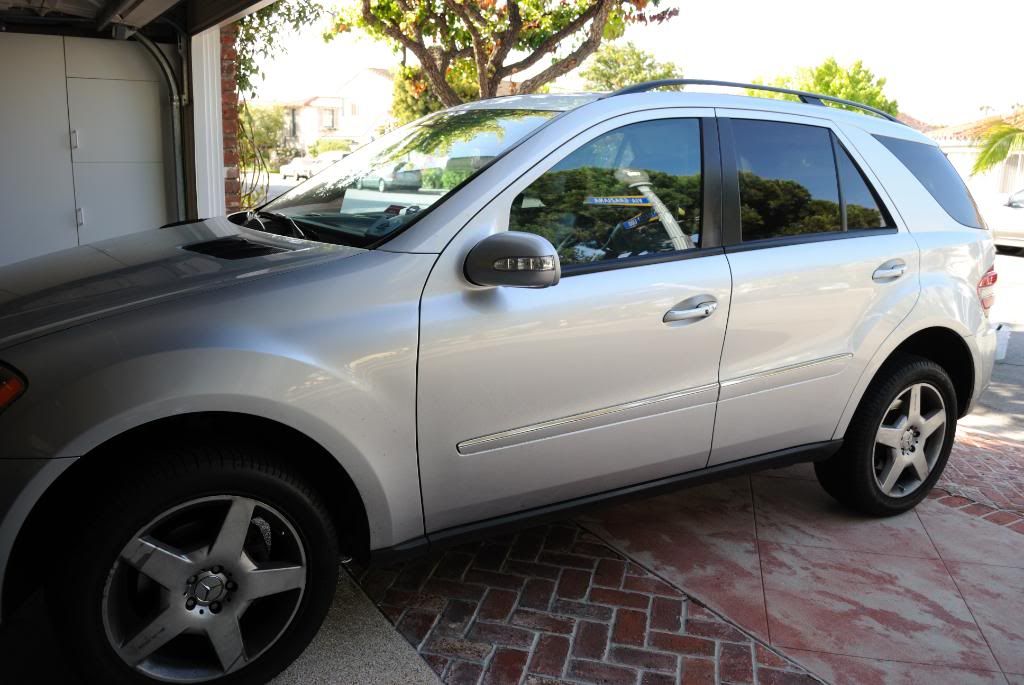
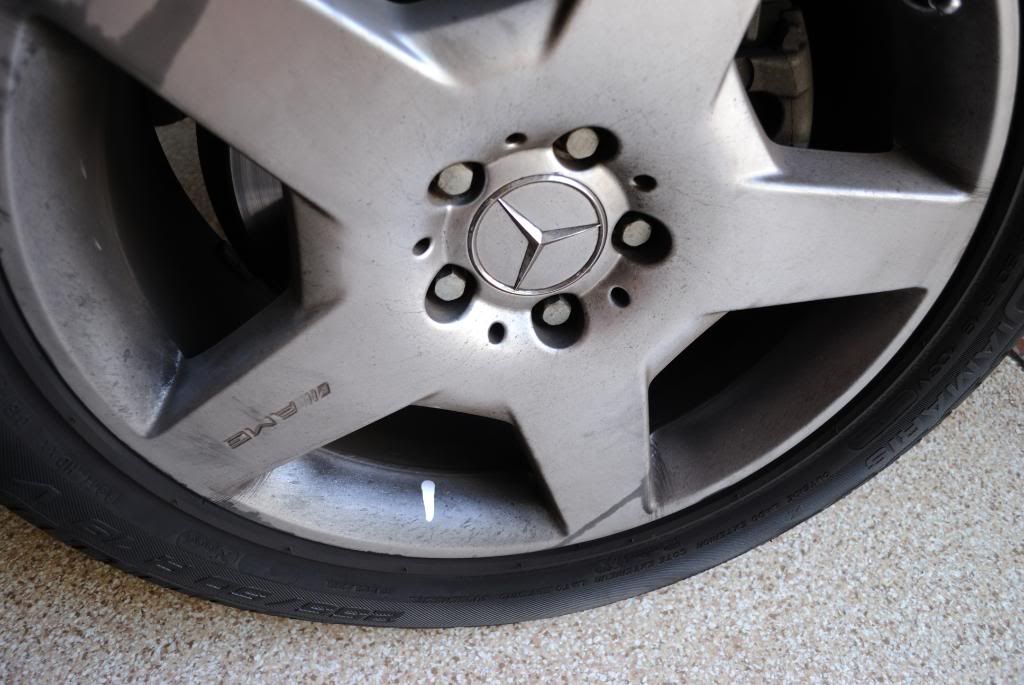
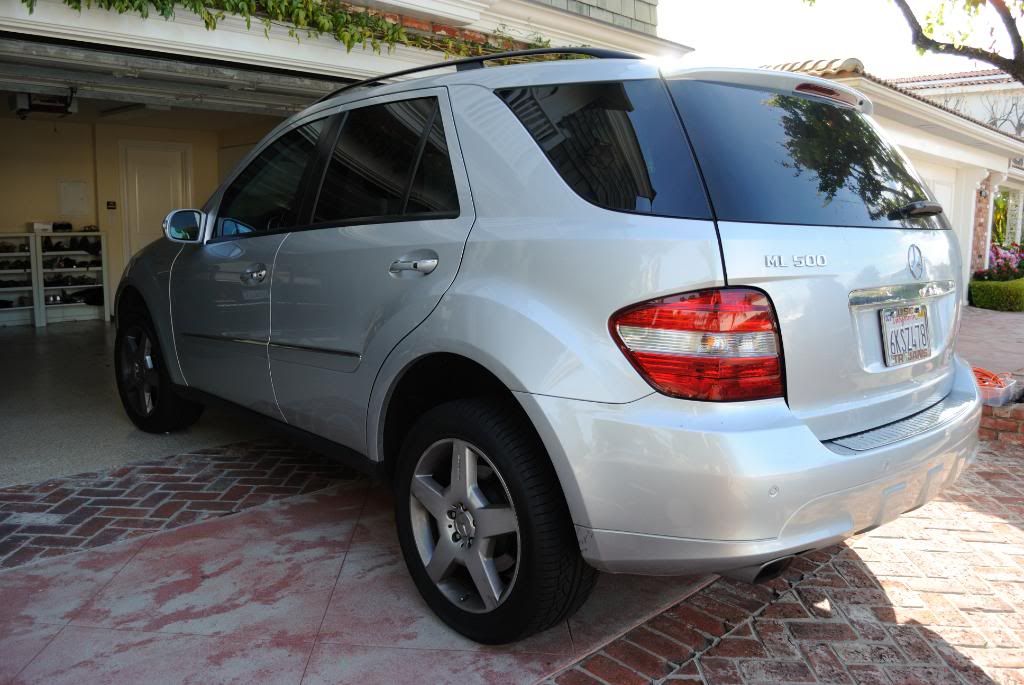
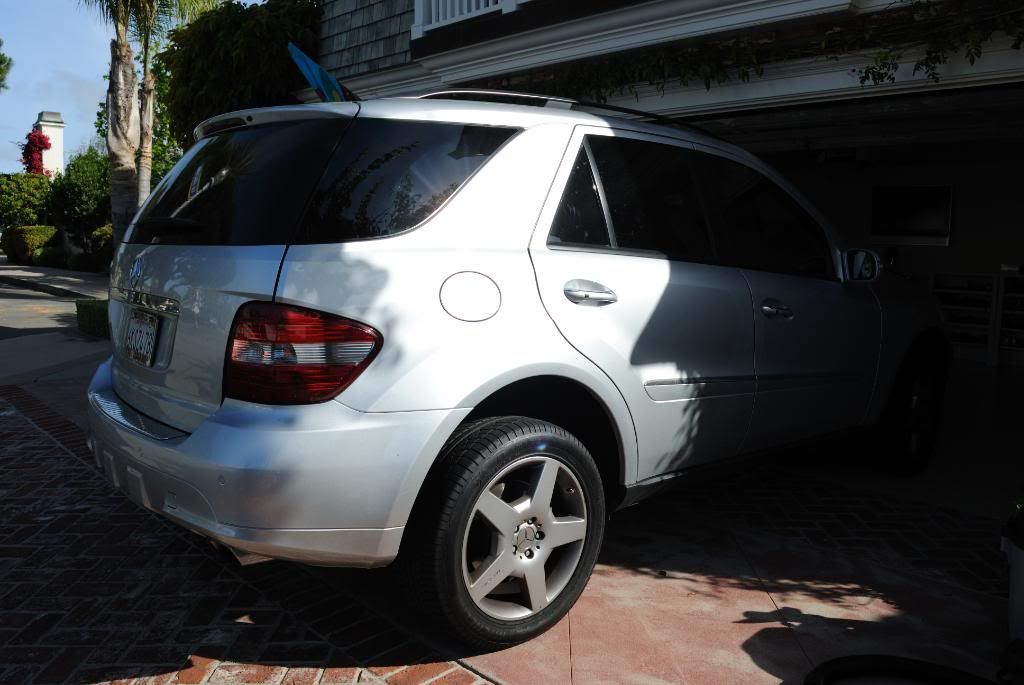
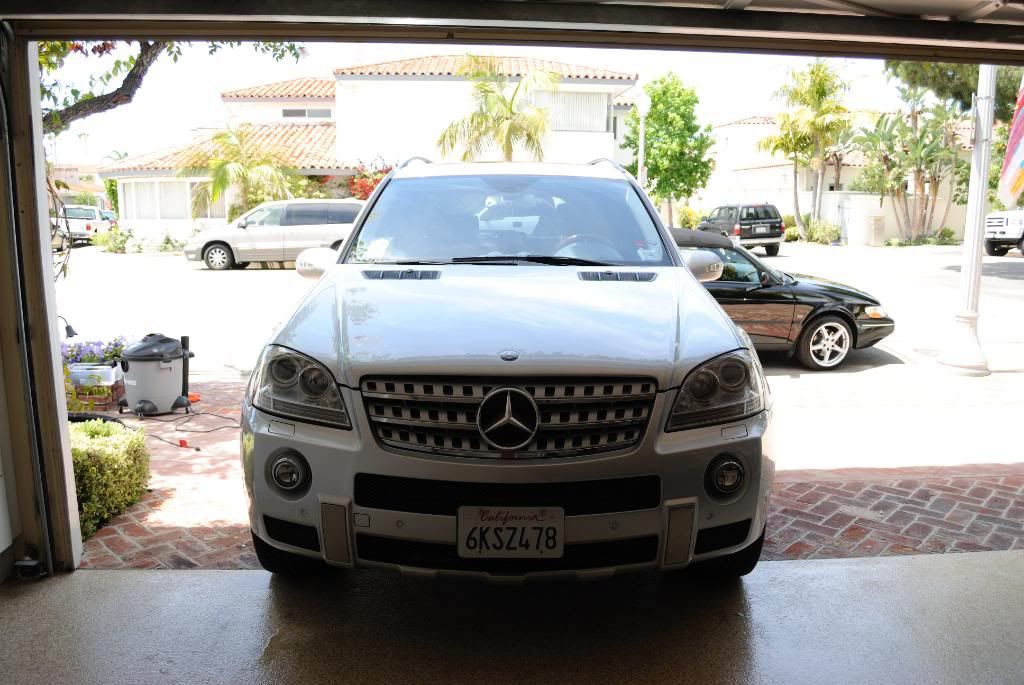
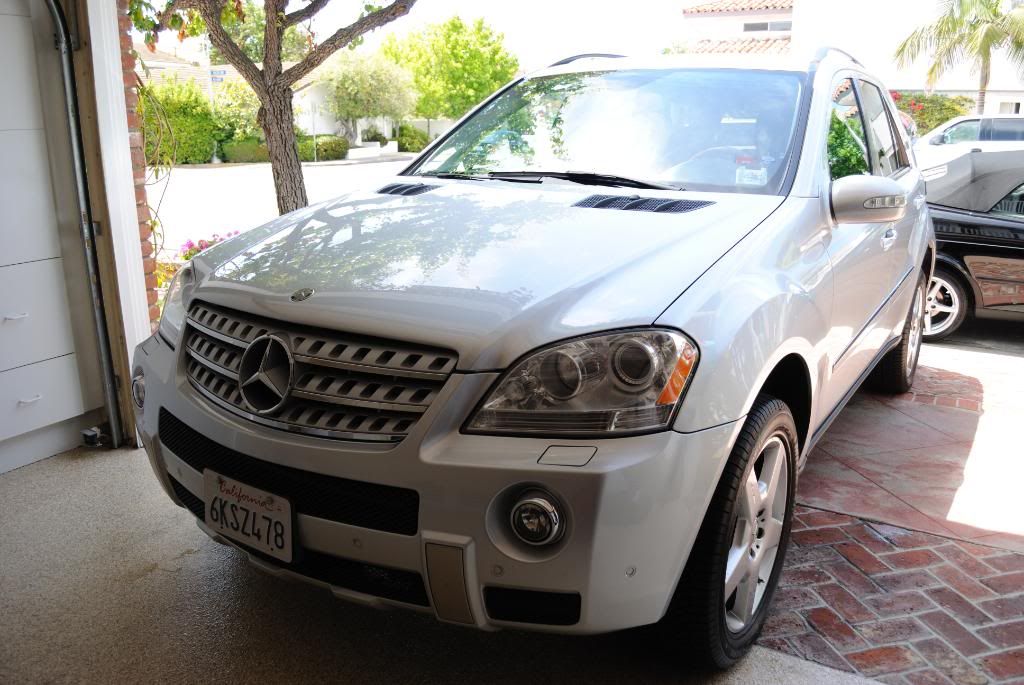
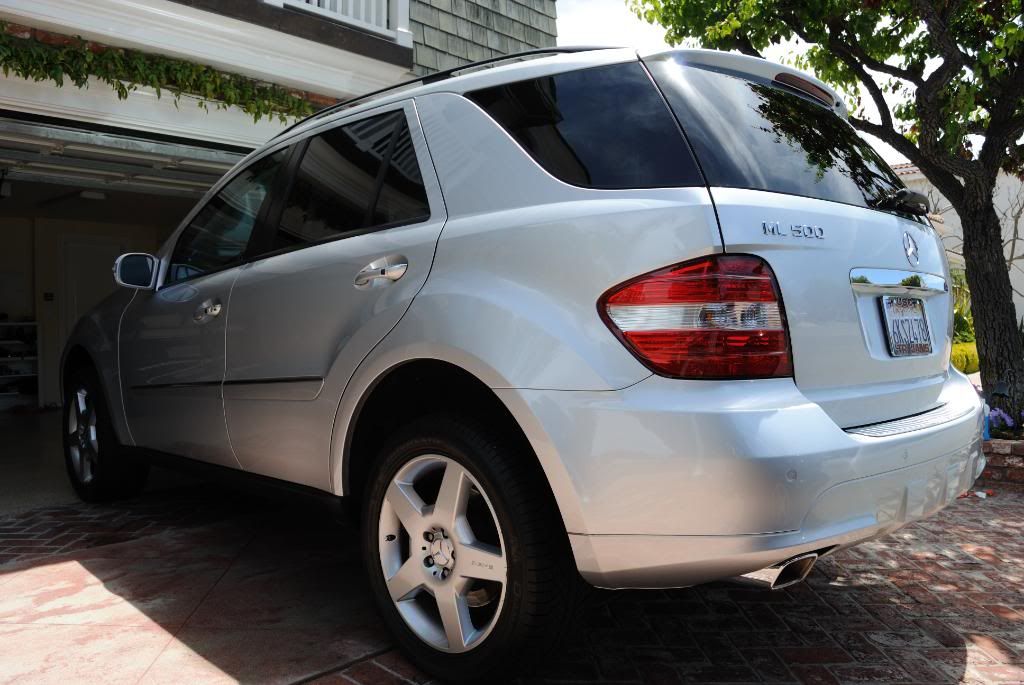
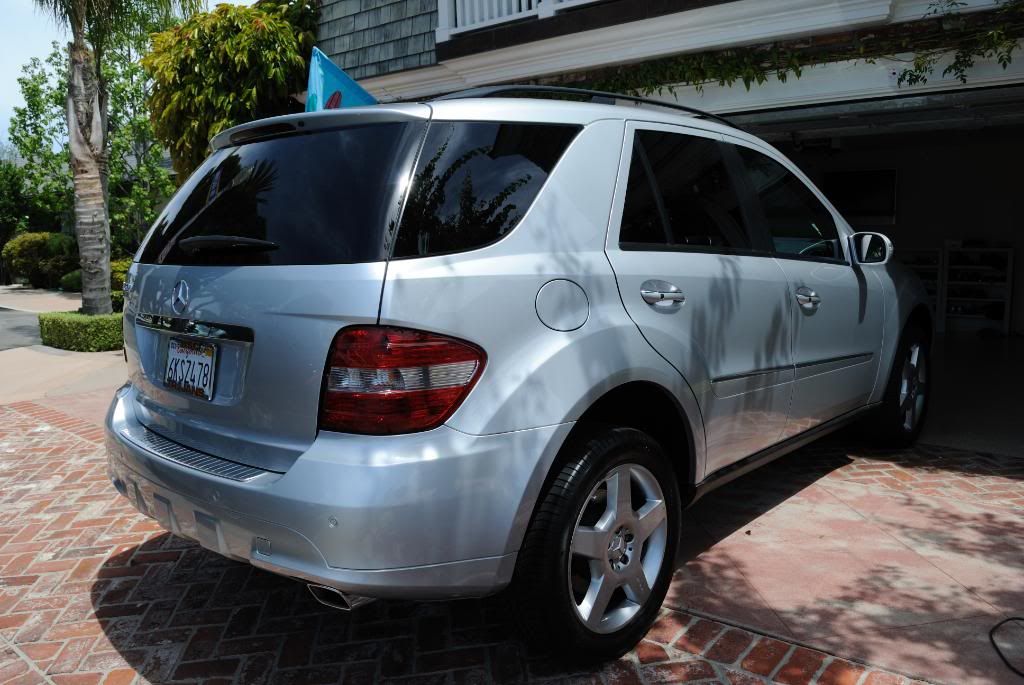
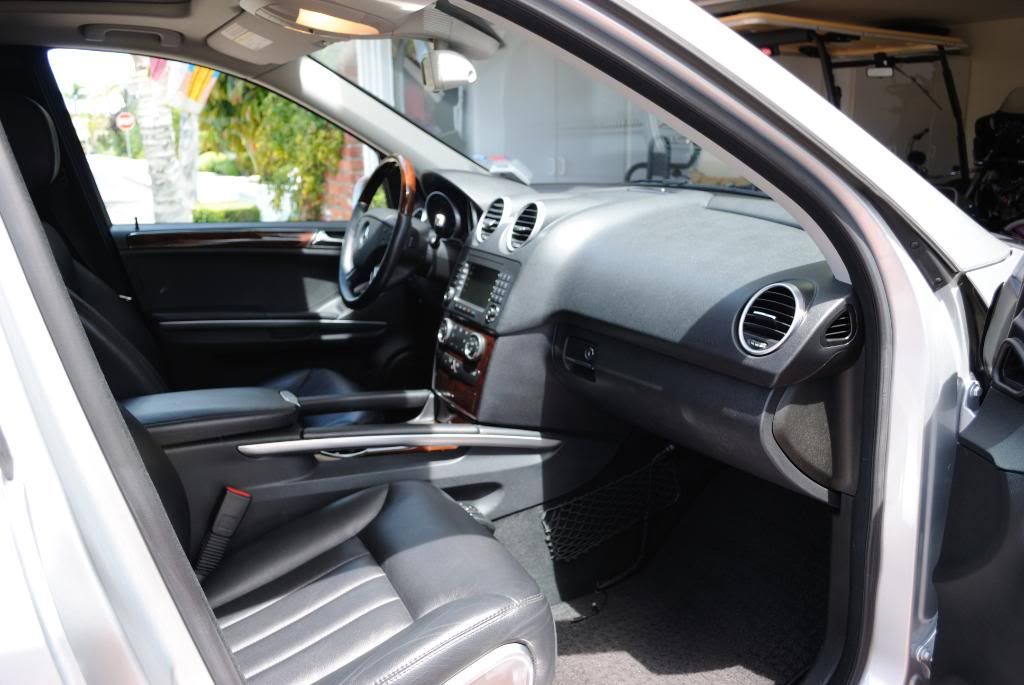
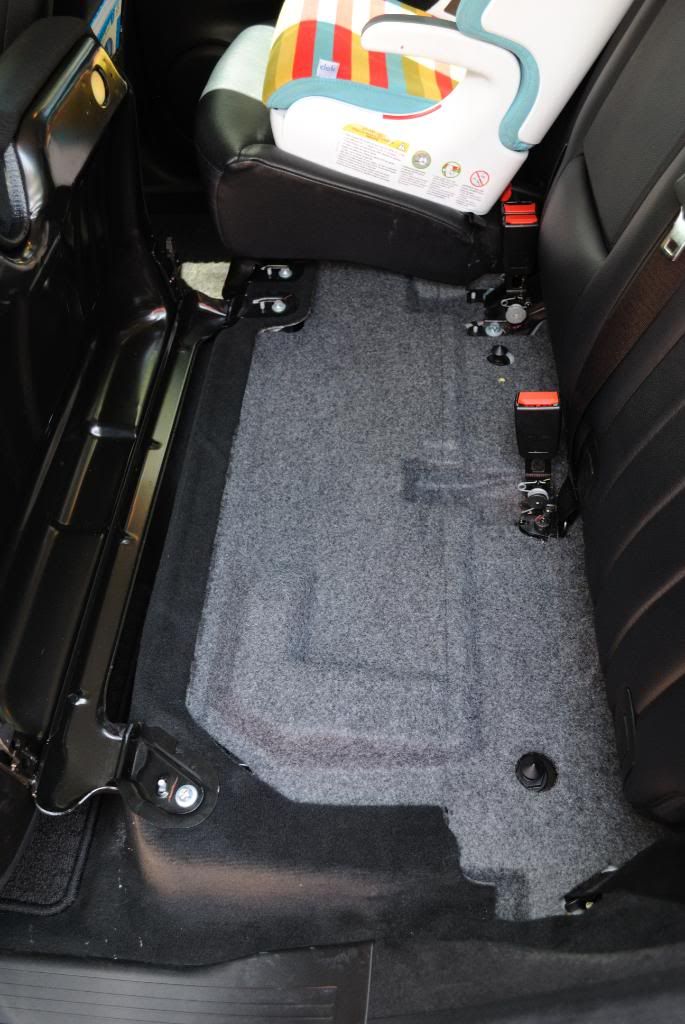
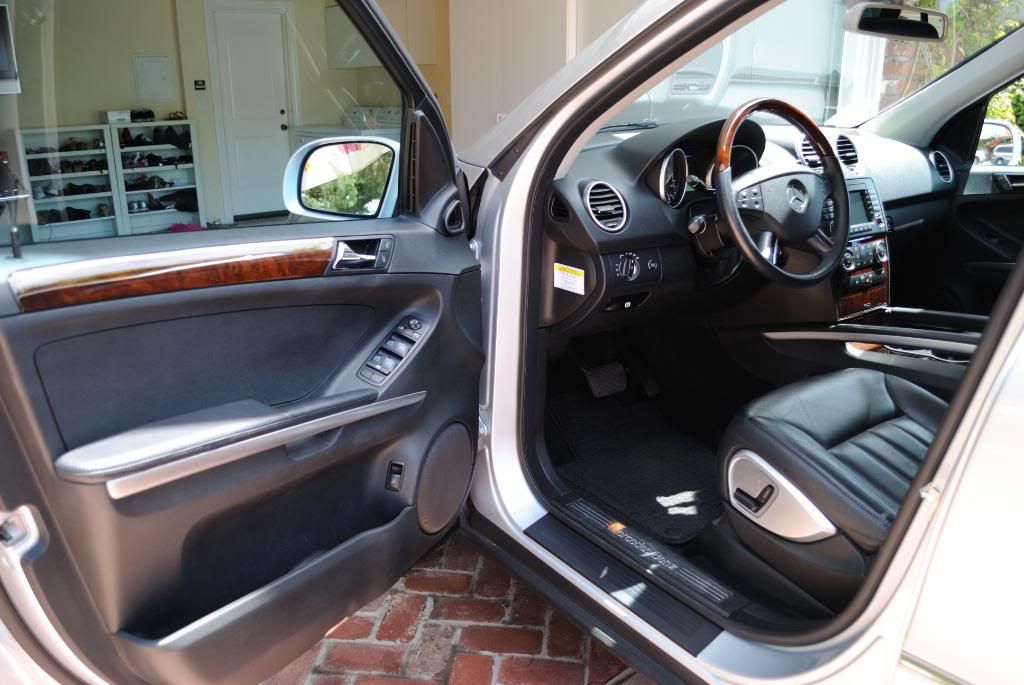
Sorry for being such a diliquent poster! I have been working my butt off to restart my detailing business since moving from Connecticut to Socal and have found it has been a bit of a challenge especially after enjoying such a loyal clientele base back North. The owner of this very nice ML500 requested a full interior and a full exterior minus any correction but placed a very strong emphasis on the interior... and I could see why after inspecting the car. I spent 4 hours on the interior because there was a couple inches of food under the back seats as well as melted chocolate and tootsie rolls. Good thing I just bought gloves! She has a few small kids and the previous detailer never got under the seats so it accumulated after a while. I then tackled the exterior which, in all fairness, was actually in good shape: some bugs on the front and the typical brake dust on the rims but I think it turned out well.
Products+Process:
Exterior
-ONR wash
-Dried with my new WW, it dried the whole exterior and could have gone further
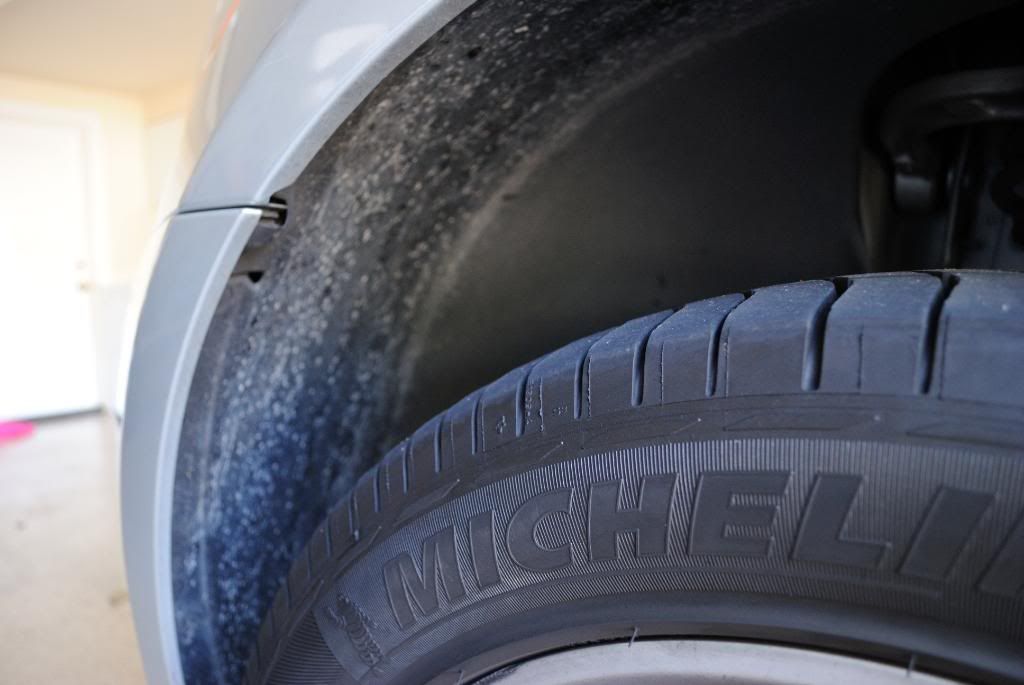
-OPC 3:1 on the wheels and front bumper (bugs)
-Automagic clay, CG Luber on glass and paint
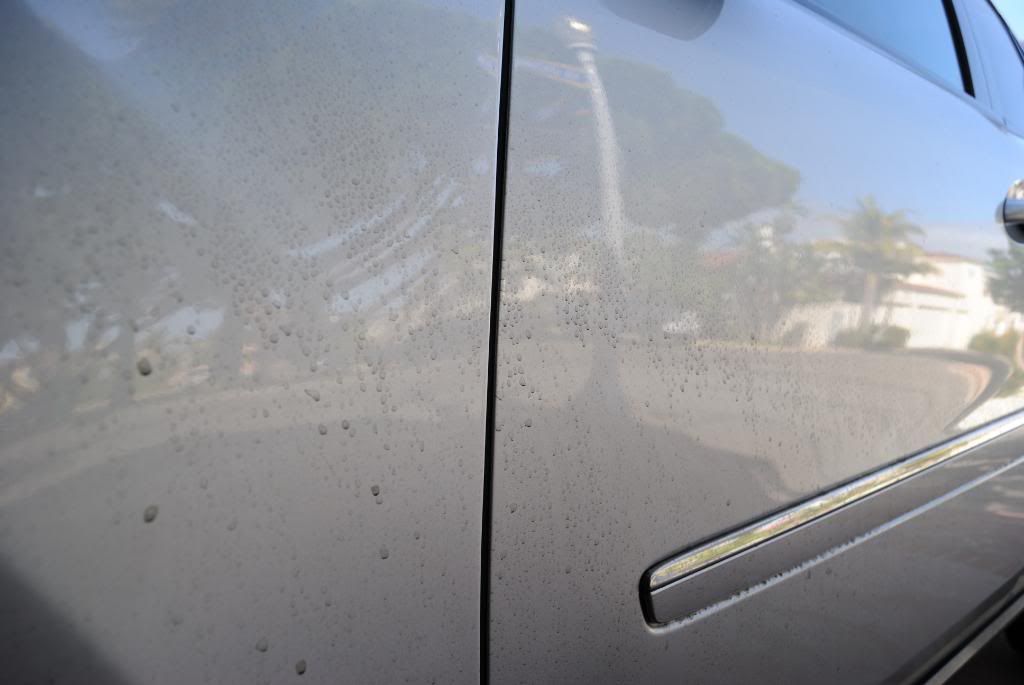
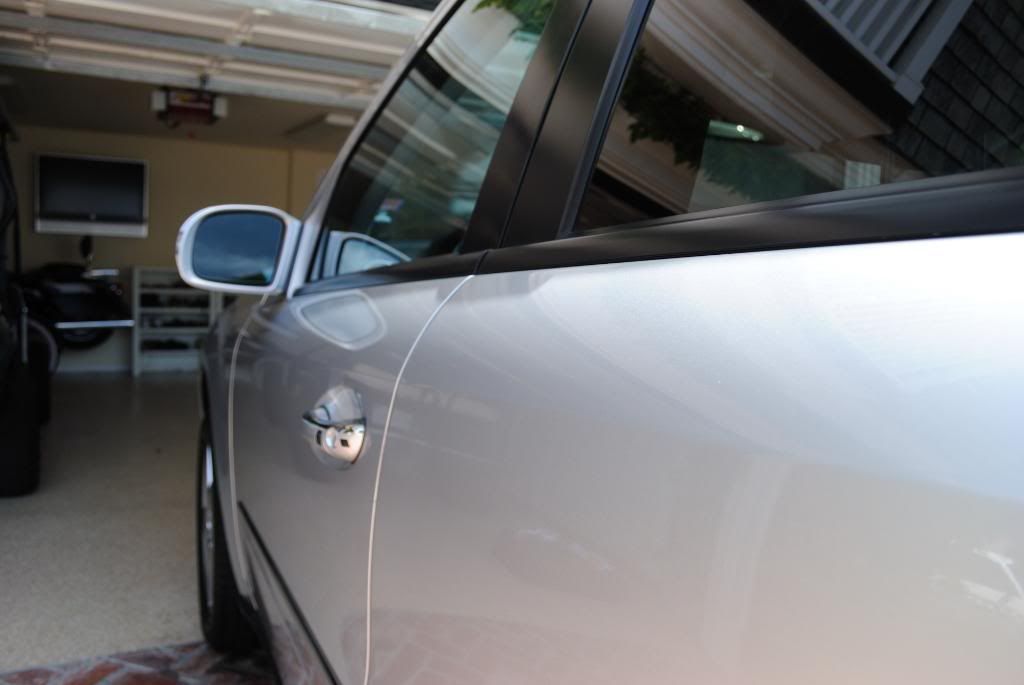
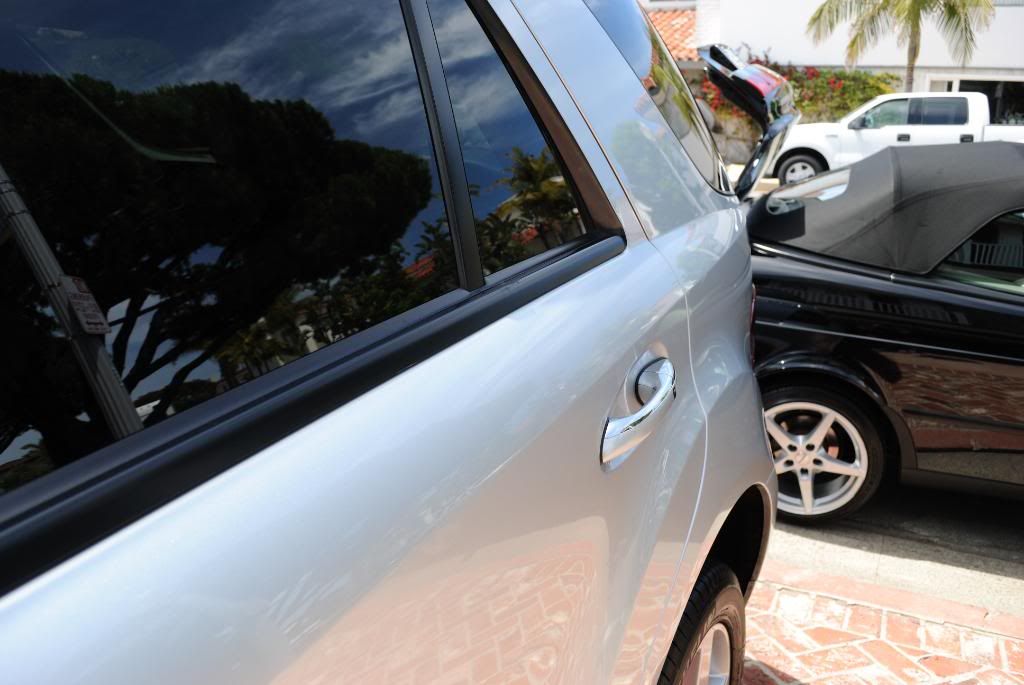
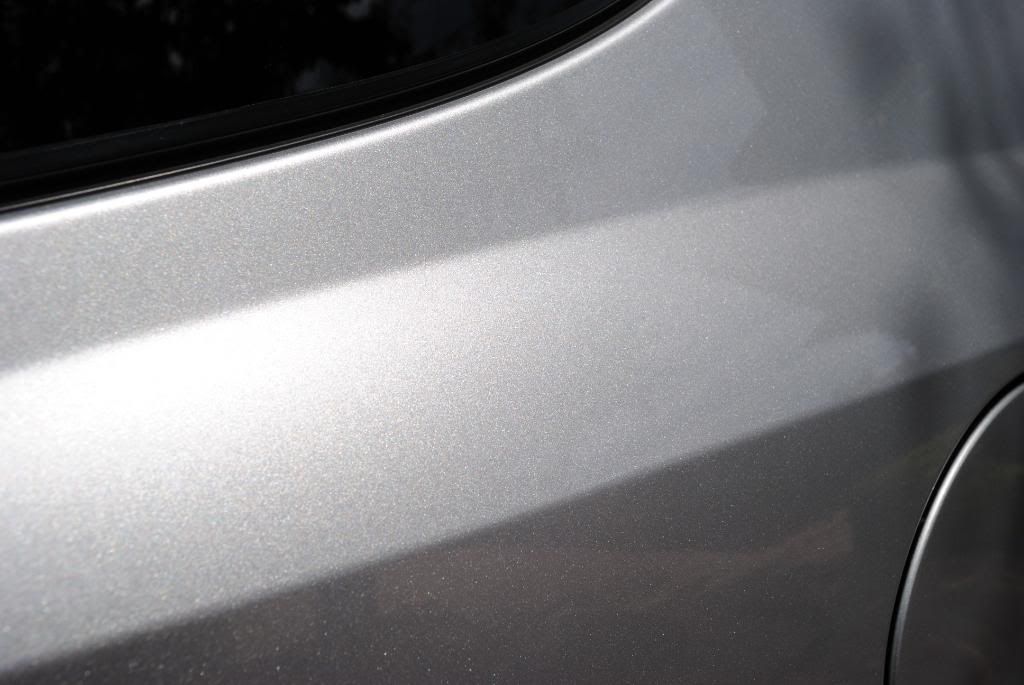
-CG EZ-creme glaze by hand, really brought the flake out and set a base for the LSP
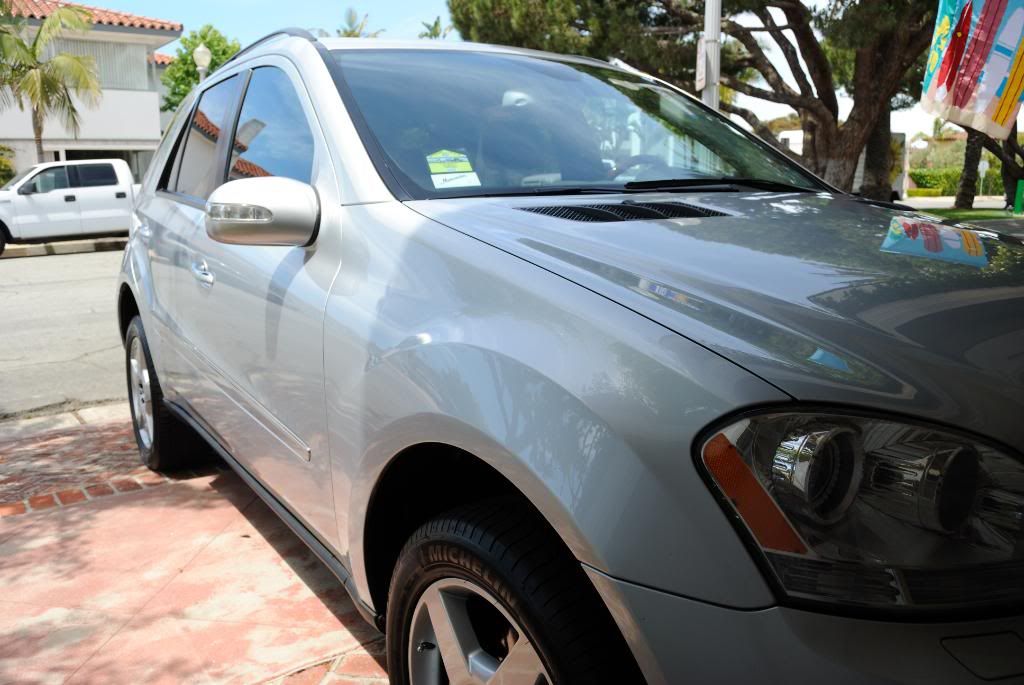
-Collinite 845 applied
-Opti-bond on the tires and exterior plastics
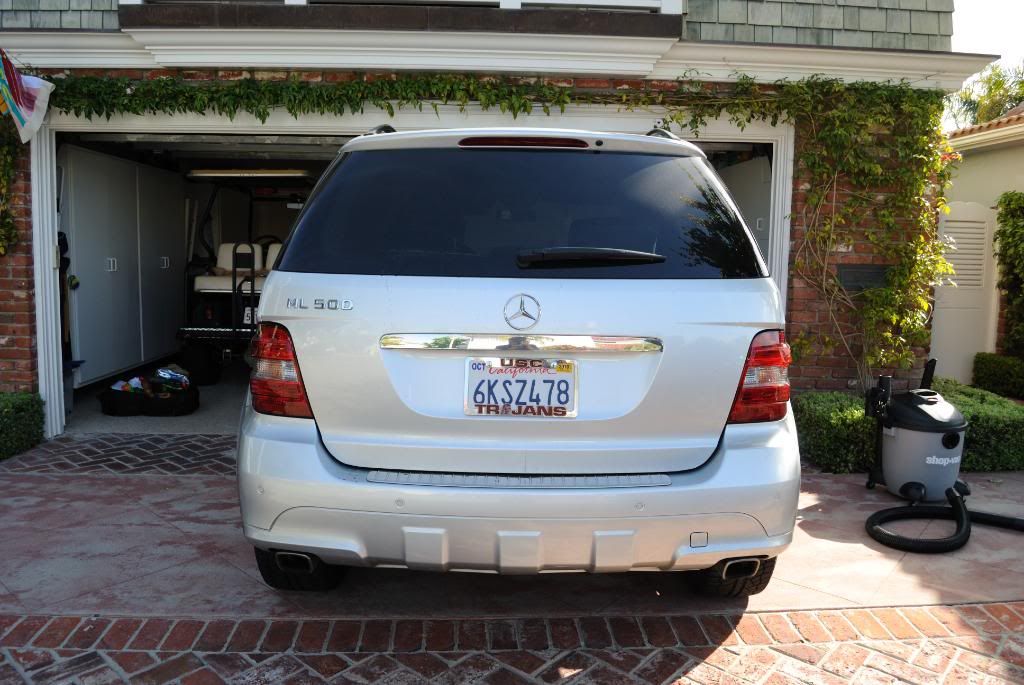
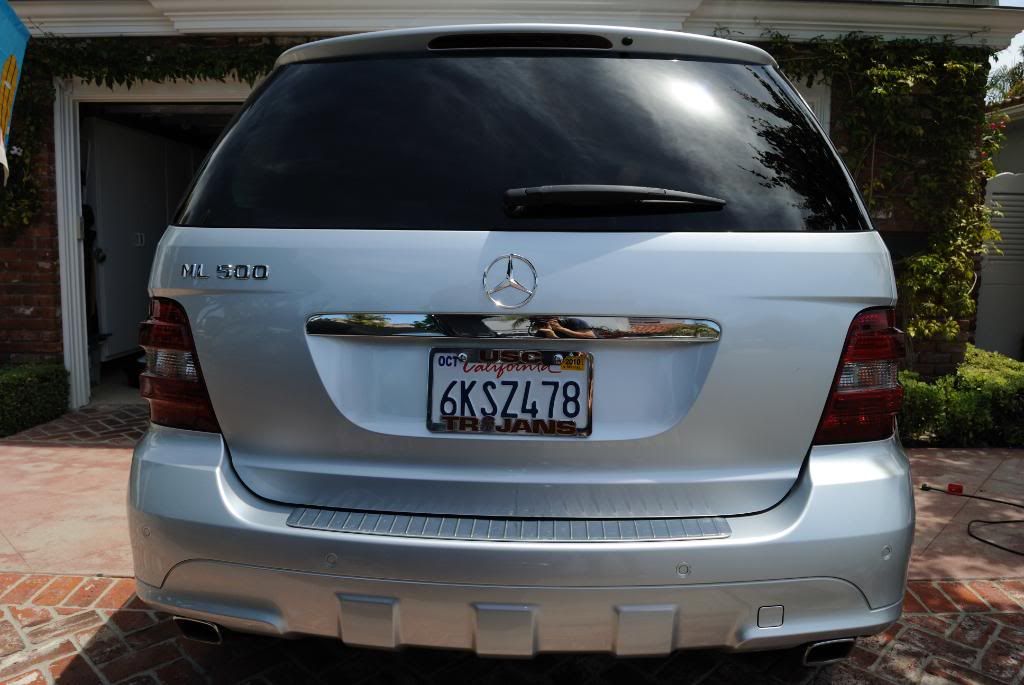
-Exhausts done with 0000 steel wool and Mother's Chrome polish
Interior:
-Thorough vacuum with the Shop-vac and various attachments
-Folex wipedown on the carpets
-OPC 3:1 on all the nasty spills and gunk all over the seats and door cards
-AG Fast Glass on interior windows
-303 on all the plastics and vinyl
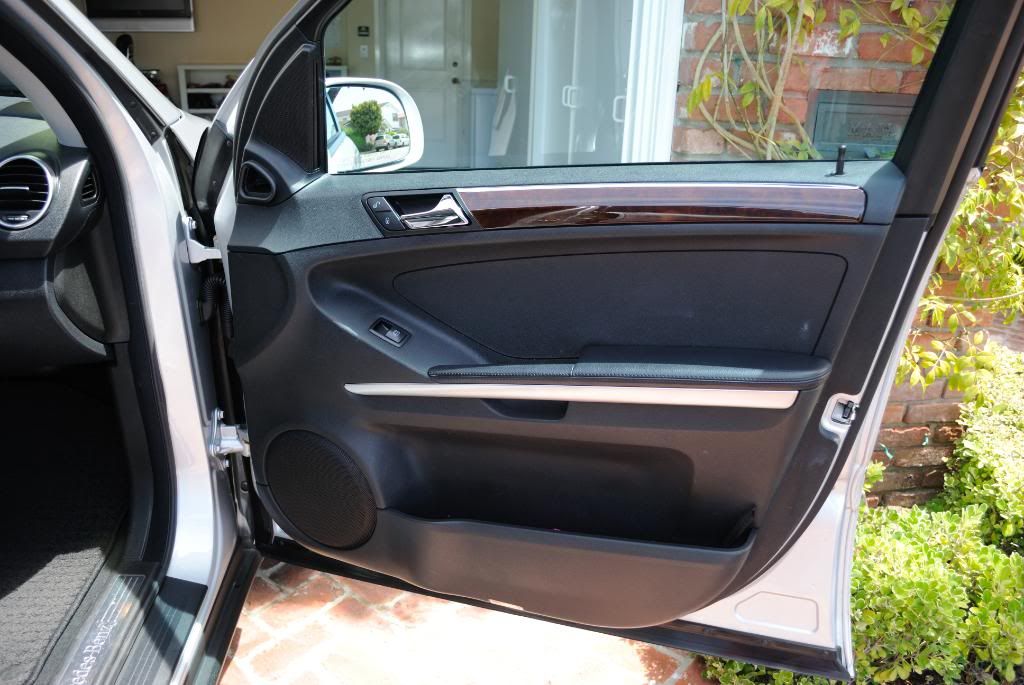
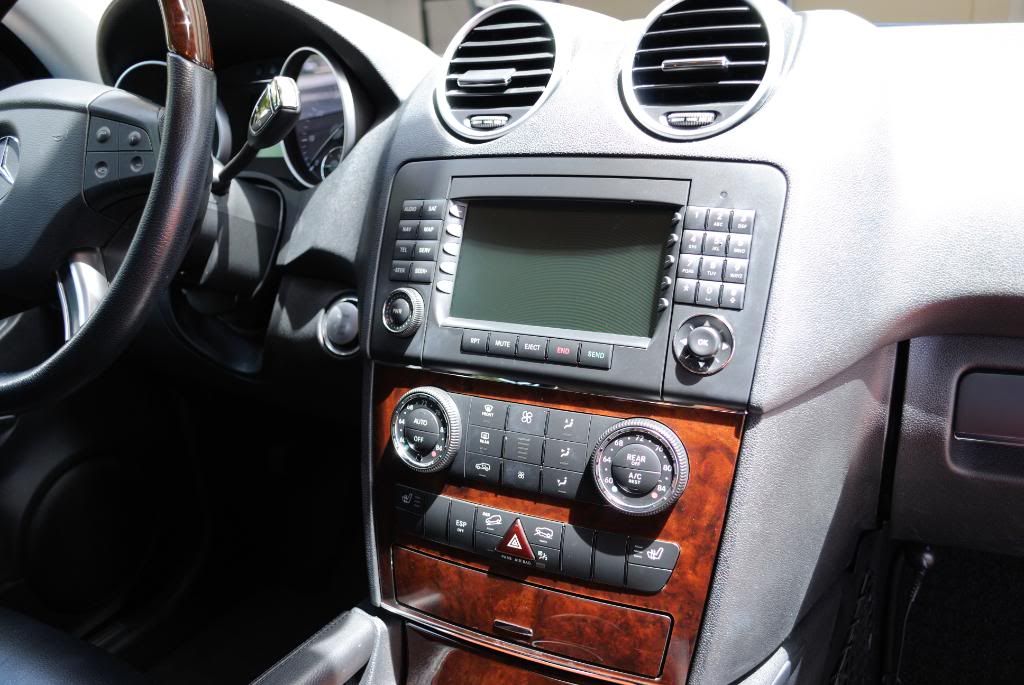
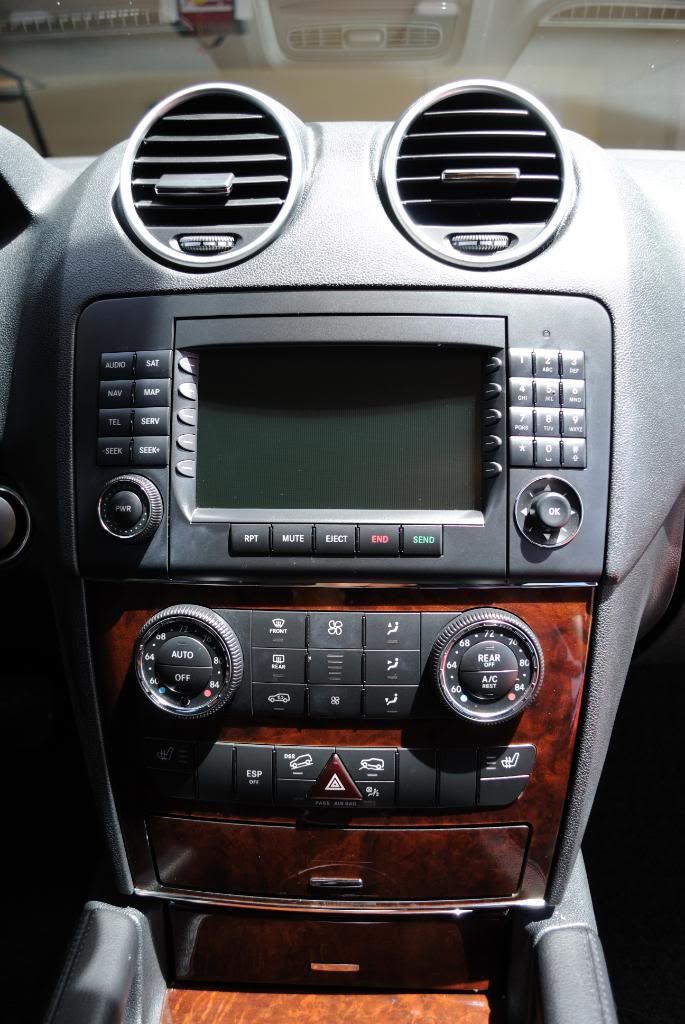
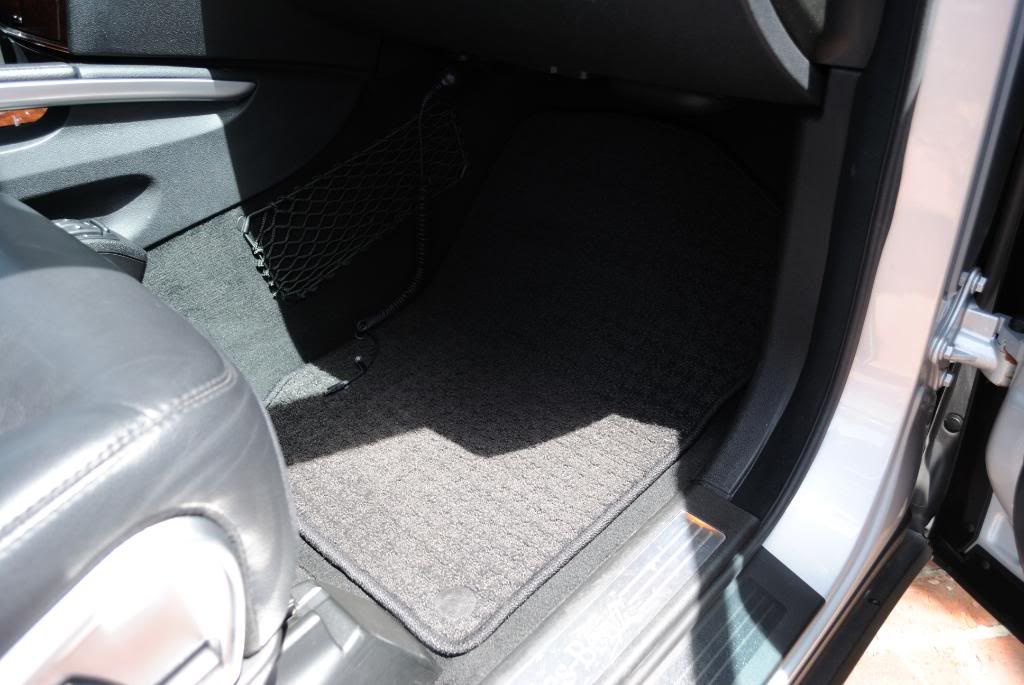
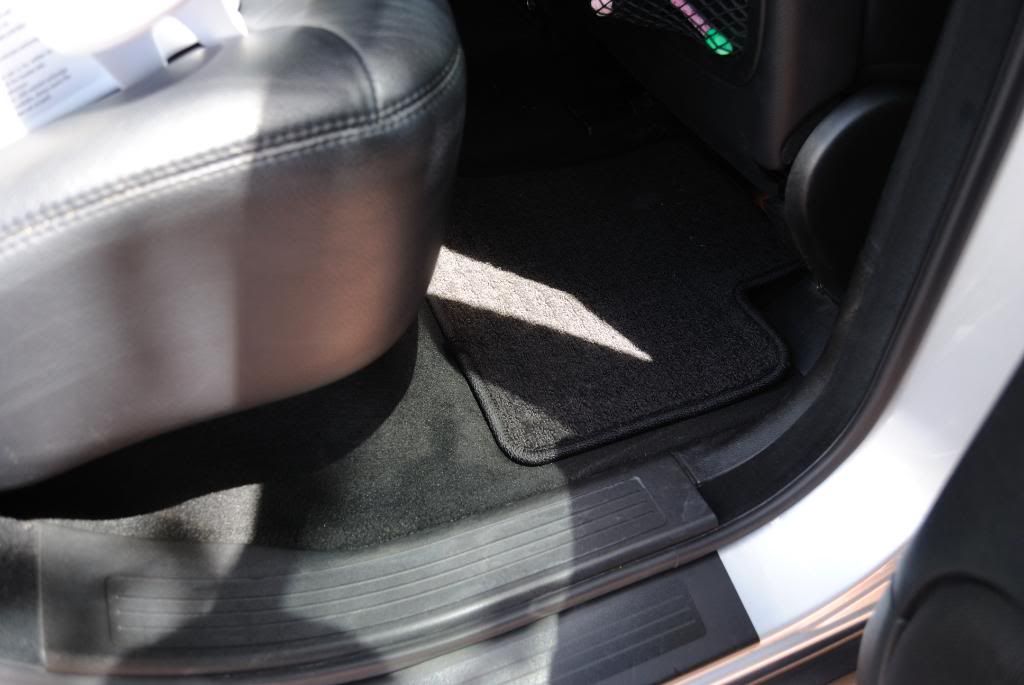
Onto the befores. I am kicking myself for failing to take a picture of what I found under the seats, but the rest of the interior was not too bad as was the exterior.
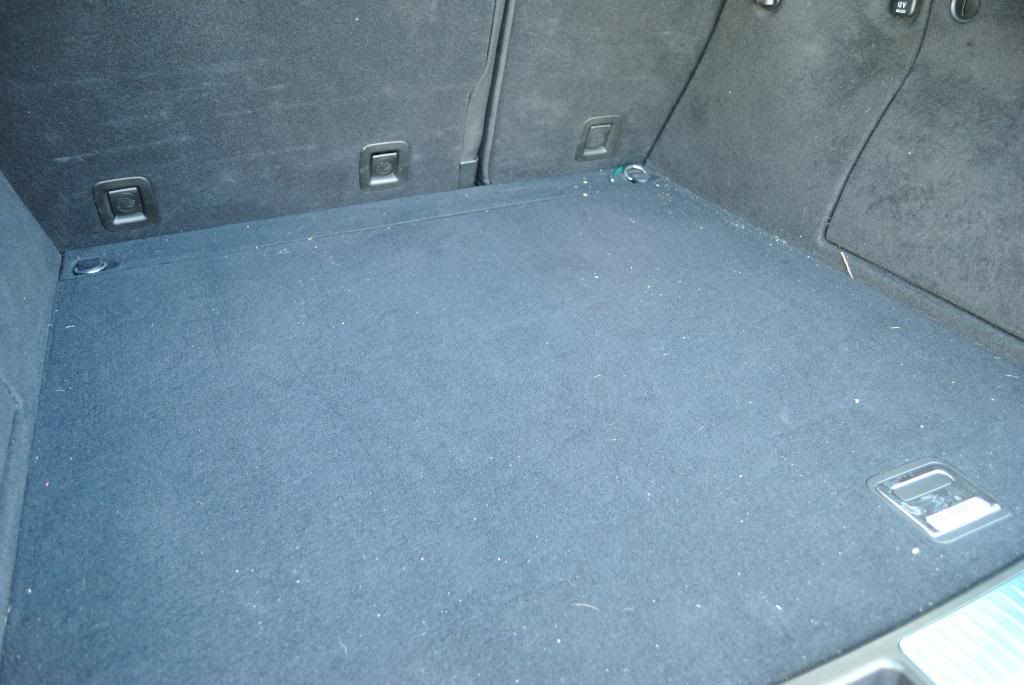
A treasure trail of popcorn leading me to the real gold:
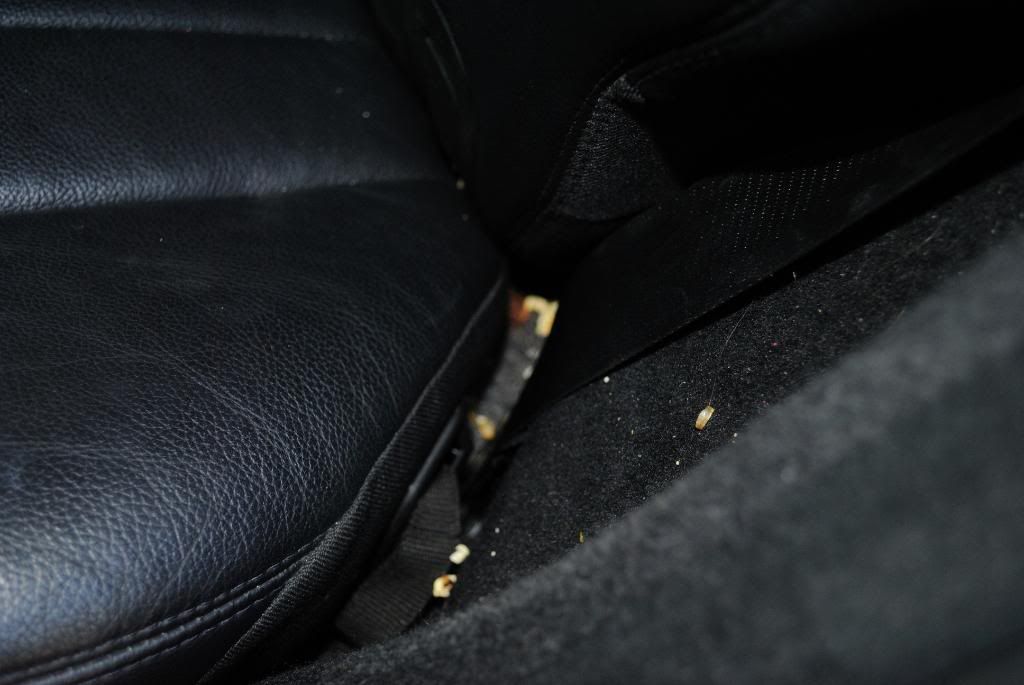
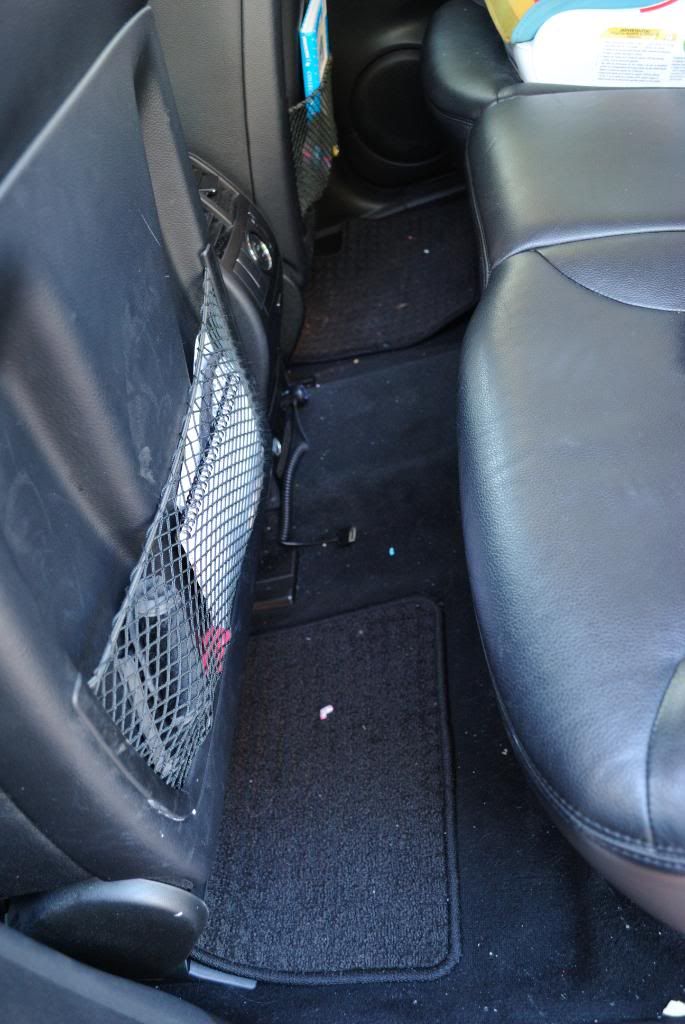
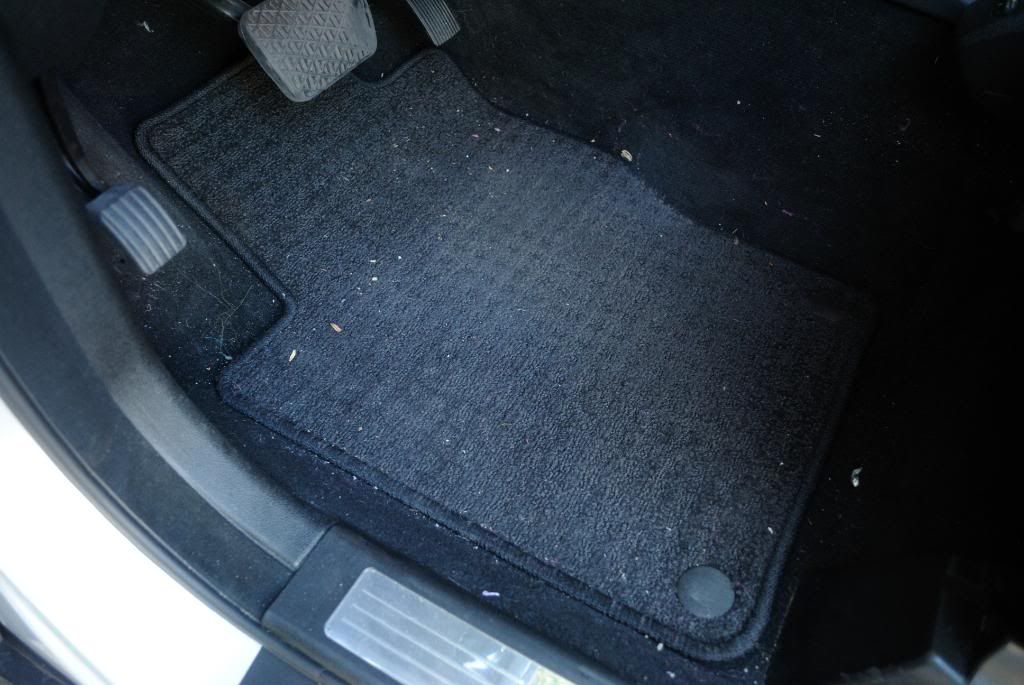
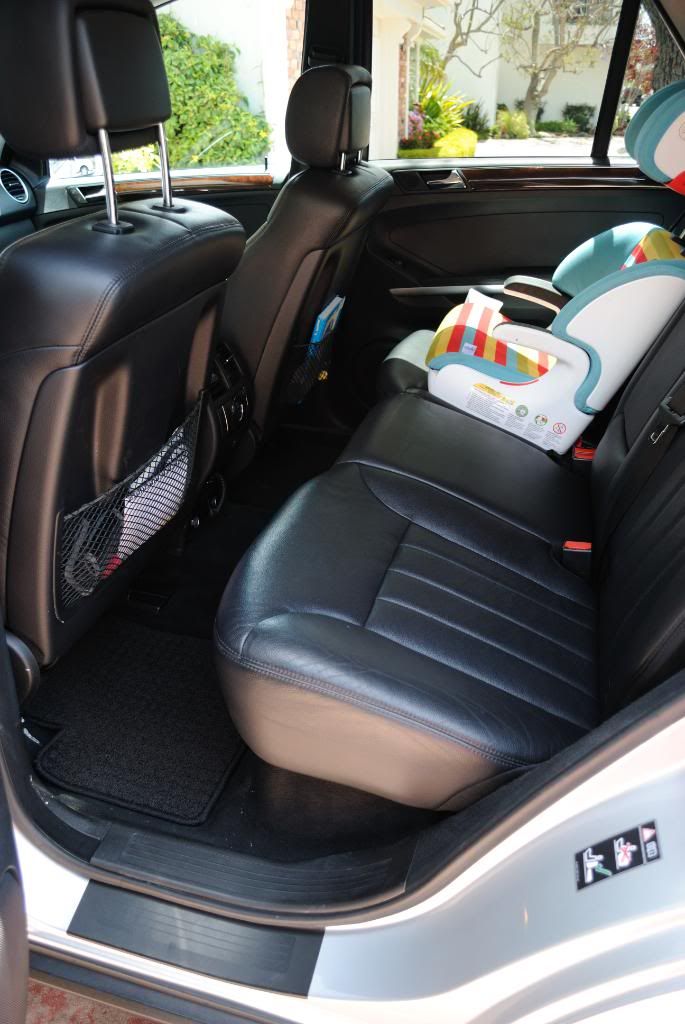
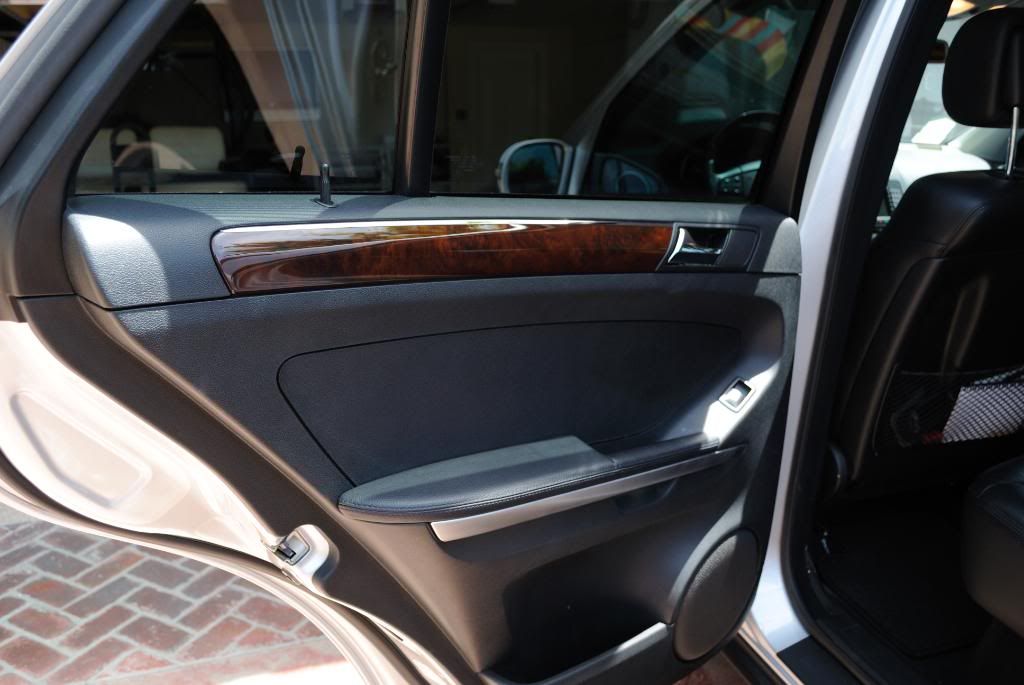
Again, most of the car really wasn't too bad which is a credit to the owner:
Products+Process:
Exterior
-ONR wash
-Dried with my new WW, it dried the whole exterior and could have gone further
-OPC 3:1 on the wheels and front bumper (bugs)
-Automagic clay, CG Luber on glass and paint
-CG EZ-creme glaze by hand, really brought the flake out and set a base for the LSP
-Collinite 845 applied
-Opti-bond on the tires and exterior plastics
-Exhausts done with 0000 steel wool and Mother's Chrome polish
Interior:
-Thorough vacuum with the Shop-vac and various attachments
-Folex wipedown on the carpets
-OPC 3:1 on all the nasty spills and gunk all over the seats and door cards
-AG Fast Glass on interior windows
-303 on all the plastics and vinyl
Onto the befores. I am kicking myself for failing to take a picture of what I found under the seats, but the rest of the interior was not too bad as was the exterior.
A treasure trail of popcorn leading me to the real gold:
Again, most of the car really wasn't too bad which is a credit to the owner:


")