TS656577
New member
- Nov 23, 2008
- 754
- 0
Hey everyone. First and foremost, I apologize for the crappy phone pictures. I didn't have my camera batteries charged. I still think that you can see the differences in the pictures. let me know if you have any questions. (I used the template which Corey uses for his reviews (I hope you don't mind sir))
CarPro Fog Fight, defogger, car window defogger, windshield anti fog
Introduction:
CarPro Fog Fight prevents fog from interfering with your visibility! This antifog coating is super hydrophilic and eliminates condensation on interior auto glass. Keep your windshield, windows, and mirrors clean and clear with just one application. CarPro Fog Fight prevents fog due to heat, cold, and humidity.
Product Claims:
In lab tests of Fog Fight, no fog formed on glass after 60 minutes over boiling water or a hundred cycles of heat-and-cold. Fog Fight is proven to prevent fog even in dramatic temperature swings, like those tested.
Fog Fight cleans and coats in one step! There's no need to preclean your windshield before apply Fog Fight. One application lasts a very long time if not disturbed.
Details:
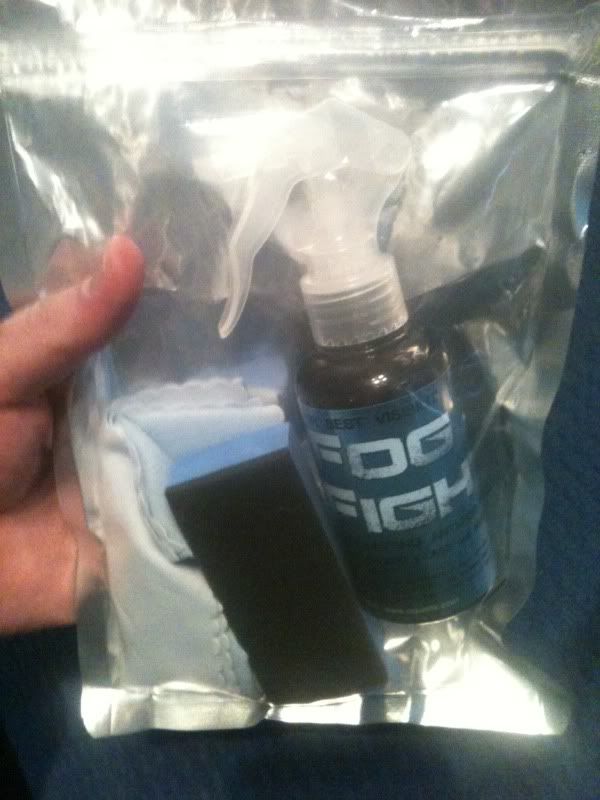
1.- Packaging: Plastic bottle with seemingly durable sprayer
2.- Directions: Clearly labeled
3.- Viscosity: Thin, similar to window cleaner
4.- Color: Clear
5.- Scent: Not very strong. Reminded me of ONR at first sniff. It's pleasant and nowhere near Iron X
6.- Regular Price: 100mL = $ 8.99
7.- Manufacturer: CarPro
8.- Made in: Korea
Products used for application:
100ml Fog Fight sprayer
1 applicator
2 suede 10 x 10 cm
1 suede 20 x 20 cm
Product
Testing
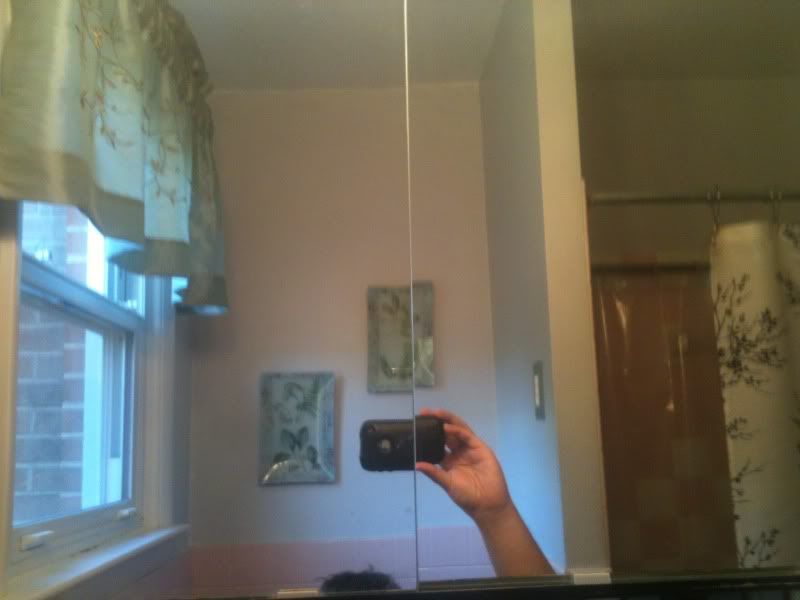
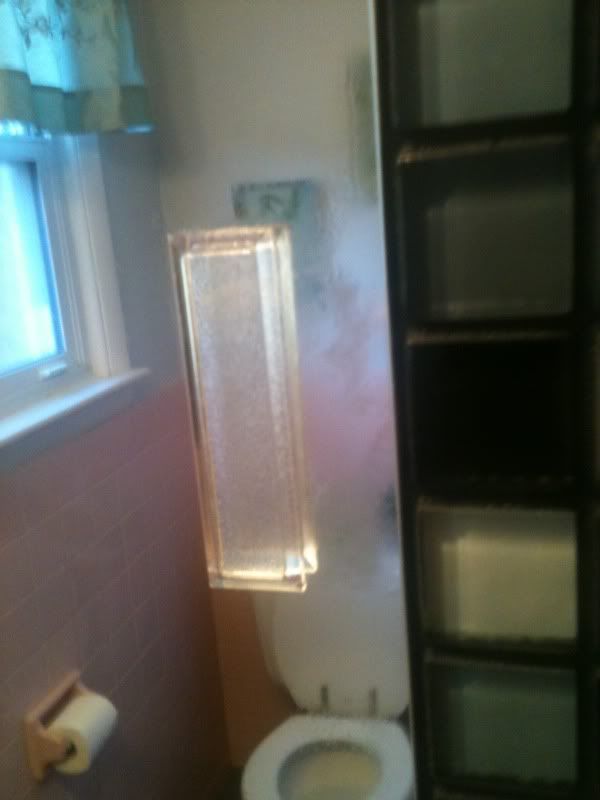
I've been thinking of a way to easily show how Fog Fight works. So I had tried it in the bathroom so I figured I'd show it be using it in the bathroom again. Once again, I apologize for the crappy iPhone pictures.
I've read in the other thread about FF that people are having issues with FF leaving an oily/hazy residue. Here's how I applied FF and I couldn't see any visible streaks/haze/oil residue.
1. Clean mirror/glass with window cleaner
2. I sprayed a 3/4 trigger pull to the mirror. Remember, less is more with this stuff. Using too much will leave an oily residue.
3. I used the foam applicator and wiped in a criss-cross pattern (like you would use while polishing paint) until there was no more visible "wetness" left from the original FF spritz.
4. I don't care for the suede cloths included (they may work but I don't like the way they feel in my hand). I used a microfiber with barely any pressure. Think of the amount of pressure you would use to keep a polisher from hopping around on the paint, but you're NOT forcing it downward. If you're hand weighs 4 lbs, try to apply roughly 10lbs. Trust me, applying 10lbs doesn't take much.
5. Using the microfiber, wipe the mirror in a criss-cross pattern (just like before).
6. The shower was left on for 20 minutes with no ventilation and a closed door.
Here is the mirrors before the shower
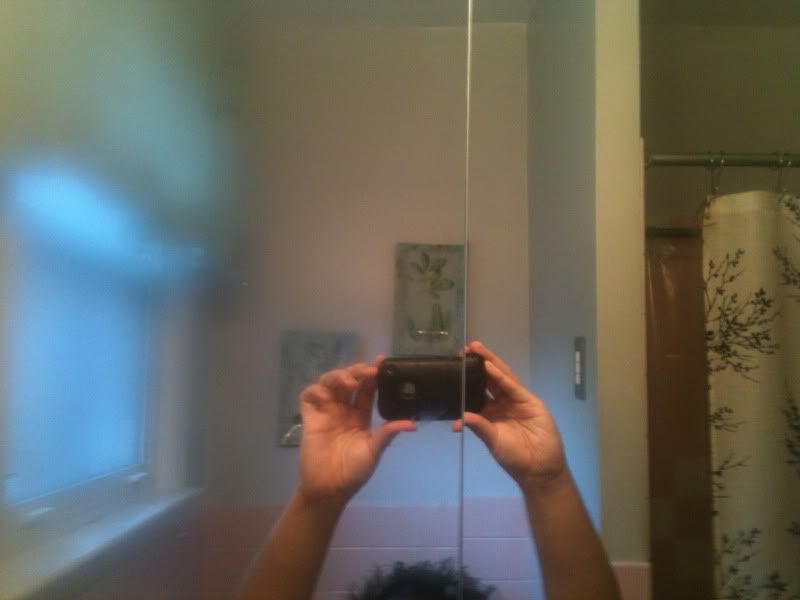
Mirrors after (right side has FF and left does not)
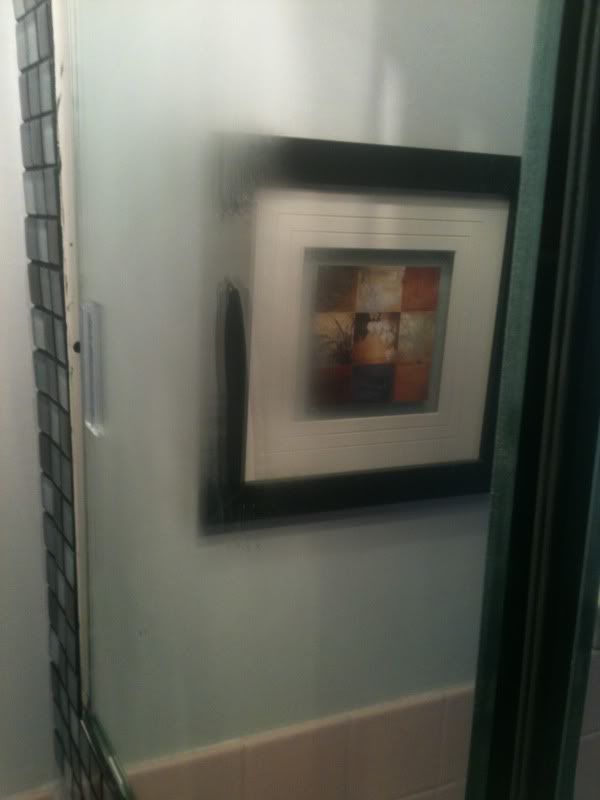
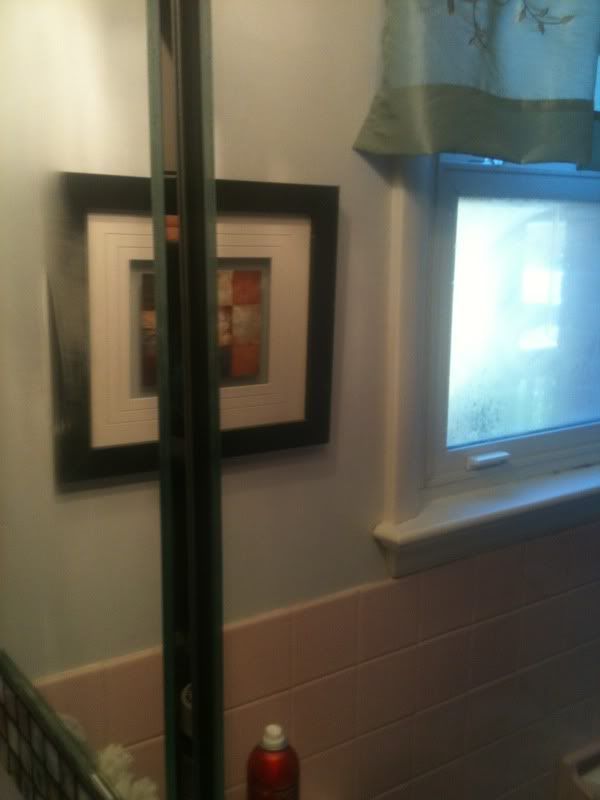
This last picture shows the part of the mirror (to the right of the handle) that didn't have FF applied.
My next test with FF will involve a weight system in which FF will be applied to a glass surface. At this point, a weight will be applied on top of a microfiber and wiped on the surface. Various weights will be used. These weights will be used to see how much force can actually be applied while wiping down the surface before FF is fully removed and doesn't work anymore.
Any questions/comments/criticism is greatly appreciated!
CarPro Fog Fight, defogger, car window defogger, windshield anti fog
Introduction:
CarPro Fog Fight prevents fog from interfering with your visibility! This antifog coating is super hydrophilic and eliminates condensation on interior auto glass. Keep your windshield, windows, and mirrors clean and clear with just one application. CarPro Fog Fight prevents fog due to heat, cold, and humidity.
Product Claims:
In lab tests of Fog Fight, no fog formed on glass after 60 minutes over boiling water or a hundred cycles of heat-and-cold. Fog Fight is proven to prevent fog even in dramatic temperature swings, like those tested.
Fog Fight cleans and coats in one step! There's no need to preclean your windshield before apply Fog Fight. One application lasts a very long time if not disturbed.
Details:
1.- Packaging: Plastic bottle with seemingly durable sprayer
2.- Directions: Clearly labeled
3.- Viscosity: Thin, similar to window cleaner
4.- Color: Clear
5.- Scent: Not very strong. Reminded me of ONR at first sniff. It's pleasant and nowhere near Iron X
6.- Regular Price: 100mL = $ 8.99
7.- Manufacturer: CarPro
8.- Made in: Korea
Products used for application:
100ml Fog Fight sprayer
1 applicator
2 suede 10 x 10 cm
1 suede 20 x 20 cm
Product
Testing
I've been thinking of a way to easily show how Fog Fight works. So I had tried it in the bathroom so I figured I'd show it be using it in the bathroom again. Once again, I apologize for the crappy iPhone pictures.
I've read in the other thread about FF that people are having issues with FF leaving an oily/hazy residue. Here's how I applied FF and I couldn't see any visible streaks/haze/oil residue.
1. Clean mirror/glass with window cleaner
2. I sprayed a 3/4 trigger pull to the mirror. Remember, less is more with this stuff. Using too much will leave an oily residue.
3. I used the foam applicator and wiped in a criss-cross pattern (like you would use while polishing paint) until there was no more visible "wetness" left from the original FF spritz.
4. I don't care for the suede cloths included (they may work but I don't like the way they feel in my hand). I used a microfiber with barely any pressure. Think of the amount of pressure you would use to keep a polisher from hopping around on the paint, but you're NOT forcing it downward. If you're hand weighs 4 lbs, try to apply roughly 10lbs. Trust me, applying 10lbs doesn't take much.
5. Using the microfiber, wipe the mirror in a criss-cross pattern (just like before).
6. The shower was left on for 20 minutes with no ventilation and a closed door.
Here is the mirrors before the shower
Mirrors after (right side has FF and left does not)
This last picture shows the part of the mirror (to the right of the handle) that didn't have FF applied.
My next test with FF will involve a weight system in which FF will be applied to a glass surface. At this point, a weight will be applied on top of a microfiber and wiped on the surface. Various weights will be used. These weights will be used to see how much force can actually be applied while wiping down the surface before FF is fully removed and doesn't work anymore.
Any questions/comments/criticism is greatly appreciated!
 rops:
rops: