Josh@BR
New member
- Dec 25, 2010
- 206
- 0
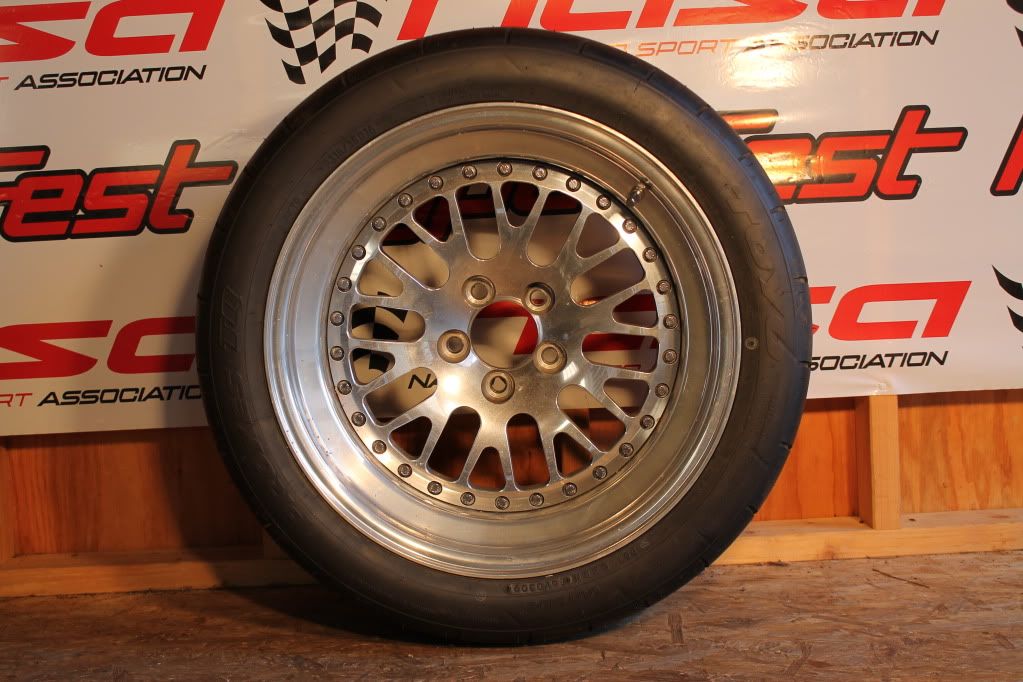
A couple days ago a client called me asking if I would be able to polish up his CCW Classic wheels for him. He said they sat on his Mustang outside for about 8 months in the weather and sun while the motor was being rebuilt and they were really "fading". I said to bring them by so I could take a look at them and see if it's something I can try to fix.
After looking them over I decided I would attempt to polish them. The surface of the wheels from what I could tell looked to be aluminum and the client said they were also so I decided I would be able to use a more aggressive metal polish for non-coated wheels if need be. I have never in my 7 years of detailing experience had an opportunity to do a restoration like this on wheels and was somewhat nervous. It seemed somewhat like a paint correction for wheels lol.
Since I'm not very experienced with this sort of thing I didn't have the best tools for the job but I did pretty good with what I had I think. For the face of the wheel I used my PC 7424 with 4" LC Orange Pads. For the lip of the wheel I used my PC and Craftsman drill(1600 rpm max) with 3" 3M Orange Pads. For the area between the spokes and other tight spaces I used the Meguiars Wheel Polishing Tool with my drill. For an aggressive wheel polish I used Mothers PowerMetal Scratch Removing Polish and for finishing I used Optimum Metal Polish(New Formula).
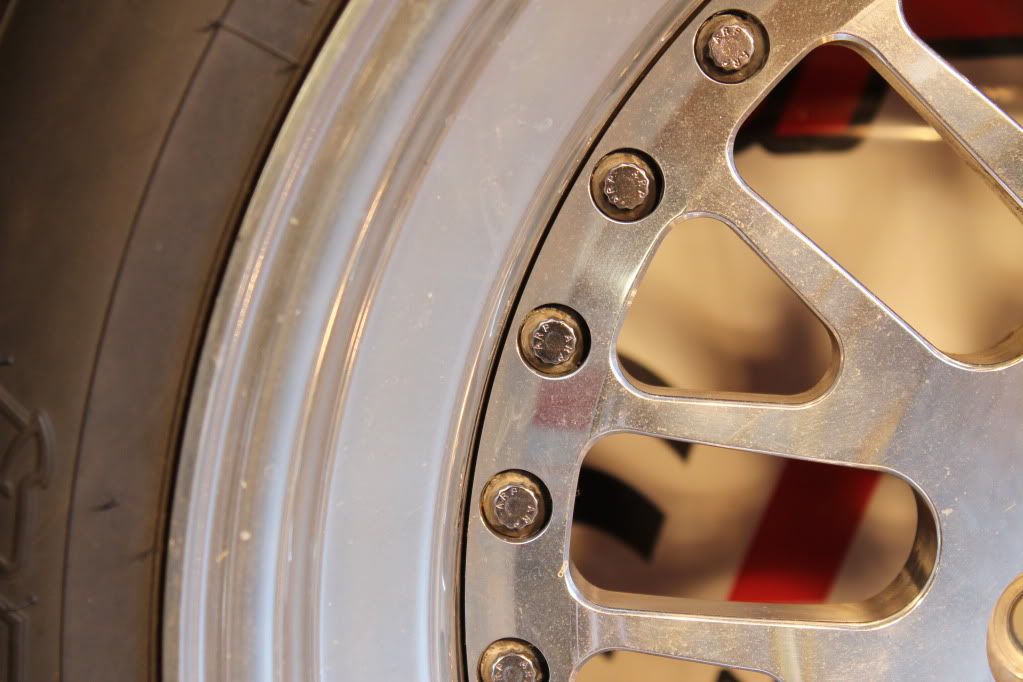
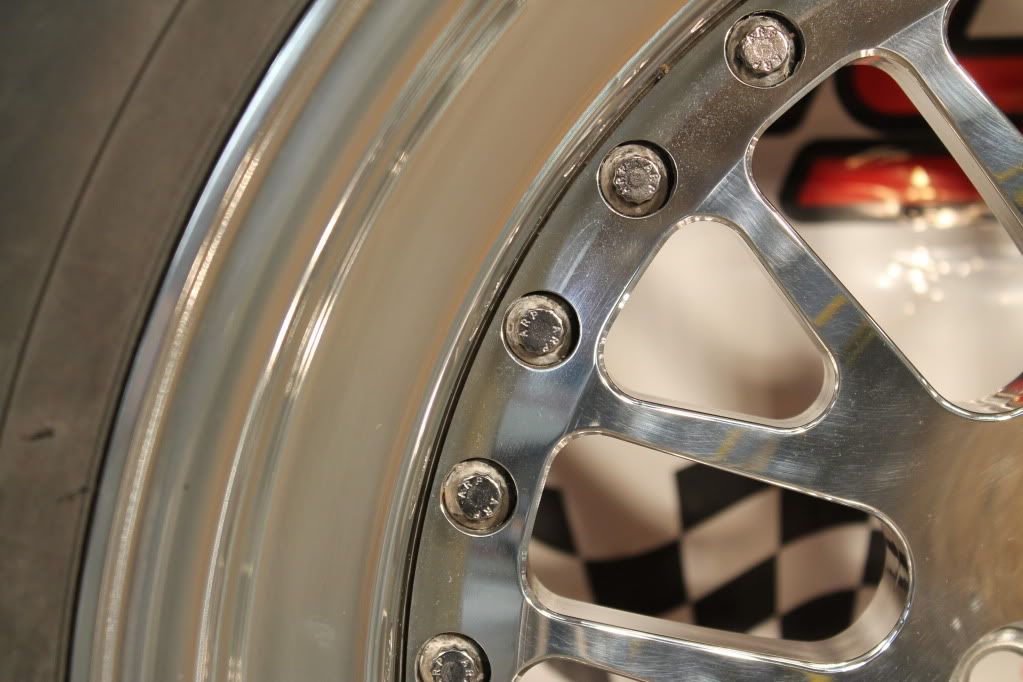
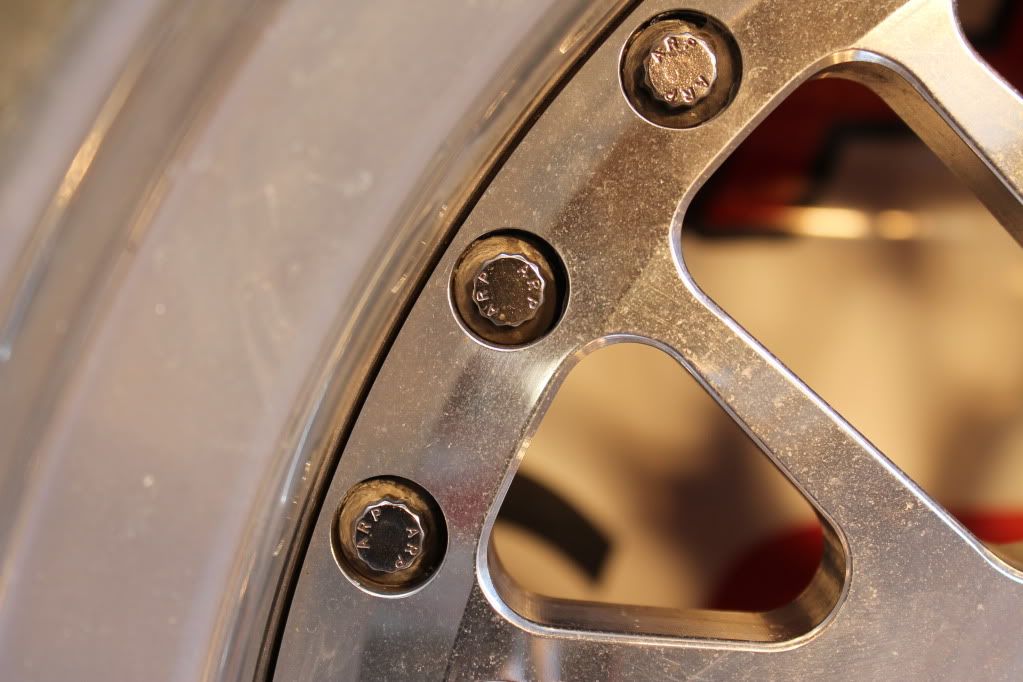
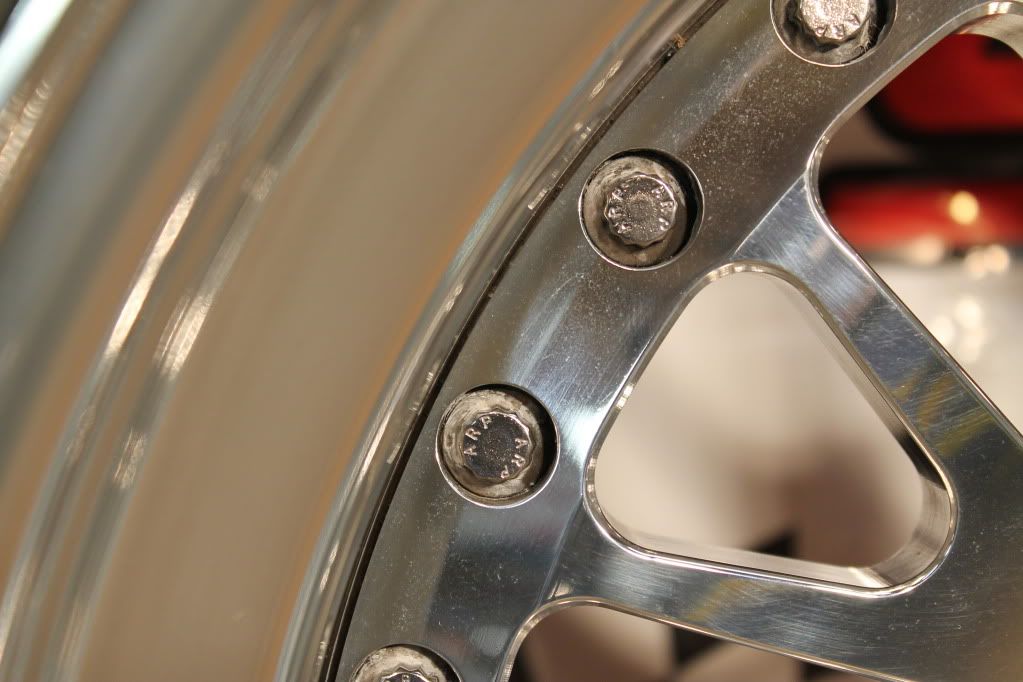
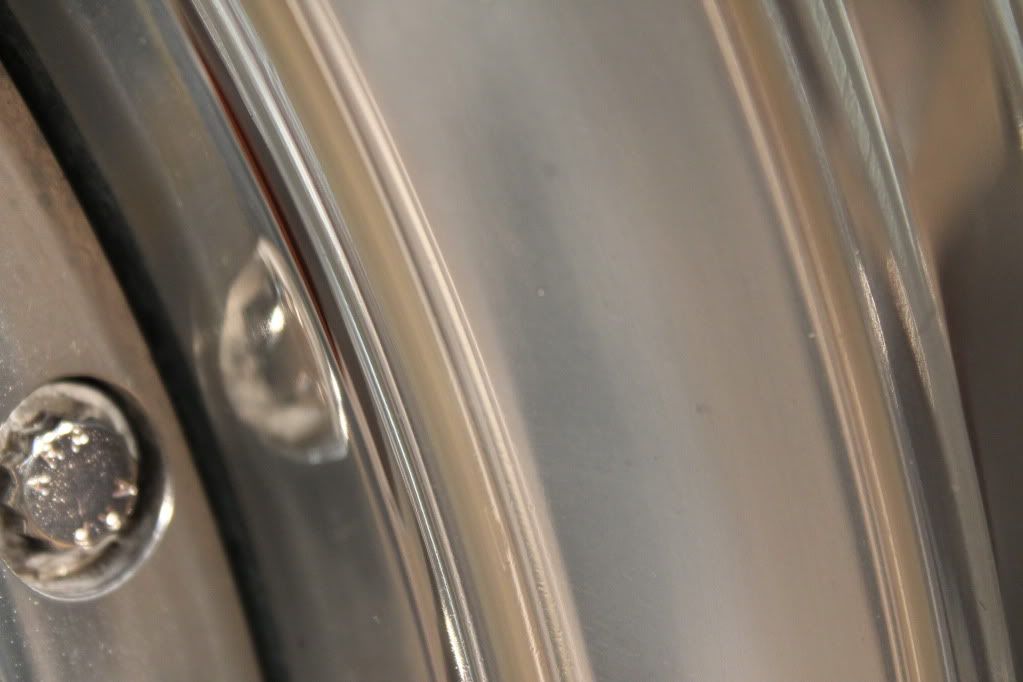
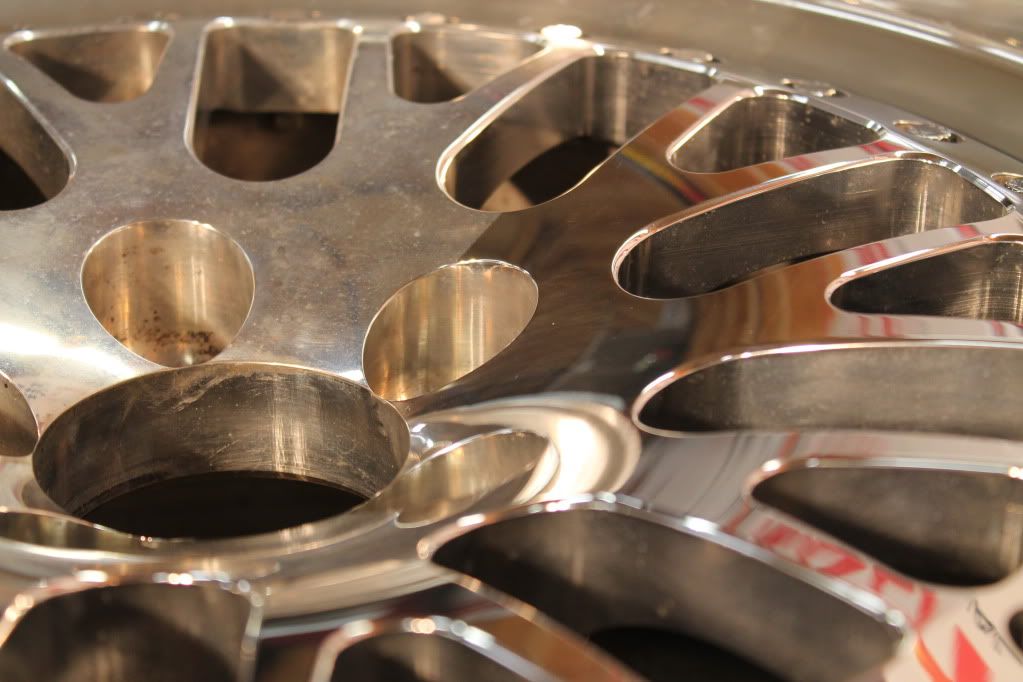
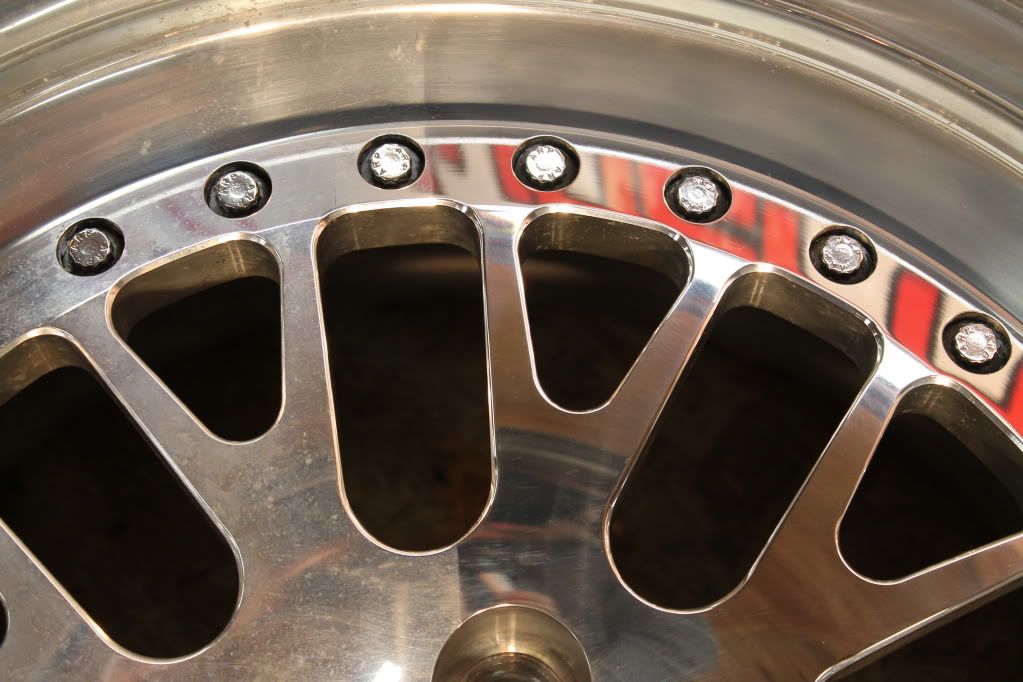
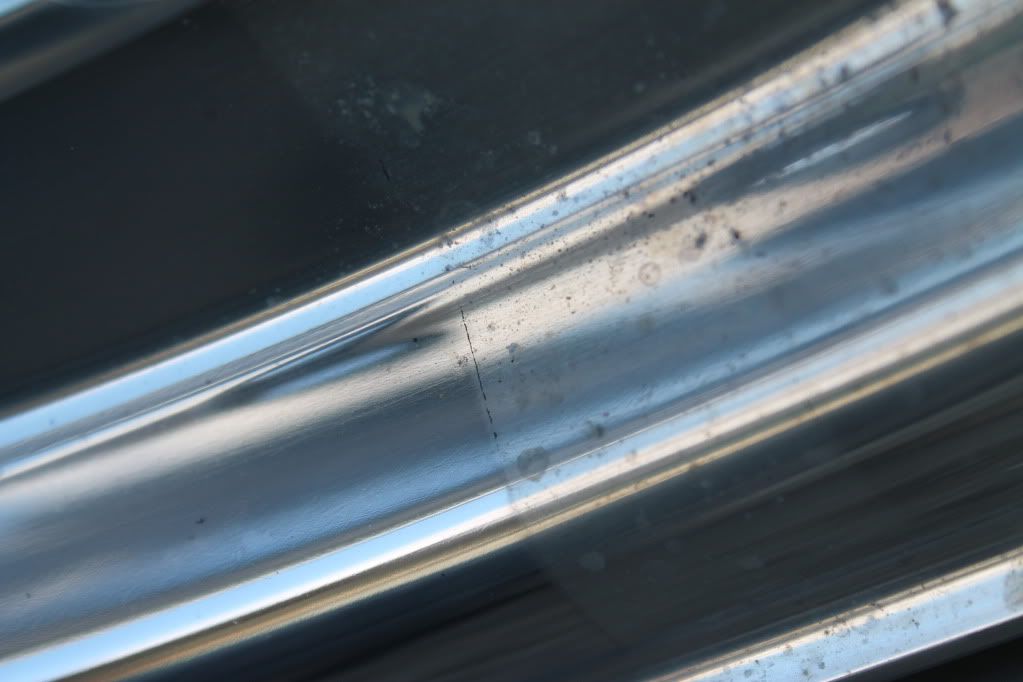
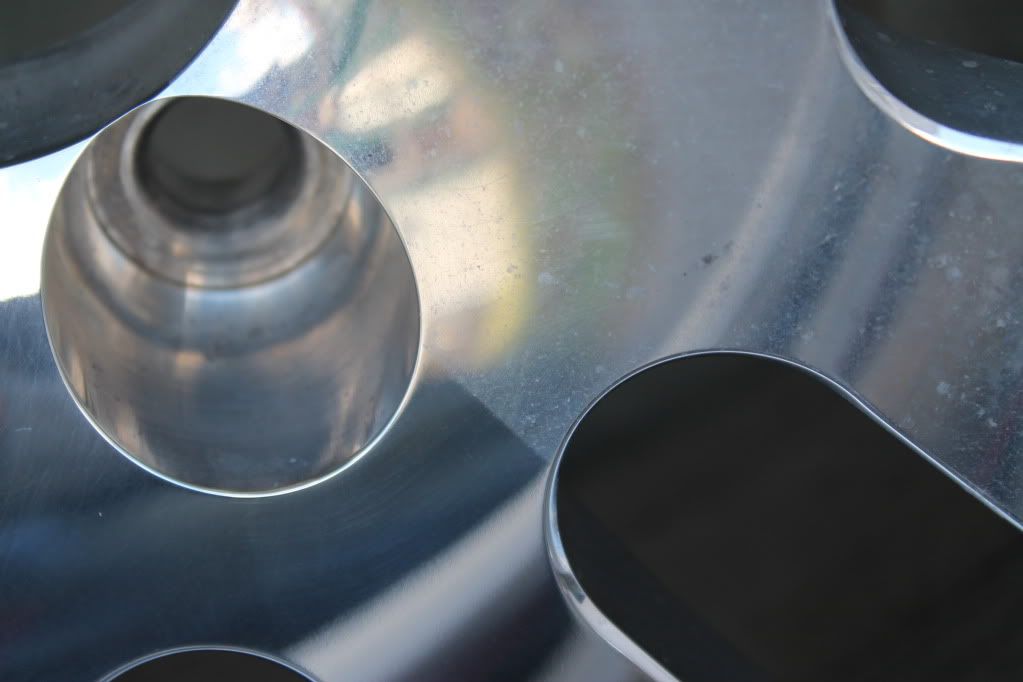
So I cleaned up the wheels and decided to try the least aggressive approach first with Optimum Metal Polish. This made the wheels look better but couldn't remove some water spots and most of the oxidation. So I decided to bust out the Mothers PowerMetal for the very first time and began cautiously polishing. The PowerMetal removed 99% of all water spots and the oxidation was dramatically cleared up. After that the finish was somewhat dull similar to after using M105 on paint. Then I polished the wheels with the Optimum Metal Polish which restored the beautiful mirror reflection the wheels once had. After that the wheels were sealed with Ultima Tire and Trim Guard. As you can see from some of the pics there was still some slight swirls marks on the surface that I could not get out. These are really only noticeable under the halogen lights that I took most of the pics with. Once outside even in the sun the swirls can't be seen unless your right up on them looking at the right angle. My client was absolutely shocked when he saw how the wheels turned out and said they looked better than when he bought them new which is all that matters to me. I only charged $95 for this but he tipped me about $50 because he was so happy with my work.
Thanks and please let me know what you think for my first time doing a job like this. Any tips or recommendations are highly appreciated!
These are also some of my first pics that I took with my new Canon EOS Rebel T3 DSLR camera(I was always used to taking pics my cell phone haha). Anway, on to the pics!
Here's a couple before and after's:
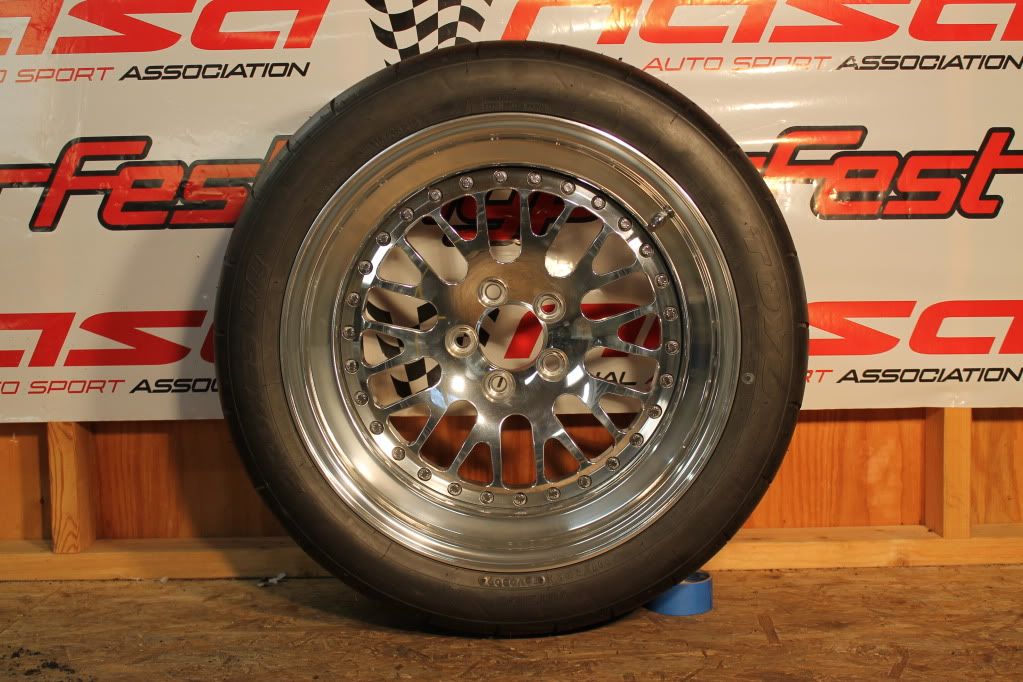

Here's my favorite. The 50/50 shots")
(These next two pics were taken outside under overcast skies to see how much the swirls were noticeable outside)
After looking them over I decided I would attempt to polish them. The surface of the wheels from what I could tell looked to be aluminum and the client said they were also so I decided I would be able to use a more aggressive metal polish for non-coated wheels if need be. I have never in my 7 years of detailing experience had an opportunity to do a restoration like this on wheels and was somewhat nervous. It seemed somewhat like a paint correction for wheels lol.
Since I'm not very experienced with this sort of thing I didn't have the best tools for the job but I did pretty good with what I had I think. For the face of the wheel I used my PC 7424 with 4" LC Orange Pads. For the lip of the wheel I used my PC and Craftsman drill(1600 rpm max) with 3" 3M Orange Pads. For the area between the spokes and other tight spaces I used the Meguiars Wheel Polishing Tool with my drill. For an aggressive wheel polish I used Mothers PowerMetal Scratch Removing Polish and for finishing I used Optimum Metal Polish(New Formula).
So I cleaned up the wheels and decided to try the least aggressive approach first with Optimum Metal Polish. This made the wheels look better but couldn't remove some water spots and most of the oxidation. So I decided to bust out the Mothers PowerMetal for the very first time and began cautiously polishing. The PowerMetal removed 99% of all water spots and the oxidation was dramatically cleared up. After that the finish was somewhat dull similar to after using M105 on paint. Then I polished the wheels with the Optimum Metal Polish which restored the beautiful mirror reflection the wheels once had. After that the wheels were sealed with Ultima Tire and Trim Guard. As you can see from some of the pics there was still some slight swirls marks on the surface that I could not get out. These are really only noticeable under the halogen lights that I took most of the pics with. Once outside even in the sun the swirls can't be seen unless your right up on them looking at the right angle. My client was absolutely shocked when he saw how the wheels turned out and said they looked better than when he bought them new which is all that matters to me. I only charged $95 for this but he tipped me about $50 because he was so happy with my work.
Thanks and please let me know what you think for my first time doing a job like this. Any tips or recommendations are highly appreciated!
These are also some of my first pics that I took with my new Canon EOS Rebel T3 DSLR camera(I was always used to taking pics my cell phone haha). Anway, on to the pics!
Here's a couple before and after's:
Here's my favorite. The 50/50 shots
(These next two pics were taken outside under overcast skies to see how much the swirls were noticeable outside)

