After a long battle with polishing the hood and finishing the whole truck; I learned a few things.
1. There is no substitute for experience.
2. Be patient
3. Shake the polish very well.
I washed and clayed the whole truck then began taping it up. I started with XMT#3 with the orange pad then #2 with the white pad. I then used the grey pad with XMT glaze. I had some pretty nasty scratches on the top of the cab from low hanging trees that were removed with out a trace. It took approximately 8 hours to complete my truck (4 door F250). I'm very pleased with the results and all the I have learned. I used 3/4 of bottle of XMT #3 to correct all the swirls and minor scratches. This is where lesson #1 and #3 come into play. By the time I got to the last 3 feet of truck the XMT #3 was coming out like sand. I knew then I hadn't shaken it well enough from the start of things. I probably would have finished it sooner if I had a bit more cutting power at the start of things. Now that its all done I'm very pleased with the results and the neighbors commented how good it looks too.
I know we all like pictures right!
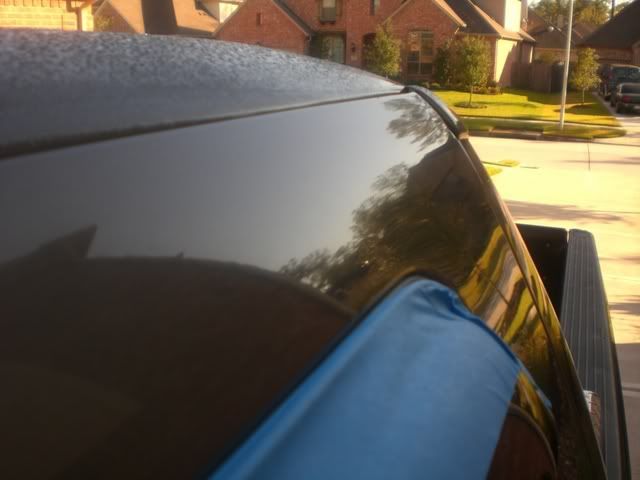
Here is a picture of what the scratches on the roof of the truck look like but just imagine all over.

Here is whats it looks like in one pass. Lots of flake in this shot

All gone!
Drivers side back half.

Drivers side front half.

Almost forgot this one. I don't know why the right side of this pic looks fuzzy.

That's it for now but I'll post some from when its in the sun light.
-CLL
1. There is no substitute for experience.
2. Be patient
3. Shake the polish very well.
I washed and clayed the whole truck then began taping it up. I started with XMT#3 with the orange pad then #2 with the white pad. I then used the grey pad with XMT glaze. I had some pretty nasty scratches on the top of the cab from low hanging trees that were removed with out a trace. It took approximately 8 hours to complete my truck (4 door F250). I'm very pleased with the results and all the I have learned. I used 3/4 of bottle of XMT #3 to correct all the swirls and minor scratches. This is where lesson #1 and #3 come into play. By the time I got to the last 3 feet of truck the XMT #3 was coming out like sand. I knew then I hadn't shaken it well enough from the start of things. I probably would have finished it sooner if I had a bit more cutting power at the start of things. Now that its all done I'm very pleased with the results and the neighbors commented how good it looks too.
I know we all like pictures right!
Here is a picture of what the scratches on the roof of the truck look like but just imagine all over.
Here is whats it looks like in one pass. Lots of flake in this shot
All gone!
Drivers side back half.
Drivers side front half.
Almost forgot this one. I don't know why the right side of this pic looks fuzzy.
That's it for now but I'll post some from when its in the sun light.
-CLL
Last edited: