Not too happy

aherzing

New member
Joined
Aug 19, 2011
Messages
50
Reaction score
0
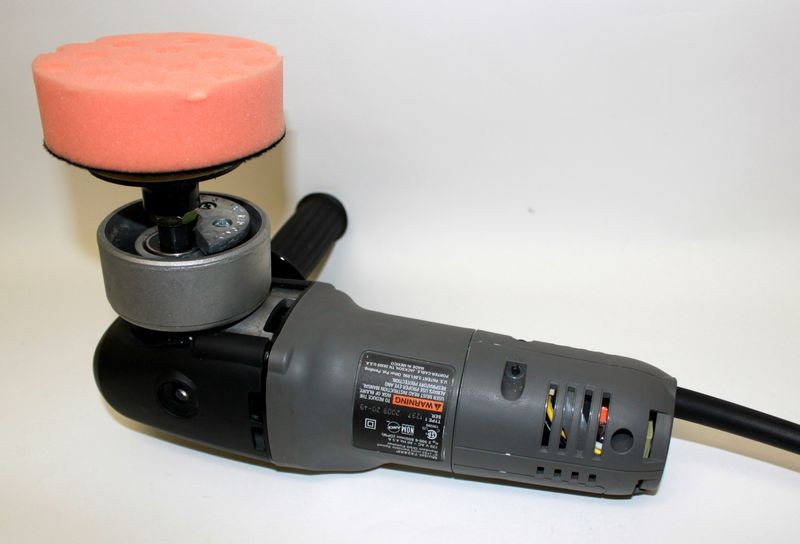
So I tried out my new PC DA over the weekend. I wasnt too pleased, but I'm pretty sure it's my fault and that you guys can correct my issues.

So I washed and clayed the car and then all I planned on doing was testing it out on the trunk lid.

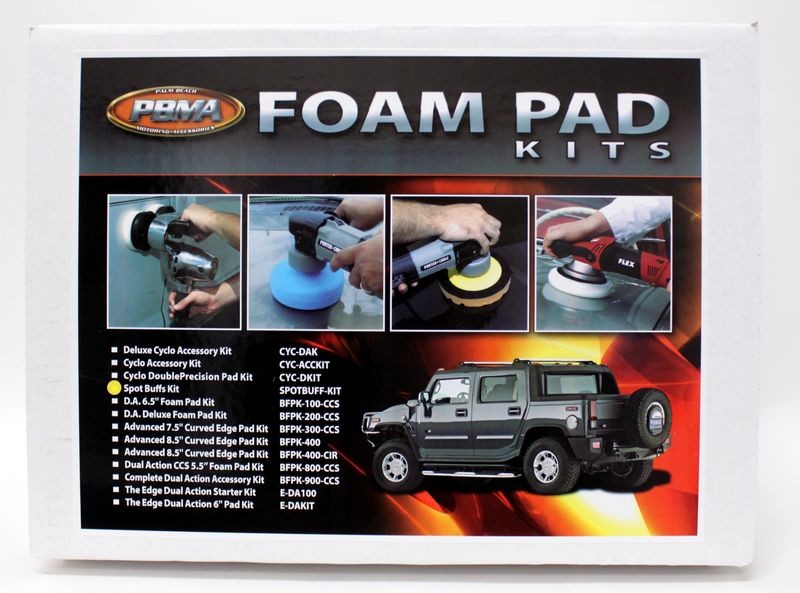
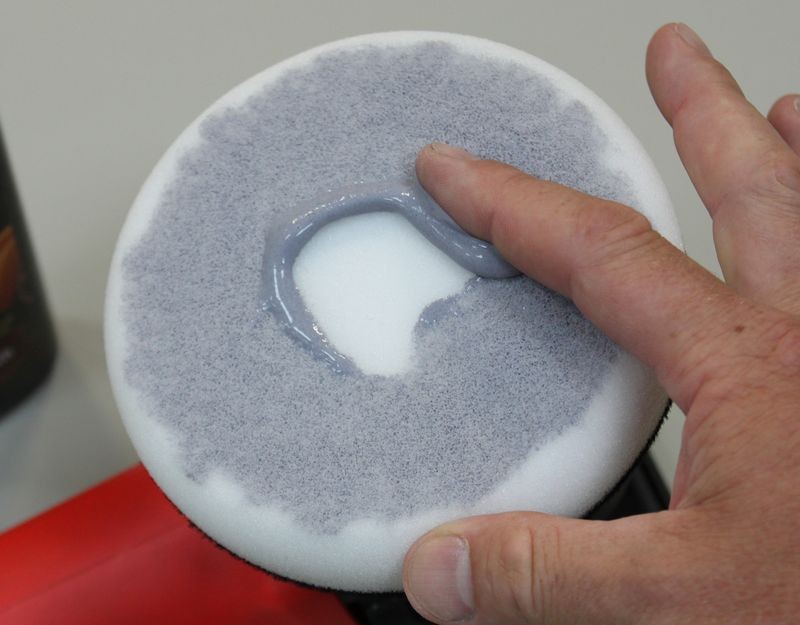
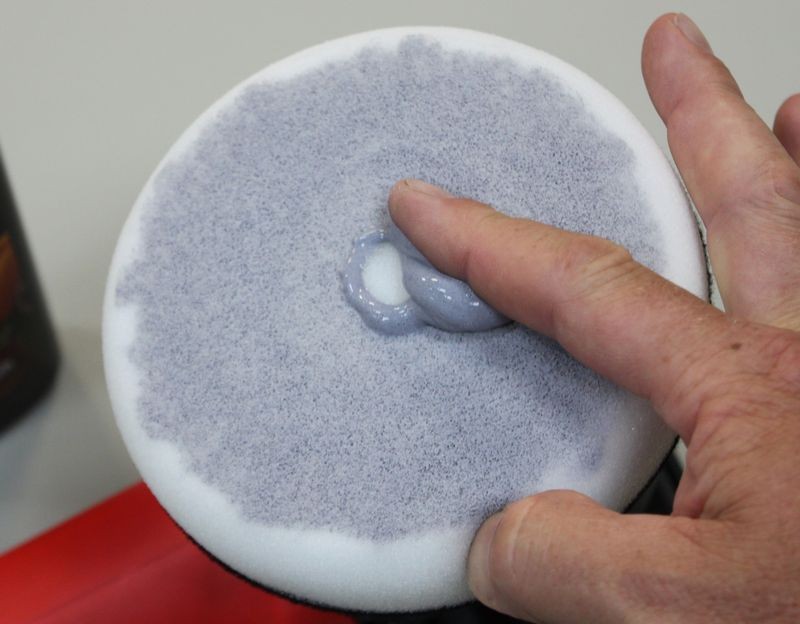
I think my first issue was I started out using an orange 4in pad with Megs ultimate compound. I would have bet money the pad kit I ordered had 5.5in Orange pads, but alas
I was stuck with 4in

So here's where I wasn't happy, I started with the pad already on the paint (which I know you are supposed to do to avoid splatter) but my product still slung everywhere! Also I found that even though I was around 5.5 on the speed dial it was spinning very fast when on the car. However at the same time it was VERY hard to control and make straight passes.

A little bit of background info, I'm a 7 foot D1 basketball player, not trying to brag I'm just saying I think I can handle controlling a power tool lol so I just don't know what I'm doing wrong but there's gotta be something?
 
It just sounds like you used a bit too much product on the pad. Before turning it on did you spread the product around the test area? This minimizes the splatter although you can still have a little but no too much. The smaller pads may have been a contributing factor. I suspect this is probably what happened...
 
what size backing plate did you get? If you ordered a 5 in then you shouldn't use it with 4 in pads.

Know that 4 in pads will spin and correct faster than 5.5 in pads so you have to adjust your technique accordingly. Maybe even turn the PC down a bit to 5...

There have been posts on here where ppl have burned through their paint using smaller pads using the same pressure and passes as for larger pads
 
First, don't run the polisher in the air. Not sure that you did but it kind of reads like you did. You're pad could go flying off and get dirty.

When you have a small pad under your tool, the tool can be kind of tippy, the larger the tool, the smaller the pad the more tippy. The PC isn't that big but it can be kind of tippy with a 4" pad below you and this just means you need to be more careful while holding and maneuvering the polisher.

If you have product slinging out then you probably have too much product. Try cutting down on your product usage.

As for controlling the tool, for removing defects you should be moving the polisher very slowly over the paint? I'm guessing if you were moving it quickly it could tend to want to wander a little more?


We used 4" pads with no problems all over this Porsche last Thursday as it has a lot of curvy panels.

1994 Porsche 964 Turbo 3.6 - Modeled by Janna and Amy

94PorscheCTW36.jpg


:)
 
I agree with Bobby. The smaller the pad, the faster they're going to spin and the more force it will take to slow down the rotation. With a 5.5" pad, I prime the entire face with the polish/compound I'm using, then apply 3 small (think dime size) drops on the pad. With some practice and knowing that your pad is flat on the paint, even at speed 5.5 you won't get much, if any, splatter. With a 4" pad you'd probably need even less product.

Regardless, you'll want to go with a 5" backing plate and 5.5" pads. When you're getting used to the machine, start by spreading the product across your test spot on speed 4, then speed it up to 5 or 6 for the correction work.

Sounds like a combination of being new to polishing and not having the right tools for what you're trying to accomplish. Get some larger pads and try what I mentioned by priming the pad first, then adding a few small drops. You'll get the hang of it rather quickly!
 
what size backing plate did you get? If you ordered a 5 in then you shouldn't use it with 4 in pads.


If he ordered this kit,

CCS Spot Buffs 4 Inch Foam Pad Kit

SpotRepairKit001.jpg


You can end up with the face of the pad aways from the polisher and that can make it kind of tippy...

Porter Cable 7424XP

Be careful not to get a finger inside the cover around the free rotating spindle bearing assembly and counterweight.
SpotRepairKit014.jpg


SpotRepairKit015.jpg
 
See this article,

How to prime a foam pad when using a DA Polisher


1. Priming the pad then adding product to work with

Priming a clean, dry pad is considered the best approach for using a DA Polisher because it ensures that 100% of the working surface of the pad is wet with product and working at maximum efficiency when you turn the polisher on. I originally learned of this technique from my friend Kevin Brown.

Priming the pad also ensures that you don't have any dry portion of the pad working over the paint un-lubricated. This really isn't a risk because since you're just starting out you're going to be removing defects a lot more serious than would be caused by any portion of the pad that is dry and spinning against the paint.

Plus, after just a few passes, the product you apply to specific areas of the face of the pad will migrate over the entire face of the pad and it will do this rather quickly when you're on the higher speed settings.


Priming the Pad - For clean, dry pads
Start with a clean, dry pad and add some fresh product to be spread out to the face of the pad. Using your finger, spread the product out over the pad and then using your finger work it into the pores of the pad. Don't saturate the pad, just use enough product to make sure that 100% of the working face of the pad has product coverage.

PrimingPad01.jpg


PrimingPad02.jpg


Work the product around the face of the pad and into the pores
PrimingPad03.jpg


PrimingPad04.jpg


Any extra, take and apply to the outer edge until 100% of the working face of the pad is primed with product.
PrimingPad05.jpg


As an option you can also prime the outer edge. This helps if you're buffing around convex curves or around panels that the edge of your buffing pad may come into contact with, like spoilers, side mirror housings, curved panels etc.

PrimingPad06.jpg


PrimingPad07.jpg


Primed and ready to add "Working Product" to.
PrimingPad09.jpg


PrimingPad08.jpg


Adding "Working Product" to the primed pad
Some people will recommend 3 to 4 pea size drops of product as the proper amount of product to use and this can be correct for concentrated products or working small sections and if you follow this advice make sure you are not under-lubricating the surface being worked.

Pea size drops of product
PrimingPad10.jpg


PrimingPad11.jpg


For some products and paint conditions, you may want more product on the surface working for you. Here's an example of dime size drops of product.

Dime size drops of product
PrimingPad12.jpg


PrimingPad13.jpg


:)
 
Mike, those are damn nice photos!! :props:

Looks like the dime was minted in Philadelphia..
 
I had an issue when I first used my PC where it was hard to control. Turned out that the counterweight was causing a problem. I had to remove it and get it mounted correctly. It was catching on something inside. Now it works fine.
 
Mike, those are damn nice photos!! :props:


Thanks... I don't have any formal photography background I just do my best to frame up the picture and click. I usually try to take 2-3 pictures for each shot I want then pick the best picture of the three.


My photography style is called fast and furious... it comes from taking pictures of cars at car shows... once you find a car you want to take a picture of if you wait for a few seconds the people around the car will clear long enough to get your picture without any elbows or butts in the shot,

Be ready... get the shot... move on...

I also know that people get annoyed when they're kind enough to stand back for a photographer to get a clear shot but the photographer then dilly dallies taking up other people's time...


:)
 
I was using a 4in backing plate, so Ill order some 5.5in and try applying less product.
 
Mike, those are damn nice photos!! :props:

Looks like the dime was minted in Philadelphia..

Naw, that "P" stands for Phillips. Mike personalizes his loot before he polishes it. :laughing:

TL
 
I was using a 4in backing plate, so Ill order some 5.5in and try applying less product.

Please keep us posted...

Once you have the right pad size for what you want to do the rest comes down to technique... I'm confident you'll get the hang of it very quicly...


The below is for teaching purposes only as it's only natural to start out making mistakes till you get experience and experience comes from putting time behind the polisher.

In this thread,

1994 Porsche 964 Turbo 3.6 - Modeled by Janna and Amy

If you look closely, you can see that Sam is not holding the pad flat to the surface.

Two things,

  • This was his first time using a DA Polisher
  • After a few passes and some guidance, he got a feel for the pad against the paint during operation and held the polisher so the pad would operate flat against the paint
94PorscheCTW37.jpg


Rene is new to machine polishing but after a couple of detailing projects here at Autogeek and practicing on his own Camaro at home, not only does he have a good feel for how to use a DA Polisher but now he's showing others how to correctly hold and move the tool...

Here's Rene giving Seth some hand-on training...
94PorscheCTW38.jpg


Practice makes perfect... and it all starts with getting out in the garage and putting some time in behind the polisher.

:xyxthumbs:
 
Thanks for the info Mike!

Ordered the Griot DA and this is going to be my first time using a DA polisher with LC CCS 6.5. Will try to start out slow. :buffing:
 
Thanks for the info Mike!

Ordered the Griot DA and this is going to be my first time using a DA polisher with LC CCS 6.5. Will try to start out slow. :buffing:


Yes, start out slow in that you should start out easy... but you want to run the polisher on the higher speed settings if you want to remove swirls and scratches.

The best way to learn is to start on an easy to buff panel like a trunk lid. Divide the paint on the trunk lid into smaller sections and then buff out just one of these sections. When doing it for the first time, be sure to inspect your results after you buff the first section and make sure you're getting GREAT results.

If you're not, start a "new" thread and share what you're seeing...


See this article,

DA Polisher Articles - Help for Newbies to Machine Polishing


Here's an example of dividing a panel, (the hood is the panel), into smaller sections for buffing when using a DA Polisher.

KISS Detail - Extreme Makeover - Toyota Highlander

The tape was just for John's benefit to better visualize how to divide a panel up into smaller sections and after the point was made we removed the tape.

1eoWhite015.jpg


:)
 
So this was the first time i had the car in light conditions where I could notice this:

photo1-1.jpg


photo2-1.jpg


photo3.jpg


photo4.jpg


photo5.jpg


Thoughts?
 
So this was the first time i had the car in light conditions where I could notice this:


Thoughts?

Looks like the result of a new DA user using an aggressive compound with pads too small for the panel. The marks look somewhat random indicating perhaps a methodical polishing pattern wasn't used, my guess is the pad possibly wasn't kept flat against the finish either.

Not to worry, we all started somewhere and most of us didn't get concours results. Read, watch videos, practice. And plan on using a milder polish pad combo to finish.

TL
 
Back
Top