I've been told that what some guys do during painting the clear is to do a coat of clear, sand it and then shoot another coat of clear, sand and shoot another coat of clear. That keeps the orangepeel from getting buried in the clear...
Here's my take as an old painter...
There's a lot of truth and a little misinformation in the preceding quote.
On the truth side, the paint finish will always be flatter when it is sanded in-between coats.
On the "orange peel getting buried in the clear" part, that is a bit mis-stated in my opinion. What is really occurring with the orange peel is it is "building" and becoming "heavier" with each additional coat. Heavy wet coats during application also contributes to the "heaviness" of the orange peel. As the orange peel becomes heavier, sanding and compounding the finish flat becomes less and less achievable.
I like to distinguish light/moderate/heavy orange peel as the center-to-center distance between the peaks and valleys of the orange peel. Light orange peel will have a tighter center-to-center distance, heavier orange peel will have a larger distance.
Lighter orange peel can be sanded flatter than heavier orange peel... every time... no if's, and's, and but's about it.
If the paint coats are applied too heavily, or too many coats are applied, you end up with heavy orange peel that cannot be sanded flat. It can be sanded smooth to remove the orange peel per say, but the waviness that the OP describes will always be there.
For that reason I disagree with the general consensus that more paint is better. The only benefit to "extra" paint is that it can be sanded and compounded with less risk of cut through. But with that benefit comes a compromise in the finish quality.
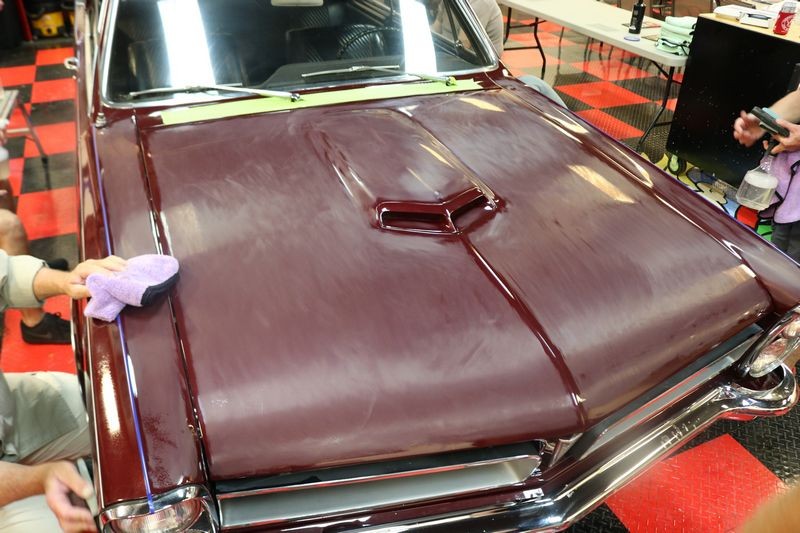
For a truly glass-like finish the paint must be applied in light to medium coats and when possible, sanded between coats. You can't just load the paint on and expect to sand it to a glass-smooth finish.
The waviness that the OP describes, if I'm interpreting his description accurately, is from one of two things... The paint was either applied in coats that were too wet and heavy; or too many coats were applied (without in-between sanding).
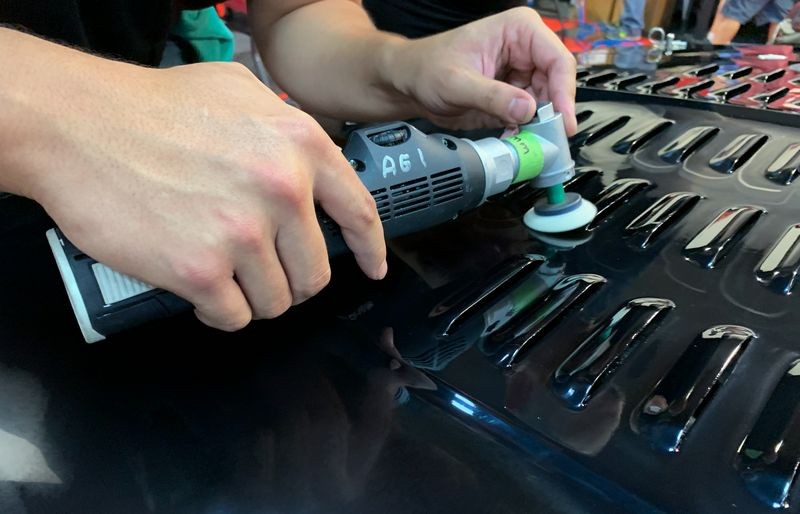
And for the old vs. new school of sanding... I'd never do the final sanding of a show car finish with a machine. It's all hand-sanding for me. And another thing I'd never do is use a hard block for the final sanding. Foam sanding pads are my tool of choice.
")