theblob640
New member
- Mar 4, 2013
- 550
- 0
Hi AGO, it has been awhile since I have posted something. But last week, I got a pretty big chip on my driver side front door. I believe I know who did it because this happened in a parking lot and my dash cam was on when it was parked. Unfortunately, it doesn’t record the side of my car so I can just see who parked next to me during the time (parking spot next to me was empty when I parked) and I can’t really prove exactly who did it since 2 different cars parked there during the time frame I was away from my car. This happened on my birthday so needless to say I was PISSED when I noticed it while getting into my car.
But anyways, I decided to repair it because it was a really big eye sore for me. This is my first time actually filling out chips and wet sanding so during this whole process, especially the wet sanding part, I was sweating.
Tools/Products Used:
Touch up paint
Plastic toothpick to fill in chip
2000 grit sand paper
PC7424XP w/ 3” BP and LC CCS White Pad
Menzerna SIP1500
WGDGPS 3.0
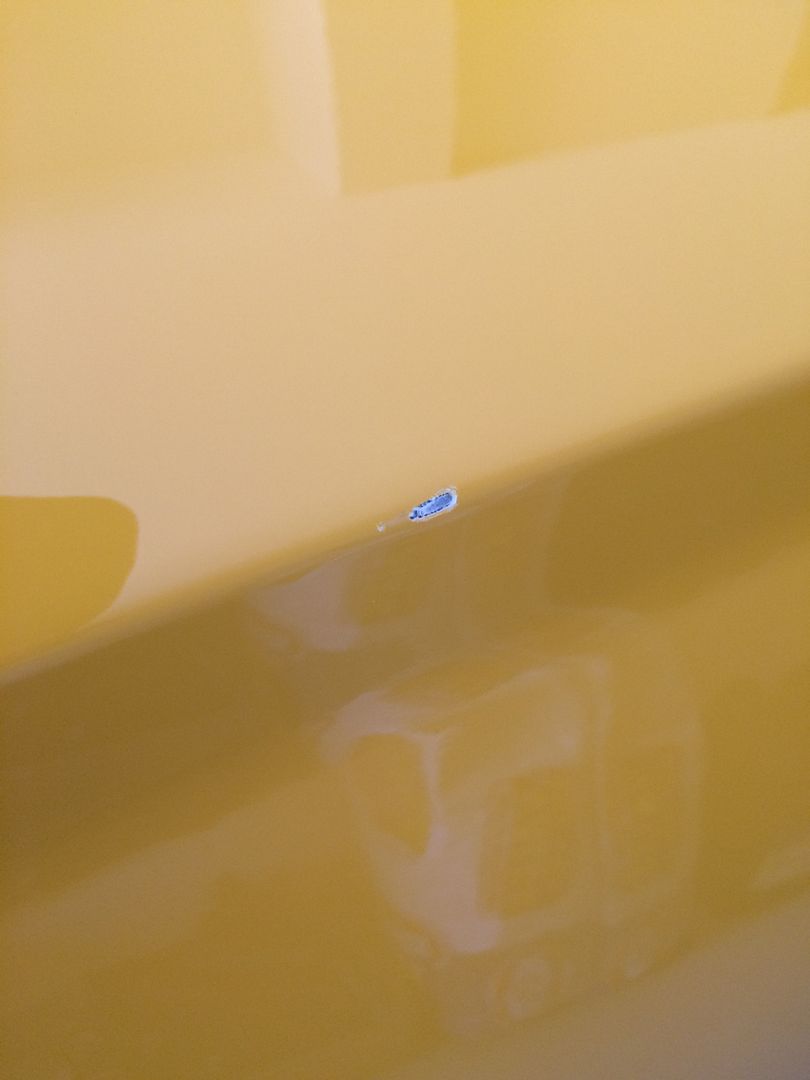
Original paint chip, I believe it went all the way to the substrate:
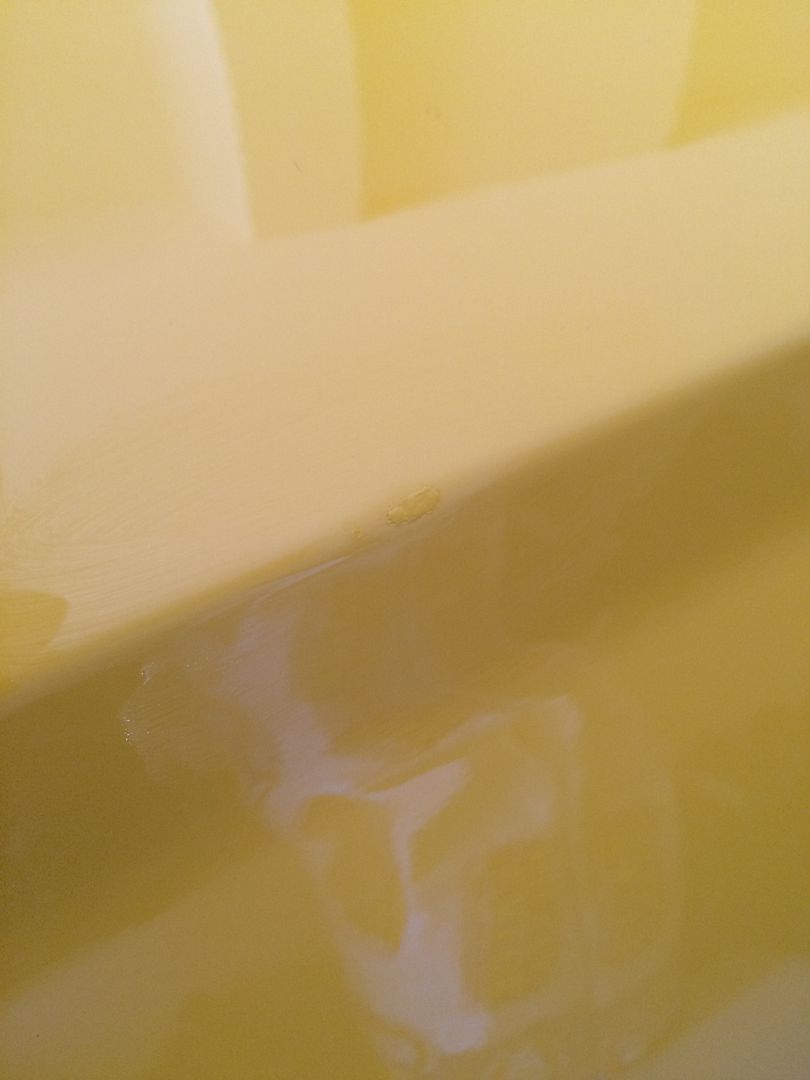
After first touch up fill:
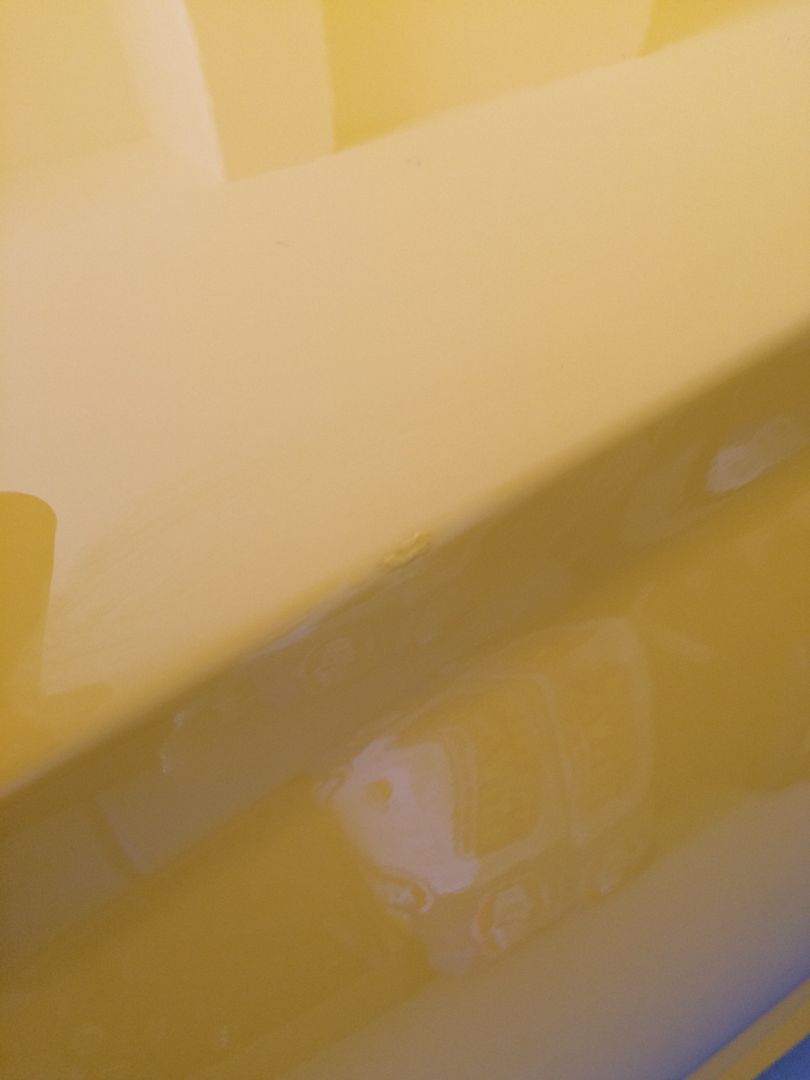
Second touch up fill:
After, I wet sanded the area with 2000 grit sandpaper to level out the "bubble" I created. Followed up with a polish to remove the 2000 grit sanding marks with a PC7424XP equipped with a 3" BP used with LC CCS White pad and Menzerna SIP1500. Car is coated with CQuartz so the polishing definitely removed that. I decided to temporarily protect this area with WGDGPS until my next re-coat.
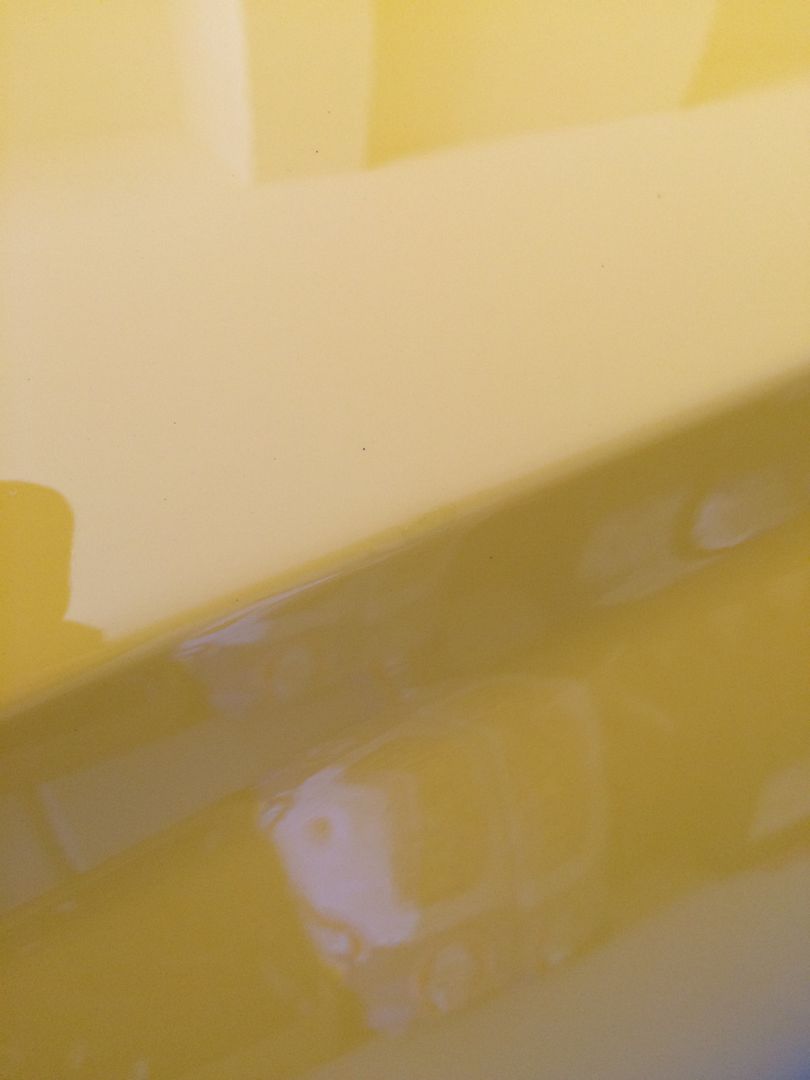
Another picture taken outside
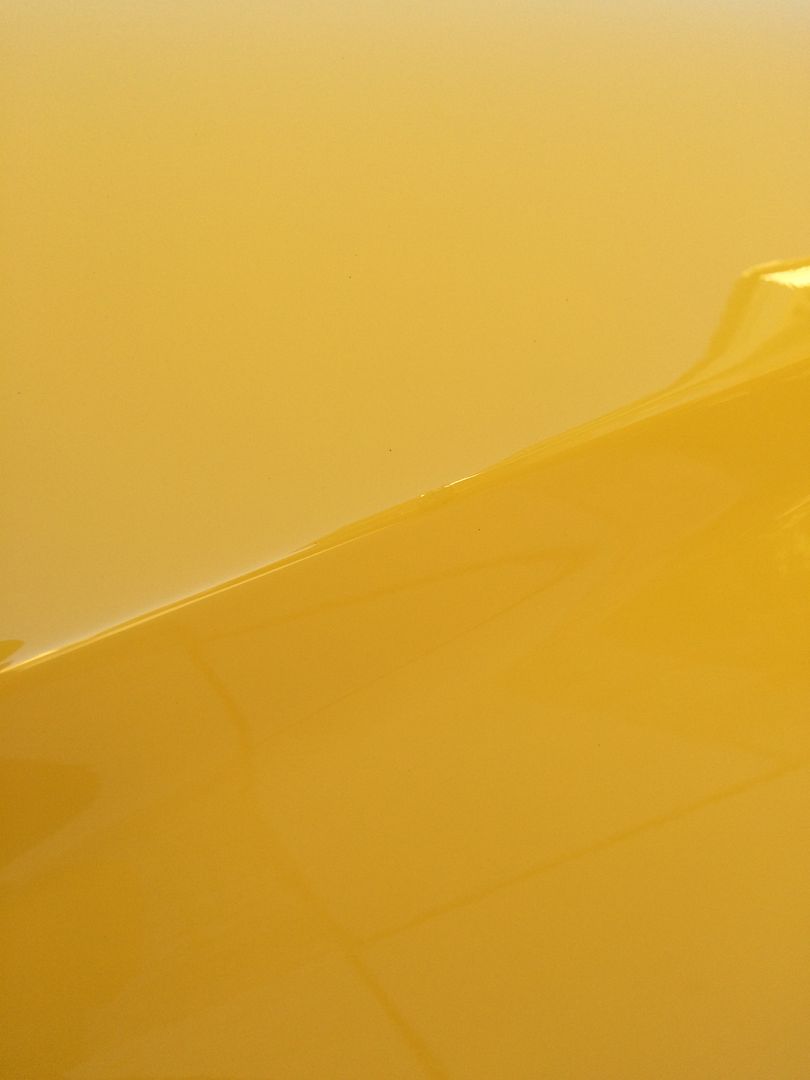
Overall, I am happy with the results. From about 1-2 ft away, you will never know it is there until you get closer and actually look for it. I think I could've done better if I had more practice with paint chip repairs but my main concern was to cover up the metal and make it look better.
Thanks for looking!
But anyways, I decided to repair it because it was a really big eye sore for me. This is my first time actually filling out chips and wet sanding so during this whole process, especially the wet sanding part, I was sweating.
Tools/Products Used:
Touch up paint
Plastic toothpick to fill in chip
2000 grit sand paper
PC7424XP w/ 3” BP and LC CCS White Pad
Menzerna SIP1500
WGDGPS 3.0
Original paint chip, I believe it went all the way to the substrate:
After first touch up fill:
Second touch up fill:
After, I wet sanded the area with 2000 grit sandpaper to level out the "bubble" I created. Followed up with a polish to remove the 2000 grit sanding marks with a PC7424XP equipped with a 3" BP used with LC CCS White pad and Menzerna SIP1500. Car is coated with CQuartz so the polishing definitely removed that. I decided to temporarily protect this area with WGDGPS until my next re-coat.
Another picture taken outside
Overall, I am happy with the results. From about 1-2 ft away, you will never know it is there until you get closer and actually look for it. I think I could've done better if I had more practice with paint chip repairs but my main concern was to cover up the metal and make it look better.
Thanks for looking!

