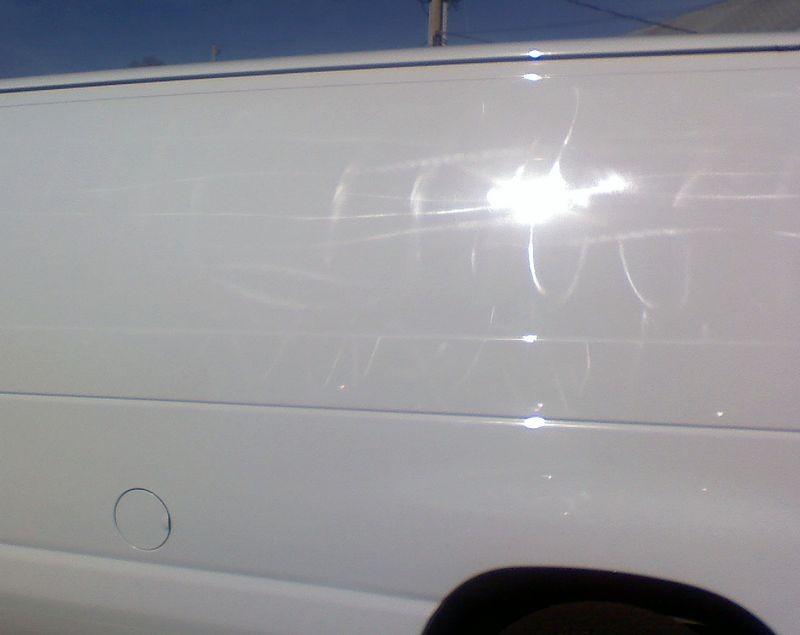
You said that you need shots taken closer to the surface with the sun at an angle to get the marring to show, right?
The inspection is mostly for you to be able to determine if the swirls are from washing or induced by the mis-use of a rotary buffer. Regardless, the repair will be the same.
If you could get the swirl shots and then share them it always helps others down the road as the next time an RV owner asks a similar question I, or someone else, can share this thread as a reference.
You need to have the sun shining on the paint highlighting the pattern of the swirls.
In order to be armed with some knowledge, now that could be dangerous, what equipment/products would be the best bet. I assume a DA and NOT a rotary would be one requirement.
A flawless, swirl free finish can be achieved using only a rotary buffer but it requires more knowledge and skill than most detailers possess. It is easier to do today than it was just a few years ago.
That said, using a DA Polisher will remove the swirls without putting swirls in at the same time. It's more or less
"Bubba-Proof".
The shop that I am considering uses Meguiar's products. What questions should I be asking? Do all glazes have fillers? Should the shop seal after glazing or is that going to be left to me?
If this shop sprays fresh paint then chances are very good that they don't allow any waxes or sealants to be used in or around the shop because the protection ingredients that cause water to bead up on your RV's paint, (or car's paint), will also cause Fish Eyes when and where fresh paint is being sprayed.
So most body shops stick with body shop safe products and this means no wax or sealant and this means no durability, most if not all body shop safe compounds, polishes and glazes are water soluble and this means the glazes will wash off.
You say that I could do it myself. In fact, I purchased the Wolfgang package including the 7424 DA to help me keep the coach in shape. I was hoping to work in the maintaining mode. As you can imagine, I am nervous about working in the repair mode. But if that is what you recommend, then I will take the bull by the horns and look for a large shady spot. :buffing: Thanks again to all for your help. Lonnie
If you have the Wolfgang PC Kit you have everything you need to undo the damage they did to your RV
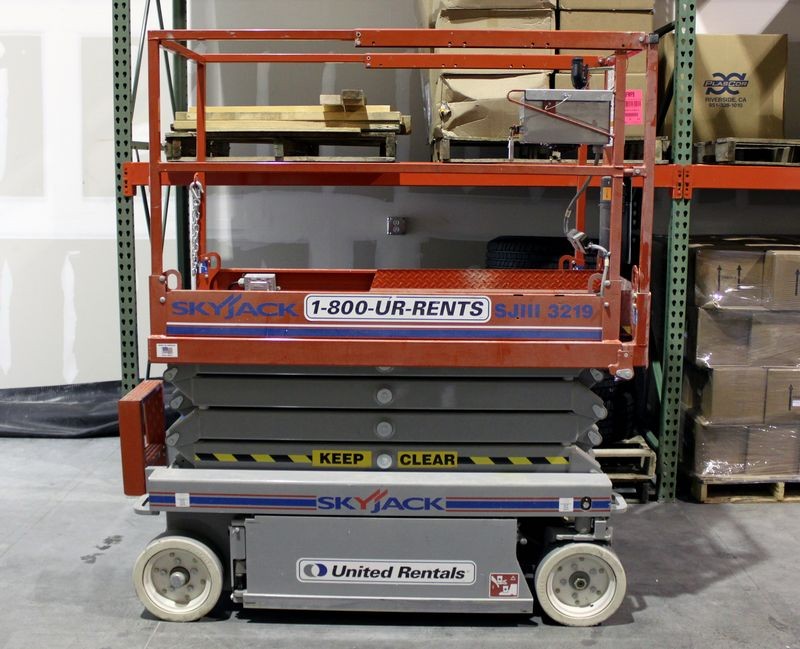
Your biggest obstacle is getting elevated to do the work but Joe as shared a pretty good way to do this that's also affordable. It would cost a lot more to hire a detailer that knows what they're doing to undo the damage so might as well do it yourself.
To undo the damage, first do a
TEST SPOT and this will insure that the Wolfgang Total Swirl Remover is strong enough to remove the swirls inflicted by the rotary buffer.
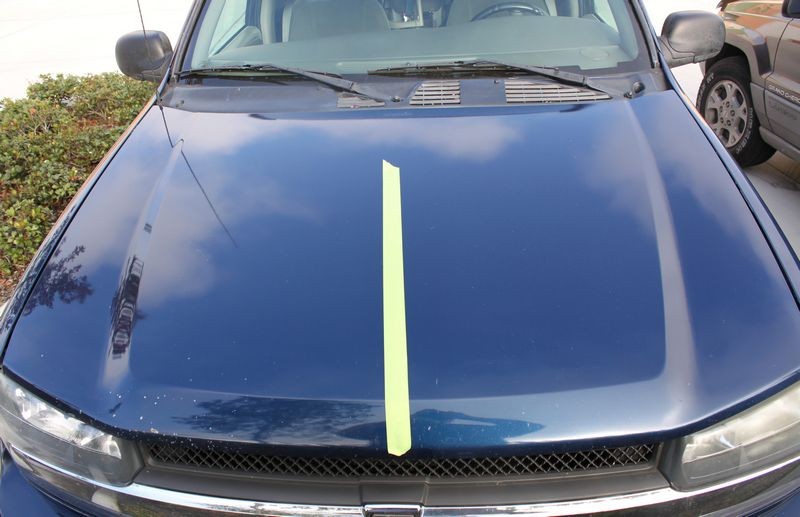
Get some painter's tape and lay down a tape line like this,
Make sure the paint is washed or wiped clean so there's no loose surface dirt on the paint.
Then buff on only one side of the tape line using the technique shared in this video,
How to do a Section Pass using a Dual Action Polisher - Key to Removing Swirls
The above is just part of doing the entire process which you can watch here,
How to Remove Swirls and Scratches using the Porter Cable 7424XP
Then wipe off the residue and wipe the area clean using some Isopropyl Alcohol, this will remove any fillers and reveal the true condition of the paint and show you the swirls are either removed or still there. The goal is to remove the swirls. The paint doesn't have to look like a show car finish after wiping with Alcohol as Alcohol will tend to dull the paint down, the key thing is the to insure the below surface defects are removed to your satisfaction.
If they are, then simply repeat the Test Spot over and over against to the entire RV or to the affected areas.
Wolfgang Total Swirl Remover works very well for removing swirls and in most cases will polish out to a very clear looking finish. From there you can follow-up with a less aggressive product to maximize the clarity and shine and then seal with a wax or paint sealant or you can seal the paint after the Wolfgang Total Swirl Remover. It's kind of up to you as to how much work and how many steps you want to do.
On this forum there are a lot of car guys that must do all the steps to get a show car shine and this is completely understandable, but when it comes to HUGE RV's, a lot of owners will be very happy with the results from Wolfgang TSR and go straight to wax or a paint sealant.
If you are not getting the swirls out in your test spot then post back here or give me a call, see my phone number in my Sig Line.
")