Not a new car but we removed the vinyl graphics on a car that sat out in Florida sun for over 5 years.
We used a heat gun but you can easily get away by using a good hair blow dryer.
FULL write-up here....
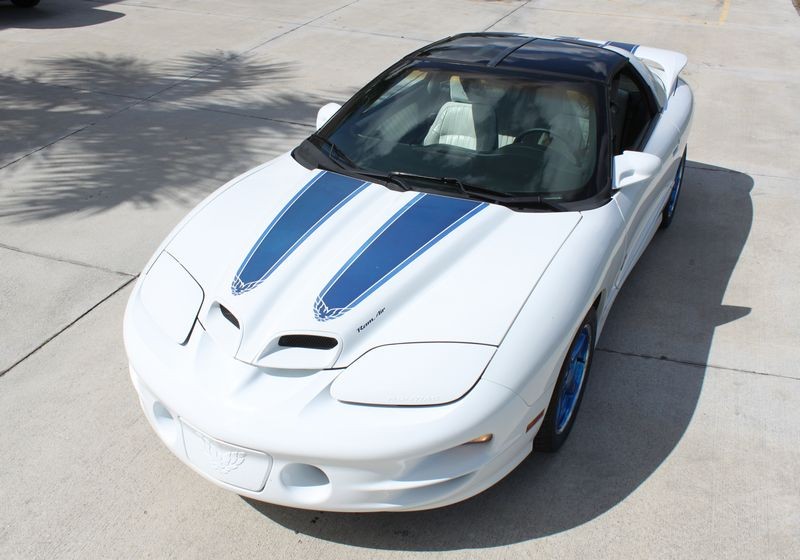
1999 Trans Am Extreme Makeover - Testing M101 Foam Cut Compound
For anyone that's never removed old, dried-out, cracked and baked-on vinyl graphics, I have enough pictures to make a pretty good how-to article. For now here's a few pictures to give you an idea. It took about 2 hours to remove all the vinyl graphics and then rub and scrub all the adhesive left behind off the paint AND do it in a way that did not harm the original paint.
Re-applying all of the new vinyl graphics took at around 3 hours...
We didn't just buff this car out, we first removed all the graphics, then buffing it out, polished it and sealed it with a synthetic paint sealant and then applied all of the new graphics... just another furn project on AutogeekOnline.net!
Here's one picture, hang tight for a few more...
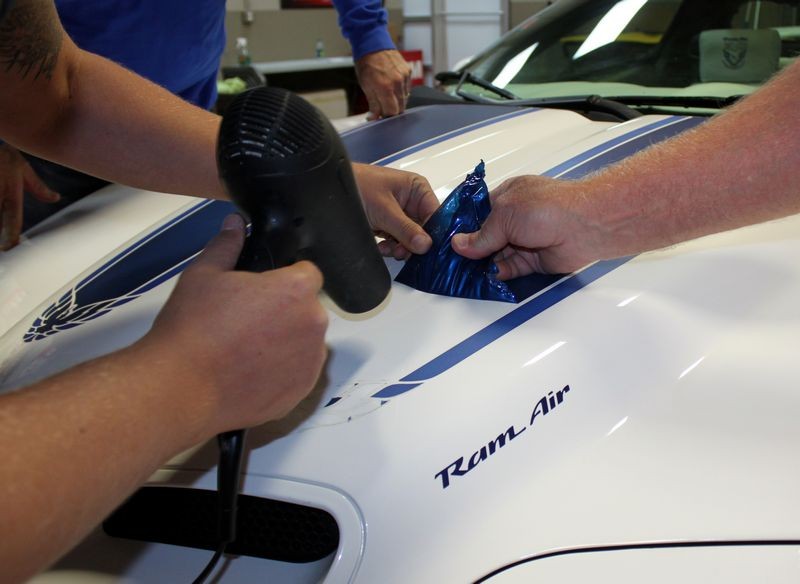
Jay heating the vinyl graphics up using a simple Conair Hair Blow Dryer...
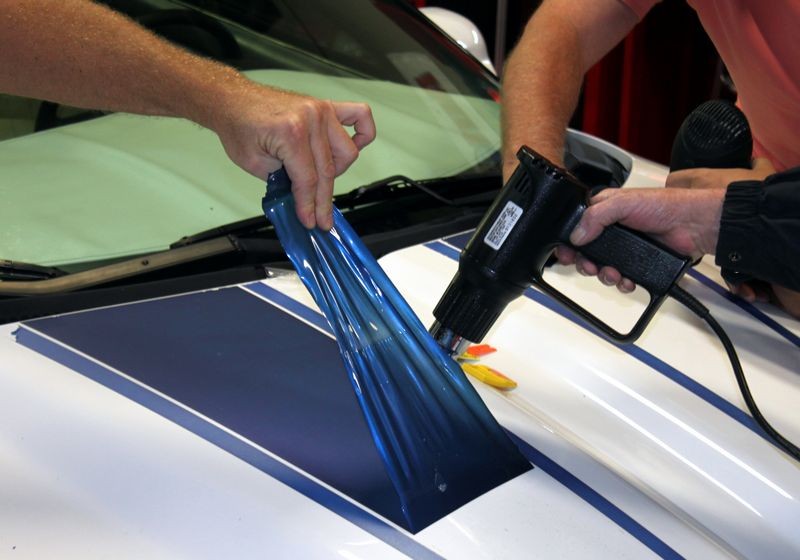
Here's Ken and I using a Heat Gun, when using a Heat Gun instead of a hair dryer you really need to be careful that you don't get the paint itself too hot...
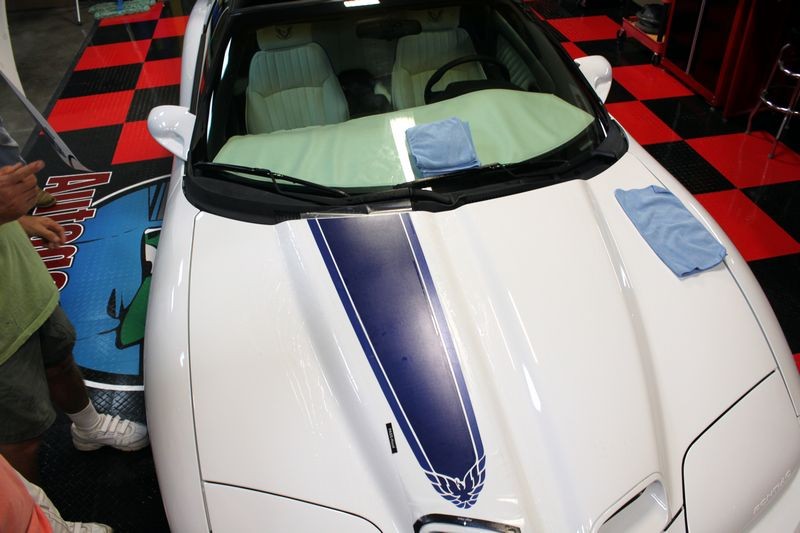
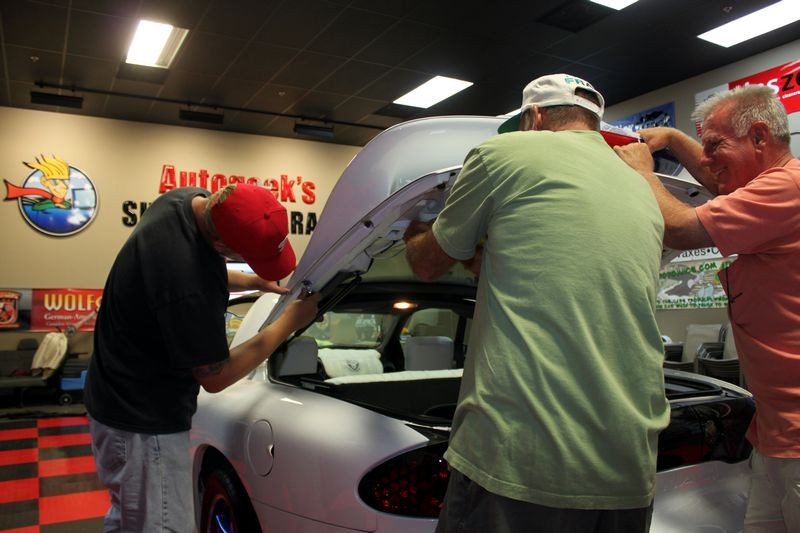
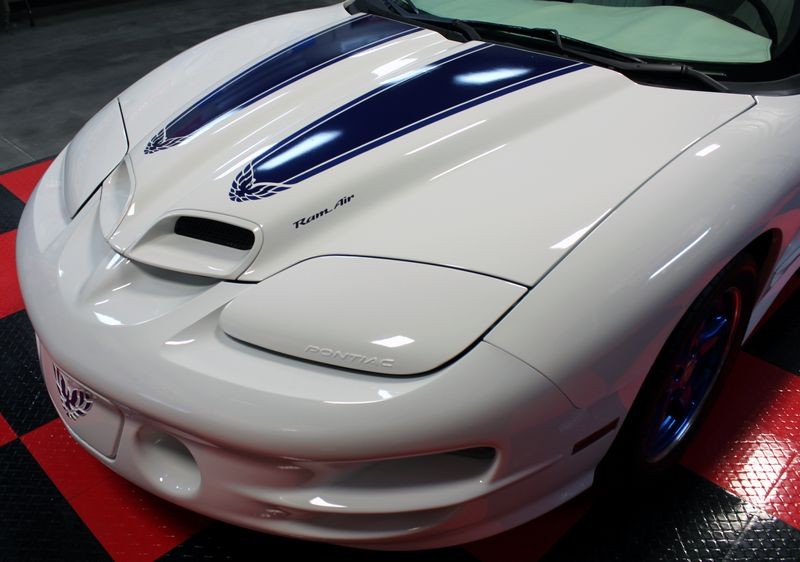
New graphics going on... this was hours later after we meticulously buffed the hood to remove most of the Ghosting and all of the adhesive residue...
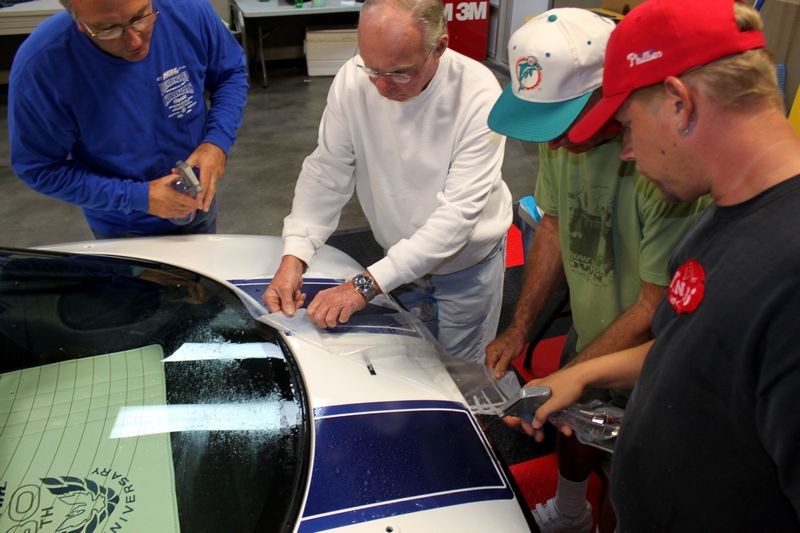
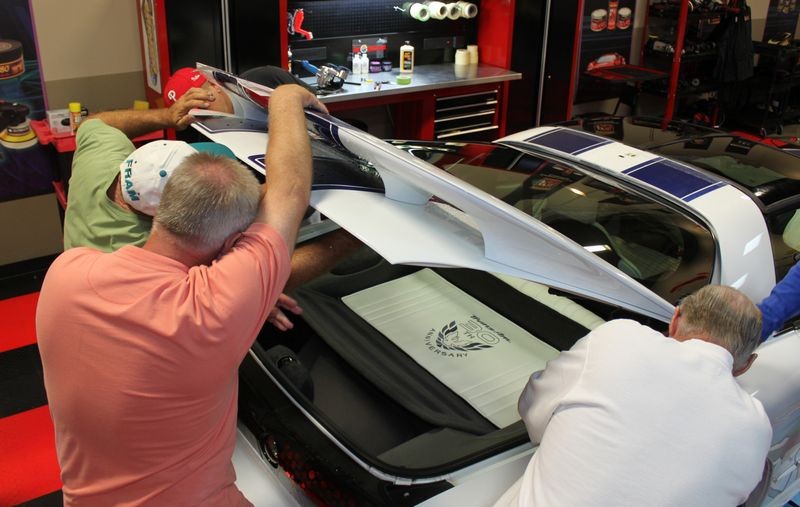
Here you can see that we removed the rear spoiler in order to apply the racing stripes to the deck lid...
After putting he racing stripes on the spoiler we're not re-attaching it...
One thing for sure, everyone has a lot of fun during these types of cool projects, makes new friends and gets the chance to use new tools, pads and yes... products like Meguiar's M101 Foam Cut Compound...
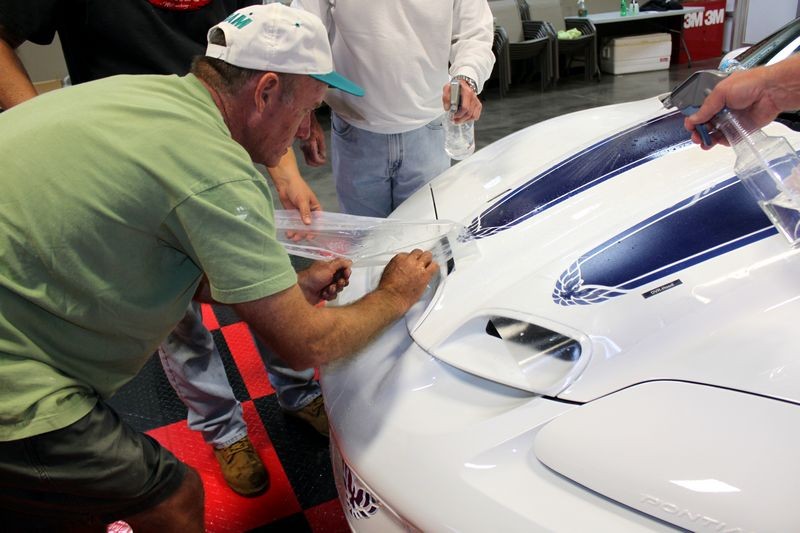
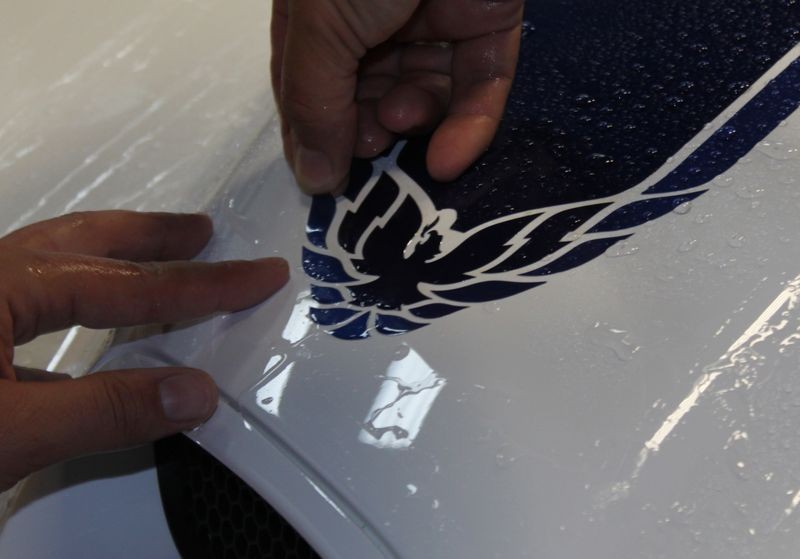
Carefull.... easy does it....
Jay installing all the lettering...
Windshield graphics going on....
:dblthumb2:


")


")