Mike Phillips
Active member
- Dec 5, 2022
- 51,004
- 6
Removing Water Spots from Matte Vinyl Graphics on a Dodge Challenger Scatpack 392 Hemi
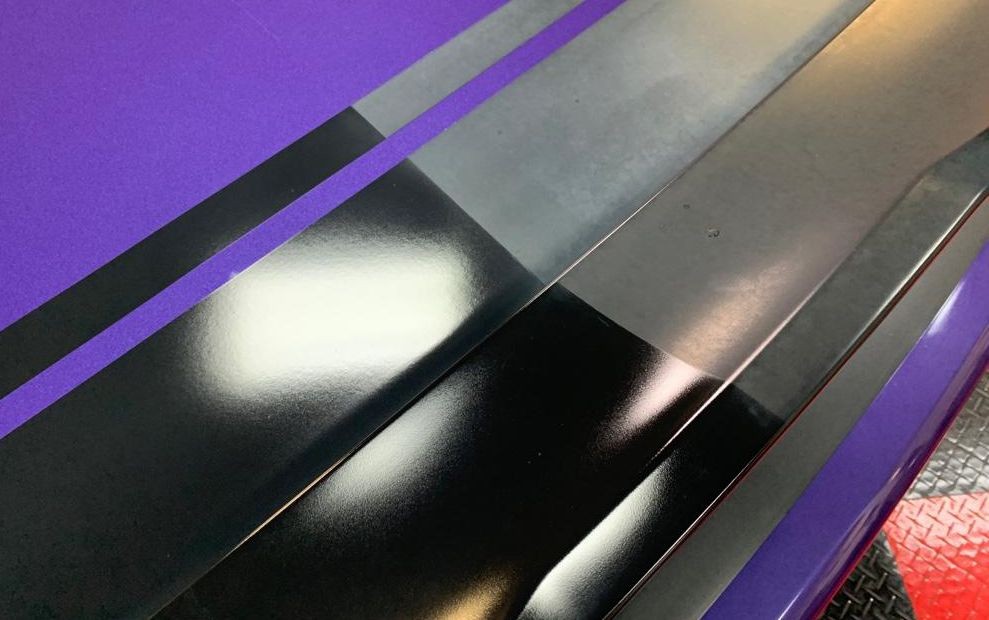
This is part 2 of a write-up after detailing a 2016 Dodge Challenger Scatpack 392 Hemi car for my friend Ken. First are the pictures showing Before, 50/50 and After
Machine Polishing NEGLECTED Matte Vinyl Graphics and Matte Plastic


Package 2 Detail
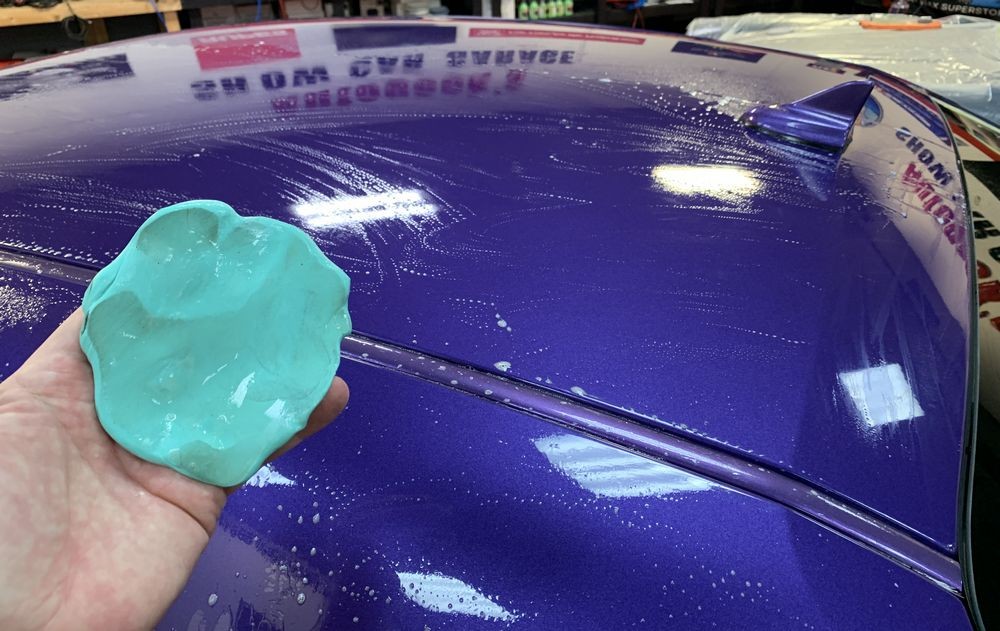
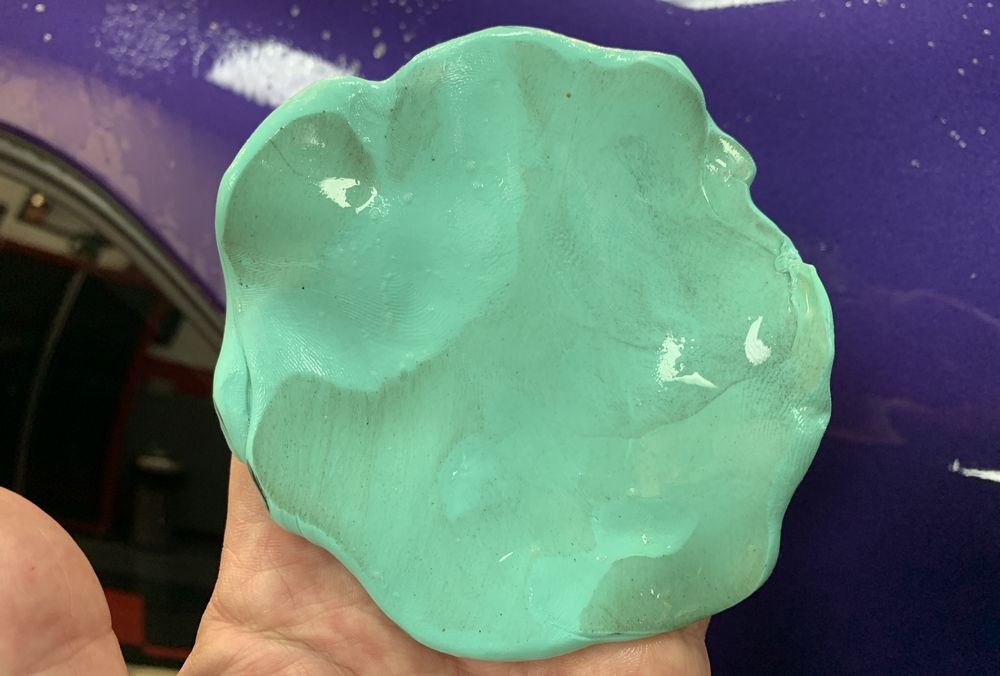
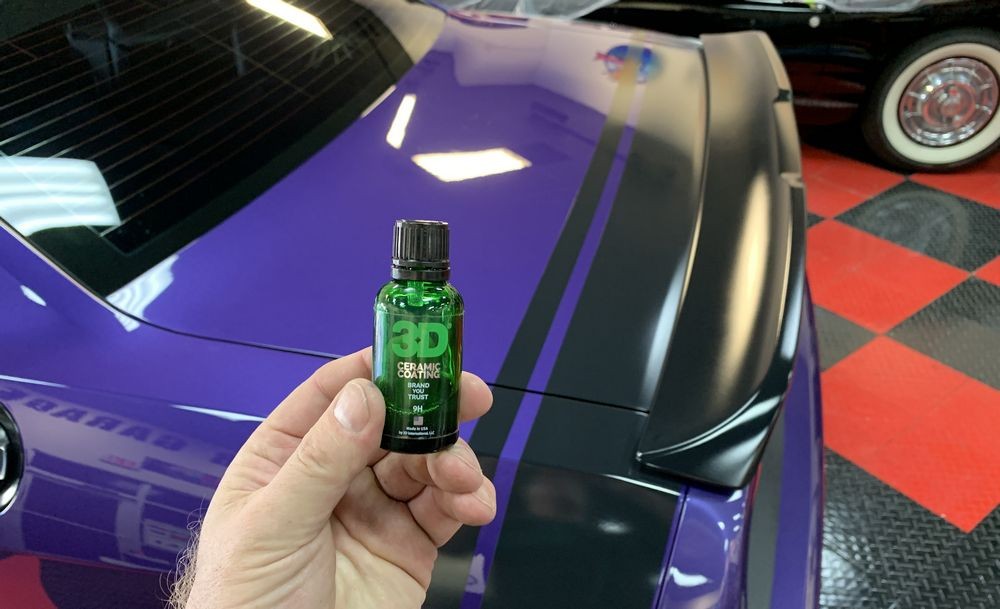
Here's a few pictures documenting the rest of the process. This was my Package 2 Detail that includes washing, claying, one paint correction step and one layer of ceramic coating.
I like to document the contaminants removed off the paint. In my opinion and experience, anytime you're removing this level of contamination from the surface of the paint - it's also time to do at least one machine polishing step to remove swirls, scratches, water spots and oxidation.
After I washed and clayed the car, next I machine scrubbed the tires using a Rubber/Vinyl AIO.
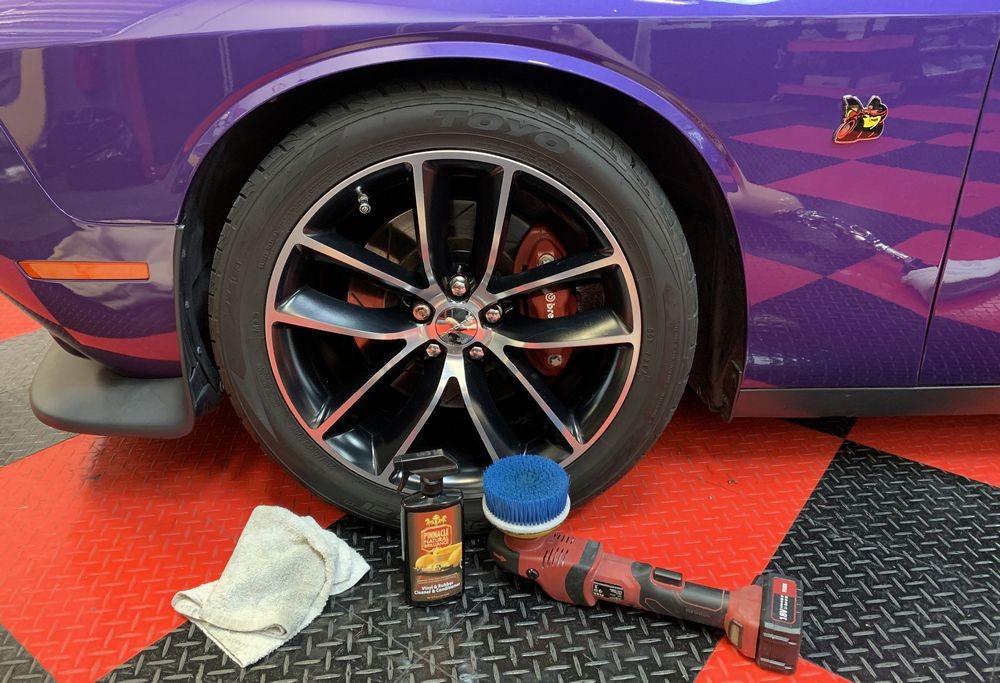

With the wheels cleaned and the tires cleaned and dressed, Wheel Maskers are used to cover and protect them from any splatter from the paint correction step.
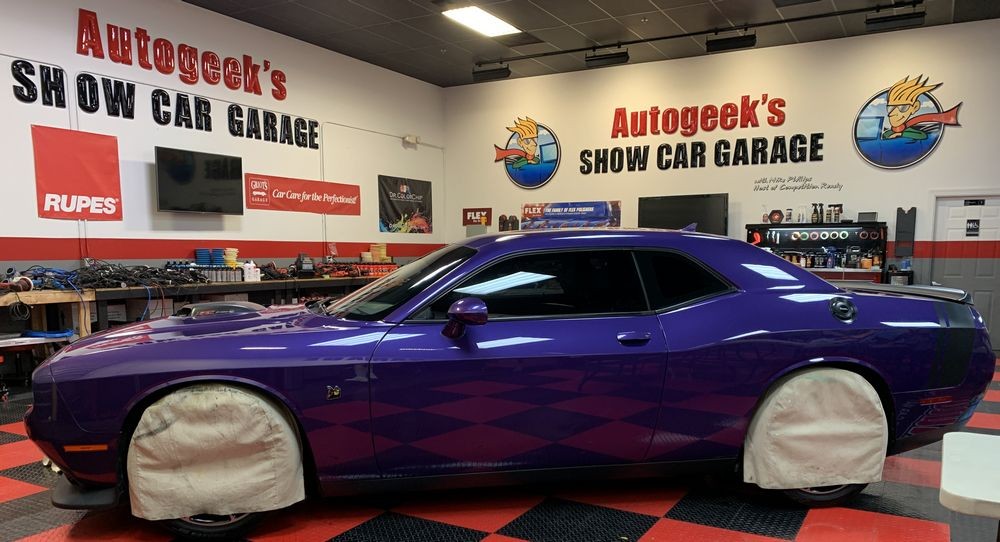
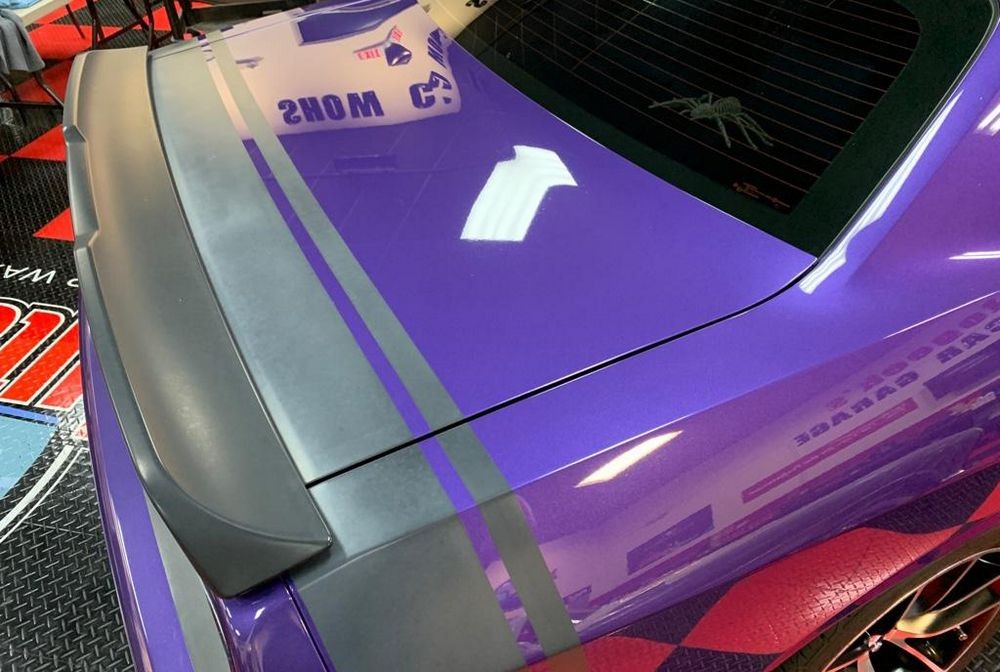
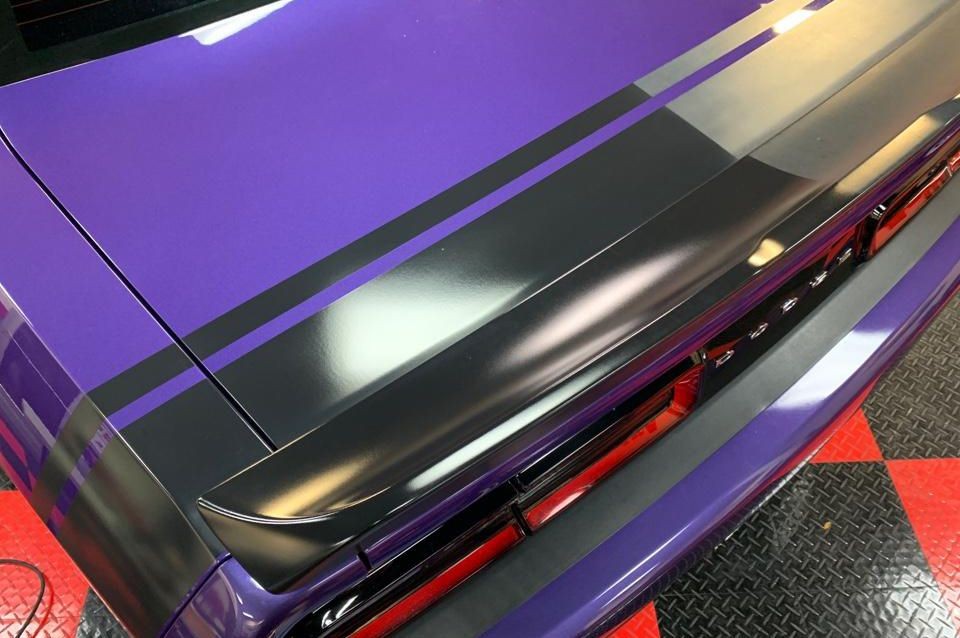
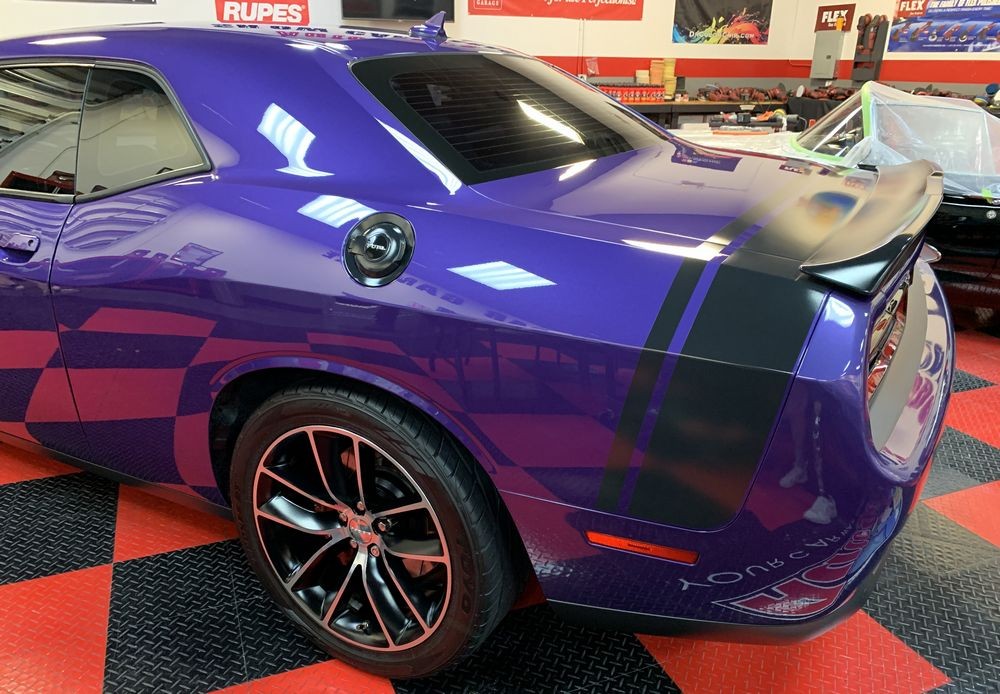
Here's the car after all the paint, glass and vinyl graphics have been machine polished/corrected.

If the paint is jacked-up, so is the glass. My normal protocol is to machine polish the glass with whatever my first step product and process is for the paint.

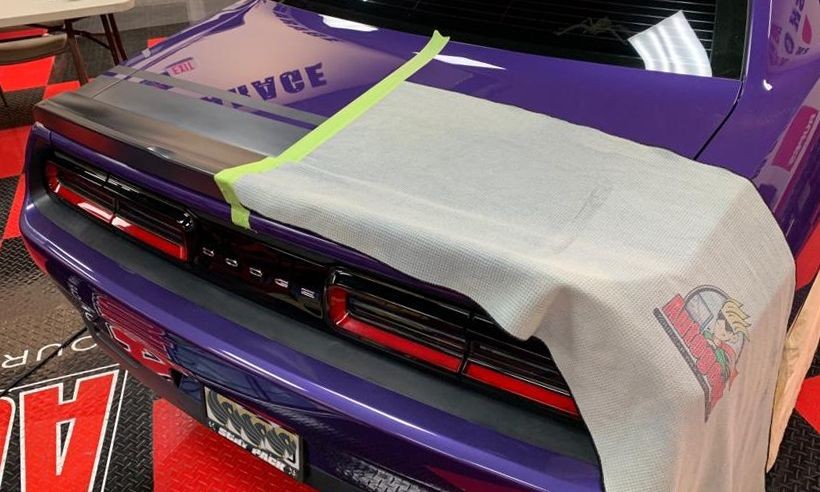
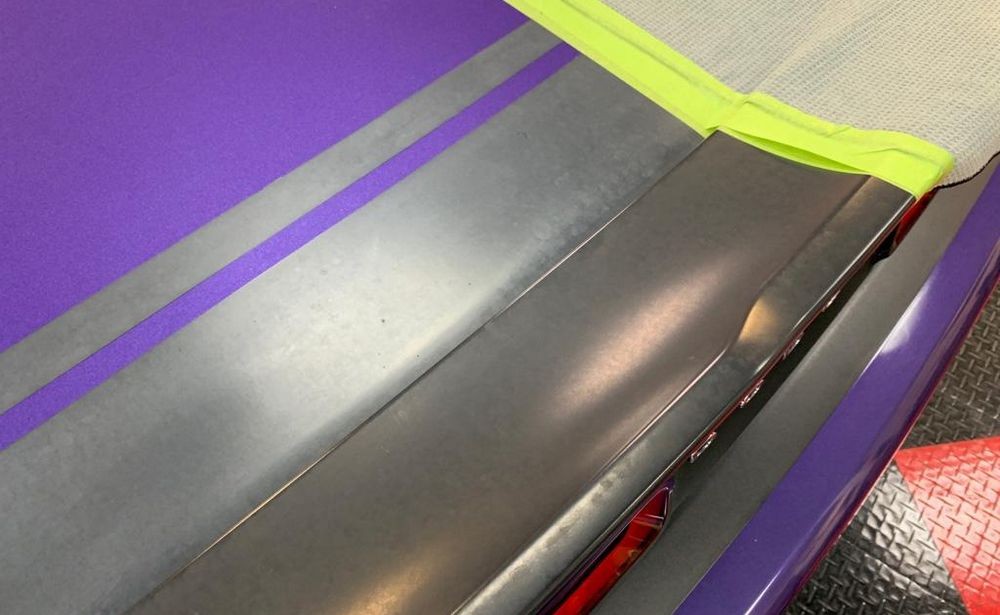
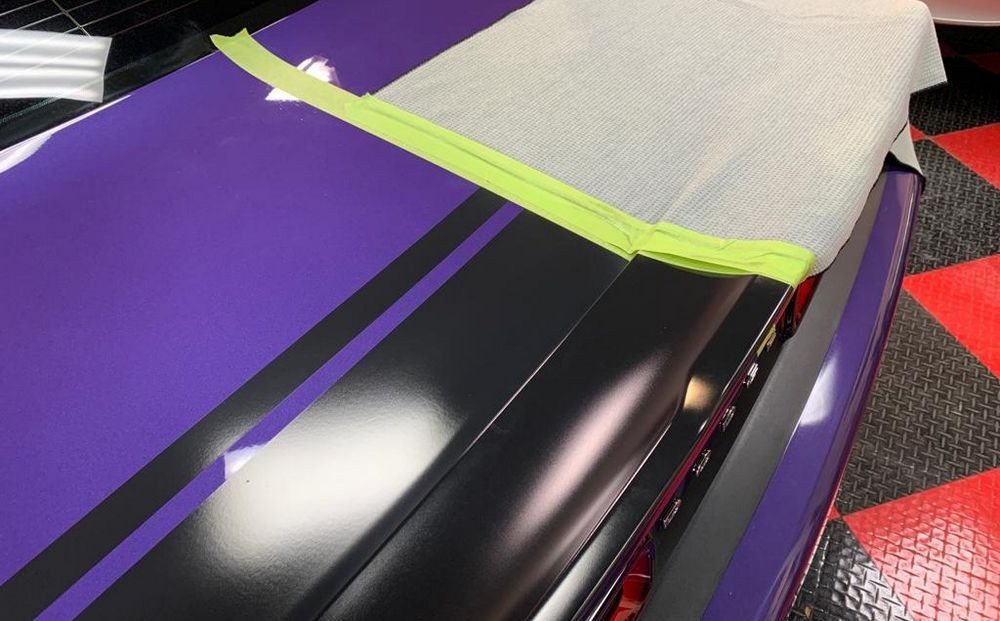
These cars have ample pebble textured black plastic trim - a detailer's nightmare. It's faster to tape these components off than to try to clean them when the job is over and you're tired.
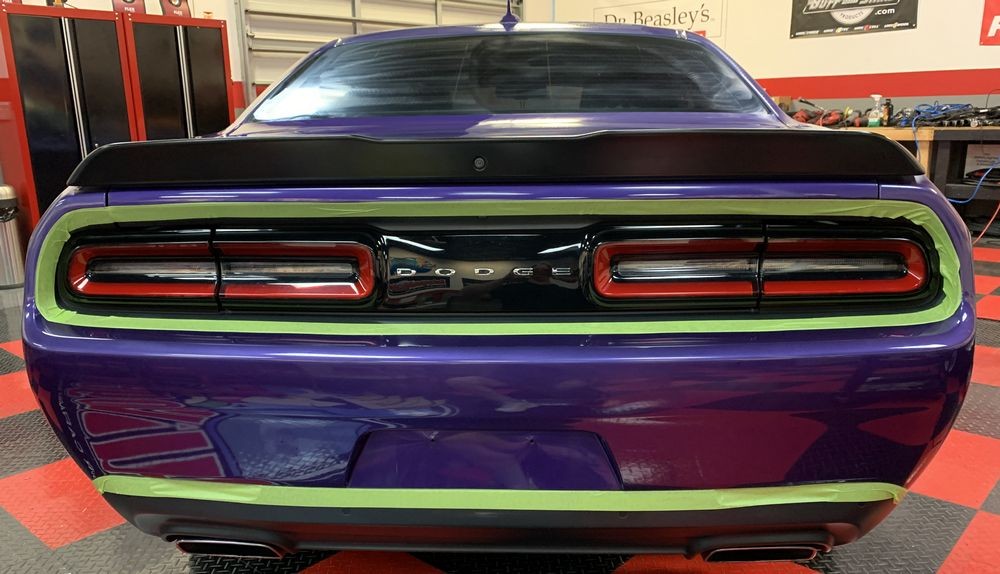


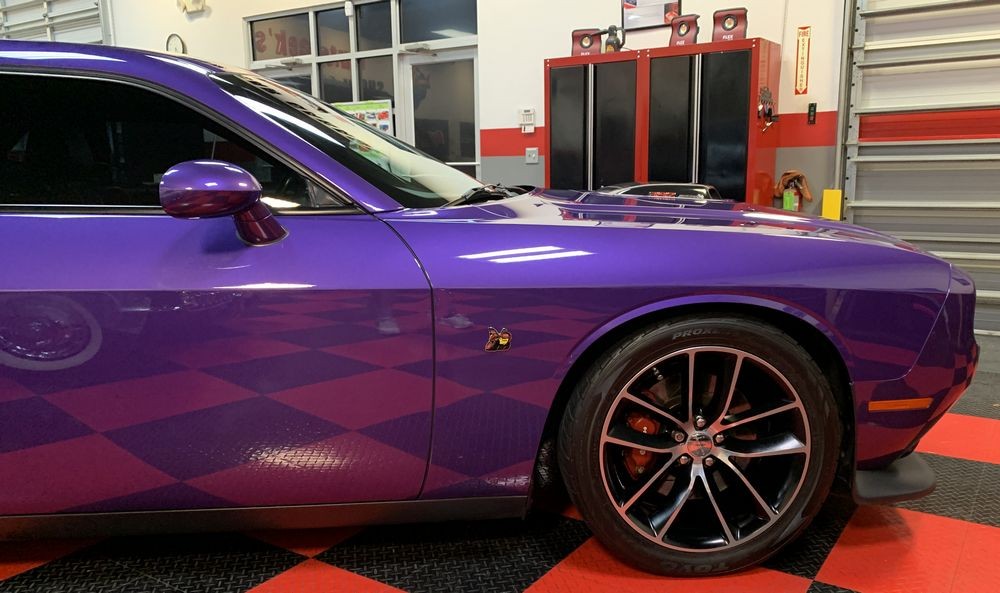
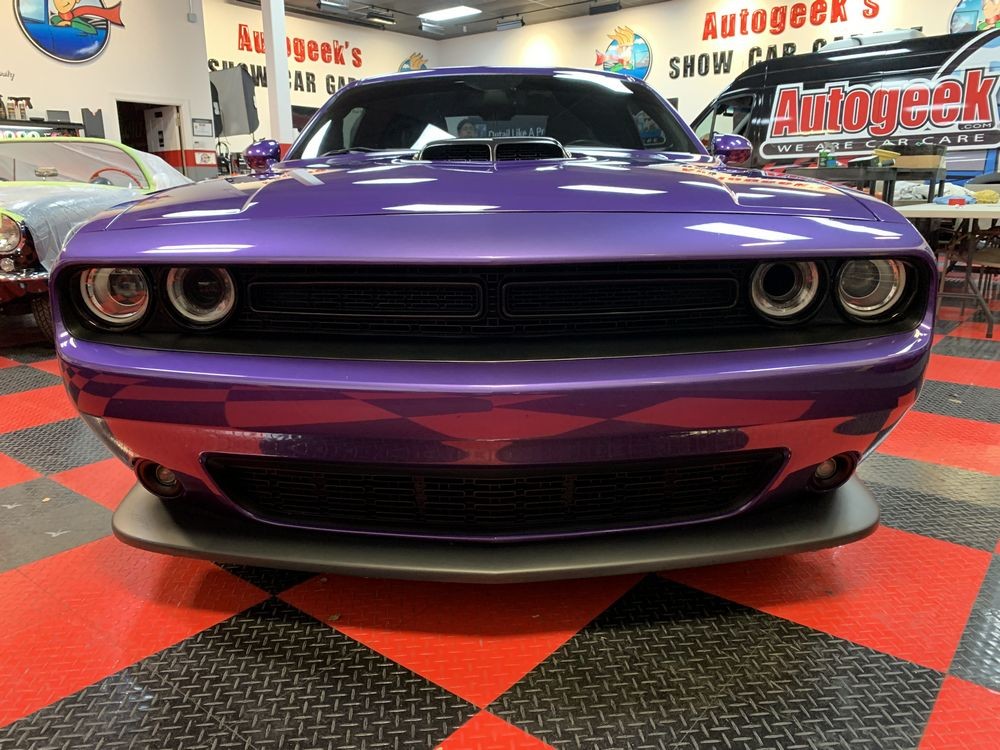
AFTER SHOTS

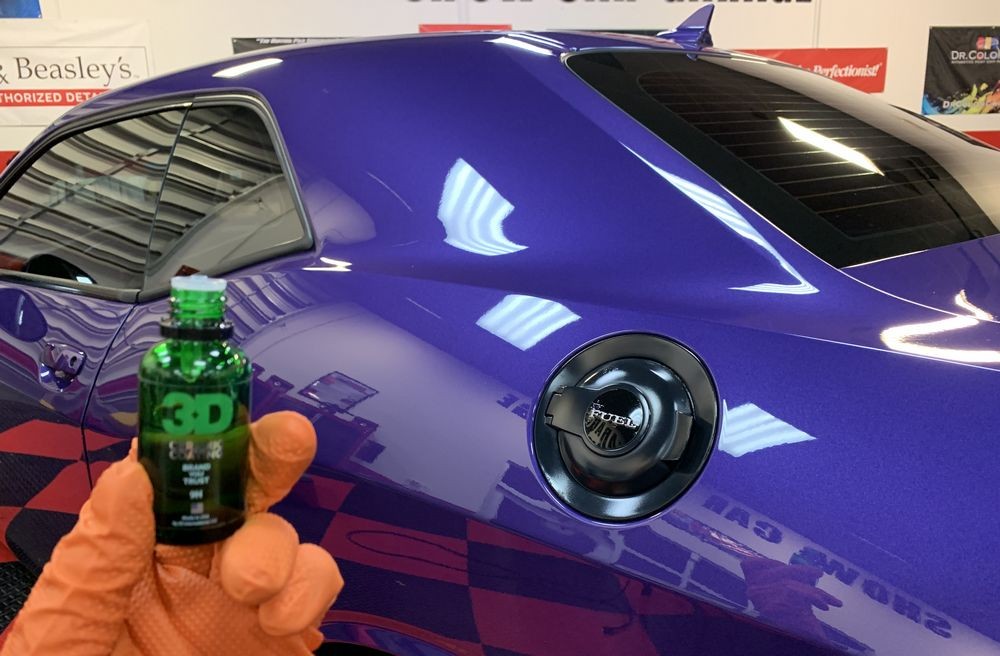
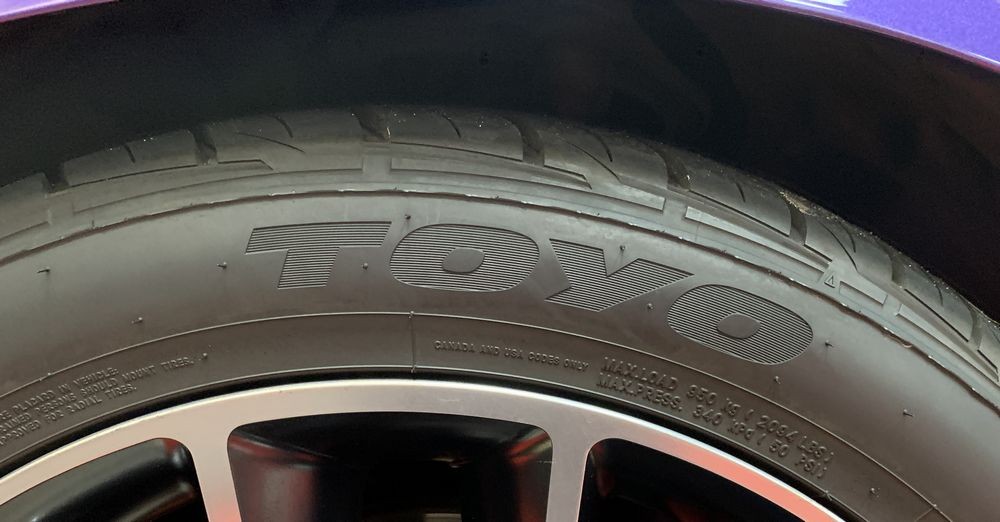
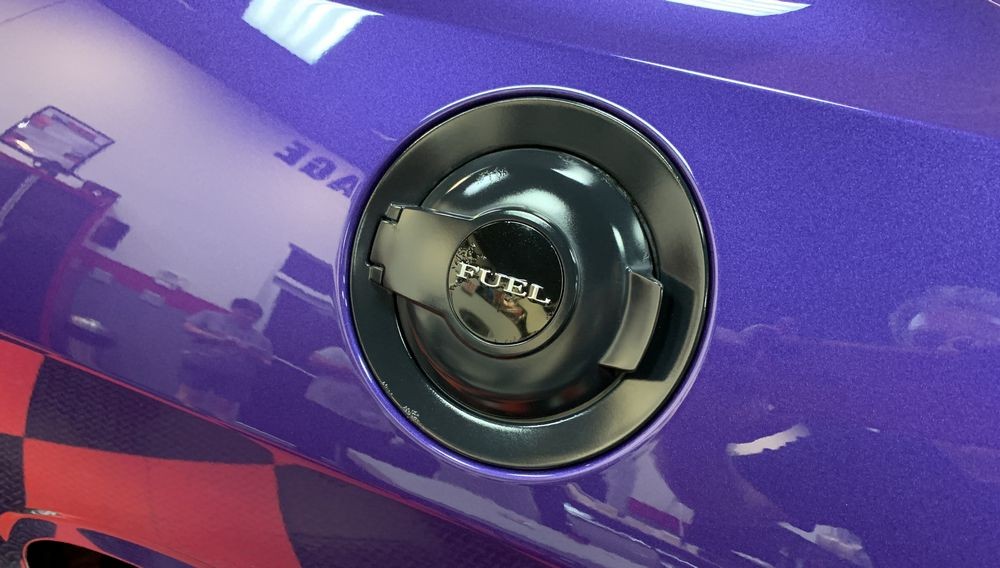
The gas cap and surrounding matte plastic were also machine polished, chemically stripped and then ceramic coated.


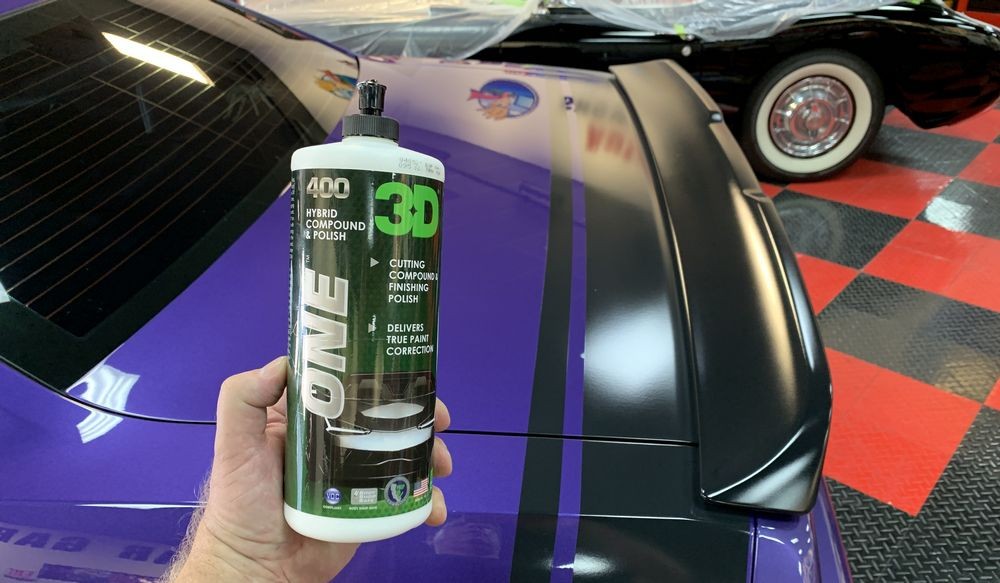
I used 3D One for the paint, matte graphics, glass and matte plastic Shaker Hood Scoop.

Comments...
On this forum, in YouTube videos and in my boat and car detailing classes I talk a lot about abrasive technology. There's really only two kinds,
1: Great abrasive technology.
2: Junk abrasive technology.
There is no in-between. There is no grey area. Products with abrasives either work... or they don't.
Before you ever attempt to machine polish someone else's matte graphics... you better be darn sure of your abrasive technology and even then - do some testing. Make sure you're able to correct the damage and neglected without inflicting micro-marring from either the abrasive technology and also the pads. Remember - the fibers that make up any fiber pad are also abrasives.
Once you prove your system, then go for it. The matte grapics on this old 2-door Dodge looked horrible. They were unsightly for the type of car this is, (modern muscle car), and my guess is not only would "new" graphics cost a few hundred dollars, removing the old graphics and installing the new graphics would take hours, maybe an entire day to do it correctly.
The owner was happy with how all the graphics came out, the matte plastic Shaker Hood, and of course the paint and glass and to me this means a successful job.
On Autogeek.com
Products
Pinnacle Ultra Poly Clay - $20.00 (Not pictured but this is what I used and I used it with the SONAX Glass Cleaner. Also washed the car with the SONAX Glass Cleaner)
3D One 32 oz - $43.99
3D Wipe 16 oz. - $14.99
3D Ceramic Coating Kit - 30mL - $79.99
Tools
FLEX Supa BEAST - this is my name for this tool - here's the actual part number/name FLEX XCE 10-8 125 Corded Polisher - $436.00
I strongly recommend getting the optional 6" backing plate for your Supa BEAST so you can turn and churn larger pads. The factory backing plate is a 5" backing plate and too small in my opinion to leverage what this tool is capable of doing.
FLEX Multi-Polisher 6 inch Backing Plate - $25.00
RUPES iBrid Nano Long Neck - Systainer Case - $630.00
There's no inexpensive way to get into the RUPES Nano Long Neck, one of my favorite tool. This is new Systainer Case "kit" is new as I type on Tuesday, June 1st. It's on sale as I type but I've included the full retail price.
Pads
RUPES D-A Yellow Fine Foam Pad - 7 Inch - $11.99 (these are 180mm in metric, which is how RUPES identifies them)
Towels
And you'll need lots of towels. I would recommend at least getting a dozen of both of these. I used the orange towels for the Prep Wash and to wipe off the BLACKFIRE One Step and used the green towels to apply and remove the PBL Surface Coating.
The Rag Company FTW Premium Orange Microfiber Towel - $5.99 each (There's no bundle deal for a dozen at the time I'm writing this article)
Cobra Forrest Green Edgeless Microfiber Polishing Cloths - 12 Pack - $19.99
This is part 2 of a write-up after detailing a 2016 Dodge Challenger Scatpack 392 Hemi car for my friend Ken. First are the pictures showing Before, 50/50 and After
Machine Polishing NEGLECTED Matte Vinyl Graphics and Matte Plastic
Package 2 Detail
Here's a few pictures documenting the rest of the process. This was my Package 2 Detail that includes washing, claying, one paint correction step and one layer of ceramic coating.
I like to document the contaminants removed off the paint. In my opinion and experience, anytime you're removing this level of contamination from the surface of the paint - it's also time to do at least one machine polishing step to remove swirls, scratches, water spots and oxidation.
After I washed and clayed the car, next I machine scrubbed the tires using a Rubber/Vinyl AIO.
With the wheels cleaned and the tires cleaned and dressed, Wheel Maskers are used to cover and protect them from any splatter from the paint correction step.
Here's the car after all the paint, glass and vinyl graphics have been machine polished/corrected.
If the paint is jacked-up, so is the glass. My normal protocol is to machine polish the glass with whatever my first step product and process is for the paint.
These cars have ample pebble textured black plastic trim - a detailer's nightmare. It's faster to tape these components off than to try to clean them when the job is over and you're tired.
AFTER SHOTS
The gas cap and surrounding matte plastic were also machine polished, chemically stripped and then ceramic coated.
I used 3D One for the paint, matte graphics, glass and matte plastic Shaker Hood Scoop.
Comments...
On this forum, in YouTube videos and in my boat and car detailing classes I talk a lot about abrasive technology. There's really only two kinds,
1: Great abrasive technology.
2: Junk abrasive technology.
There is no in-between. There is no grey area. Products with abrasives either work... or they don't.
Before you ever attempt to machine polish someone else's matte graphics... you better be darn sure of your abrasive technology and even then - do some testing. Make sure you're able to correct the damage and neglected without inflicting micro-marring from either the abrasive technology and also the pads. Remember - the fibers that make up any fiber pad are also abrasives.
Once you prove your system, then go for it. The matte grapics on this old 2-door Dodge looked horrible. They were unsightly for the type of car this is, (modern muscle car), and my guess is not only would "new" graphics cost a few hundred dollars, removing the old graphics and installing the new graphics would take hours, maybe an entire day to do it correctly.
The owner was happy with how all the graphics came out, the matte plastic Shaker Hood, and of course the paint and glass and to me this means a successful job.
On Autogeek.com
Products
Pinnacle Ultra Poly Clay - $20.00 (Not pictured but this is what I used and I used it with the SONAX Glass Cleaner. Also washed the car with the SONAX Glass Cleaner)
3D One 32 oz - $43.99
3D Wipe 16 oz. - $14.99
3D Ceramic Coating Kit - 30mL - $79.99
Tools
FLEX Supa BEAST - this is my name for this tool - here's the actual part number/name FLEX XCE 10-8 125 Corded Polisher - $436.00
I strongly recommend getting the optional 6" backing plate for your Supa BEAST so you can turn and churn larger pads. The factory backing plate is a 5" backing plate and too small in my opinion to leverage what this tool is capable of doing.
FLEX Multi-Polisher 6 inch Backing Plate - $25.00
RUPES iBrid Nano Long Neck - Systainer Case - $630.00
There's no inexpensive way to get into the RUPES Nano Long Neck, one of my favorite tool. This is new Systainer Case "kit" is new as I type on Tuesday, June 1st. It's on sale as I type but I've included the full retail price.
Pads
RUPES D-A Yellow Fine Foam Pad - 7 Inch - $11.99 (these are 180mm in metric, which is how RUPES identifies them)
Towels
And you'll need lots of towels. I would recommend at least getting a dozen of both of these. I used the orange towels for the Prep Wash and to wipe off the BLACKFIRE One Step and used the green towels to apply and remove the PBL Surface Coating.
The Rag Company FTW Premium Orange Microfiber Towel - $5.99 each (There's no bundle deal for a dozen at the time I'm writing this article)
Cobra Forrest Green Edgeless Microfiber Polishing Cloths - 12 Pack - $19.99

")