rpms111 said:
Hi Mike!
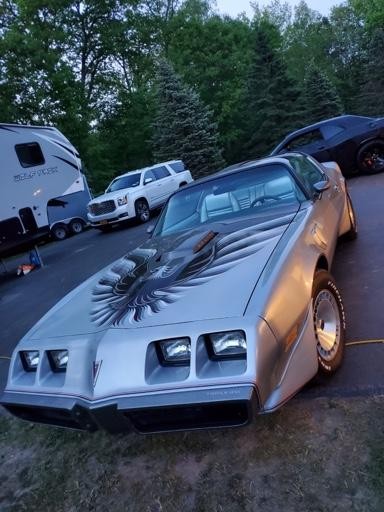
I've been asked to give some life to the paint on a '79 Trans Am (all original 44k miles) silver metallic.
My plan is to use your rub down technique with #7 then carnauba and not do any machine polishing to the single stage.
That's a good plan. Restoring METALLIC single stage paint is in my opinion one of the MOST difficult types of paint to restore.
Why?
Because as you're rubbing on the paint you're also rubbing on ALUMINUM particles and just like aluminum oxidizes on a wheel it also oxidizes IN the paint.
This is why when you rub over old school single stage metallic paint, no matter what the color - the cloth is going to turn black due to the oxidation coming off of the aluminum.
And if you machine buff single stage metallic paint - you have to be very careful or you'll put patterns into the paint that will reflect the way the polisher was moved over the paint due to you're buffing on the aluminum particles or flakes and this tends to alter how they appear "in" the paint.
Tricky job. Take your time, work careful.
I show pictures of this in my original article on restoring single stage paint here,
The Secret to Removing Oxidation and Restoring a Show Car Finish to Antique Single Stage Paints
Single Stage Metallic Paint = Difficult to Restore
Single stage,
non-metallic paints like the above paint on the Ranchero are actually very easy to fix because the problem is for the most part just topical, that is the problem is just on the surface. All you have to do is remove the dead paint off the surface and if there's enough paint left then it's just a matter of polishing what's left to a high gloss. The most difficult paints to restore are single stage
metallic paints.
The reason single stage metallic paints are the most difficult to restore is because not only does the paint itself oxidize, that is the resin used as the binder, (generally some type of seed oil like Flaxseed oil or Cottonseed oil), but also the aluminum flakes embodied
inside the paint oxidize. This is where the problem lies.
It's a problem because the entire exterior surface of each individual aluminum flake oxidizes over time but you and I can only work on the surface of the paint and thus we can only work on the portion of the flake that is exposed at the surface level. Any portion of each aluminum flake that is below the surface and is surrounded by paint cannot be cleaned or polished so there's no way to remove the oxidation on the portions of the flakes
inside the paint.
Oxidized Aluminum Turns Black
With metallic single stage paints, oxidation can show up as a darkening effect on medium to light colored paints because the aluminum metal flakes embodied inside the paint will stain or discolor the paint with a
grayish black color.
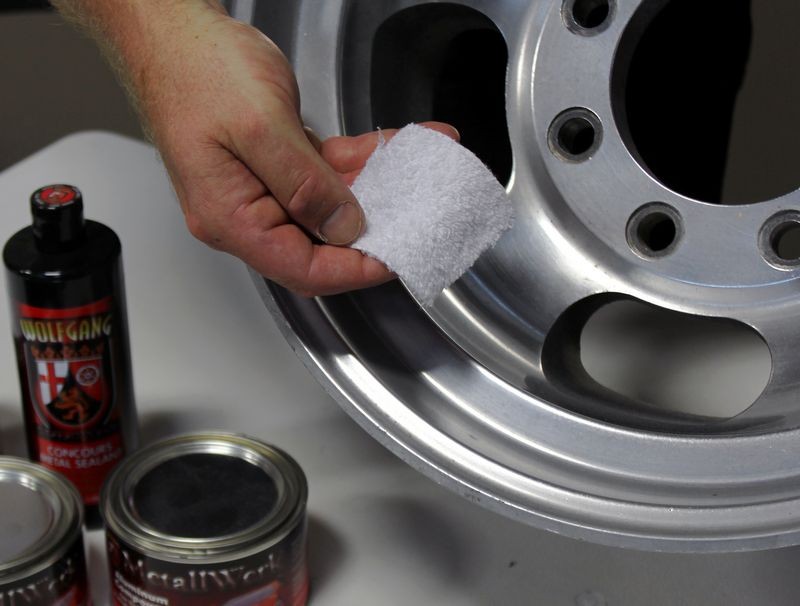
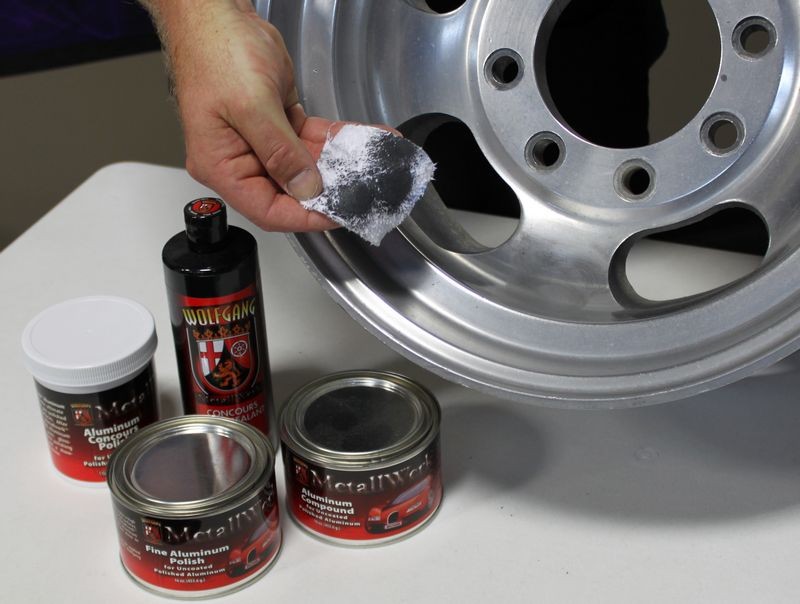
If you’ve ever polished uncoated aluminum then you’ve seen this grayish black color coming off the aluminum and onto your polishing cloth as you work a metal polish over it. This same type of oxidation is taking place to the aluminum flake inside the paint.
Polishing Un-coated Aluminum
Oxidized Aluminum Comes Off Black
In the same way you see the black residue coming off the aluminum wheel onto the piece of white cotton terry cloth material above, when working on metallic single stage paints you will see black residue coming off the paint and onto you applicator pads, buffing pads and wiping towels.
In the same way you see the cloth turn black after rubbing a metal polish on aluminum, you'll see your towels turn black when rubbing on single stage metallic paint - it's normal.
From the same article I linked to above.
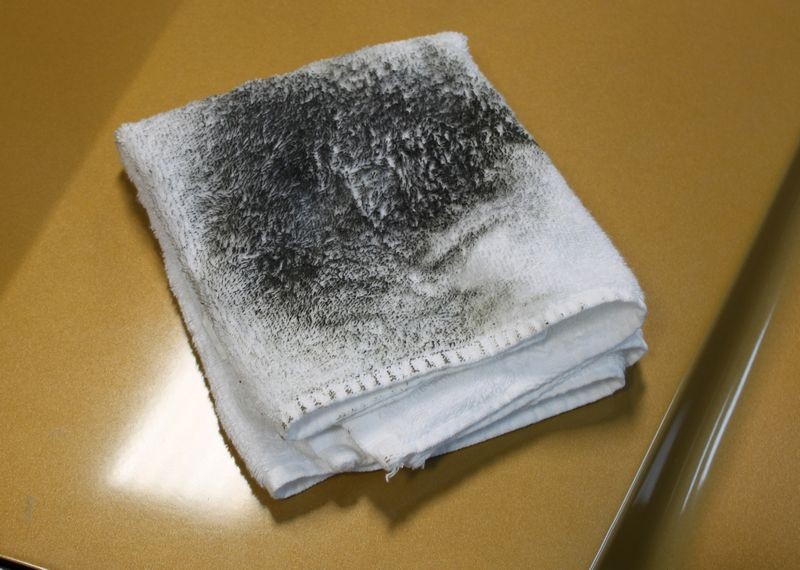
After approximately 12 hours of soaking in #7 Show Car Glaze, we're ready to wipe off the first application off this 37-year old paint.
Look at the paint surrounding the towel...
In the picture below, note how after just one well-worked application of #7 the finish is now more smooth and clear and the color is more vibrant and even.
Look at the color of the residue coming off the paint and onto the white terry cloth towel; it's
black. The single stage paint is butterscotch gold.
Question: Where's the blackness coming from?
Answer: The
aluminum flake.
One of the benefits that we enjoy when car manufacturers switched over to basecoat/clearcoat paint technology is there's a clear layer of paint covering over the color coat of paint and this seals the paint and keeps it from oxidizing and deteriorating. This enables metallic finishes to last for a long time without oxidizing and this is why you no longer see any black residue coming off modern metallic finishes.
My recommendation
If you can swing it, that is if you have the time to place an order, then get these towels from Griot's. They work like terrycloth but are a lot less scratchy.
From this how-to article,
Original Single Stage - 1937 Packard - The Number #7 Rub Down Technique
Switching over to the Griot's Garage PFM Wax Removal Towels
Here you can see the cotton terrycloth I used for the first application of #7 and then I went over the car a second time, (without removing the first application, I left it on and rubbed right over it), only I remembered I had the Griot's Garage PFM Wax Removal Towels and because they are higher in quality than cotton, I switched over to them for both the second rub-down and the next day to remove the #7.
On Autogeek.com
I'd suggest getting 2- 3 of the 4 packs of the Griot's Garage PFM Wax Removal Towels. You'll only need one towel to apply the #7 but you could easily use the others to make wiping off the #7 easy on you and easy on the paint.
Griot's Garage PFM Wax Removal Towel - 4-pack
You can also use these towels down the road to remove compounds, polishes and waxes.
And for everyone that will read this into the future, if your ever blessed to get to restore someone's car with the original antique single stage paint, here's the link to get Meguiar's #7
Meguiar's Mirror Glaze #7 Show Car Glaze
And here's a technique tip when it comes to REMOVING the #7
Technique Tip
If you find it difficult to wipe-off the #7 now that it has been sitting on the car for hours, here's how to make it easy to wipe it off.
Like dissolves like
Simply re-activate the layer of # on the car by re-applying some more in the same manner you applied it the first time. The #7 will liquefy itself and then wipe the entire mess off while it's still wet on the surface. This also acts to push even more of the #7 TS Oils into the paint.
")