CEE DOG
New member
- Jul 12, 2009
- 7,358
- 0
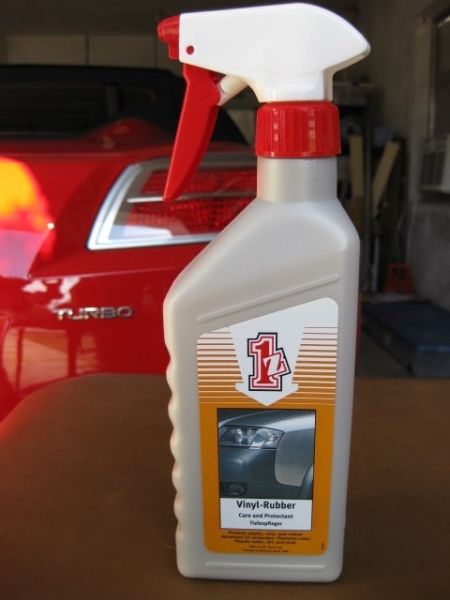
Review: 1Z Einszett Vinyl Rubber Care and Protectant Tiefenpfleger
Introduction:
I’ve experimented with a few different products for rubber and vinyl and have settled on my favorites. At this point I had no reason to look further. Luckily for all of us Mike (mg6045) has been using another product that I hadn’t tried. Mike sent me a generous portion of 1Z Einszett Vinyl Rubber Care and Protectant Tiefenpfleger (1Z R/V) still in the original bottle. Thank you Mike! Jim (Old Tiger) also sent me a product (Duragloss 531) a little while back that gets some time in this review as a comparison product. It deserves it's own complete review at a further date. Thank you Jim! I got the package from Mike on Friday and am typing up this introduction today (Saturday morning) before I go and start playing with it.
Product Description (from AG website):
1Z Einszett Vinyl Rubber Care and Protectant cleans, restores and protects all exterior vinyl and plastic components such as fenders, the front fascia, plastic trim, vinyl cabriolet tops, and rubber components such as tires, producing a temperature-resistant seal and a low-shine satin finish. Dust-resistant! 1Z Einszett Vinyl Rubber Care and Protectant retards the fading effects of UV rays to keep exterior rubber and vinyl looking like new.
Initial Product Observations:
1.- Packaging: Gray Plastic bottle with spray nozzle
2.- Directions: Very clear and simple
3.- Consistency: Thin Liquid
4.- Color: White
5.- Scent: Citrus
6.- Size/Price: 16.9 oz. ($14.99)
7.- Manufacturer: 1Z Einszett
8.-Made in: “Product of” Germany
Products used during preparation:
1.- Amazing Roll Off (ARO) Tires and Bumpers
2.- Griots Rubber Cleaner (GRC) Bumpers and Window Seals
3.- Nylon Tire Brush
4.- Microfiber towel
5.- Safety Glasses
101-Conditions

102-Product
Method of Preparation:
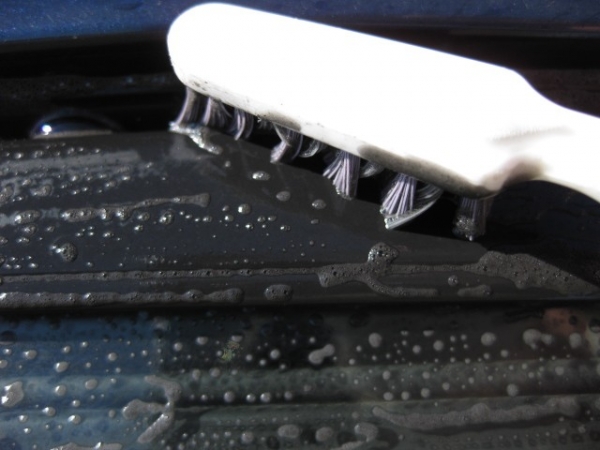
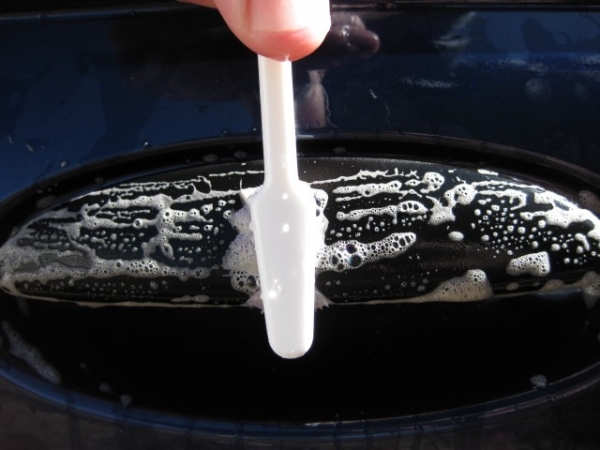
I started by spraying the rear bumper down with a hose. Then I sprayed full strength ARO on and allowed it to dwell for a minute. After scrubbing the bumper with a nylon brush I rinsed clean and then followed the same procedure on the front bumper. Next I washed all 4 wheels with ARO and the same brush. After the wheels were properly cleaned I scrubbed all the window seals and window trim with Griots Rubber Cleaner and a toothbrush followed by a mf towel and some more Griots rubber cleaner.
351-WASHING

352-WASHING
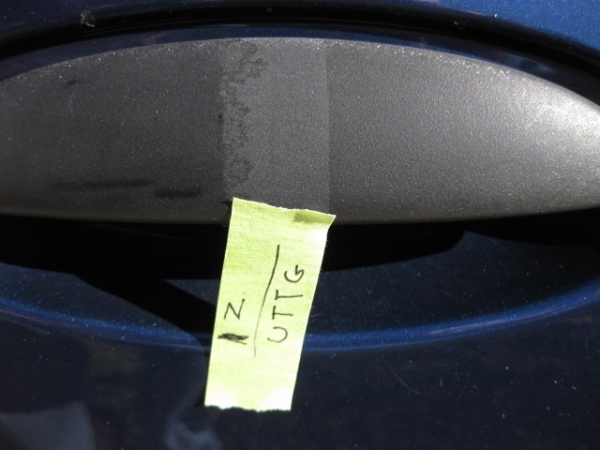
By the time I had rinsed the window seals and trim the bumpers were dry and I walked around to inspect. I discovered that the ARO had not removed the UTTG off of the area it had been applied to awhile back (center of front bumper).
251-Cleaned with ARO but UTTG remains

I decided I would give the Griots rubber cleaner a try and see if this would take it off.
252-WASH AGAIN

After washing the bumper with the GRC and the nylon brush, as well as a micro fiber towel I allowed everything to dry once more. The UTTG was still there…
253-Cleaned with GRC but UTTG remains

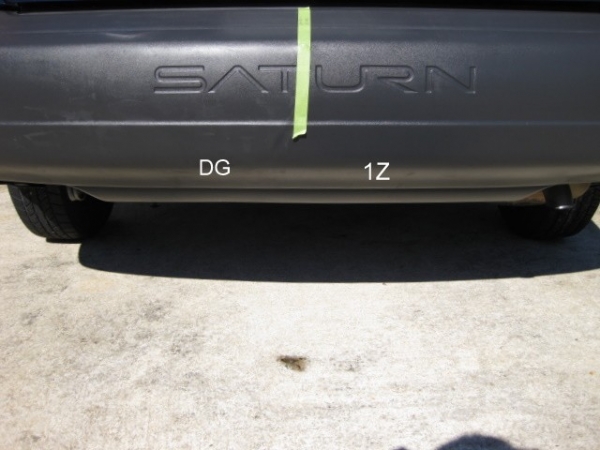
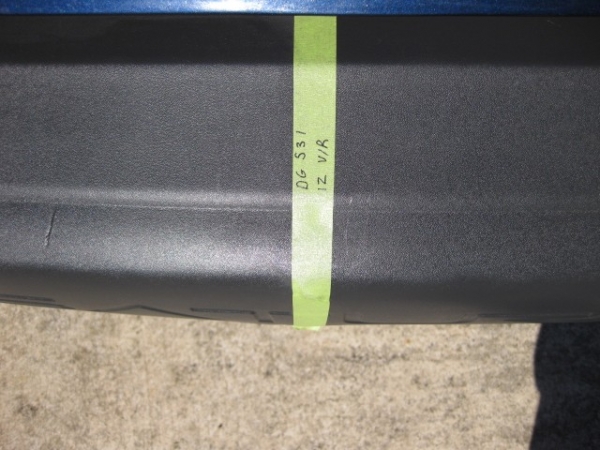
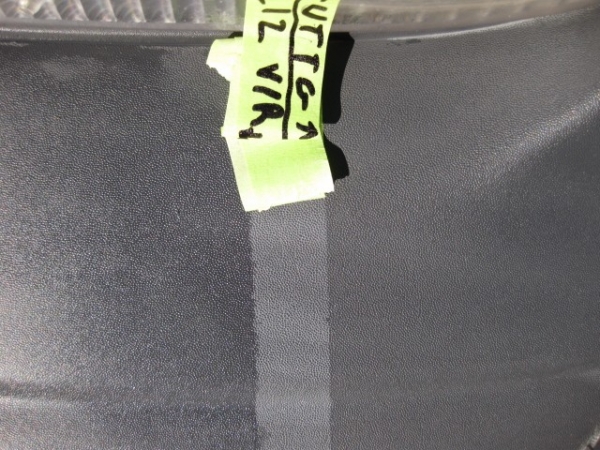
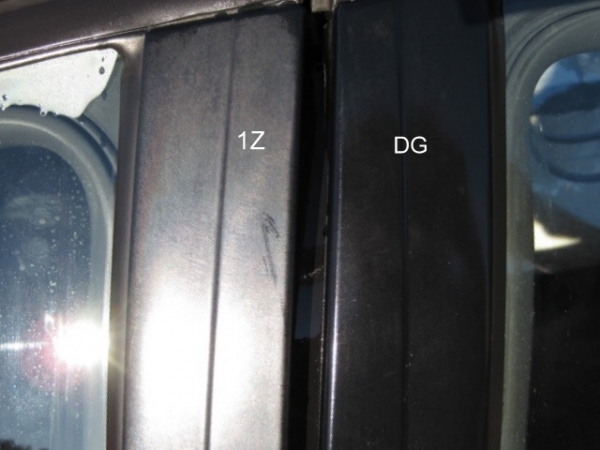
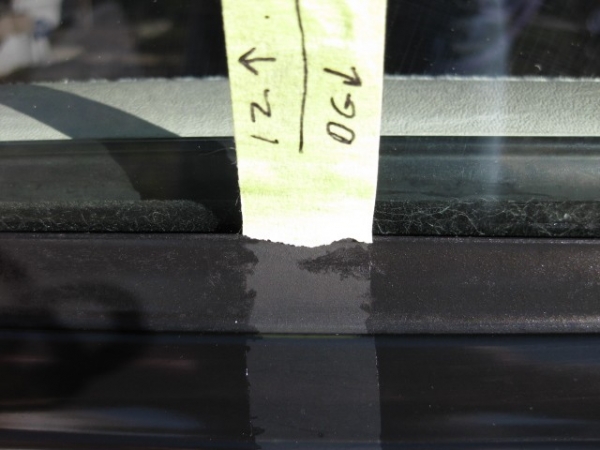
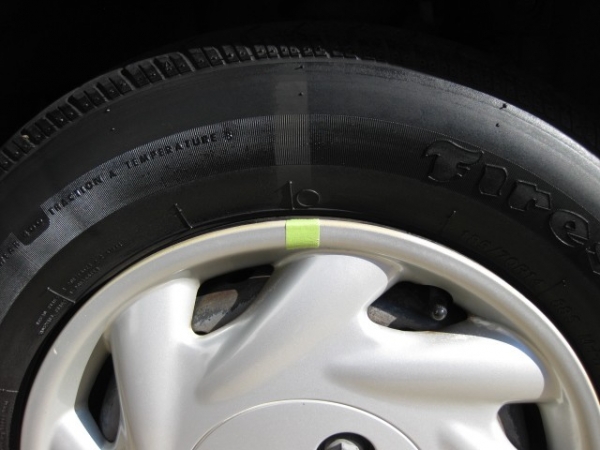
So I continued on without being able to remove it. All of the other areas I had washed were clean and bare. Next I placed some labeled tape in a few strategic positions around the car.
Method of Application:
Bumpers:
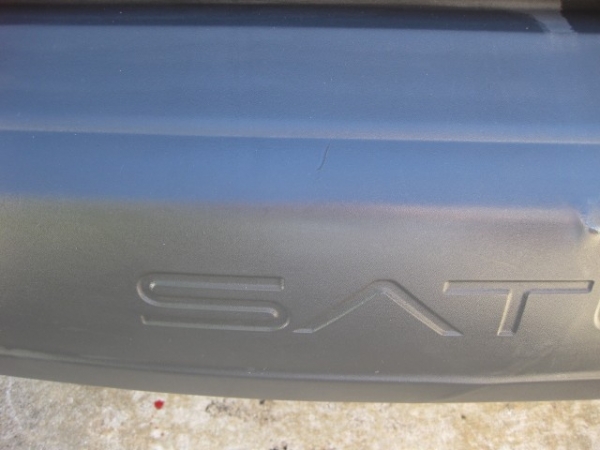
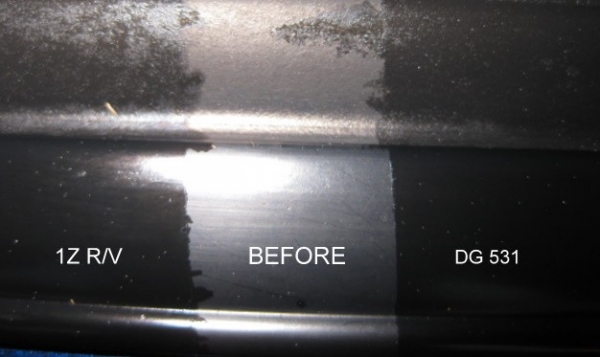
201-BEFORE

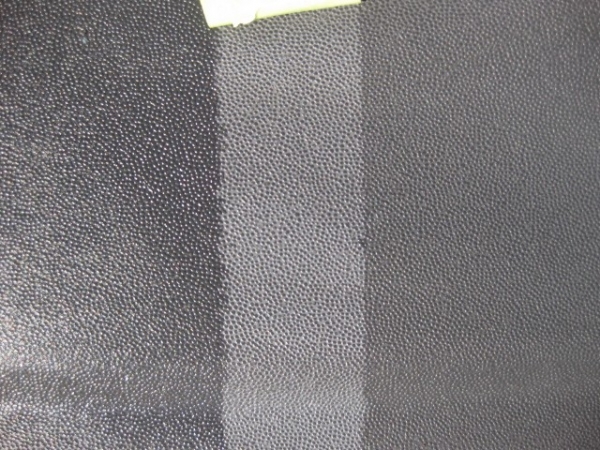
I began by spraying the right half of the rear bumper with 1Z R/V. Then I quickly captured the streaming product with a foam applicator and spread it across the bumper (applying it wet).
VIDEO: 1Z APPLIED WET [ame=http://www.youtube.com/watch?v=OmYwZRWsed4]YouTube - 1Z APPLIED WET.AVI[/video]
202-1Z APPLIED WET

203-1Z APPLIED WET

I applied DG 531 to the left side of the rear bumper using the dauper bottle and spreading with a separate foam applicator.
Next I applied the 1Z R/V the same way to the front bumper as I had the rear but his time across all but the far right corner. In the far right corner I applied UTTG. After applying the 1Z to most of the window trim I came back and starting at the rear bumper I applied a second coat (as directed for old dried out vinyl and rubber) Finally, with a mf towel starting at the rear bumper I buffed the areas that had received 1Z R/V.
REAR BUMPER
204-BEFORE

205-DG-1Z
206-BEFORE

207-AFTER DG
208-AFTER 1Z
209-DG-1Z
210-DG-1Z

211-DG-1Z

FRONT BUMPER
254-AFTER 1Z

255-AFTER 1Z

256-AFTER 1Z

257-AFTER UTTG

258-AFTER

259-AFTER

260-AFTER
261-AFTER 1Z on Left / UTTG on Right
Introduction:
I’ve experimented with a few different products for rubber and vinyl and have settled on my favorites. At this point I had no reason to look further. Luckily for all of us Mike (mg6045) has been using another product that I hadn’t tried. Mike sent me a generous portion of 1Z Einszett Vinyl Rubber Care and Protectant Tiefenpfleger (1Z R/V) still in the original bottle. Thank you Mike! Jim (Old Tiger) also sent me a product (Duragloss 531) a little while back that gets some time in this review as a comparison product. It deserves it's own complete review at a further date. Thank you Jim! I got the package from Mike on Friday and am typing up this introduction today (Saturday morning) before I go and start playing with it.
Product Description (from AG website):
1Z Einszett Vinyl Rubber Care and Protectant cleans, restores and protects all exterior vinyl and plastic components such as fenders, the front fascia, plastic trim, vinyl cabriolet tops, and rubber components such as tires, producing a temperature-resistant seal and a low-shine satin finish. Dust-resistant! 1Z Einszett Vinyl Rubber Care and Protectant retards the fading effects of UV rays to keep exterior rubber and vinyl looking like new.
Initial Product Observations:
1.- Packaging: Gray Plastic bottle with spray nozzle
2.- Directions: Very clear and simple
3.- Consistency: Thin Liquid
4.- Color: White
5.- Scent: Citrus
6.- Size/Price: 16.9 oz. ($14.99)
7.- Manufacturer: 1Z Einszett
8.-Made in: “Product of” Germany
Products used during preparation:
1.- Amazing Roll Off (ARO) Tires and Bumpers
2.- Griots Rubber Cleaner (GRC) Bumpers and Window Seals
3.- Nylon Tire Brush
4.- Microfiber towel
5.- Safety Glasses
101-Conditions
102-Product
Method of Preparation:
I started by spraying the rear bumper down with a hose. Then I sprayed full strength ARO on and allowed it to dwell for a minute. After scrubbing the bumper with a nylon brush I rinsed clean and then followed the same procedure on the front bumper. Next I washed all 4 wheels with ARO and the same brush. After the wheels were properly cleaned I scrubbed all the window seals and window trim with Griots Rubber Cleaner and a toothbrush followed by a mf towel and some more Griots rubber cleaner.
351-WASHING
352-WASHING
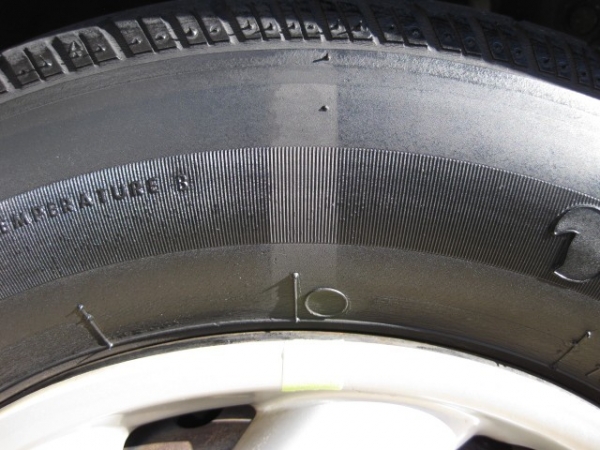
By the time I had rinsed the window seals and trim the bumpers were dry and I walked around to inspect. I discovered that the ARO had not removed the UTTG off of the area it had been applied to awhile back (center of front bumper).
251-Cleaned with ARO but UTTG remains
I decided I would give the Griots rubber cleaner a try and see if this would take it off.
252-WASH AGAIN
After washing the bumper with the GRC and the nylon brush, as well as a micro fiber towel I allowed everything to dry once more. The UTTG was still there…
253-Cleaned with GRC but UTTG remains
So I continued on without being able to remove it. All of the other areas I had washed were clean and bare. Next I placed some labeled tape in a few strategic positions around the car.
Method of Application:
Bumpers:
201-BEFORE
I began by spraying the right half of the rear bumper with 1Z R/V. Then I quickly captured the streaming product with a foam applicator and spread it across the bumper (applying it wet).
VIDEO: 1Z APPLIED WET [ame=http://www.youtube.com/watch?v=OmYwZRWsed4]YouTube - 1Z APPLIED WET.AVI[/video]
202-1Z APPLIED WET
203-1Z APPLIED WET
I applied DG 531 to the left side of the rear bumper using the dauper bottle and spreading with a separate foam applicator.
Next I applied the 1Z R/V the same way to the front bumper as I had the rear but his time across all but the far right corner. In the far right corner I applied UTTG. After applying the 1Z to most of the window trim I came back and starting at the rear bumper I applied a second coat (as directed for old dried out vinyl and rubber) Finally, with a mf towel starting at the rear bumper I buffed the areas that had received 1Z R/V.
REAR BUMPER
204-BEFORE
205-DG-1Z
206-BEFORE
207-AFTER DG
208-AFTER 1Z
209-DG-1Z
210-DG-1Z
211-DG-1Z
FRONT BUMPER
254-AFTER 1Z
255-AFTER 1Z
256-AFTER 1Z
257-AFTER UTTG
258-AFTER
259-AFTER
260-AFTER
261-AFTER 1Z on Left / UTTG on Right
Last edited:


 rops:
rops:
 :nomore: