Mike Phillips
Active member
- Dec 5, 2022
- 51,004
- 6
Review: 3D Ceramic Coating on a Marine Gelcoat Boat
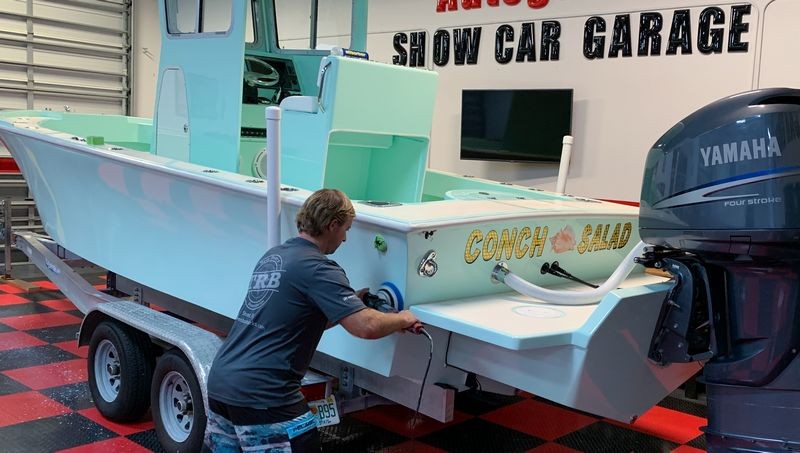
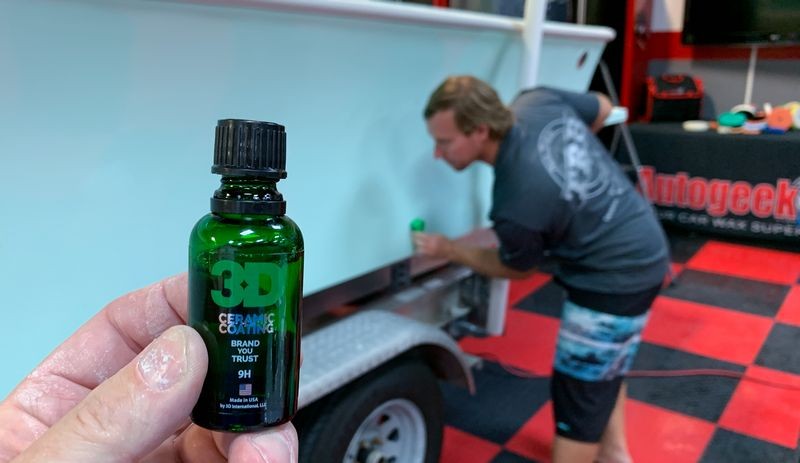
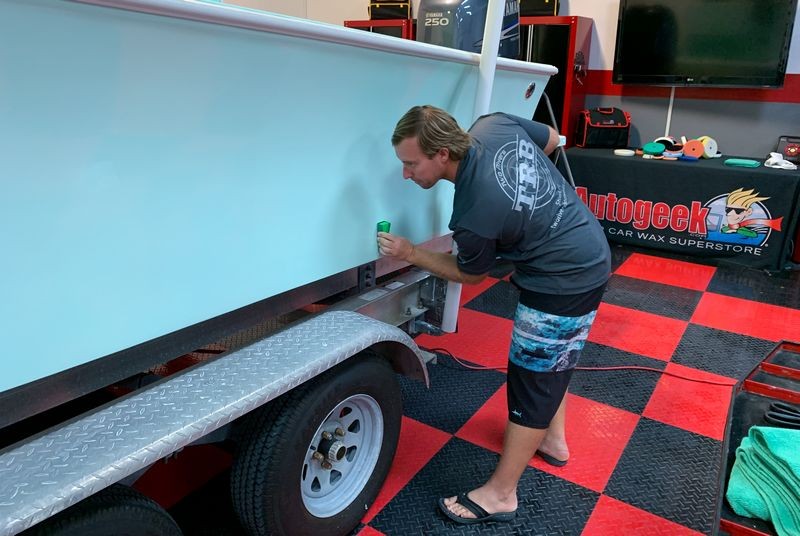
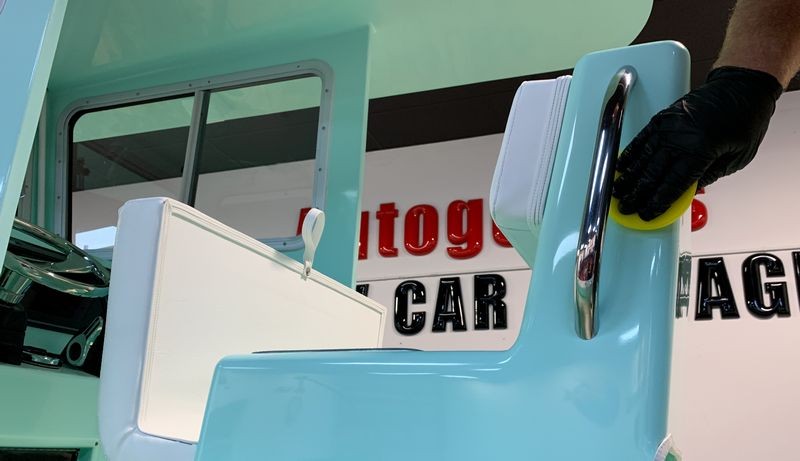
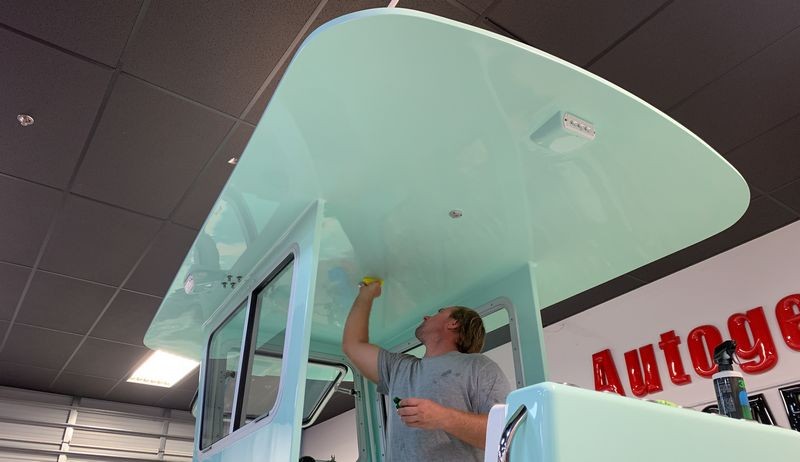
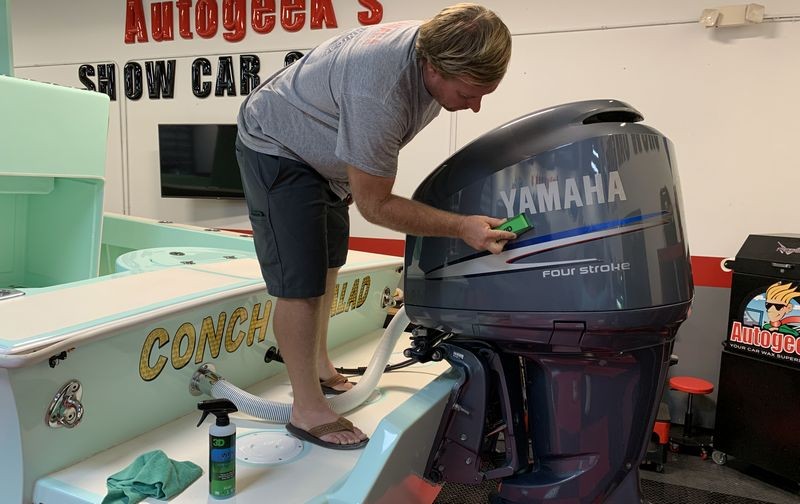
It took 5 bottles of 3D Ceramic Coating to coat the inside and outside of the 23' Formula and that's 3 solid coats back-to-back with about 30 minutes drying time between each coat.
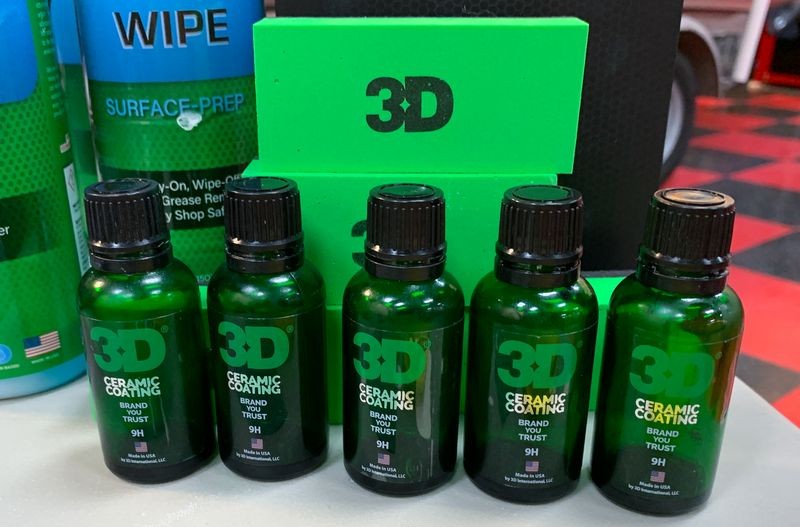
I spoke with Tunch Gorin about his new 3D Ceramic Coating. I previous used it here on a 2011 Corvette Z06 in Atomic Orange with phenomenal results. I asked him if it could be used on gelcoat and he said "yes".
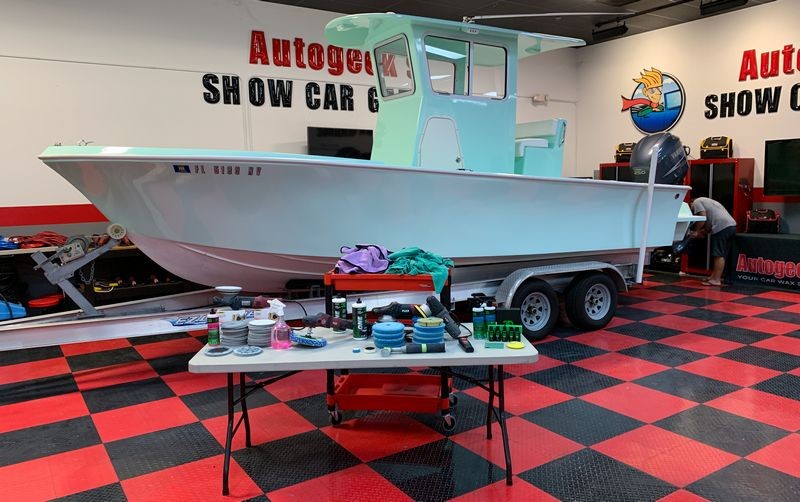
He recommended at least 2 applications, and even 3 applications because gelcoat is more porous than car paint. With his assurance for his own creation, (he's the head chemist for 3D Products), we used the 3D Ceramic Coating on a freshly restored and customized 23' Formula Center Console Boat. This boat has been completely restored with a LOT of new customizations and as a part of the restoration it was painted with new gelcoat.
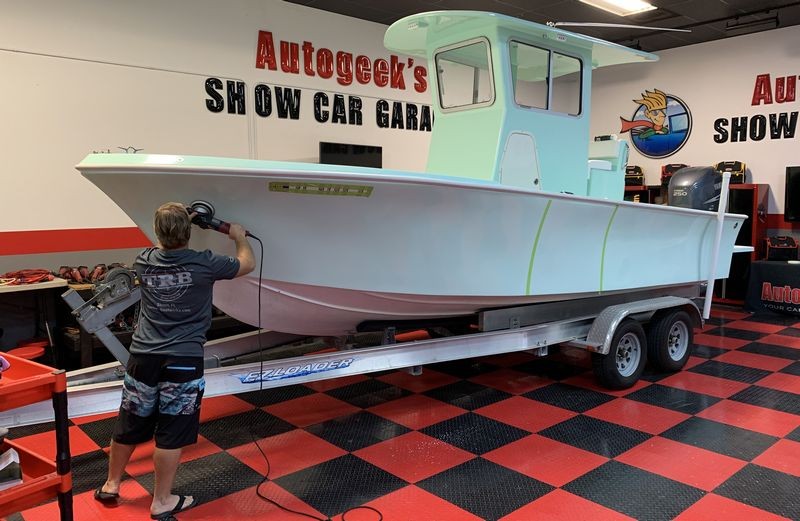
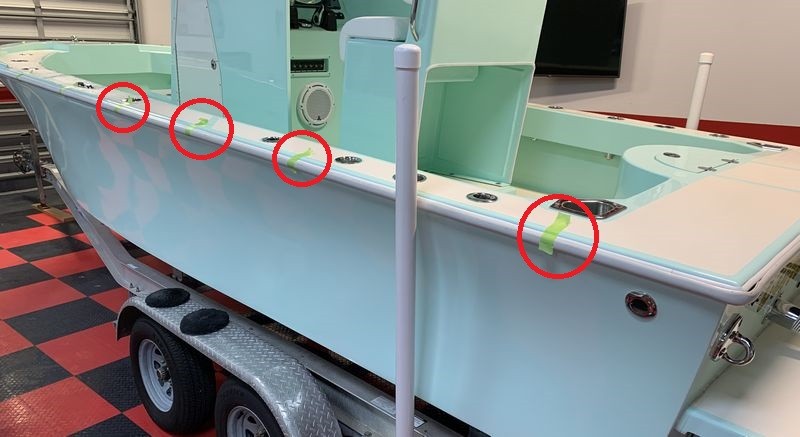
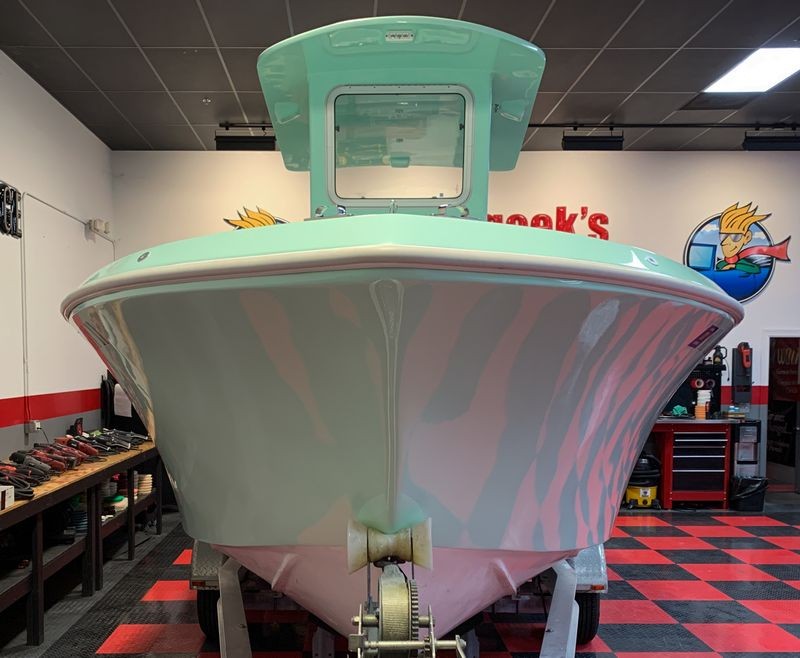
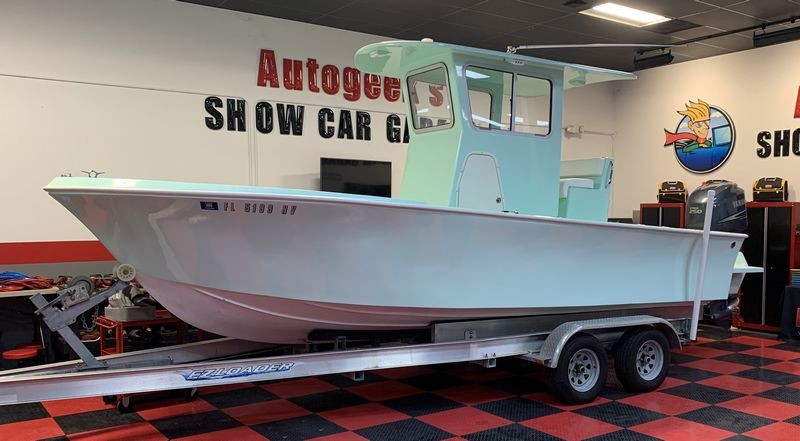
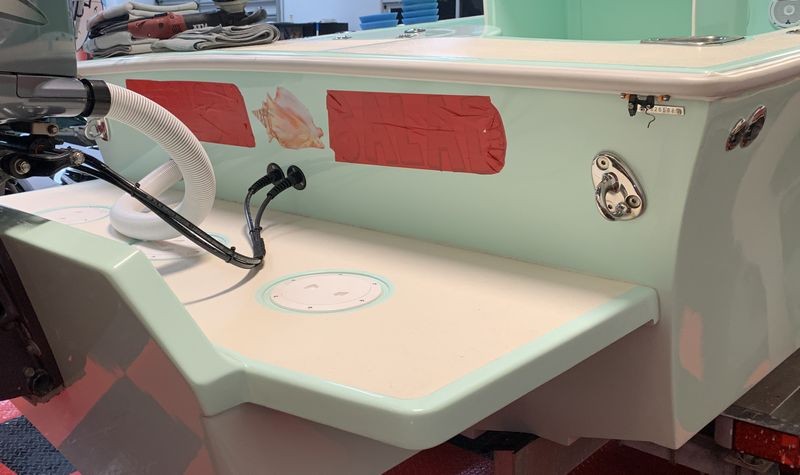
Here's our project boat.
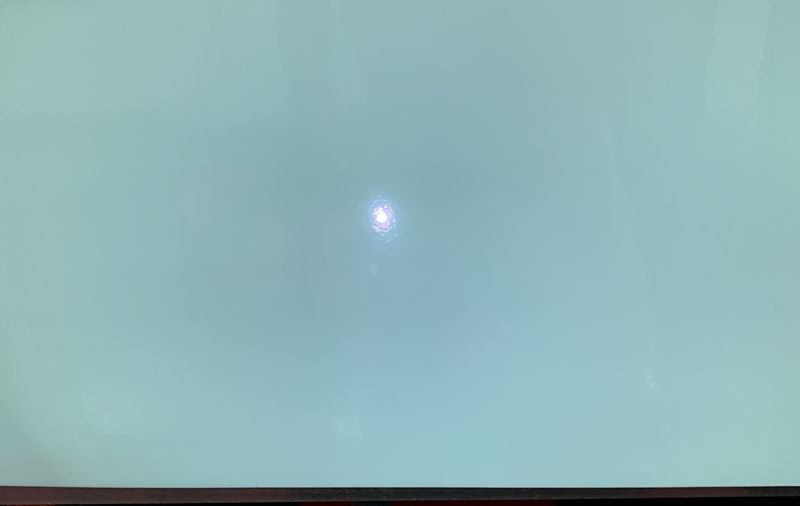
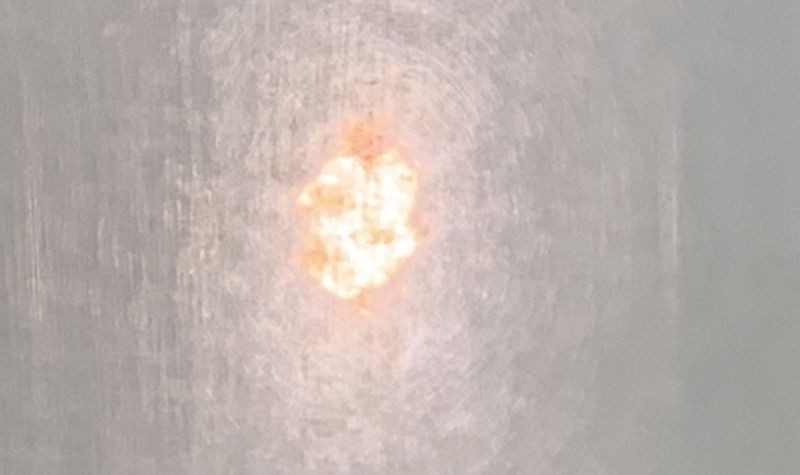
Under just the florescent lights, the finish on the gelcoat looks good, at least it doesn't look horrible.
But when you light-up the gelcoat with a quality swirl finder light - then you can see the problem....

The entire boat looks like the section you see below or worse...

It was a tick difficult to capture the true level of swirls and remaining sanding marks in the hull due to the light color and curved design working against capturing the reflecting light.
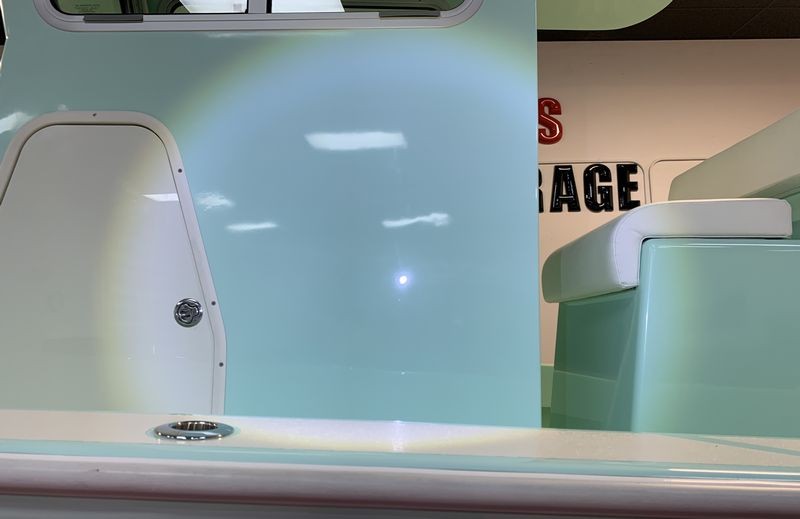
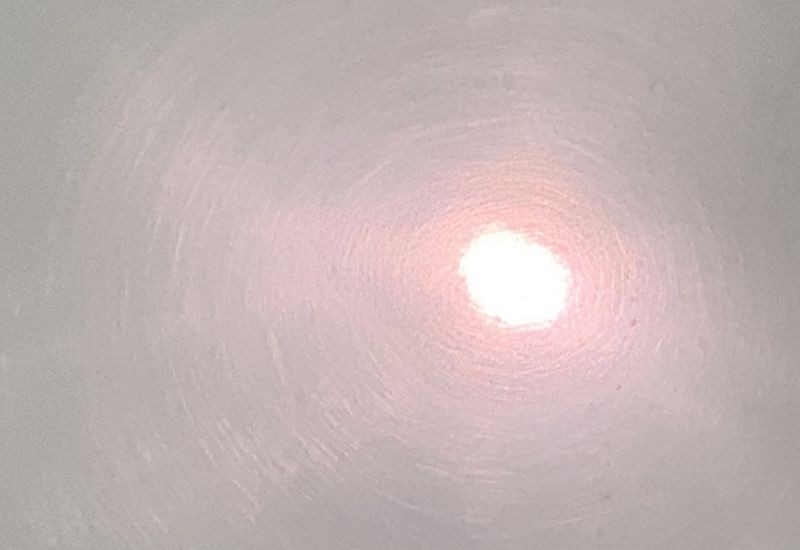
Here's the Port side of the Pilot House

Because the walls are flatter than the side of the boat hull it was easier to capture the hologram scratches from the rotary work done previously.
I took these shots to show the entire boat looked this way....


Doing a Test Spot on Gelcoat
In keeping with the practice of,
Use the least aggressive process to get the job done
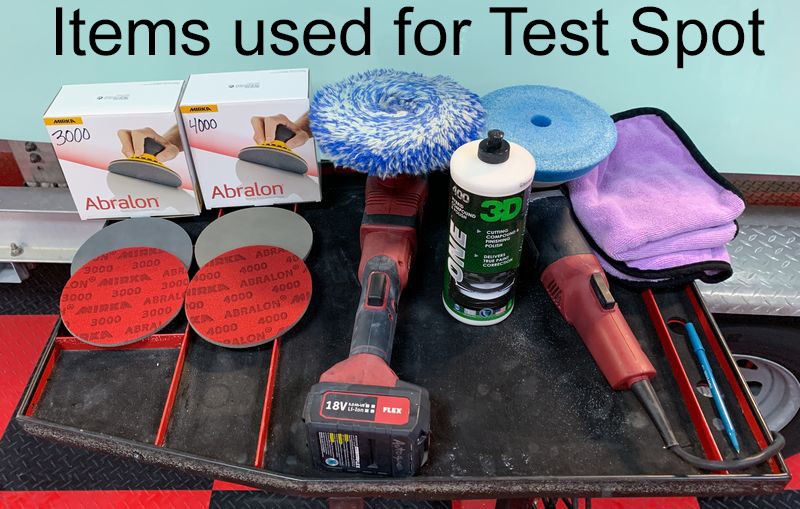
2 -steps - Machine Damp Sanding
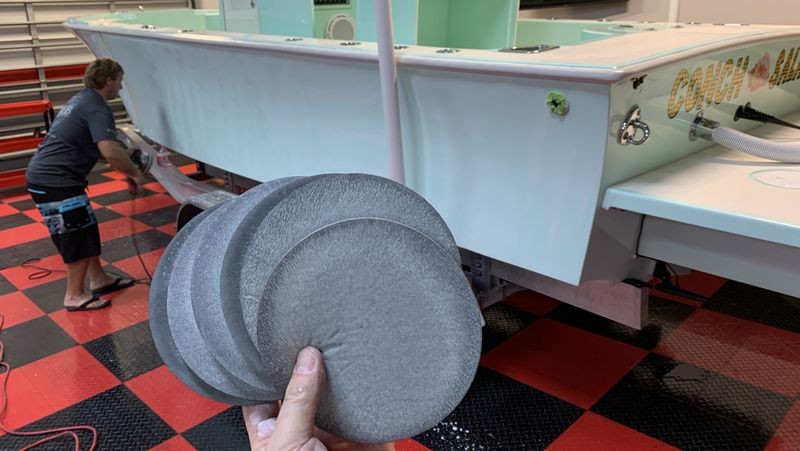
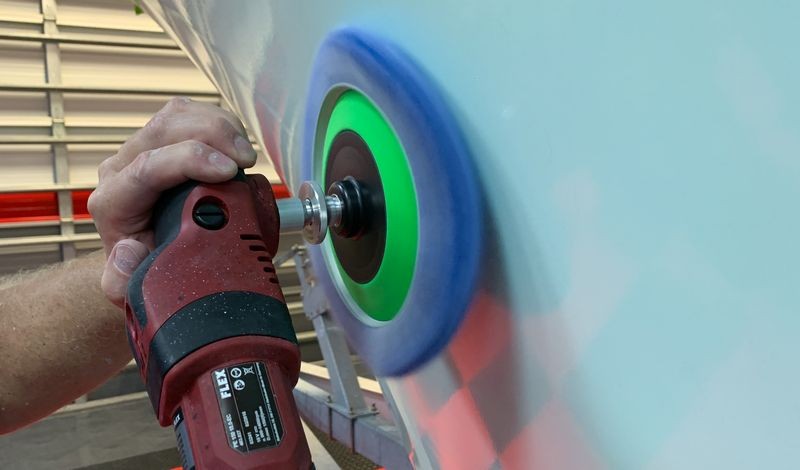
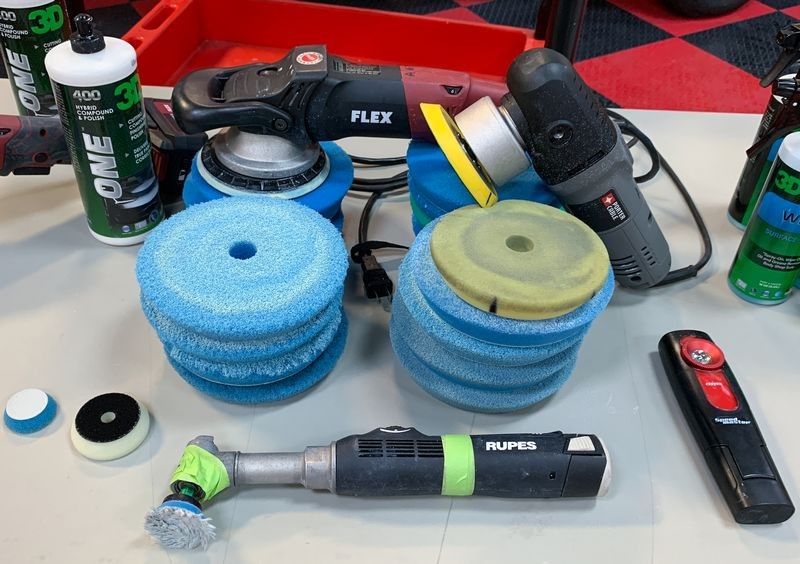
I chose to start my Test Spot using #3000 Mirka Abralon on the FLEX BEAST, (the FLEX 3401), followed by #4000 Mirka Abralon again on the BEAST - speed 5-6.
Compounding
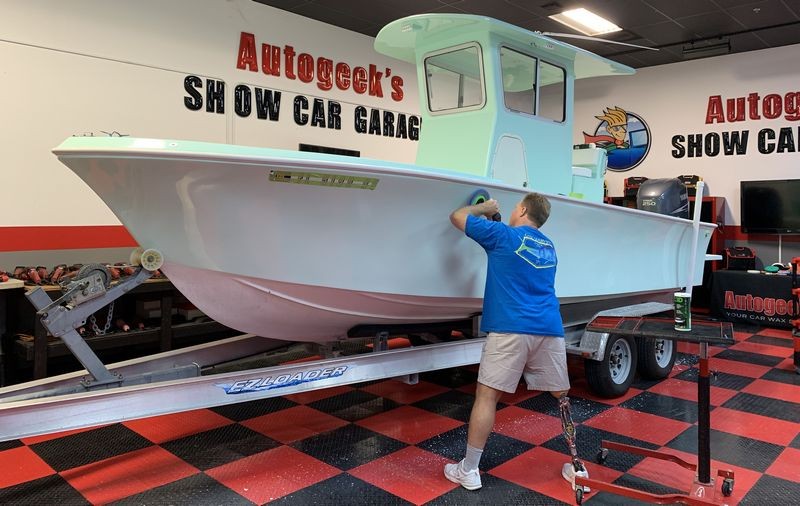
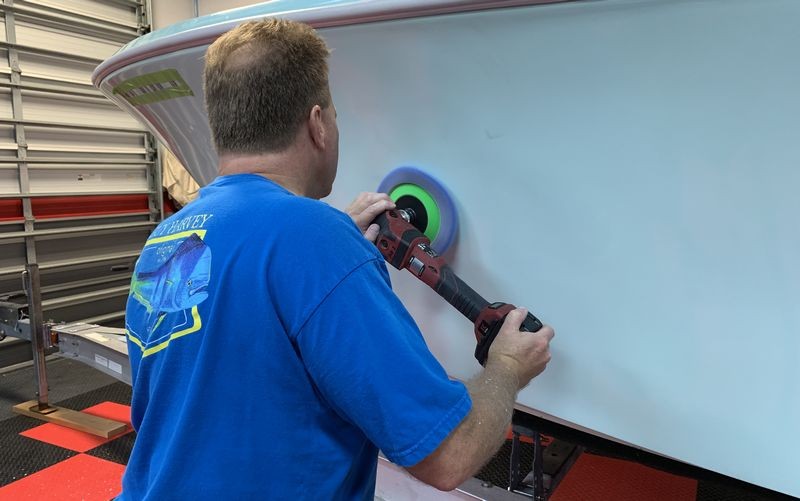
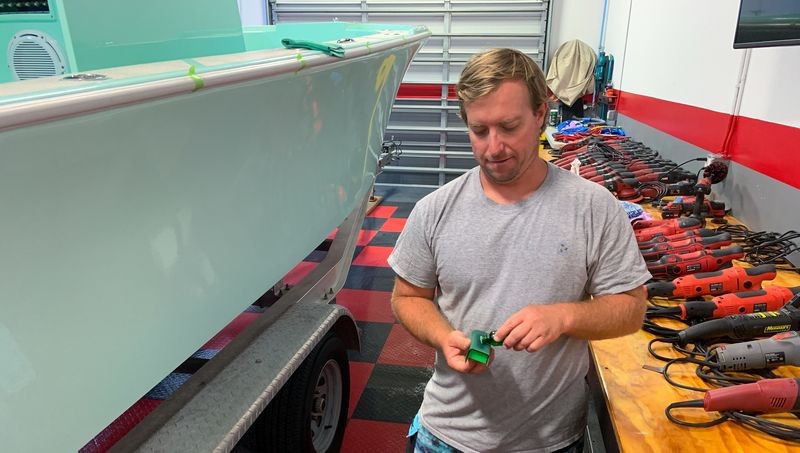
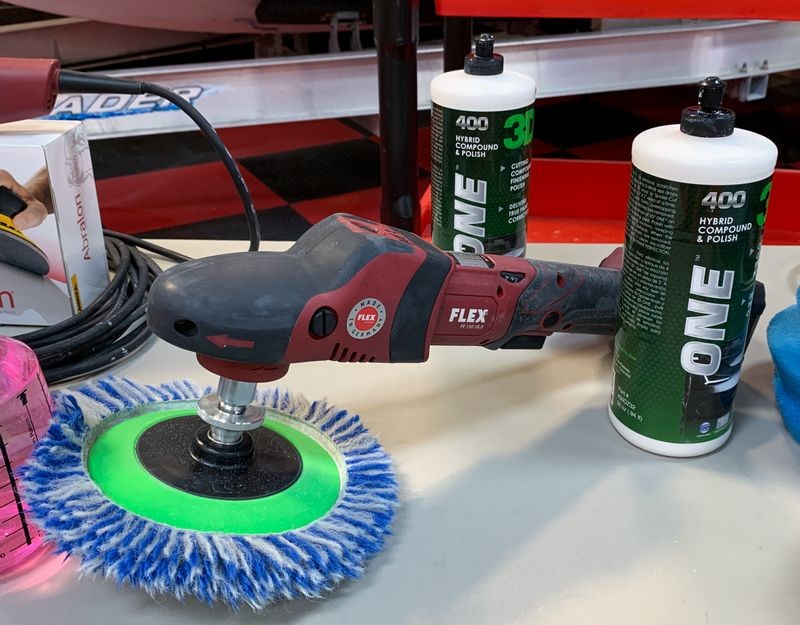
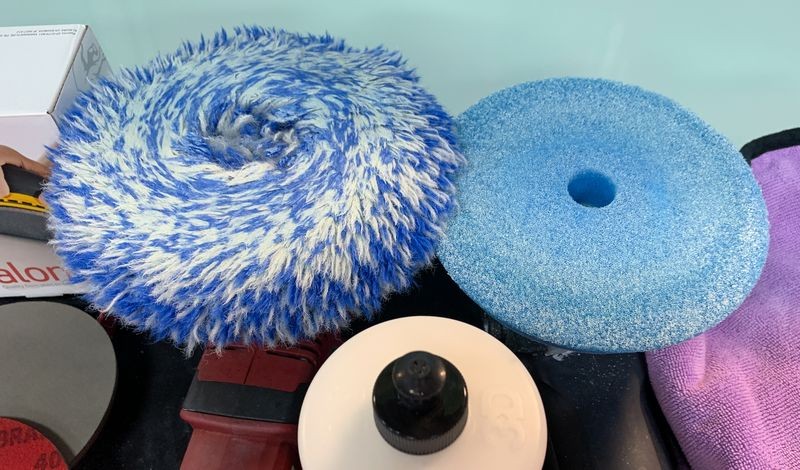
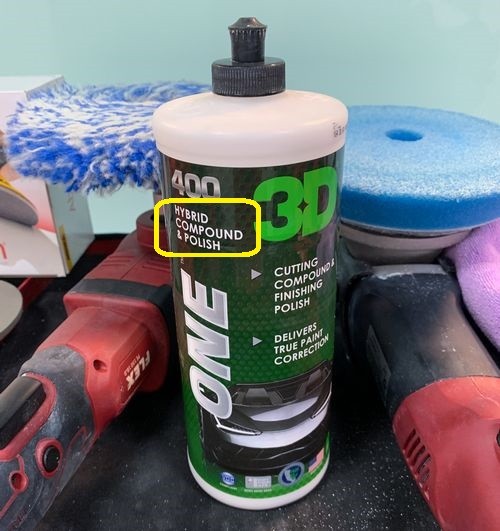
To remove the sanding marks we used the 3D ONE, a hybrid compound/polish with a RUPES wool pad on the cordless FLEX PE14 - Speed 3
Polishing
To remove the holograms left by the wool pad and rotary polisher, I used the same compound/polish but switched to the very coarse and aggressive RUPES blue foam cutting pad and the BEAST. - Speed 6

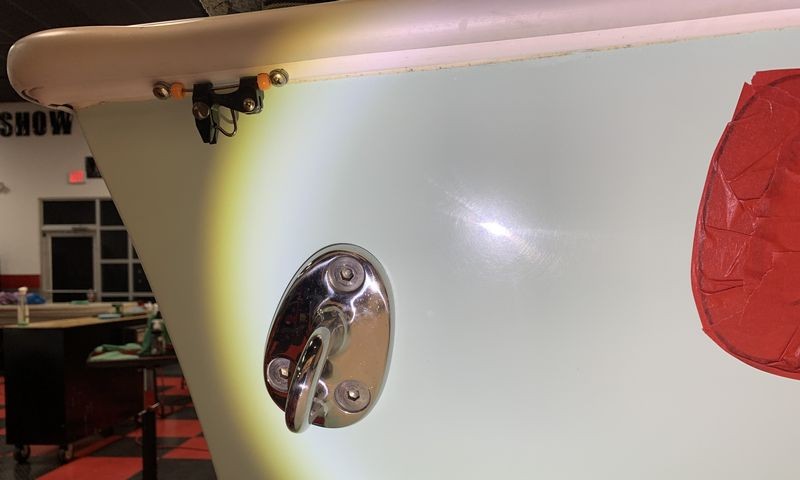
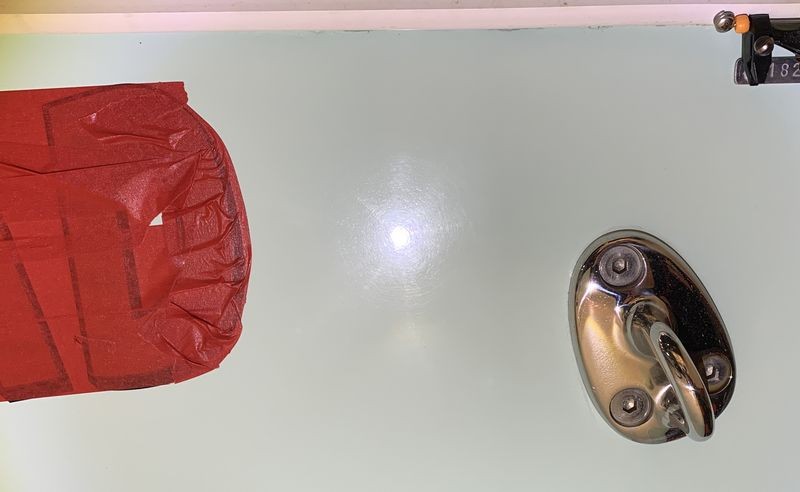
Here's the results....
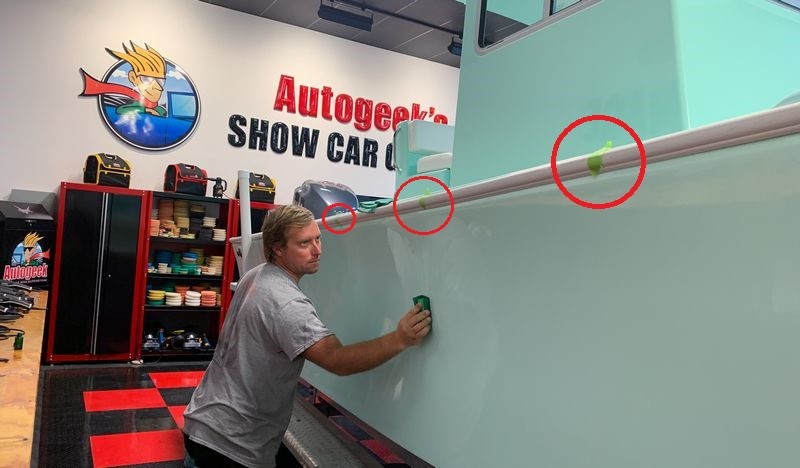
I sanded, compounded and polished a section from the top to the bottom of the side of the hull about 2' across.
I used the technique shared in this video for working each section.
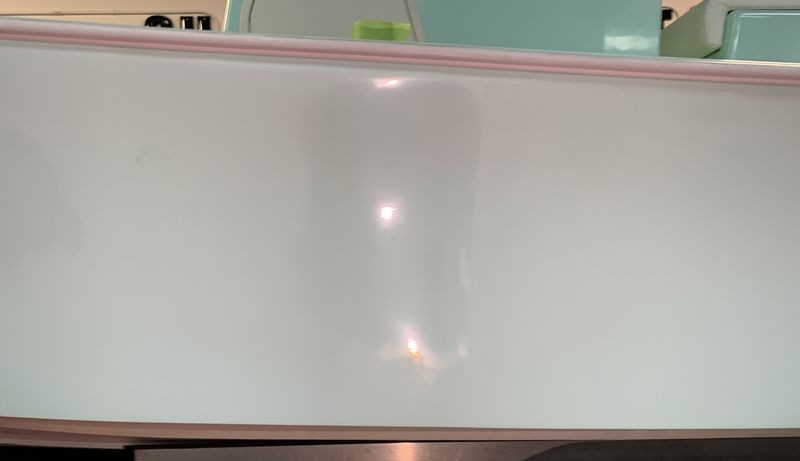
If you look closely - you can see the reflection of the red and black tile floor now reflecting in the side of the hull in the area I sanded, compounded and polished. It's not dramatic to your eyes (or to the camera) and this is WHY I don't bring in light colored boats for my normal 2-day boat detailing classes. I want my class to EASILY see the stark before and after difference from their training and the only way to do this is to bring in dark colored gelcoat boats in horrible condition. This alas is a light colored gelcoat boat in horrible condition. But I think you'll get the idea.

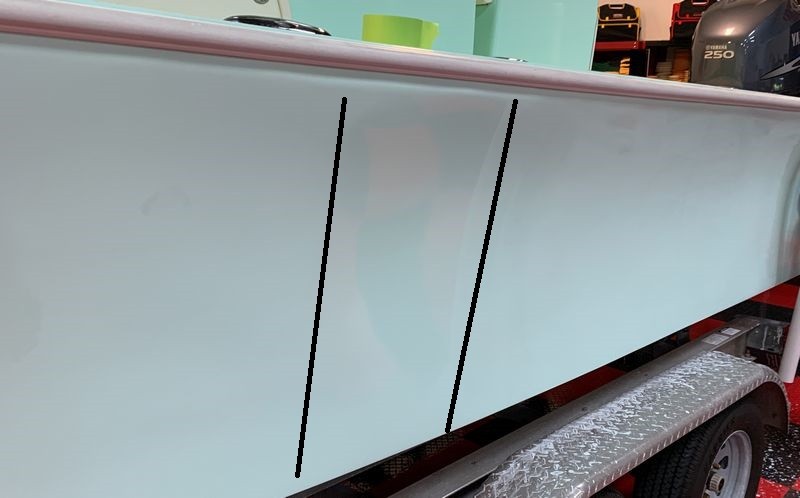
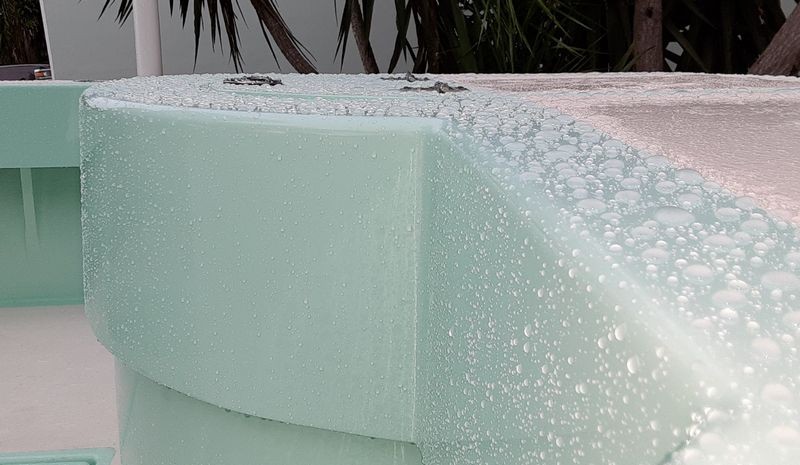
Both gloss and clarity have been restored.
Success! - Hand sanding marks and holograms removed
Something else you cannot see via a picture are the hand sanding marks or scratches that were throughout all the gelcoat panels. The goal was to preserve as much of the gelcoat as possible but also remove the maximum defects as possible. Because #4000 grit discs are pretty fine in the context of machine sanding, I chose to start with #3000 to remove as many of the sanding marks as possible and then to make the buffing easier - re-sand with #4000 grit.
Besides the hand sanding marks, there were holograms throughout the entire finish. This is because previously the boat was buffed out with an aggressive marine compound using a wool pad on a rotary buffer. Most marine compounds are very aggressive and for this reason they tend to leave DEEP hologram scratches or swirls in gelcoat. This is another reason I chose to use #3000 grit sanding discs for the first machine sanding step.
")
It took 5 bottles of 3D Ceramic Coating to coat the inside and outside of the 23' Formula and that's 3 solid coats back-to-back with about 30 minutes drying time between each coat.
I spoke with Tunch Gorin about his new 3D Ceramic Coating. I previous used it here on a 2011 Corvette Z06 in Atomic Orange with phenomenal results. I asked him if it could be used on gelcoat and he said "yes".
He recommended at least 2 applications, and even 3 applications because gelcoat is more porous than car paint. With his assurance for his own creation, (he's the head chemist for 3D Products), we used the 3D Ceramic Coating on a freshly restored and customized 23' Formula Center Console Boat. This boat has been completely restored with a LOT of new customizations and as a part of the restoration it was painted with new gelcoat.
Here's our project boat.
Under just the florescent lights, the finish on the gelcoat looks good, at least it doesn't look horrible.
But when you light-up the gelcoat with a quality swirl finder light - then you can see the problem....
The entire boat looks like the section you see below or worse...
It was a tick difficult to capture the true level of swirls and remaining sanding marks in the hull due to the light color and curved design working against capturing the reflecting light.
Here's the Port side of the Pilot House
Because the walls are flatter than the side of the boat hull it was easier to capture the hologram scratches from the rotary work done previously.
I took these shots to show the entire boat looked this way....
Doing a Test Spot on Gelcoat
In keeping with the practice of,
Use the least aggressive process to get the job done
2 -steps - Machine Damp Sanding
I chose to start my Test Spot using #3000 Mirka Abralon on the FLEX BEAST, (the FLEX 3401), followed by #4000 Mirka Abralon again on the BEAST - speed 5-6.
Compounding
To remove the sanding marks we used the 3D ONE, a hybrid compound/polish with a RUPES wool pad on the cordless FLEX PE14 - Speed 3
Polishing
To remove the holograms left by the wool pad and rotary polisher, I used the same compound/polish but switched to the very coarse and aggressive RUPES blue foam cutting pad and the BEAST. - Speed 6
Here's the results....
I sanded, compounded and polished a section from the top to the bottom of the side of the hull about 2' across.
- For the 2 sanding steps I did 10 to 12 section passes using a crosshatch pattern.
- For the compounding step I did 12 section passes using a crosshatch pattern.
- For the polishing step I did 10 section passes using a crosshatch pattern.
I used the technique shared in this video for working each section.
If you look closely - you can see the reflection of the red and black tile floor now reflecting in the side of the hull in the area I sanded, compounded and polished. It's not dramatic to your eyes (or to the camera) and this is WHY I don't bring in light colored boats for my normal 2-day boat detailing classes. I want my class to EASILY see the stark before and after difference from their training and the only way to do this is to bring in dark colored gelcoat boats in horrible condition. This alas is a light colored gelcoat boat in horrible condition. But I think you'll get the idea.
Both gloss and clarity have been restored.
Success! - Hand sanding marks and holograms removed
Something else you cannot see via a picture are the hand sanding marks or scratches that were throughout all the gelcoat panels. The goal was to preserve as much of the gelcoat as possible but also remove the maximum defects as possible. Because #4000 grit discs are pretty fine in the context of machine sanding, I chose to start with #3000 to remove as many of the sanding marks as possible and then to make the buffing easier - re-sand with #4000 grit.
Besides the hand sanding marks, there were holograms throughout the entire finish. This is because previously the boat was buffed out with an aggressive marine compound using a wool pad on a rotary buffer. Most marine compounds are very aggressive and for this reason they tend to leave DEEP hologram scratches or swirls in gelcoat. This is another reason I chose to use #3000 grit sanding discs for the first machine sanding step.