dc52nv
New member
- Nov 11, 2012
- 352
- 0
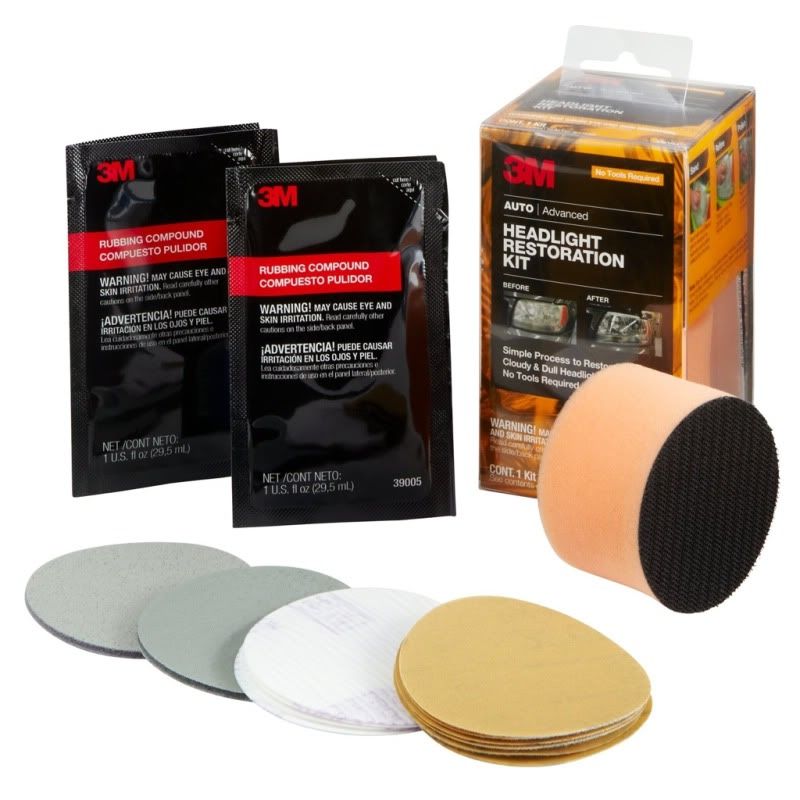
My little brother asked me for some help in restoring his hazed headlights back to new. I am no professional detailer and wash my and wife's car on a weekly basis. I read and saw a review by Todd a while ago and told my little bro I would try and help him. Below are pictures I took during the process of using this item.
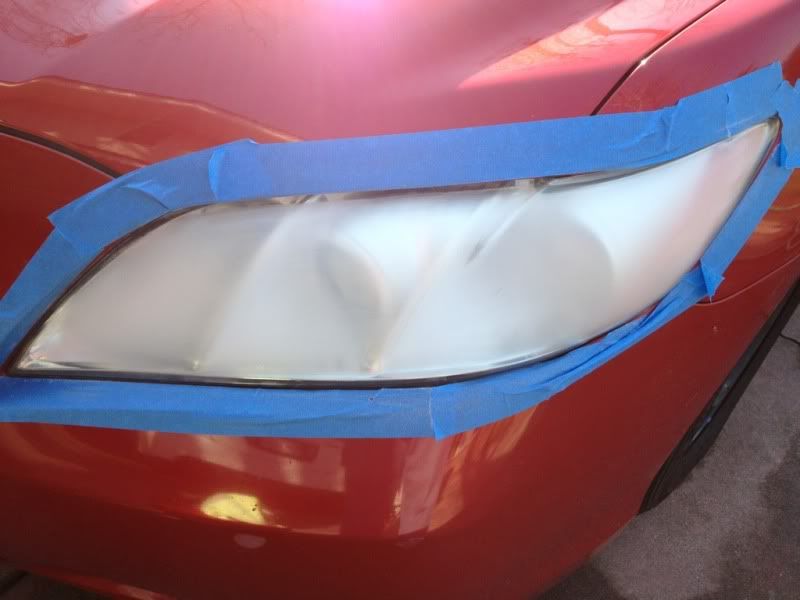
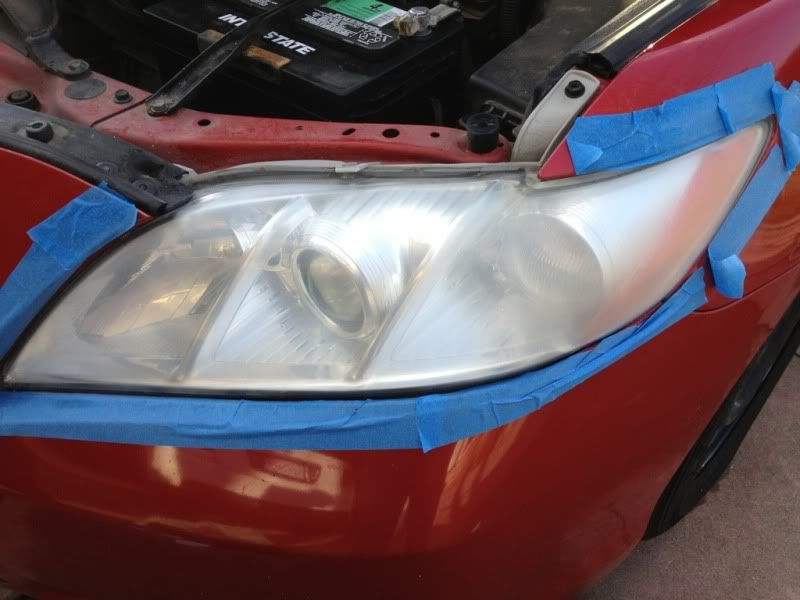
His headlights weren't that bad but definitely have some haze to them.

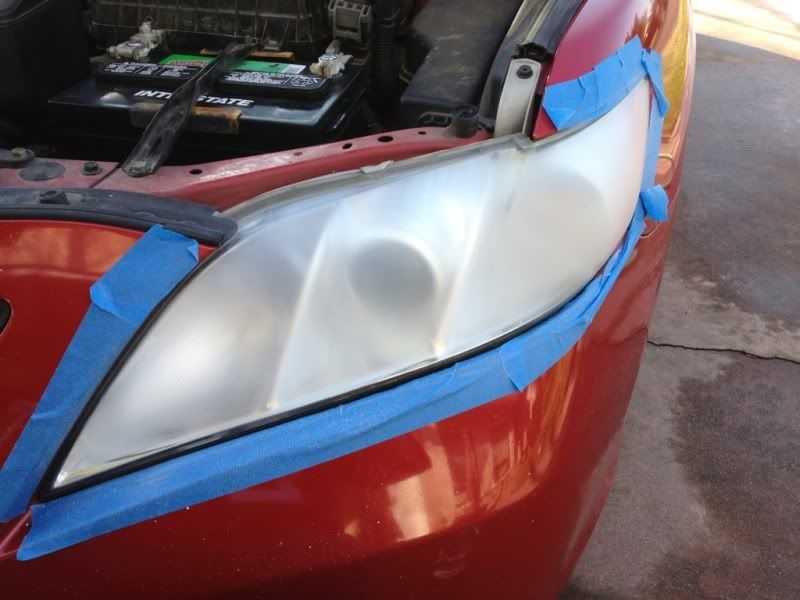
Taped up the area and used 500 grit sandpaper disc that came included with the kit. The kit came with 6 of these. I ended up only using 4 of them.
Next step was to move to the 800 grit and remove the scratches from the 500 grit paper. Four came included with the kit and actually used all of them.
Up next was the 1000 grit paper and this step required me to wet sand it. It did an amazing job in removing the 800 grit sandpaper. Only one was included in the kit.
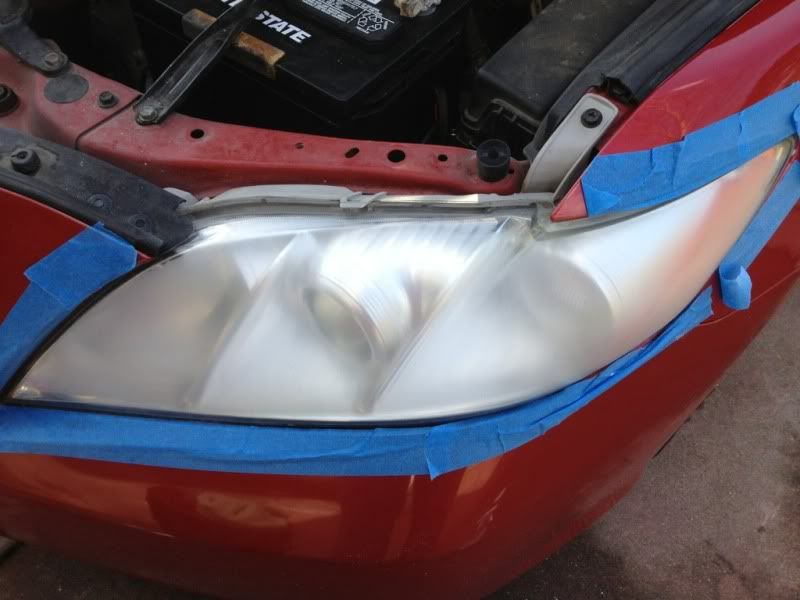
Next was the 3000 grit sandpaper and also used the wet sand method per the included instructions. Only one was included in the kit.
The last step is to use the bottom of the hand applicator and polish the headlights with the included polish packets (2). I found that only one packet was necessary for this job.
Pros:
Easy to use
Very inexpensive
Most supplies are included
Applicator uses velcro to secure the sanding discs in place
Cons:
The included applicator can get deformed if held too tightly which is needed to apply heavy force while sanding.
Can get difficult to get sharp edges on headlights due to the roundness.
Conclusion:
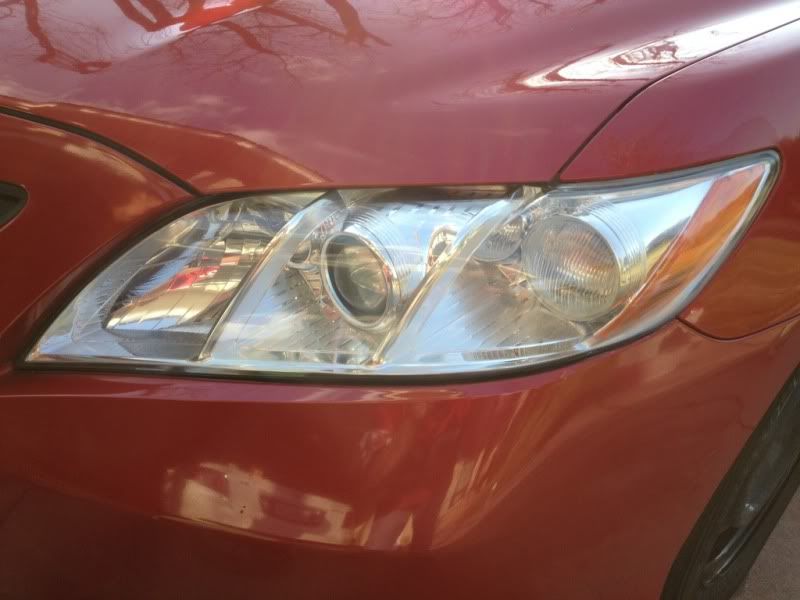
Overall I am very pleased with this kit. It didn't take very long to do it about 30 minutes. I applied opti-seal on the headlights after I finished so they can have some protection from hazing again. I know I will have to reapply opti-seal after a couple of months but that won't be a problem.
 rops:
rops: