CEE DOG
New member
- Jul 12, 2009
- 7,358
- 0
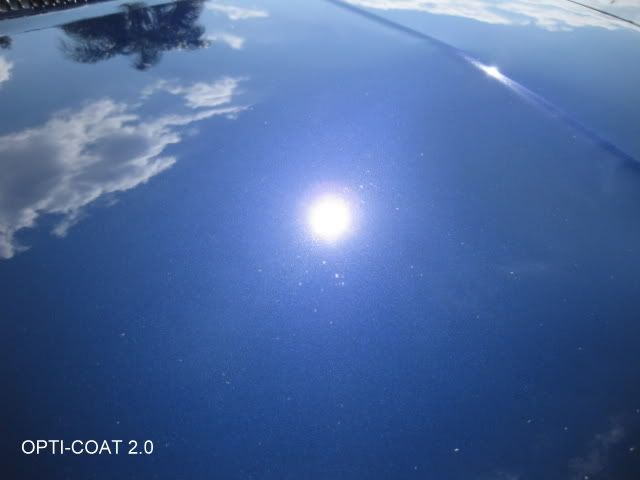
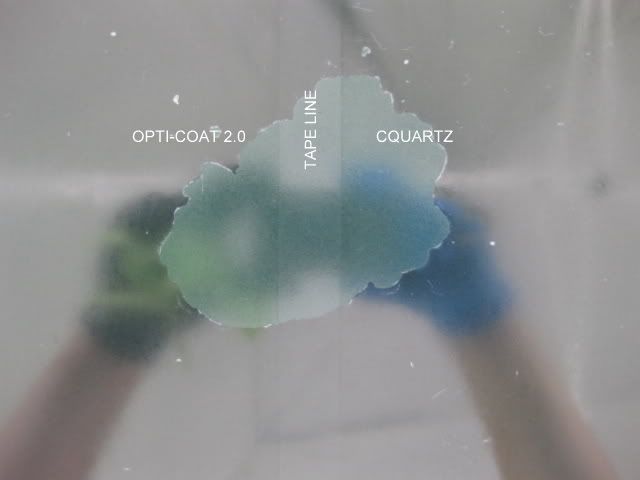
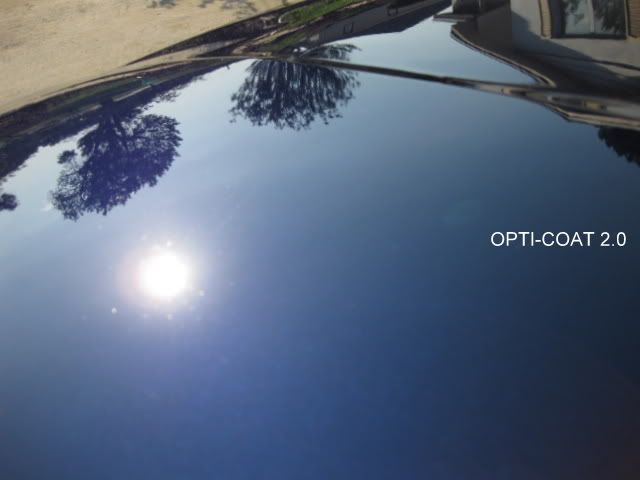
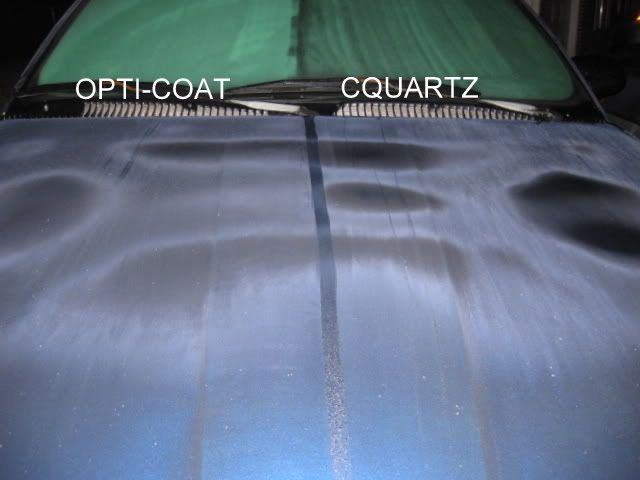
Review and Extreme Testing: Opti-Coat 2.0 and Ceramic Quartz
Introduction:
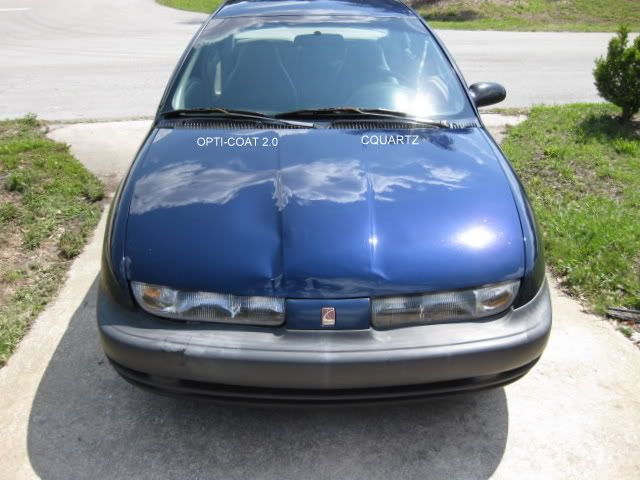
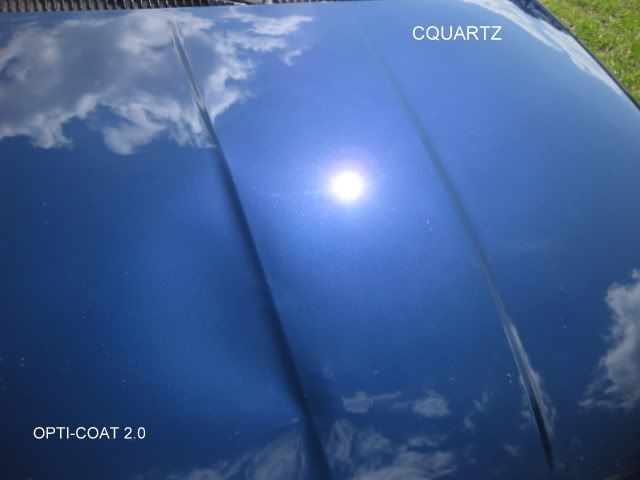
I want to start by saying I understand these products are very different and I mean no disrespect to either manufacturer by placing them in the same article. With changes in technology have come some very interesting new products in the last few years. About 6 months ago I purchased a couple CQuartz kits but hadn’t had the opportunity to use them. With the release of Optimums consumer version of their coating (Opti-Coat 2.0), I thought it would be an interesting learning experience to use them side-by-side on the same vehicles. I also wanted to complete some extreme testing on both products. Last week I purchased 20cc of the Opti-Coat 2.0. Now admittedly, anybody who has seen these 2 cars up close would say I should have waited until I had a chance to use touchup paint on the Blue SL before placing a permanent and or semi-permanent coating on it. The rock chips are pretty bad but I couldn’t wait to try these products out. As far as the Green SL goes most people might not waste the product on something that is in the process of total clear coat failure across all horizontal surfaces on top of the vast array of rock chips but to me it's the perfect palette. Last weekend I spent some time applying and getting to know these products. During the week I observed and recorded a few of their characteristics as well as conducting some extreme testing this weekend on a junk panel.
Optimum: Opti-Coat 2.0 (Manufacturer Description):
Optimum Opti-Coat 2.0 is a permanent coating that protects automotive paint over its lifetime! Unlike a wax or sealant, Optimum Opti-Coat 2.0 will not wash or wear off. It acts as a second layer of clear coat, which provides increased protection against the elements. Formerly only available to professionals, Optimum Opti-Coat 2.0 is now available to the public in a more user-friendly formula.
Car Pro: CQuartz (Manufacturer Description):
CQuartz by CarPro is an anti-static, weather-resistant nano coating that shines and protects your vehicle like nothing else! CQuartz works on the molecular level to transform the surface. Once treated with CQuartz, your vehicle will repel water and contaminants, and it will maintain a clear, reflective, hard-as-nails shine. One application can last two years!
Opti-Coat 2.0 - Initial Product Observations:
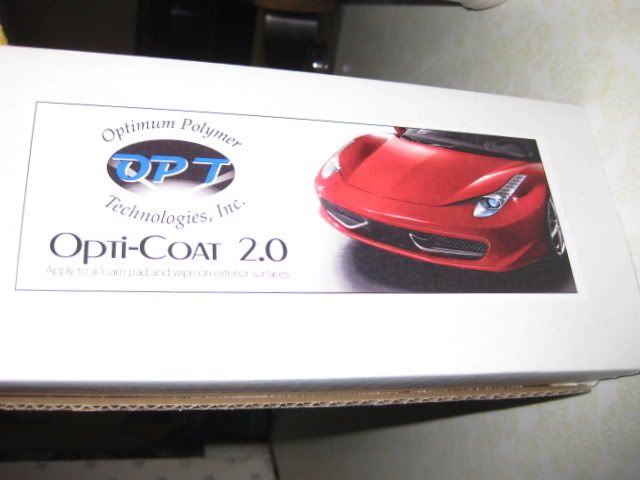
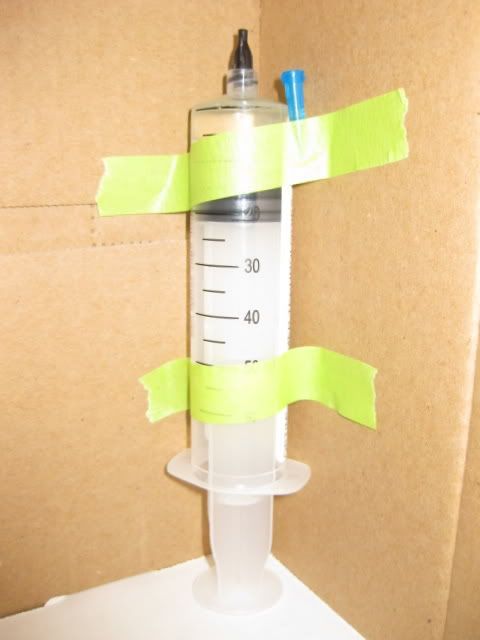
1.- Packaging: Large Box with Optimum Label
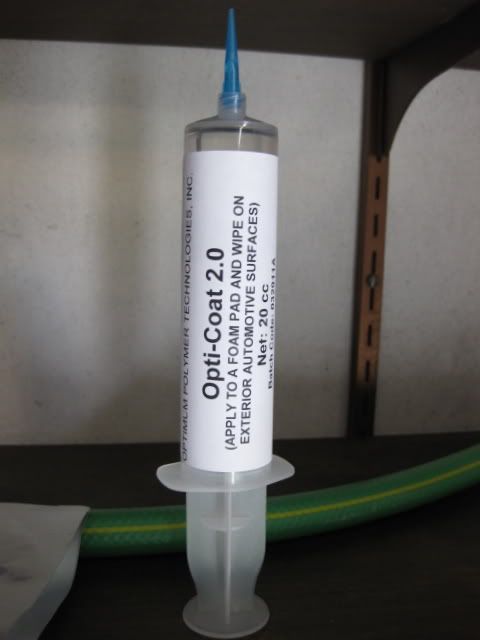
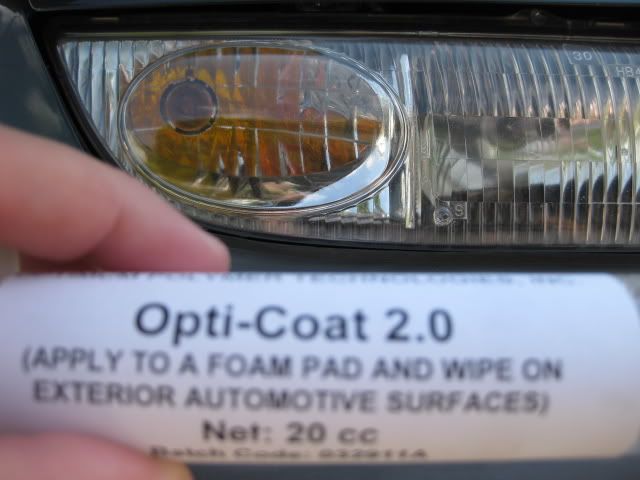
2.- Contents: (1) LARGE Syringe with threaded insert cap, threaded applicator cap, (1) foam applicator pad, and (1) MF towel
3.- Clarity of Directions: Lacking on outer packaging / Some direction on Syringe
4.- Consistency: Completely Fluid
5.- Color: Clear
6.- Scent: Probably not a good idea to sniff
7.- Size: 20cc (Equal to 20ml)
8.- Price at time of Review: $59.99
9.- Manufacturer: Optimum Polymer Technologies, Inc.
10-Made in: USA
CQuartz - Initial Product Observations:
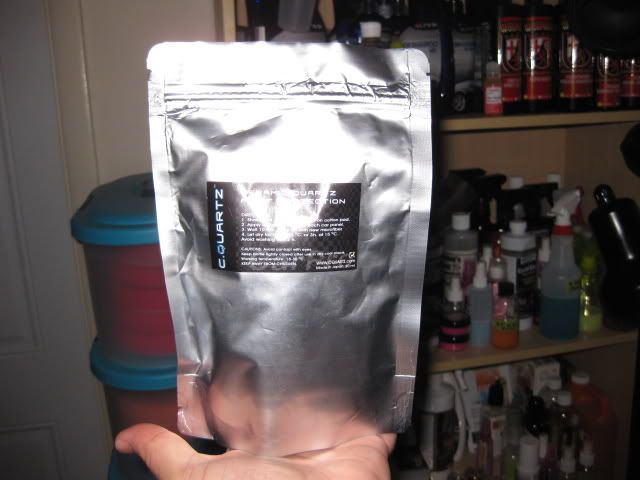
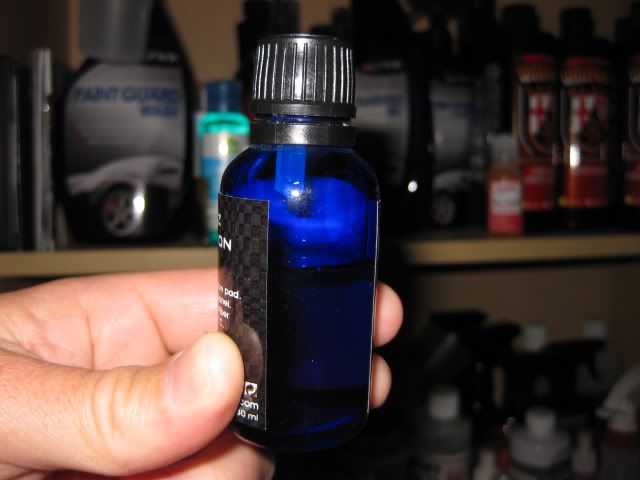
1.- Packaging: Metallic pouch (Like a capri-sun but much cooler)
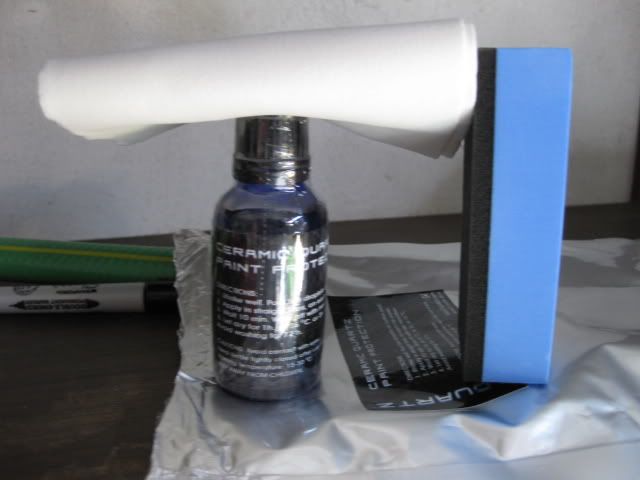
2.- Contents: (1) sealed glass bottle with “dripper” nozzle beneath threaded lid as well as (1) applicator block and (5) applicators
3.- Clarity of Directions: Complete directions listed on outer packaging and glass bottle
4.- Consistency: Completely Fluid
5.- Color: Clear with a slightly yellow tint
6.- Scent: Definitely not a good idea to sniff
7.- Size: 30ml (Equal to 30cc)
8.- Price at time of Review: $53.99
9.- Manufacturer: Car Pro
10-Made in: Japan
Abbreviations used here:
CQ = Car Pro Ceramic Quartz
IPA = Isopropyl Alcohol
MF = Microfiber
OC = Optimum Opti-Coat 2.0
OPC = Optimum Power Clean
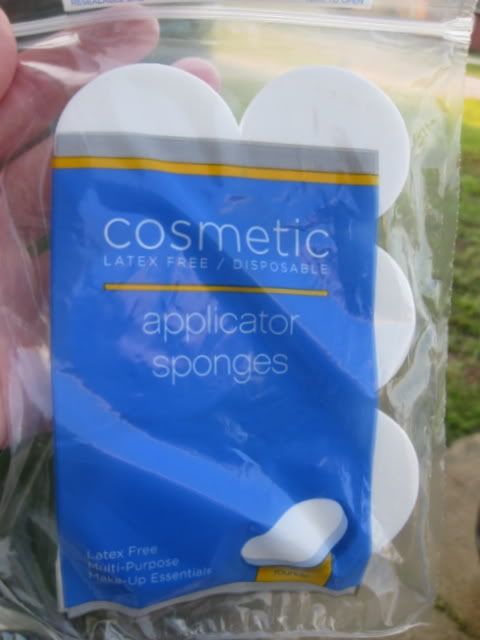
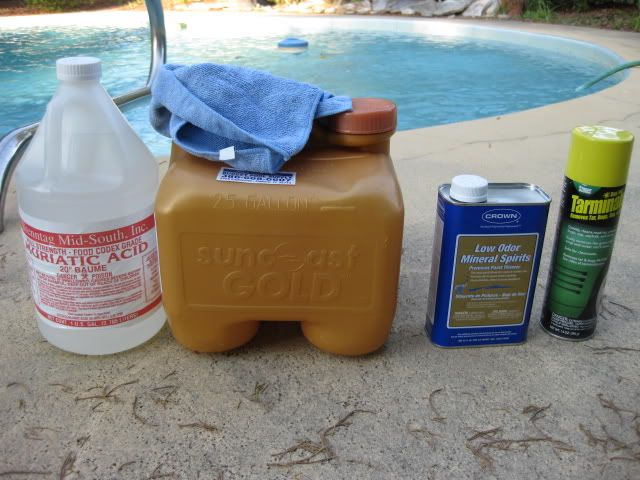
Products used during application or removal:
1.- Cosmetic Applicator Sponges
2.- Quality MF Buffing towels
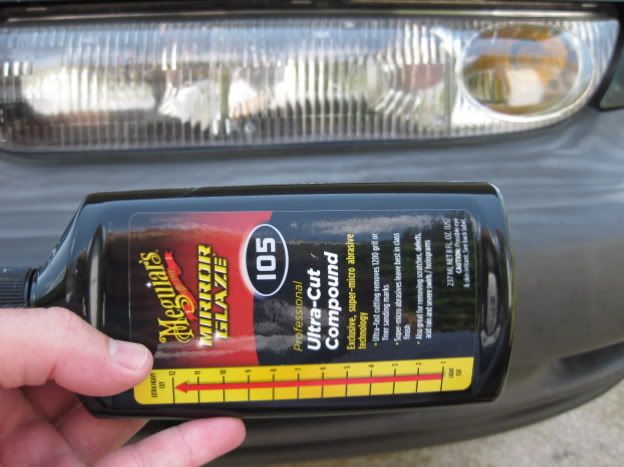
PICTURES OF PRODUCTS:
Opti-coat 2.0
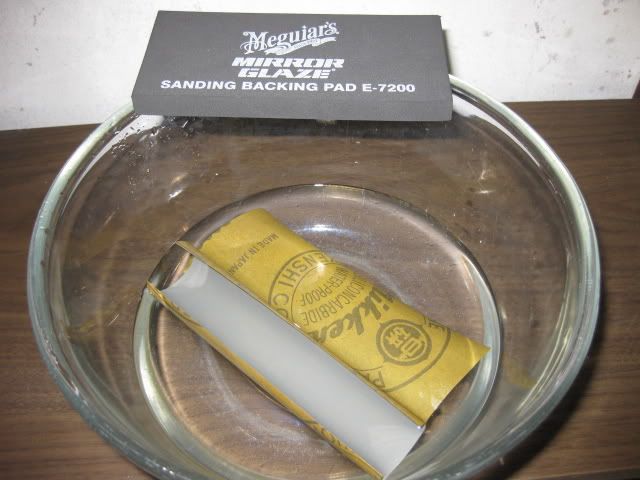
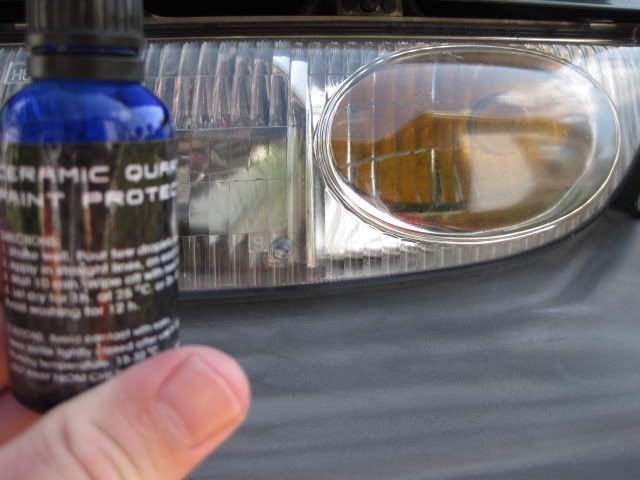
Cquartz
Applicators
Method of Preparation:
I began two days earlier with some prep on the clear coat failure test area but we will get to that later. Sunday morning I started relatively early by mixing up a bucket of Meguiars Shampoo Plus. Next I rinsed all of the panels that would be getting stripped.
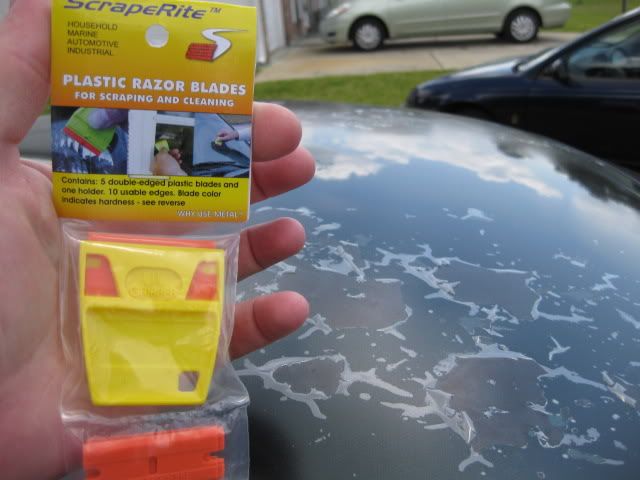
08-BEFORE OPC

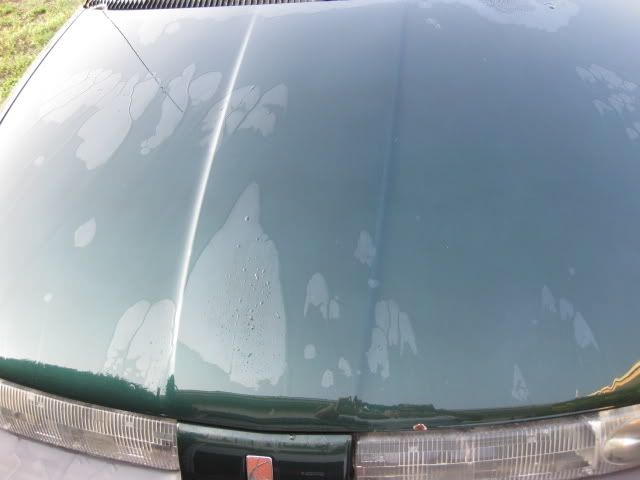
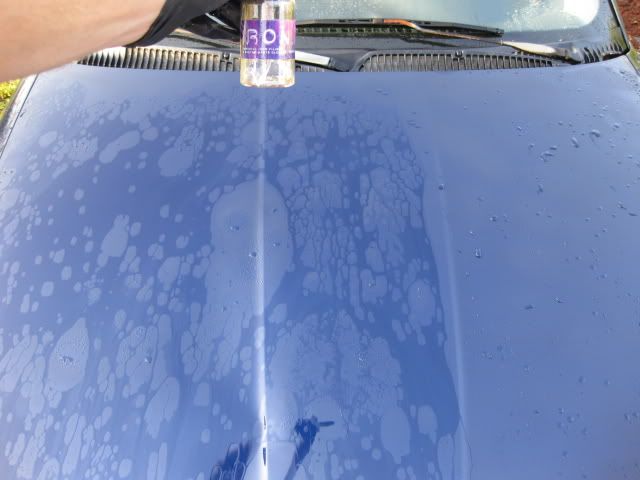
After rinsing I grabbed my bottle of OPC 3:1 and sprayed it directly on each panel (of both Blue and Green), which was to be stripped.
VIDEO: 01 Strip with Optimum Power Clean
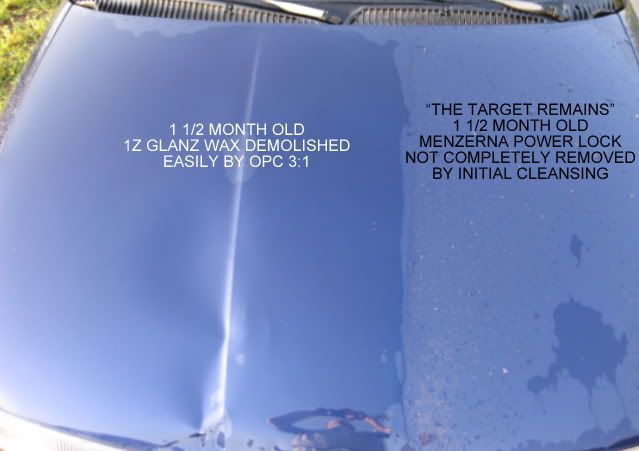
After allowing it to set for a minute I took my MF chenille wash mitt from my premixed bucket. I used this to spread the OPC and wash each panel and rinse both mitt and panel before moving to the next. The Natty’s blue and 1Z products were obviously stripped but I found the drivers section of Blue to show signs that Menzerna Powerlock was still in place.
09-AFTER OPC
10- AFTER OPC
11.-AFTER OPC
At this point the sun was moving a little higher so I pulled out my canopy and set it up to try to protect the front of blue and rear of green from getting too warm. Next I selected a small bottle of Iron X and after shaking it I proceeded to spray it across each panel.
VIDEO: 02 Spray Iron X
I did not rub it in as I should have. This was my first time using IronX and it looks like I missed a step and did not use it correctly. I should have rubbed it in before allowing it to sit but instead I misted it onto each surface I was prepping and allowed it to sit for a few minutes before thoroughly rinsing all affected surfaces.
12 – 18

In the rinse video below you will notice that Menzerna Power Lock still showed signs of life (Driver side of Blue vehicle).
VIDEO: 03 Rinse After Iron X
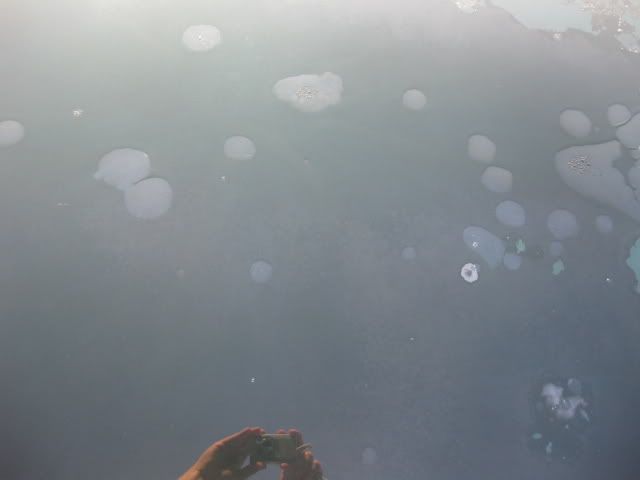
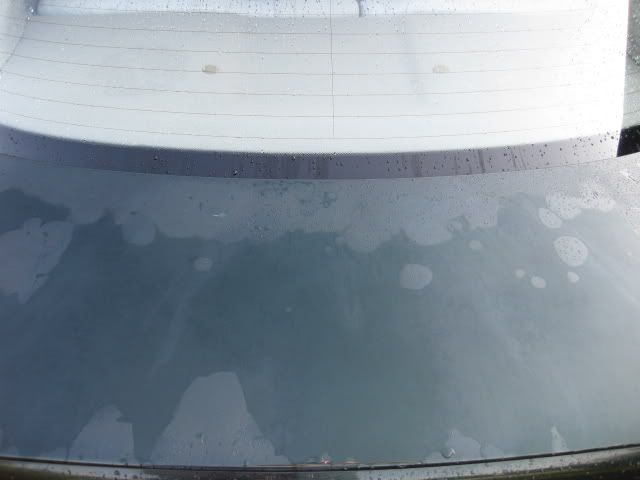
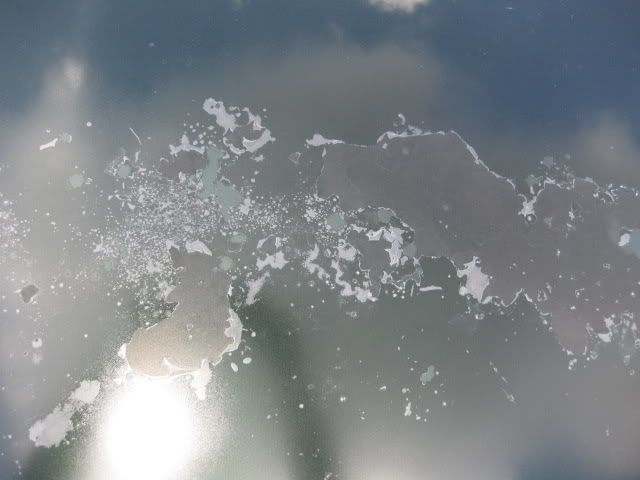
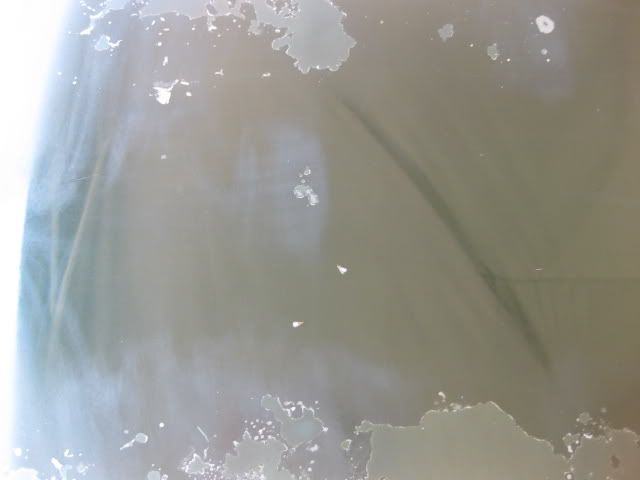
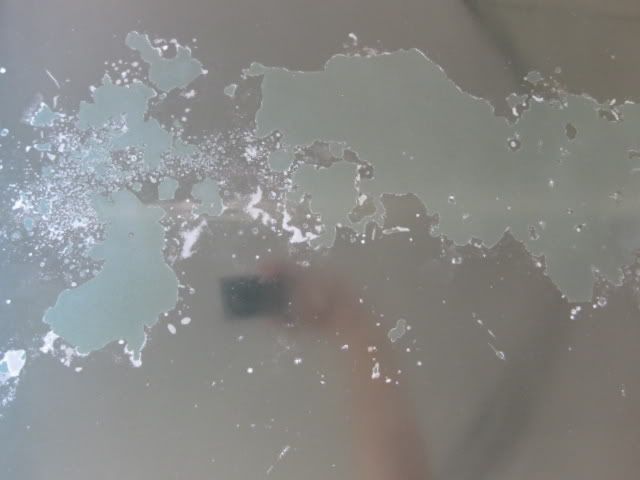
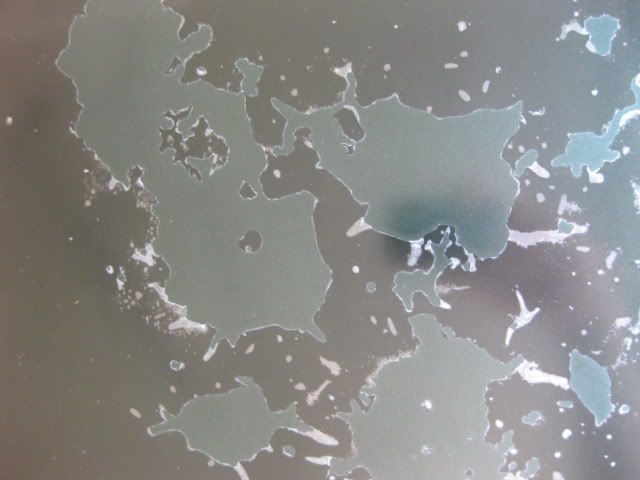
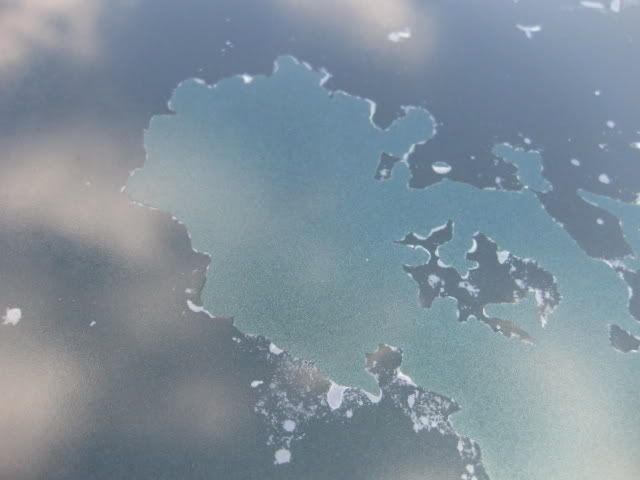
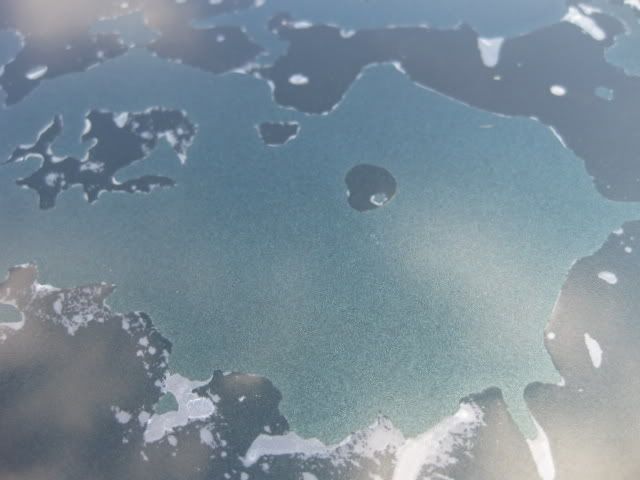
19.-Green Car Rear Lid (paint is still wet so you can see the clear coat is ready to fail any day.)
After drying all the soon to be coated surfaces with a WW towel I took a quick break to allow the last bits of water to evaporate.
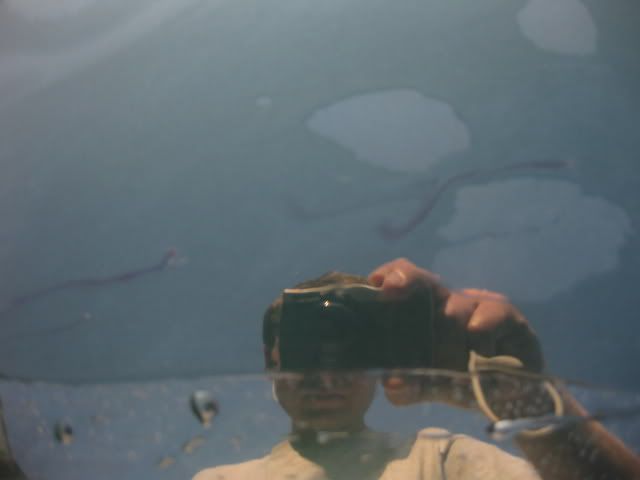
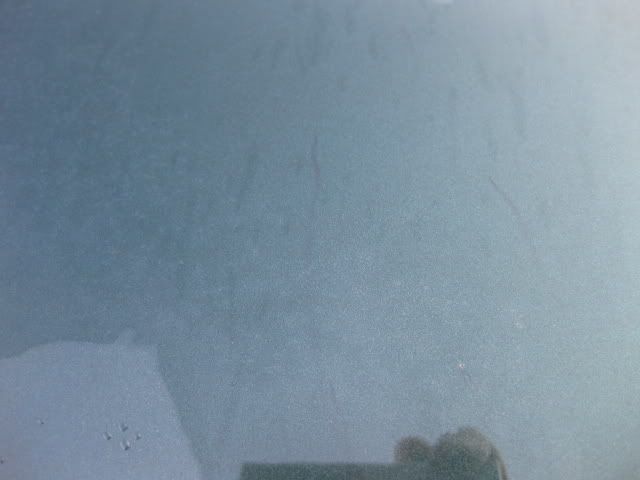
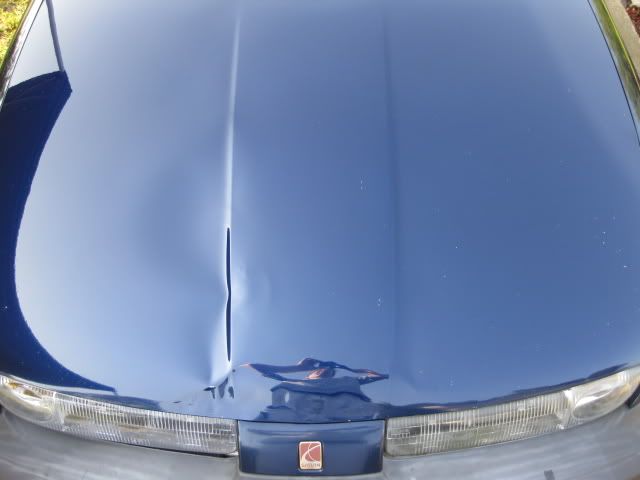
20.-Green Car Rear Lid
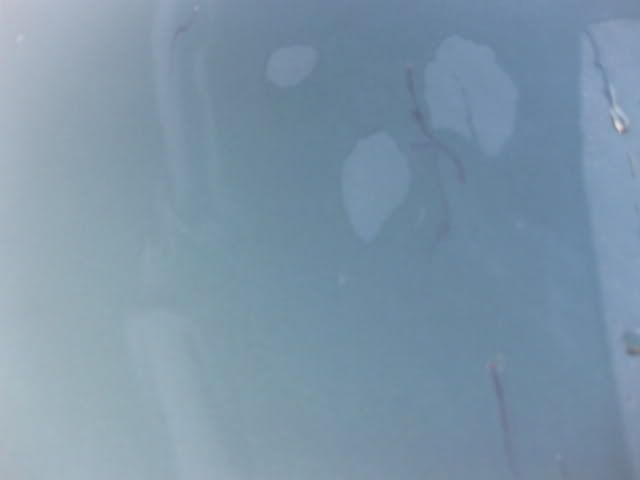
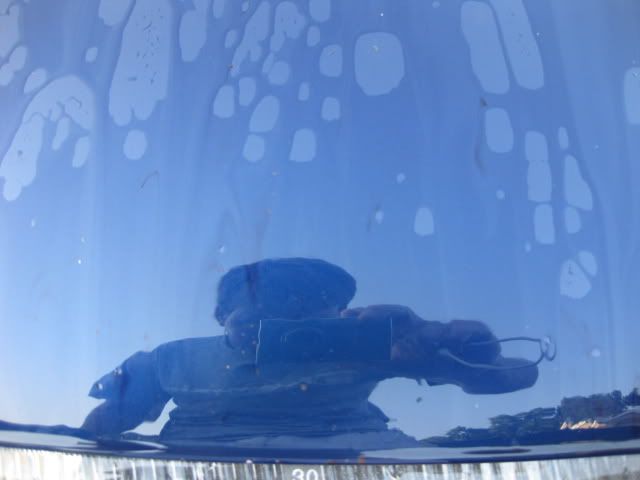
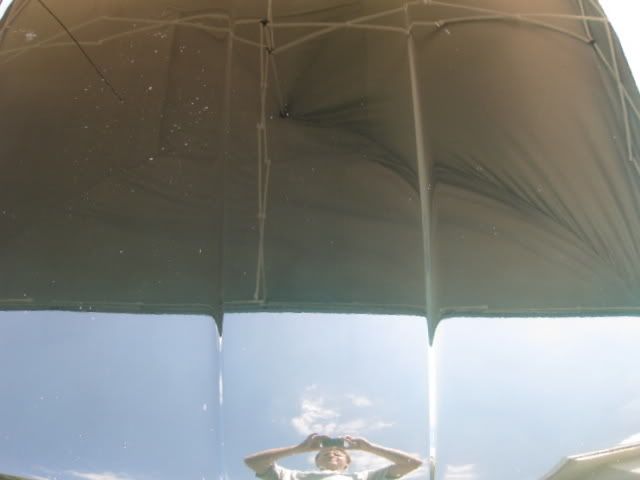
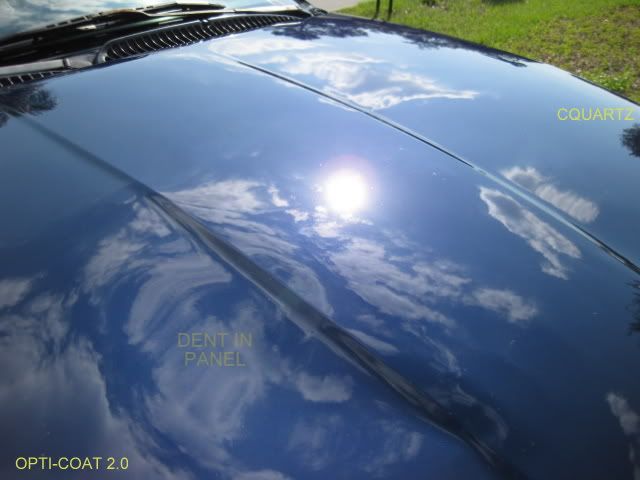
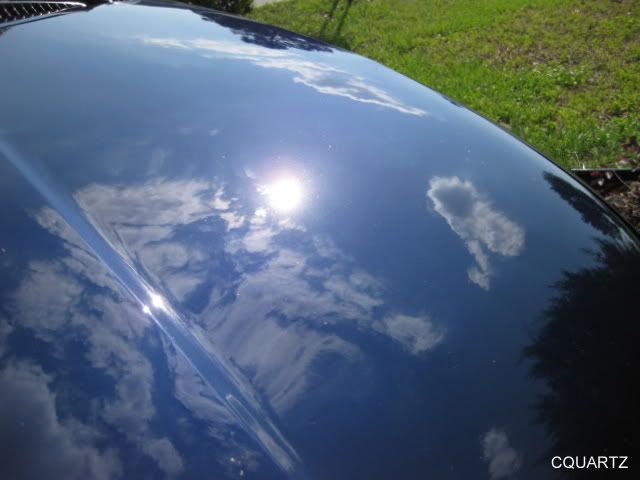
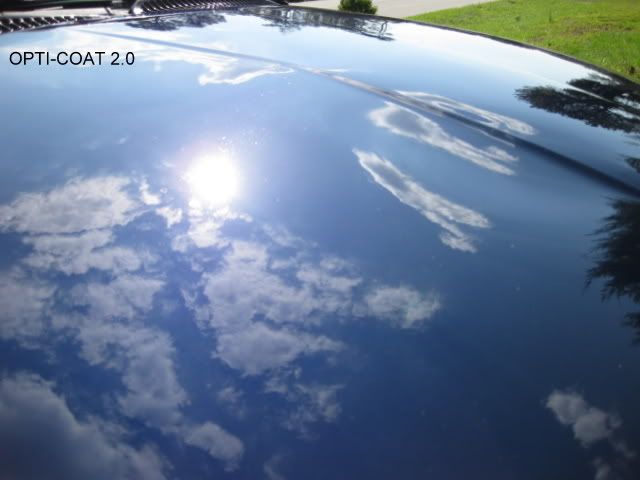
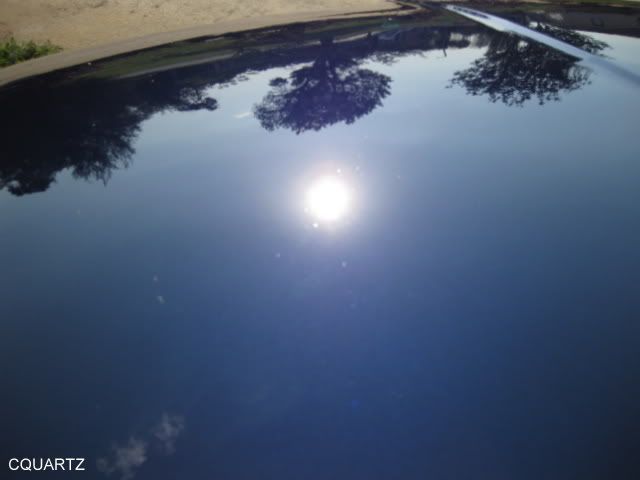
21.-Blue Hood Dry
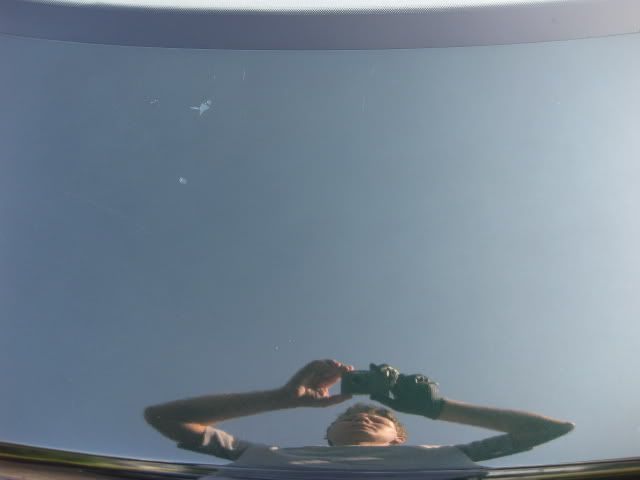
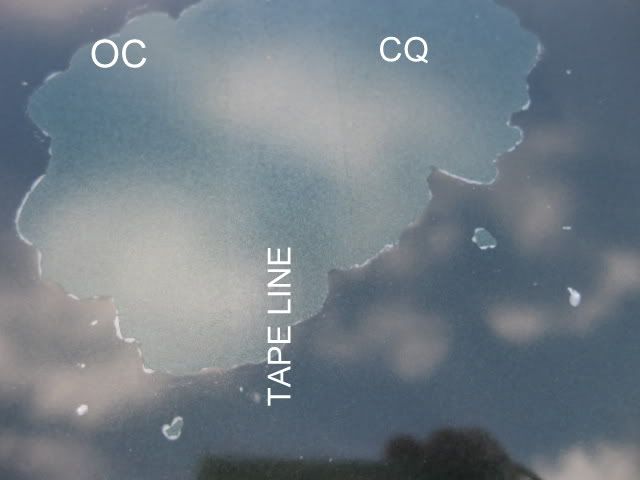
22.-Blue Windshield Dry
Next I filled a small bottle with mineral spirits and sprayed it onto a section and then wiped it off with my MF towel. I repeated this method across the rear lid of Green and the hood and windshield of Blue. Next I repeated the previous step all over again this time with my small bottle of IPA mix. At this point the sun was peaking a bit too far over the canopy threatening to shine on the panels I was working. I had to move quick to get the coatings on these first two panels before re-arranging the cars and canopy.
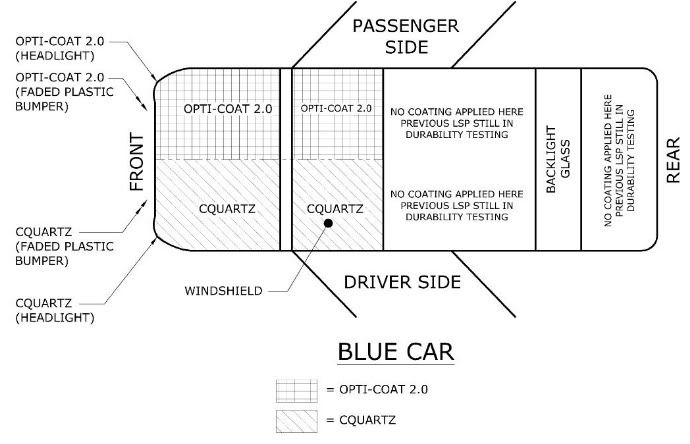
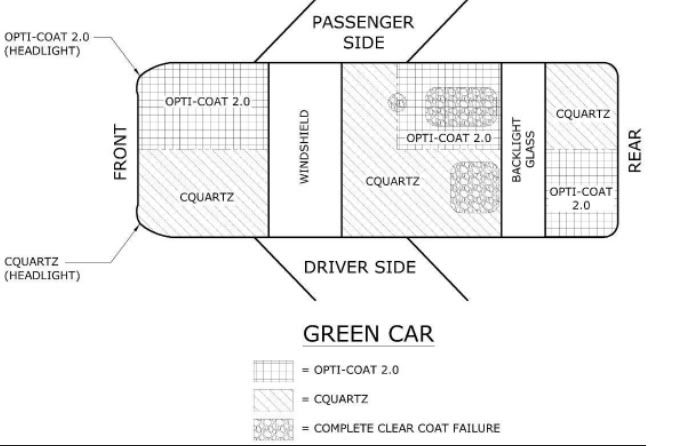
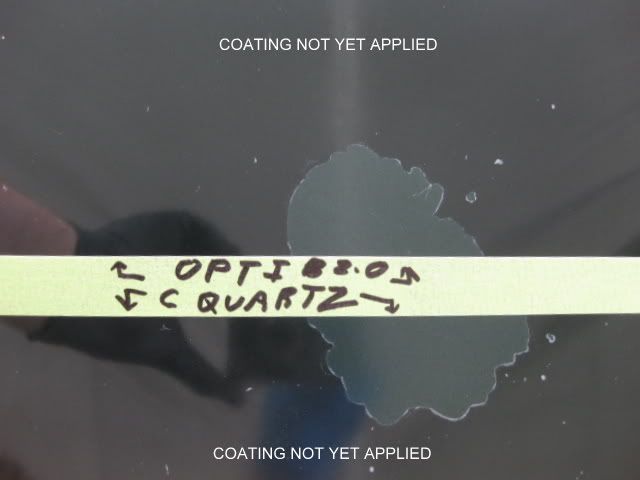
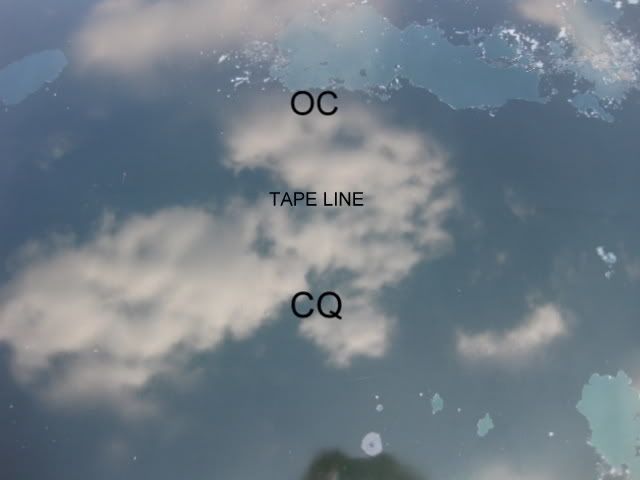
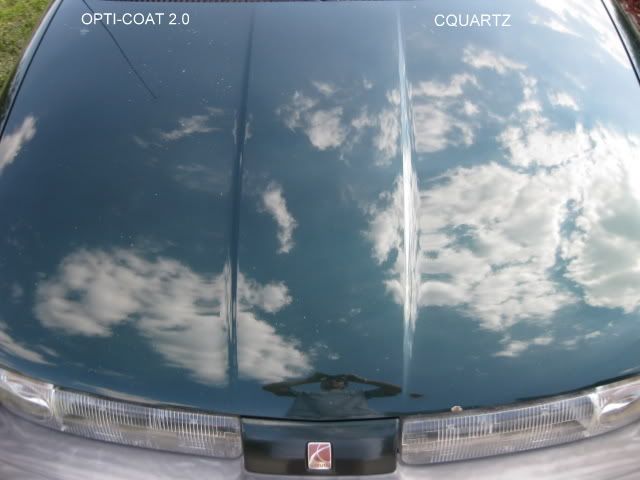
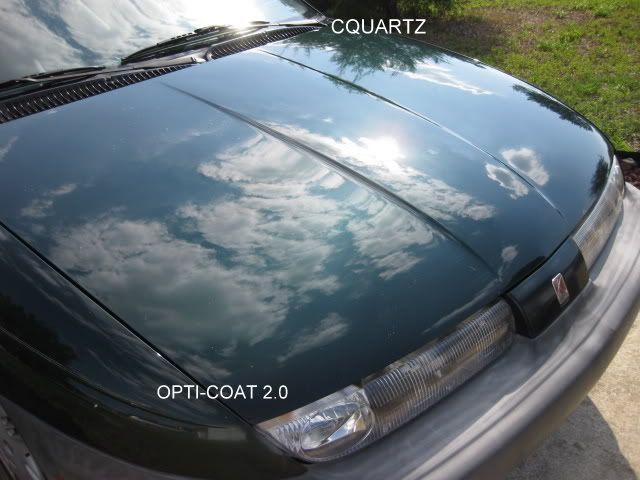
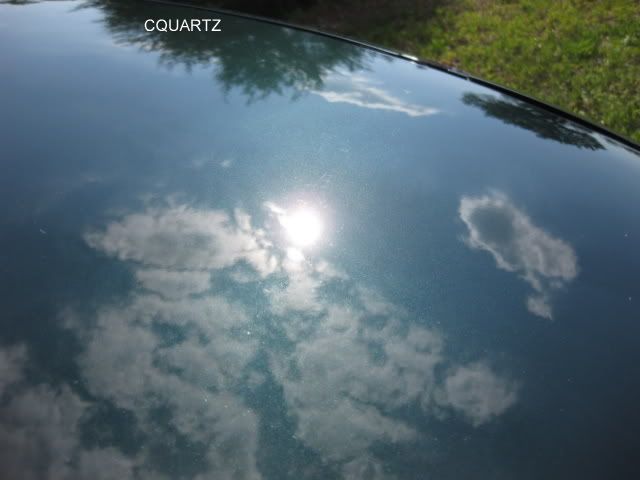
DIAGRAM – COATING KEYS:
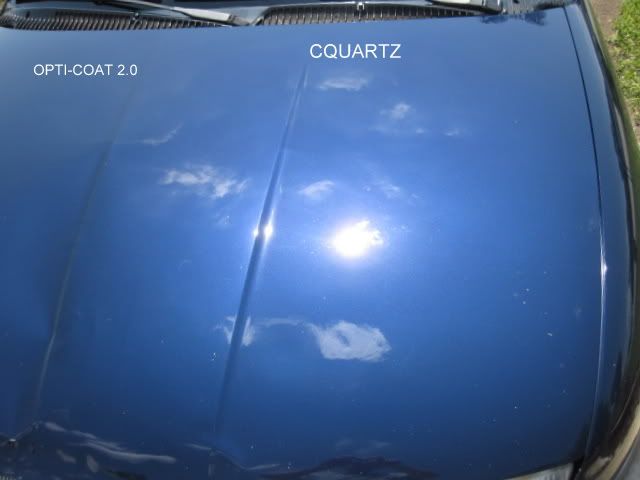
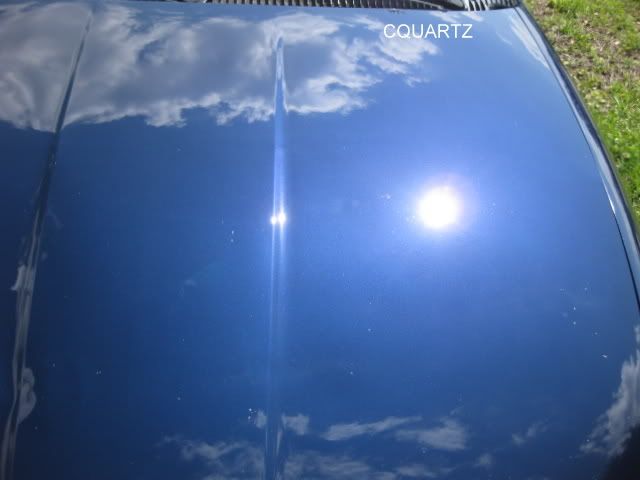
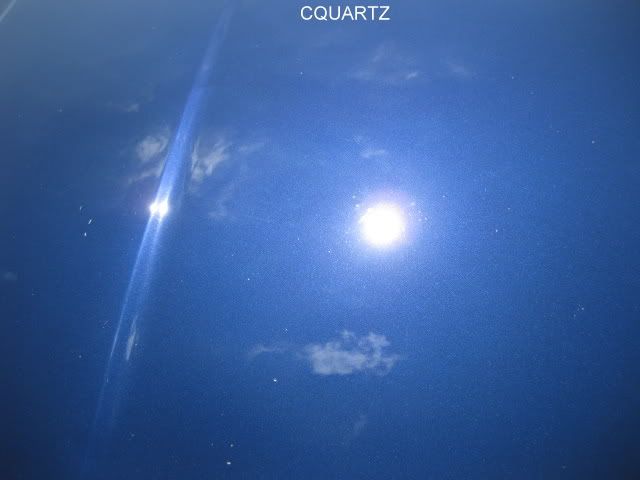
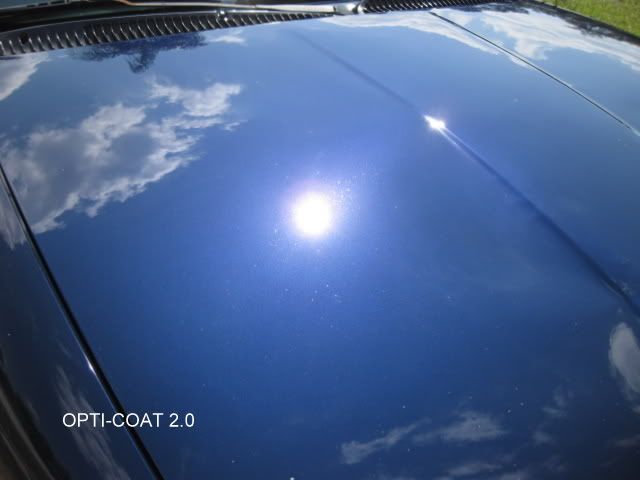
23.-BLUE CAR DIAGRAM
24.-GREEN CAR DIAGRAM
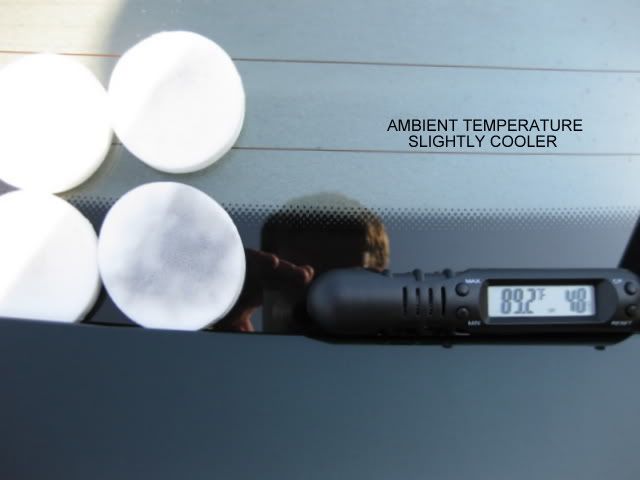
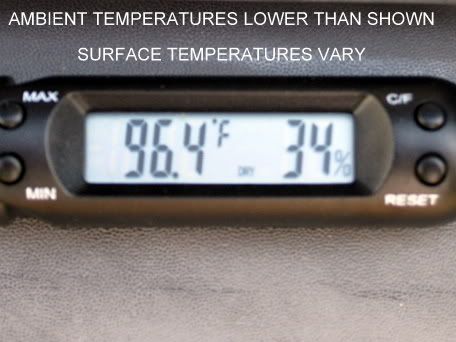
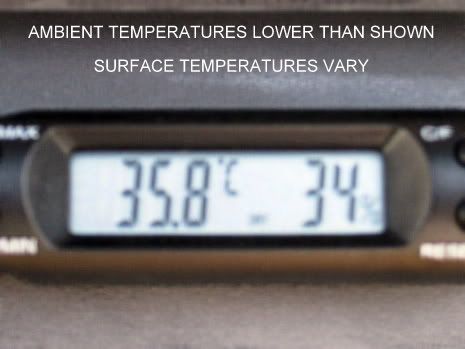
25.-Conditions at Start (Fahrenheit)
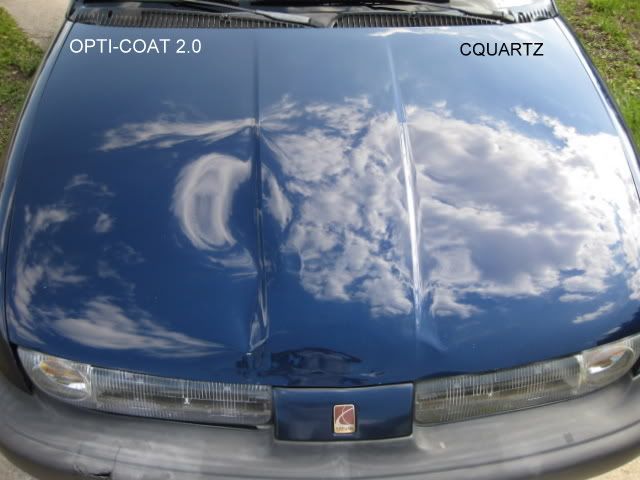
Cquartz -Method of Application:
I placed a few drops of Cquartz onto an applicator pad and began to apply it to the far drivers side of the blue hood. My initial method was to apply in one direction only overlapping the strokes a little as I went. I found the applicators I had decided to use to work quite nicely with the Cquartz although I would have preferred them to be a little larger. The Cquartz went on very easily as shown below. After completing a couple sections the following video was taken of the final section of CQ application to the drivers side of the Blue hood.
VIDEO: 05 Cquartz Paint 1
CQ was also applied to the passenger side half of the rear panel (Green Saturn) which was protected by the canopy at this time as well.
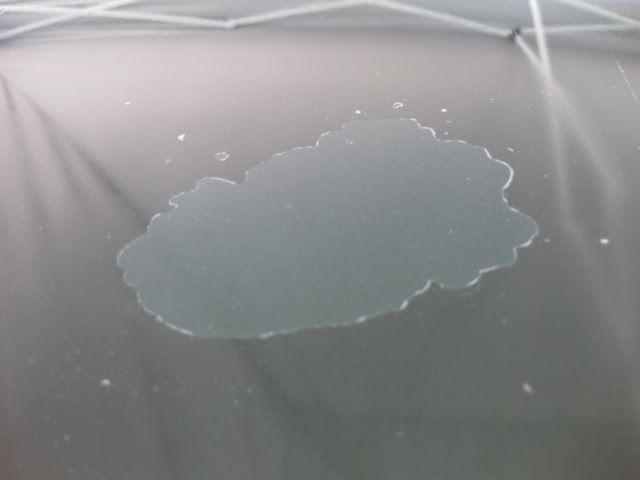
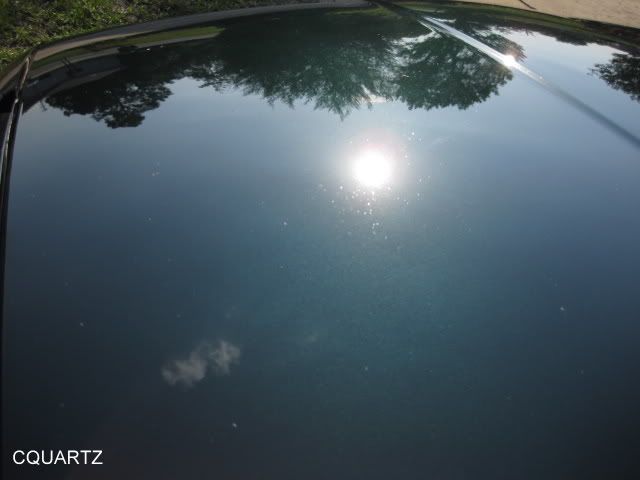
26.-CQ minutes after application
27.-CQ minutes after application

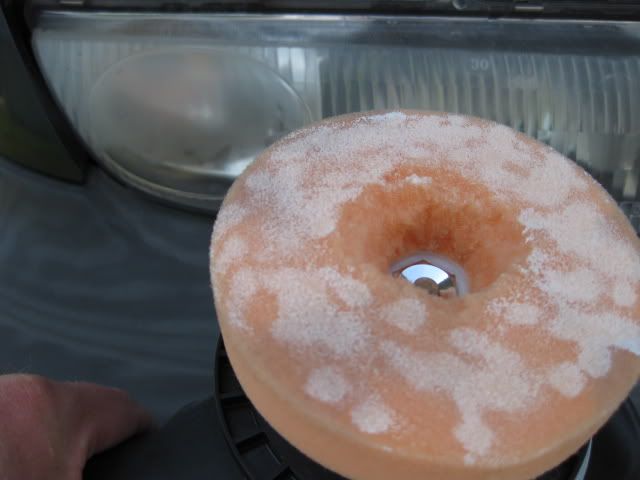
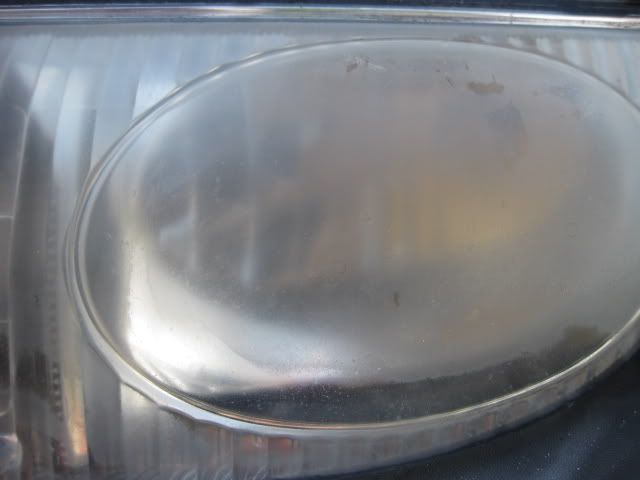
It was already very warm so I didn’t want to leave the CQ on for too long before buffing it off. However I figured I would have enough time to apply the CQ to the driver side headlight and faded plastic bumper. After spending about 2 minutes on this exercise it was quite apparent that CQ was not the answer for restoring the faded bumper. The product went on a little dark initially but as soon as it started to dry the color would fade about 90+% of the way to how it was before application.
VIDEO: 06 CQuartz Faded Plastic Bumper
28A.-Cquartz a few minutes after application

Based on the results I stopped short of applying it to the rest off this side of the bumper. I will be reviewing C4 within a couple weeks and had no wish to waste any more CQ here. I had not yet buffed off the CQ from the hood but with only a couple minutes spent here I felt I had a little time to move forward with the OC application to the other side of the hood.
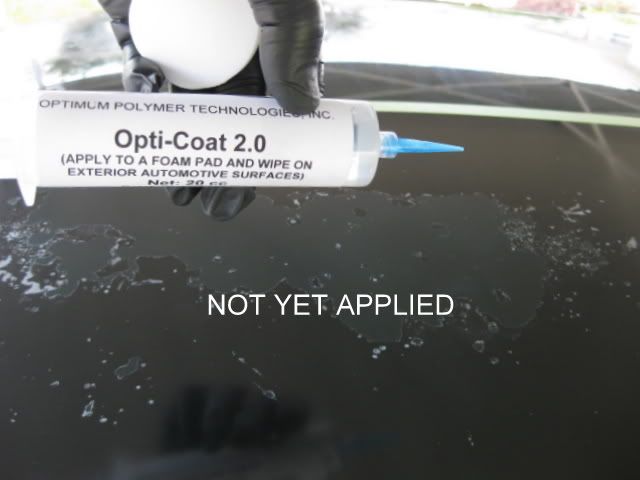
Opti-Coat 2.0-Method of Application:
After unscrewing the threaded insert cap and replacing it with the threaded applicator cap I was ready to go. I dabbed some very small drops of OC onto a fresh applicator and began to apply the OC in a very similar method as previously described. The OC appeared to evaporate slightly quicker than the CQ and may be a bit more sensitive to the temperature of the panel. After a few strokes of careful OC application I became bolder, and began to use slightly more OC. At one point the syringe released a little more OC than I wanted onto the applicator. I just dabbed it onto the paint to come back and pick up a minute later. This did not seem to cause an issue but is not best practice. After applying the product in 1 direction to a section I decided to come back and go over it in a perpendicular direction. With some experience under my belt I would have done a section about half this size before going back across it in perpendicular direction and moving forward.
Note: In these initial videos the amount of product I’m applying to my applicator is unfortunately not apparent. I was careful not to press too hard so that the syringe wouldn’t release more product than needed. I’m really applying very little to the applicator.
VIDEO: 07 Opti Coat Paint
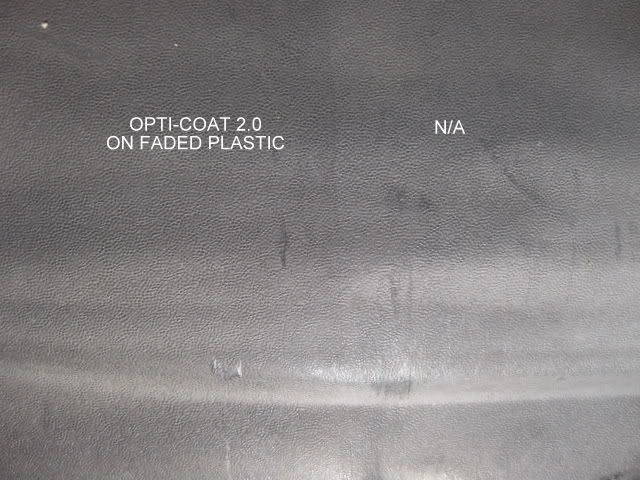
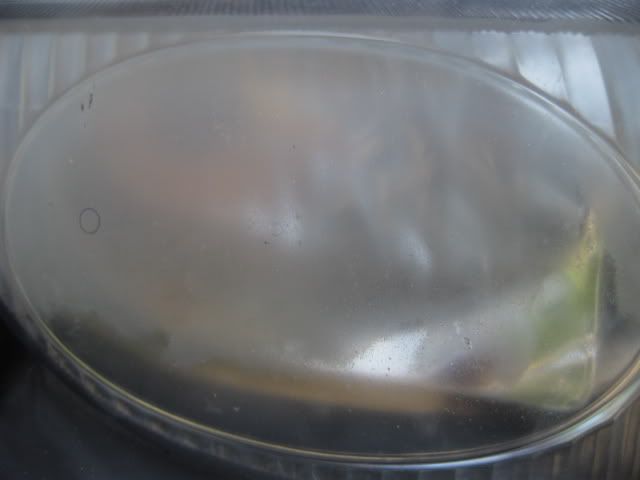
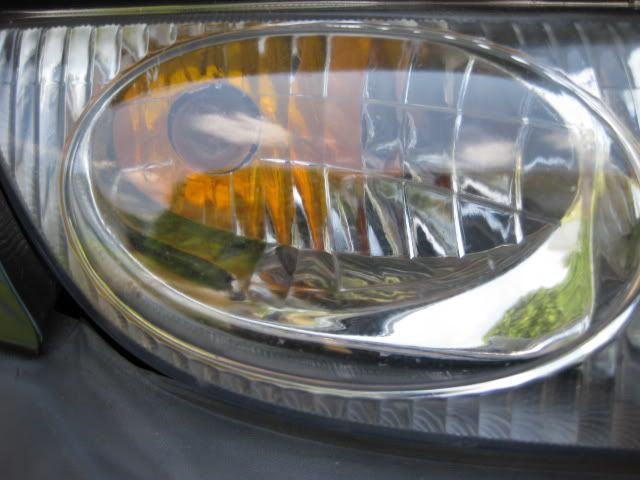
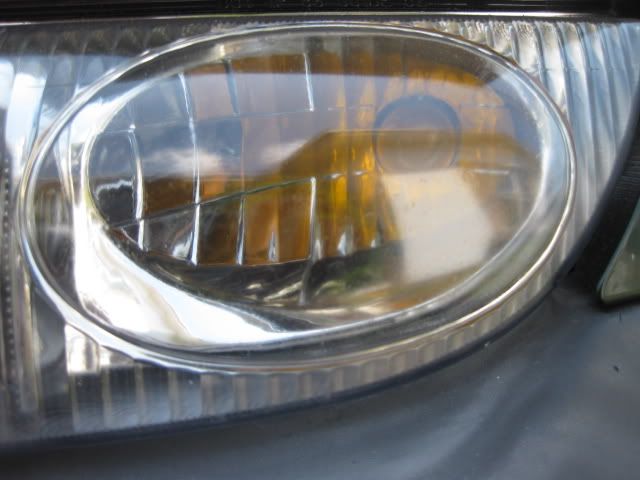
OC was applied to the passenger headlight and passenger corner of the faded plastic bumper. This application took place about an hour later but is being inserted here in this review for clarity. After spending a few minutes on the plastic bumper I found similar results to those I had observed with the CQ. These 2 coatings were not the answer for restoring the faded bumper.
VIDEO: 09 OptiCoat Faded Plastic Bumper
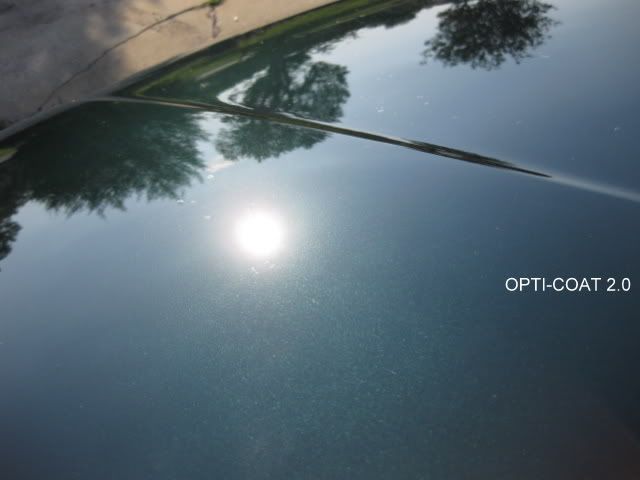
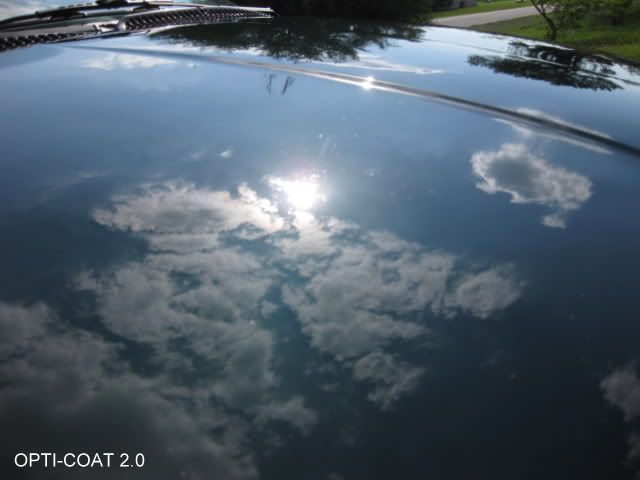
28B.- OptiCoat 2.0 a few minutes after application
--------------------------------------------------------------------------
Cquartz –Buffing Off
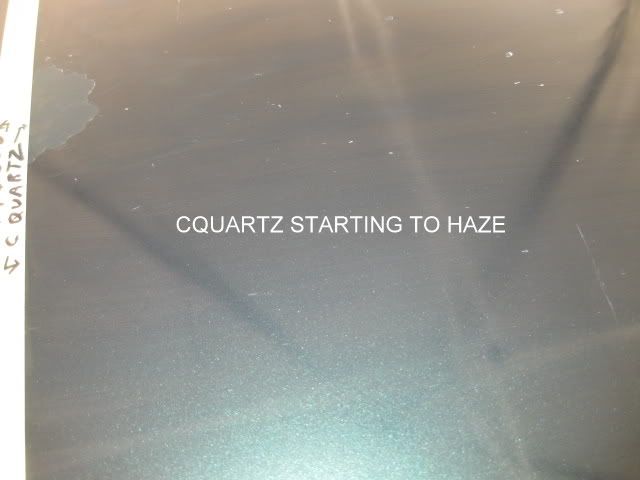
It had been about 13-14 minutes since I had applied the CQ to the paint on the driver side and it was time to buff it off as directed. With a fresh plush MF towel I began to buff it off. The CQ buffed off with little effort and I did not feel any kind of grabbing against the towel.
VIDEO: 10 CQuartz Paint Buff Off
Opti-Coat 2.0-Buffing off Ridges:
Next I came back to buff off the high spots or ridges on the OC section. The OC directions on the packaging simply state to wipe on. It doesn’t talk about buffing off or removing “high spots”. Having said that, I had read a lot of different things about coming back and “lightly” touching off the “high spots”. Having never used this product before I was unsure about how much pressure was acceptable and how soon to complete this task. After working with the product I’ll tell you it’s helpful to blend the high spots as soon as reasonable possible. On this section I didn’t do that. Instead I came back after buffing the Cquartz side and began to buff these high spots. Taking the temperatures into account I had waited longer than I should have to flatten the high spots. That would be true if I had buffed or blended those high spots very shortly after application. Moving forward I learned my lesson and was not so afraid to buff the OC areas as needed. Incidentally when buffing the high spots on the rear of the green SL with roughly the same time elapsed I had no high spot issues. All I can think is I must have applied it more evenly and less thick.
VIDEO: 11 Opti-Coat 2.0-Buffing off Ridges
I decided to buff the OC side harder to try and remove the high spots. Optimum does not recommend buffing the product in this manner (See Q&A at end of article). After a couple more minutes I came back to inspect and lightly touch the remains of the high spots once more on the OC. As you can see the high spots that I was getting worried about had faded considerably after I buffed them.
VIDEO: Opti-Coat 2.0
[video=youtube_share;vpeV1jKgiY4] - 12 Final Buff[/video]
Cquartz on Glass:
Unfortunately it appears I didn’t make a video of my CQ application on glass but rest assured I did apply it to the driver side of Blue’s windshield. It applied and later buffed it off in much the same way as I showed on the paint.
Opti-Coat 2.0 on Glass:
Application was straightforward. Having left the hood for too long before smoothing the ridges this time I erred on the side of caution and I touched off the ridges immediately after application on each small windshield section.
VIDEO: 13 OptiCoat Glass
[video=youtube_share;M9Mj_sKFXbU] - 13 OptiCoat Glass.wmv[/video]
Introduction:
I want to start by saying I understand these products are very different and I mean no disrespect to either manufacturer by placing them in the same article. With changes in technology have come some very interesting new products in the last few years. About 6 months ago I purchased a couple CQuartz kits but hadn’t had the opportunity to use them. With the release of Optimums consumer version of their coating (Opti-Coat 2.0), I thought it would be an interesting learning experience to use them side-by-side on the same vehicles. I also wanted to complete some extreme testing on both products. Last week I purchased 20cc of the Opti-Coat 2.0. Now admittedly, anybody who has seen these 2 cars up close would say I should have waited until I had a chance to use touchup paint on the Blue SL before placing a permanent and or semi-permanent coating on it. The rock chips are pretty bad but I couldn’t wait to try these products out. As far as the Green SL goes most people might not waste the product on something that is in the process of total clear coat failure across all horizontal surfaces on top of the vast array of rock chips but to me it's the perfect palette. Last weekend I spent some time applying and getting to know these products. During the week I observed and recorded a few of their characteristics as well as conducting some extreme testing this weekend on a junk panel.
Optimum: Opti-Coat 2.0 (Manufacturer Description):
Optimum Opti-Coat 2.0 is a permanent coating that protects automotive paint over its lifetime! Unlike a wax or sealant, Optimum Opti-Coat 2.0 will not wash or wear off. It acts as a second layer of clear coat, which provides increased protection against the elements. Formerly only available to professionals, Optimum Opti-Coat 2.0 is now available to the public in a more user-friendly formula.
Car Pro: CQuartz (Manufacturer Description):
CQuartz by CarPro is an anti-static, weather-resistant nano coating that shines and protects your vehicle like nothing else! CQuartz works on the molecular level to transform the surface. Once treated with CQuartz, your vehicle will repel water and contaminants, and it will maintain a clear, reflective, hard-as-nails shine. One application can last two years!
Opti-Coat 2.0 - Initial Product Observations:
1.- Packaging: Large Box with Optimum Label
2.- Contents: (1) LARGE Syringe with threaded insert cap, threaded applicator cap, (1) foam applicator pad, and (1) MF towel
3.- Clarity of Directions: Lacking on outer packaging / Some direction on Syringe
4.- Consistency: Completely Fluid
5.- Color: Clear
6.- Scent: Probably not a good idea to sniff
7.- Size: 20cc (Equal to 20ml)
8.- Price at time of Review: $59.99
9.- Manufacturer: Optimum Polymer Technologies, Inc.
10-Made in: USA
CQuartz - Initial Product Observations:
1.- Packaging: Metallic pouch (Like a capri-sun but much cooler)
2.- Contents: (1) sealed glass bottle with “dripper” nozzle beneath threaded lid as well as (1) applicator block and (5) applicators
3.- Clarity of Directions: Complete directions listed on outer packaging and glass bottle
4.- Consistency: Completely Fluid
5.- Color: Clear with a slightly yellow tint
6.- Scent: Definitely not a good idea to sniff
7.- Size: 30ml (Equal to 30cc)
8.- Price at time of Review: $53.99
9.- Manufacturer: Car Pro
10-Made in: Japan
Abbreviations used here:
CQ = Car Pro Ceramic Quartz
IPA = Isopropyl Alcohol
MF = Microfiber
OC = Optimum Opti-Coat 2.0
OPC = Optimum Power Clean
Products used during application or removal:
1.- Cosmetic Applicator Sponges
2.- Quality MF Buffing towels
PICTURES OF PRODUCTS:
Opti-coat 2.0
Cquartz
Applicators
Method of Preparation:
I began two days earlier with some prep on the clear coat failure test area but we will get to that later. Sunday morning I started relatively early by mixing up a bucket of Meguiars Shampoo Plus. Next I rinsed all of the panels that would be getting stripped.
08-BEFORE OPC
After rinsing I grabbed my bottle of OPC 3:1 and sprayed it directly on each panel (of both Blue and Green), which was to be stripped.
VIDEO: 01 Strip with Optimum Power Clean
After allowing it to set for a minute I took my MF chenille wash mitt from my premixed bucket. I used this to spread the OPC and wash each panel and rinse both mitt and panel before moving to the next. The Natty’s blue and 1Z products were obviously stripped but I found the drivers section of Blue to show signs that Menzerna Powerlock was still in place.
09-AFTER OPC
10- AFTER OPC
11.-AFTER OPC
At this point the sun was moving a little higher so I pulled out my canopy and set it up to try to protect the front of blue and rear of green from getting too warm. Next I selected a small bottle of Iron X and after shaking it I proceeded to spray it across each panel.
VIDEO: 02 Spray Iron X
I did not rub it in as I should have. This was my first time using IronX and it looks like I missed a step and did not use it correctly. I should have rubbed it in before allowing it to sit but instead I misted it onto each surface I was prepping and allowed it to sit for a few minutes before thoroughly rinsing all affected surfaces.
12 – 18
In the rinse video below you will notice that Menzerna Power Lock still showed signs of life (Driver side of Blue vehicle).
VIDEO: 03 Rinse After Iron X
19.-Green Car Rear Lid (paint is still wet so you can see the clear coat is ready to fail any day.)
After drying all the soon to be coated surfaces with a WW towel I took a quick break to allow the last bits of water to evaporate.
20.-Green Car Rear Lid
21.-Blue Hood Dry
22.-Blue Windshield Dry
Next I filled a small bottle with mineral spirits and sprayed it onto a section and then wiped it off with my MF towel. I repeated this method across the rear lid of Green and the hood and windshield of Blue. Next I repeated the previous step all over again this time with my small bottle of IPA mix. At this point the sun was peaking a bit too far over the canopy threatening to shine on the panels I was working. I had to move quick to get the coatings on these first two panels before re-arranging the cars and canopy.
DIAGRAM – COATING KEYS:
23.-BLUE CAR DIAGRAM
24.-GREEN CAR DIAGRAM
25.-Conditions at Start (Fahrenheit)
Cquartz -Method of Application:
I placed a few drops of Cquartz onto an applicator pad and began to apply it to the far drivers side of the blue hood. My initial method was to apply in one direction only overlapping the strokes a little as I went. I found the applicators I had decided to use to work quite nicely with the Cquartz although I would have preferred them to be a little larger. The Cquartz went on very easily as shown below. After completing a couple sections the following video was taken of the final section of CQ application to the drivers side of the Blue hood.
VIDEO: 05 Cquartz Paint 1
CQ was also applied to the passenger side half of the rear panel (Green Saturn) which was protected by the canopy at this time as well.
26.-CQ minutes after application
27.-CQ minutes after application
It was already very warm so I didn’t want to leave the CQ on for too long before buffing it off. However I figured I would have enough time to apply the CQ to the driver side headlight and faded plastic bumper. After spending about 2 minutes on this exercise it was quite apparent that CQ was not the answer for restoring the faded bumper. The product went on a little dark initially but as soon as it started to dry the color would fade about 90+% of the way to how it was before application.
VIDEO: 06 CQuartz Faded Plastic Bumper
28A.-Cquartz a few minutes after application
Based on the results I stopped short of applying it to the rest off this side of the bumper. I will be reviewing C4 within a couple weeks and had no wish to waste any more CQ here. I had not yet buffed off the CQ from the hood but with only a couple minutes spent here I felt I had a little time to move forward with the OC application to the other side of the hood.
Opti-Coat 2.0-Method of Application:
After unscrewing the threaded insert cap and replacing it with the threaded applicator cap I was ready to go. I dabbed some very small drops of OC onto a fresh applicator and began to apply the OC in a very similar method as previously described. The OC appeared to evaporate slightly quicker than the CQ and may be a bit more sensitive to the temperature of the panel. After a few strokes of careful OC application I became bolder, and began to use slightly more OC. At one point the syringe released a little more OC than I wanted onto the applicator. I just dabbed it onto the paint to come back and pick up a minute later. This did not seem to cause an issue but is not best practice. After applying the product in 1 direction to a section I decided to come back and go over it in a perpendicular direction. With some experience under my belt I would have done a section about half this size before going back across it in perpendicular direction and moving forward.
Note: In these initial videos the amount of product I’m applying to my applicator is unfortunately not apparent. I was careful not to press too hard so that the syringe wouldn’t release more product than needed. I’m really applying very little to the applicator.
VIDEO: 07 Opti Coat Paint
OC was applied to the passenger headlight and passenger corner of the faded plastic bumper. This application took place about an hour later but is being inserted here in this review for clarity. After spending a few minutes on the plastic bumper I found similar results to those I had observed with the CQ. These 2 coatings were not the answer for restoring the faded bumper.
VIDEO: 09 OptiCoat Faded Plastic Bumper
28B.- OptiCoat 2.0 a few minutes after application
--------------------------------------------------------------------------
Cquartz –Buffing Off
It had been about 13-14 minutes since I had applied the CQ to the paint on the driver side and it was time to buff it off as directed. With a fresh plush MF towel I began to buff it off. The CQ buffed off with little effort and I did not feel any kind of grabbing against the towel.
VIDEO: 10 CQuartz Paint Buff Off
Opti-Coat 2.0-Buffing off Ridges:
Next I came back to buff off the high spots or ridges on the OC section. The OC directions on the packaging simply state to wipe on. It doesn’t talk about buffing off or removing “high spots”. Having said that, I had read a lot of different things about coming back and “lightly” touching off the “high spots”. Having never used this product before I was unsure about how much pressure was acceptable and how soon to complete this task. After working with the product I’ll tell you it’s helpful to blend the high spots as soon as reasonable possible. On this section I didn’t do that. Instead I came back after buffing the Cquartz side and began to buff these high spots. Taking the temperatures into account I had waited longer than I should have to flatten the high spots. That would be true if I had buffed or blended those high spots very shortly after application. Moving forward I learned my lesson and was not so afraid to buff the OC areas as needed. Incidentally when buffing the high spots on the rear of the green SL with roughly the same time elapsed I had no high spot issues. All I can think is I must have applied it more evenly and less thick.
VIDEO: 11 Opti-Coat 2.0-Buffing off Ridges
I decided to buff the OC side harder to try and remove the high spots. Optimum does not recommend buffing the product in this manner (See Q&A at end of article). After a couple more minutes I came back to inspect and lightly touch the remains of the high spots once more on the OC. As you can see the high spots that I was getting worried about had faded considerably after I buffed them.
VIDEO: Opti-Coat 2.0
[video=youtube_share;vpeV1jKgiY4] - 12 Final Buff[/video]
Cquartz on Glass:
Unfortunately it appears I didn’t make a video of my CQ application on glass but rest assured I did apply it to the driver side of Blue’s windshield. It applied and later buffed it off in much the same way as I showed on the paint.
Opti-Coat 2.0 on Glass:
Application was straightforward. Having left the hood for too long before smoothing the ridges this time I erred on the side of caution and I touched off the ridges immediately after application on each small windshield section.
VIDEO: 13 OptiCoat Glass
[video=youtube_share;M9Mj_sKFXbU] - 13 OptiCoat Glass.wmv[/video]
Last edited:


")
