Mike Phillips
Active member
- Dec 5, 2022
- 51,004
- 6
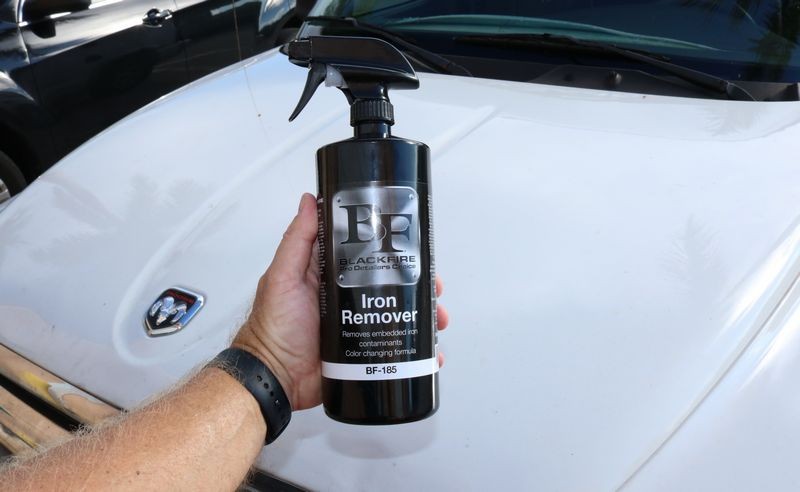
Review: BLACKFIRE Iron Remover by Mike Phillips
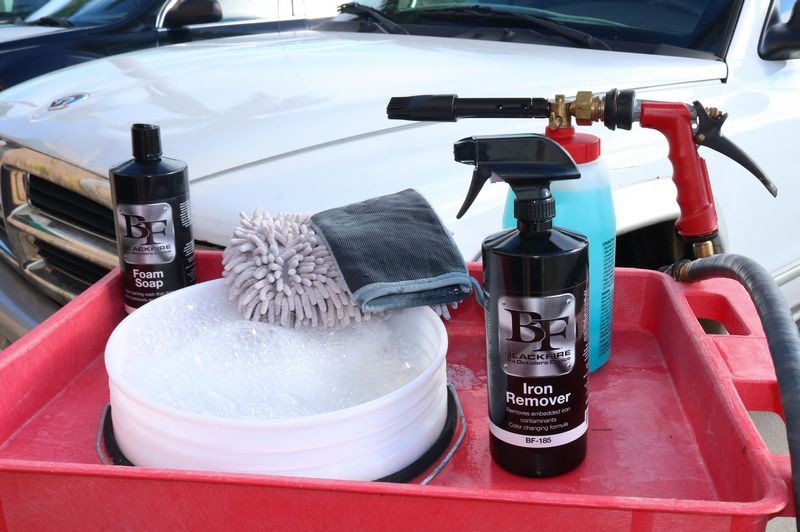
BLACKFIRE Iron Remover

The background story...
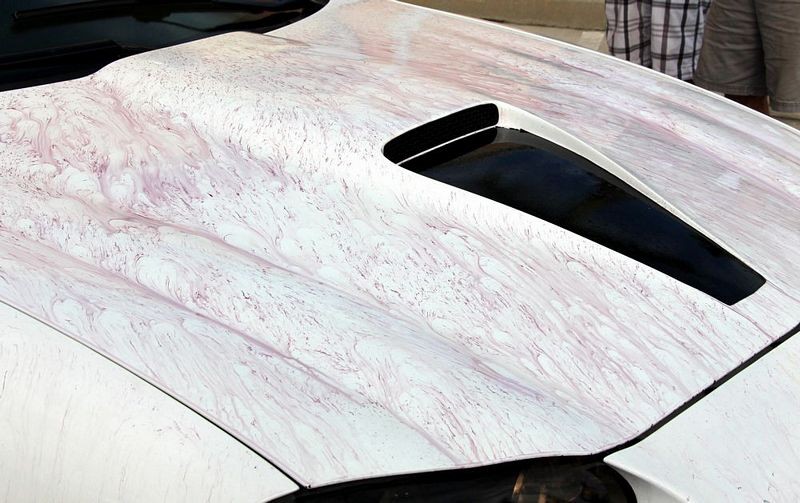
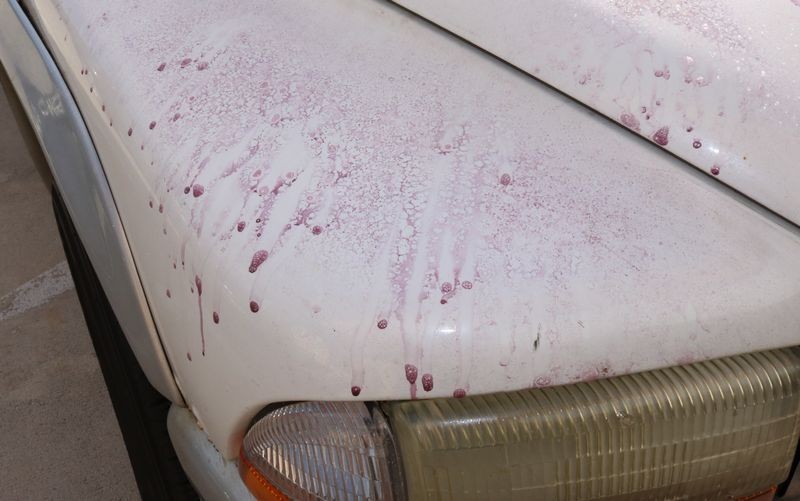
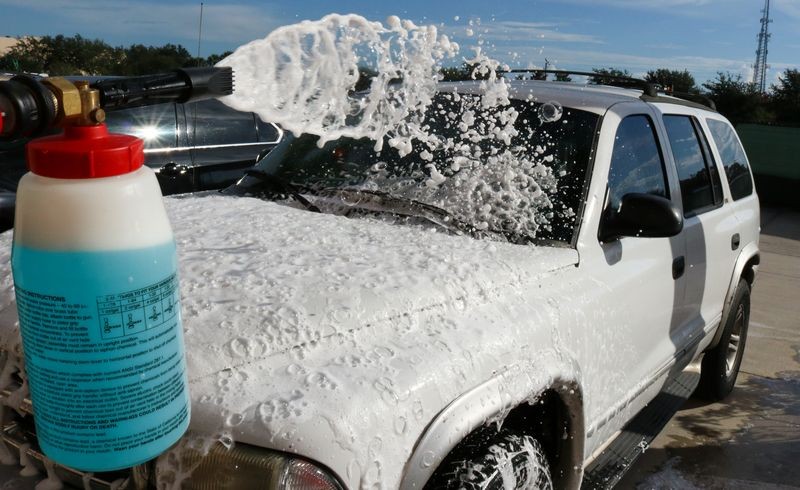
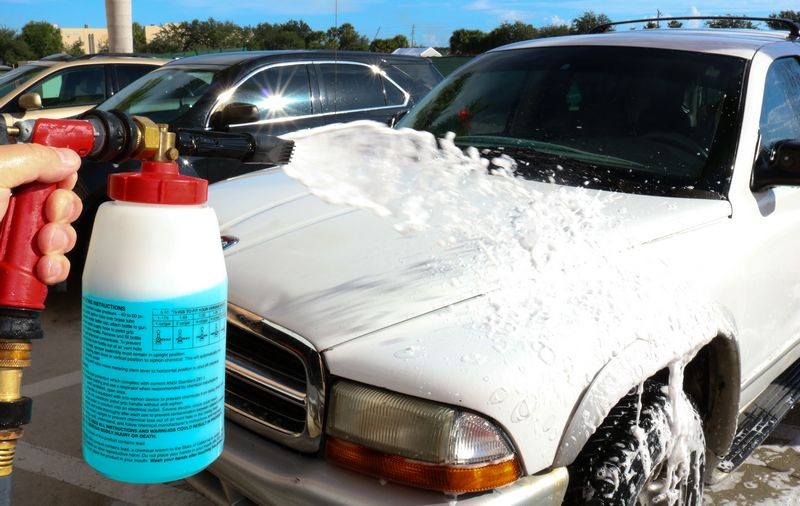
When it comes to visually showing people what an Iron Remover is for and what it does, (that's two things), you really need a neglected vehicle with white paint.
Why?
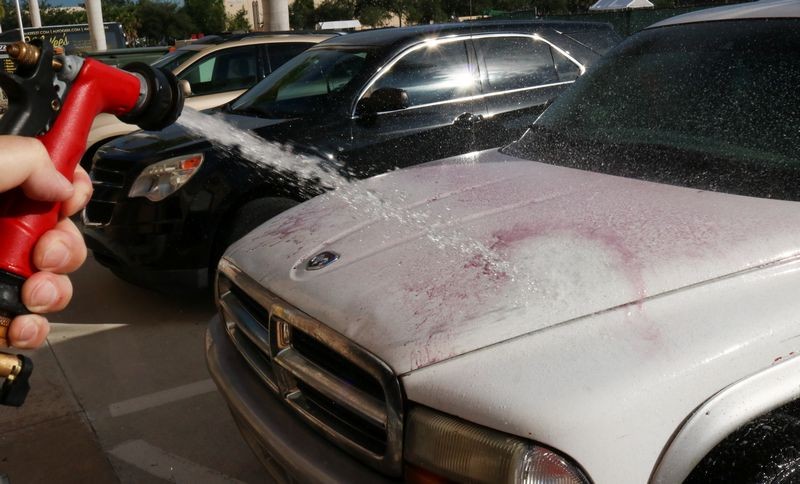
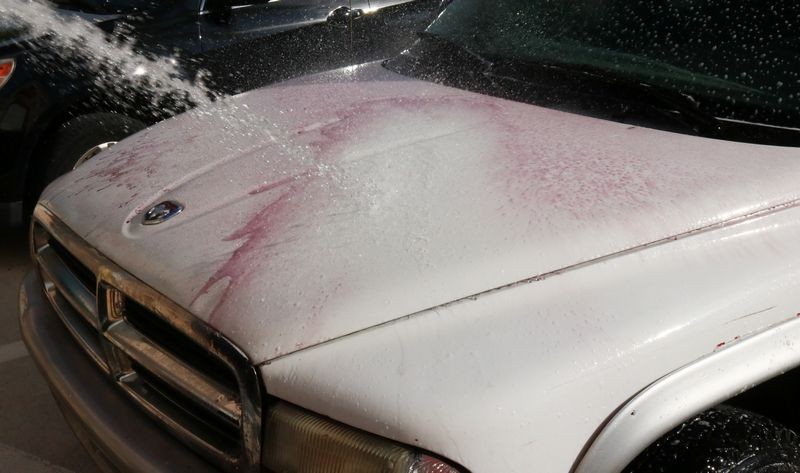
Because if the paint is in fact contaminated with some form of iron contamination, as a result of the chemical reaction between the iron remover and the iron is a dark red or purple color that simply appears in a very visual way on white paint.
Now follow me....
You'll get the same color changing effect with cars that are painted other colors, like red, black, blue, silver, yellow, etc., it's just white paint shows the effect best.
Good condition versus neglected condition
There's also a huge difference in the color changing effect when a car in good condition is treated compared to a car that is older and also very neglected on the maintenance side of the equation. So when I was asked to test and write a review for this new Iron Remover in the BLACKFIRE line, I walked around the parking lot here at Autogeek looking for the WORST condition white vehicle to both test the product but to also get pictures that make it easy for anyone new to an Iron Remover product to wrap their brain around.
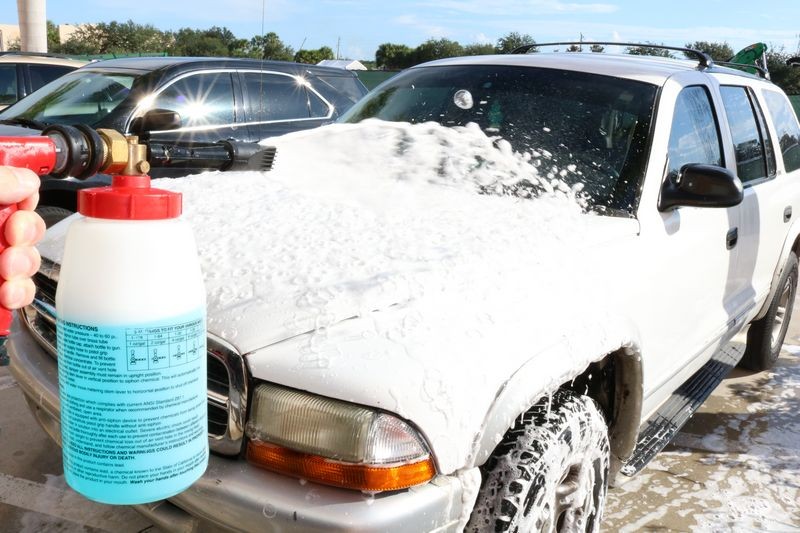
AJ's Durango
AJ works in the warehouse, he's a great guy that would give you the shirt of his back if you needed but AJ is not much into car detailing. Here's AJ's white Durango that he calls his "Beater Truck".


I don't remember ever seeing a wiper arm this rusty?


I had him drive his Durango around to the front of Autogeek where we do all our car washing and took these pictures to give you an idea of just how long it's been since the wheels and tires were properly cleaned....
Passenger side


Driver's side

Driver's side headlight

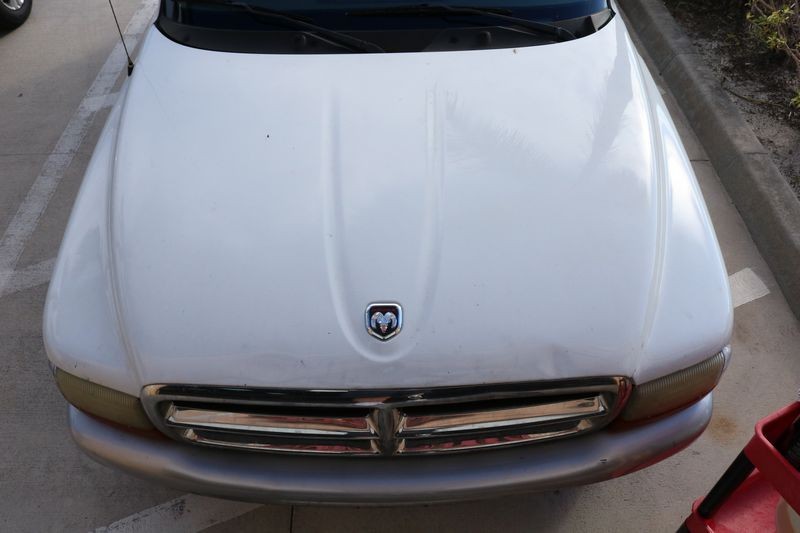
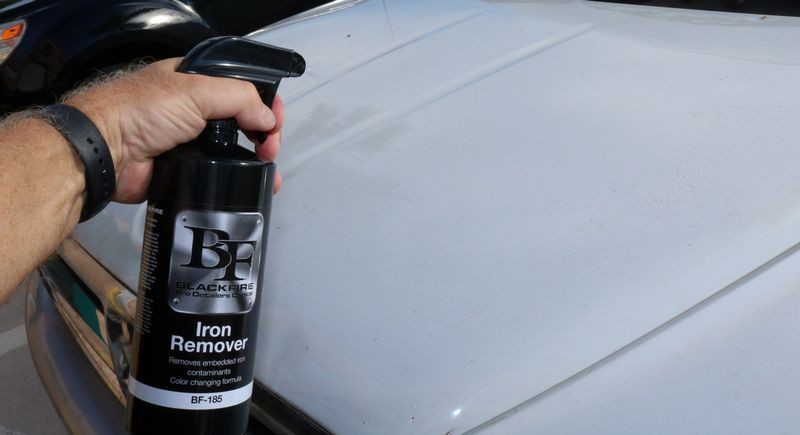
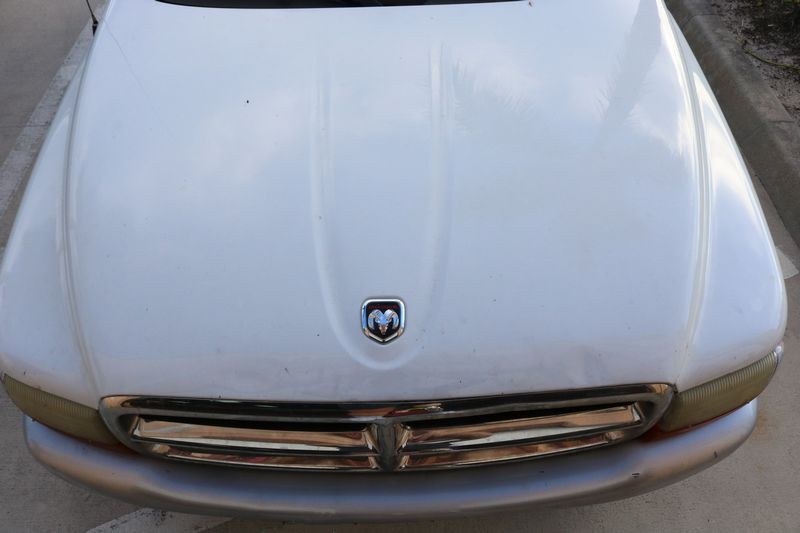
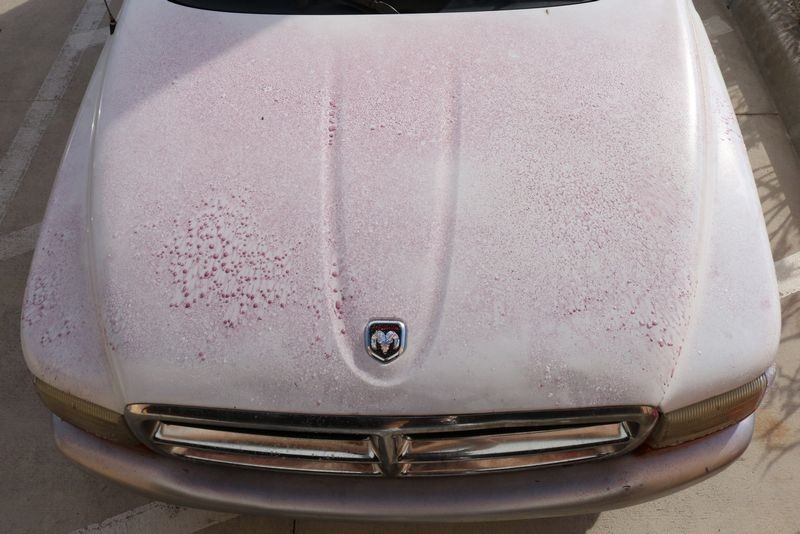
The BIG PICTURE
The point of the above pictures showing how severely neglected these areas of the Durango are is because when I took a picture of the hood, because it's white and a little cloudy out the morning I tested this product, you can't really get a feel for how neglected the Durango is by the picture of the hood.
BUT - here's that picture anyway just to be thorough in my documentation.....

So yeah.... this Durango has seen better days and it's very apparent it's been years since it was properly washed and waxed...
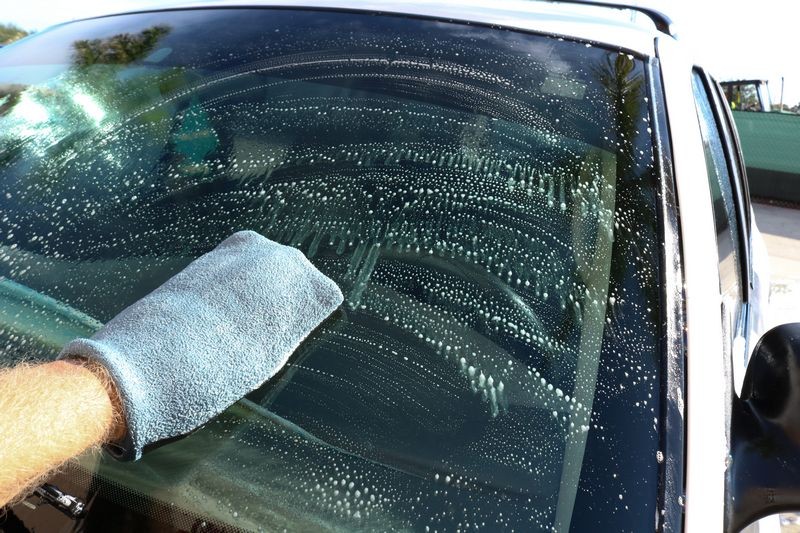
Just to note, many of you remember the review I wrote for BLACKFIRE Glass Cleaner. For this review, I used AJ's MBW Z4 - here's the link to this review....
How to remove Smokers Film off inside of windshield - Review: BLACKFIRE Glass Cleaner
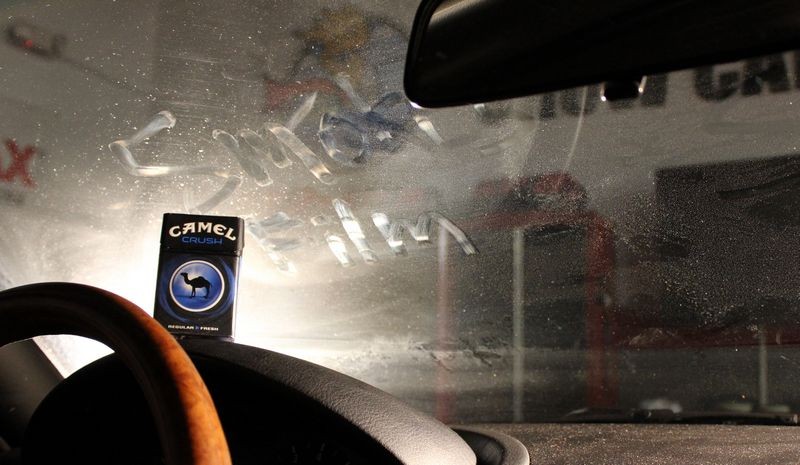
This car was neglected too. Here's the infamous shot I took showing the smoker's film on the inside of the glass.
Apologies that most of the pictures in the glass cleaner review are missing since the AutogeekOnline discussion forum software was moved to a new server. Still hoping our vB Mechanic will be able to fix the coding which will make the pictures from the glass cleaner review I wrote show up plush probably hundreds of other reviews and articles I've written that currently have missing pictures.
")
BLACKFIRE Iron Remover
The background story...
When it comes to visually showing people what an Iron Remover is for and what it does, (that's two things), you really need a neglected vehicle with white paint.
Why?
Because if the paint is in fact contaminated with some form of iron contamination, as a result of the chemical reaction between the iron remover and the iron is a dark red or purple color that simply appears in a very visual way on white paint.
Now follow me....
You'll get the same color changing effect with cars that are painted other colors, like red, black, blue, silver, yellow, etc., it's just white paint shows the effect best.
Good condition versus neglected condition
There's also a huge difference in the color changing effect when a car in good condition is treated compared to a car that is older and also very neglected on the maintenance side of the equation. So when I was asked to test and write a review for this new Iron Remover in the BLACKFIRE line, I walked around the parking lot here at Autogeek looking for the WORST condition white vehicle to both test the product but to also get pictures that make it easy for anyone new to an Iron Remover product to wrap their brain around.
AJ's Durango
AJ works in the warehouse, he's a great guy that would give you the shirt of his back if you needed but AJ is not much into car detailing. Here's AJ's white Durango that he calls his "Beater Truck".
I don't remember ever seeing a wiper arm this rusty?
I had him drive his Durango around to the front of Autogeek where we do all our car washing and took these pictures to give you an idea of just how long it's been since the wheels and tires were properly cleaned....
Passenger side
Driver's side
Driver's side headlight
The BIG PICTURE
The point of the above pictures showing how severely neglected these areas of the Durango are is because when I took a picture of the hood, because it's white and a little cloudy out the morning I tested this product, you can't really get a feel for how neglected the Durango is by the picture of the hood.
BUT - here's that picture anyway just to be thorough in my documentation.....
So yeah.... this Durango has seen better days and it's very apparent it's been years since it was properly washed and waxed...
Just to note, many of you remember the review I wrote for BLACKFIRE Glass Cleaner. For this review, I used AJ's MBW Z4 - here's the link to this review....
How to remove Smokers Film off inside of windshield - Review: BLACKFIRE Glass Cleaner
This car was neglected too. Here's the infamous shot I took showing the smoker's film on the inside of the glass.
Apologies that most of the pictures in the glass cleaner review are missing since the AutogeekOnline discussion forum software was moved to a new server. Still hoping our vB Mechanic will be able to fix the coding which will make the pictures from the glass cleaner review I wrote show up plush probably hundreds of other reviews and articles I've written that currently have missing pictures.
 rops:
rops: