blkyukon
New member
- Mar 18, 2006
- 184
- 0
I've tried many different products for cleaning headlights - metal polish, paint polish, plastic polish, etc.and all work great at restoring headlights. This weekend I tried the Diamondite's Clear Plastic Kit for headlights....I have to say, this kit is probably the most effective product I've used so far, (everything you need is in the kit ) plus the 4" pads makes it much easier to work on headlights.
The kit includes:
I used a rotary set at 1800prm for both the Enhancer and Restorer....A drill (set at~1800rpm) or a PC (set at~4500-5000opm) will work just as well -a PC will just take a bit long to break down the polish.
Method - The main thing to remember when working with plastic is not let it get too hot. Getting it too hot could cause the plastic to cloud.
First, mask off any surrounding area with painters tape. Apply the Enhancer to the pad and work it in using slow overlapping passes, using moderate pressure until it becomes translucent - remove residue with MF towel. Depending on the severity you might need a couple of passes before moving to the next step.
I found the Enhancer to be very effective at removing the majority of clouding and surface scratches with just one pass...With further testing I found it will also remove 2000 grit wet sanding marks in one pass too.
After removing the imperfections, change to the orange pad and apply the Restorer to the pad and work it in, using little pressure until it also becomes translucent...again repeat this step if needed.
Note - allow time for the headlight to cool between steps or passes.
Finish with 2-3 coats of Clear Plastic Liquid Armor for protection
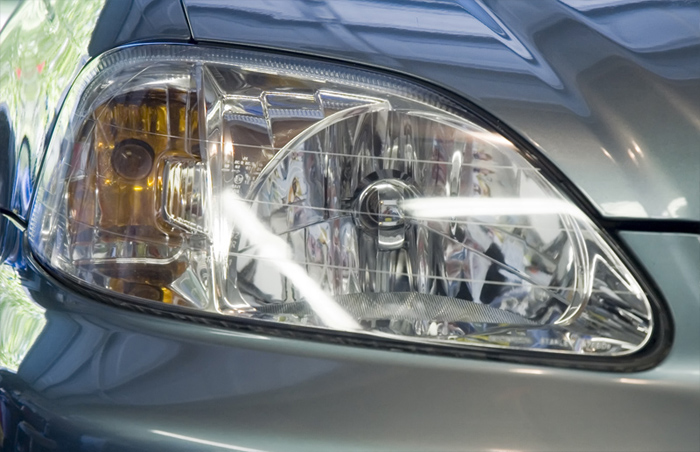
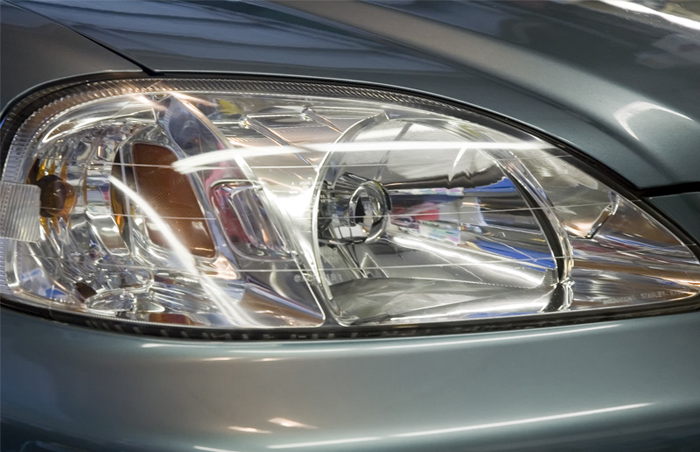
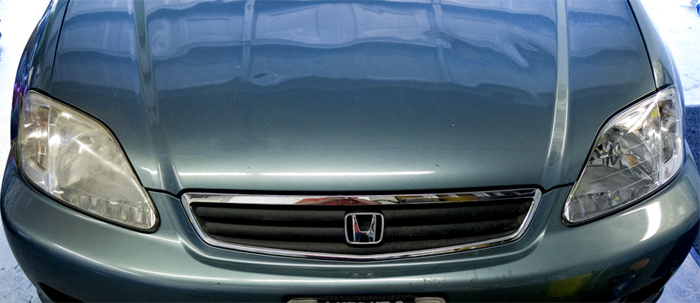
Here are some before and after shots:
Before:
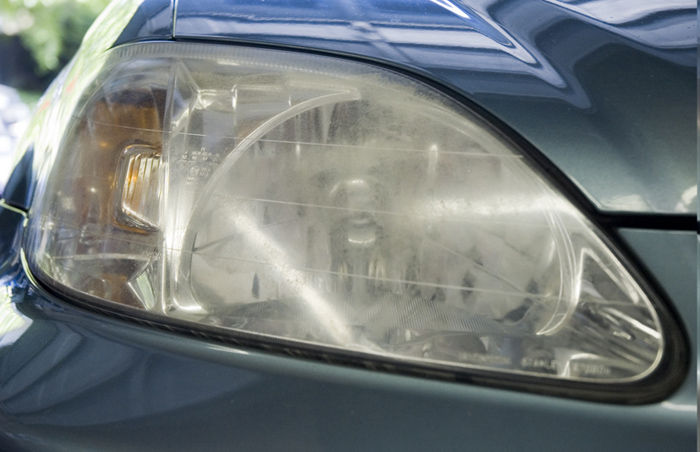
Afters:
The kit includes:
- Diamondite Clear Plastic Enhancer w/ 4" Yellow Cutting pad
- Diamondite Clear Plastic Restorer w/4"orange Light cutting pad
- Diamondite Clear Plastic Liquid Armor
- backing plate & Drill adapter
- Microfiber Towel
I used a rotary set at 1800prm for both the Enhancer and Restorer....A drill (set at~1800rpm) or a PC (set at~4500-5000opm) will work just as well -a PC will just take a bit long to break down the polish.
Method - The main thing to remember when working with plastic is not let it get too hot. Getting it too hot could cause the plastic to cloud.
First, mask off any surrounding area with painters tape. Apply the Enhancer to the pad and work it in using slow overlapping passes, using moderate pressure until it becomes translucent - remove residue with MF towel. Depending on the severity you might need a couple of passes before moving to the next step.
I found the Enhancer to be very effective at removing the majority of clouding and surface scratches with just one pass...With further testing I found it will also remove 2000 grit wet sanding marks in one pass too.
After removing the imperfections, change to the orange pad and apply the Restorer to the pad and work it in, using little pressure until it also becomes translucent...again repeat this step if needed.
Note - allow time for the headlight to cool between steps or passes.
Finish with 2-3 coats of Clear Plastic Liquid Armor for protection
Here are some before and after shots:
Before:
Afters:
Last edited: