Mike Phillips
Active member
- Dec 5, 2022
- 51,004
- 6
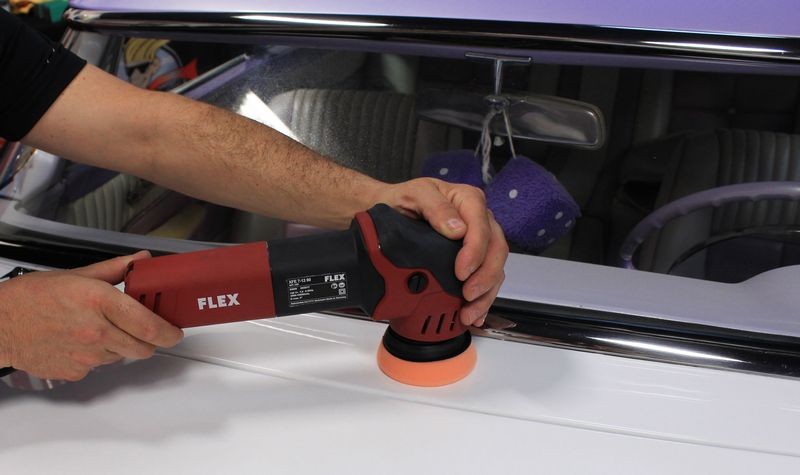
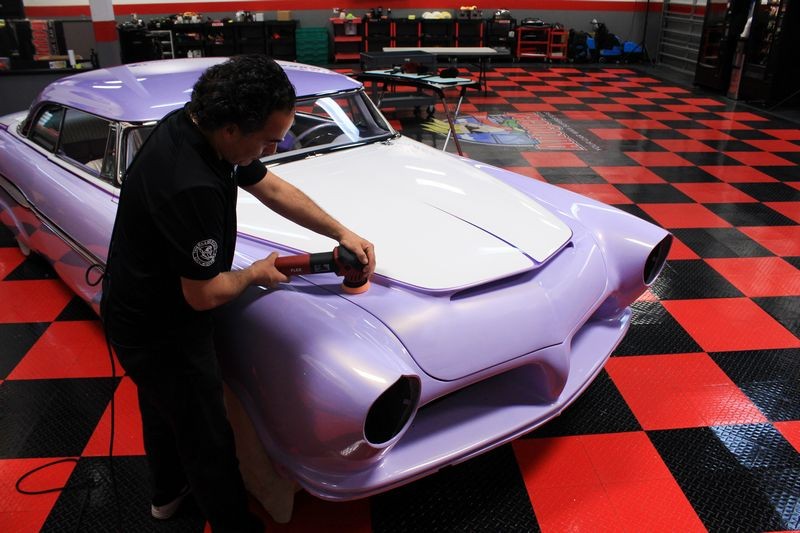
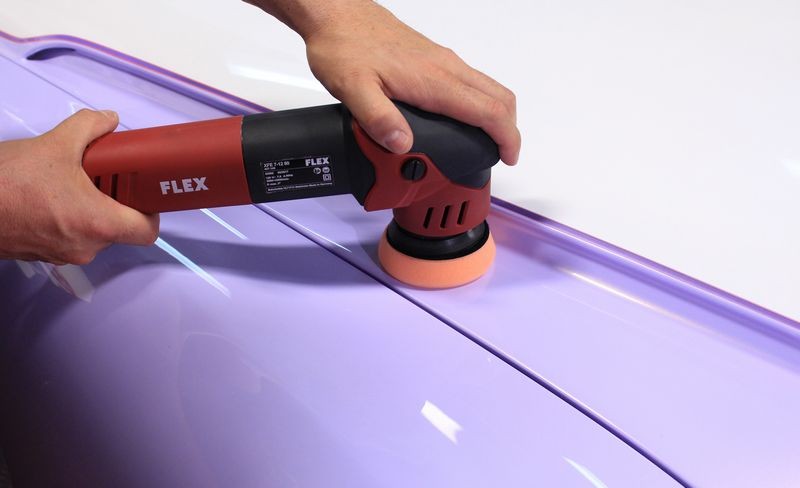
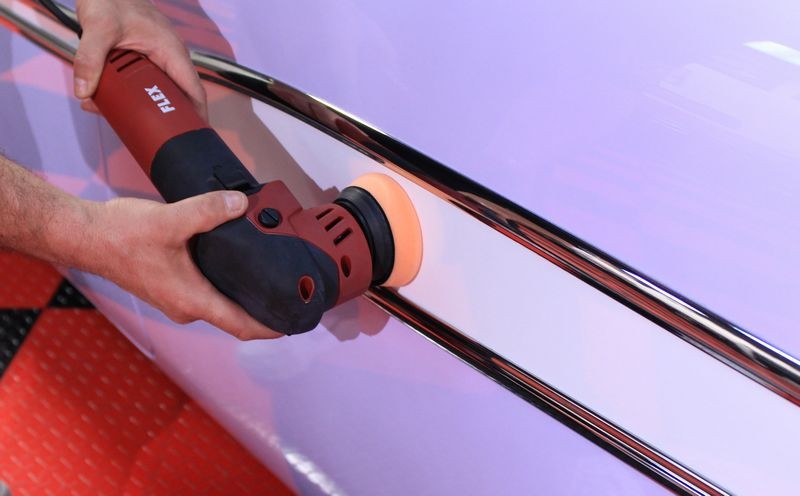
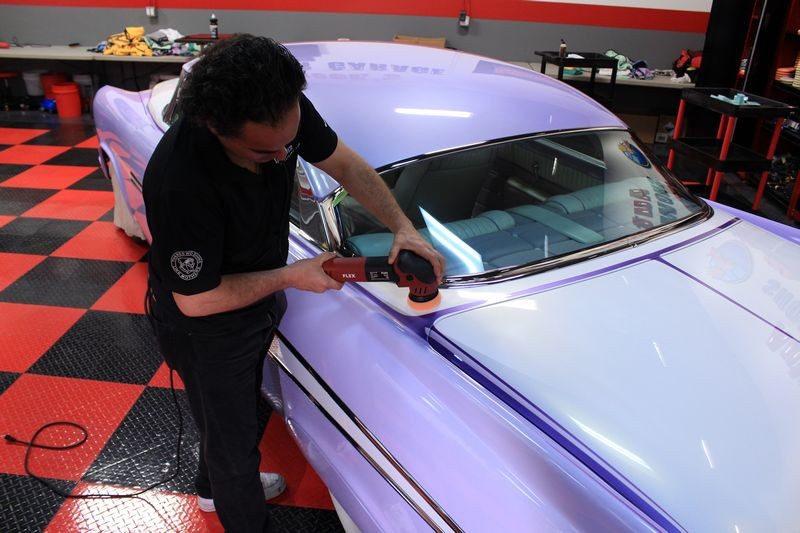
Review: FLEX XFE 7-12 80 aka The FLEX 3" 12mm Long Stroke Orbital Mini Polisher
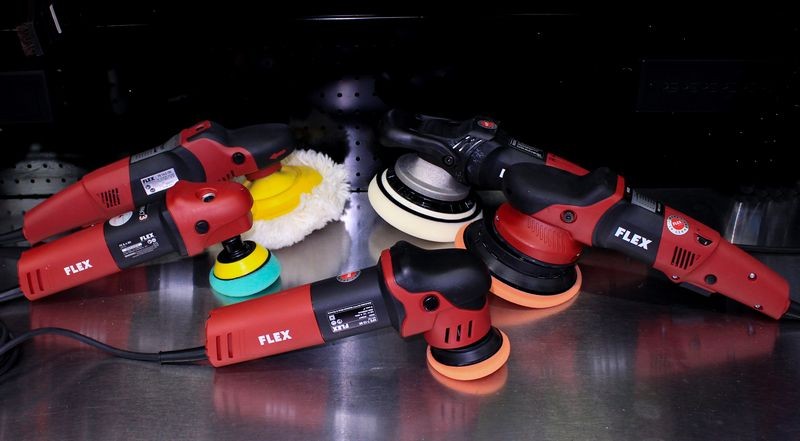
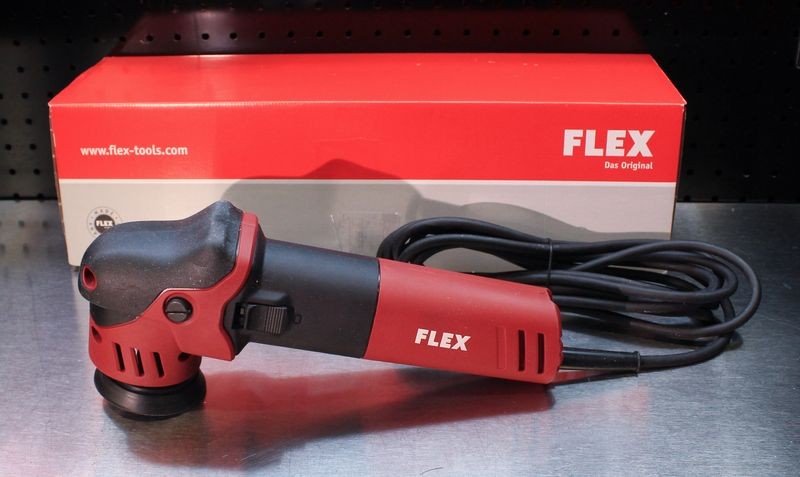
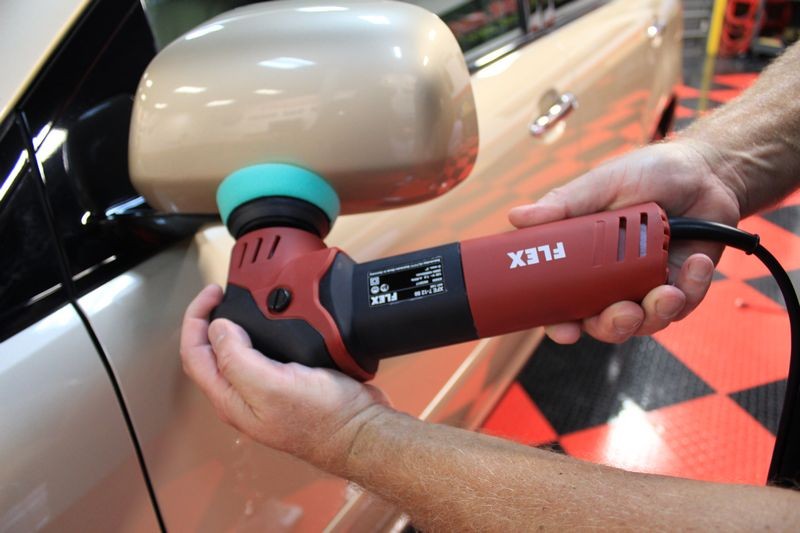
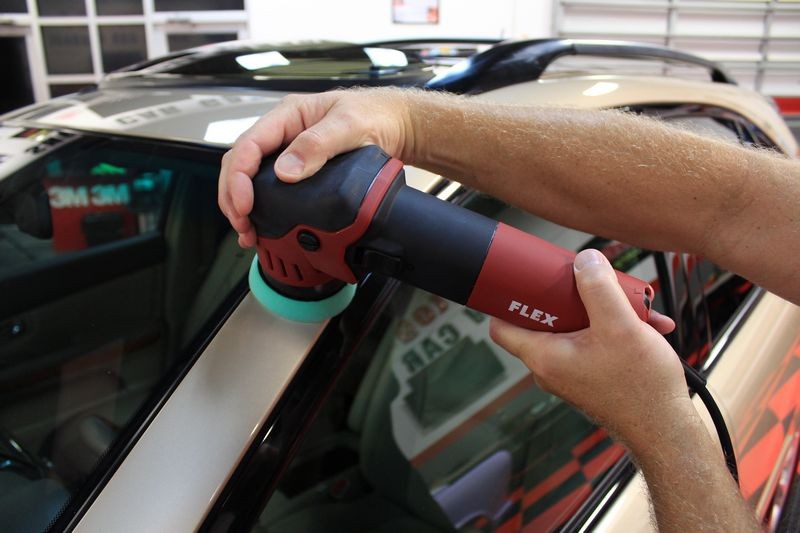
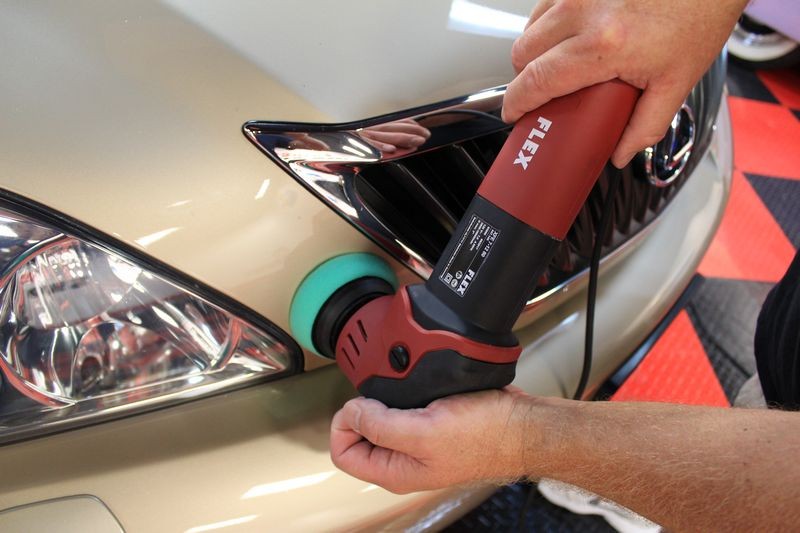
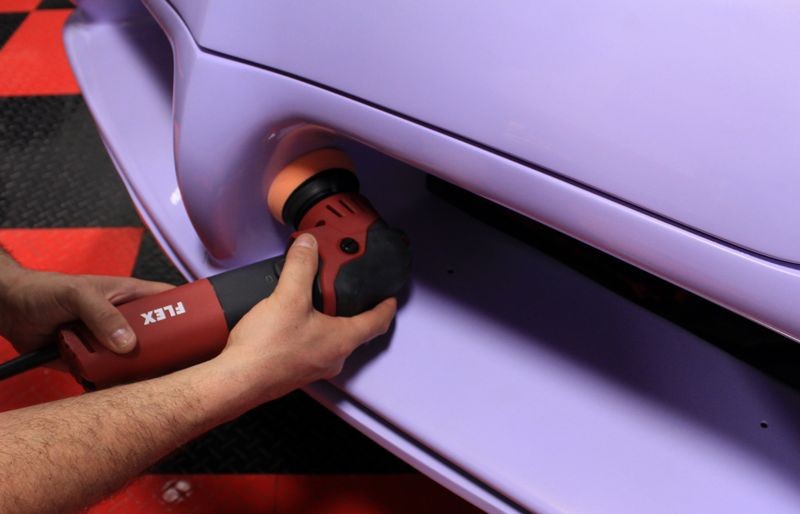
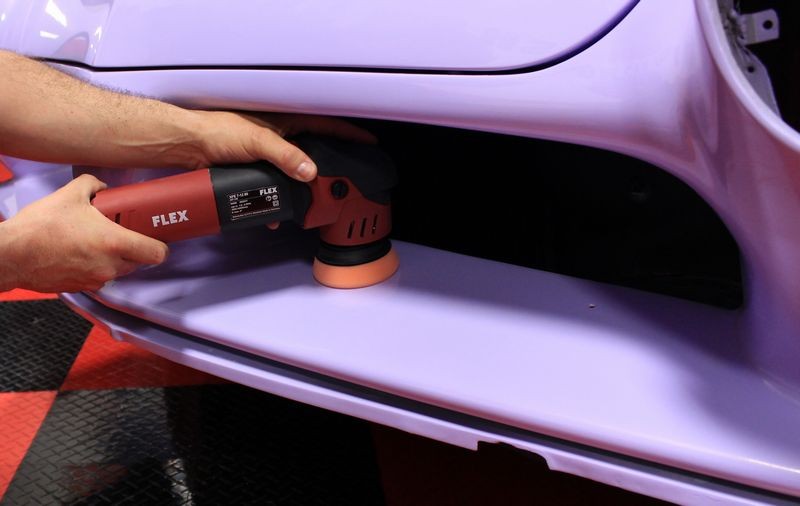
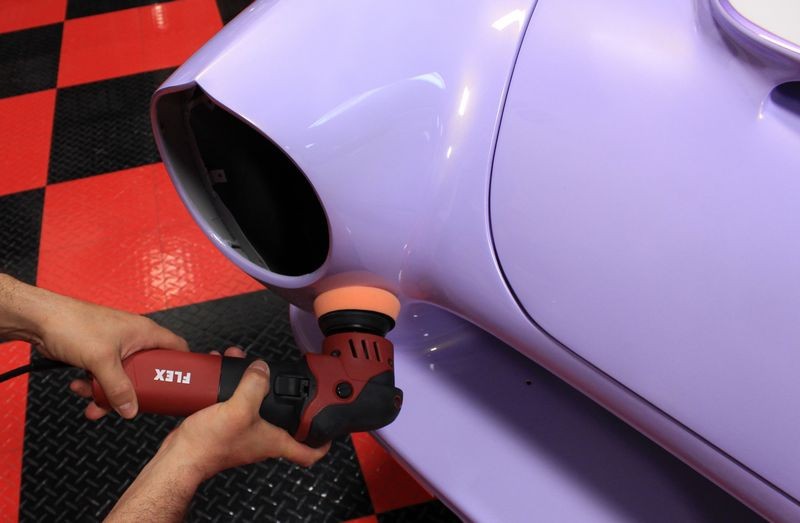
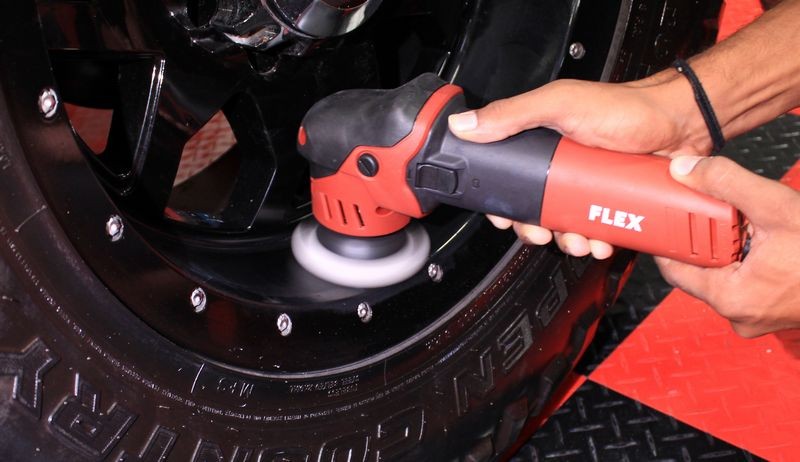
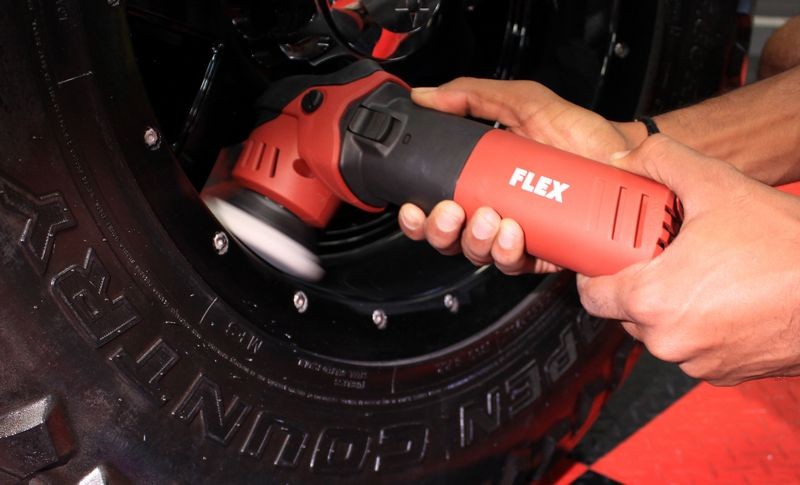
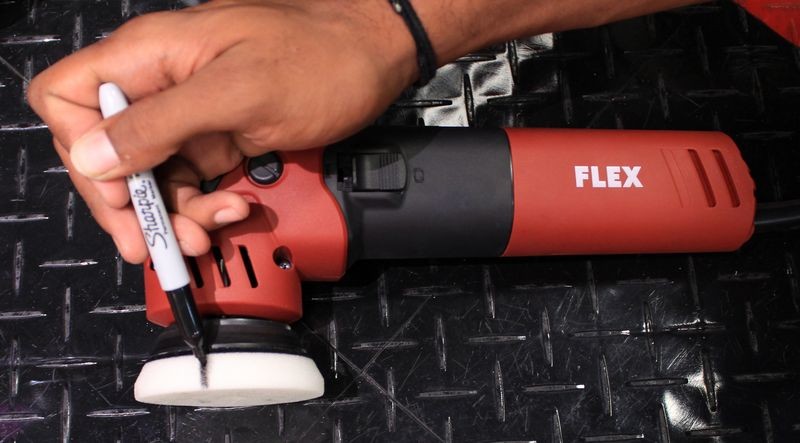
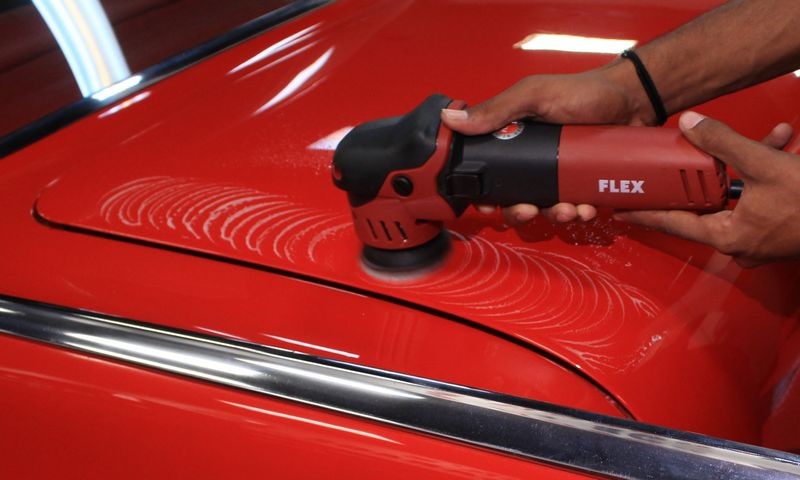
The FLEX 3" 12mm Long Stroke Orbital Mini Polisher
Video: Introducing the new FLEX 3" 12mm Long Stroke Orbital Mini Polisher
First let me break down the numbers in the name of this tool so everyone knows what they mean as they refer to this tool.
FLEX = Name of company
XFE 7 = Just an internal numbering system for FLEX tool company. No meaning outside of inventory control.
12 = This means this tool as a 12mm orbit stroke length.
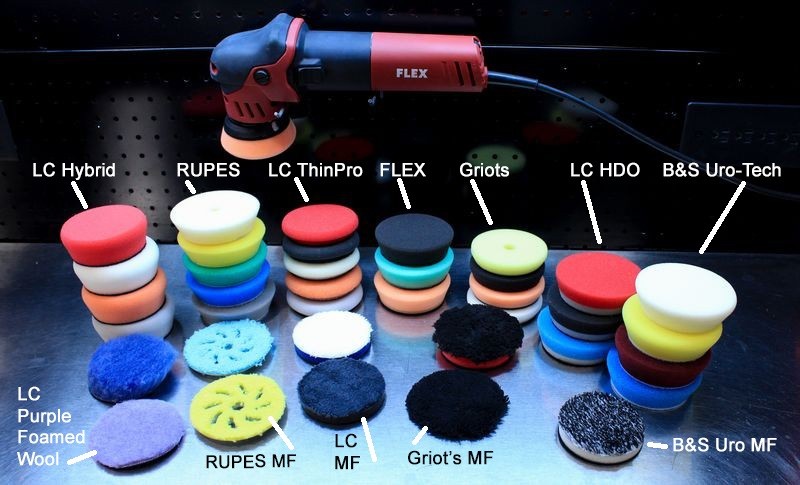
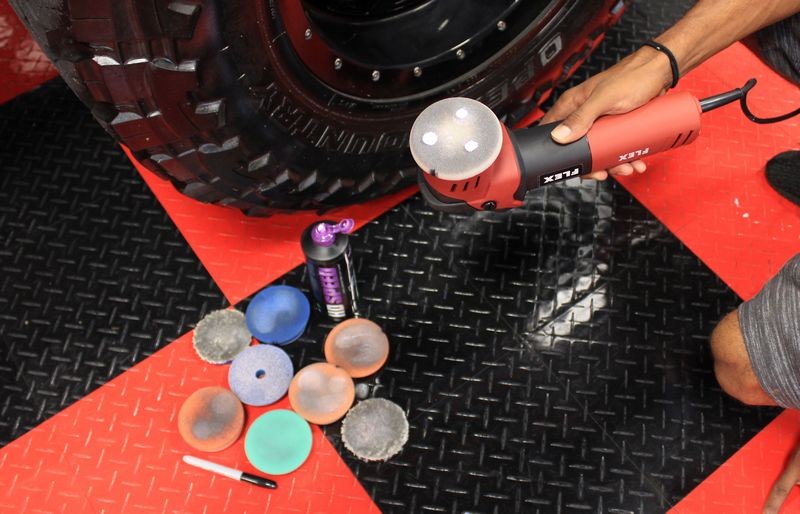
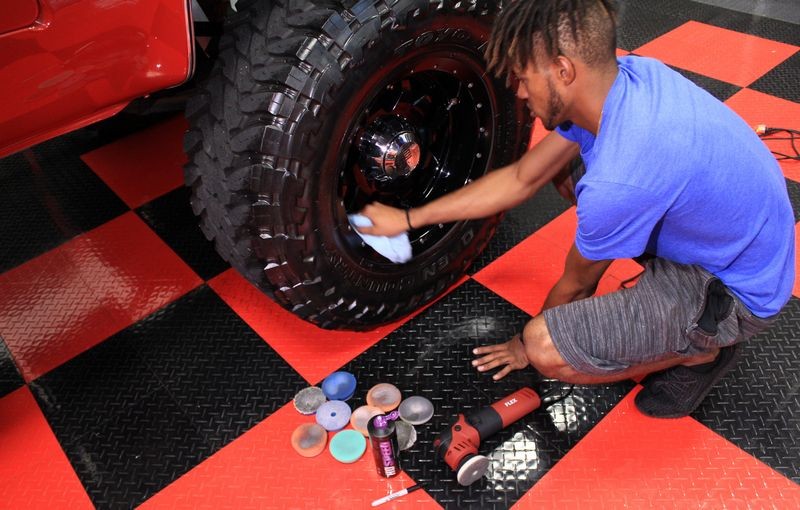
80 - This means the largest pad size - FLEX recommends pas with a 80mm or 3" diameter for the face of the pad. They actually say you can go up to 100mm which is around 4" but my own experience shows that smaller pads and thinner pads will rotate better. So if you're doing correction or polishing work, stick with thinner 3" foam and microfiber pads. If you're just trying to spread out a finishing wax or a finishing sealant, they by all means jump up to a 4" diameter pad to cover more area with this larger footprint.
Let's get real...
No one is going to call this the FLEX XFE7 12 80 - it simply doesn't roll-off the lips.
That's also not how "Car Guys" talk. In the real world, here's what we're all going to call this tool,
The FLEX 3" 12mm Long Stroke Orbital Mini Polisher
And actually, even the shorter version,
The FLEX 3" Mini Polisher
Yes it's free spinning. Yes it's orbital. Yes the orbit stroke is 12mm and yes - it's a long stroke orbital polisher, but in a world where people can't even type out a work but instead use texting language, no one is going to call this by it's true and accurate name... everyone is going to call it the FLEX 3" Mini Polisher.
Now that that's out of the way, let's talk about the tool.
Technical stuff
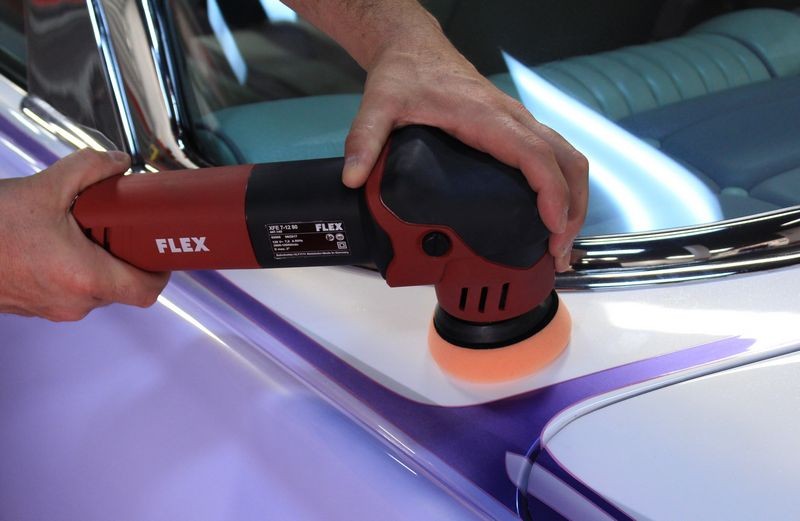
Recommended pads size: 80mm = 3.15 inches - this refers to the diameter of the face of the pad.
Optional pad size: 100mm = 3.93 inches - This would be for applying a finishing wax or a finishing sealant. If you don't know, when the word finishing is used to describe a wax or sealant, it means it's a NON-CLEANING wax or sealant and should only be used on paint in PERFECT condition. A finishing wax or a finishing sealant is the opposite of a cleaner/wax or a cleaner/sealant.
If you're going to use a cleaner/wax or a cleaner/sealant with the new FLEX 3" Mini Polisher, then stick with thin 3" foam pads.
Backing plate size: 75mm = 2.95 inches - just call it a 3" backing plate and that's the diameter of the face of the backing plate.
Weight: 2.3 kilograms = 5.07 pounds
Electrical stuff that really doesn't matter from a practical point of use
Power input = 700 watts
Power output = 420 watts
Look, in the real-world, you're going put this tool on speed 5-6 to do correction work and 4-5 to do machine waxing or machine sealing work. You will do this whether or not - in your brain you know the power input or output. :laughing:
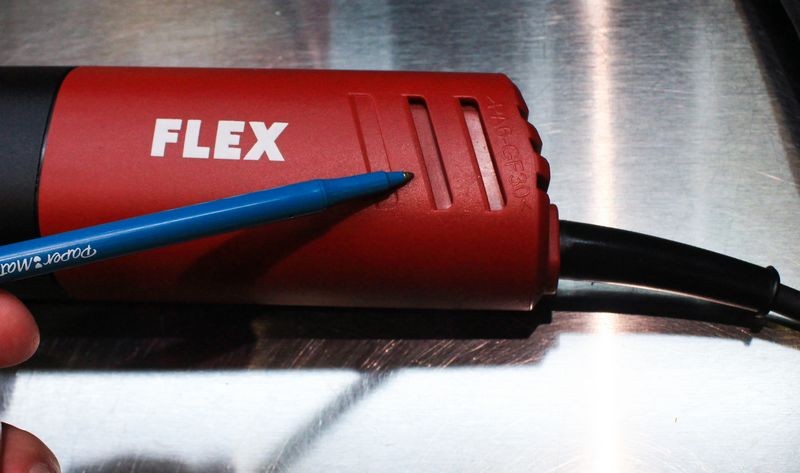
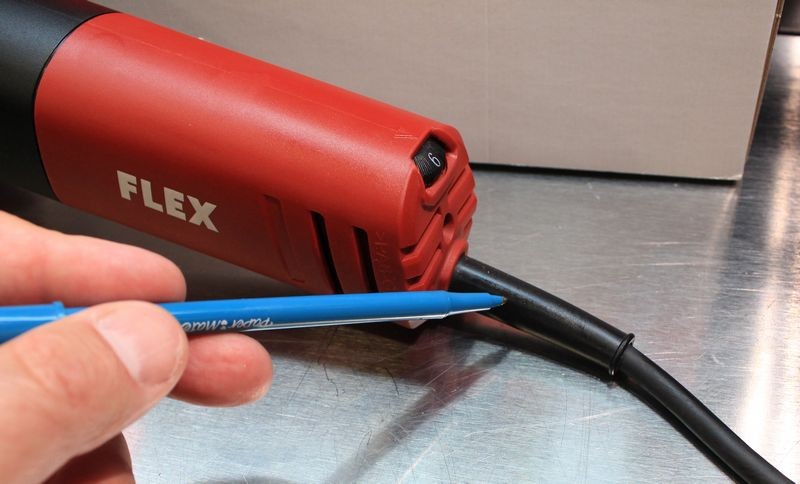
Power cord: 4 meters = 13 feet - This is a nice length for a tool but even better, like all FLEX tools, the cord is rubber, not vinyl so it won't kink or hold a coil and they use heavy 12 gauge wire inside the cord to provide plenty of flow for current while protecting the tool.
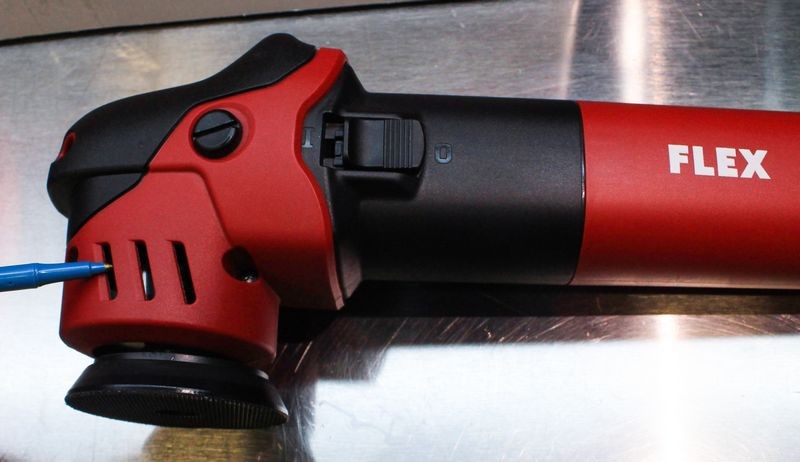
RPM Range: 1800 RPM to 5500 RPM
OPM Range: 3600 OPM to 10,800 OPM
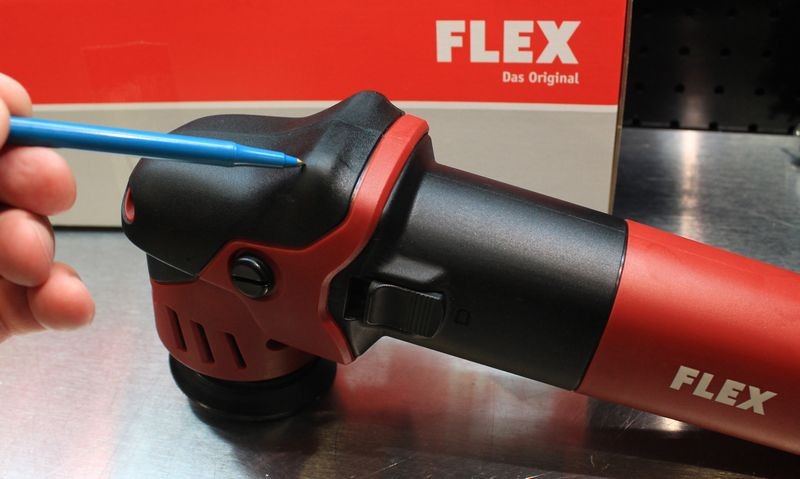
Physical size: 320centimeters x 120 centimeters or in U.S. Standard measurements, this tool is about 12.5" long by about 4.7" tall at the head of the tool. So from the face of the backing plate to the top of the back of the tool.
Quality never costs money... it makes money...
Besides all of the above, FLEX tools are the Mercedes-Benz of tools. They are SUPER high quality, not cheap junk. They use the best quality internal components including electrical parts, bearings, gears, seals, etc. You get what you pay for in life and when you buy ANY FLEX tool you're getting a pro-grade tool, not a cheap knock-off.
Available now on the Autogeek.com store
If you already love FLEX tools then no need to read any further, click the link below and get your FLEX Mini Polisher now.
FLEX XFE 7-12 3" Mini Polisher
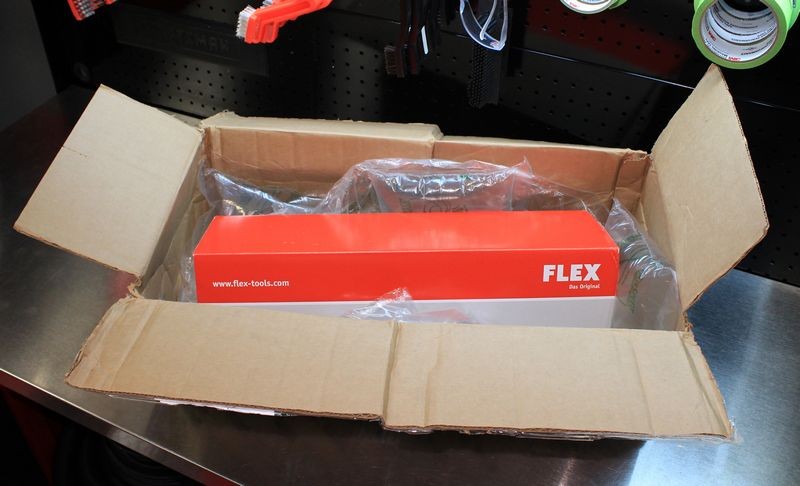
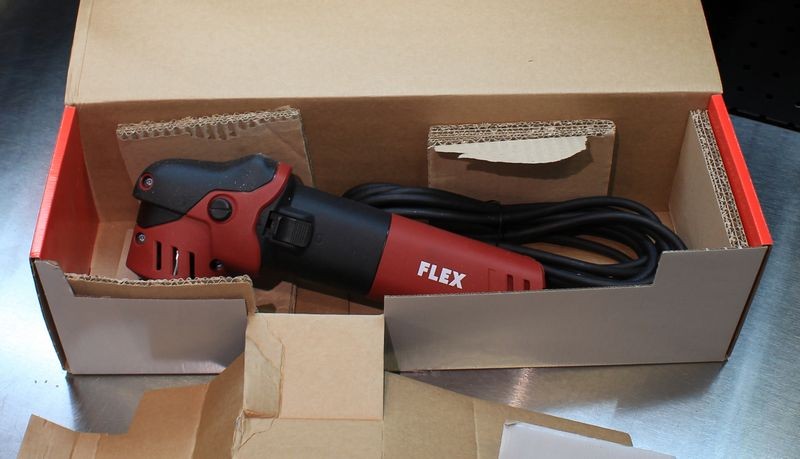
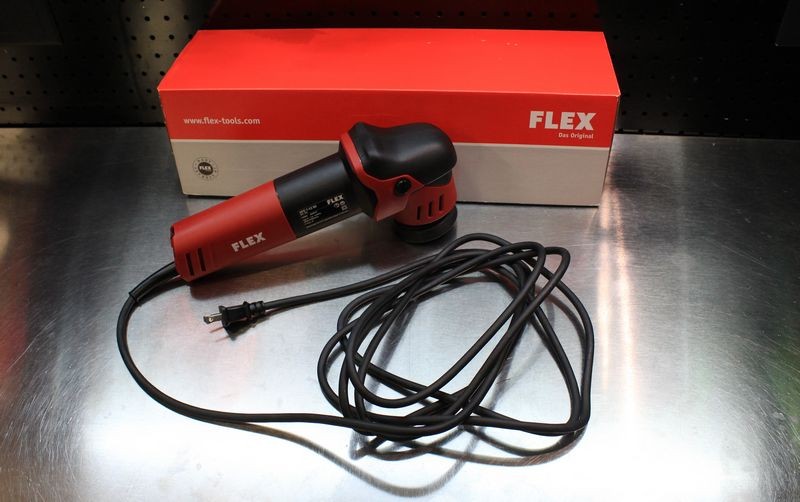
Now let's take a look at what's in the box...
")
The FLEX 3" 12mm Long Stroke Orbital Mini Polisher
Video: Introducing the new FLEX 3" 12mm Long Stroke Orbital Mini Polisher
First let me break down the numbers in the name of this tool so everyone knows what they mean as they refer to this tool.
FLEX = Name of company
XFE 7 = Just an internal numbering system for FLEX tool company. No meaning outside of inventory control.
12 = This means this tool as a 12mm orbit stroke length.
80 - This means the largest pad size - FLEX recommends pas with a 80mm or 3" diameter for the face of the pad. They actually say you can go up to 100mm which is around 4" but my own experience shows that smaller pads and thinner pads will rotate better. So if you're doing correction or polishing work, stick with thinner 3" foam and microfiber pads. If you're just trying to spread out a finishing wax or a finishing sealant, they by all means jump up to a 4" diameter pad to cover more area with this larger footprint.
Let's get real...
No one is going to call this the FLEX XFE7 12 80 - it simply doesn't roll-off the lips.
That's also not how "Car Guys" talk. In the real world, here's what we're all going to call this tool,
The FLEX 3" 12mm Long Stroke Orbital Mini Polisher
And actually, even the shorter version,
The FLEX 3" Mini Polisher
Yes it's free spinning. Yes it's orbital. Yes the orbit stroke is 12mm and yes - it's a long stroke orbital polisher, but in a world where people can't even type out a work but instead use texting language, no one is going to call this by it's true and accurate name... everyone is going to call it the FLEX 3" Mini Polisher.
Now that that's out of the way, let's talk about the tool.
Technical stuff
Recommended pads size: 80mm = 3.15 inches - this refers to the diameter of the face of the pad.
Optional pad size: 100mm = 3.93 inches - This would be for applying a finishing wax or a finishing sealant. If you don't know, when the word finishing is used to describe a wax or sealant, it means it's a NON-CLEANING wax or sealant and should only be used on paint in PERFECT condition. A finishing wax or a finishing sealant is the opposite of a cleaner/wax or a cleaner/sealant.
If you're going to use a cleaner/wax or a cleaner/sealant with the new FLEX 3" Mini Polisher, then stick with thin 3" foam pads.
Backing plate size: 75mm = 2.95 inches - just call it a 3" backing plate and that's the diameter of the face of the backing plate.
Weight: 2.3 kilograms = 5.07 pounds
Electrical stuff that really doesn't matter from a practical point of use
Power input = 700 watts
Power output = 420 watts
Look, in the real-world, you're going put this tool on speed 5-6 to do correction work and 4-5 to do machine waxing or machine sealing work. You will do this whether or not - in your brain you know the power input or output. :laughing:
Power cord: 4 meters = 13 feet - This is a nice length for a tool but even better, like all FLEX tools, the cord is rubber, not vinyl so it won't kink or hold a coil and they use heavy 12 gauge wire inside the cord to provide plenty of flow for current while protecting the tool.
RPM Range: 1800 RPM to 5500 RPM
OPM Range: 3600 OPM to 10,800 OPM
Physical size: 320centimeters x 120 centimeters or in U.S. Standard measurements, this tool is about 12.5" long by about 4.7" tall at the head of the tool. So from the face of the backing plate to the top of the back of the tool.
Quality never costs money... it makes money...
Besides all of the above, FLEX tools are the Mercedes-Benz of tools. They are SUPER high quality, not cheap junk. They use the best quality internal components including electrical parts, bearings, gears, seals, etc. You get what you pay for in life and when you buy ANY FLEX tool you're getting a pro-grade tool, not a cheap knock-off.
Available now on the Autogeek.com store
If you already love FLEX tools then no need to read any further, click the link below and get your FLEX Mini Polisher now.
FLEX XFE 7-12 3" Mini Polisher
Now let's take a look at what's in the box...


 rops:
rops: