Mike Phillips
Active member
- Dec 5, 2022
- 51,004
- 6
Review: IGL Poly Ceramic Coating & IGL Compounds and Polishes - GREAT ABRASIVE TECHNOLOGY
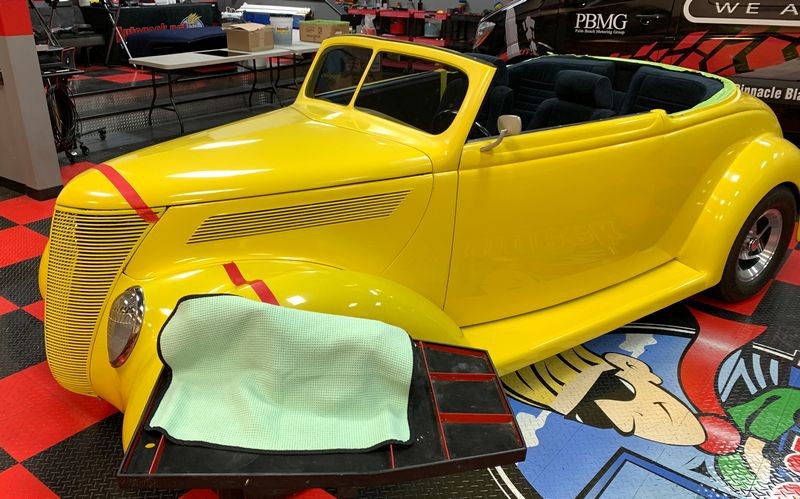
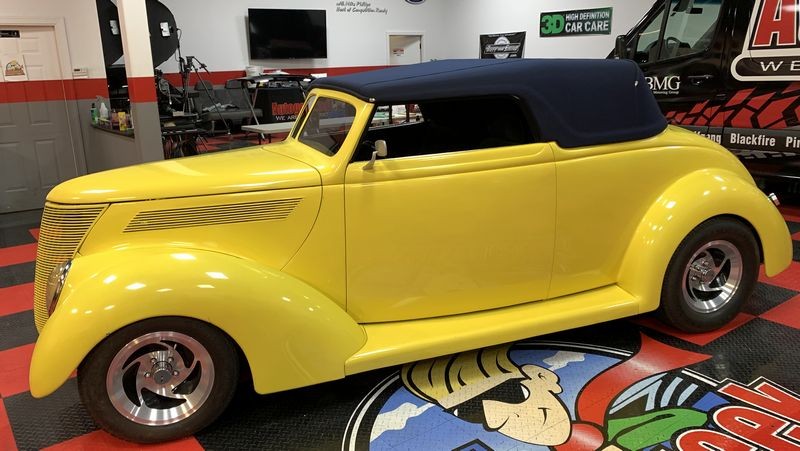
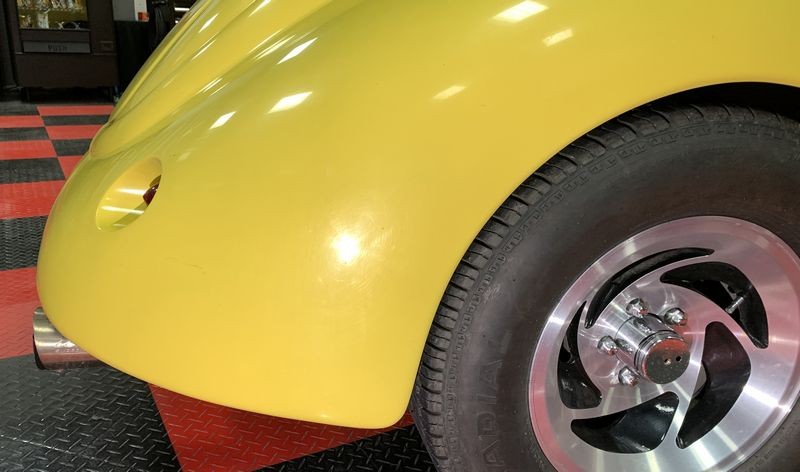
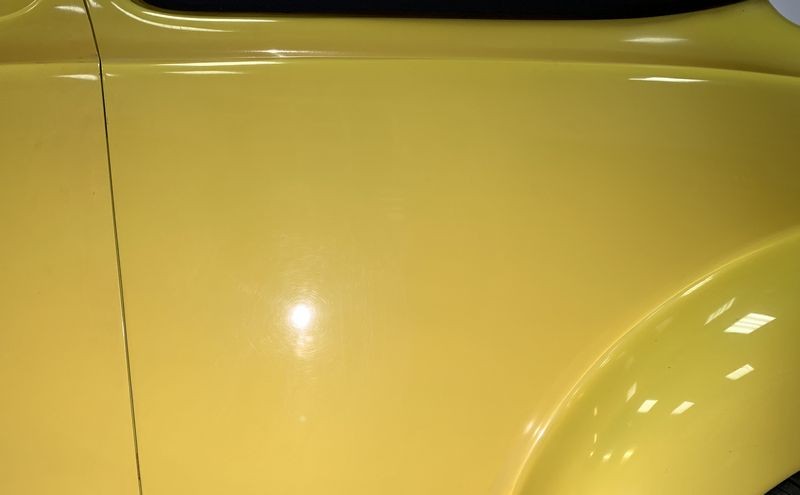
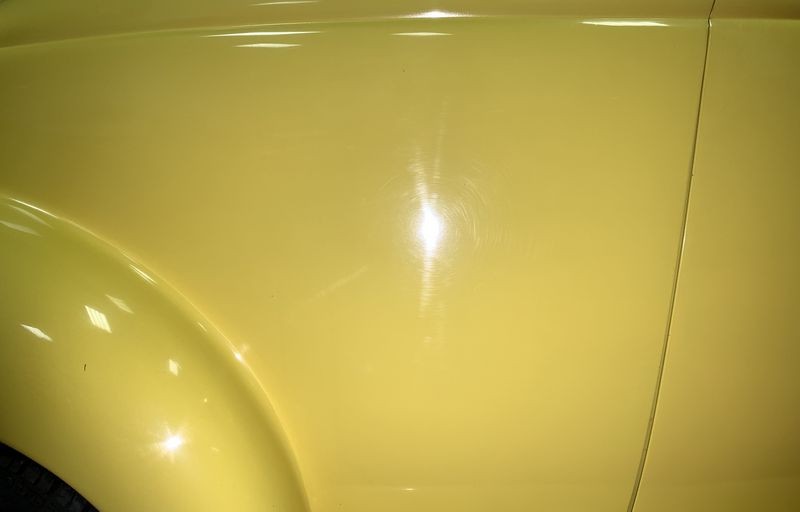
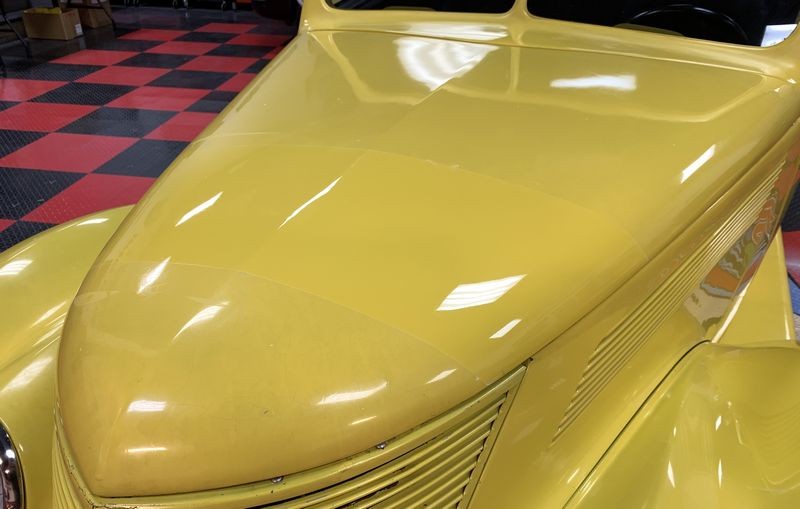
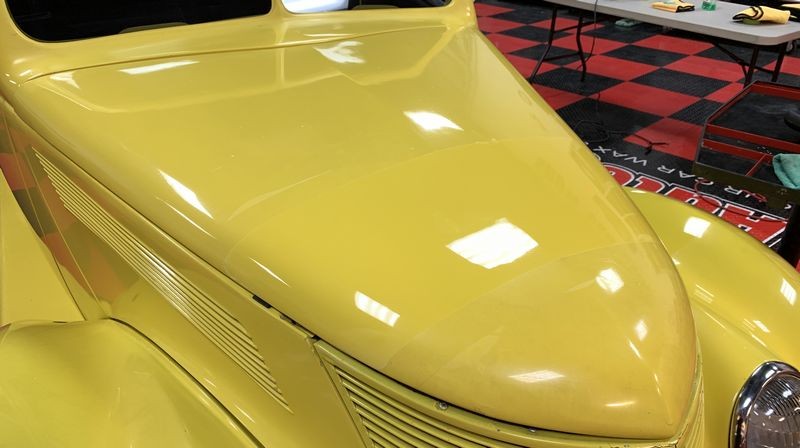
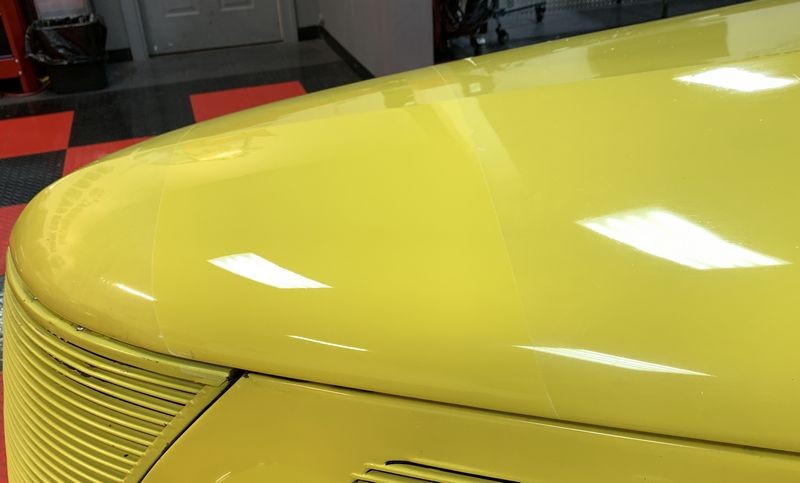
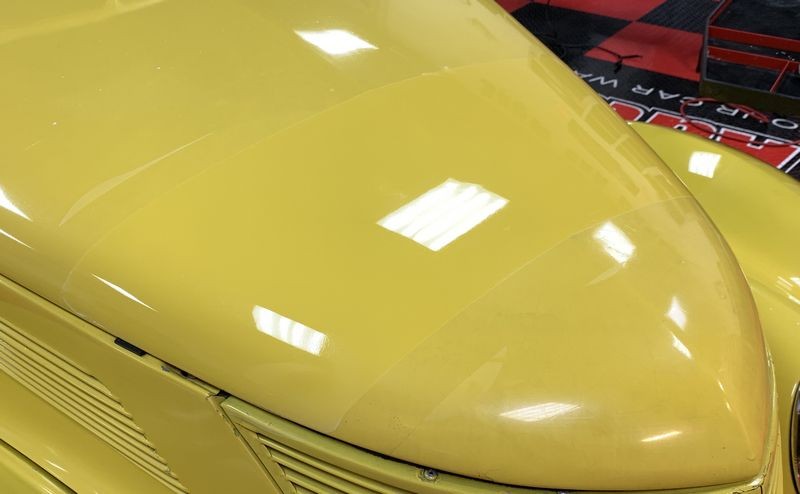
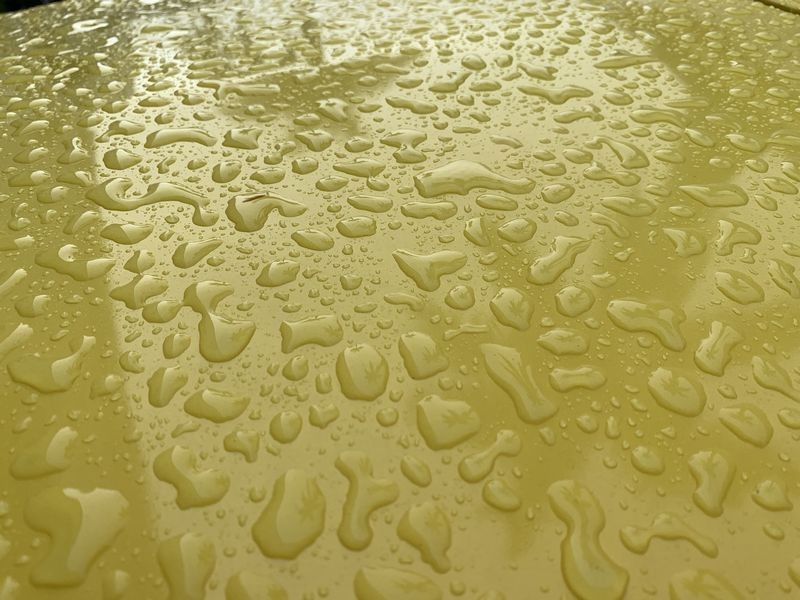
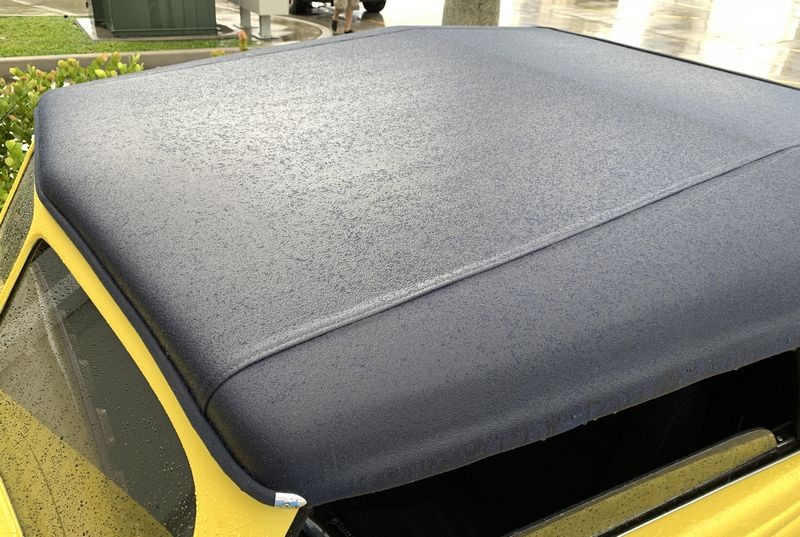
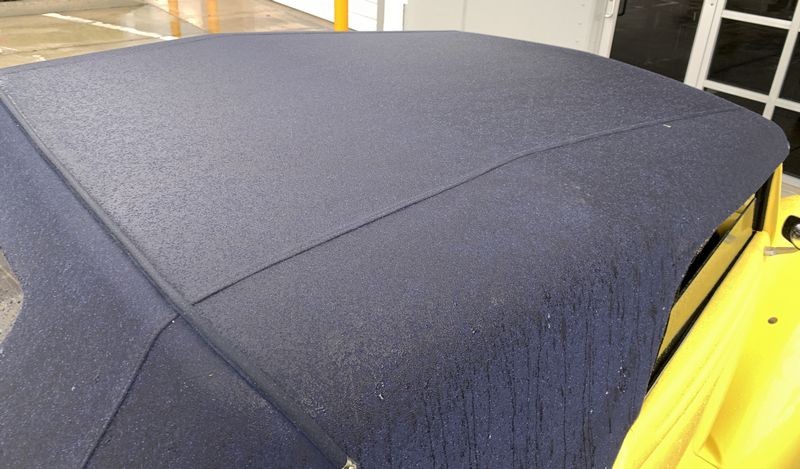
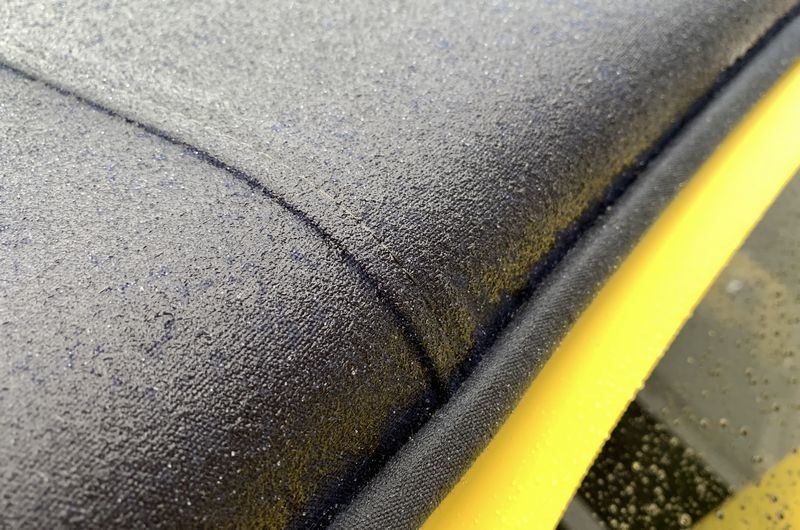
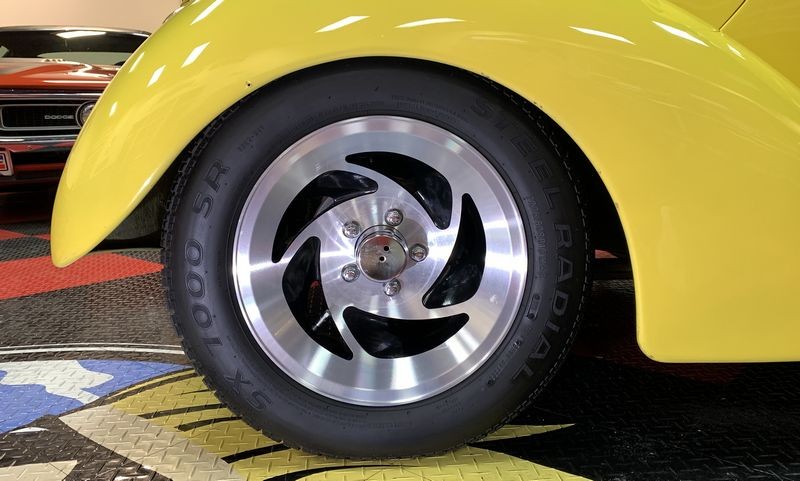
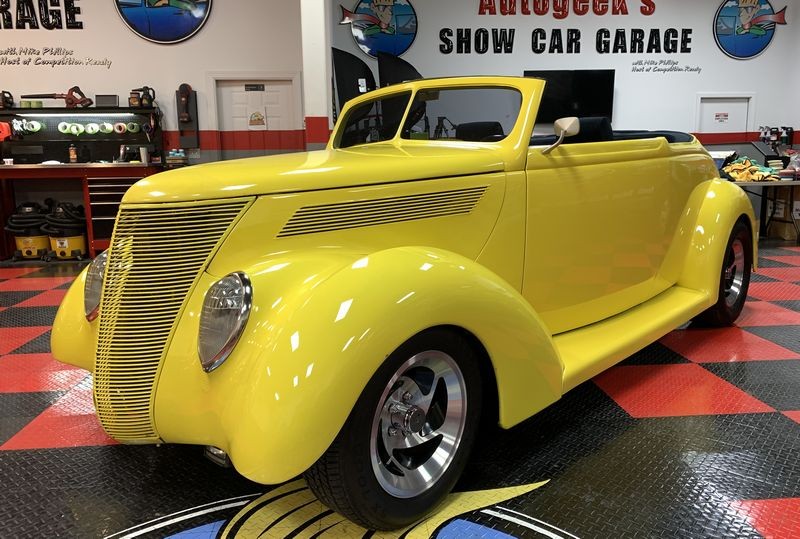
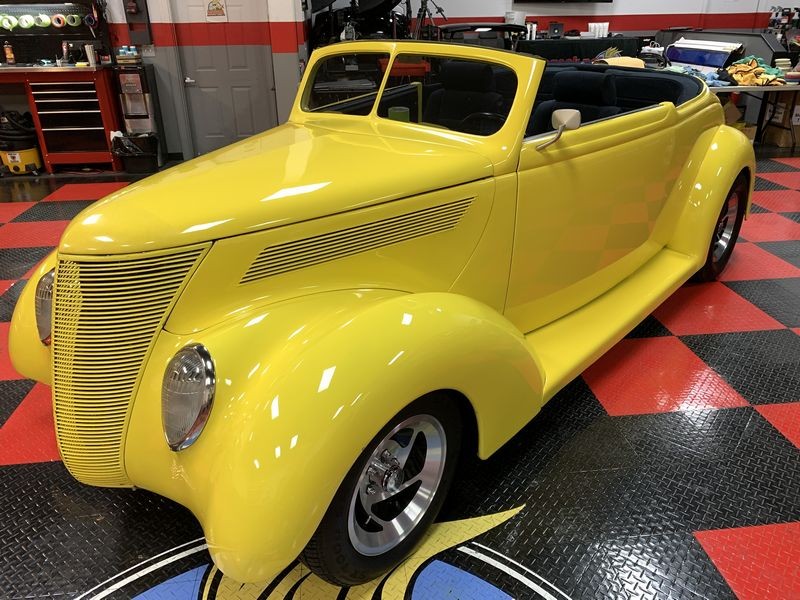
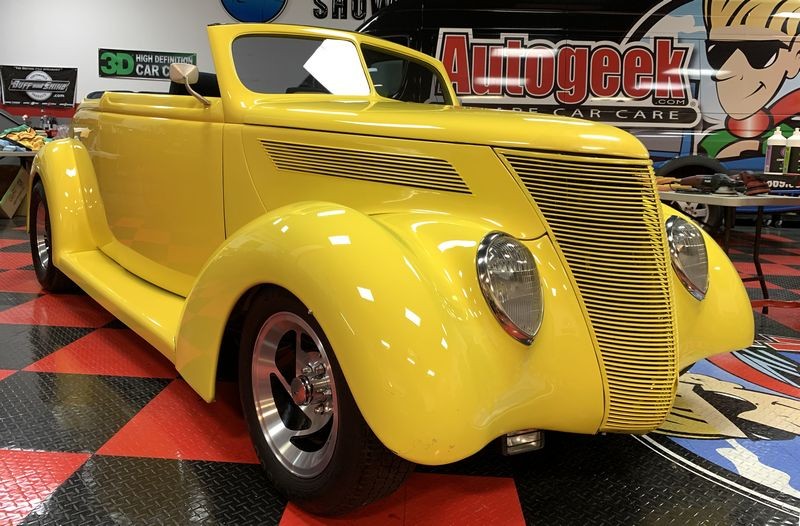
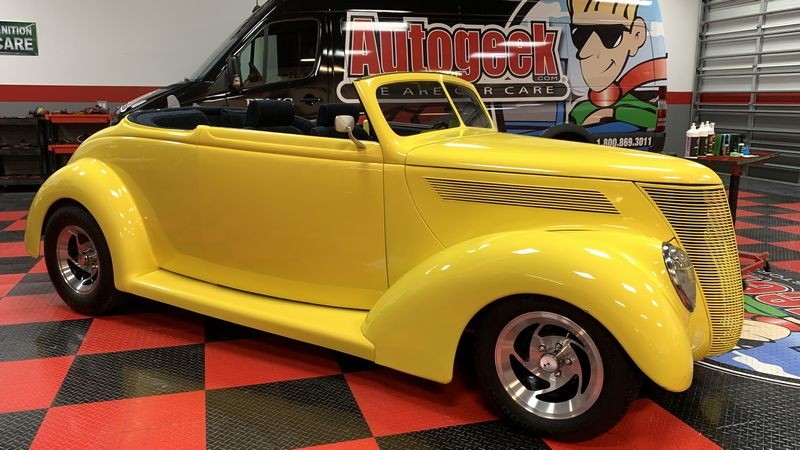
FIRST - How's this look?
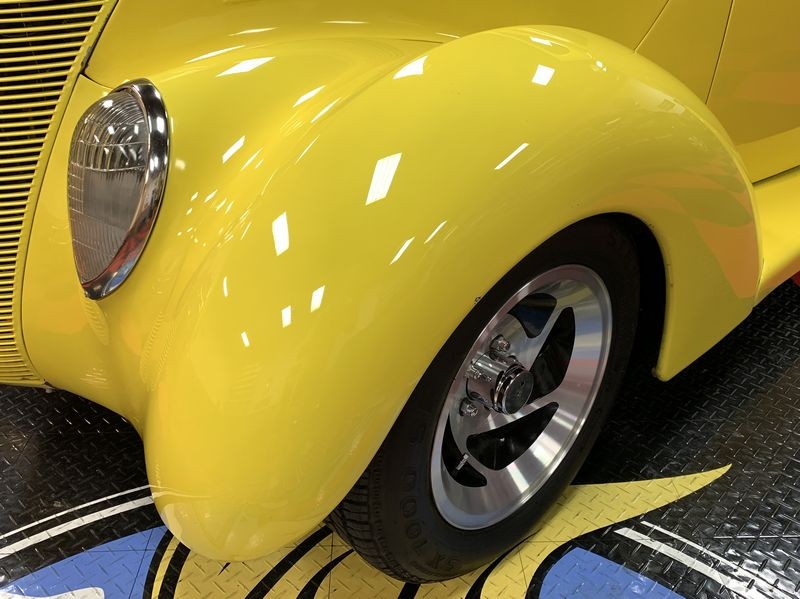
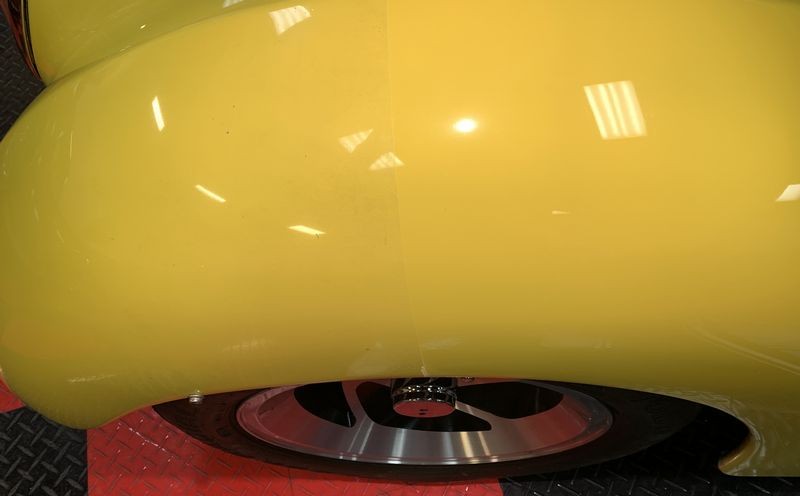
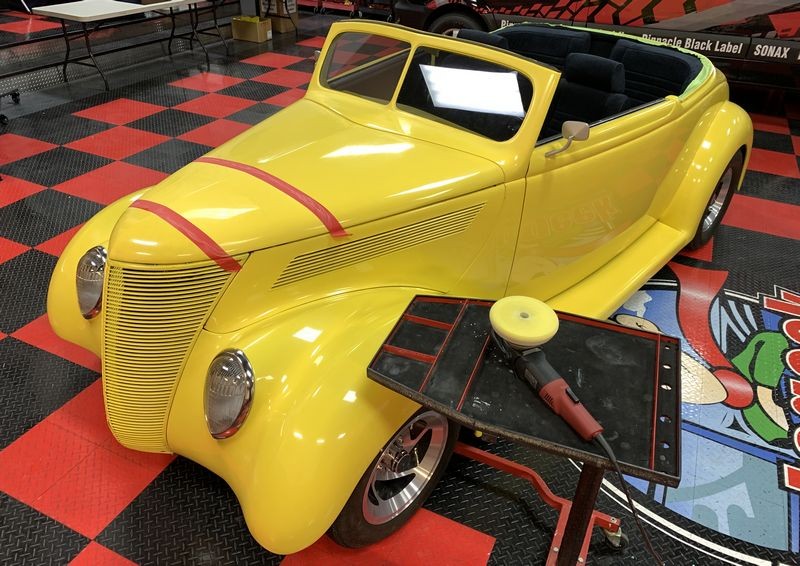
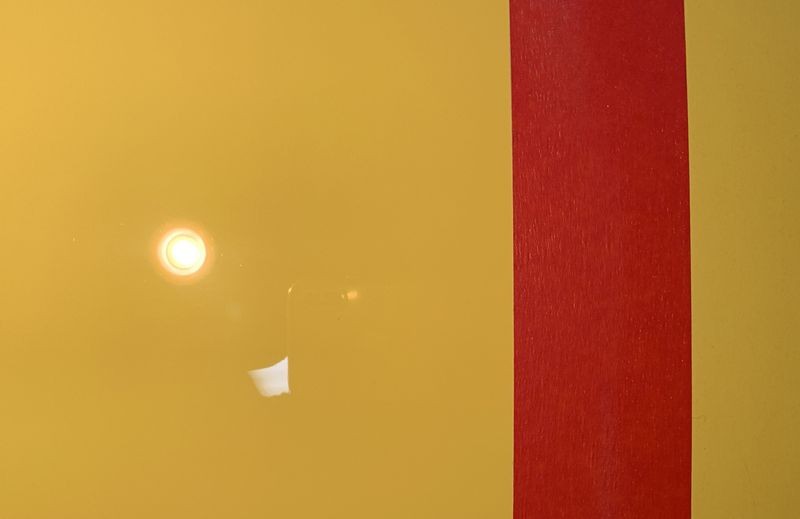
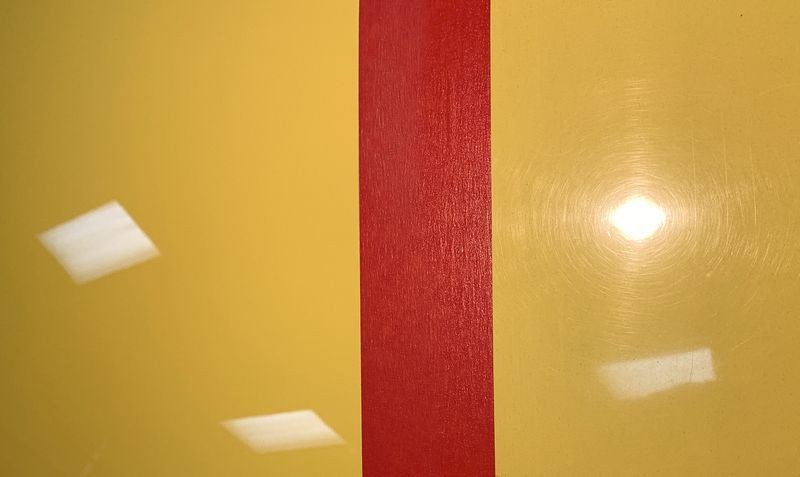
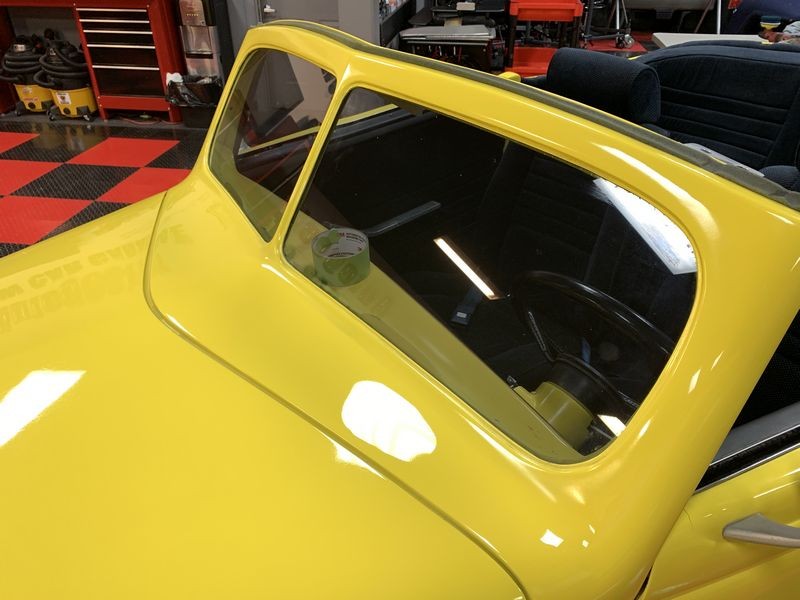
Here's the after shots....


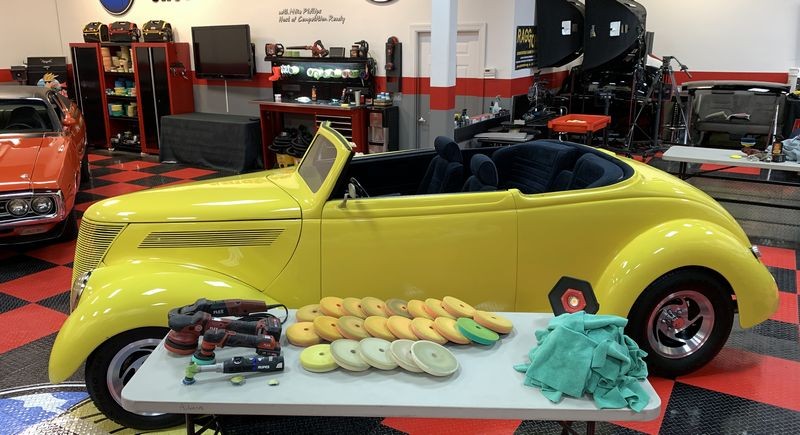
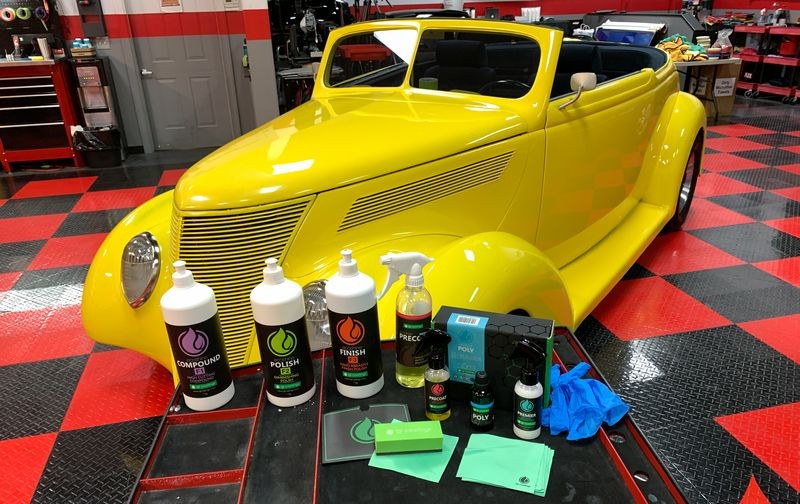
And here's what I used,
IGL Poly Coating
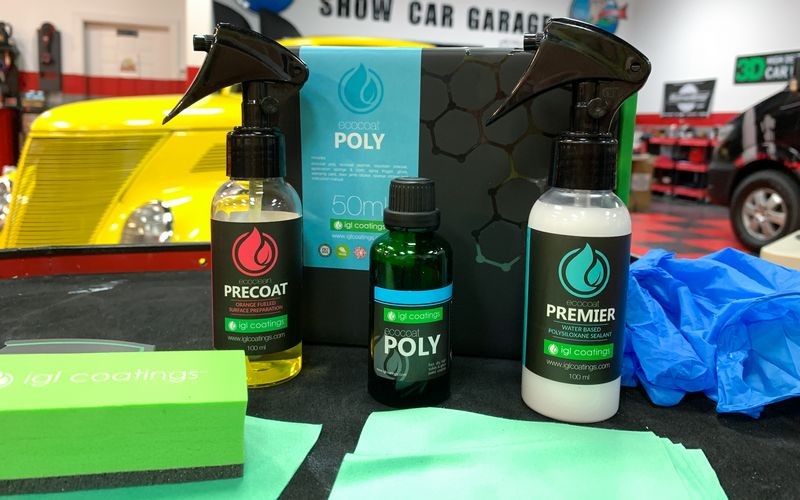
Poly Coating Review
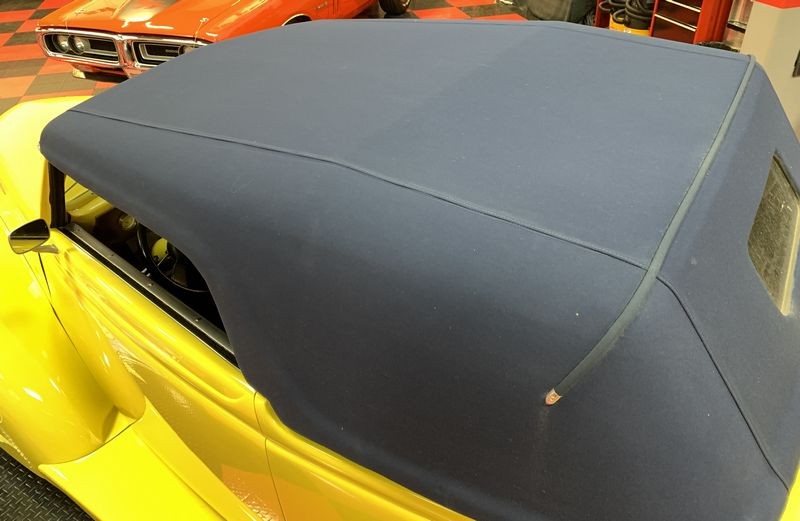
This is a really nice ceramic coating. It has a 4-5 minute flash time and this is perfect for anyone that's new to ceramic coatings but it's also convenient for seasoned professionals too as you have plenty of time to wipe the just-coated panel to remove any high spots.
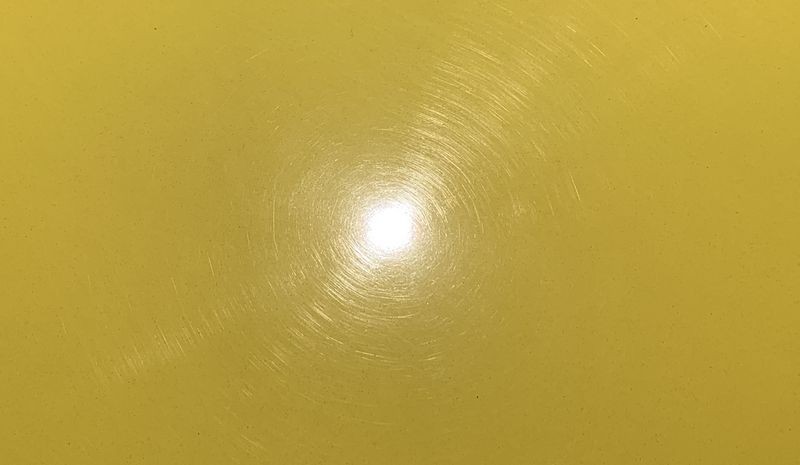
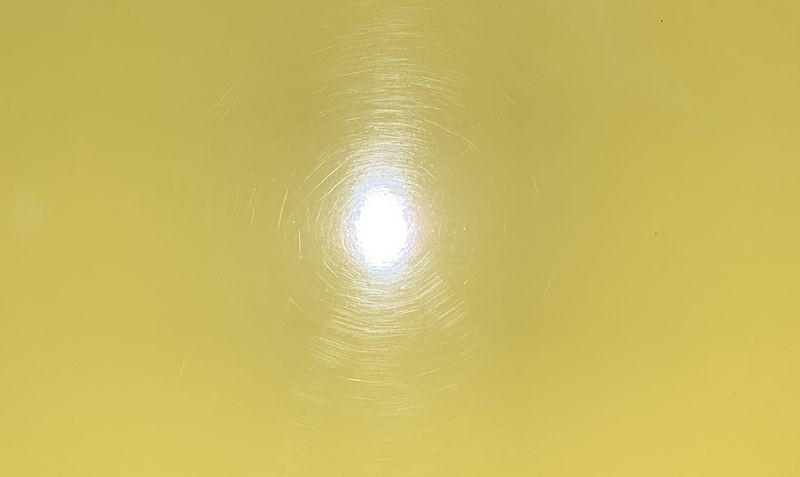
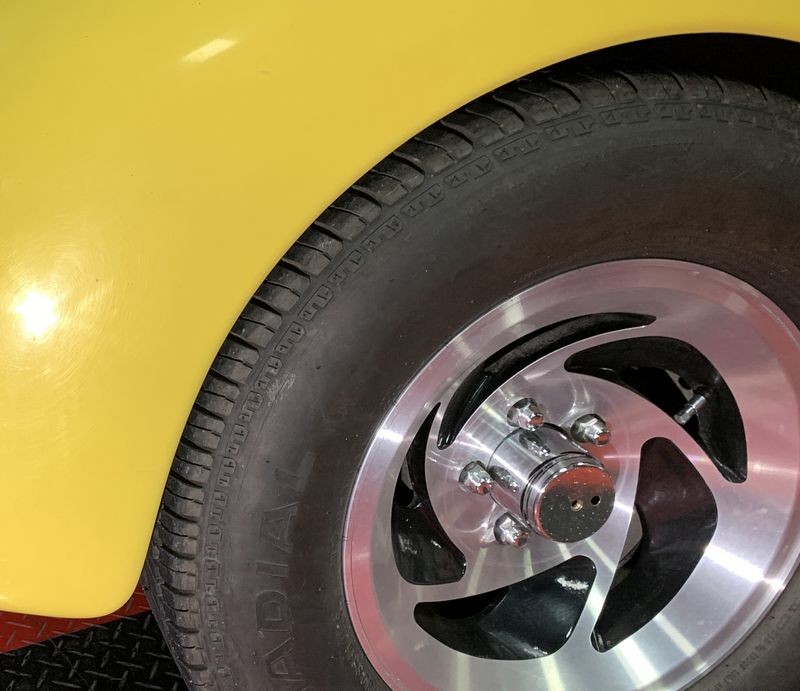
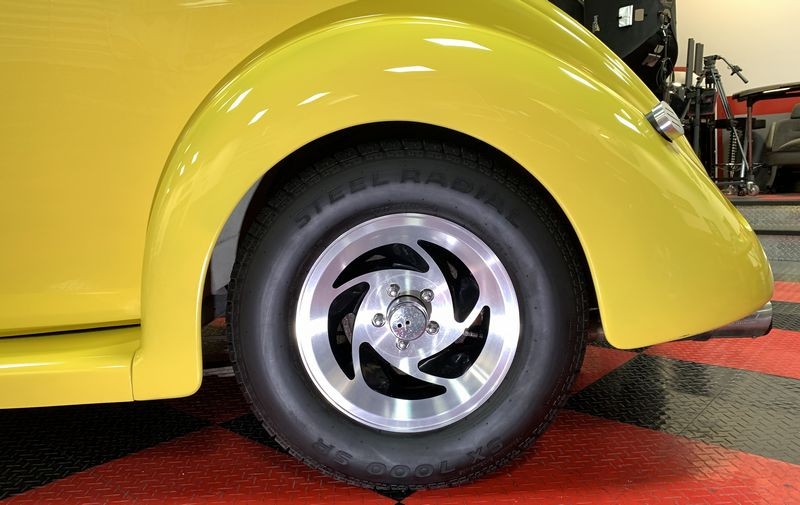
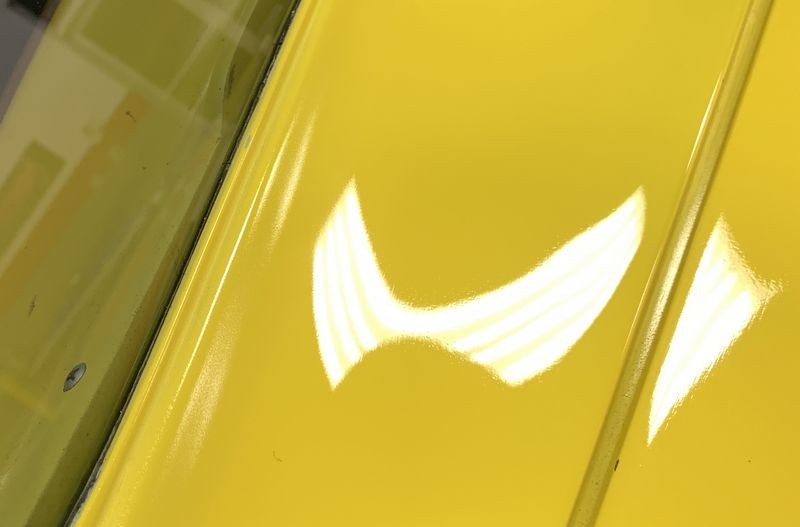
The gloss? Freaking amazing. Did you see the pictures above? Nuff said.
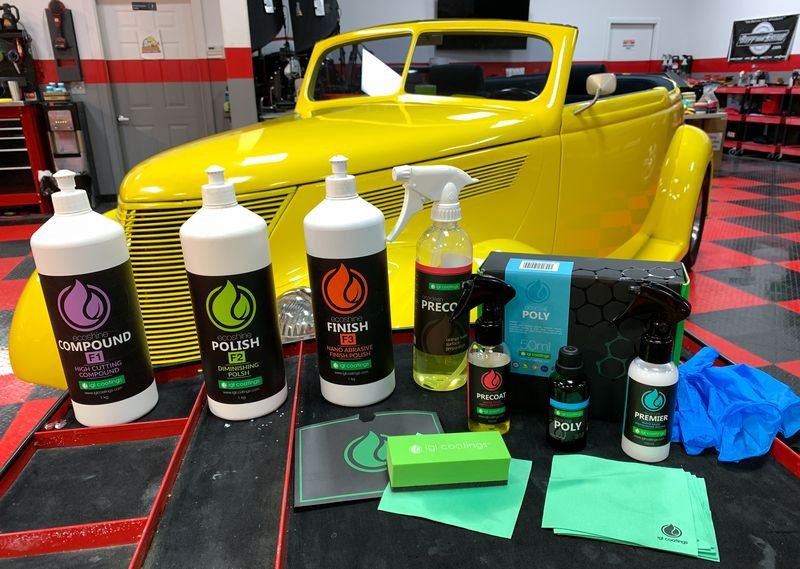
IGL F1 Compounds - F2 Polish - F3 Finish
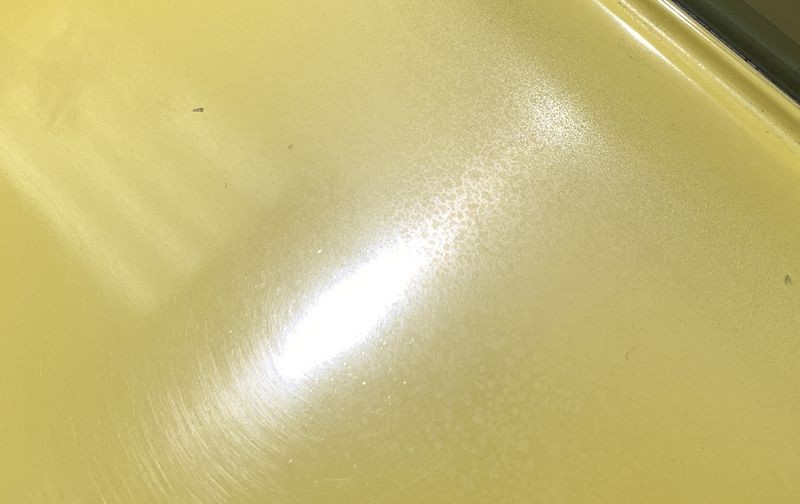
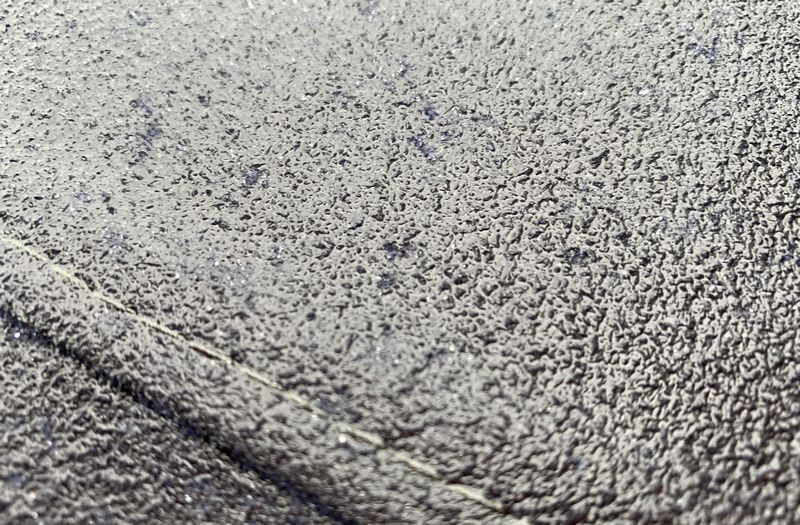
I only used the F1 Compound and the F3 Finish for the paint correction process on this streetrod. I did use the F2 Polish when I did the section on the hood to show and reveal the layer of dirt that has impacted onto the paint.
These IGL products are TOP SHELF products. They perform as advertised. The compound offers excellent cutting and finishing with ZERO dusting and the buffing cycle is as long as you want to buff. The polishes act the same way, excellent cutting (for their category), zero dusting and forever buffing cycle. And just as important - all products wipe off easy.
Abrasive Technology
I talk a LOT about abrasive technology on this forum, on Facebook, YouTube and in my car and boat detailing classes and the reason why is because in my opinion and experience is the NUMBER ONE most important factor when it comes to polishing car paint.
Why?
Because it is the abrasive technology that touches the paint FIRST. Then the pad, behind the pad is the tool and behind the tool is the person.
I've now spent over 10 years on the Autogeek forum helping others to undo the damage substandard abrasive technology has inflicted into their car's paint simply because the product they used did not use great abrasive technology. After using these three products I can testify that the IGL compound and their 2 polishes use great abrasive technology.
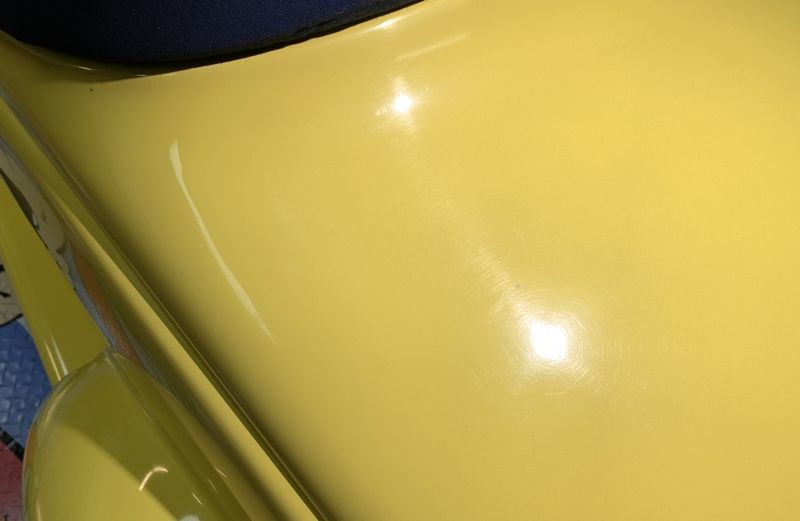
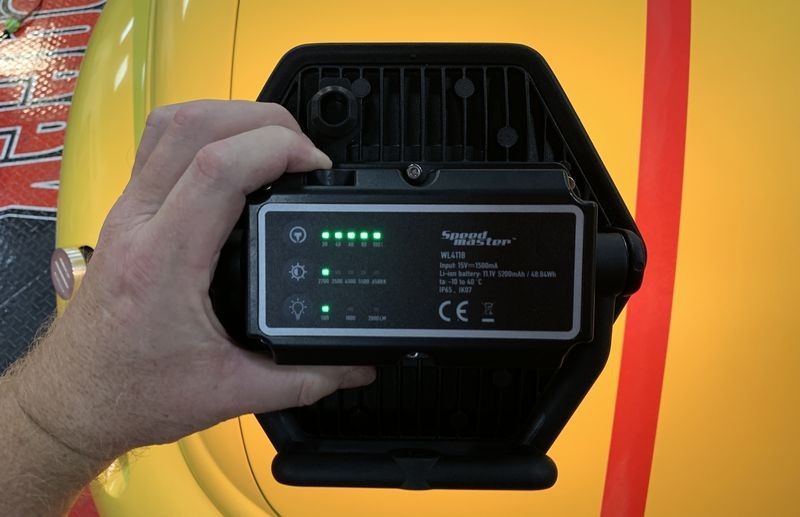
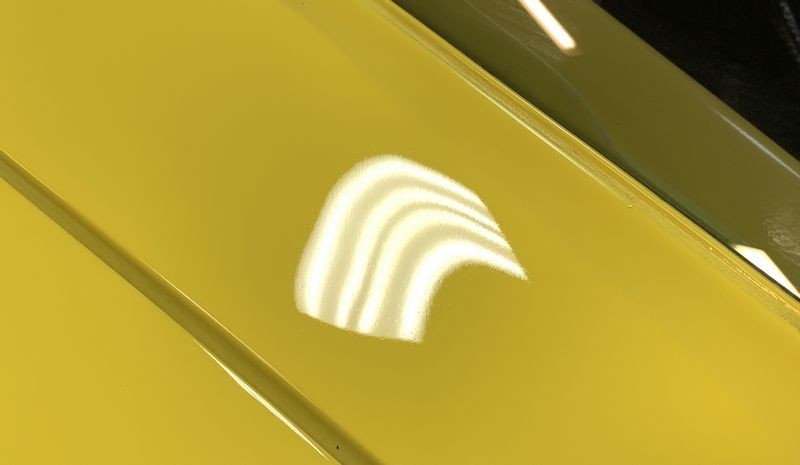
After compounding the paint I inspected it with the new Speed Master Swirl Finder Light AND I almost didn't do the follow-up step of polishing with a softer pad and a less aggressive polish BECAUSE the compound finished out so perfect. Yes - I said perfect. Because I was doing what I call "Show Car Detailing, I did re-polish using the IGL F3 Finish with the RUPES 7" white foam polishing pad on the CBEAST.
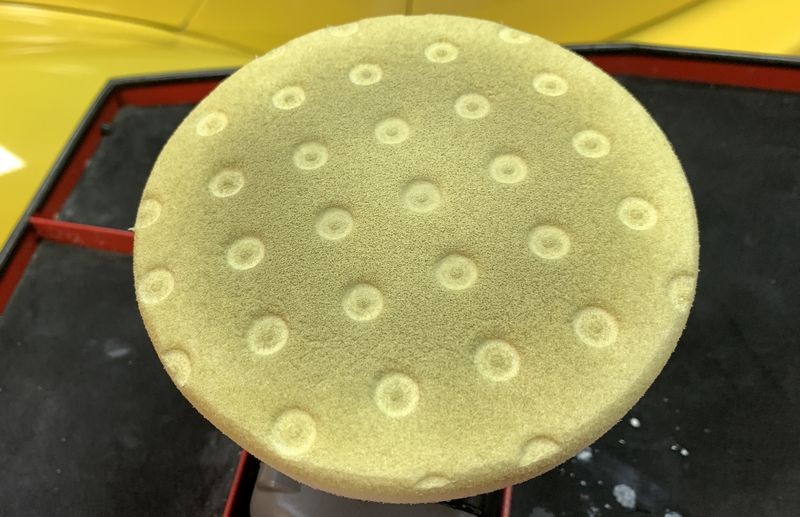
I shared pictures of how many foam cutting pads I used on this car... a lot. And that's because wet foam doesn't cut. This is something else I have invested a lot of time sharing with people because I find most people use too few pads when doing the correction step, be it with a compound, a polish or an all-in-one cleaner/wax. These are the Lake Country 6.5" Force Hybrid Orange foam pads, one of my favorite pads when using the BEAST.
I also used the PiXiE and the Nano for tight areas and of course lots of the Forrest Green Edgeless Microfiber Towels.
On Autogeek.com
IGL Ecocoat Poly
")
FIRST - How's this look?
Here's the after shots....
And here's what I used,
IGL Poly Coating
Poly Coating Review
This is a really nice ceramic coating. It has a 4-5 minute flash time and this is perfect for anyone that's new to ceramic coatings but it's also convenient for seasoned professionals too as you have plenty of time to wipe the just-coated panel to remove any high spots.
The gloss? Freaking amazing. Did you see the pictures above? Nuff said.
IGL F1 Compounds - F2 Polish - F3 Finish
I only used the F1 Compound and the F3 Finish for the paint correction process on this streetrod. I did use the F2 Polish when I did the section on the hood to show and reveal the layer of dirt that has impacted onto the paint.
These IGL products are TOP SHELF products. They perform as advertised. The compound offers excellent cutting and finishing with ZERO dusting and the buffing cycle is as long as you want to buff. The polishes act the same way, excellent cutting (for their category), zero dusting and forever buffing cycle. And just as important - all products wipe off easy.
Abrasive Technology
I talk a LOT about abrasive technology on this forum, on Facebook, YouTube and in my car and boat detailing classes and the reason why is because in my opinion and experience is the NUMBER ONE most important factor when it comes to polishing car paint.
Why?
Because it is the abrasive technology that touches the paint FIRST. Then the pad, behind the pad is the tool and behind the tool is the person.
I've now spent over 10 years on the Autogeek forum helping others to undo the damage substandard abrasive technology has inflicted into their car's paint simply because the product they used did not use great abrasive technology. After using these three products I can testify that the IGL compound and their 2 polishes use great abrasive technology.
After compounding the paint I inspected it with the new Speed Master Swirl Finder Light AND I almost didn't do the follow-up step of polishing with a softer pad and a less aggressive polish BECAUSE the compound finished out so perfect. Yes - I said perfect. Because I was doing what I call "Show Car Detailing, I did re-polish using the IGL F3 Finish with the RUPES 7" white foam polishing pad on the CBEAST.
I shared pictures of how many foam cutting pads I used on this car... a lot. And that's because wet foam doesn't cut. This is something else I have invested a lot of time sharing with people because I find most people use too few pads when doing the correction step, be it with a compound, a polish or an all-in-one cleaner/wax. These are the Lake Country 6.5" Force Hybrid Orange foam pads, one of my favorite pads when using the BEAST.
I also used the PiXiE and the Nano for tight areas and of course lots of the Forrest Green Edgeless Microfiber Towels.
On Autogeek.com
IGL Ecocoat Poly