Mike Phillips
Active member
- Dec 5, 2022
- 51,004
- 6
Review: Pinnacle Engine Cleaner & Degreaser and SONAX Plastic Care
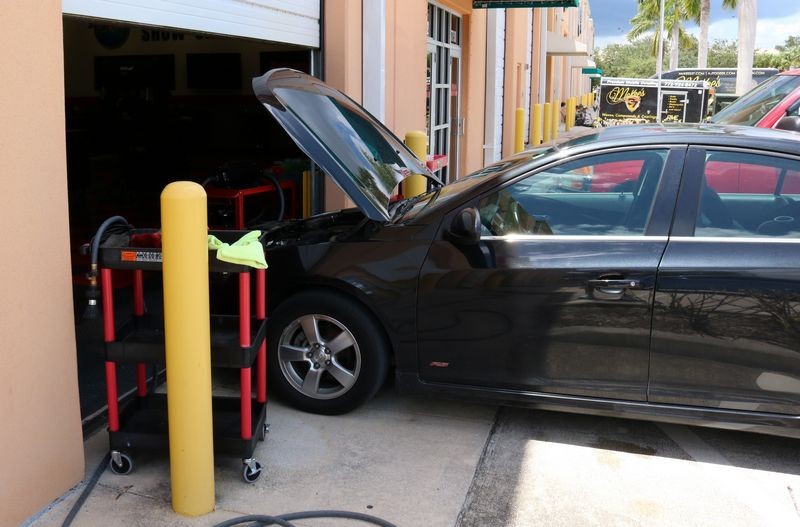
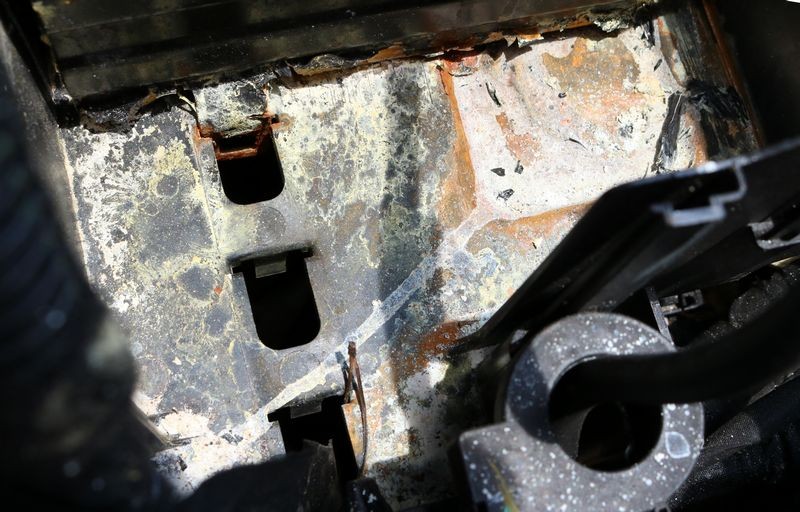
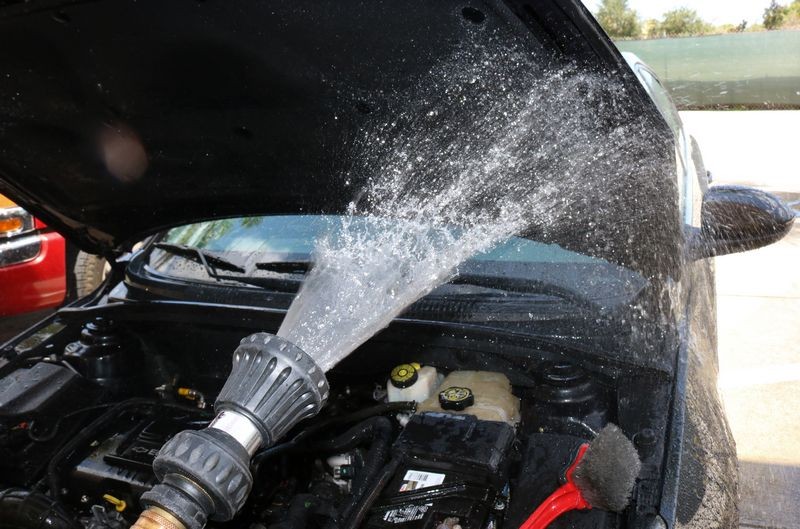
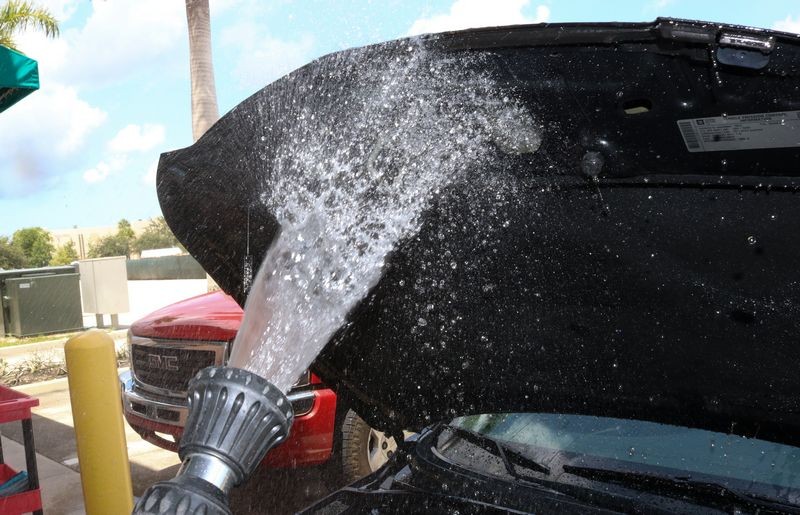
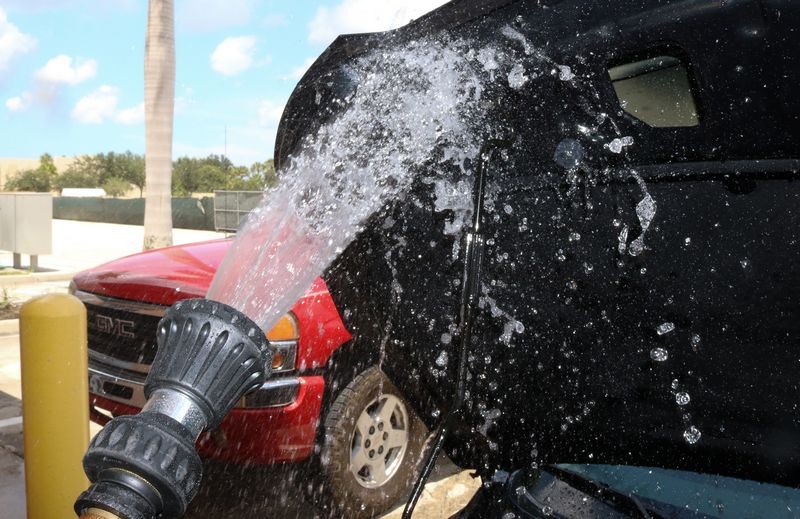
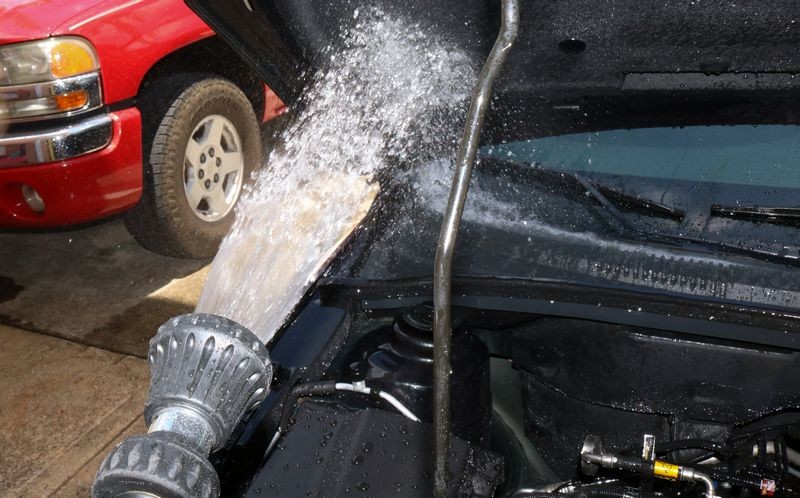
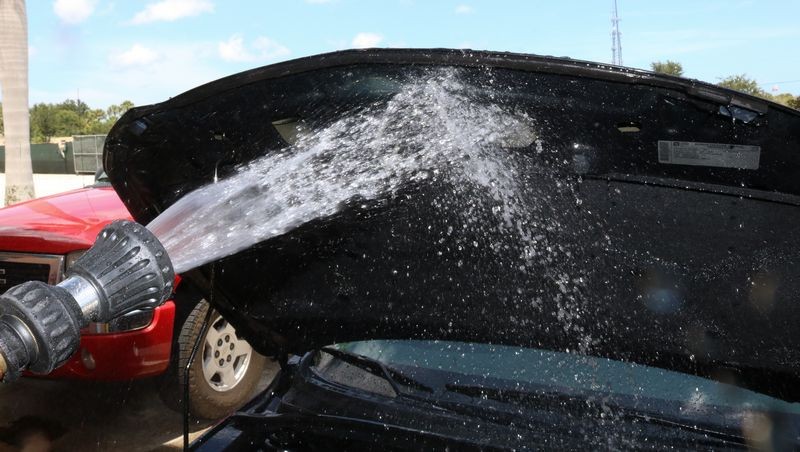
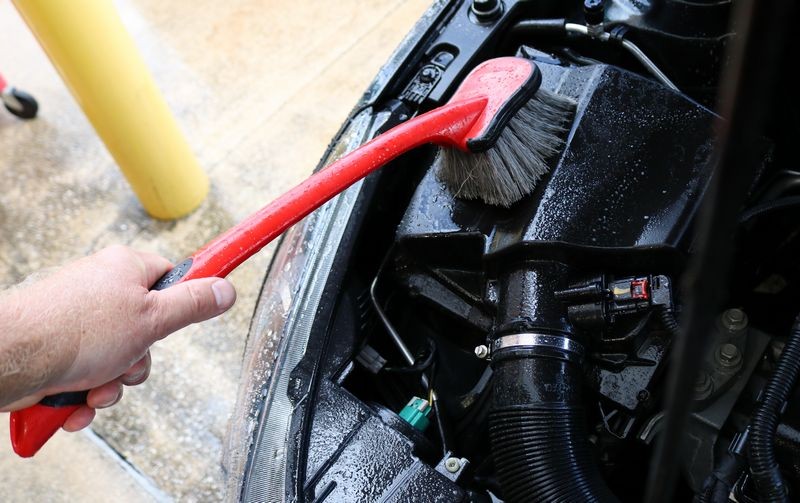
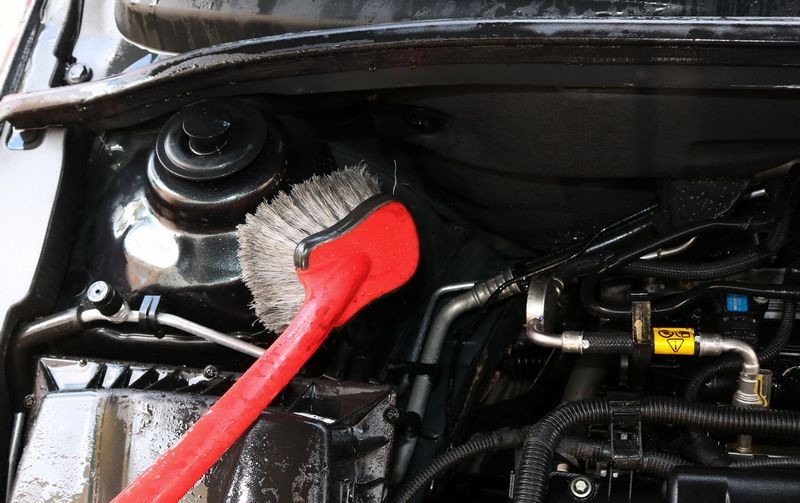
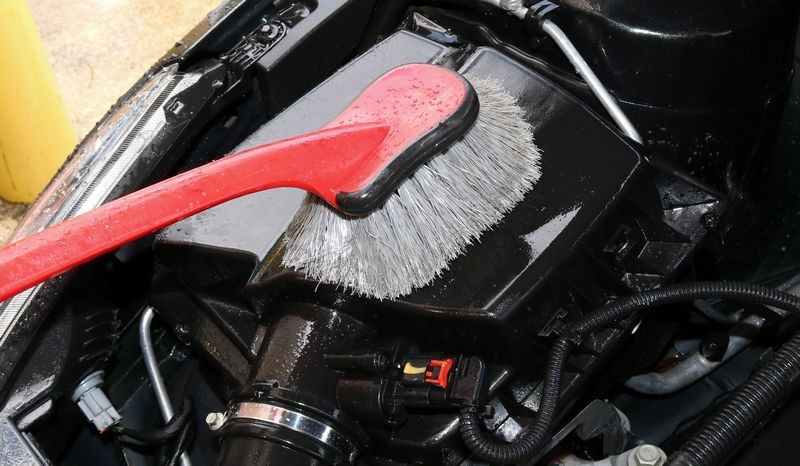
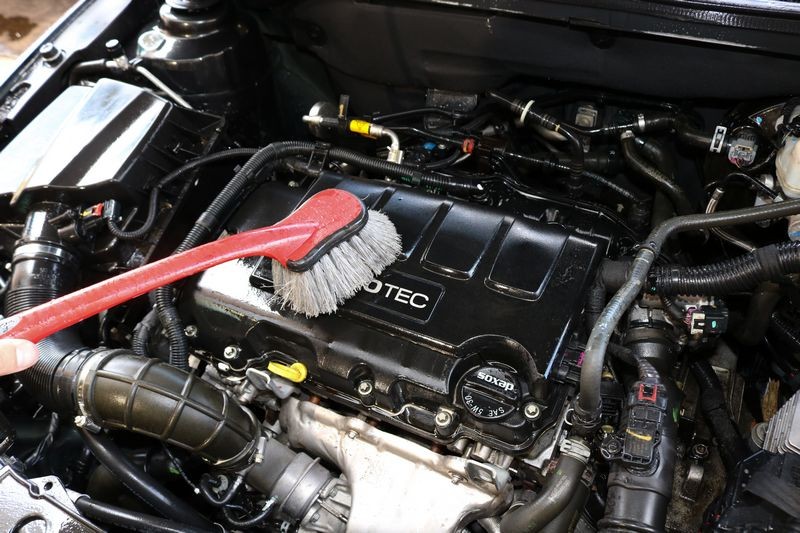
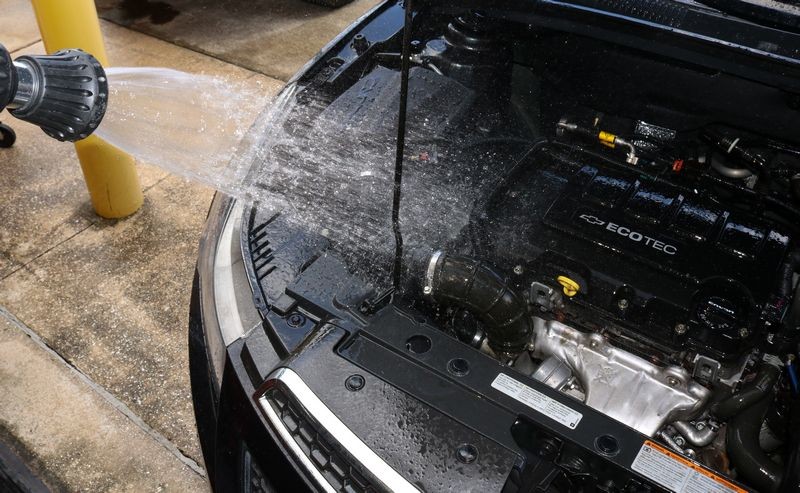
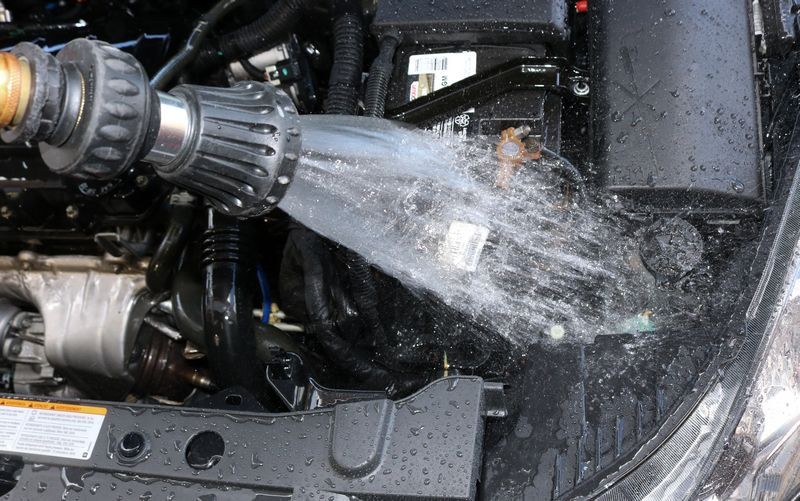
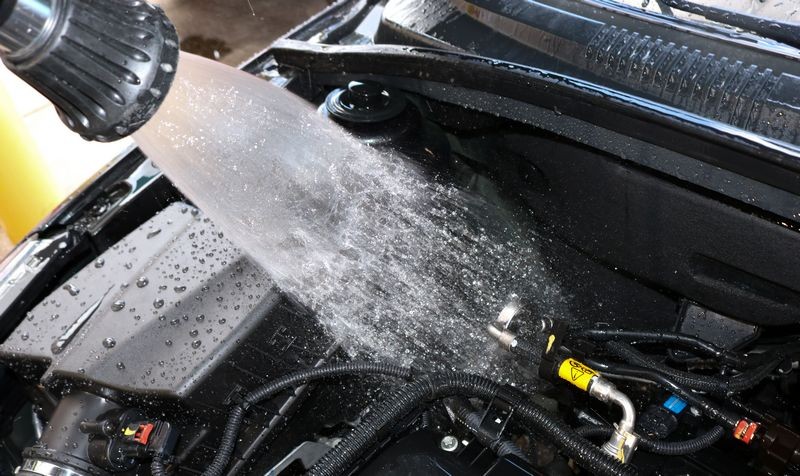
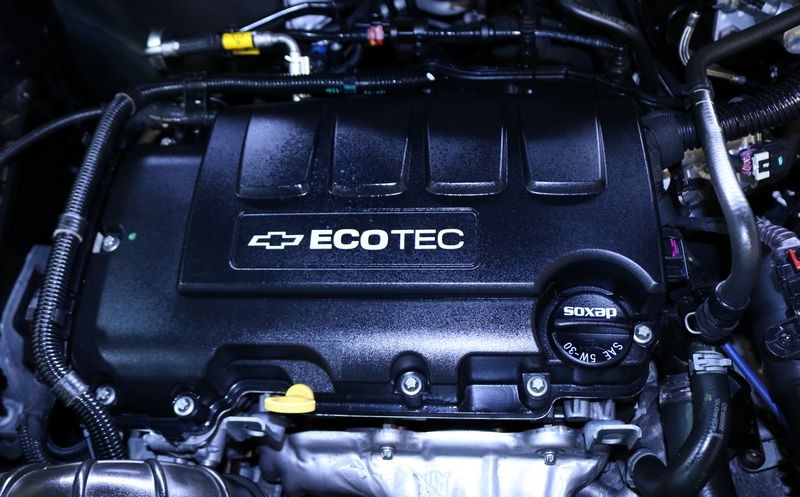
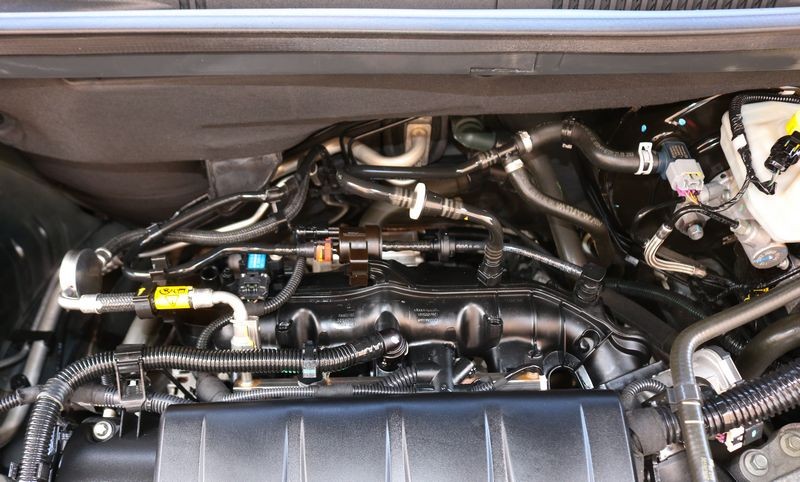
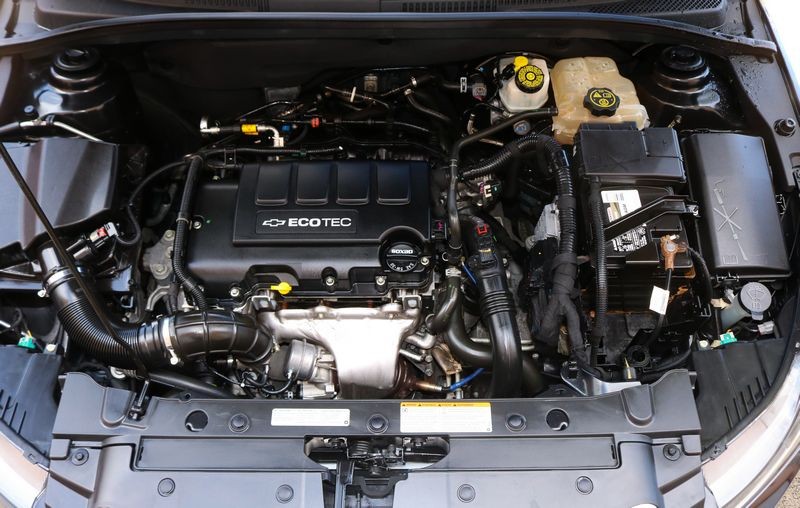
The below pictures, like most articles and videos make this type of detailing look fast and easy but that's not actually accurate. I actually TEACH people how to do this type of work and one thing I know, if you want to LEARN how to do something.... teach it.
Here's the light fluffy short version....
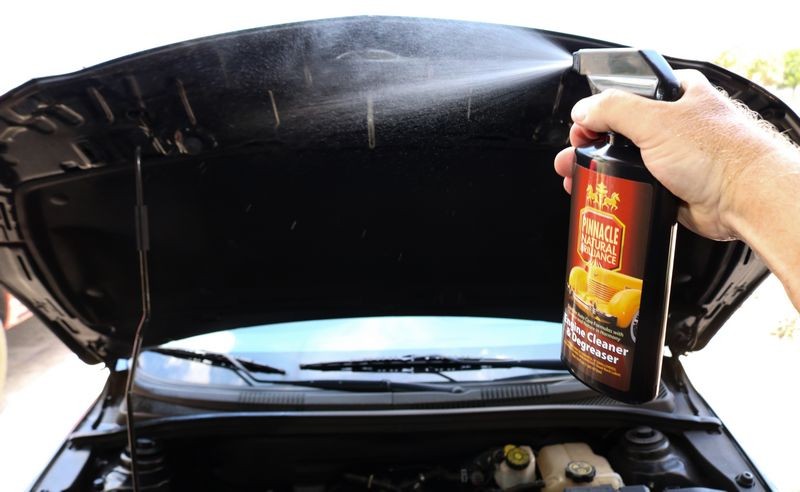
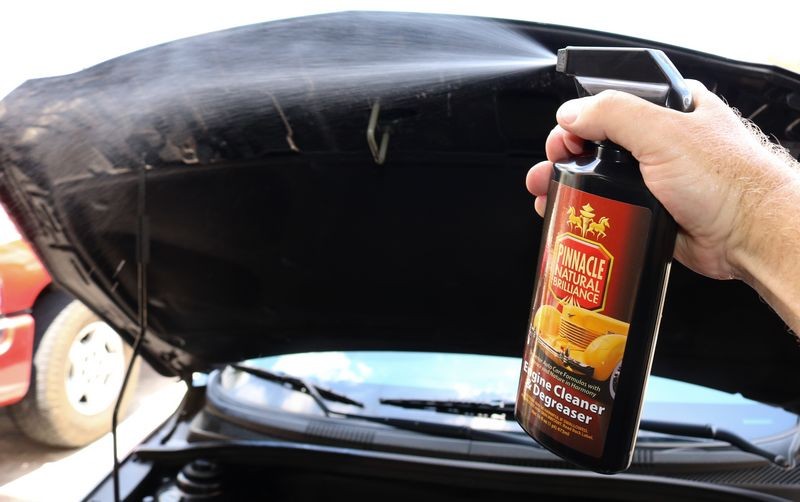
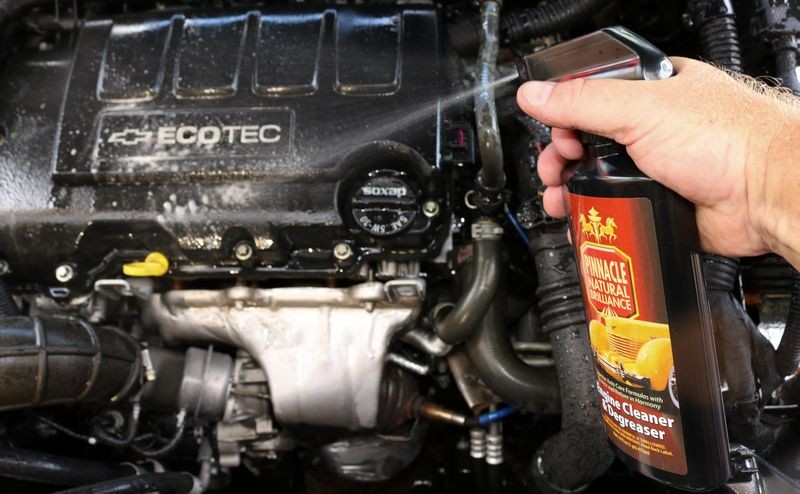
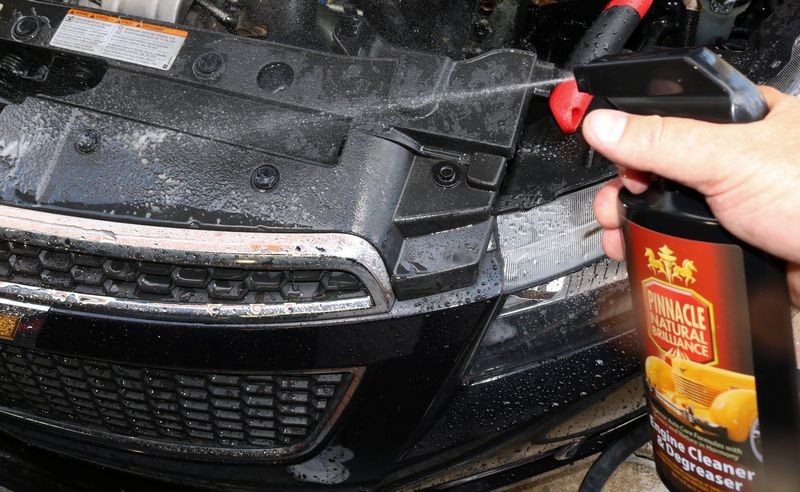
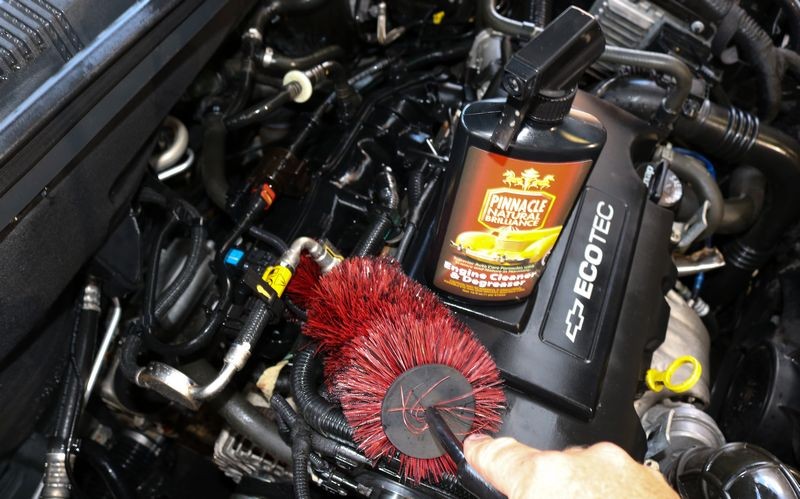
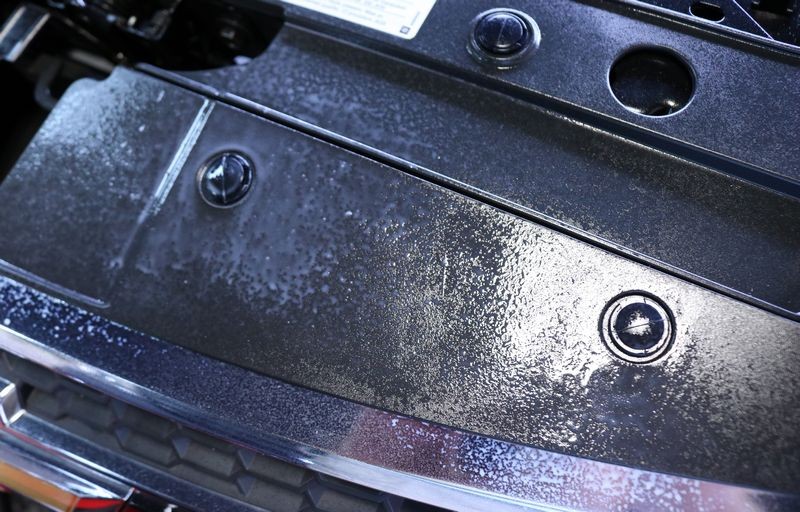
Spray on and let dwell for a few minutes
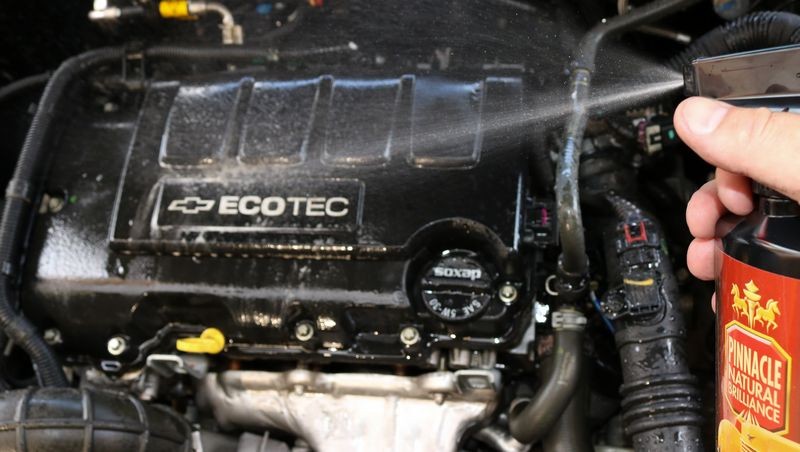
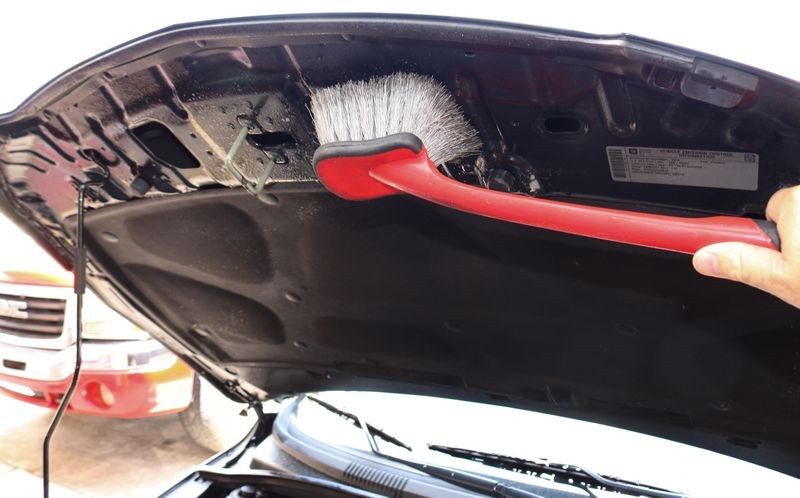
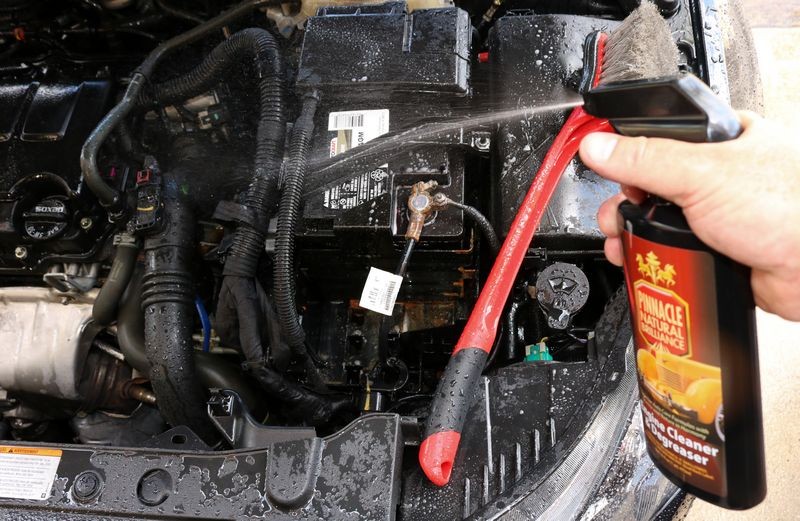
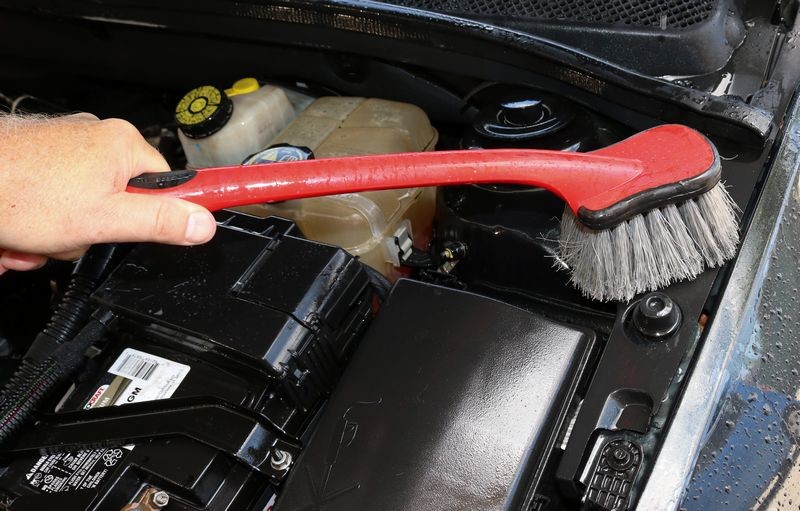
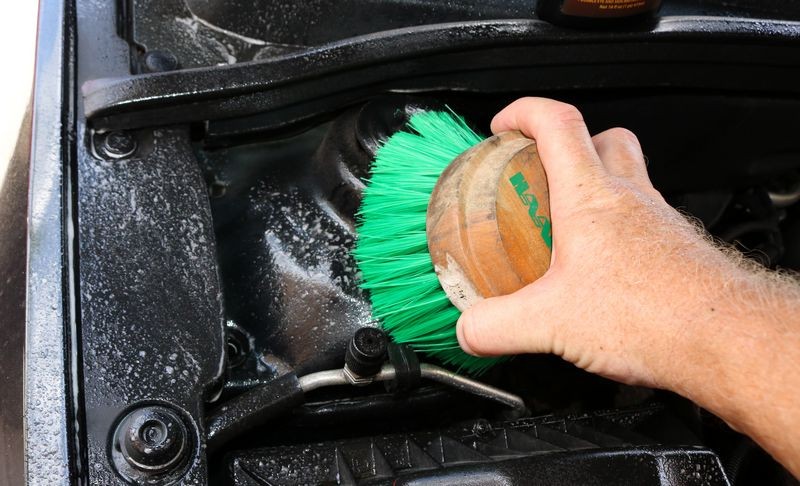
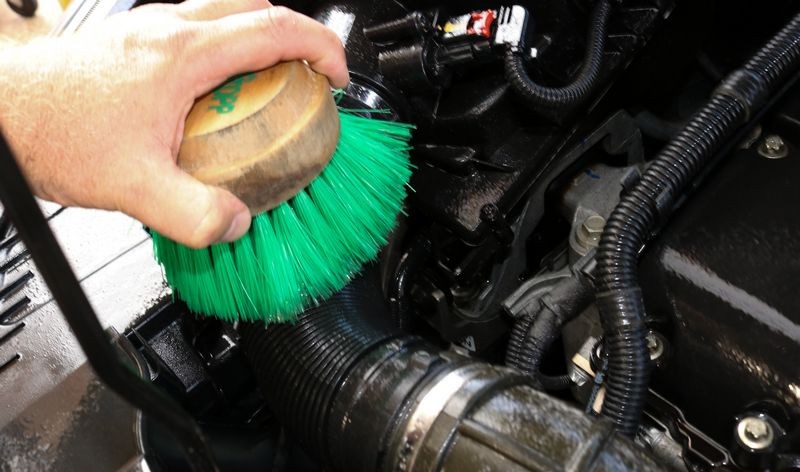
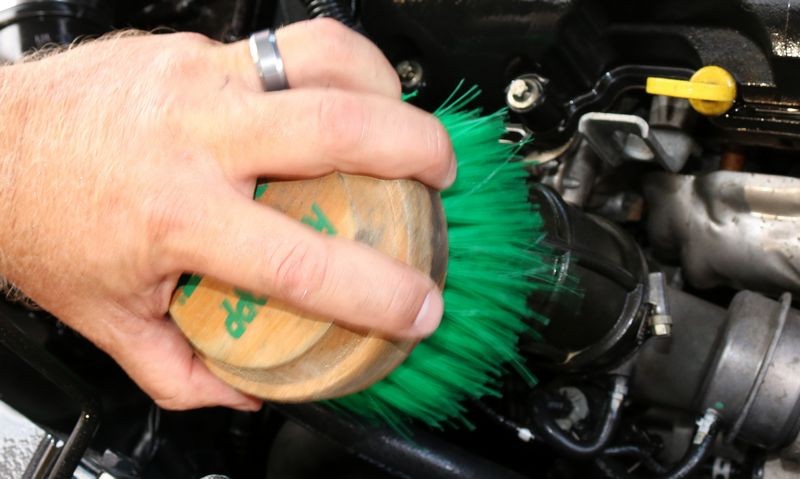
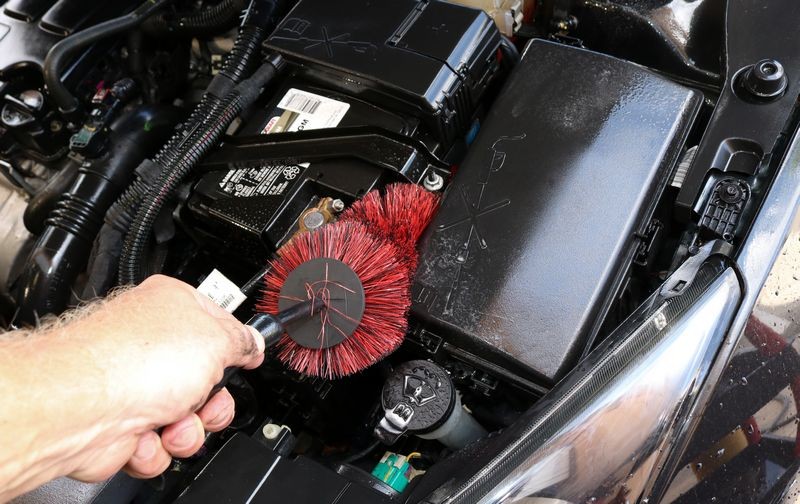
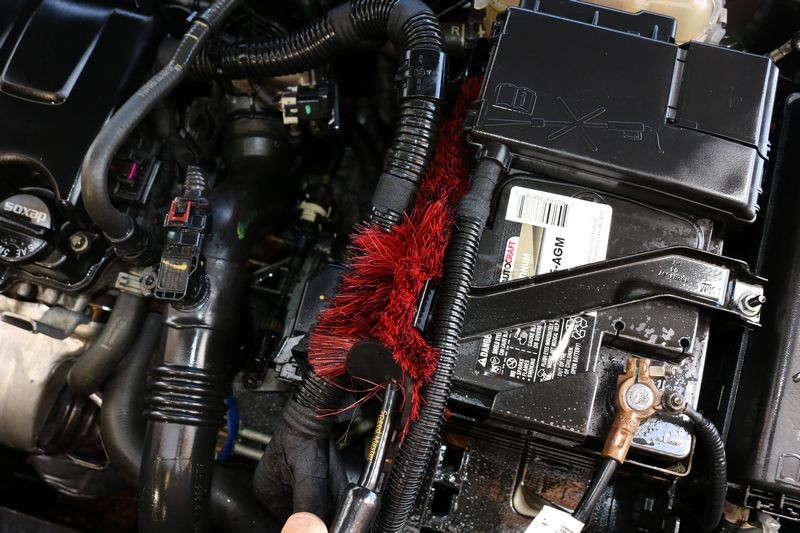
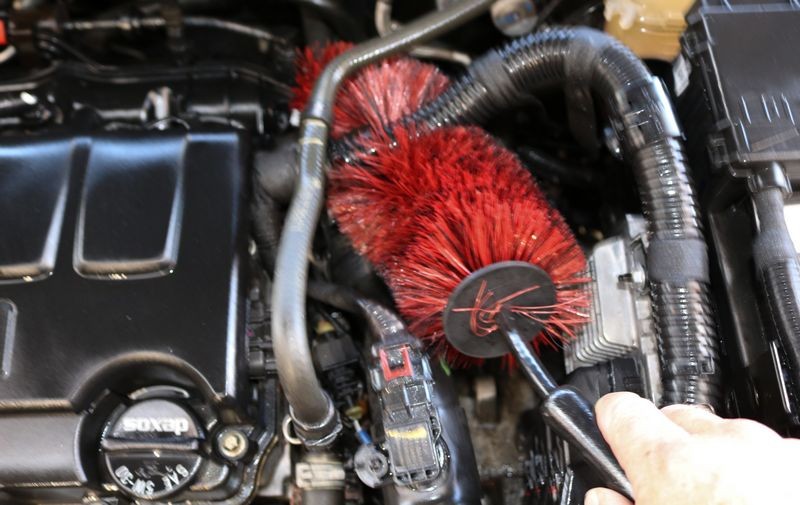
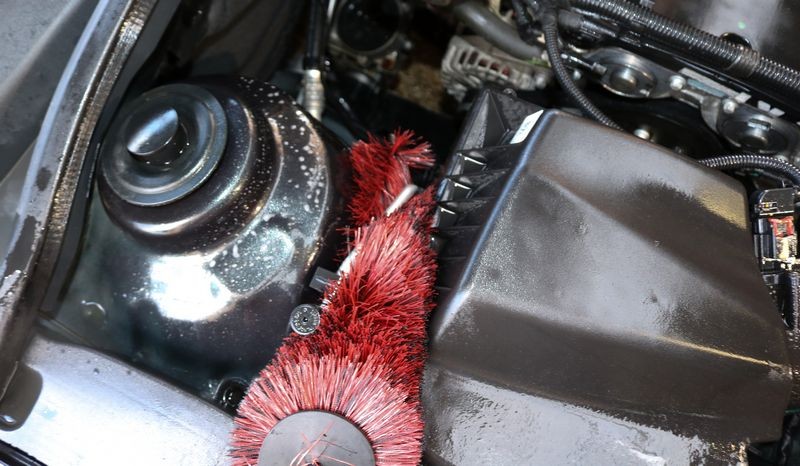
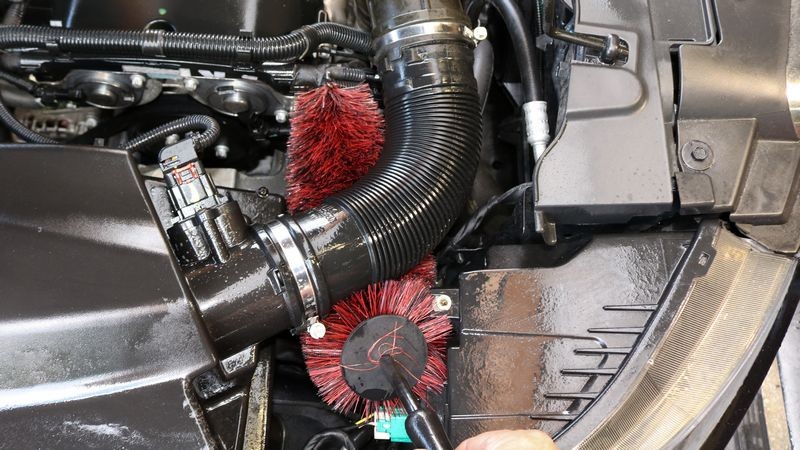
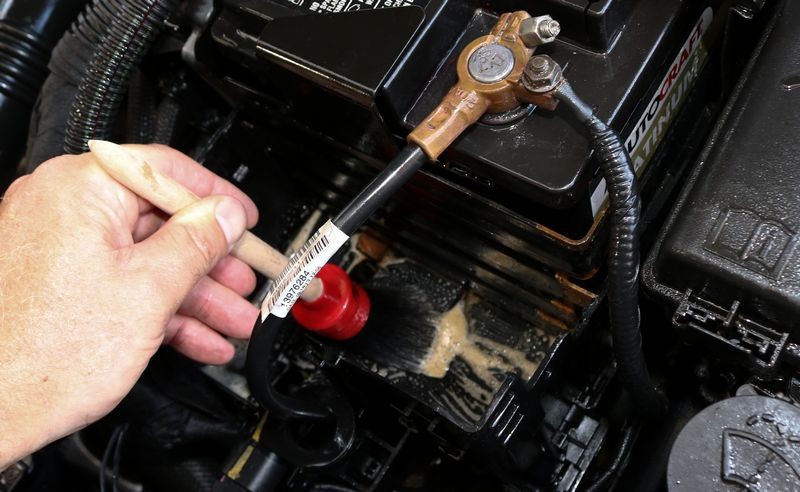
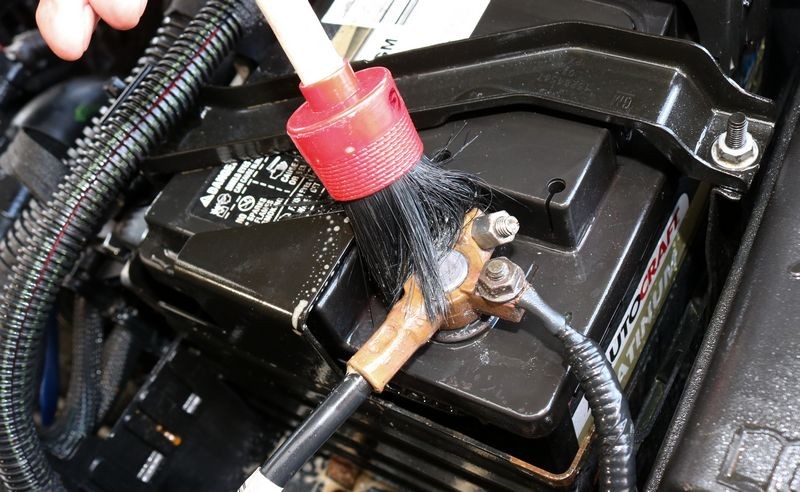
Agitate
This means use a lot of different types of brushes to work the product over the grimy surfaces

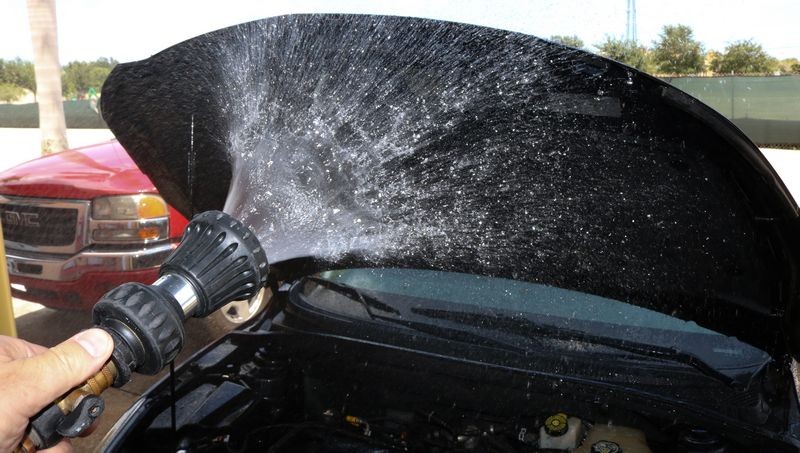
Rinse

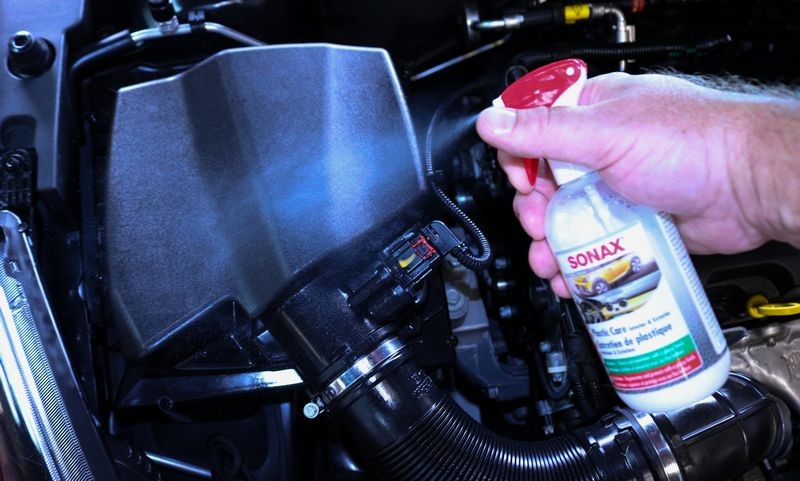
Dress

Done

For those of you that really want some real how-to information, start reading after this first post.
First - here's the copy from the AG Store that tells about the product...
Quickly dissolves built up grease and oil in your engine's compartment without the use of harsh solvents and phosphates.
Pinnacle Engine Cleaner & Degreaser:
• Contains no harsh chemicals - solvent free!
• Penetrates deep to effectively dissolve and remove caked on dirt, grime, grease, and oil
• Safe for use around metal, plastic, and rubber - will not stain or discolor!
Sounds good and sounds like a safe product. I don't know anything more about it and guess I don't need to know anymore about it. Like I tell people in all my classes, when choosing ANY product, go with a brand name you trust.
Here's the links to where you can get it...
On Autogeek.com
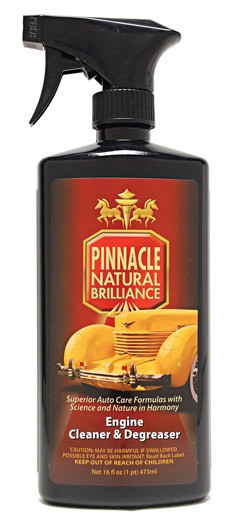
Pinnacle Engine Cleaner & Degreaser - 16 ounce $19.99
Pinnacle Engine Cleaner & Degreaser - 1-gallon refill jug $57.99
Famous Detailing Brush - $14.99, 2/$24.99
Speed Master Wheel Brush $29.99
RaggTopp Premium Convertible Top Brush $29.99
Here's the brush I normally use instead of the RaggTopp brush, this is THE best wheel and pretty much everything-else-brush you will ever use. 100% totally worth the price. You'll thank me after you use this brush one time.
Wheel Woolies Boar’s Hair Wheel Brush $34.99
Mothers Fender Well Brush $7.99
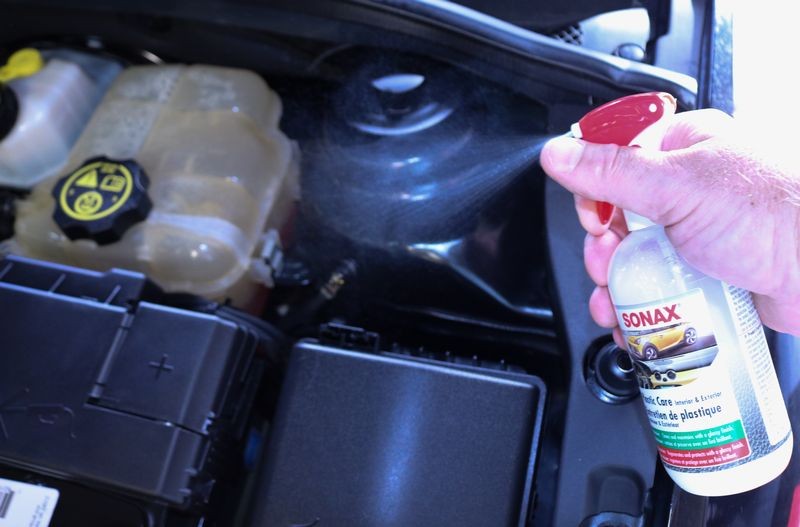
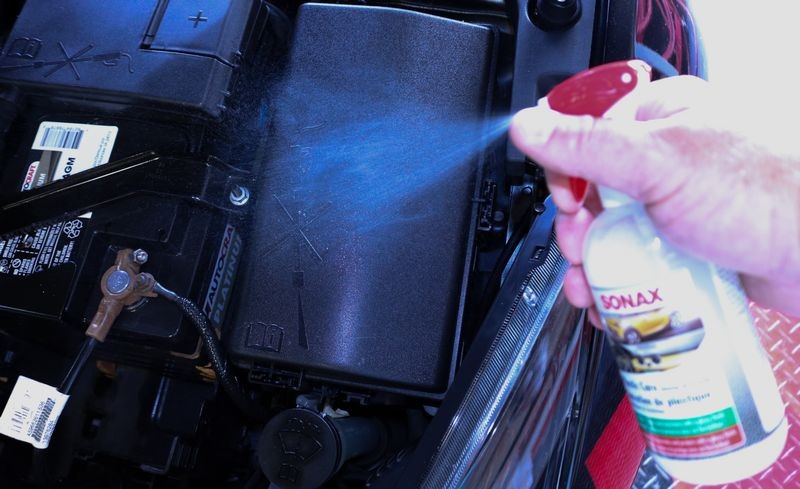
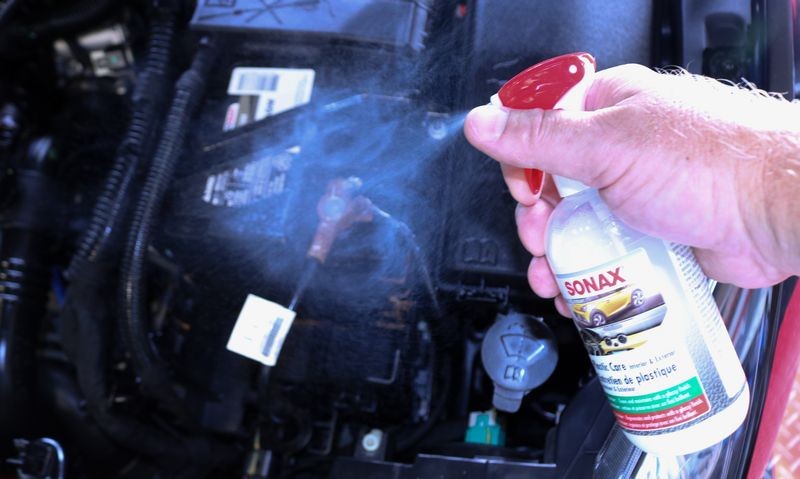
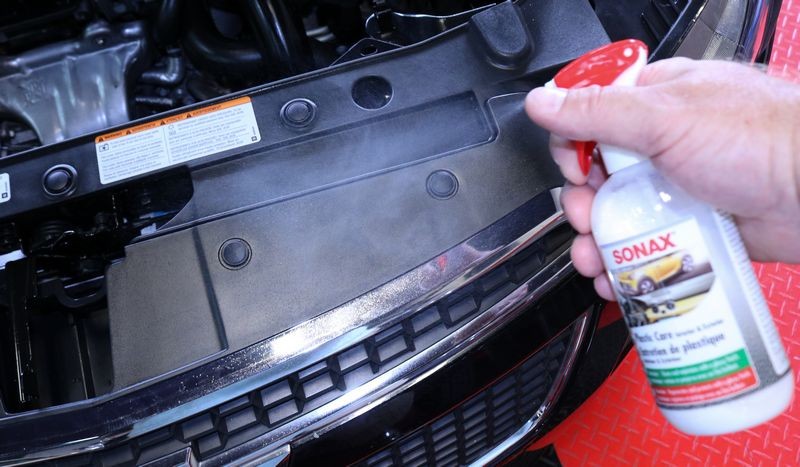
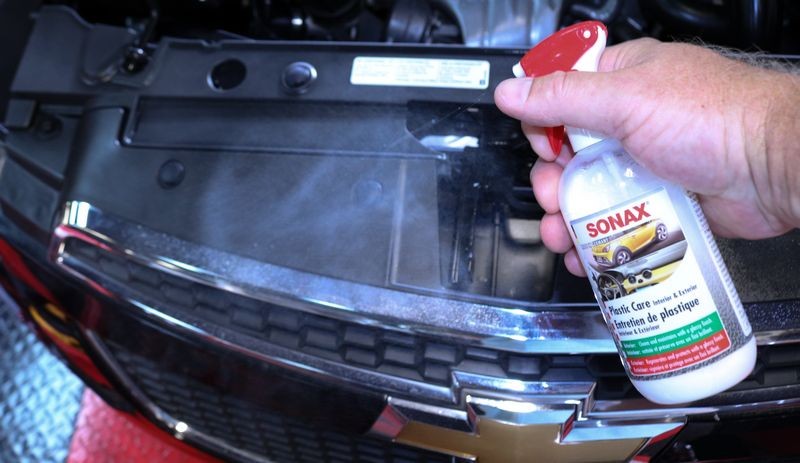
And the miracle juice... available in a friendly consumer size and for pro detailers, in bulk size...
SONAX Plastic Care 300 ml - $12.99
SONAX Plastic Care 5 liter - $99.99
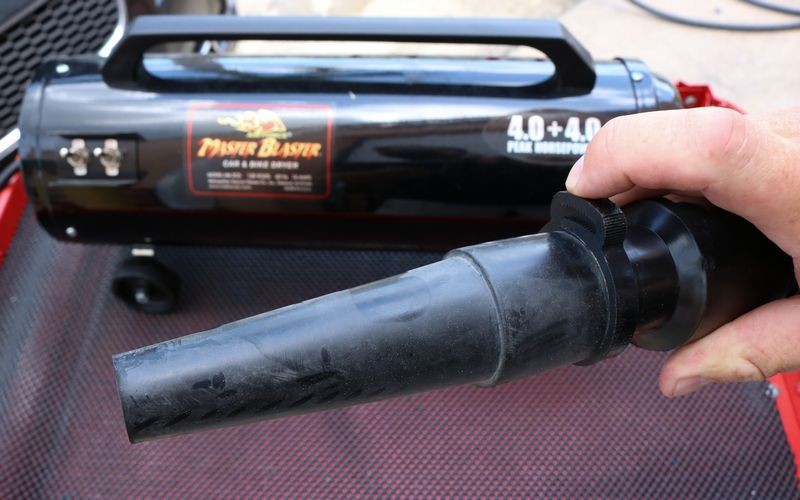
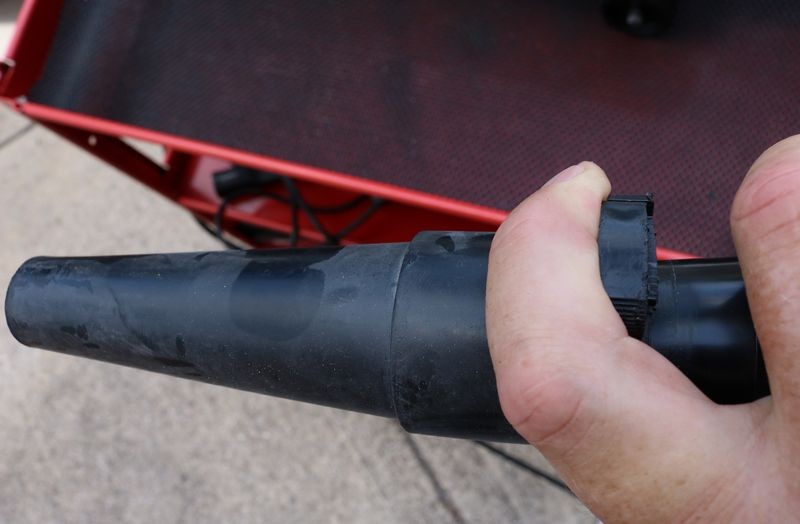
The Master Blaster in the picture is the regular Master Blaster, this one
Metro Master Blaster 8hp - $349.99
The newer version, called the Revolution - the primary difference is the front wheels swivel so it can travel around corners when on the ground and it comes with a wall mount bracket to mount it onto the wall. The wall mount is handy if you do all your work in one place. If you're like me and need to move the Master Blaster around to different parts of your shop then stick with the original version. I place mine on a cart and then wheel the car around to where I need it. This keeps me from having to bend over every time I want to turn the Master Blaster on or off or bend over to move it around. I'm going to send the link to this write up to David Stern and ask him if he can come up with a GREAT cart for this cool tool.
Metro Master Blaster 8hp Revolution - $399.99
And there's yet another version or option that comes wit a extended 30 foot hose. This is the way to go if you're going to mount this unit to the wall.
Metro Master Blaster 8hp Revolution with 30 foot hose - $419.99

")
The below pictures, like most articles and videos make this type of detailing look fast and easy but that's not actually accurate. I actually TEACH people how to do this type of work and one thing I know, if you want to LEARN how to do something.... teach it.
Here's the light fluffy short version....
Spray on and let dwell for a few minutes
Agitate
This means use a lot of different types of brushes to work the product over the grimy surfaces
Rinse
Dress
Done
For those of you that really want some real how-to information, start reading after this first post.
First - here's the copy from the AG Store that tells about the product...
Quickly dissolves built up grease and oil in your engine's compartment without the use of harsh solvents and phosphates.
Pinnacle Engine Cleaner & Degreaser:
• Contains no harsh chemicals - solvent free!
• Penetrates deep to effectively dissolve and remove caked on dirt, grime, grease, and oil
• Safe for use around metal, plastic, and rubber - will not stain or discolor!
Sounds good and sounds like a safe product. I don't know anything more about it and guess I don't need to know anymore about it. Like I tell people in all my classes, when choosing ANY product, go with a brand name you trust.
Here's the links to where you can get it...
On Autogeek.com
Pinnacle Engine Cleaner & Degreaser - 16 ounce $19.99
Pinnacle Engine Cleaner & Degreaser - 1-gallon refill jug $57.99
Famous Detailing Brush - $14.99, 2/$24.99
Speed Master Wheel Brush $29.99
RaggTopp Premium Convertible Top Brush $29.99
Here's the brush I normally use instead of the RaggTopp brush, this is THE best wheel and pretty much everything-else-brush you will ever use. 100% totally worth the price. You'll thank me after you use this brush one time.
Wheel Woolies Boar’s Hair Wheel Brush $34.99
Mothers Fender Well Brush $7.99
And the miracle juice... available in a friendly consumer size and for pro detailers, in bulk size...
SONAX Plastic Care 300 ml - $12.99
SONAX Plastic Care 5 liter - $99.99
The Master Blaster in the picture is the regular Master Blaster, this one
Metro Master Blaster 8hp - $349.99
The newer version, called the Revolution - the primary difference is the front wheels swivel so it can travel around corners when on the ground and it comes with a wall mount bracket to mount it onto the wall. The wall mount is handy if you do all your work in one place. If you're like me and need to move the Master Blaster around to different parts of your shop then stick with the original version. I place mine on a cart and then wheel the car around to where I need it. This keeps me from having to bend over every time I want to turn the Master Blaster on or off or bend over to move it around. I'm going to send the link to this write up to David Stern and ask him if he can come up with a GREAT cart for this cool tool.
Metro Master Blaster 8hp Revolution - $399.99
And there's yet another version or option that comes wit a extended 30 foot hose. This is the way to go if you're going to mount this unit to the wall.
Metro Master Blaster 8hp Revolution with 30 foot hose - $419.99