The Guz
Well-known member
- Jun 17, 2013
- 8,768
- 45
Disclaimer: Meghan sent me this product to review. Thank you Meghan for sending it out to me.
Product: Sonax CC36 Ceramic Coating
Price: $79.99
Product description:
I held off on the review for this one to get more time to share my experience over a longer period of time. That way I could give a better overall view of the coatings performance.
Again after having my car repainted a year ago, it was time to correct and coat it. I corrected it back in June of 2017.
One thing I should mention is that with the new paint job, there is a lot of paint on the car to work with. The reason for the paint was that the paint under the clear coat had begun to fade. It was on the front fenders, some of the front doors and the lower rocker panels. The front and rear bumpers had clear coat failure. The original paint was 17 years old.
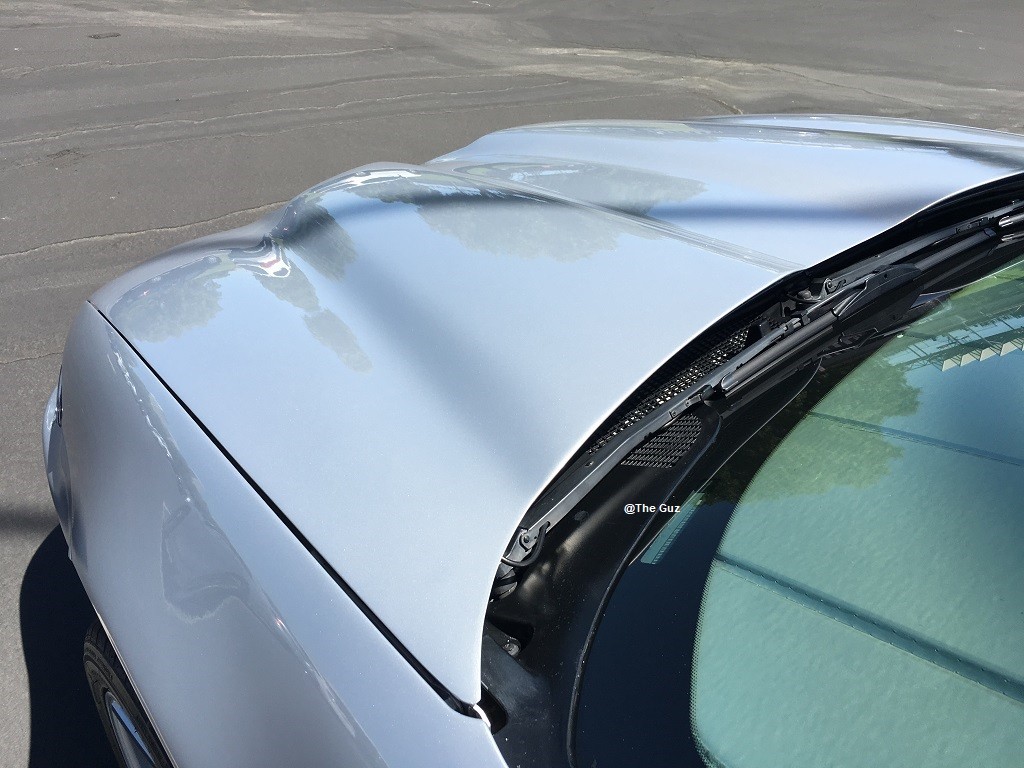
But the roof developed rust. It snuck up on me. The windshield was replaced long ago so it must not have been a good job. This was not a pretty sight.
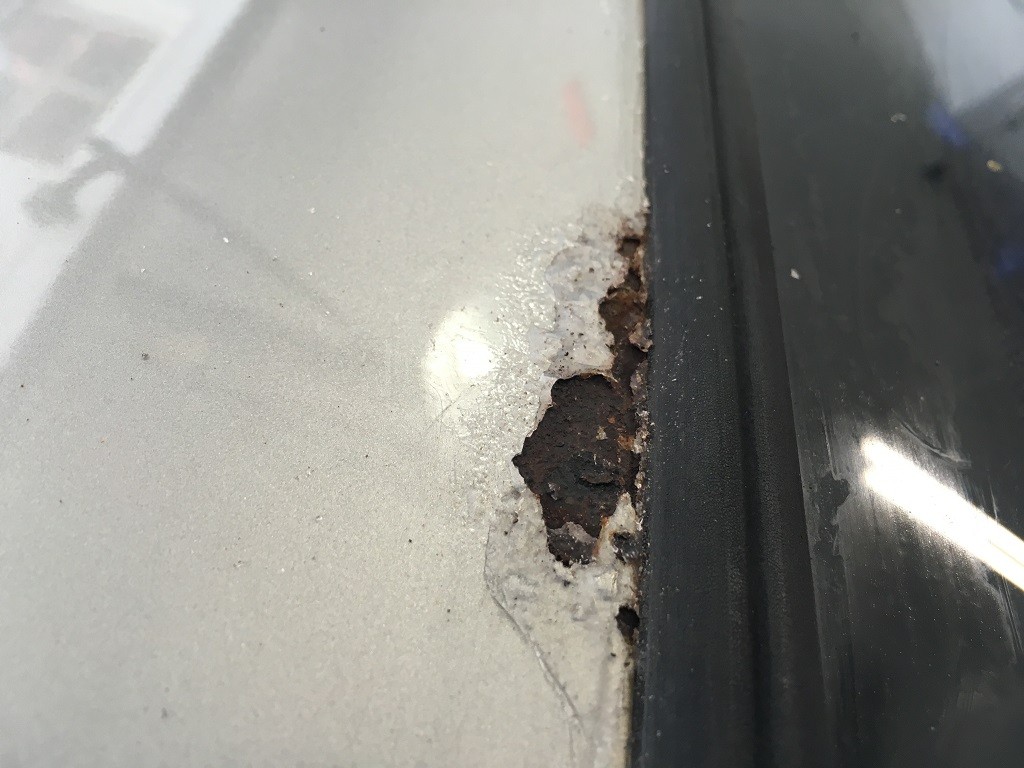
I posted some photos here of some of the defects that were on the car. I also posted the Sonax polishes I used in this same thread. For those that don’t want to click on the link the polishes were Sonax Cut & Finish used with various cutting pads and Sonax EX 04-06 Finishing Polish on various polishing/finishing pads.
Review - SONAX Paint Polishing Foam Pads
Here is one more that I found in broad daylight on the trunk. Rotary holograms and swirls courtesy of the body shop.

At the end of the day these are the pads I was testing the polishes on. All these pads worked well with the Sonax polishes.

The paint was washed, decontaminated (mechanically and chemically) using the Aggressive Wash Method. It was polished and prepped prior to applying the coating.
The Aggressive Approach to Washing a Car
I am going to leverage off of the how to write up from Mike Phillips as well as post my thoughts on the use of it. I will also be posting some long term updates on having this on my car.
See the following How To Article by Mike
How to use the SONAX CC36 Ceramic Paint Coating
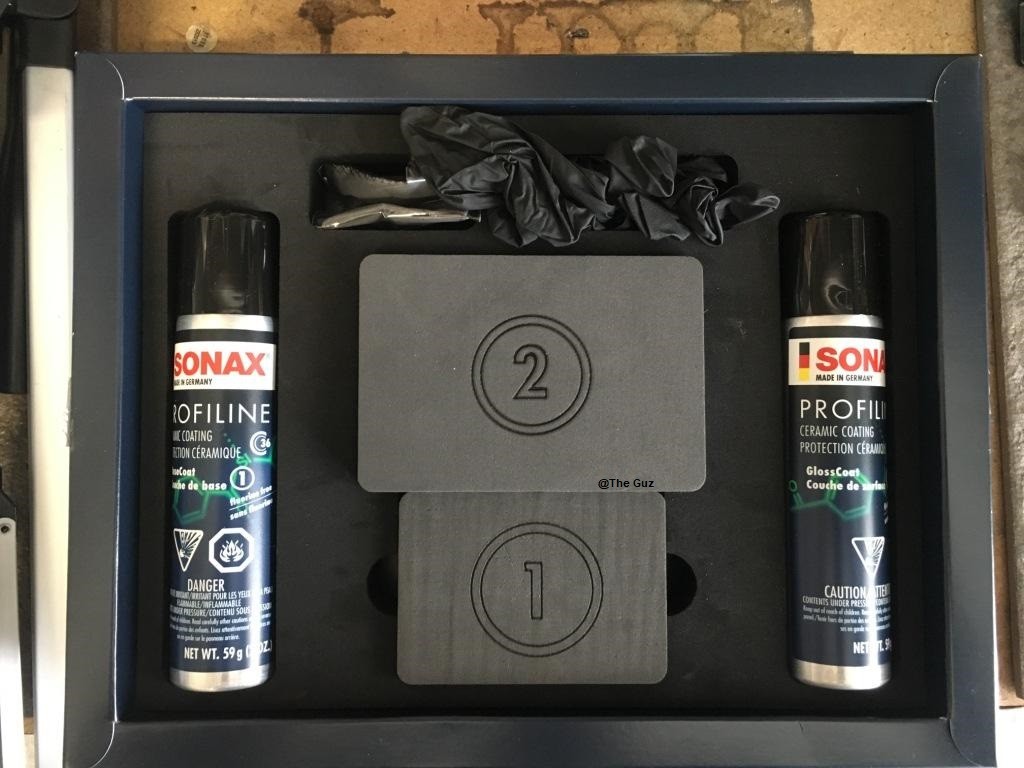
The packaging is nice and directions are pretty straight forward.
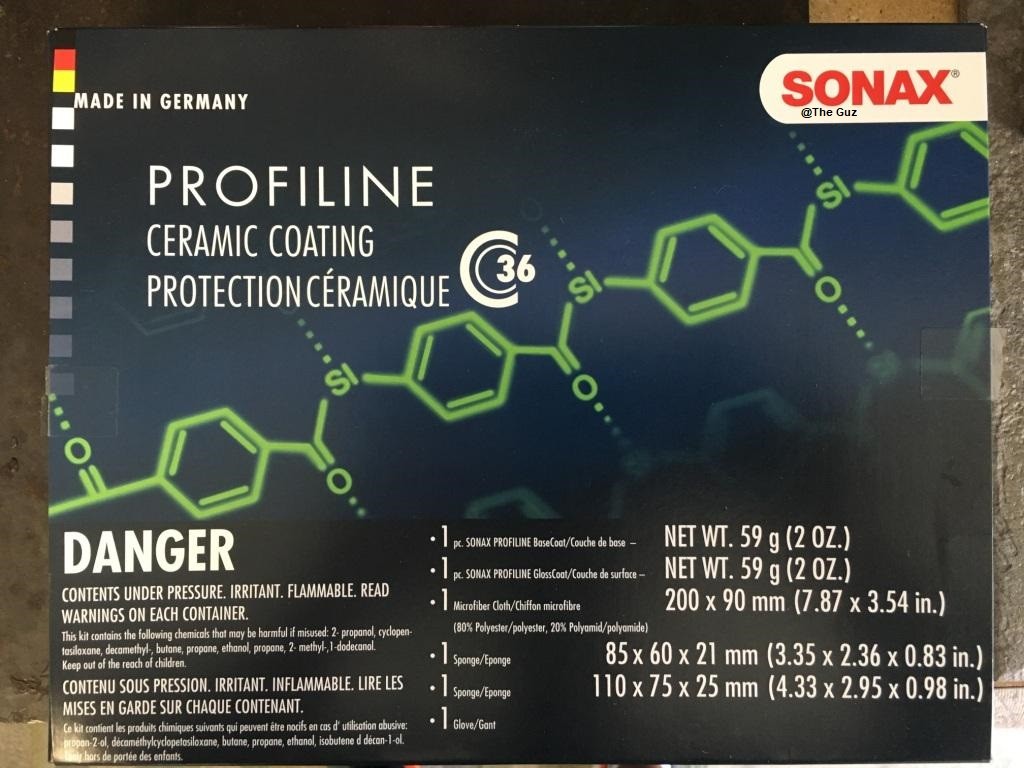

Sonax CC36 Ceramic Coating is a two part aerosol system. It comes with Step 1 which is the Base Coat and Step 2 which is the Gloss Coat. The kit also includes a pair of gloves, marked applicators and a suede microfiber. The aerosol cans and applicators are clearly marked. The applicator pads are also sized differently.
Each can comes with 2 oz’s of product. That is enough to do one small car and up to a mid size car. Two kits would need to be purchased for anything larger than that.
The kit does not come with any prep solution. The European kit comes with the prep spray. The reason we don’t get the Sonax prep solution is that it is not VOC compliant. I used some CarPro Eraser to remove any polishing oils. I was not too concerned if everything did not come off considering the product synergy.
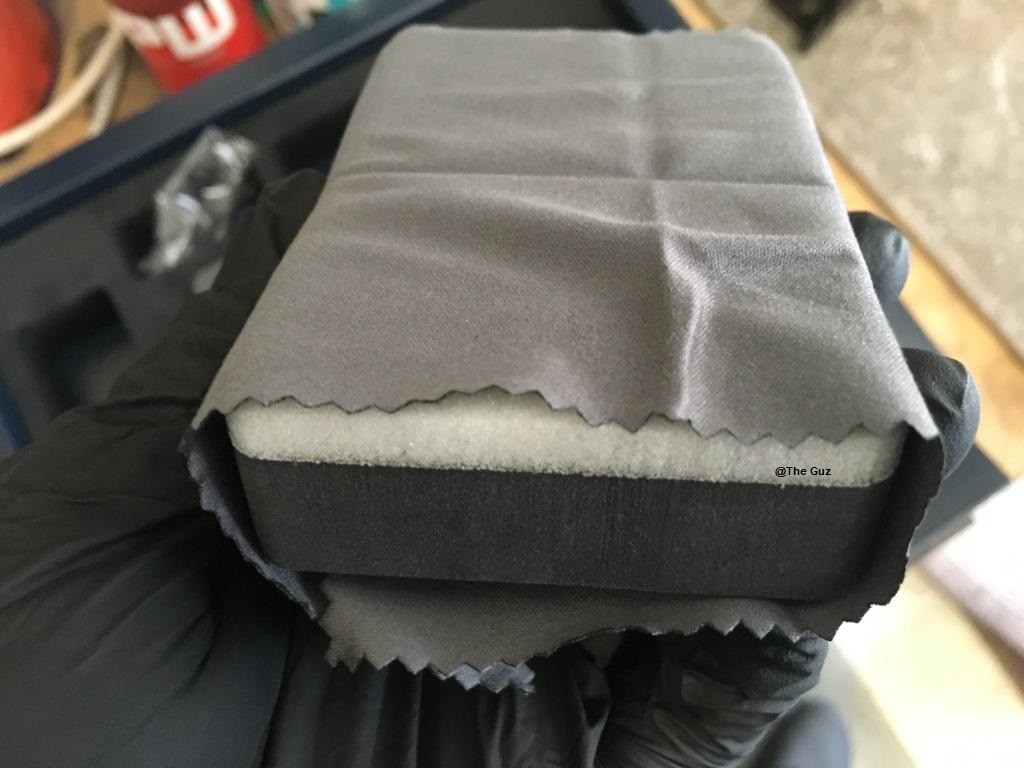
The difference between Mike’s How To is that I used the included marked applicator. Applicator 1 (used with the base coat) wrapped with the suede applicator.
From listening to the Sonax reps at the demoing of the coating, they mentioned that the suede applicator is meant for softer paints. They also mentioned that for darker colored paints to help with the leveling of the coating to avoid high spots which are easily seen on dark paints.
There is only one suede applicator. Which is to be used with applicator 1 for applying the base coat. Applicator 2 for the gloss coat is to be used as is.
I used the applicator wrapped with the suede. The reason being I didn’t like the foam applicators dragging on the paint. They squeaked way too much for my liking and dried out much quicker compared to the suede applicator. The suede stays primed longer.
These are the conditions that I was applying in.
The higher humidity caused the base coat to flash quick. For those in higher temps the coating will flash faster and that is normal. The Base Coat is the only part that needs to flash. The Gloss Coat does not need to flash. Essentially wipe on wipe off.
It is recommended to allow 1 hour between the Base Coat and Gloss Coat. Only one coat of each is needed. There is not much Gloss Coat so that one goes by fast. One could get away with a second coat of Base Coat but that is not really needed.
This is an example of the Base Coat flashing and ready to be leveled out.

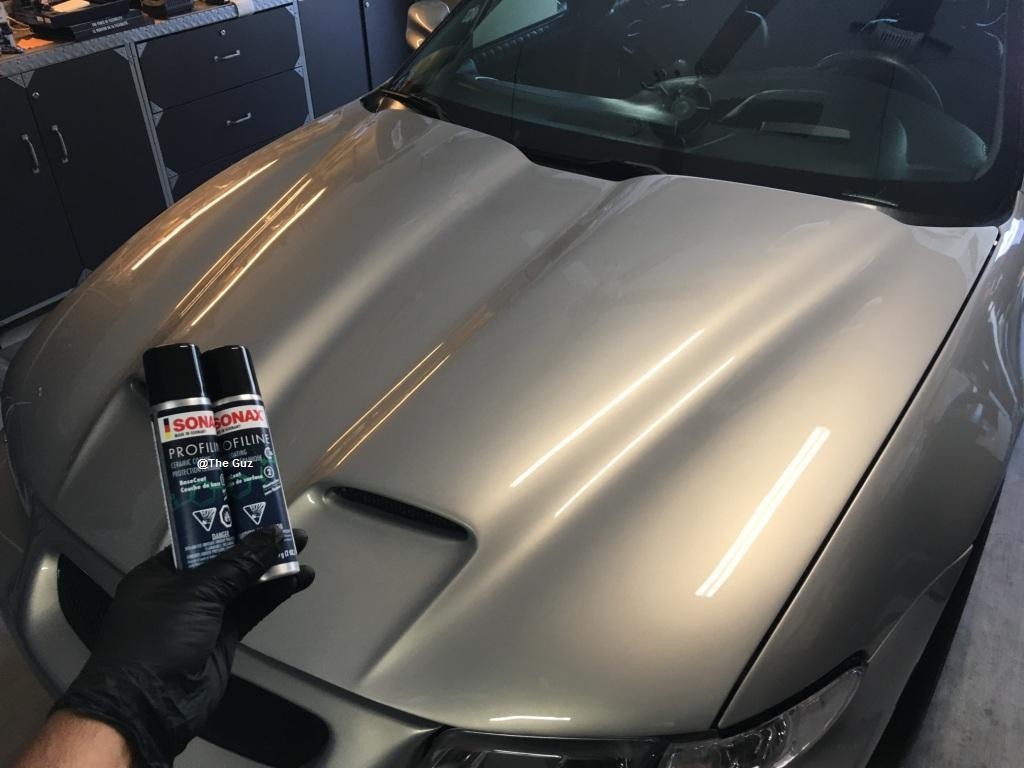
Photo of me wrapping up for the night.
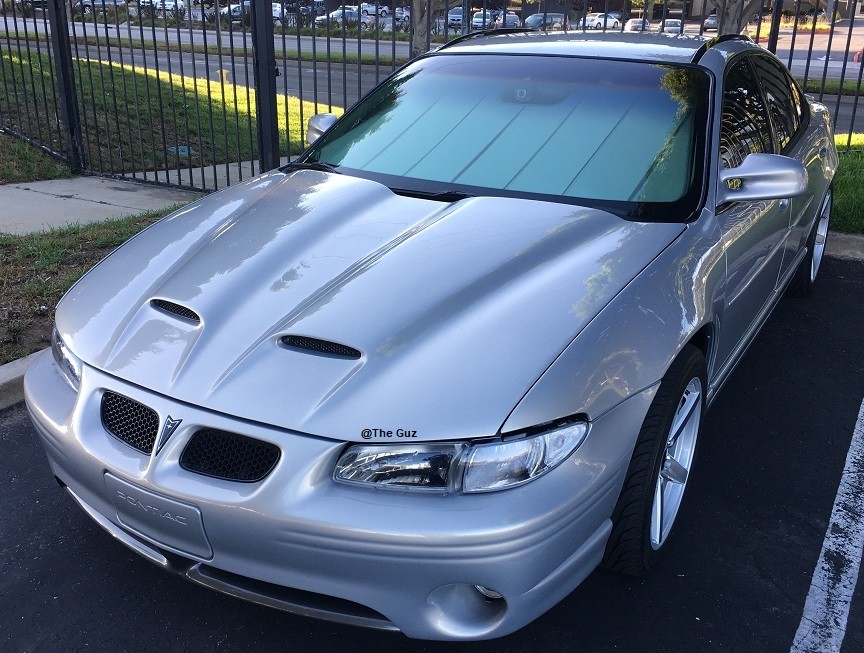
Finished photos a few days later.


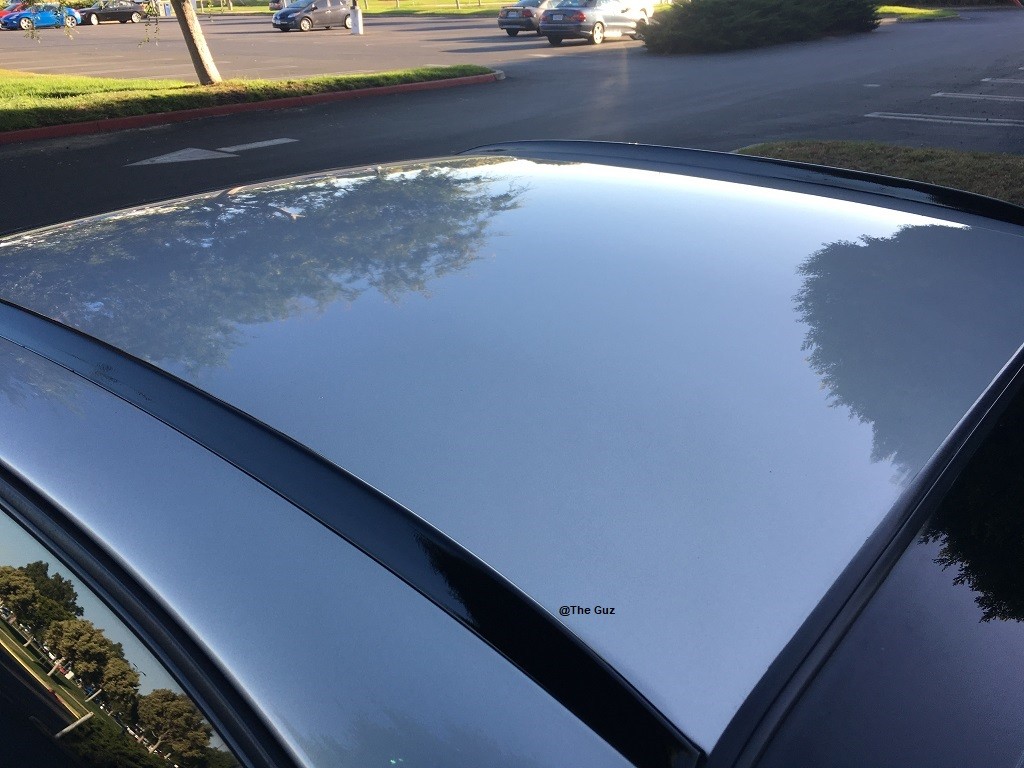
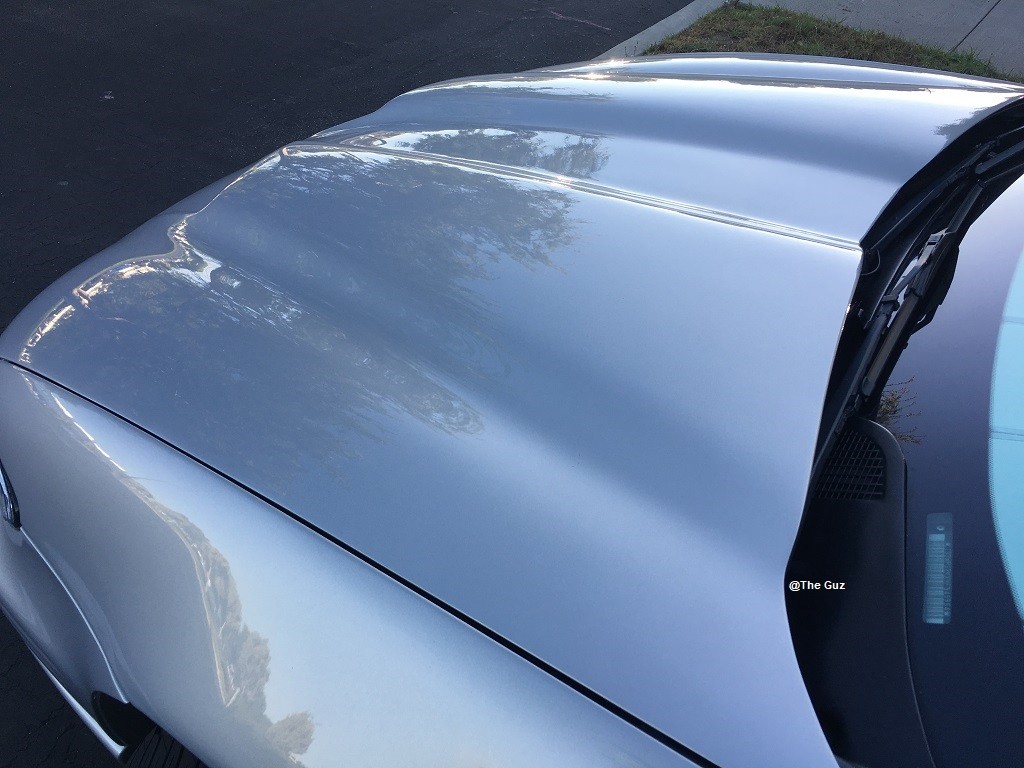
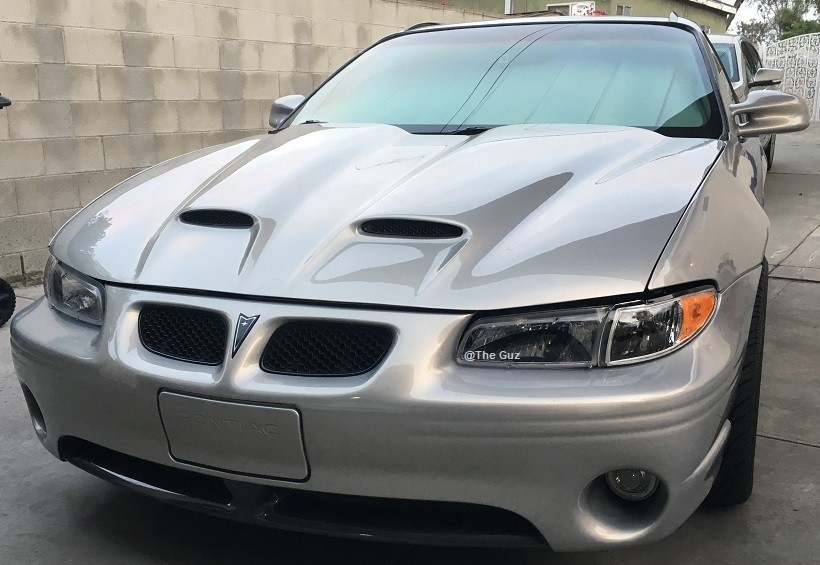
A few weeks later in the full sun.

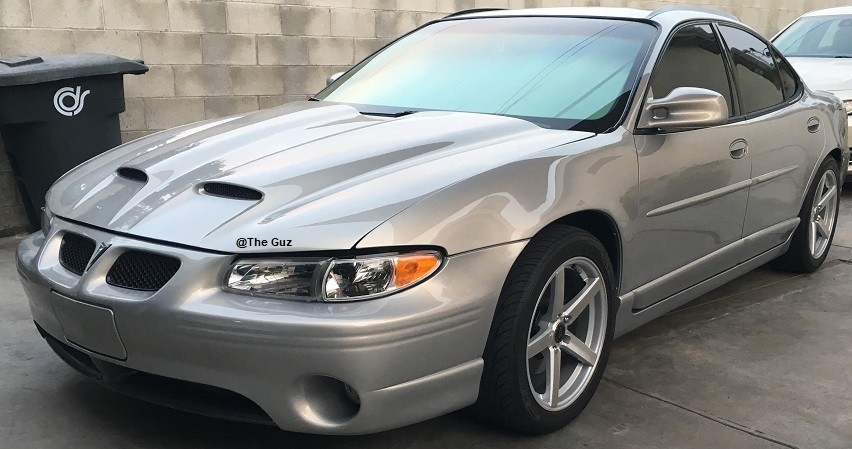
A couple more random shots
Product: Sonax CC36 Ceramic Coating
Price: $79.99
Product description:
SONAX CC36 Ceramic Coating is not a wax or paint sealant. In fact, it's much different. This two-stage coating blankets your vehicle's paintwork in a flexible shell of extremely glossy protection that lasts years, not months. Compared to a conventional wax or paint sealant, SONAX CC36 Ceramic Coating provides superior gloss and better resistance to environmental impacts such as bird droppings, water spots, car wash scratches, and more. SONAX CC36 Ceramic Coating is for the person that wants the best protection for their vehicle!
SONAX CC36 Ceramic Coating is the most advanced surface care enhancement product to ever come from Germany. Here's what SONAX CC36 provides: incredible gloss, sheeting that is out of this world, superior longevity to any wax or sealant, and ease of application. SONAX CC36 Ceramic Coating will redefine how you detail your vehicle.
SONAX CC36 does more than sit on your paint. A special bond is created between product and surface, protecting against hostile environmental hazards and providing a lasting, glass-like finish.
SONAX CC36 Ceramic Coating is an all inclusive kit that requires no special training or equipment needed to apply. Even if you are not a professional detailer, you can certainly achieve professional results with SONAX CC36 Ceramic Coating.
With protection that lasts up to one year, SONAX CC36 Ceramic Coating gives you peace of mind. Rather than having wax your car every 2-3 months, simply take care of the existing coating and you're surface is glossy and protected!
Don't leave your vehicle unprotected simply because you think you're not ready for a coating. SONAX CC36 provides durable protection, and insanely gloss finish, and can be applied without special equipment. Extend the life of both your paint AND its shine with SONAX CC36 Ceramic Coating.
Directions for use:
- Using your preferred method, thoroughly clean the paint and polish with a machine to a high-gloss finish with no swirls or holograms. The surface needs to be absolutely clean before SONAX CC36 Ceramic Coating is applied.
- Using the enclosed applicator labeled 1, apply SONAX BaseCoat (1) in a thin layer. For sensitive paint surfaces, the enclosed Microfiber Cloth can be used wrapped around the applicator.
- Treat a small surface area using a criss-cross sequence. Allow to dry for approximately 30 seconds to 1 minute at the most, then wipe the treated surface with a clean microfiber towel to a streak free shine.
- Repeat this process until the entire vehicle is treated and allow to cure for at least 1 hour - make sure the surfaces are not touched and do not get wet during this curing process.
- After the prescribed curing time, apply the SONAX GlossCoat (2) to achieve a superior smoothness and deep shine. Spray the product directly onto white side of the applicator labeled 2 and spread over the surface.
- You can treat areas of a half bonnet in size, which then need to be wiped over with a microfiber towels to remove excess product (drying is not necessary).
SONAX Pro Tips:
- Do not apply SONAX CC36 Ceramic Coating onto hot surfaces.
- To ensure a perfectly smooth and even application, working in a well-lit garage is recommended.
- Within an hour of applying SONAX BaseCoat, missed areas or streaks can be dissolved and removed by applying the product again.
- The sealed vehicle should not be washed within the first three days after being treated, and when it is washed, do not use a high alkaline cleaner. Do not polish the vehicle after treatment.
I held off on the review for this one to get more time to share my experience over a longer period of time. That way I could give a better overall view of the coatings performance.
Again after having my car repainted a year ago, it was time to correct and coat it. I corrected it back in June of 2017.
One thing I should mention is that with the new paint job, there is a lot of paint on the car to work with. The reason for the paint was that the paint under the clear coat had begun to fade. It was on the front fenders, some of the front doors and the lower rocker panels. The front and rear bumpers had clear coat failure. The original paint was 17 years old.
But the roof developed rust. It snuck up on me. The windshield was replaced long ago so it must not have been a good job. This was not a pretty sight.
I posted some photos here of some of the defects that were on the car. I also posted the Sonax polishes I used in this same thread. For those that don’t want to click on the link the polishes were Sonax Cut & Finish used with various cutting pads and Sonax EX 04-06 Finishing Polish on various polishing/finishing pads.
Review - SONAX Paint Polishing Foam Pads
Here is one more that I found in broad daylight on the trunk. Rotary holograms and swirls courtesy of the body shop.
At the end of the day these are the pads I was testing the polishes on. All these pads worked well with the Sonax polishes.
The paint was washed, decontaminated (mechanically and chemically) using the Aggressive Wash Method. It was polished and prepped prior to applying the coating.
The Aggressive Approach to Washing a Car
I am going to leverage off of the how to write up from Mike Phillips as well as post my thoughts on the use of it. I will also be posting some long term updates on having this on my car.
See the following How To Article by Mike
How to use the SONAX CC36 Ceramic Paint Coating
The packaging is nice and directions are pretty straight forward.
Sonax CC36 Ceramic Coating is a two part aerosol system. It comes with Step 1 which is the Base Coat and Step 2 which is the Gloss Coat. The kit also includes a pair of gloves, marked applicators and a suede microfiber. The aerosol cans and applicators are clearly marked. The applicator pads are also sized differently.
Each can comes with 2 oz’s of product. That is enough to do one small car and up to a mid size car. Two kits would need to be purchased for anything larger than that.
The kit does not come with any prep solution. The European kit comes with the prep spray. The reason we don’t get the Sonax prep solution is that it is not VOC compliant. I used some CarPro Eraser to remove any polishing oils. I was not too concerned if everything did not come off considering the product synergy.
The difference between Mike’s How To is that I used the included marked applicator. Applicator 1 (used with the base coat) wrapped with the suede applicator.
From listening to the Sonax reps at the demoing of the coating, they mentioned that the suede applicator is meant for softer paints. They also mentioned that for darker colored paints to help with the leveling of the coating to avoid high spots which are easily seen on dark paints.
There is only one suede applicator. Which is to be used with applicator 1 for applying the base coat. Applicator 2 for the gloss coat is to be used as is.
I used the applicator wrapped with the suede. The reason being I didn’t like the foam applicators dragging on the paint. They squeaked way too much for my liking and dried out much quicker compared to the suede applicator. The suede stays primed longer.
These are the conditions that I was applying in.
The higher humidity caused the base coat to flash quick. For those in higher temps the coating will flash faster and that is normal. The Base Coat is the only part that needs to flash. The Gloss Coat does not need to flash. Essentially wipe on wipe off.
It is recommended to allow 1 hour between the Base Coat and Gloss Coat. Only one coat of each is needed. There is not much Gloss Coat so that one goes by fast. One could get away with a second coat of Base Coat but that is not really needed.
This is an example of the Base Coat flashing and ready to be leveled out.
Photo of me wrapping up for the night.
Finished photos a few days later.
A few weeks later in the full sun.
A couple more random shots
")

") . So I can not comment on how it would react to that environment. But this may be a case where PNS before the winter could be a good thing to act as a sacrificial layer.
. So I can not comment on how it would react to that environment. But this may be a case where PNS before the winter could be a good thing to act as a sacrificial layer.